Here is a brief description of my previous ‘practice’ layout. It was in the attic/loft of a four bedroom house on an estate built in the 1990s. Although it was a relatively large house it had a hipped roof which somewhat limited the amount of room available for the layout.
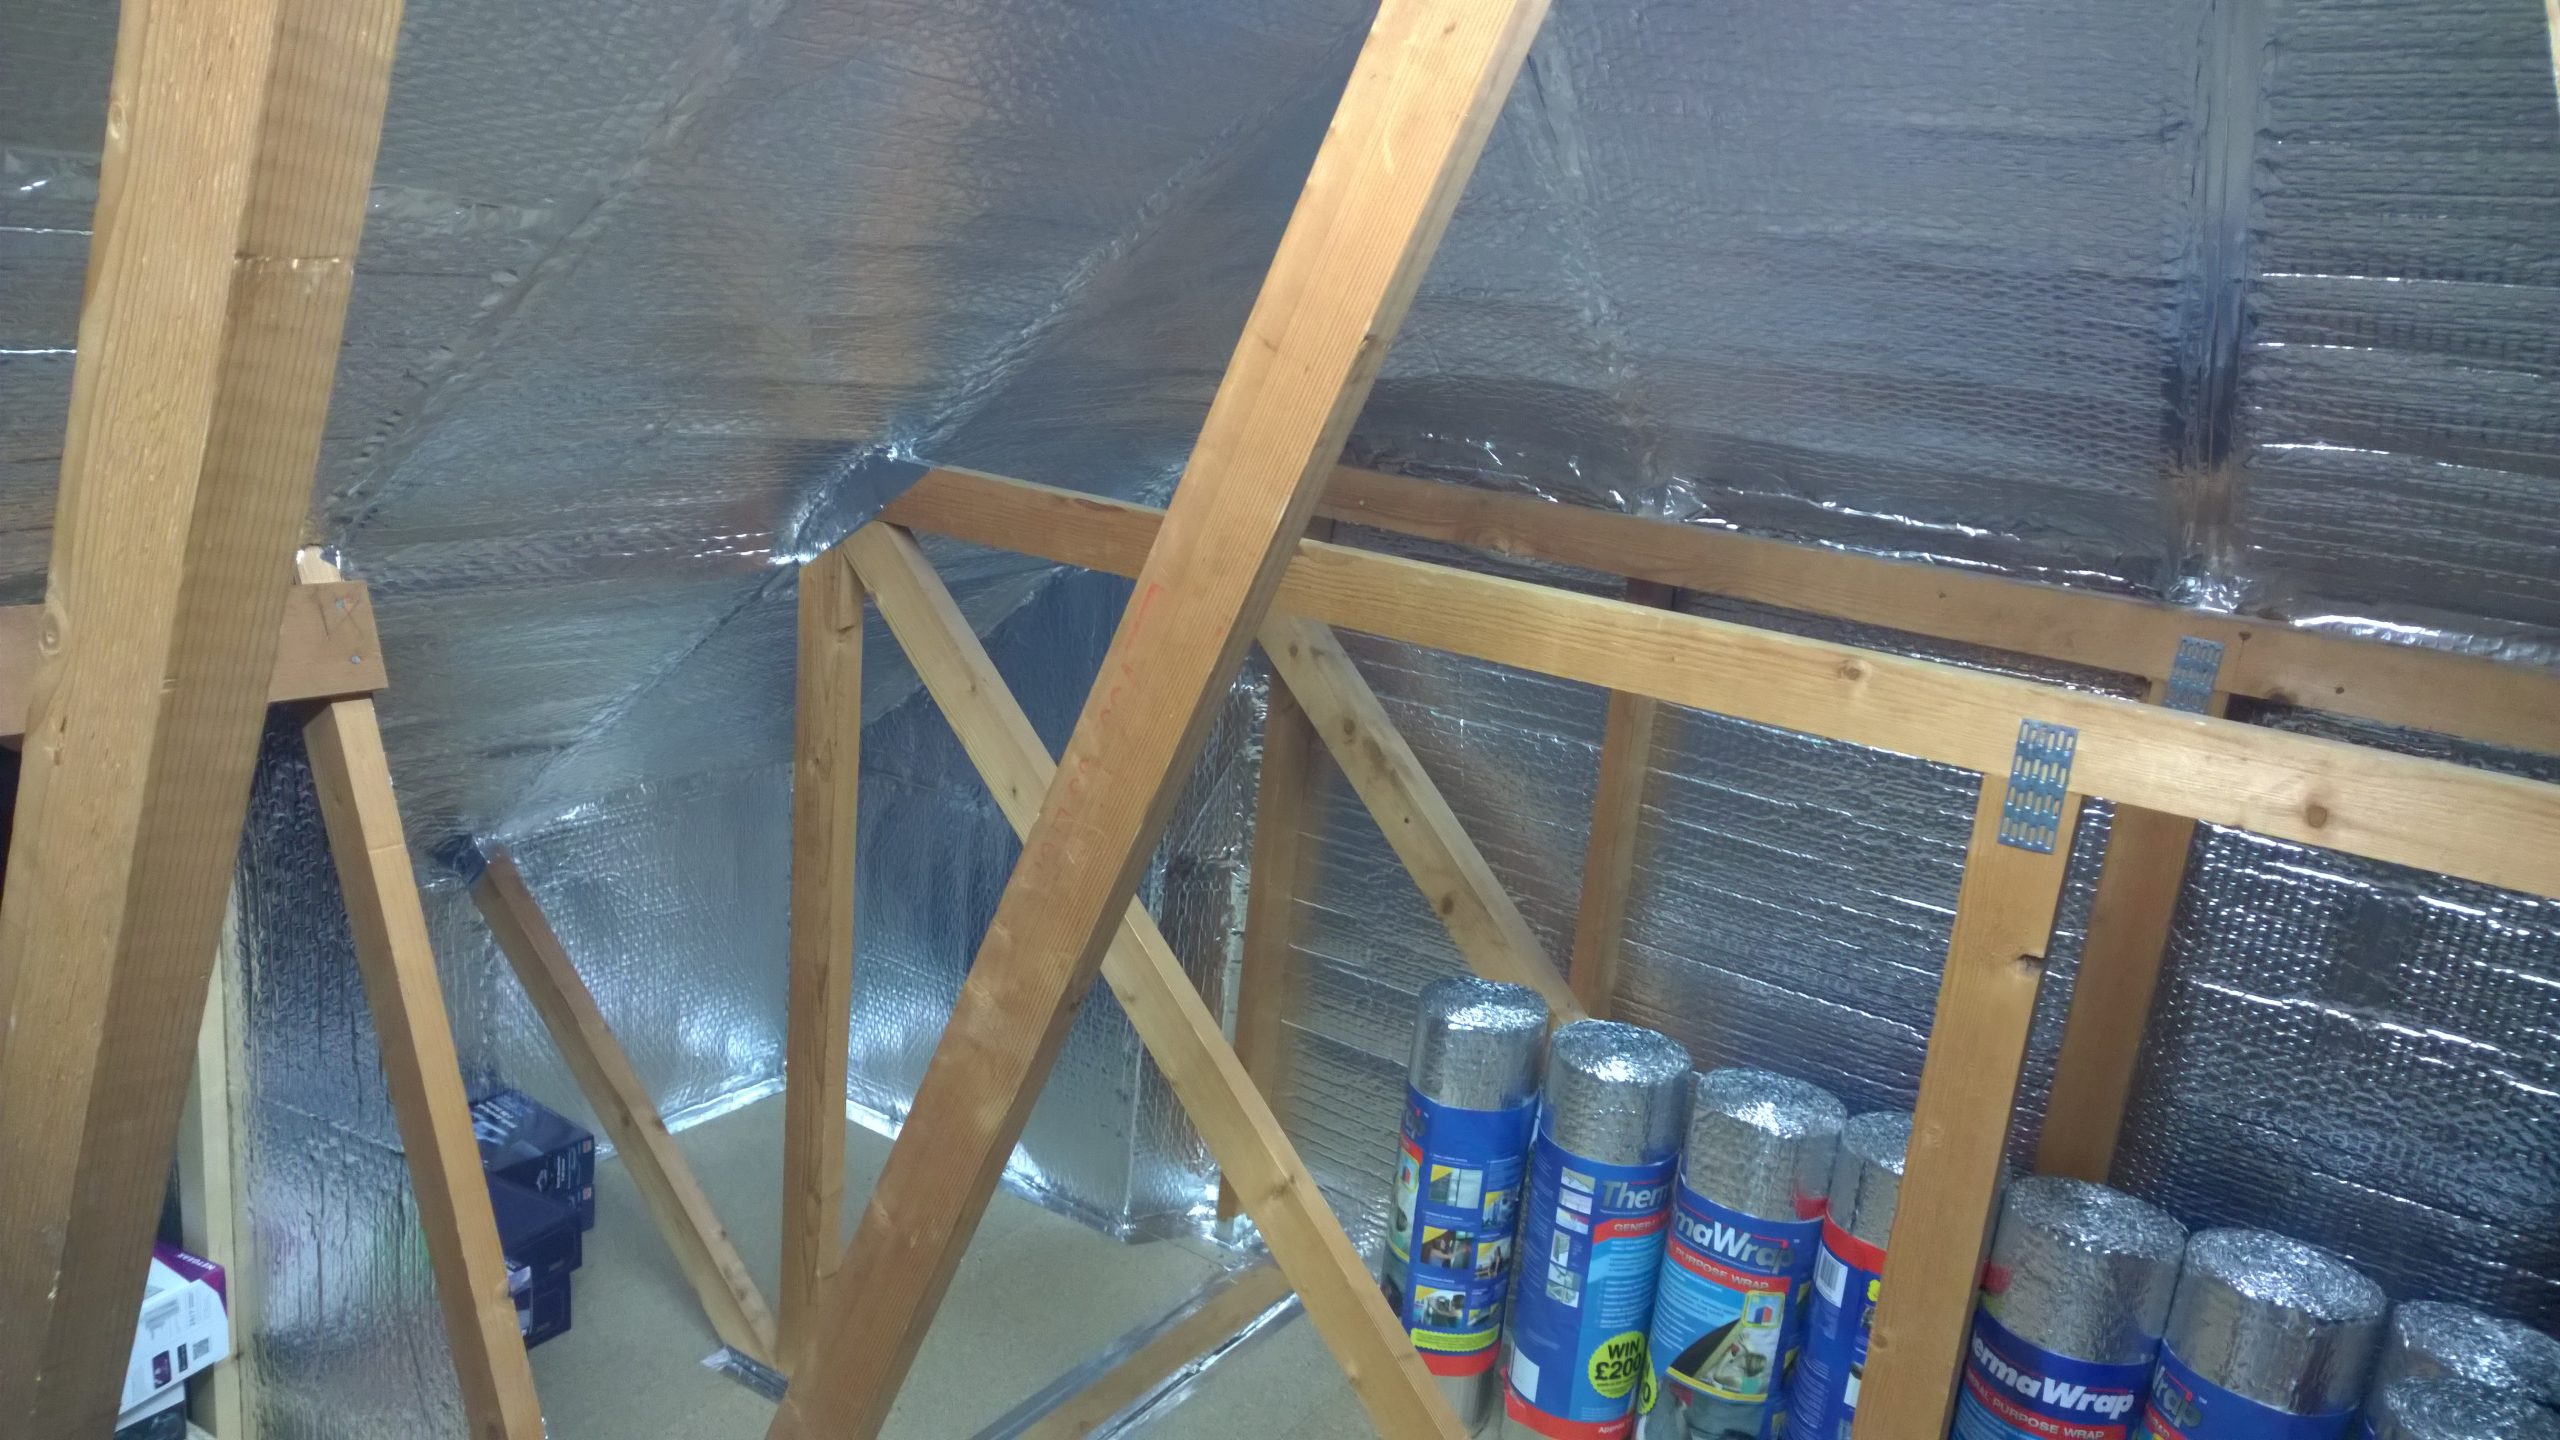
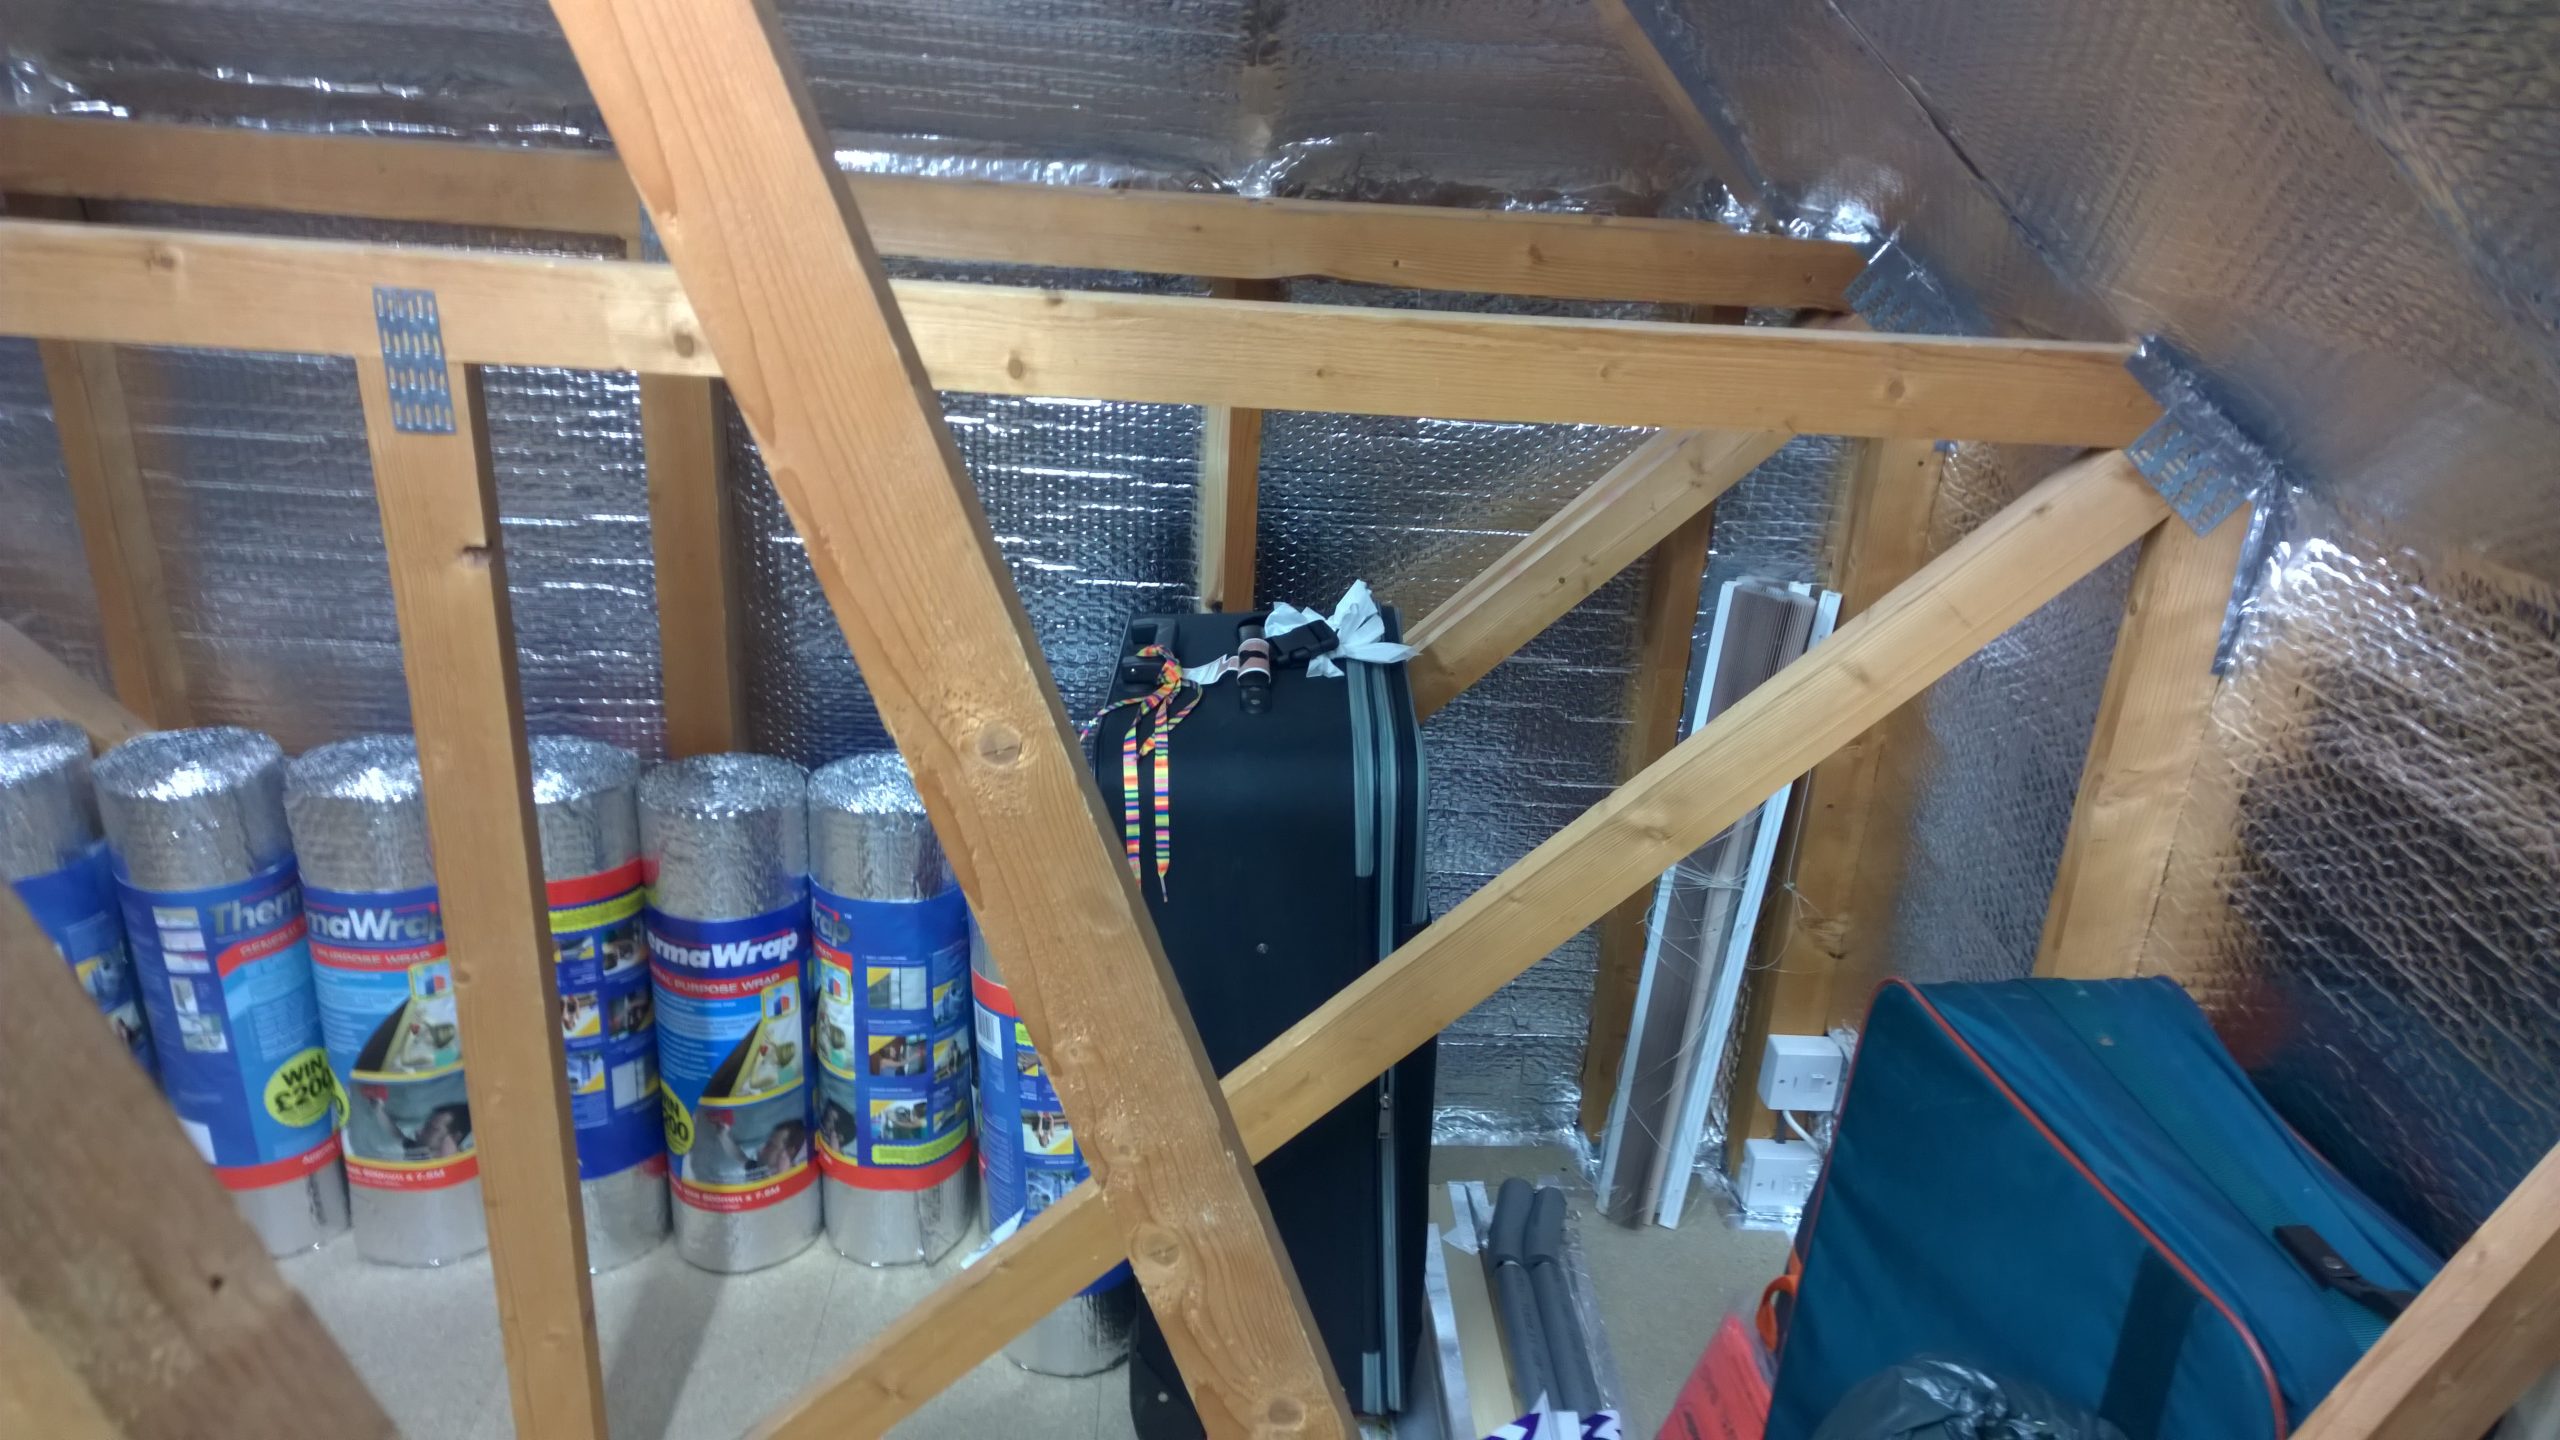
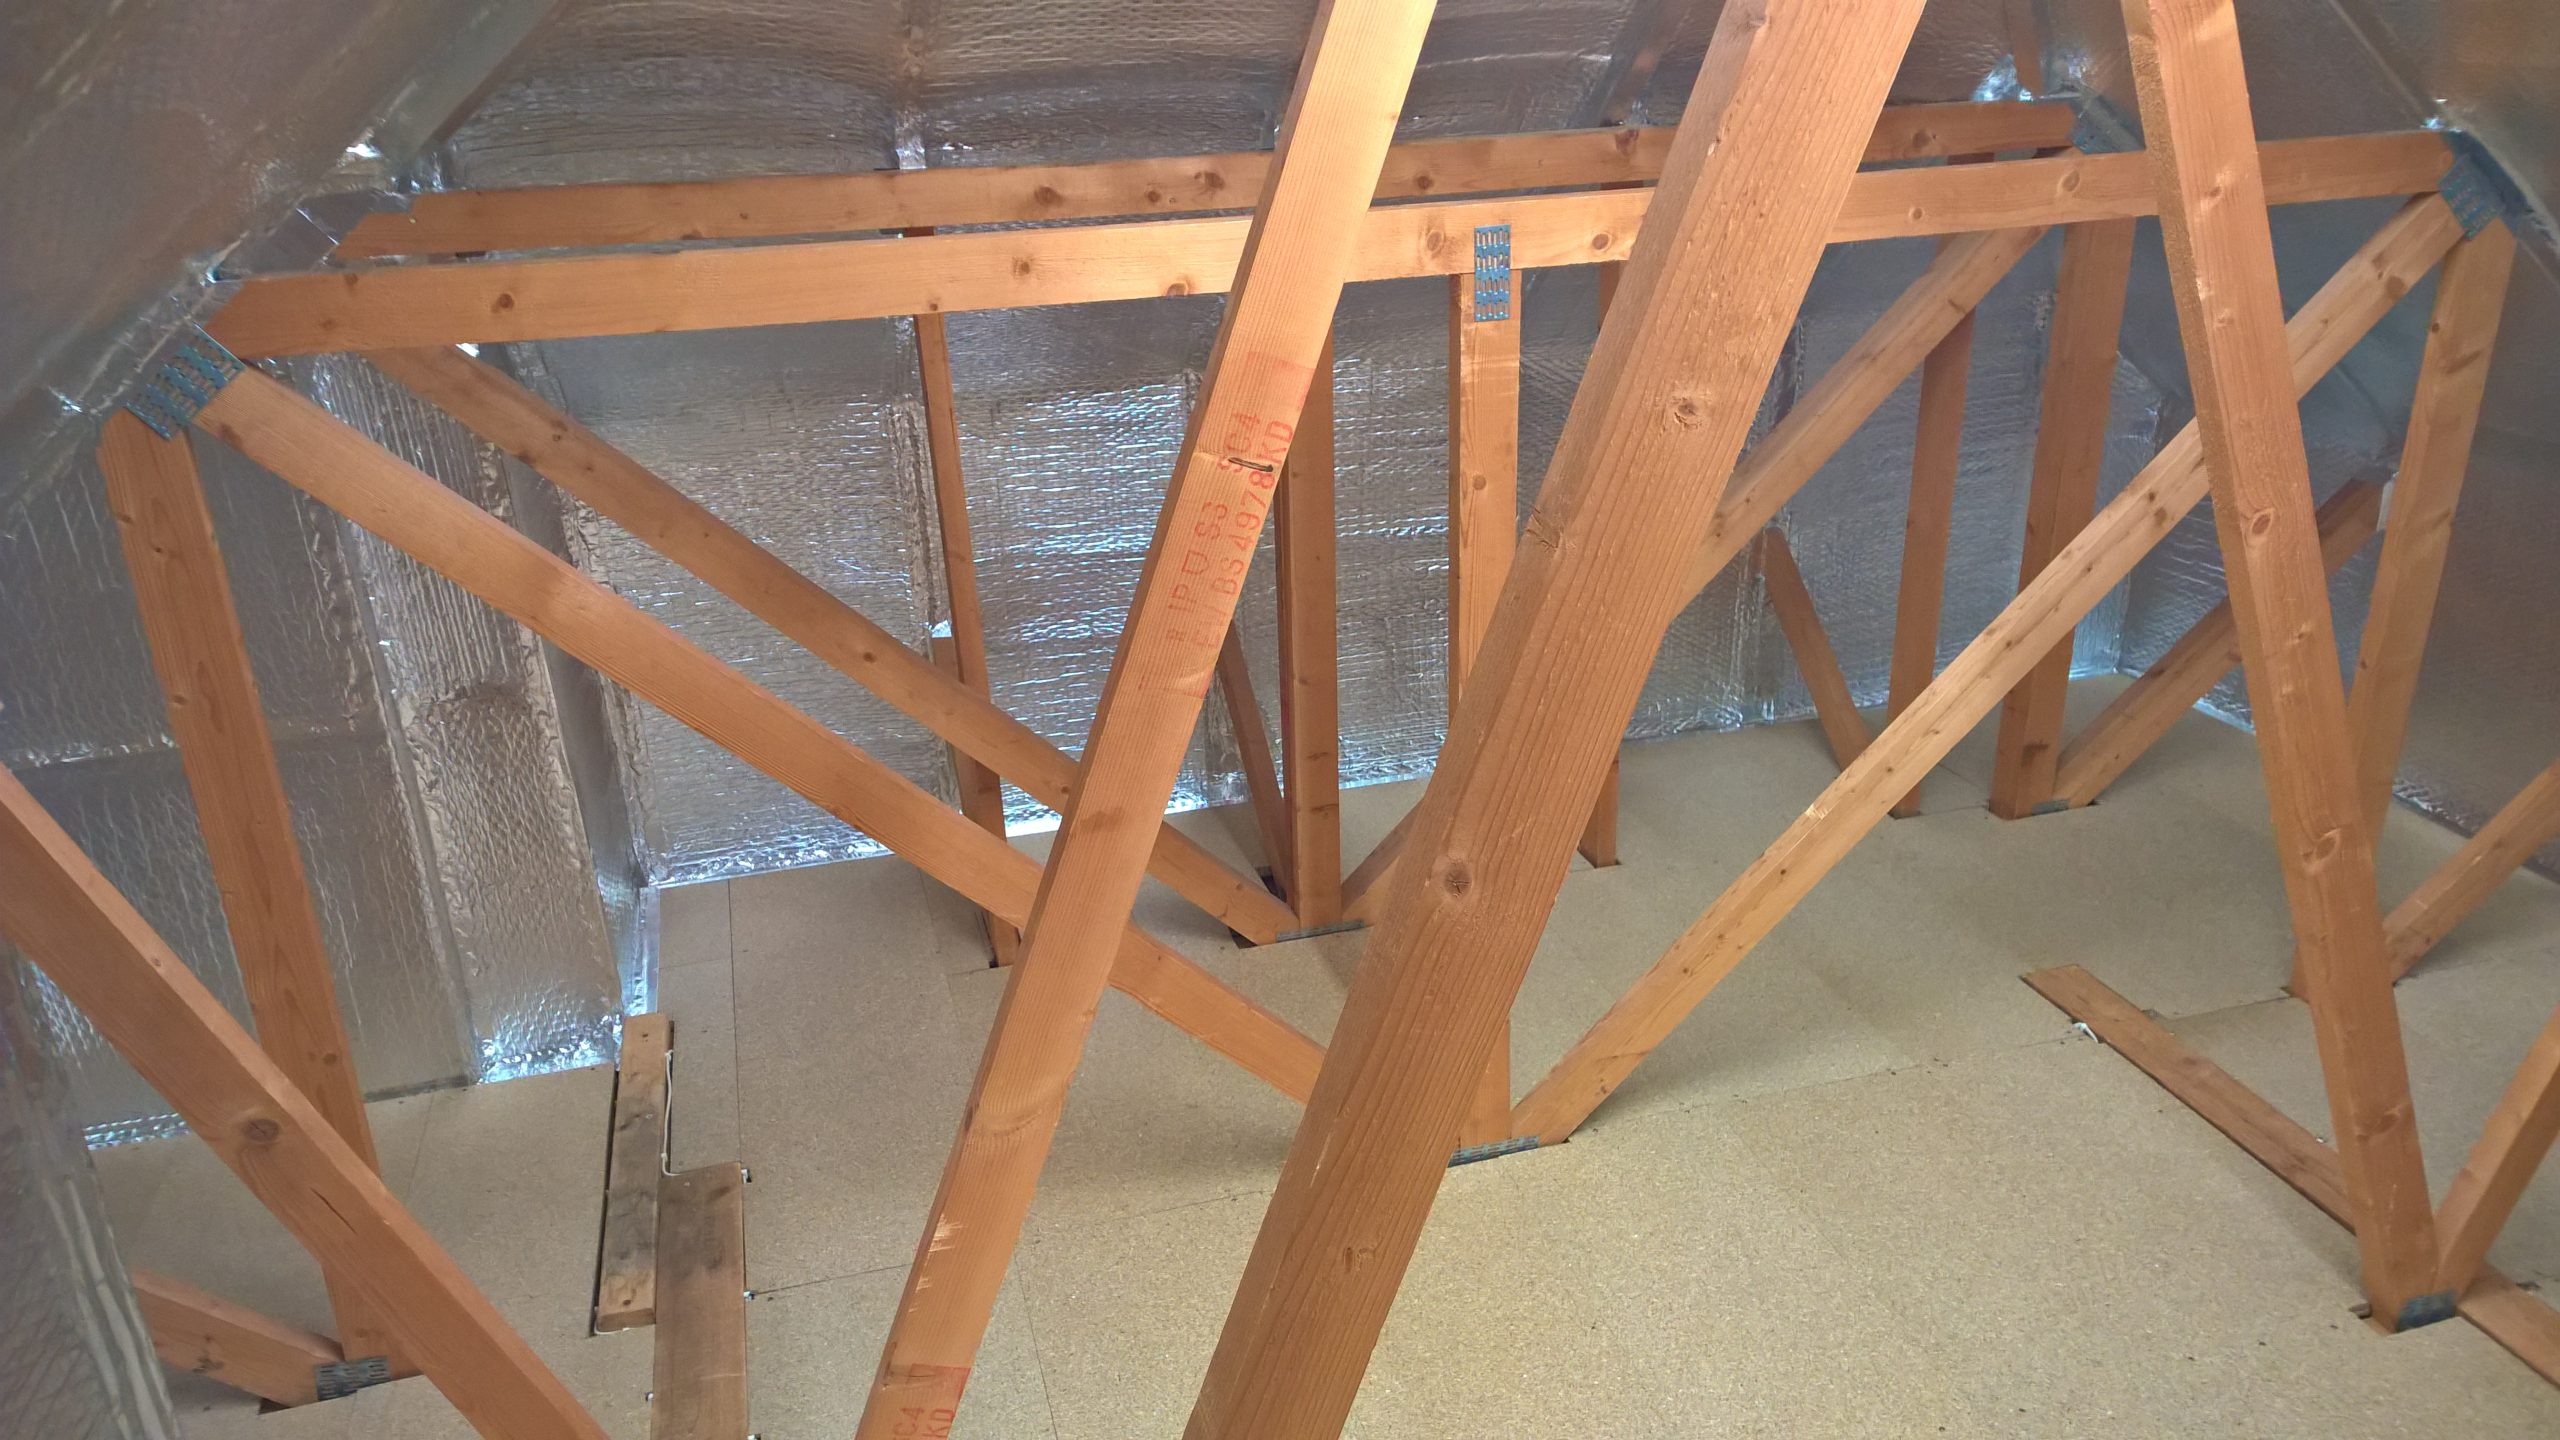
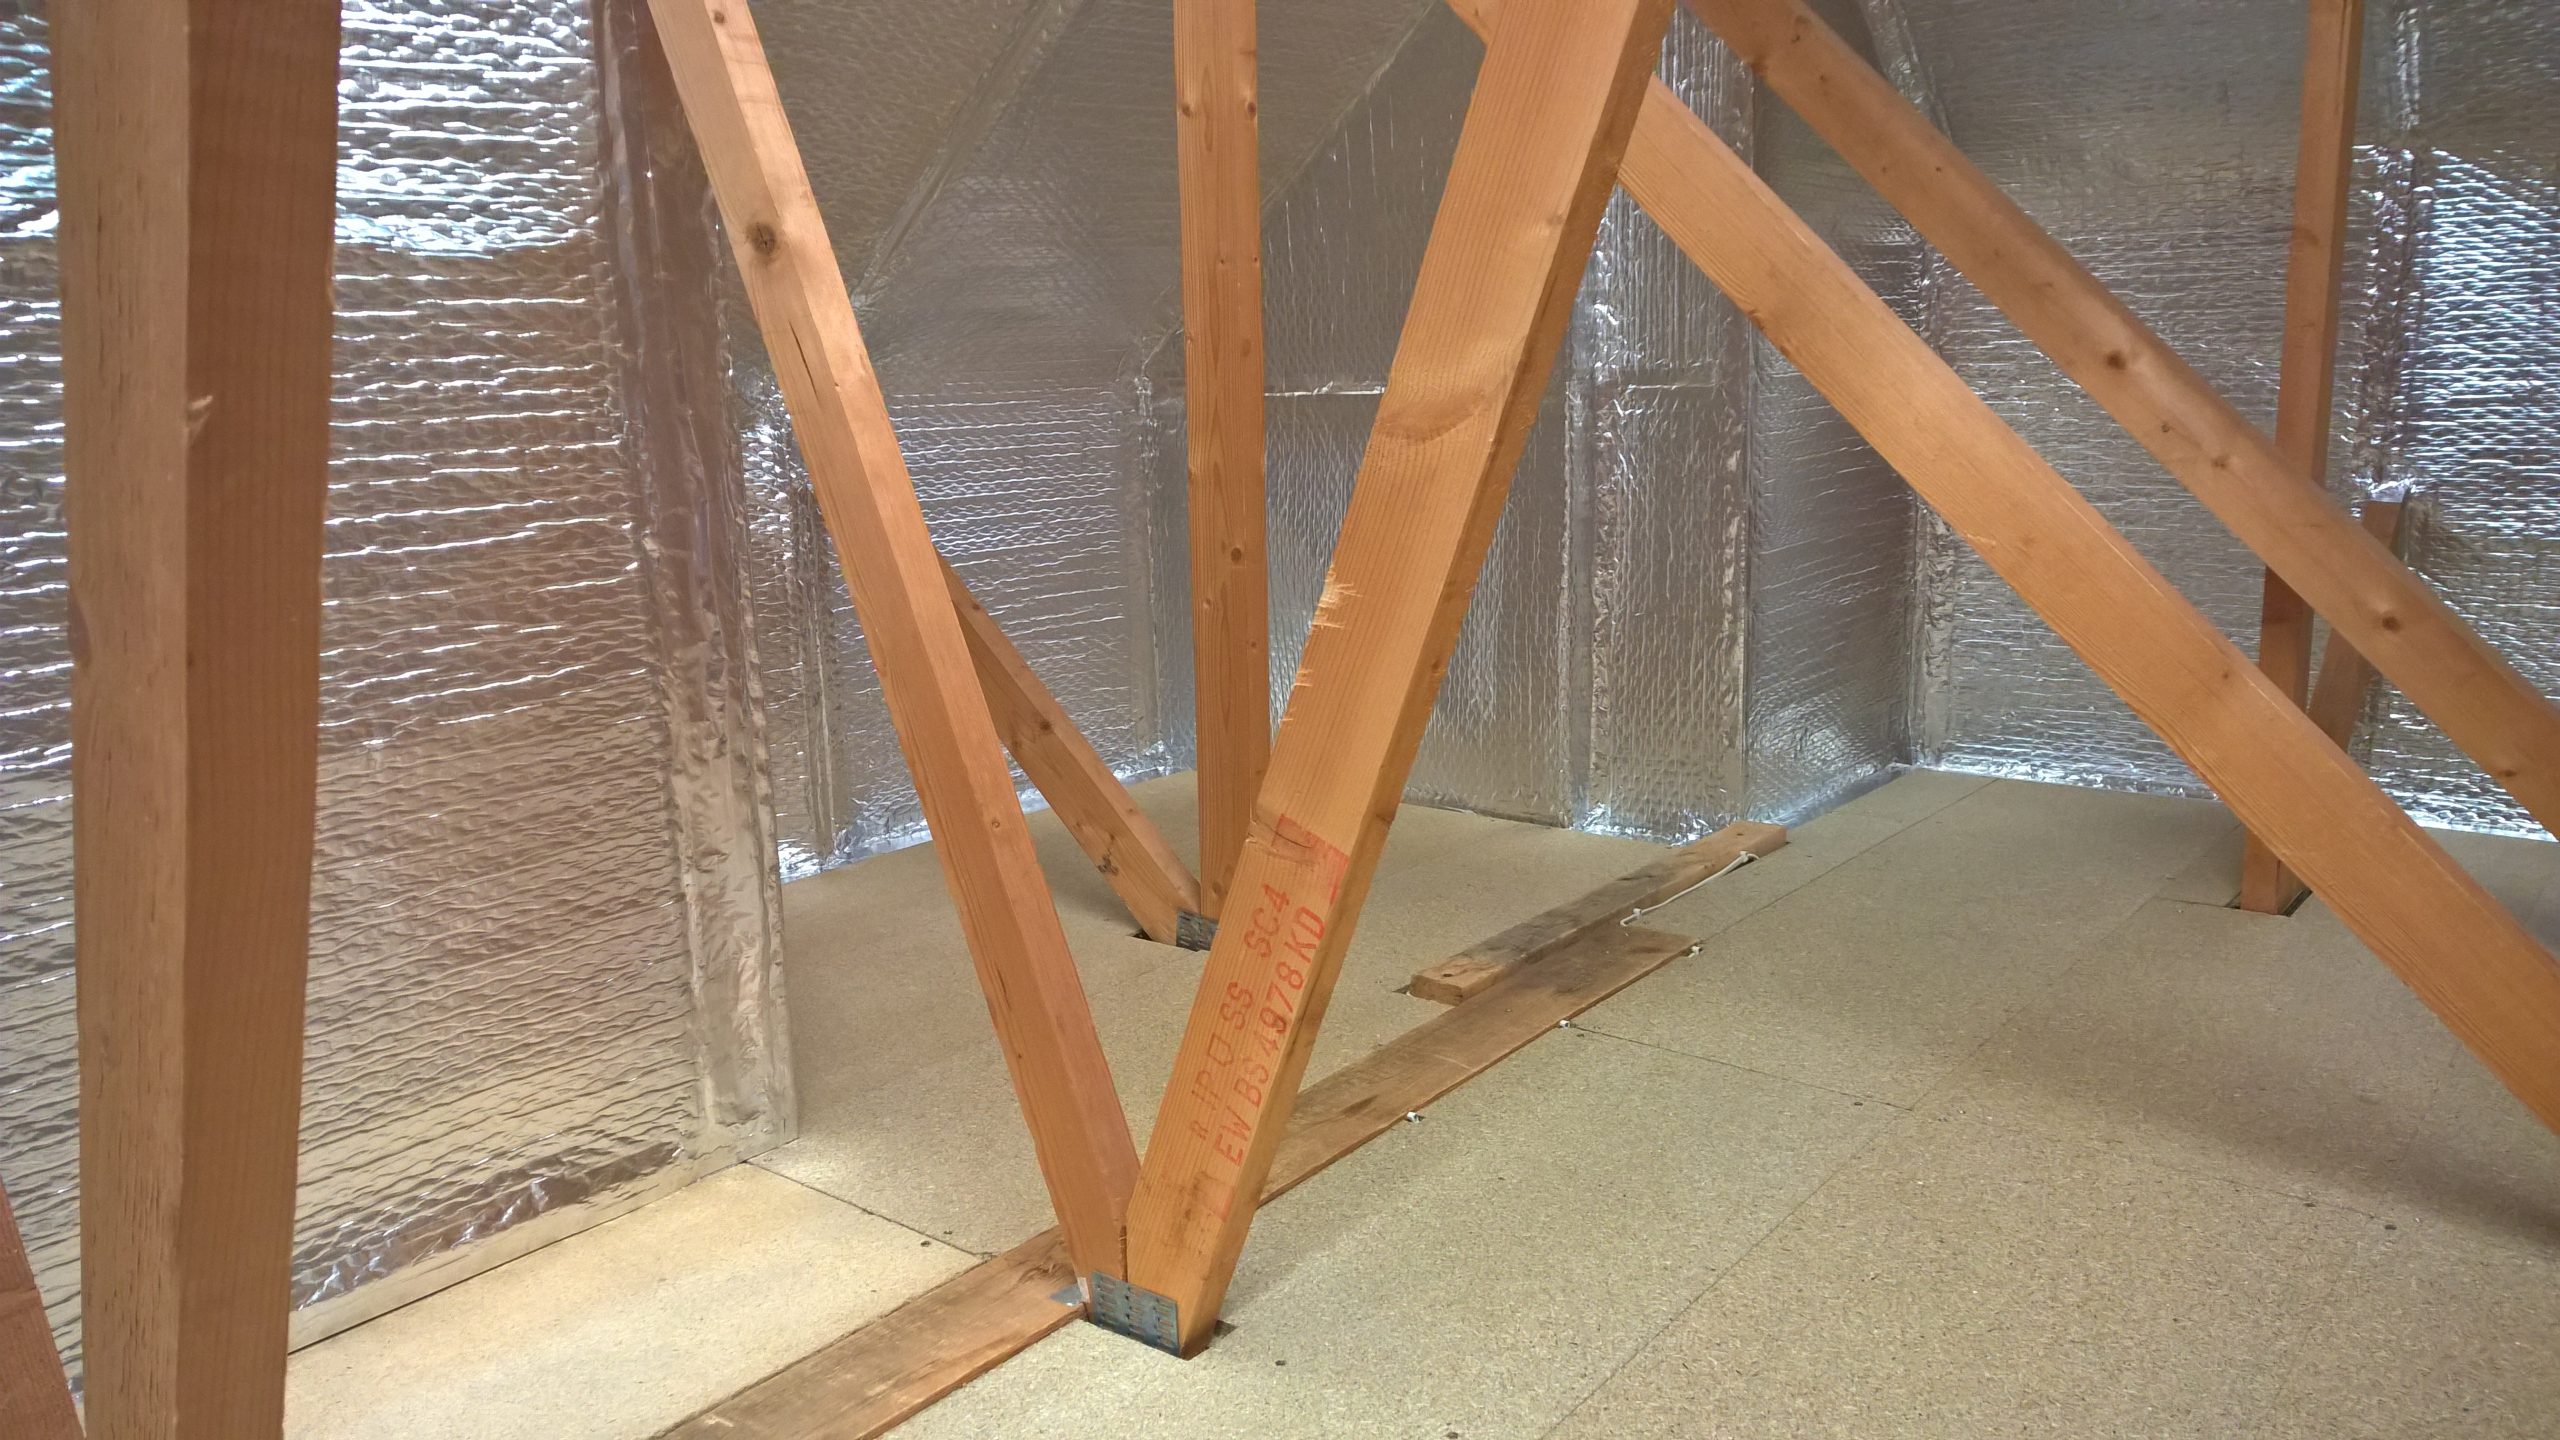
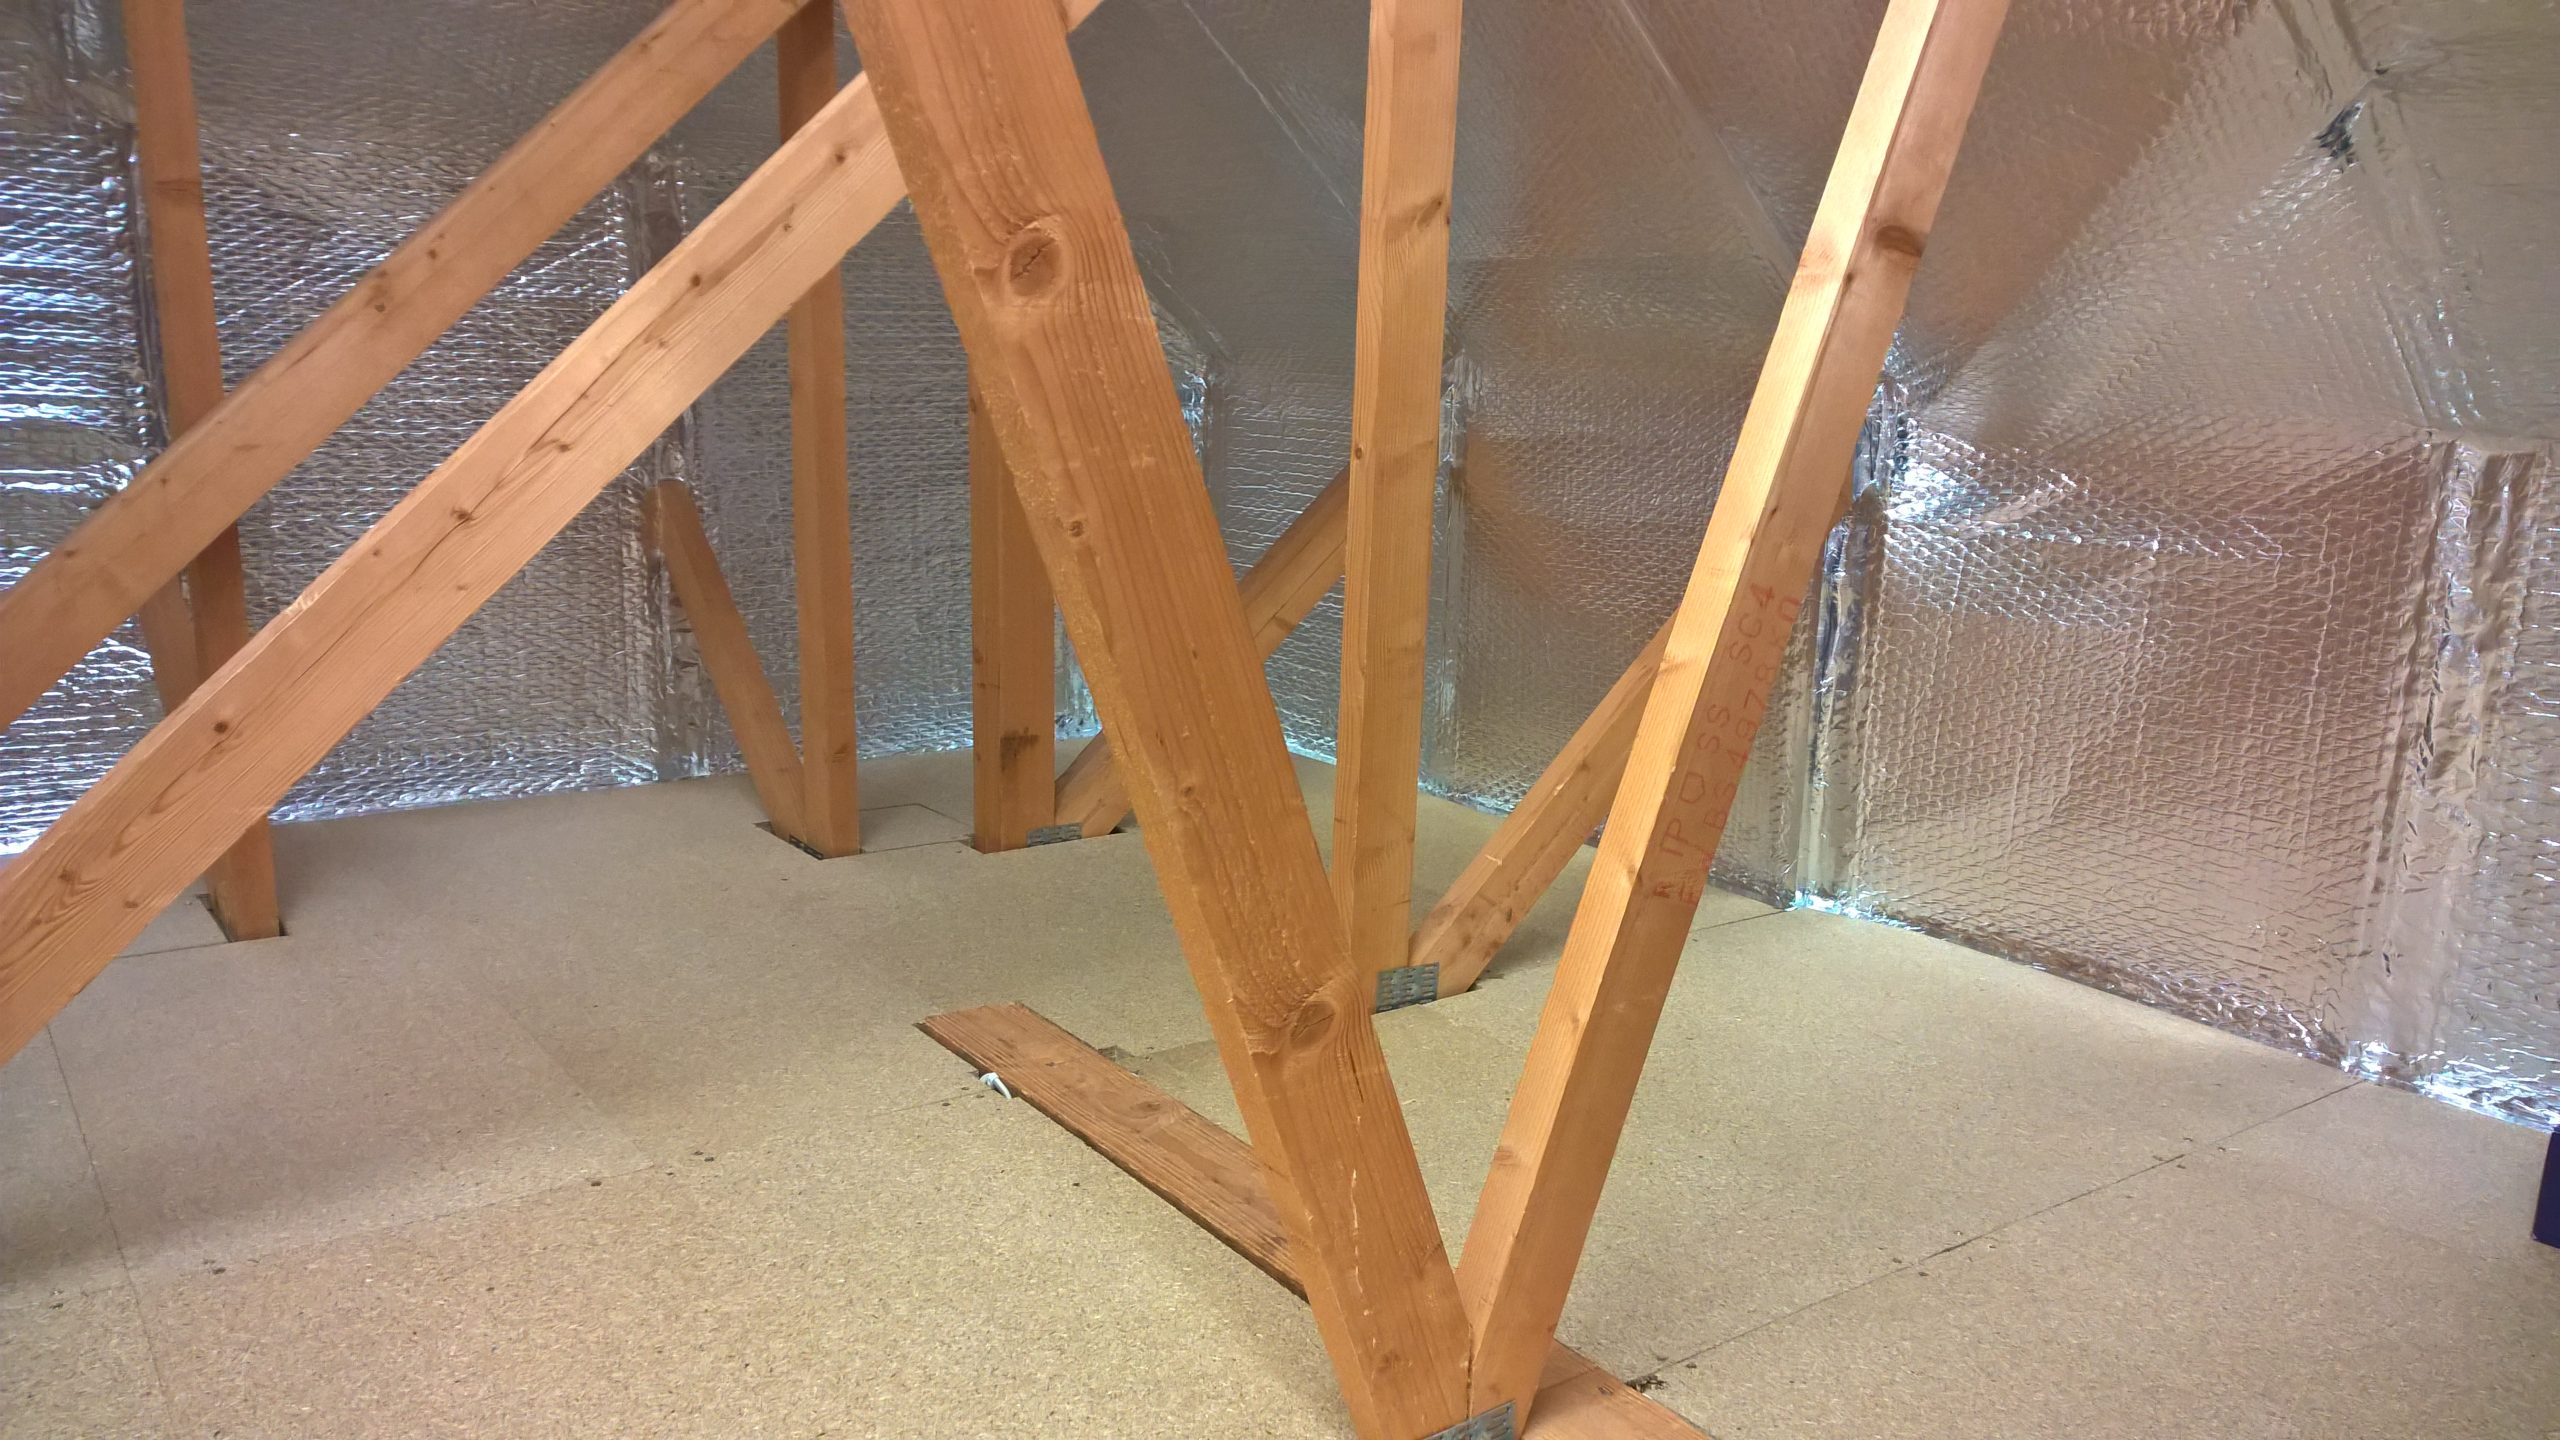
Here are some pictures of the loft as I found it and before I started any sort of conversion –
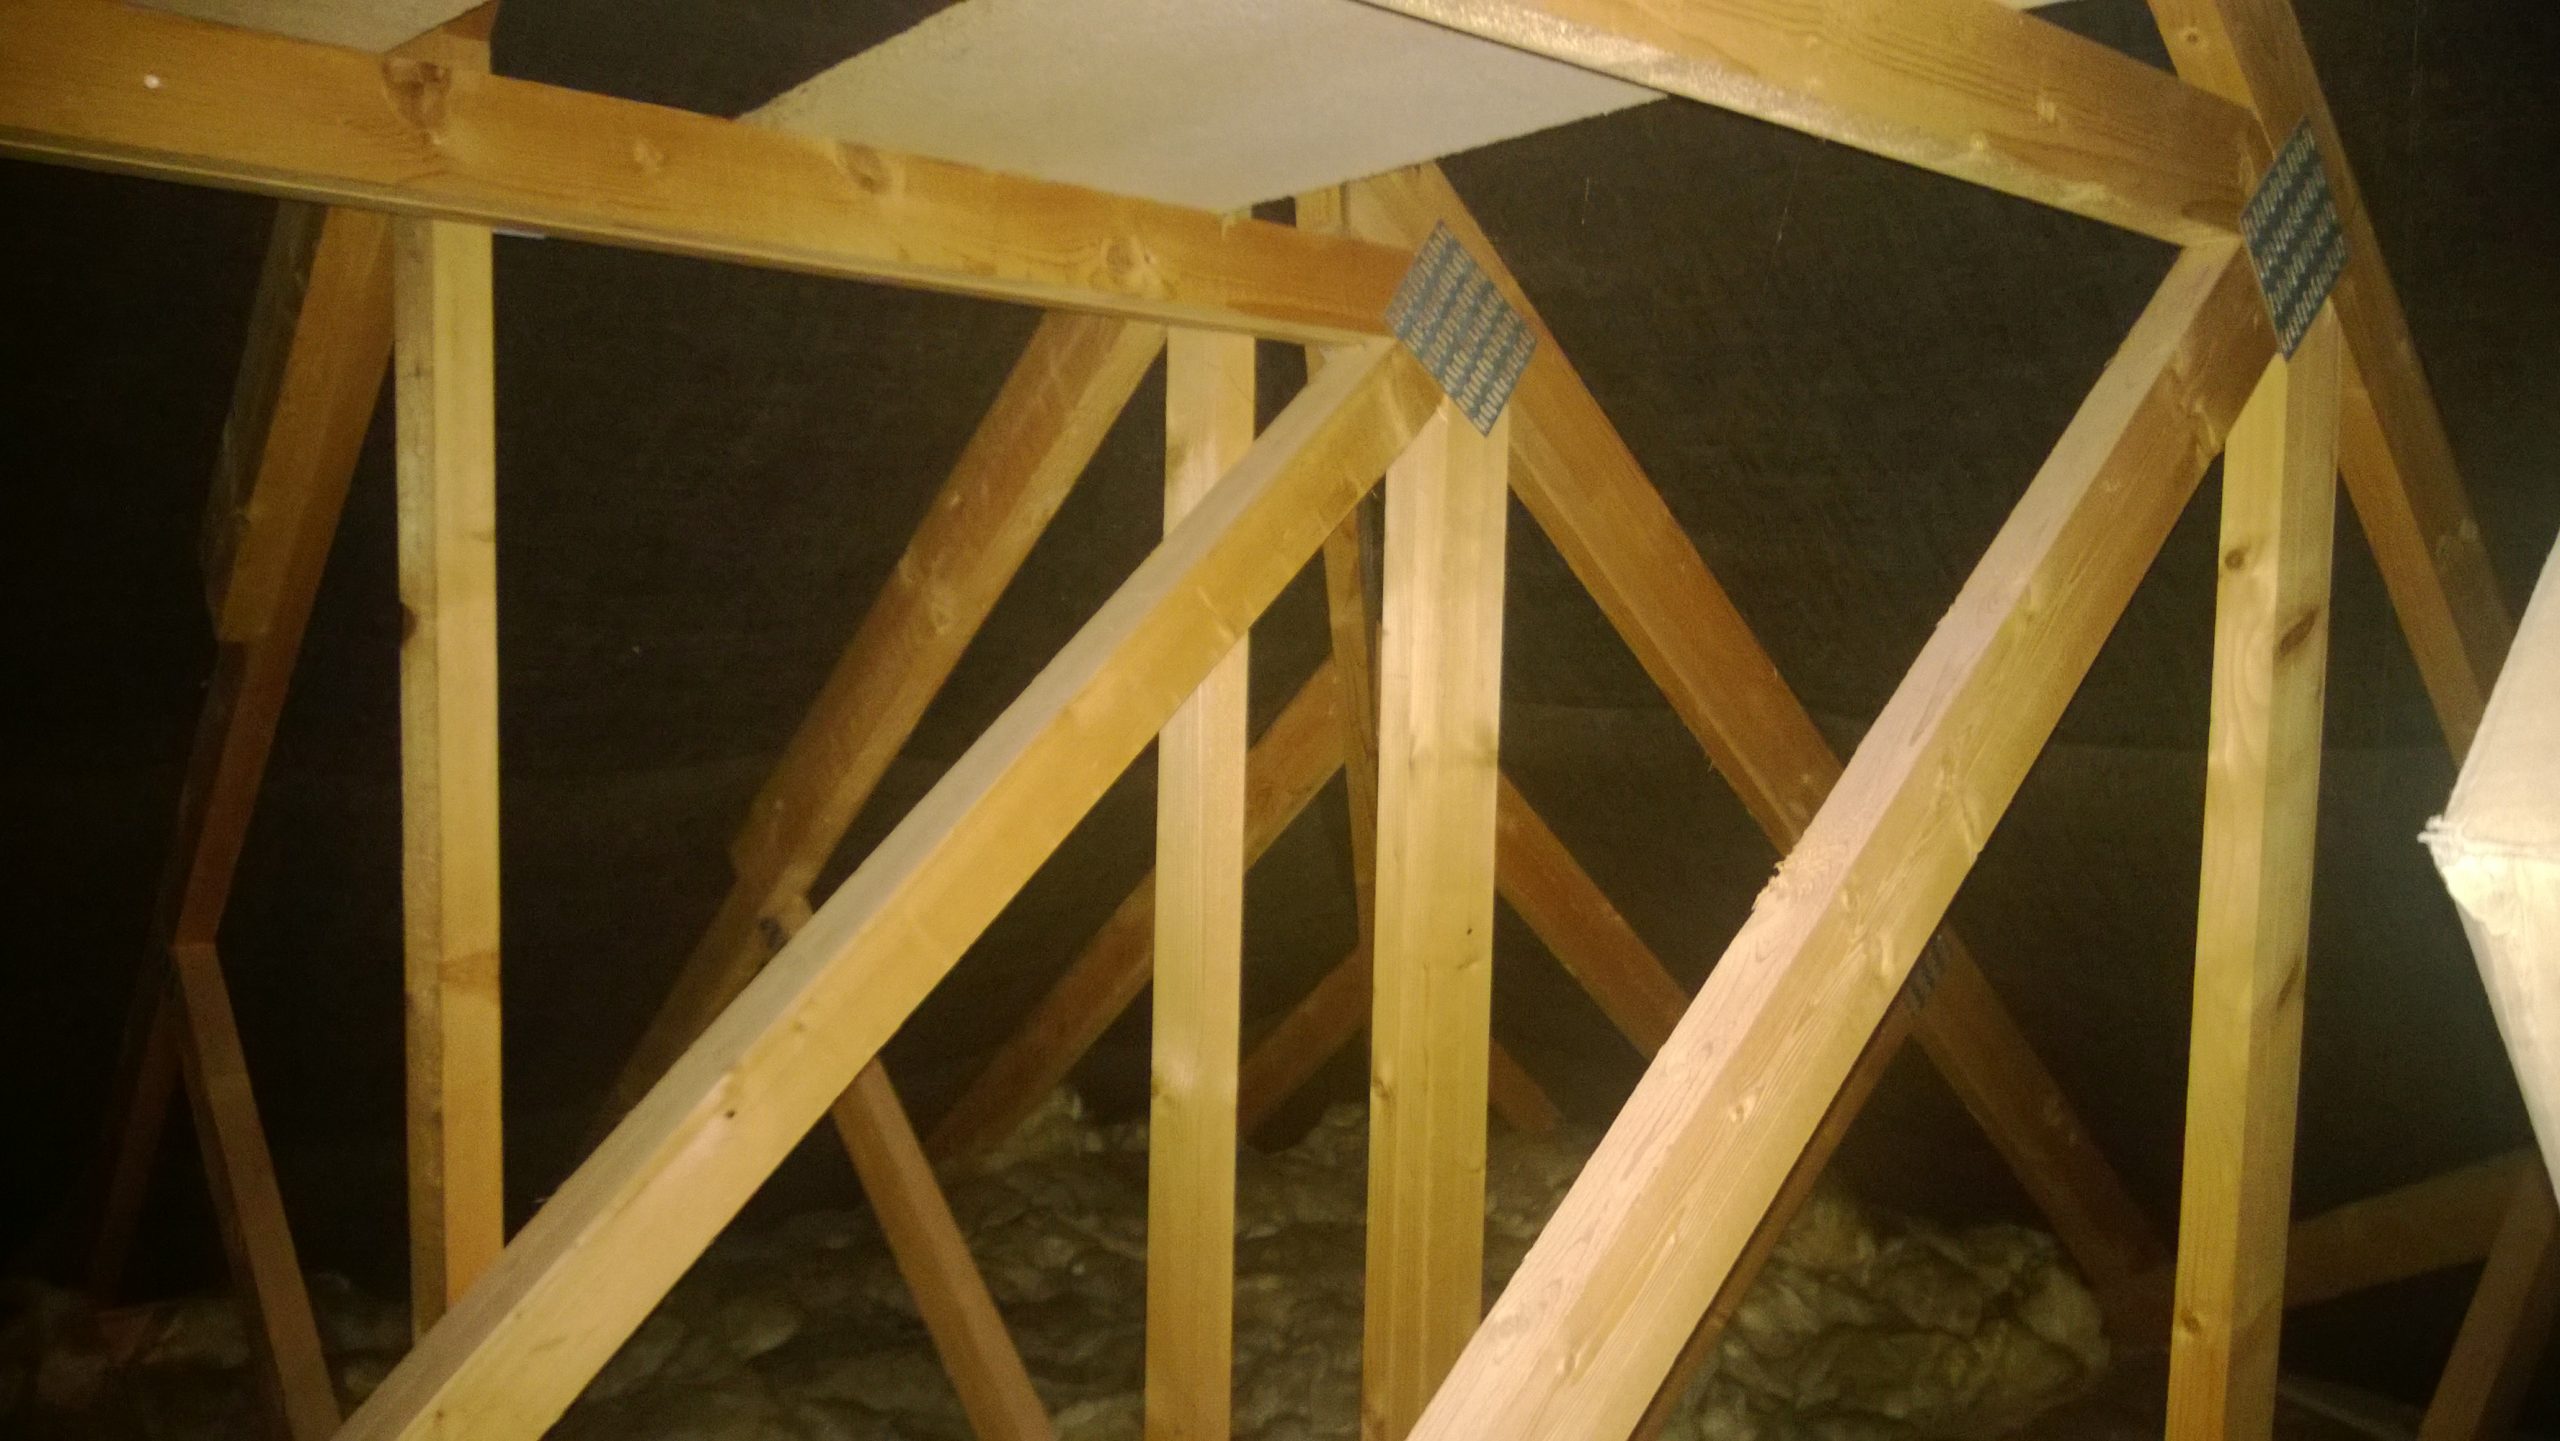
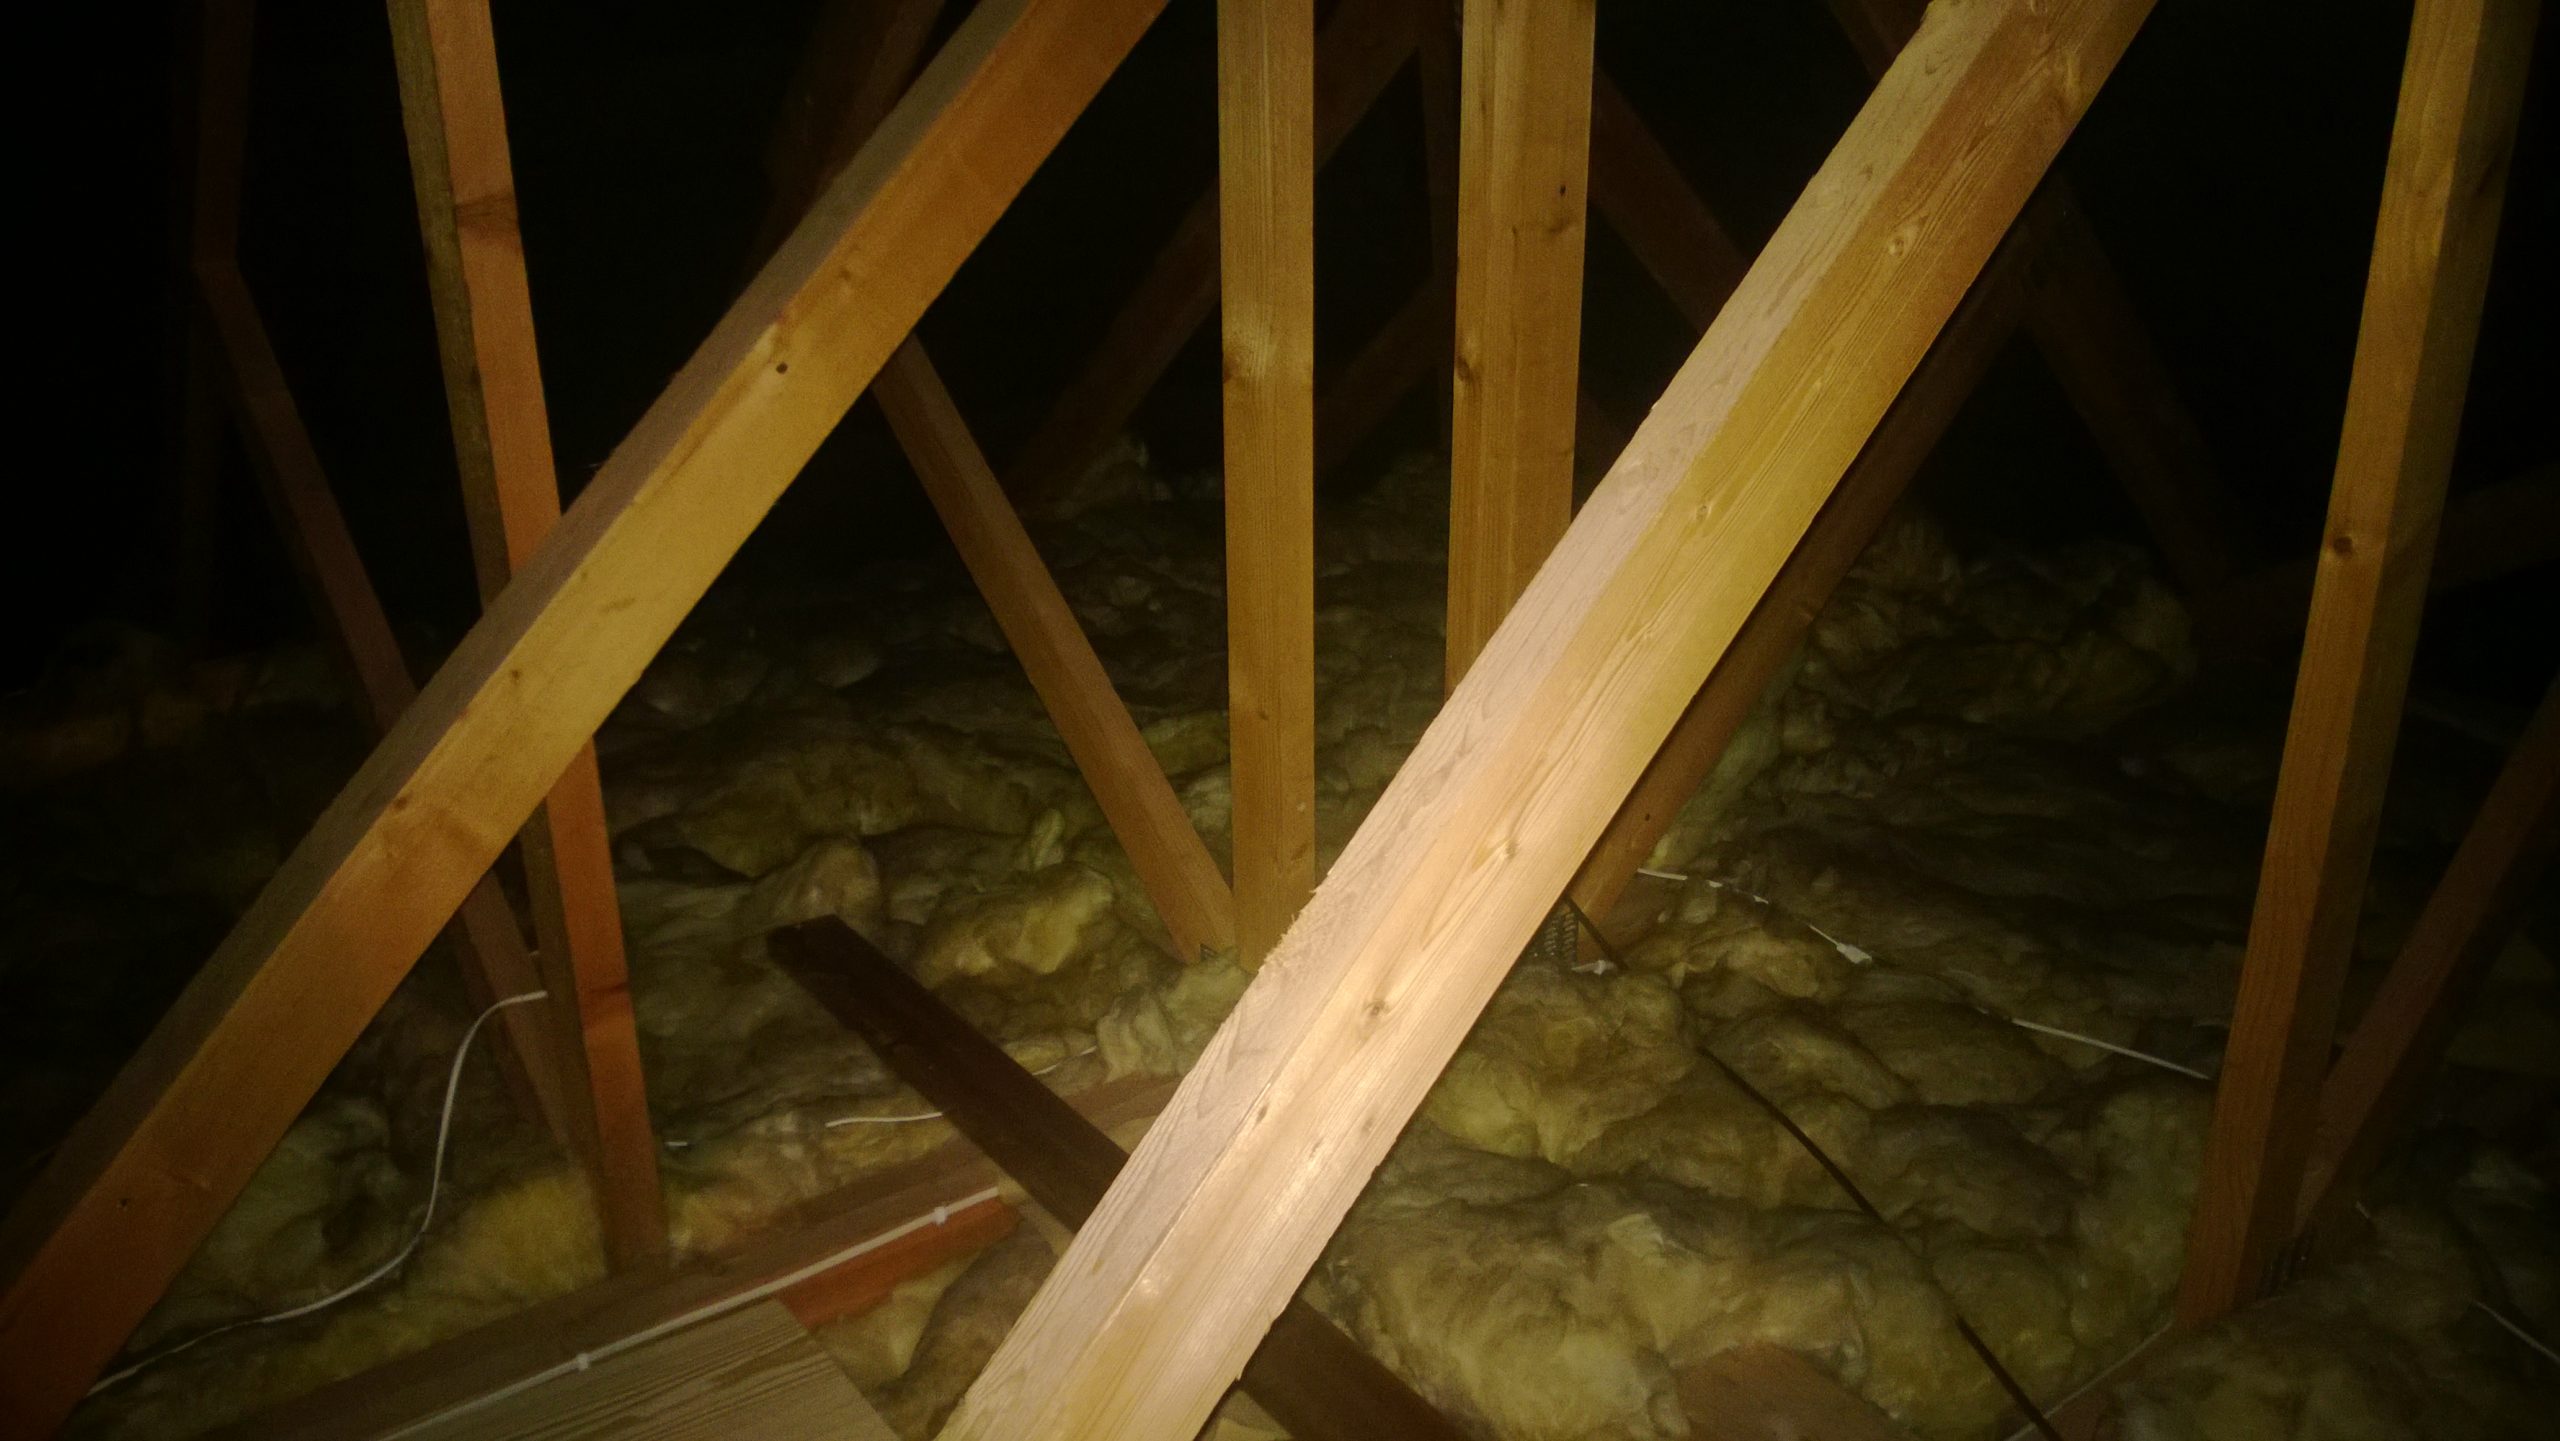
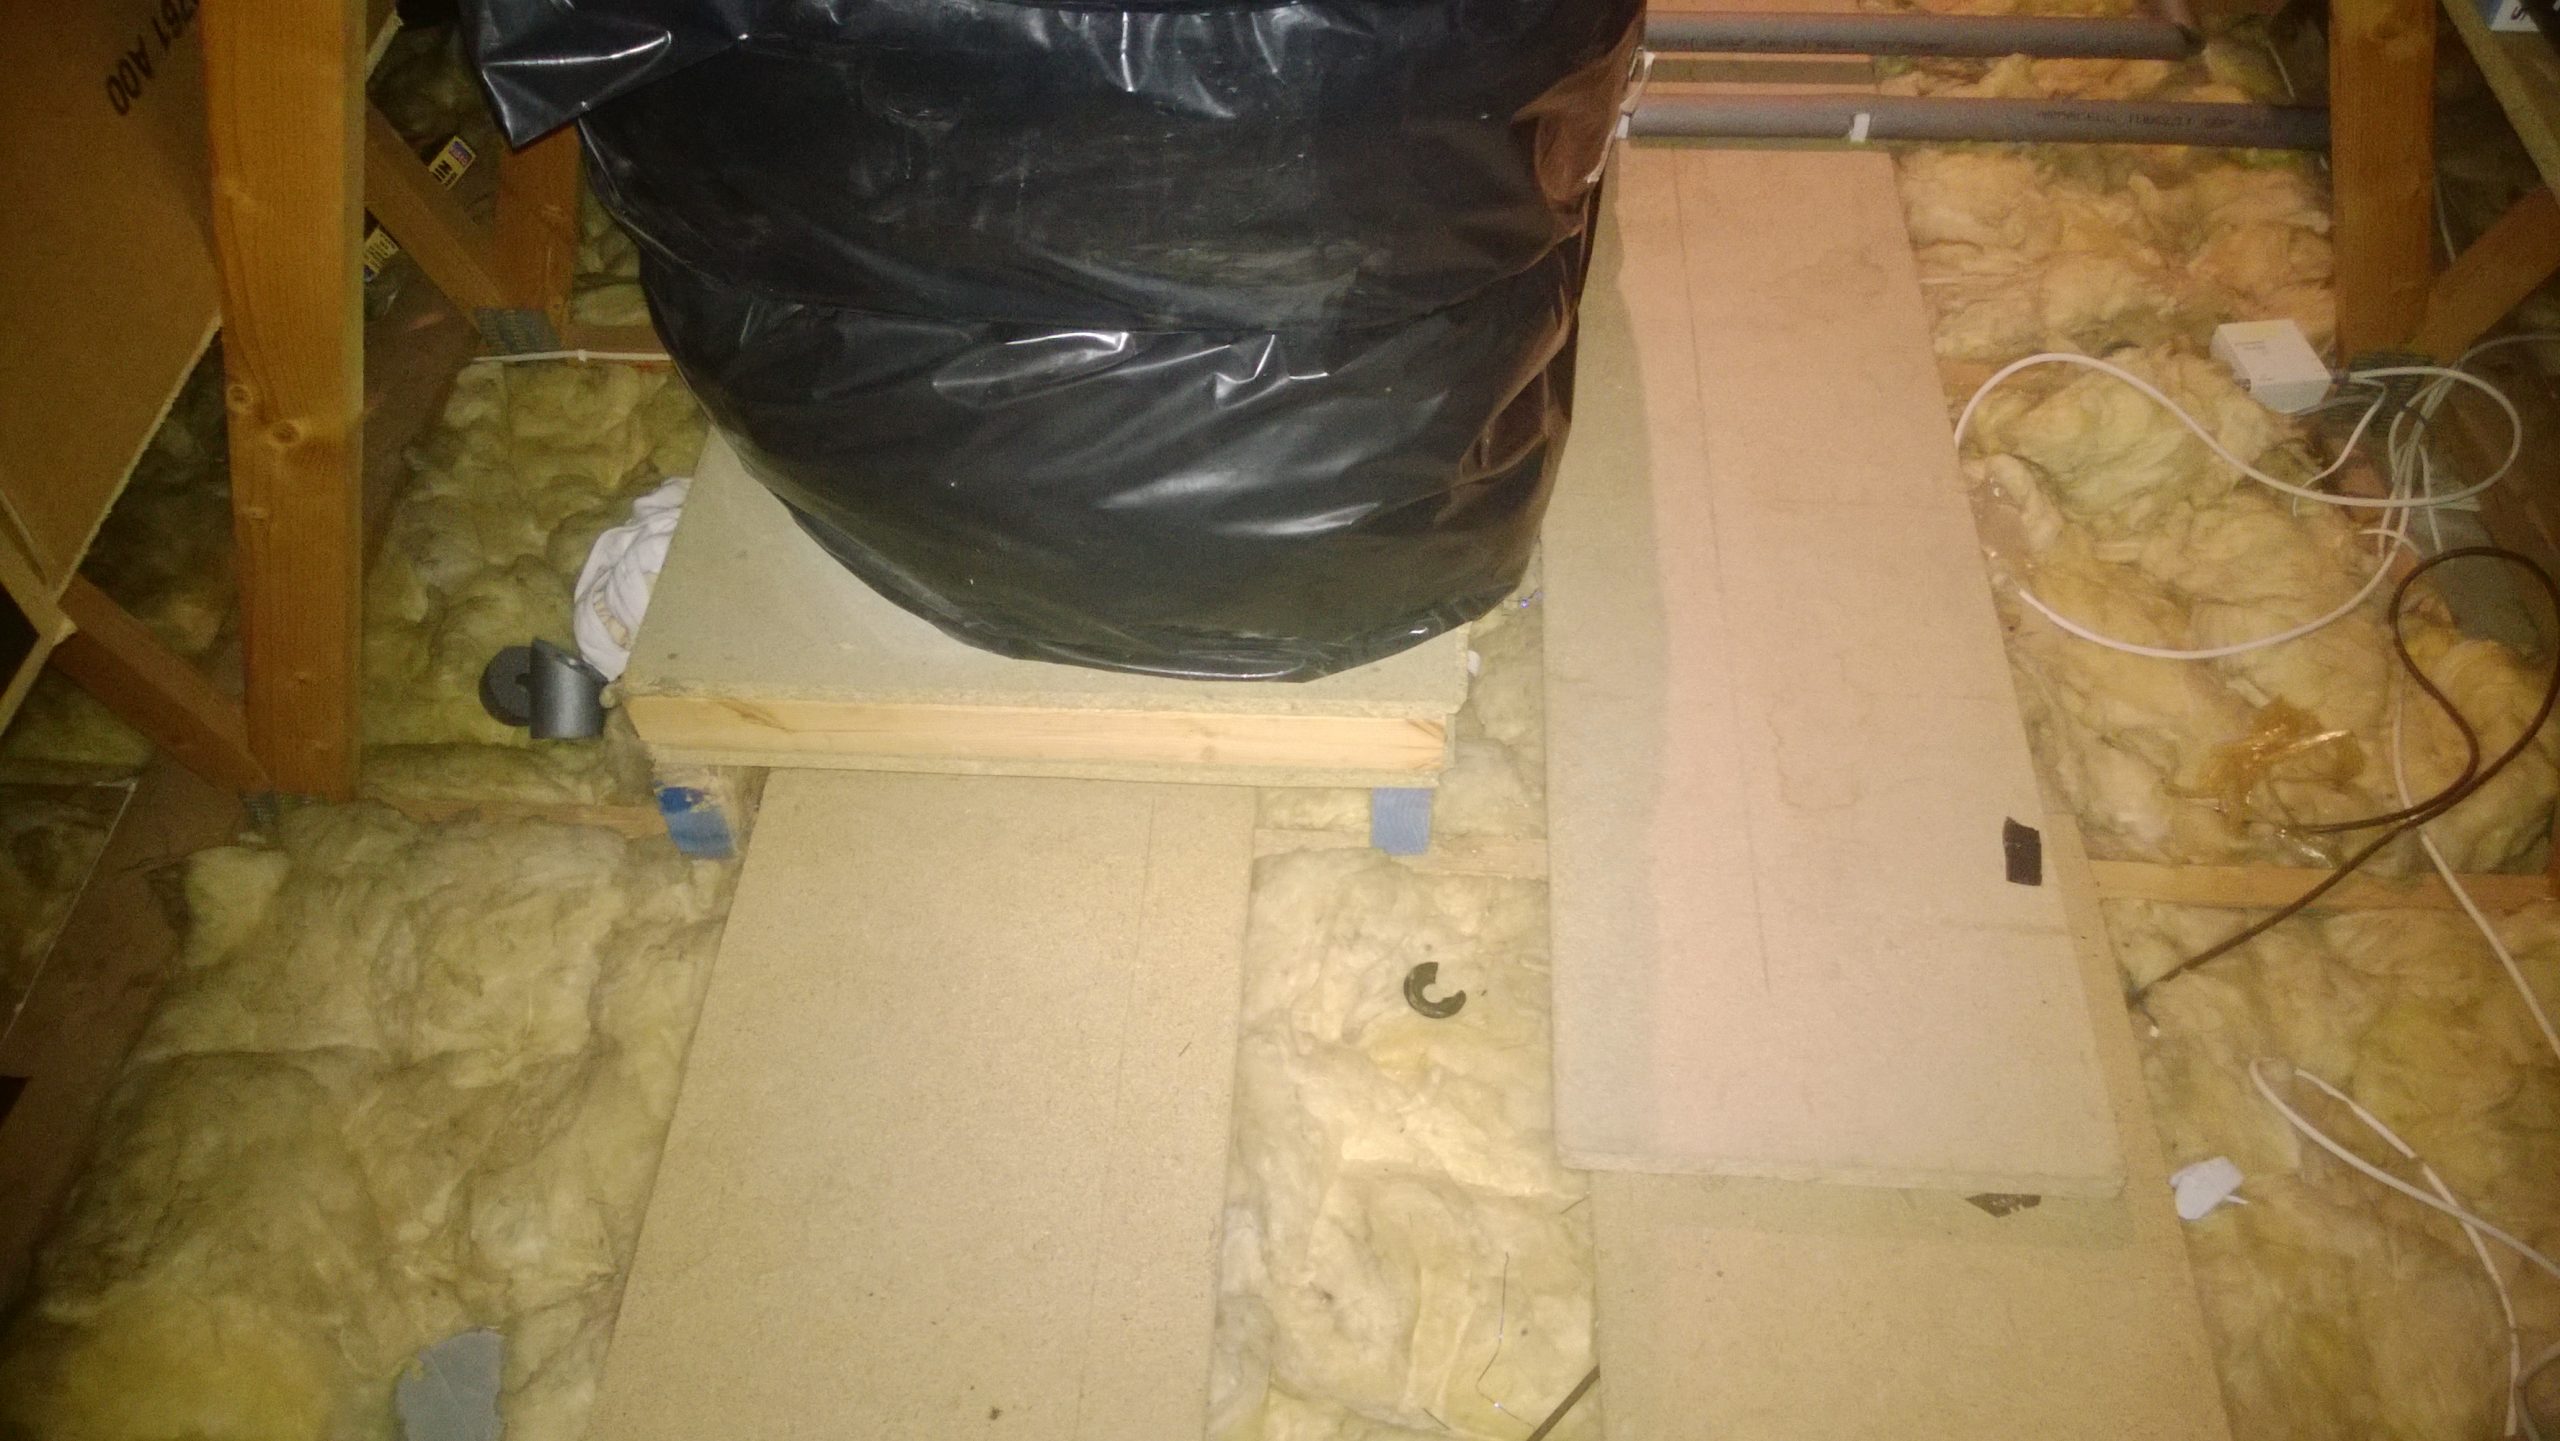
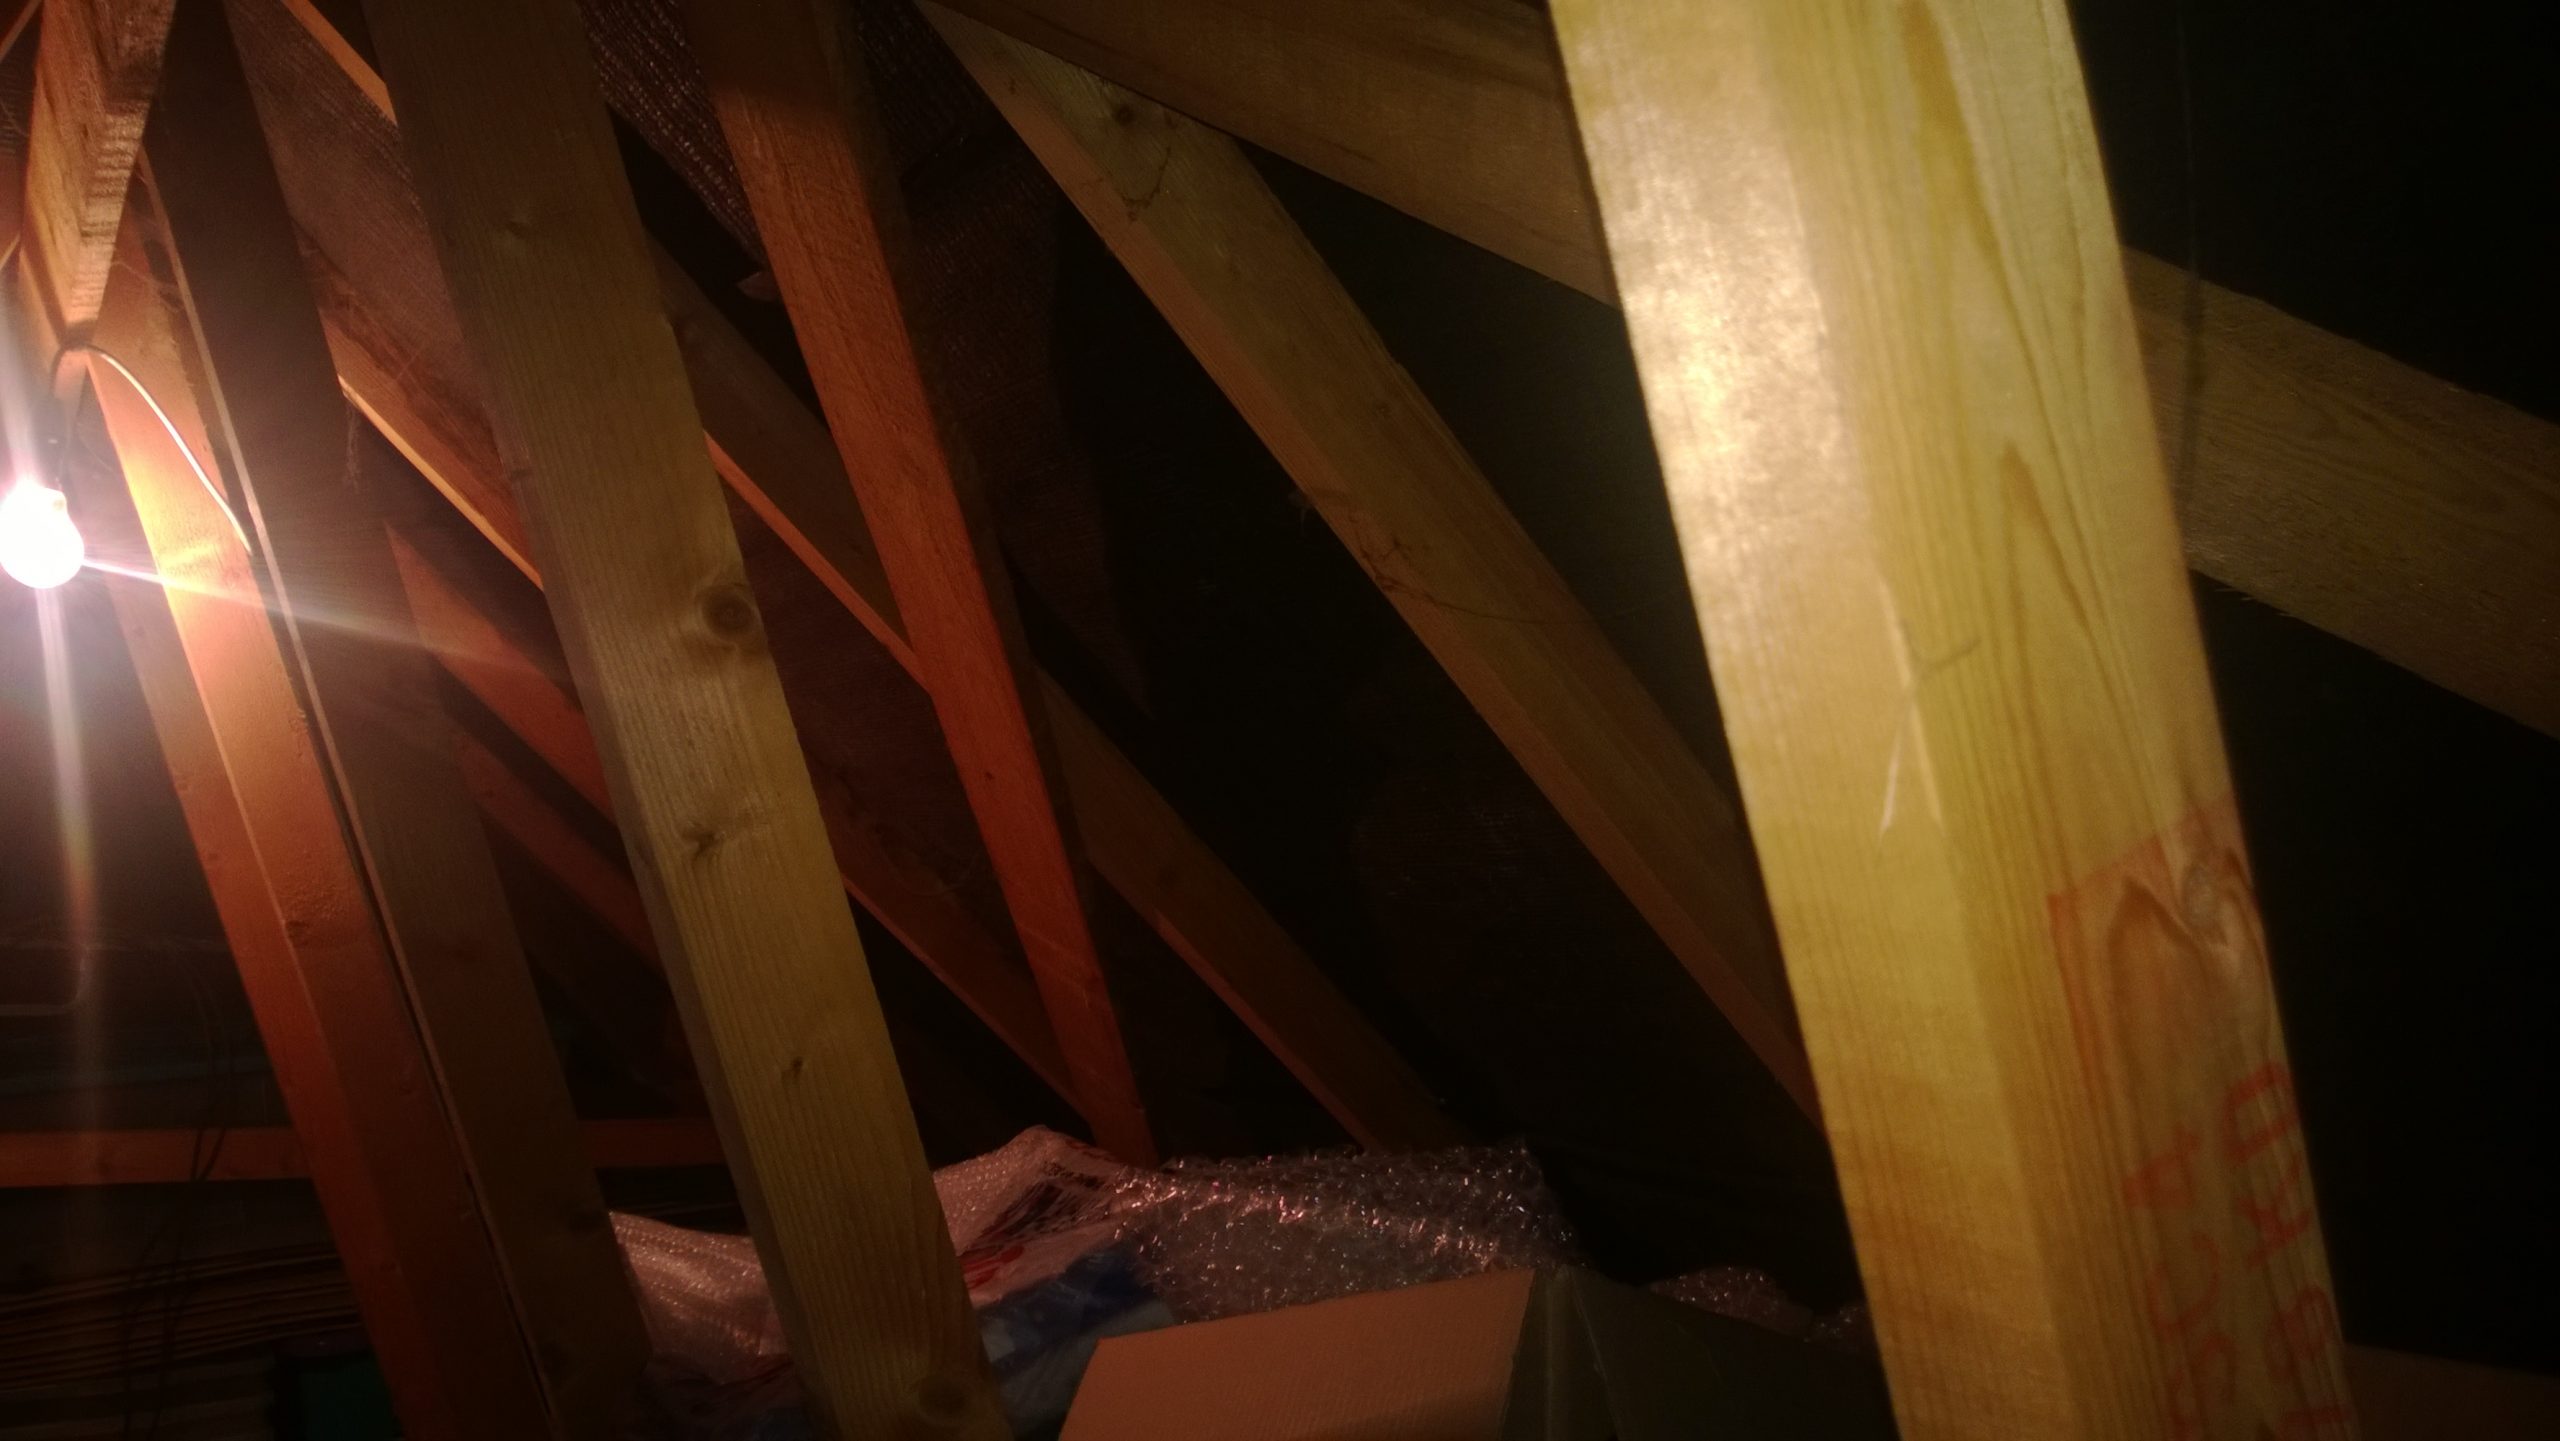
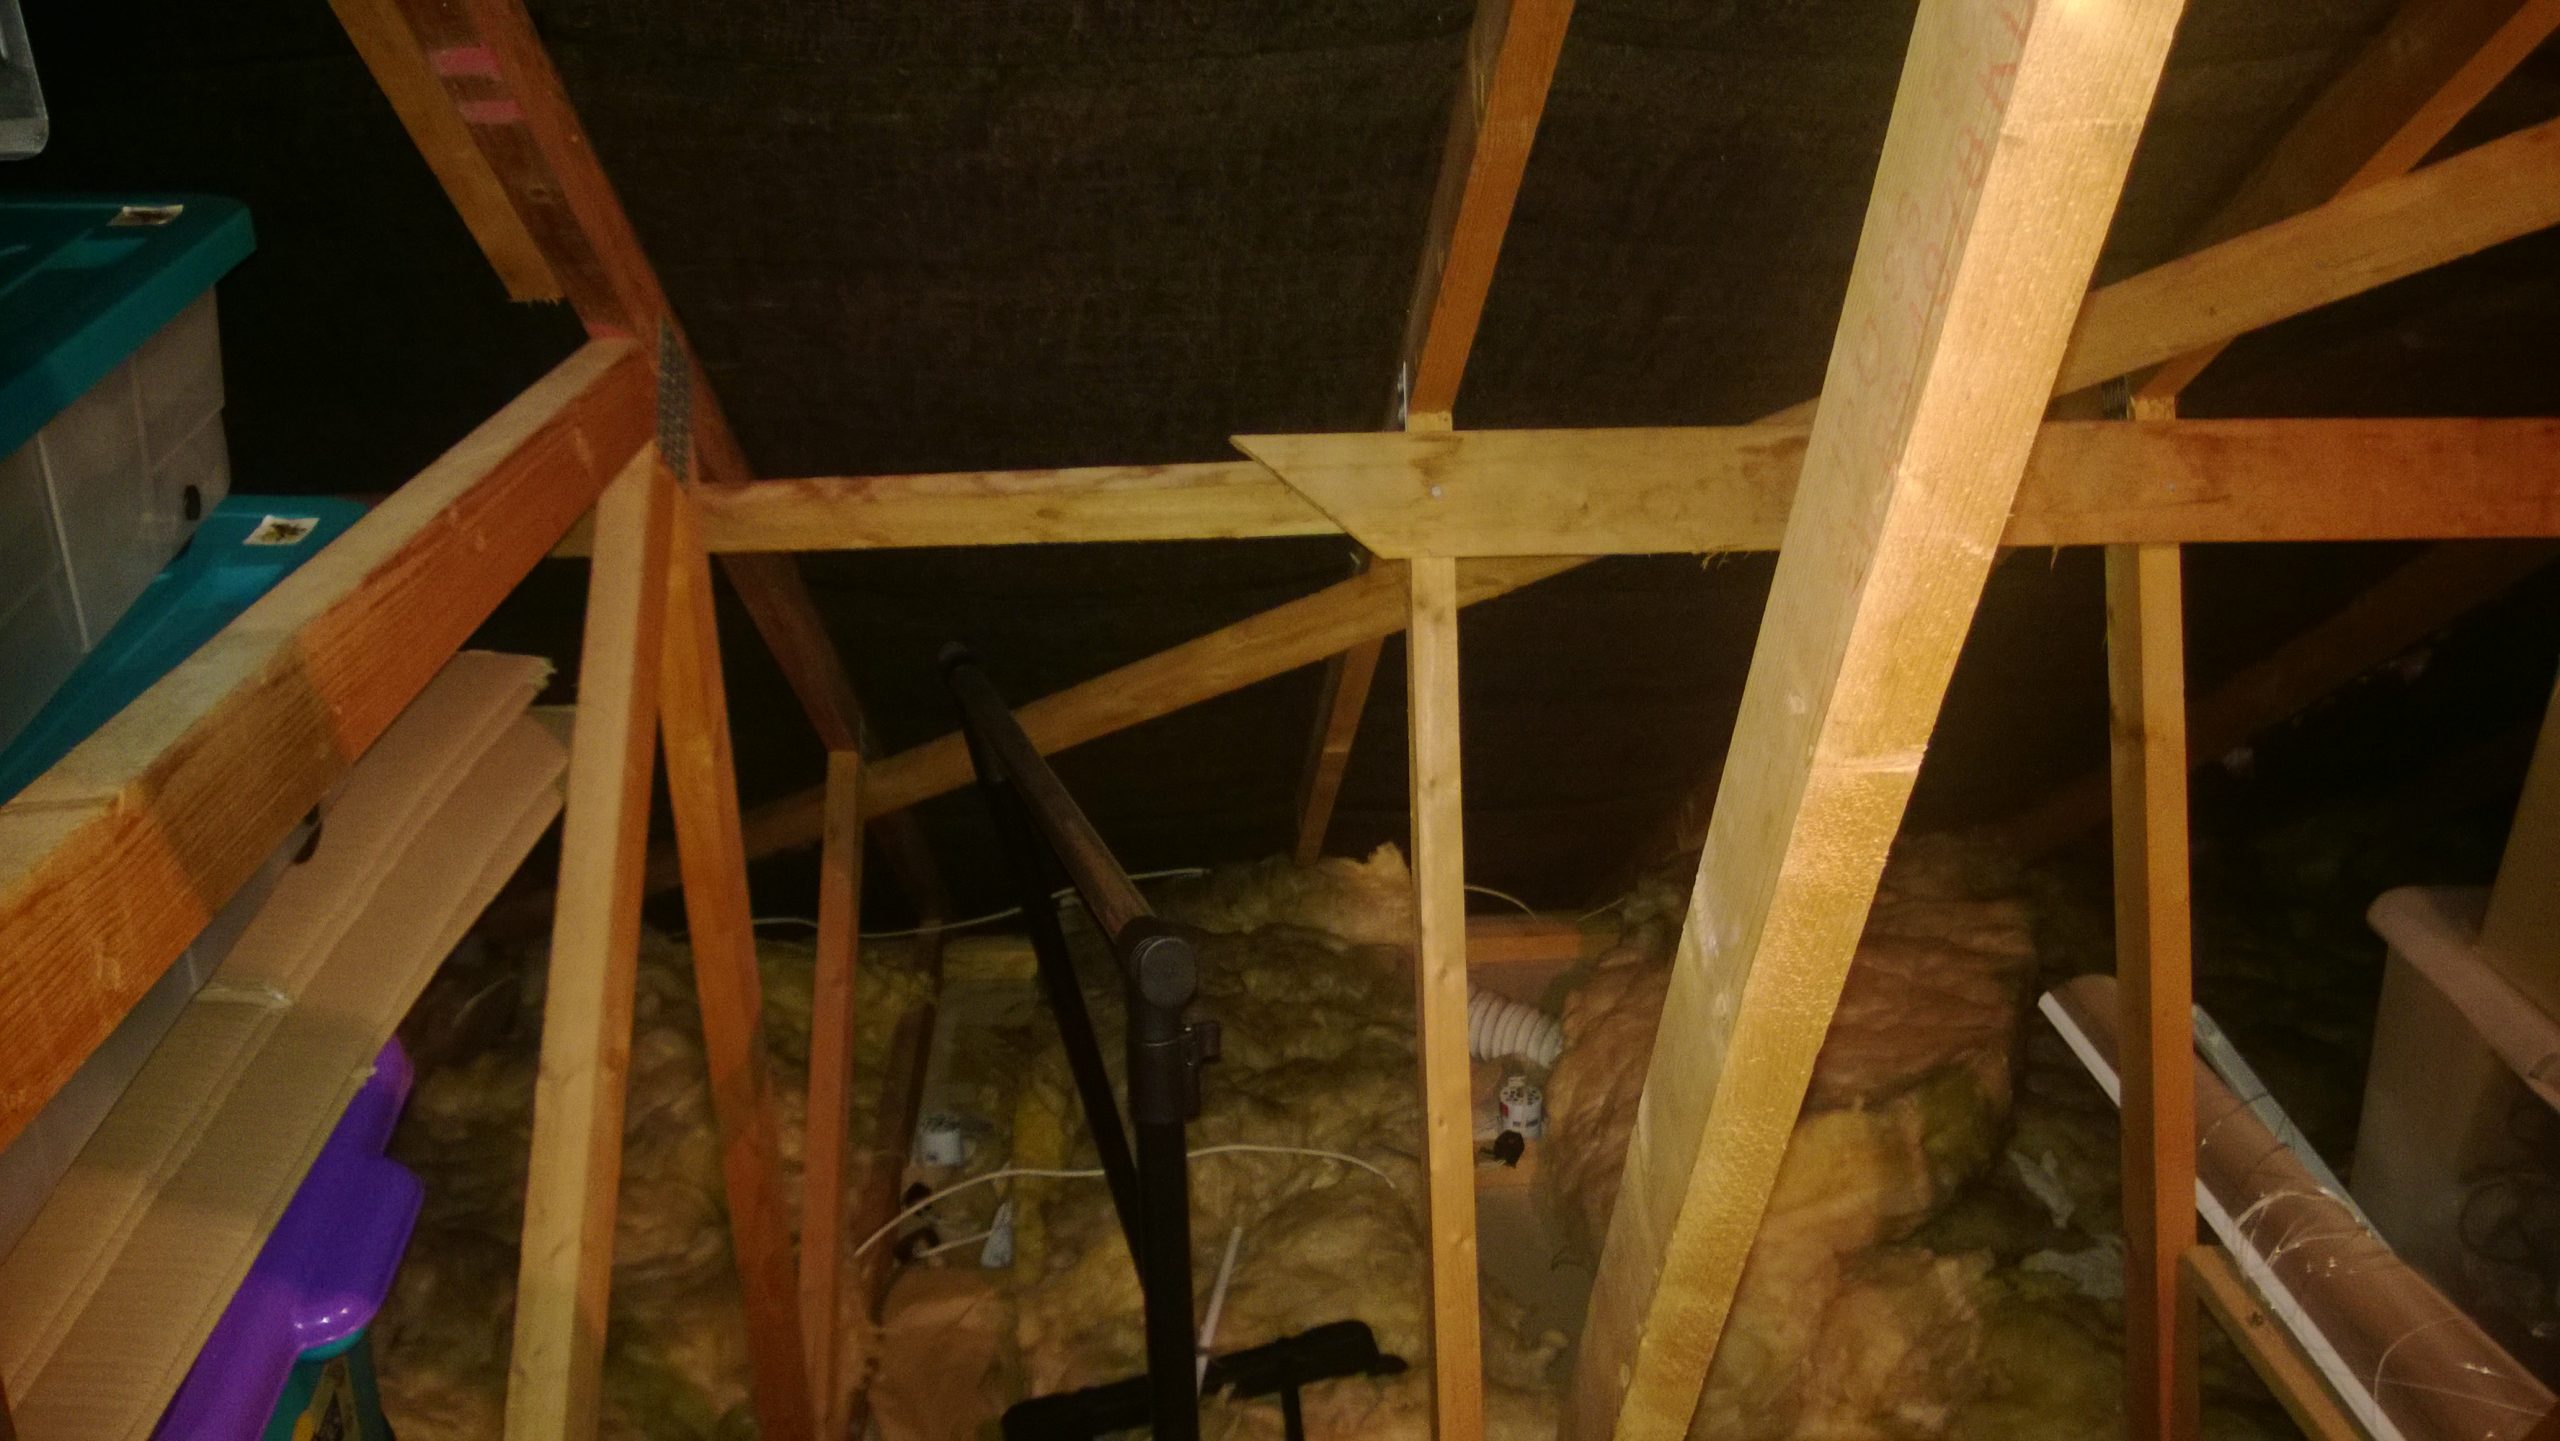
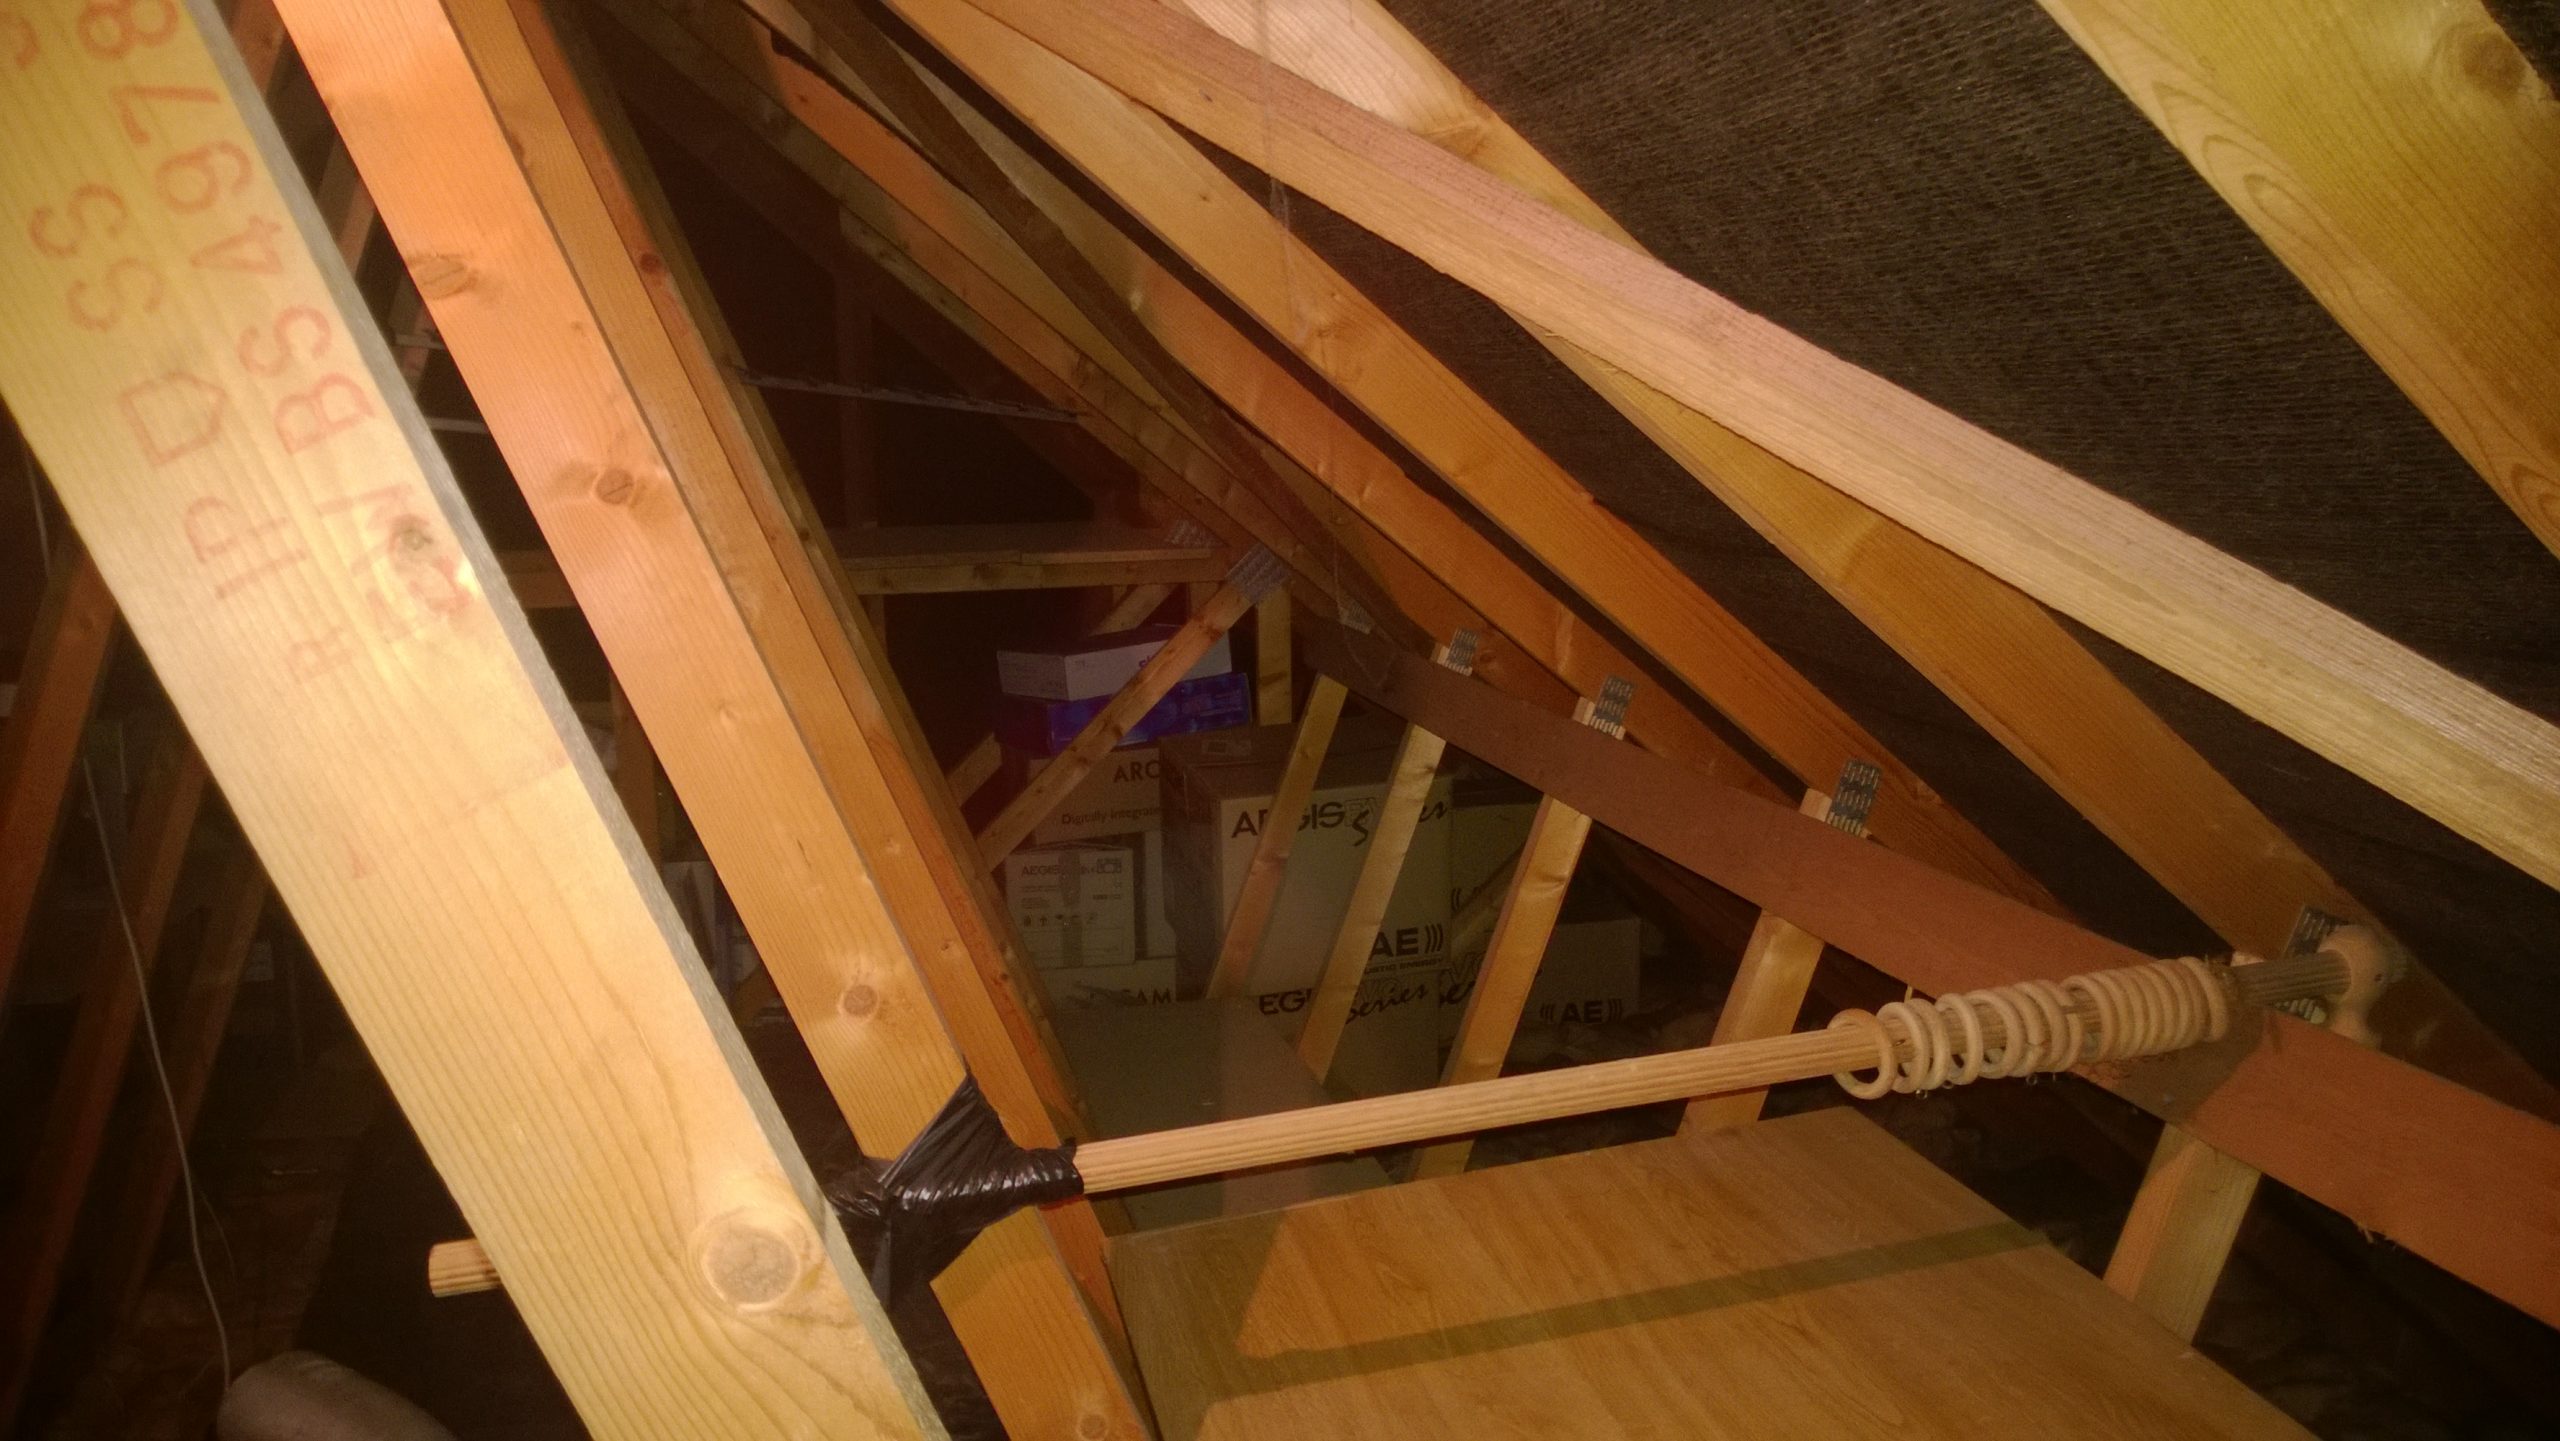
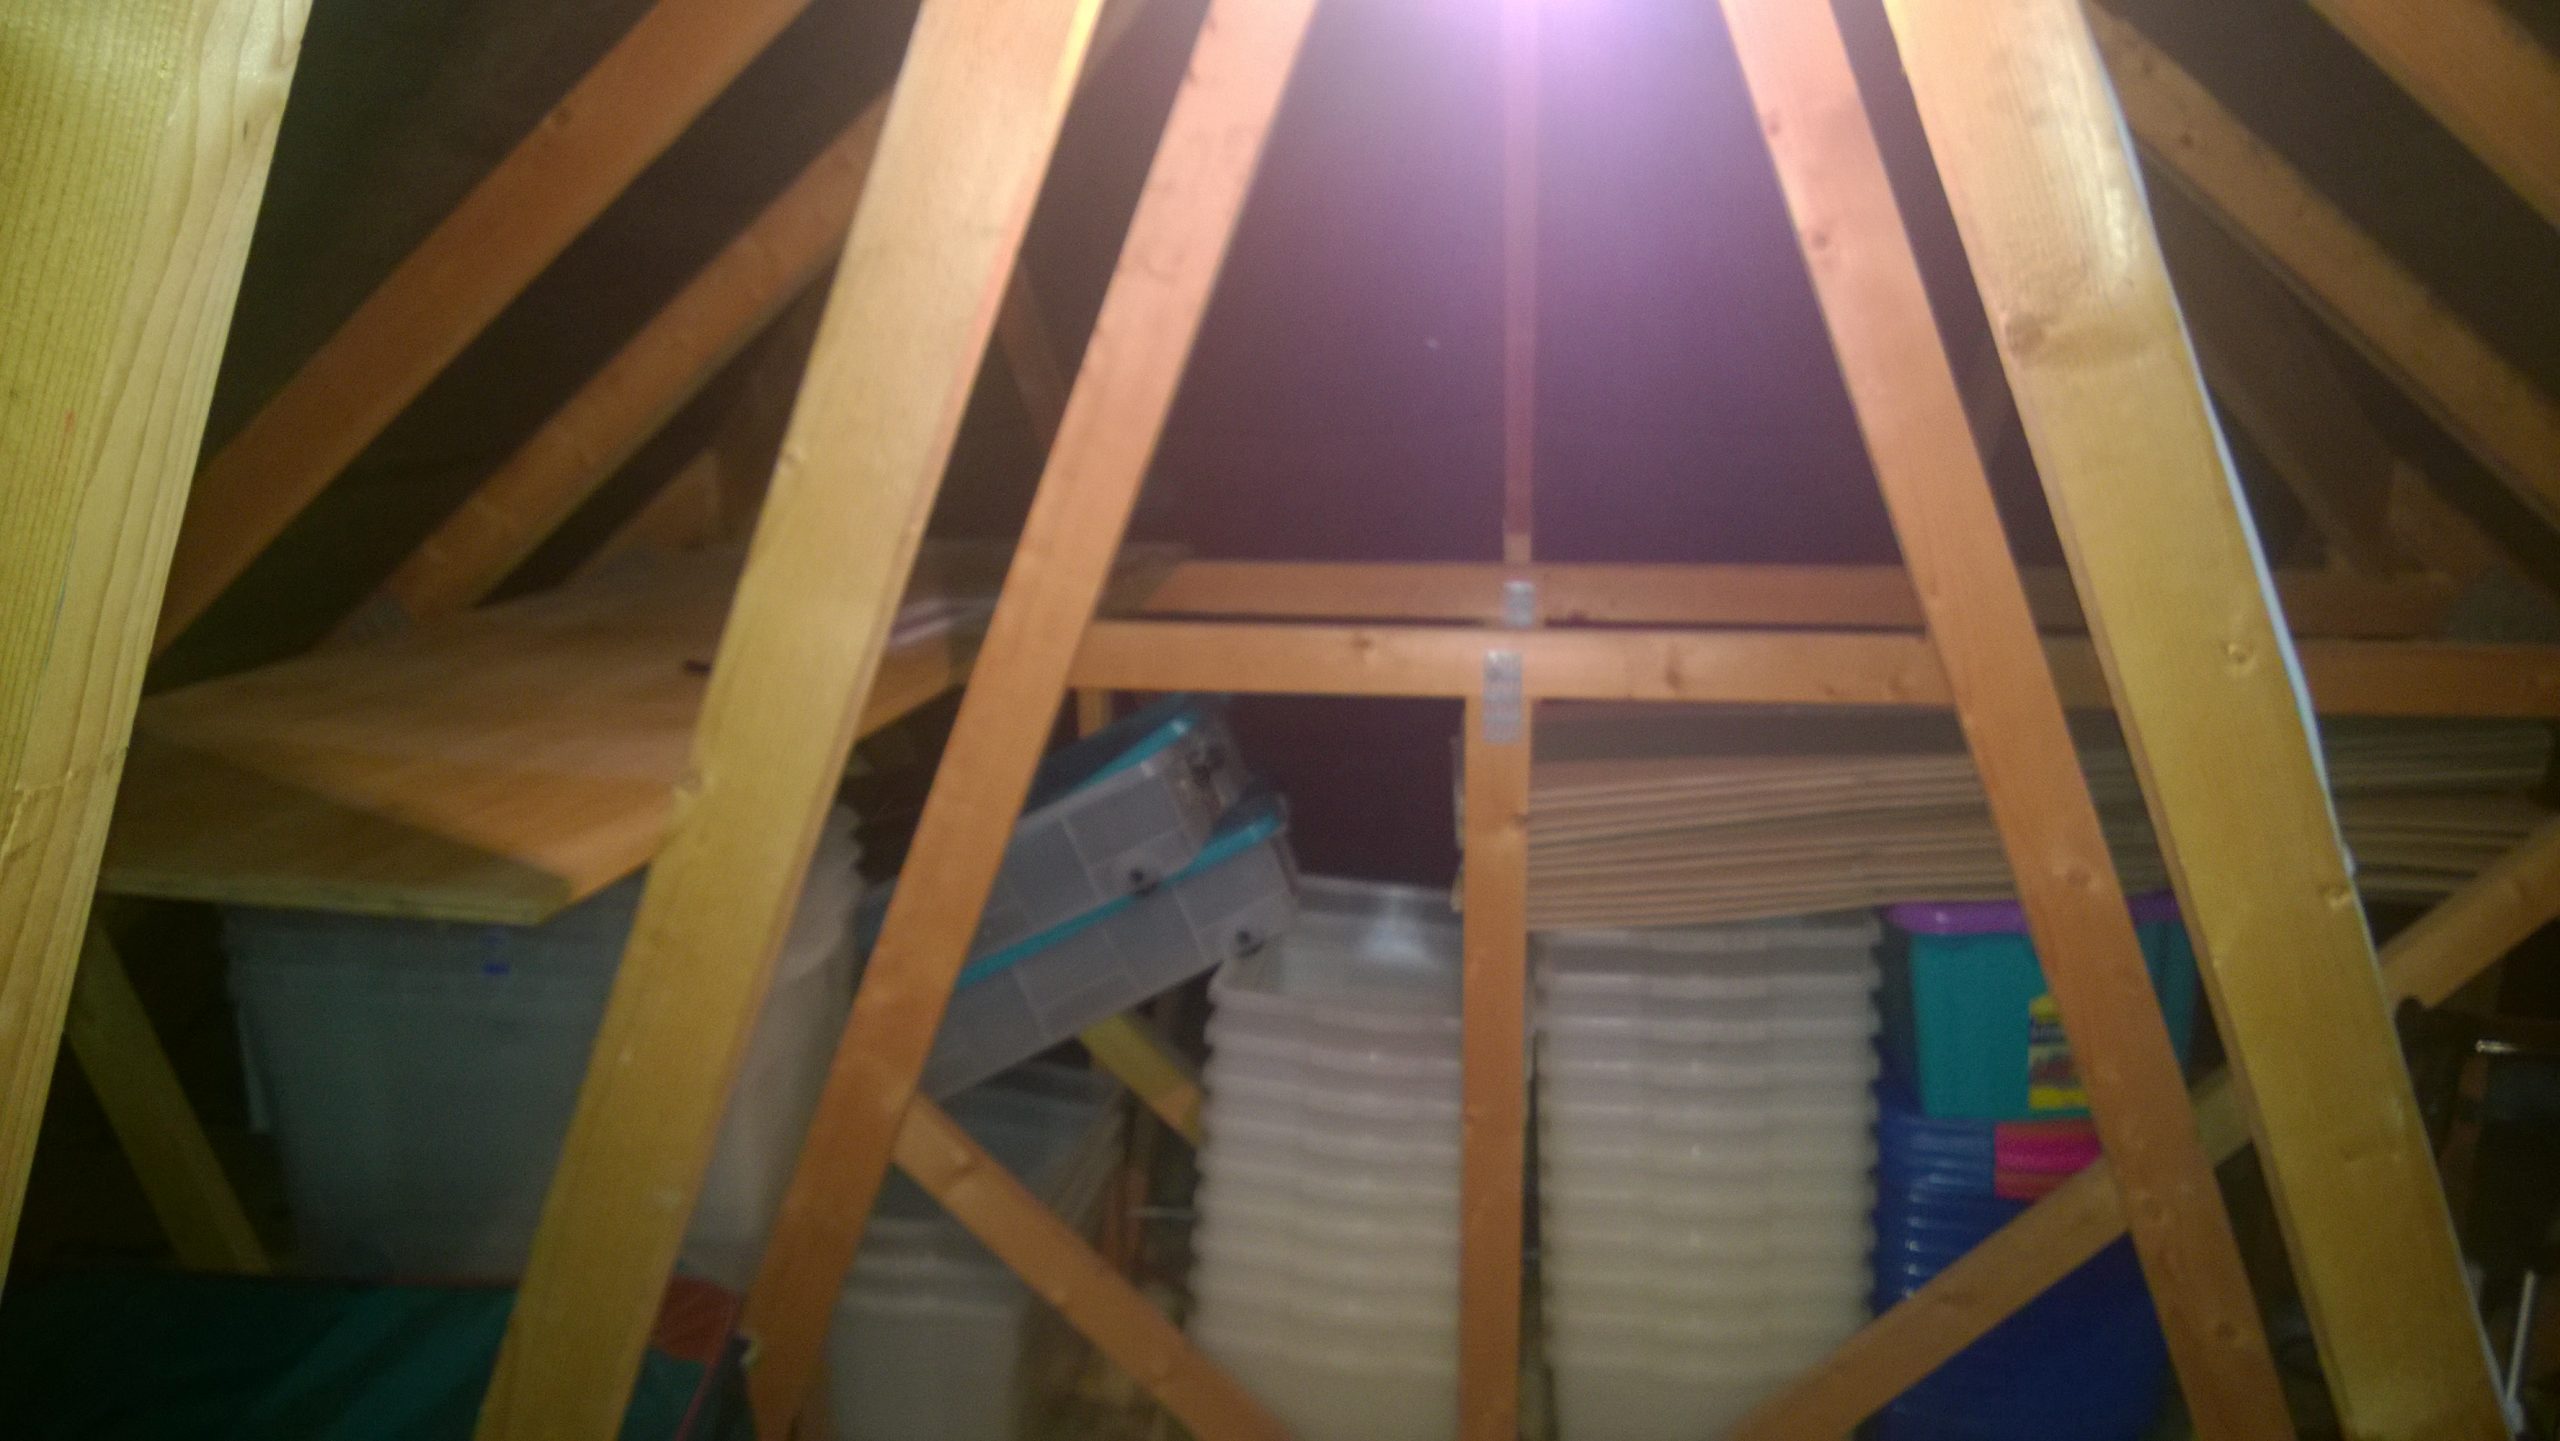
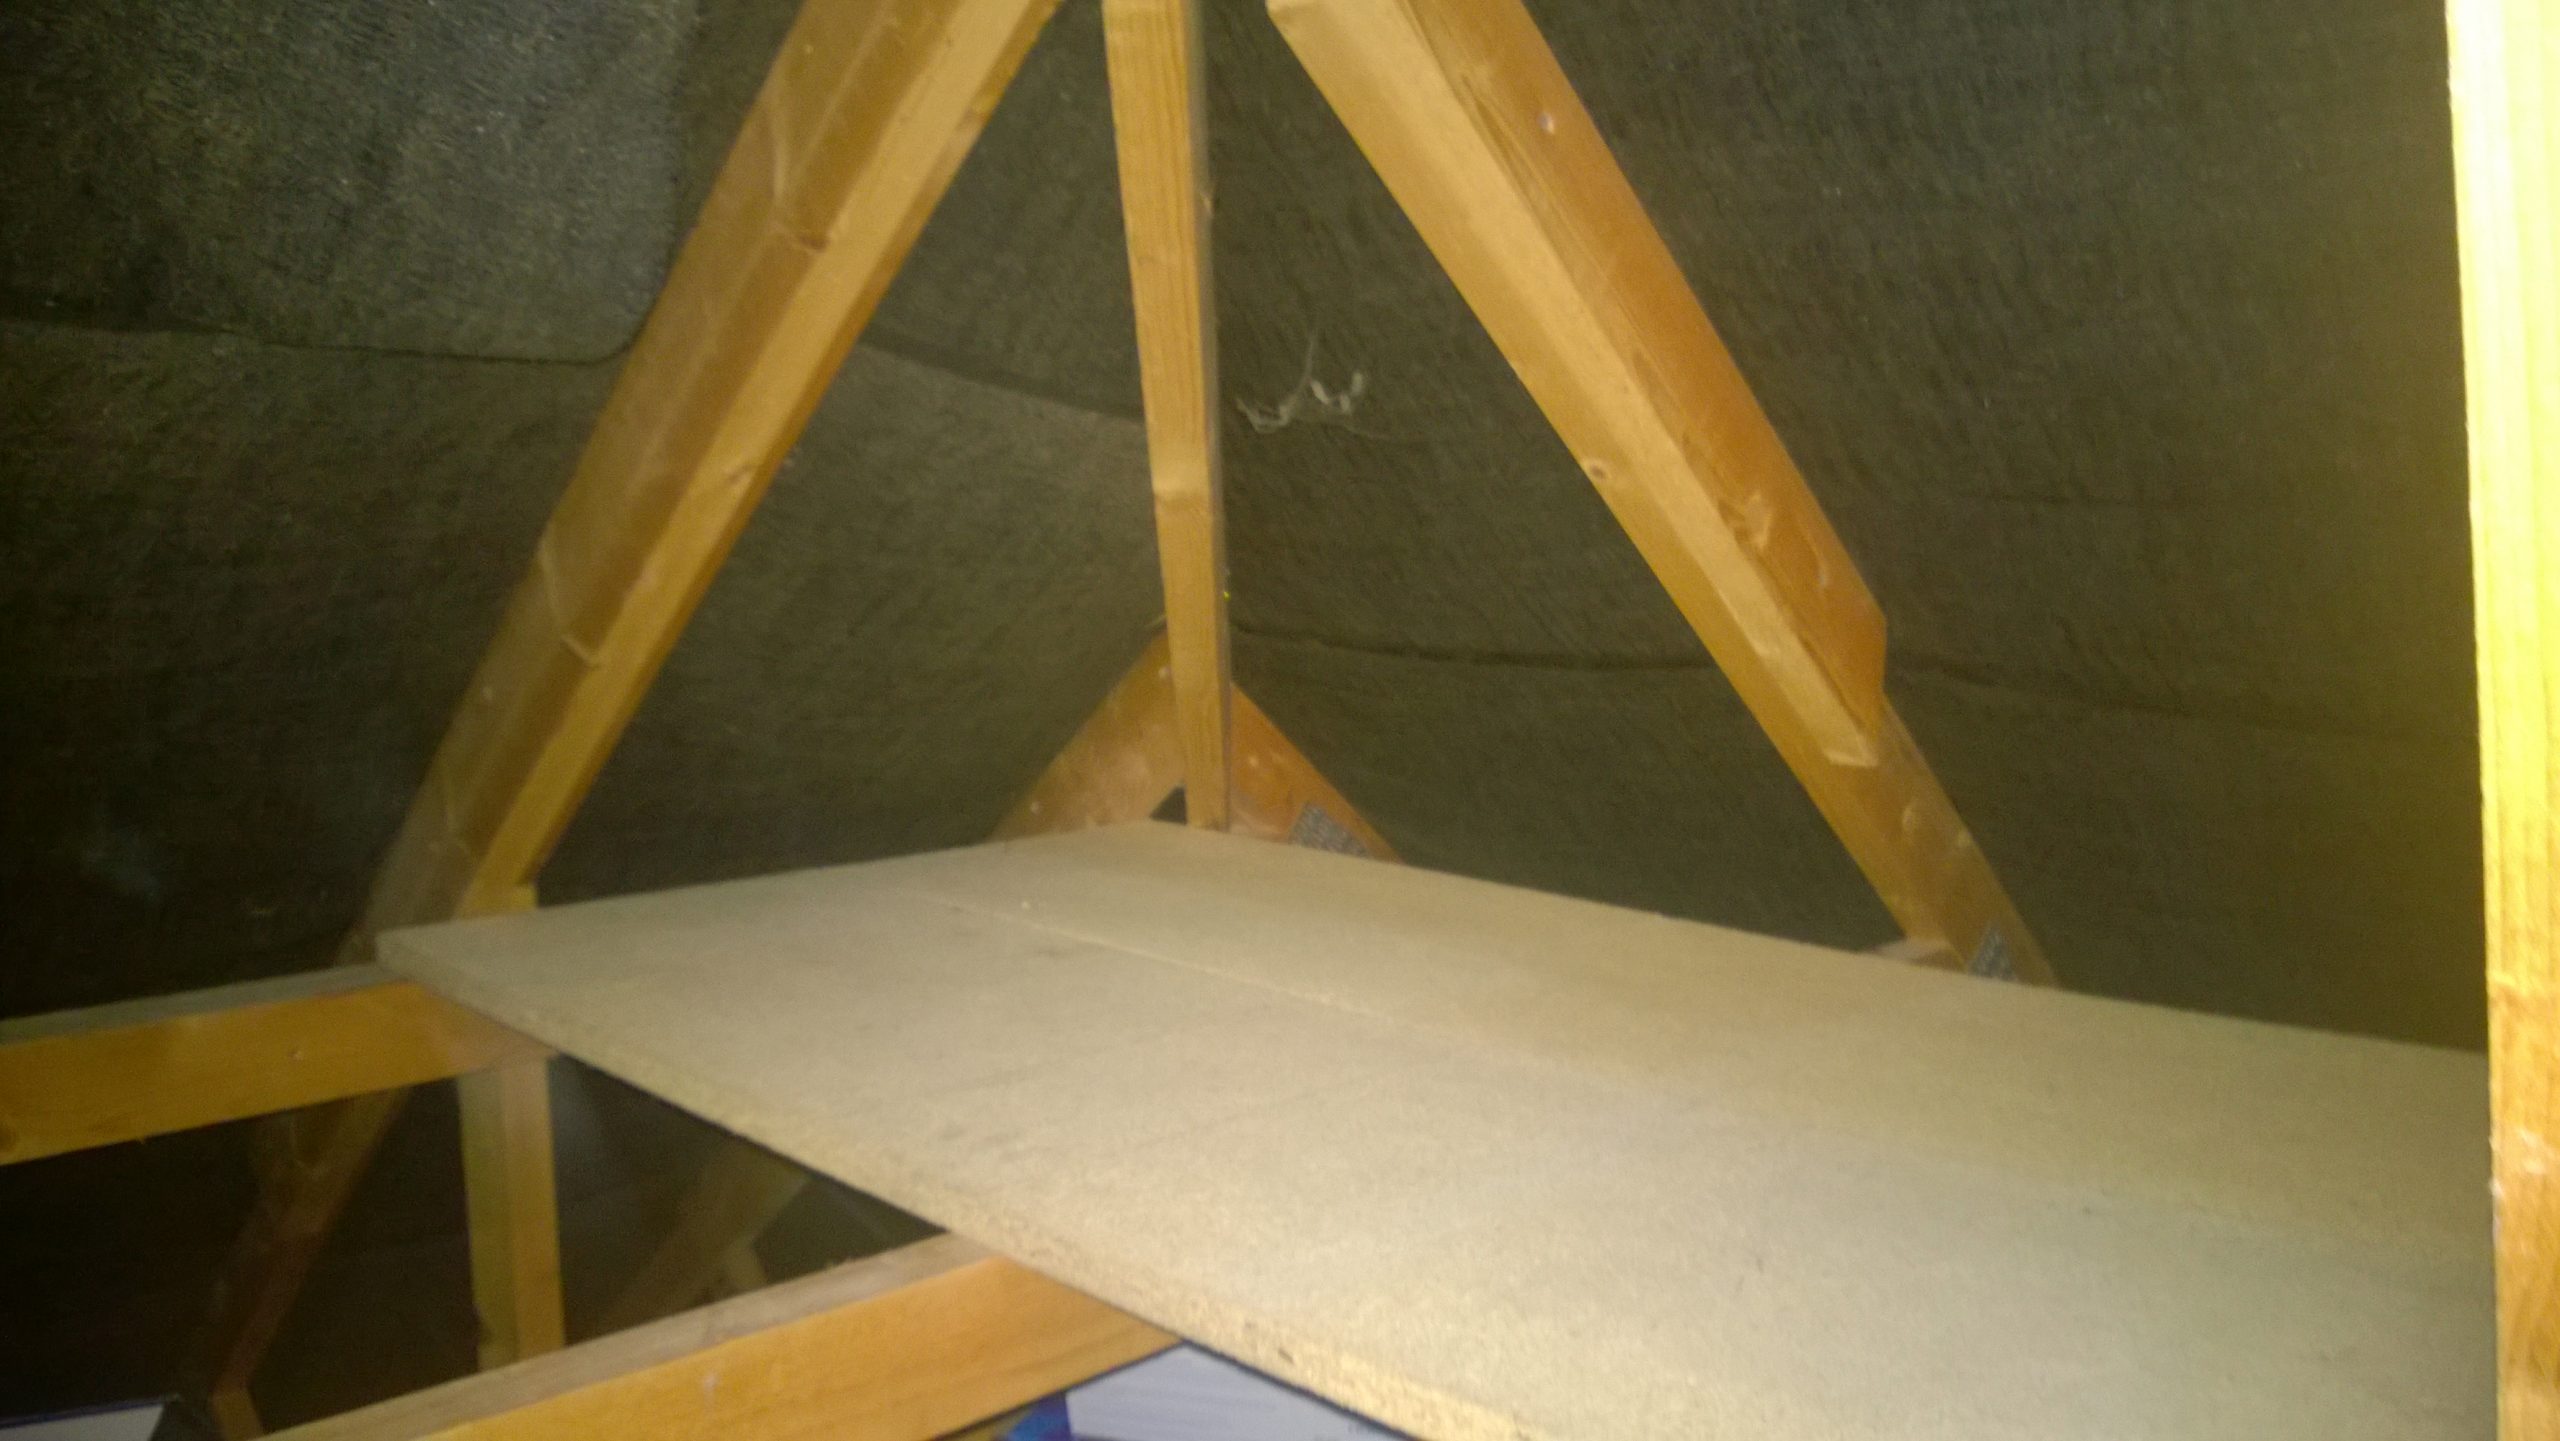
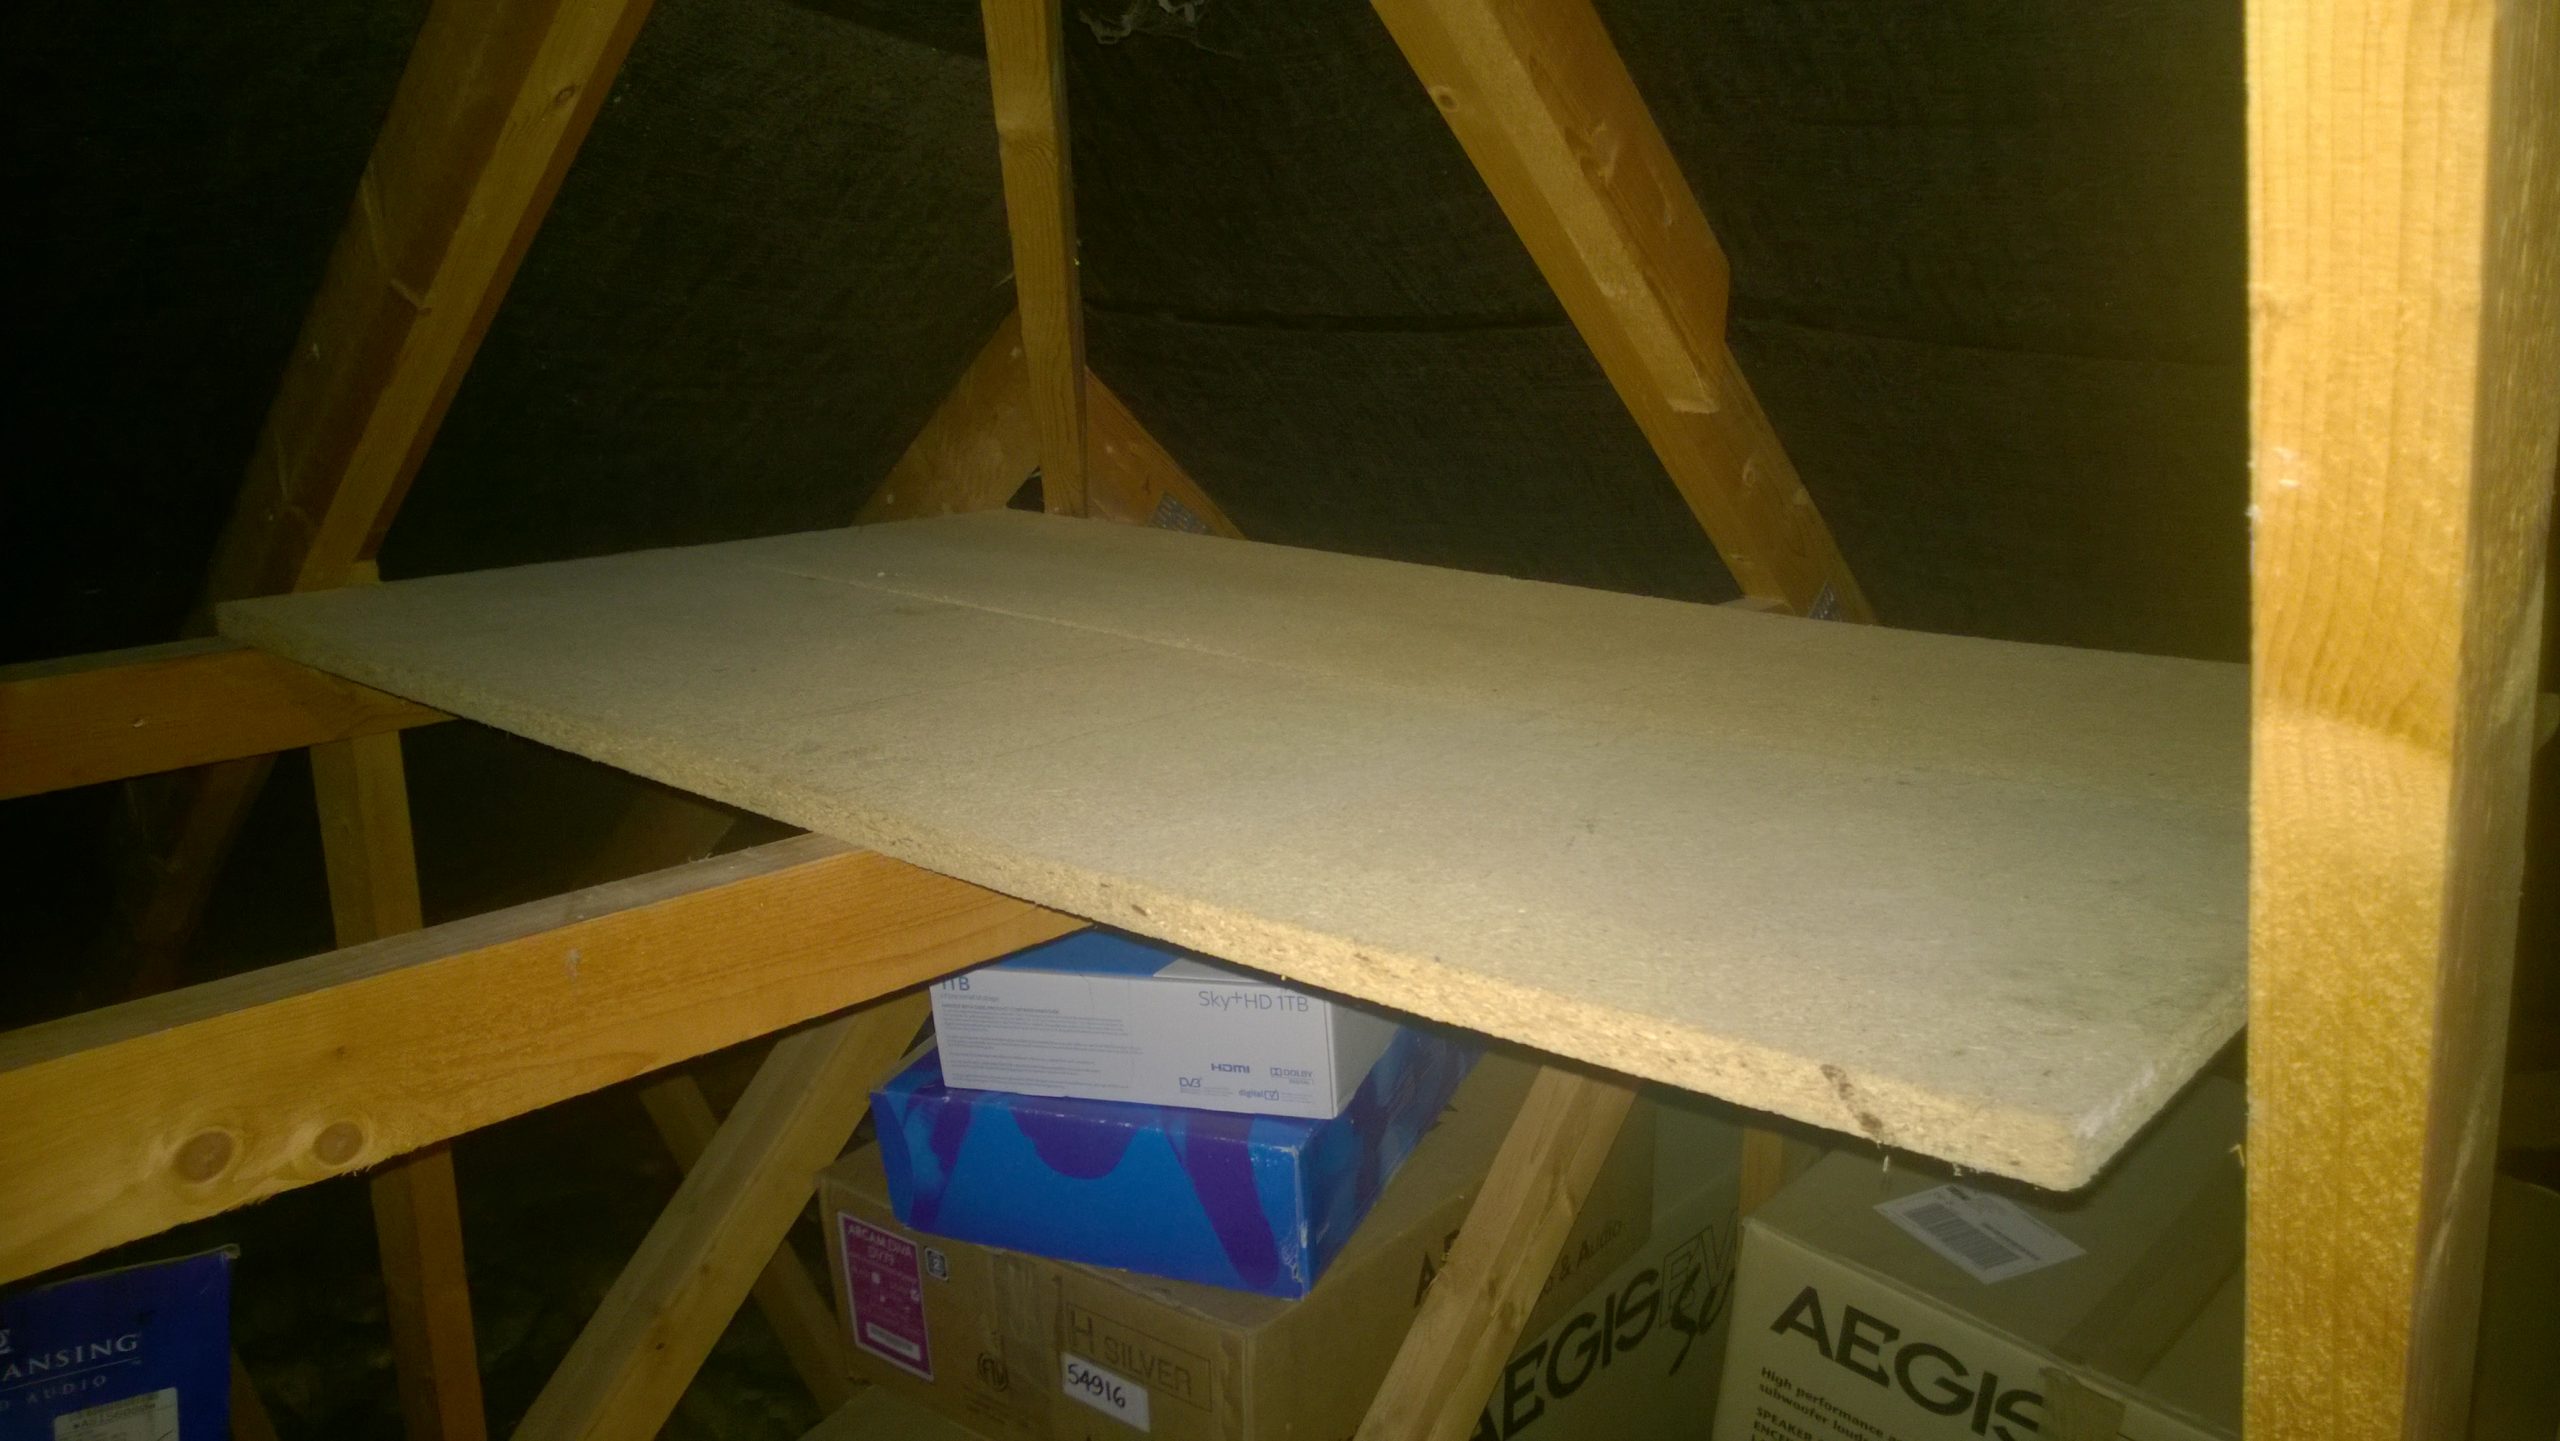

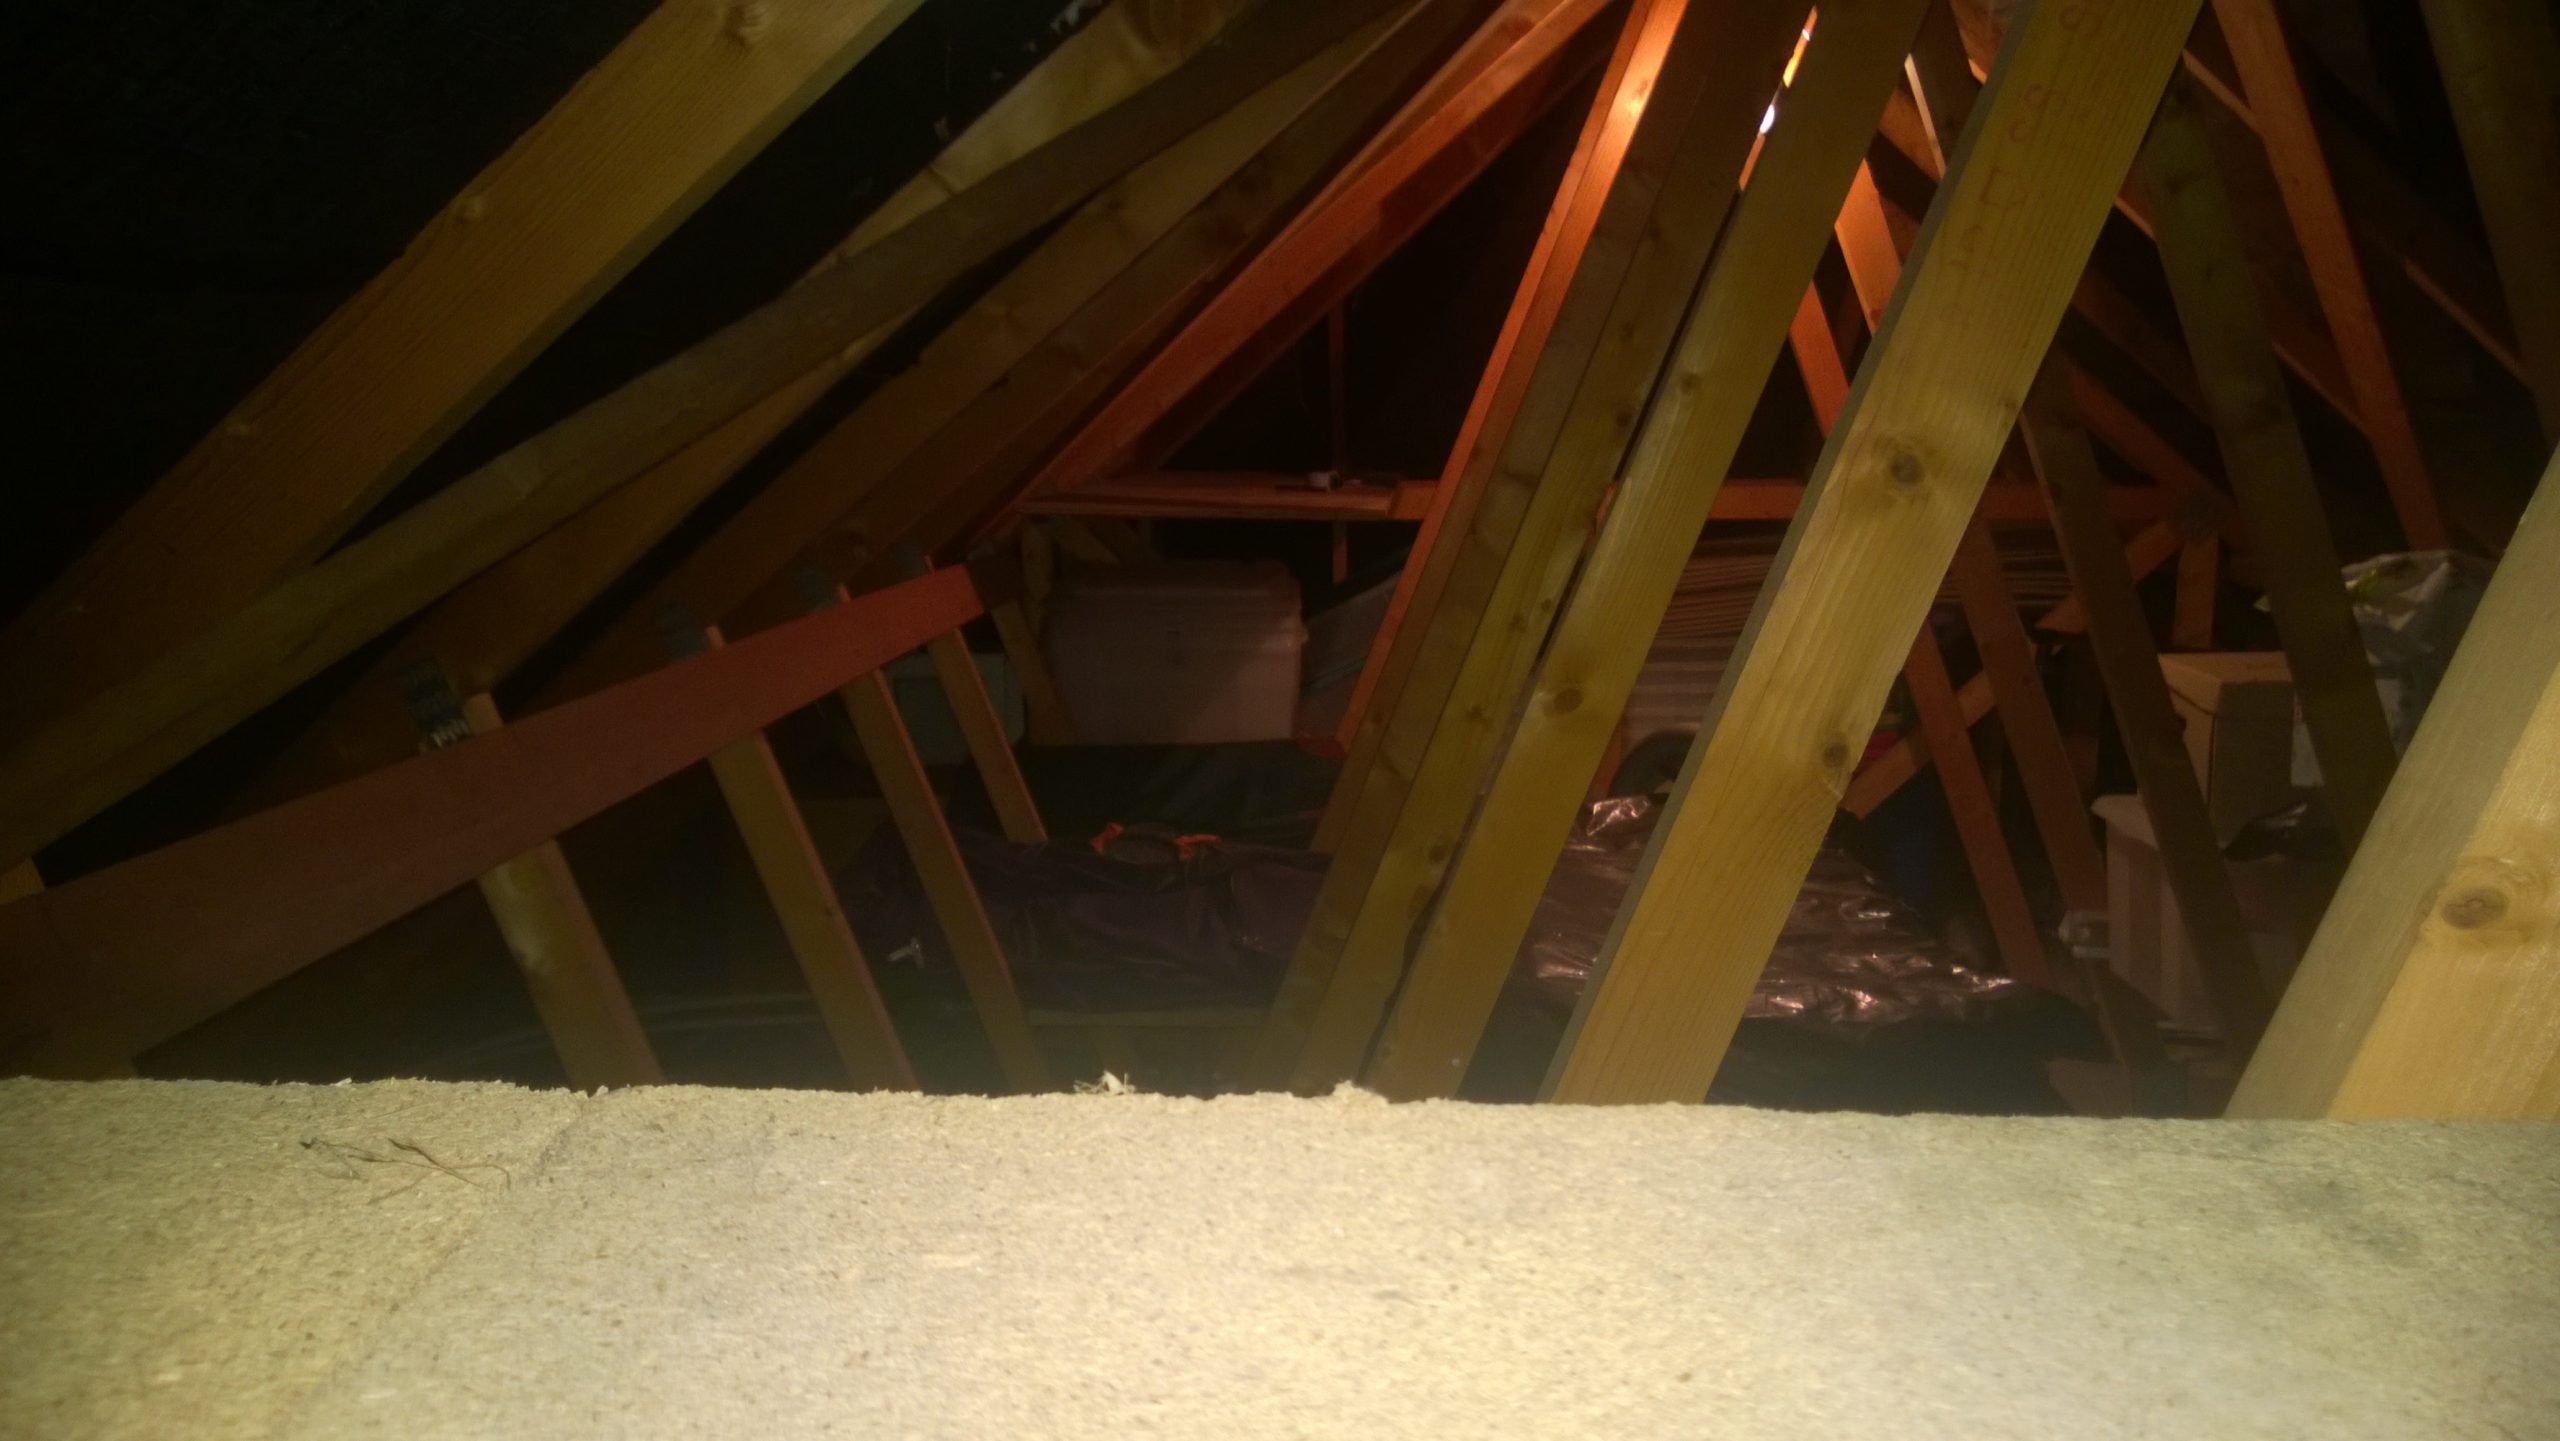
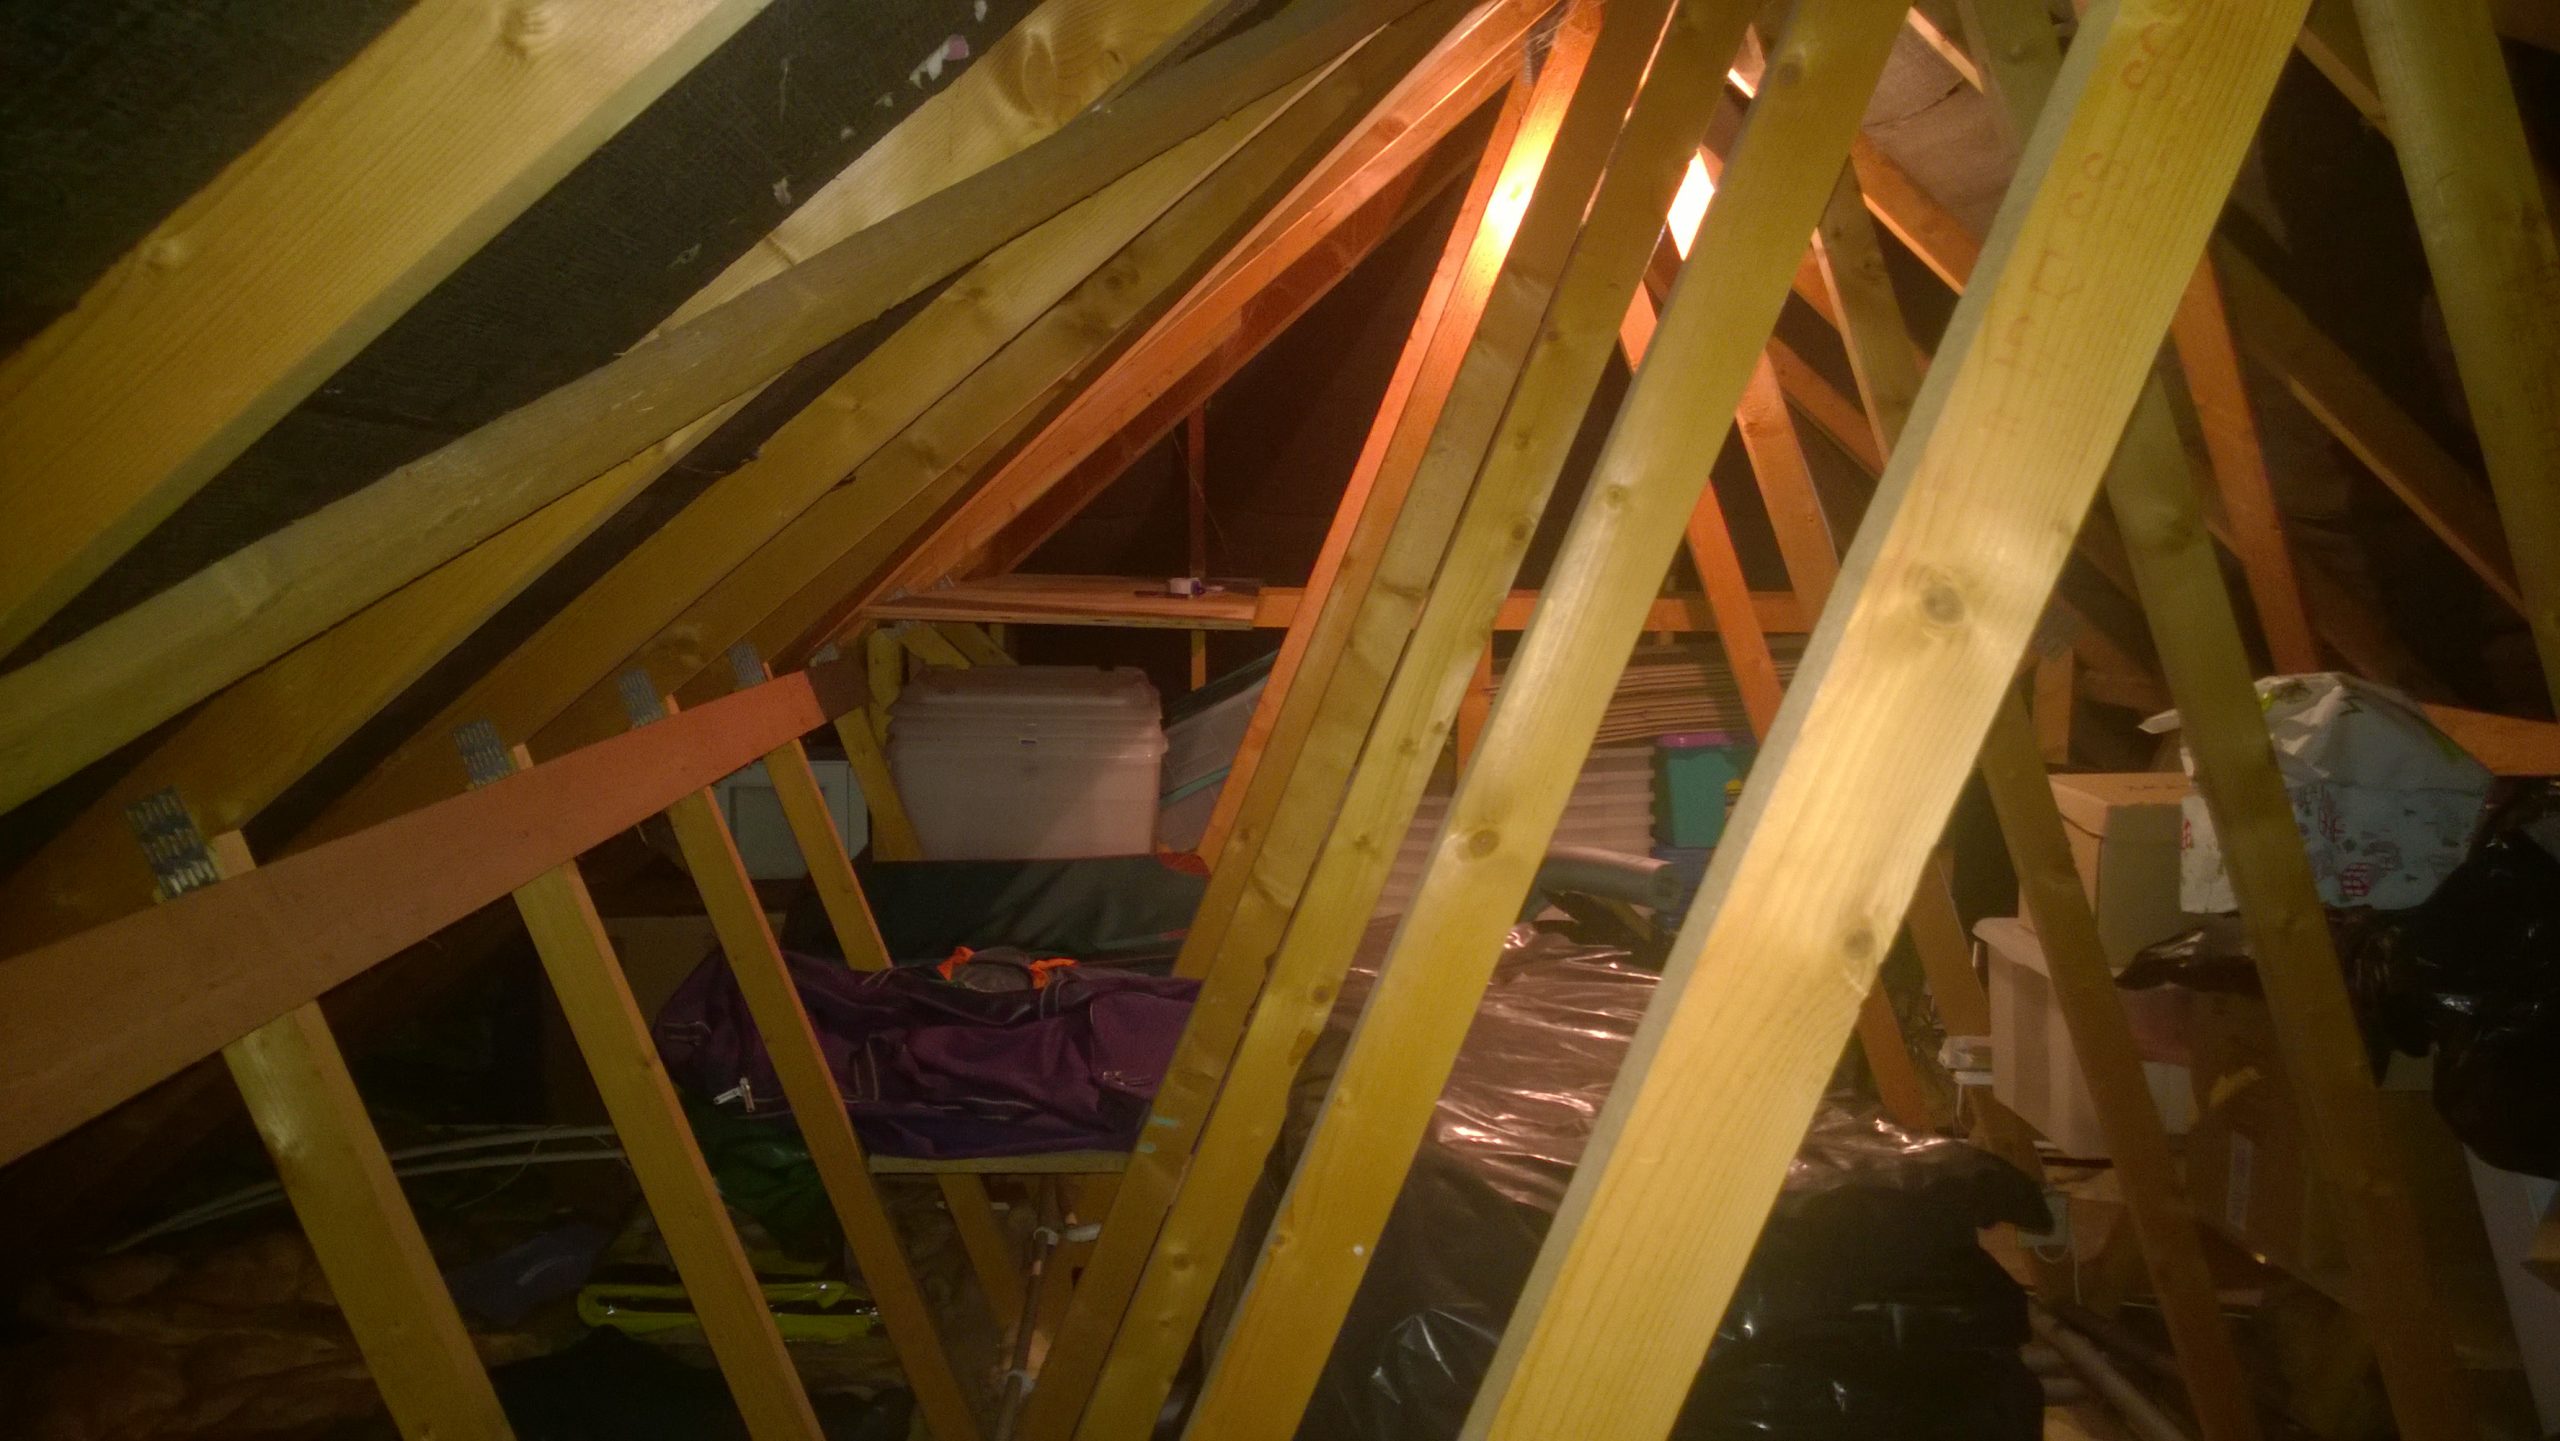
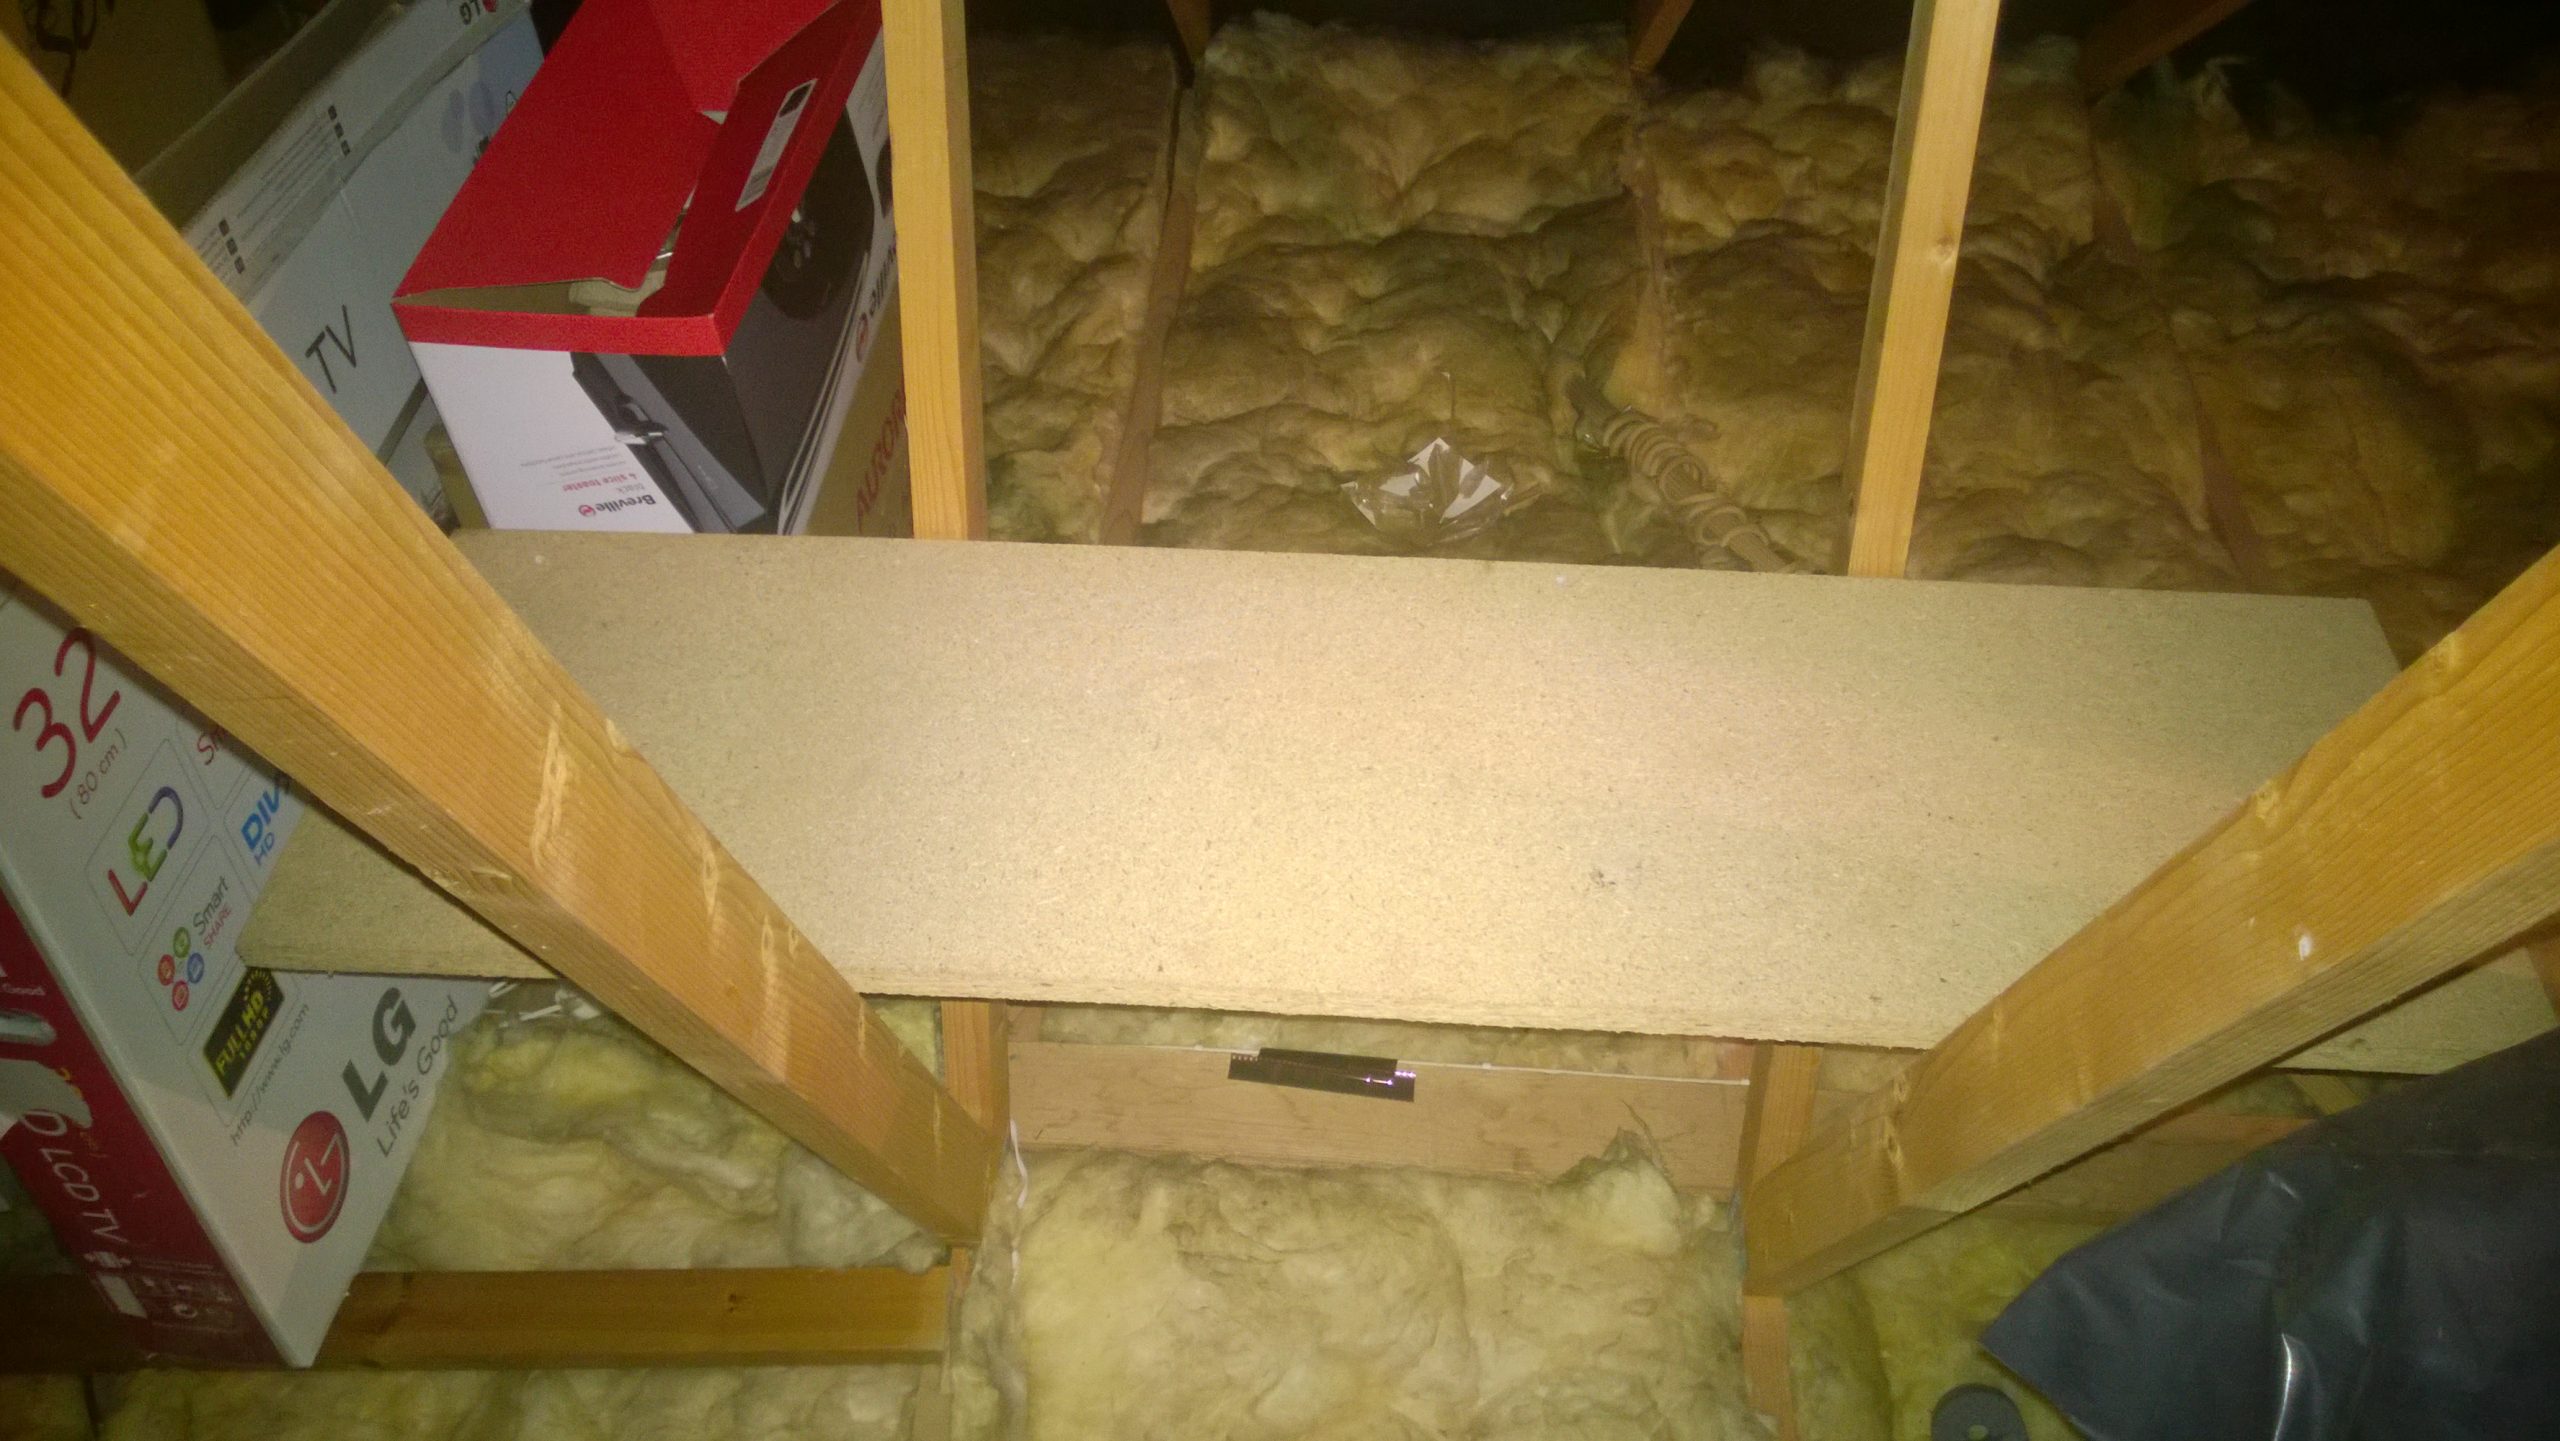
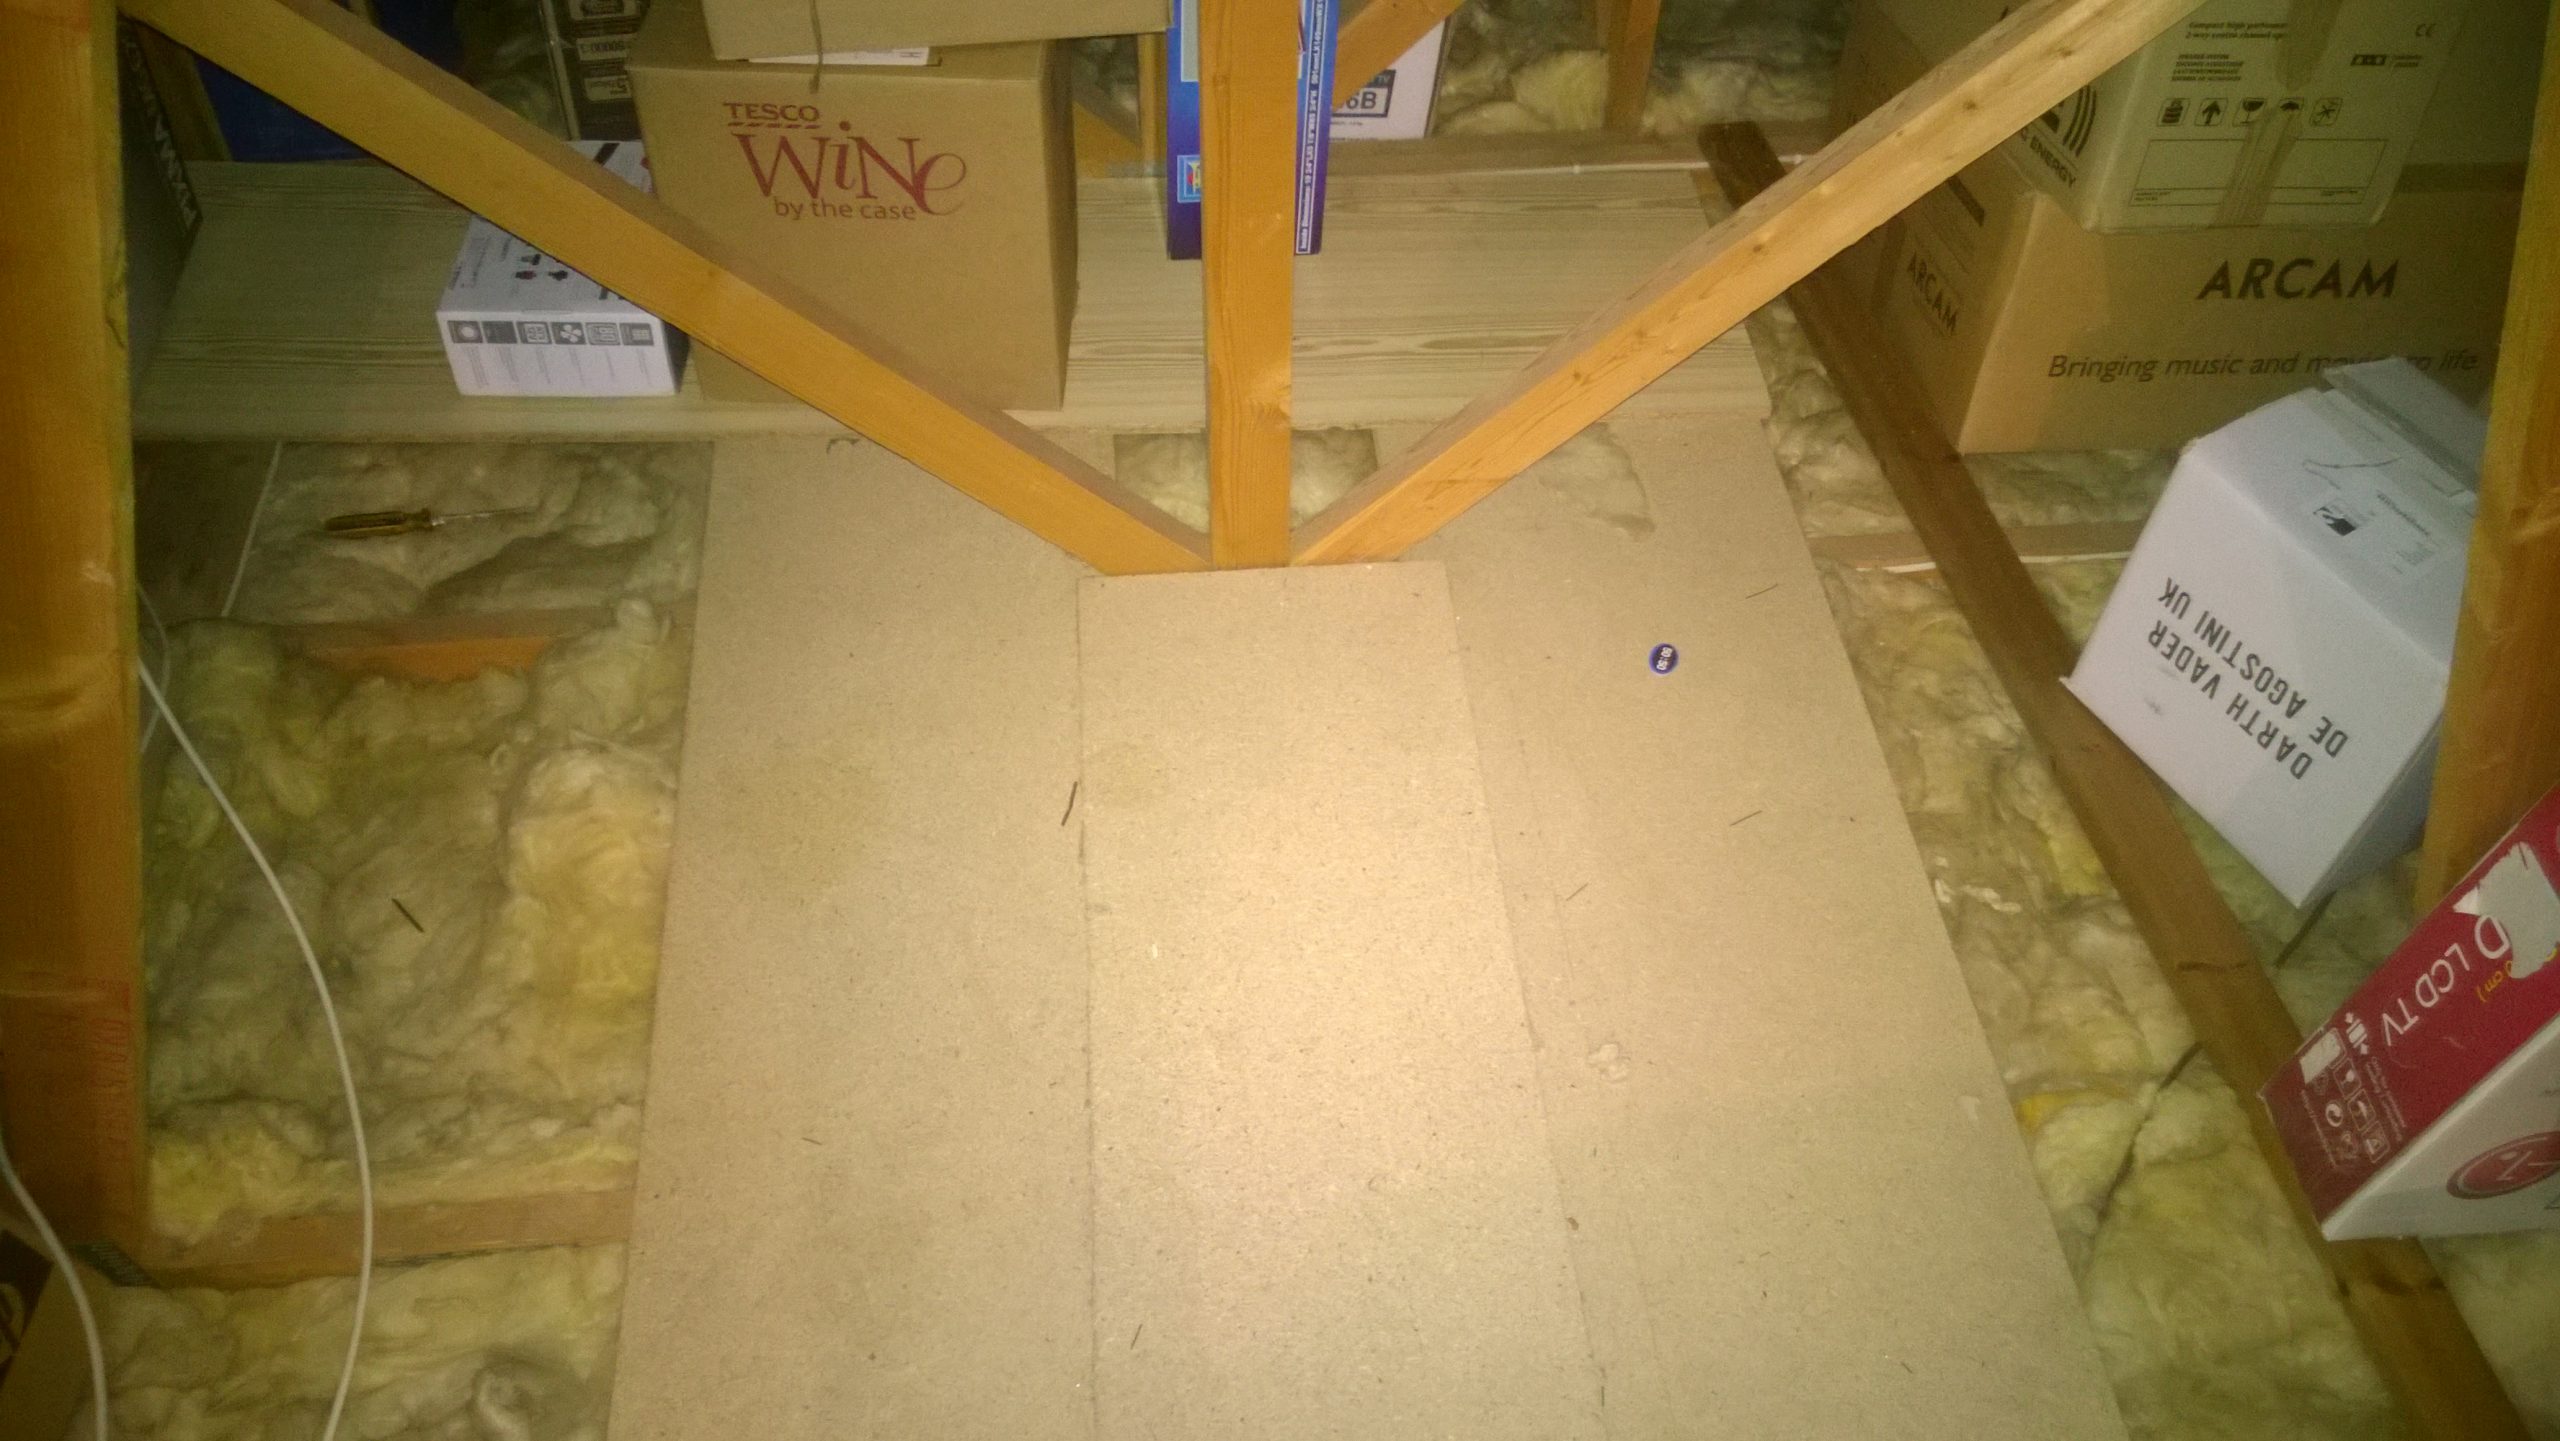
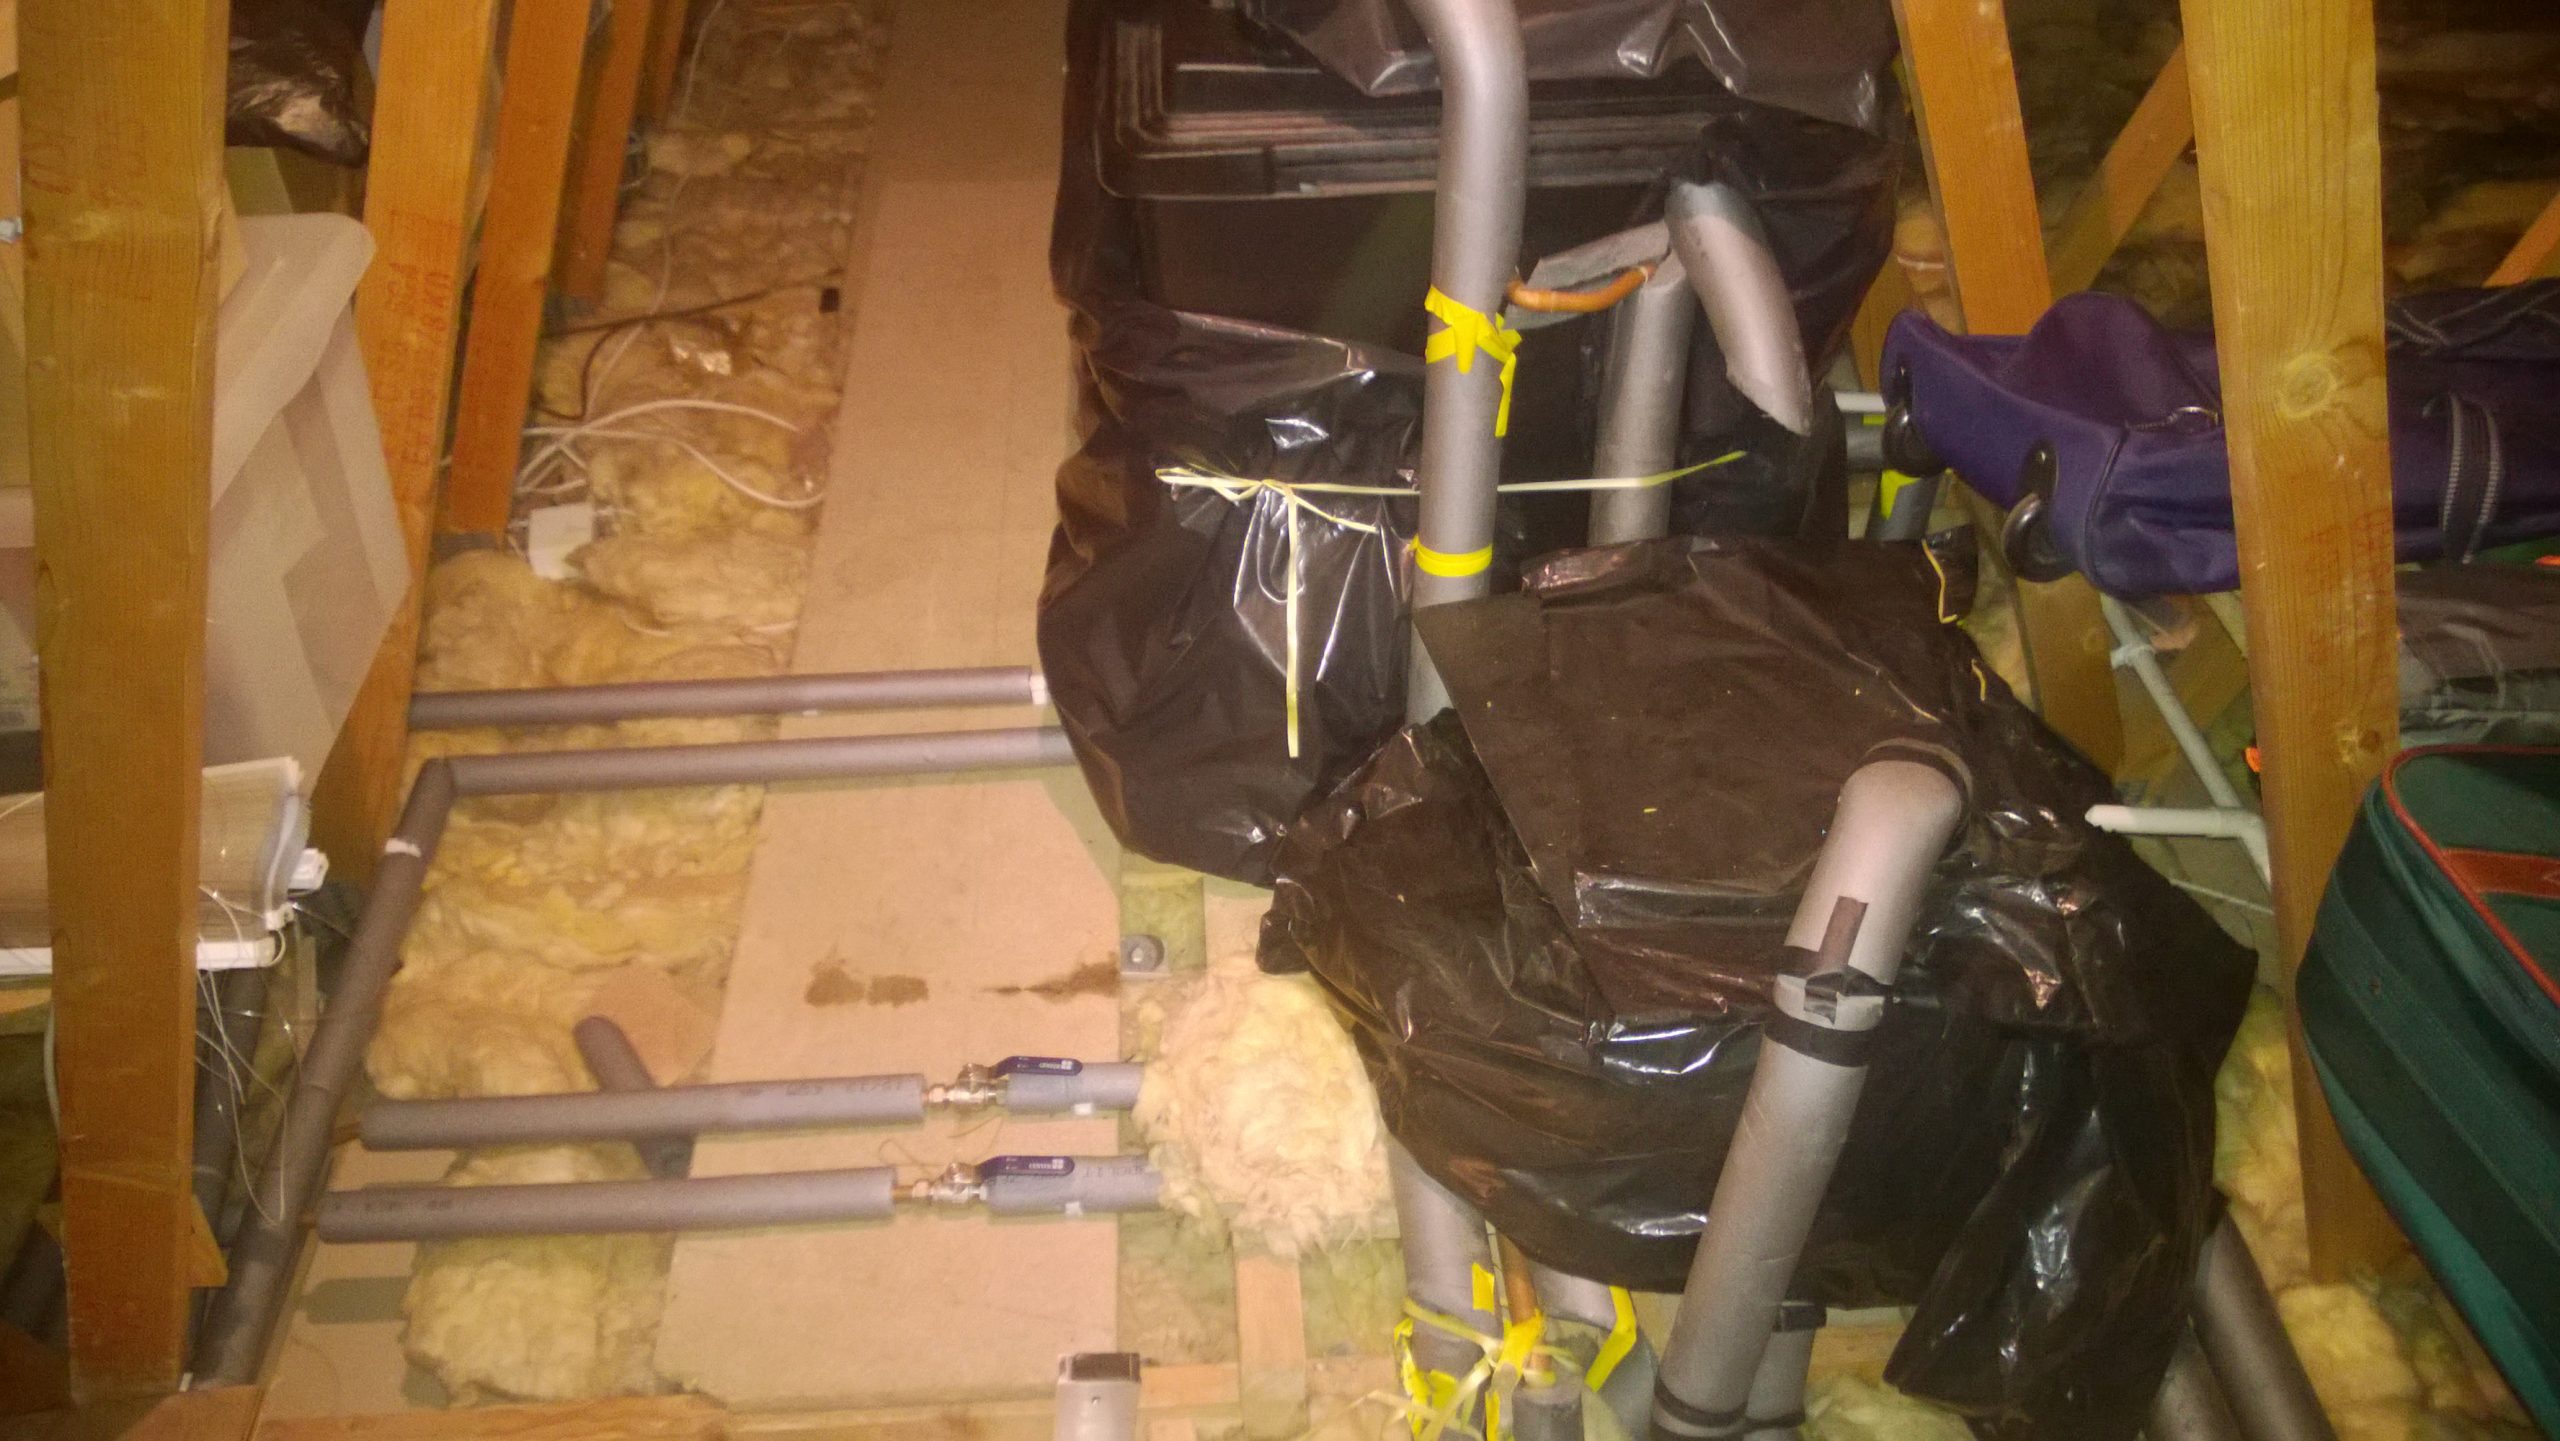
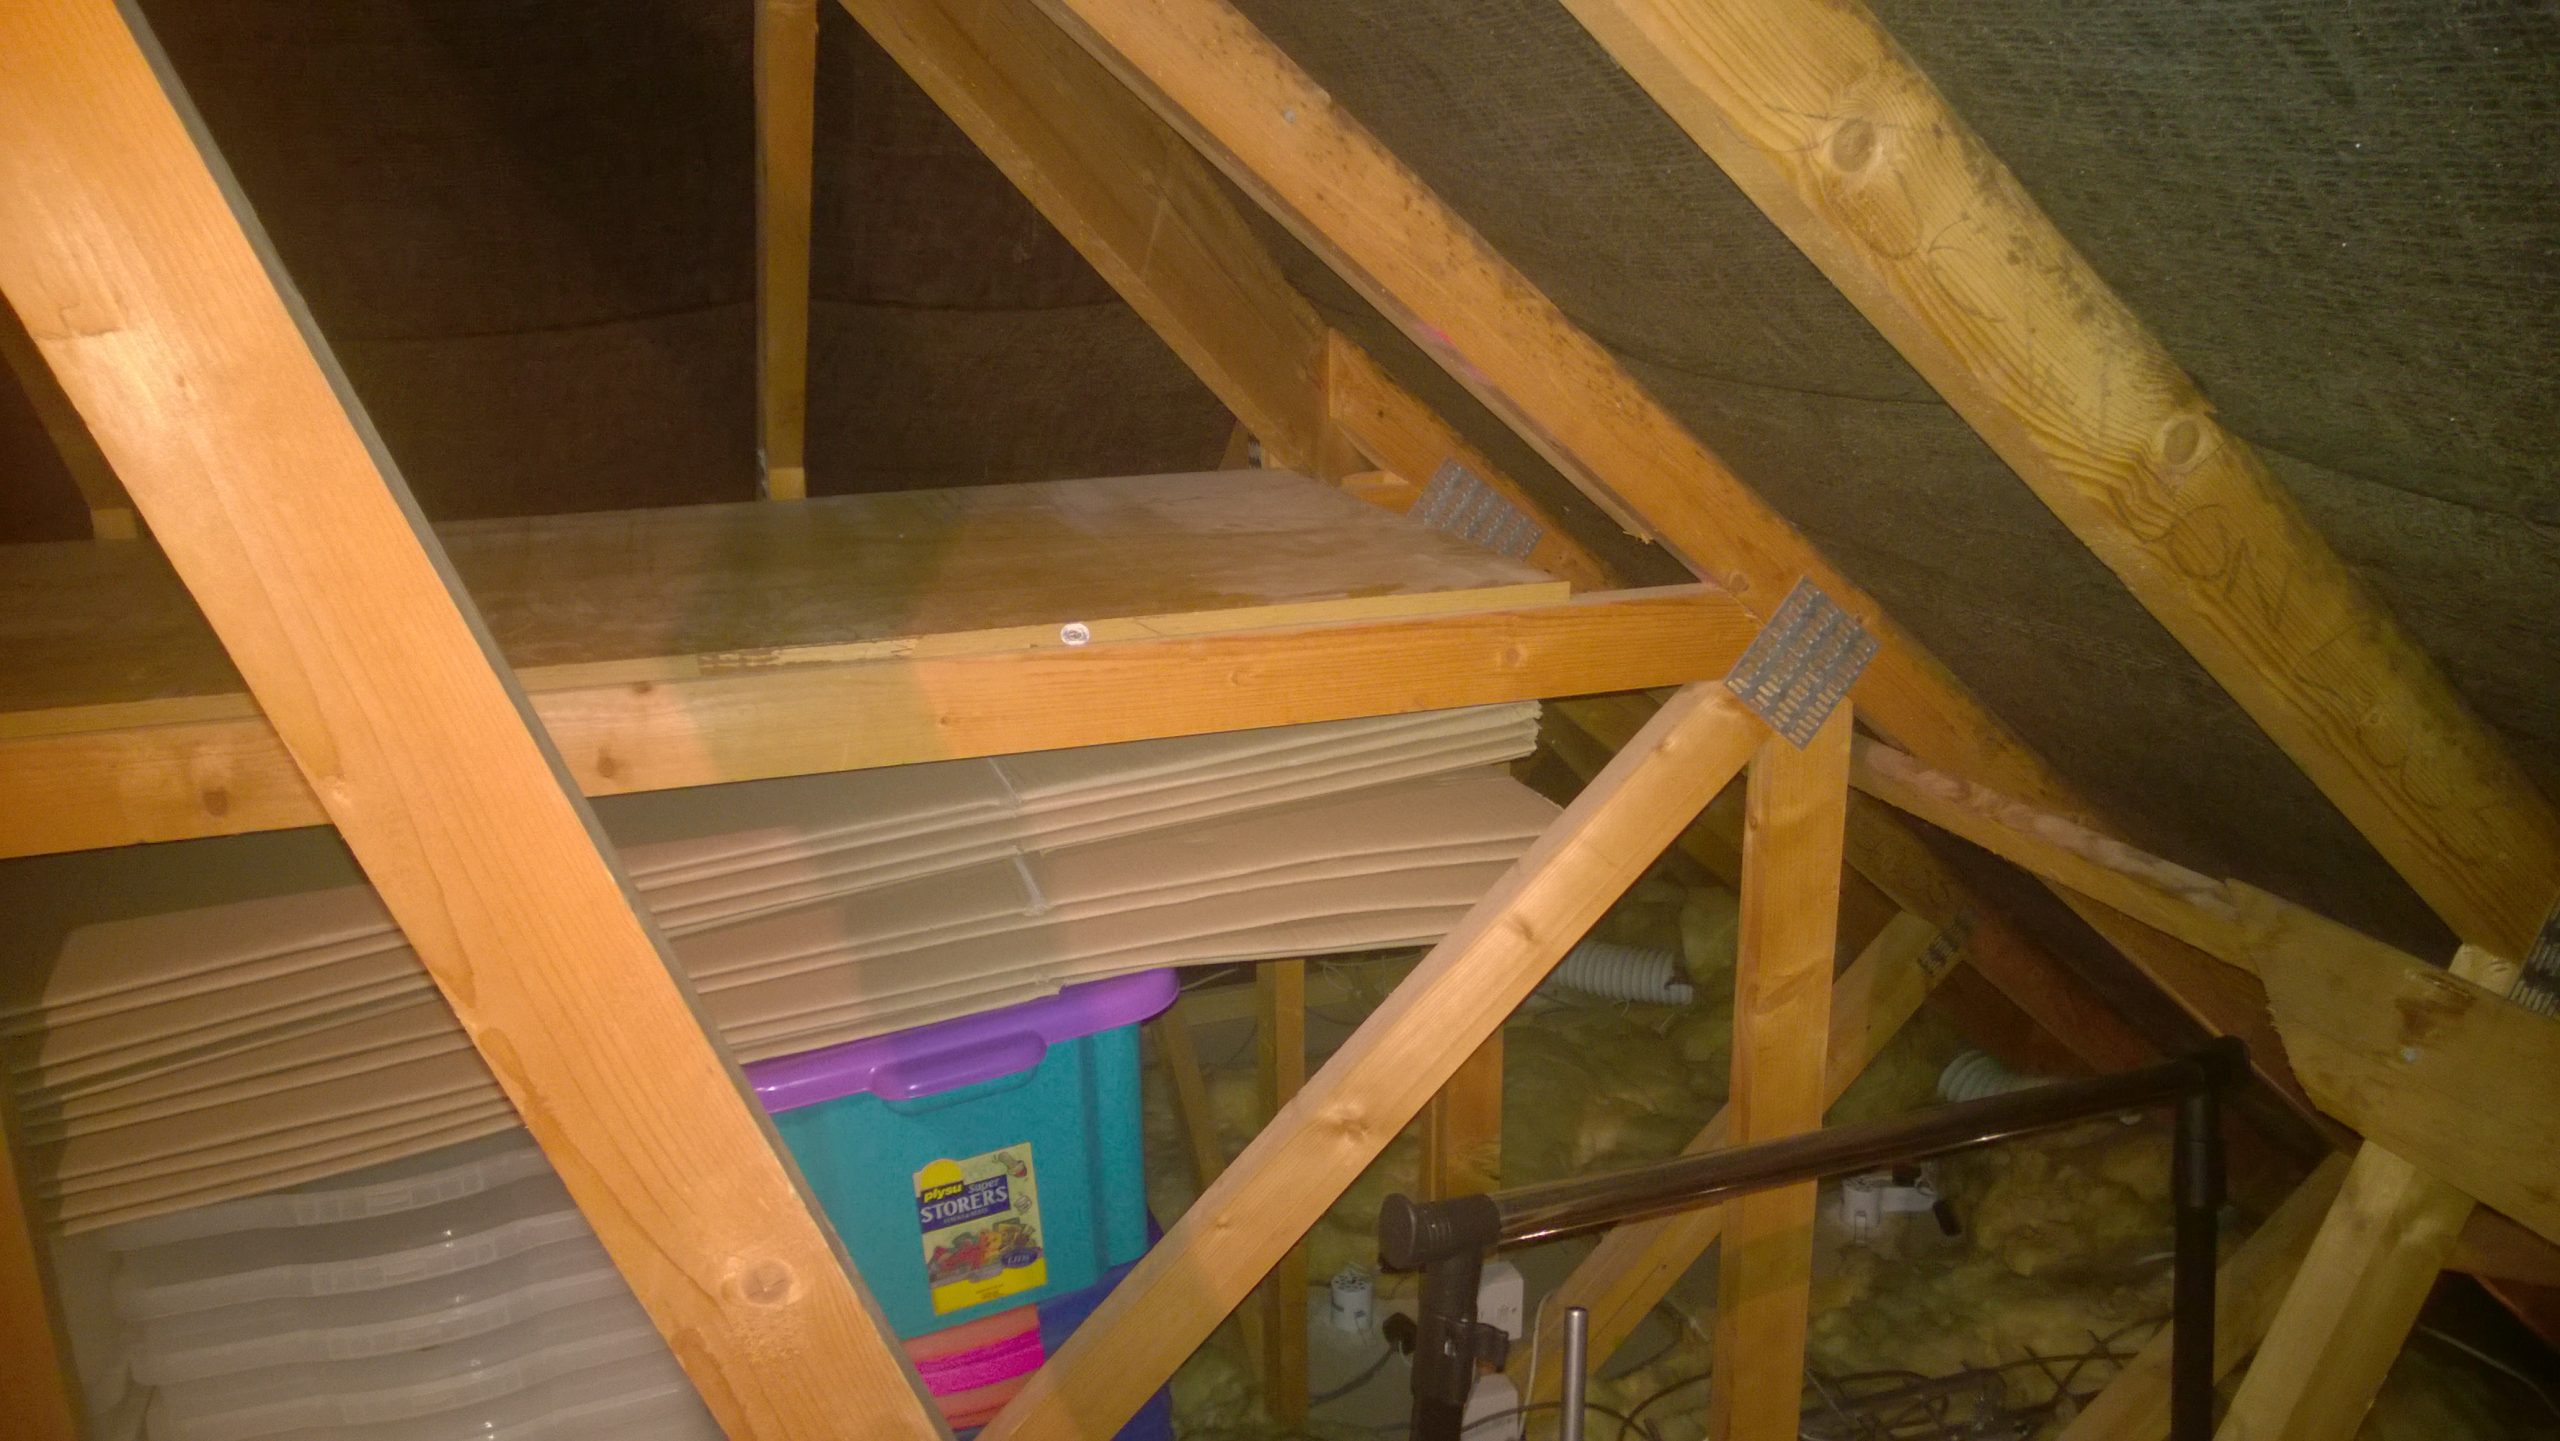
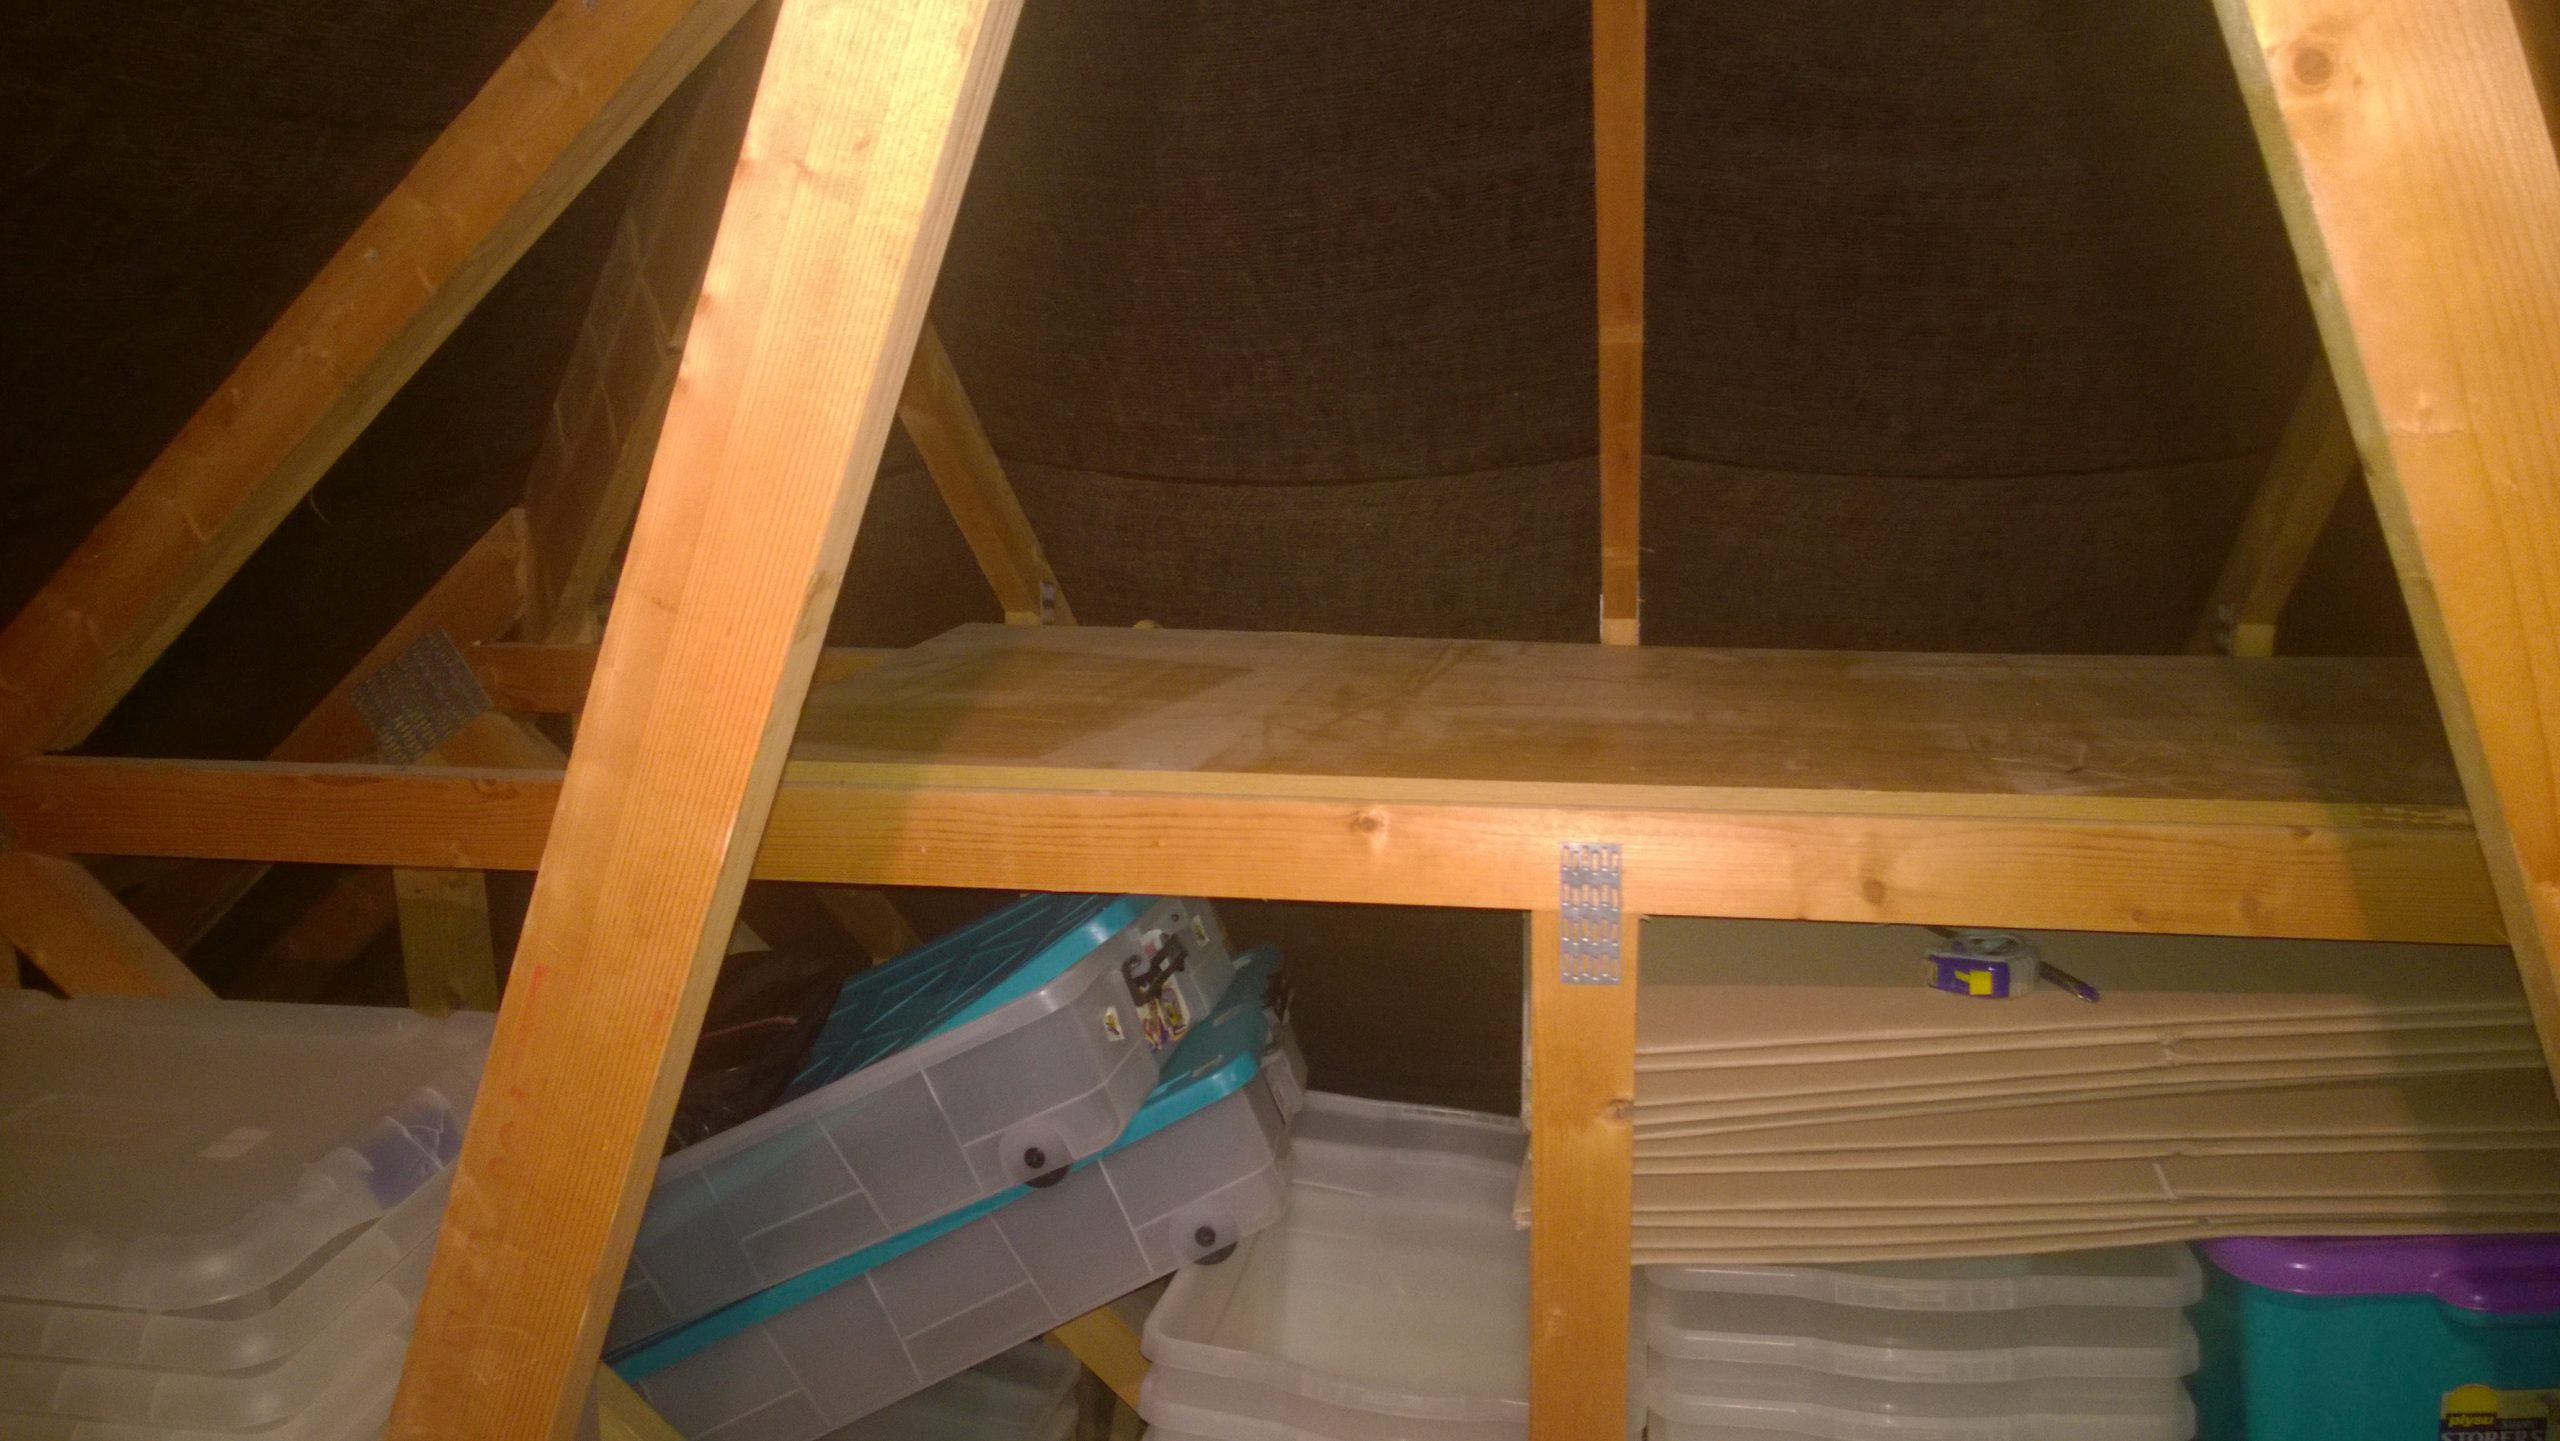
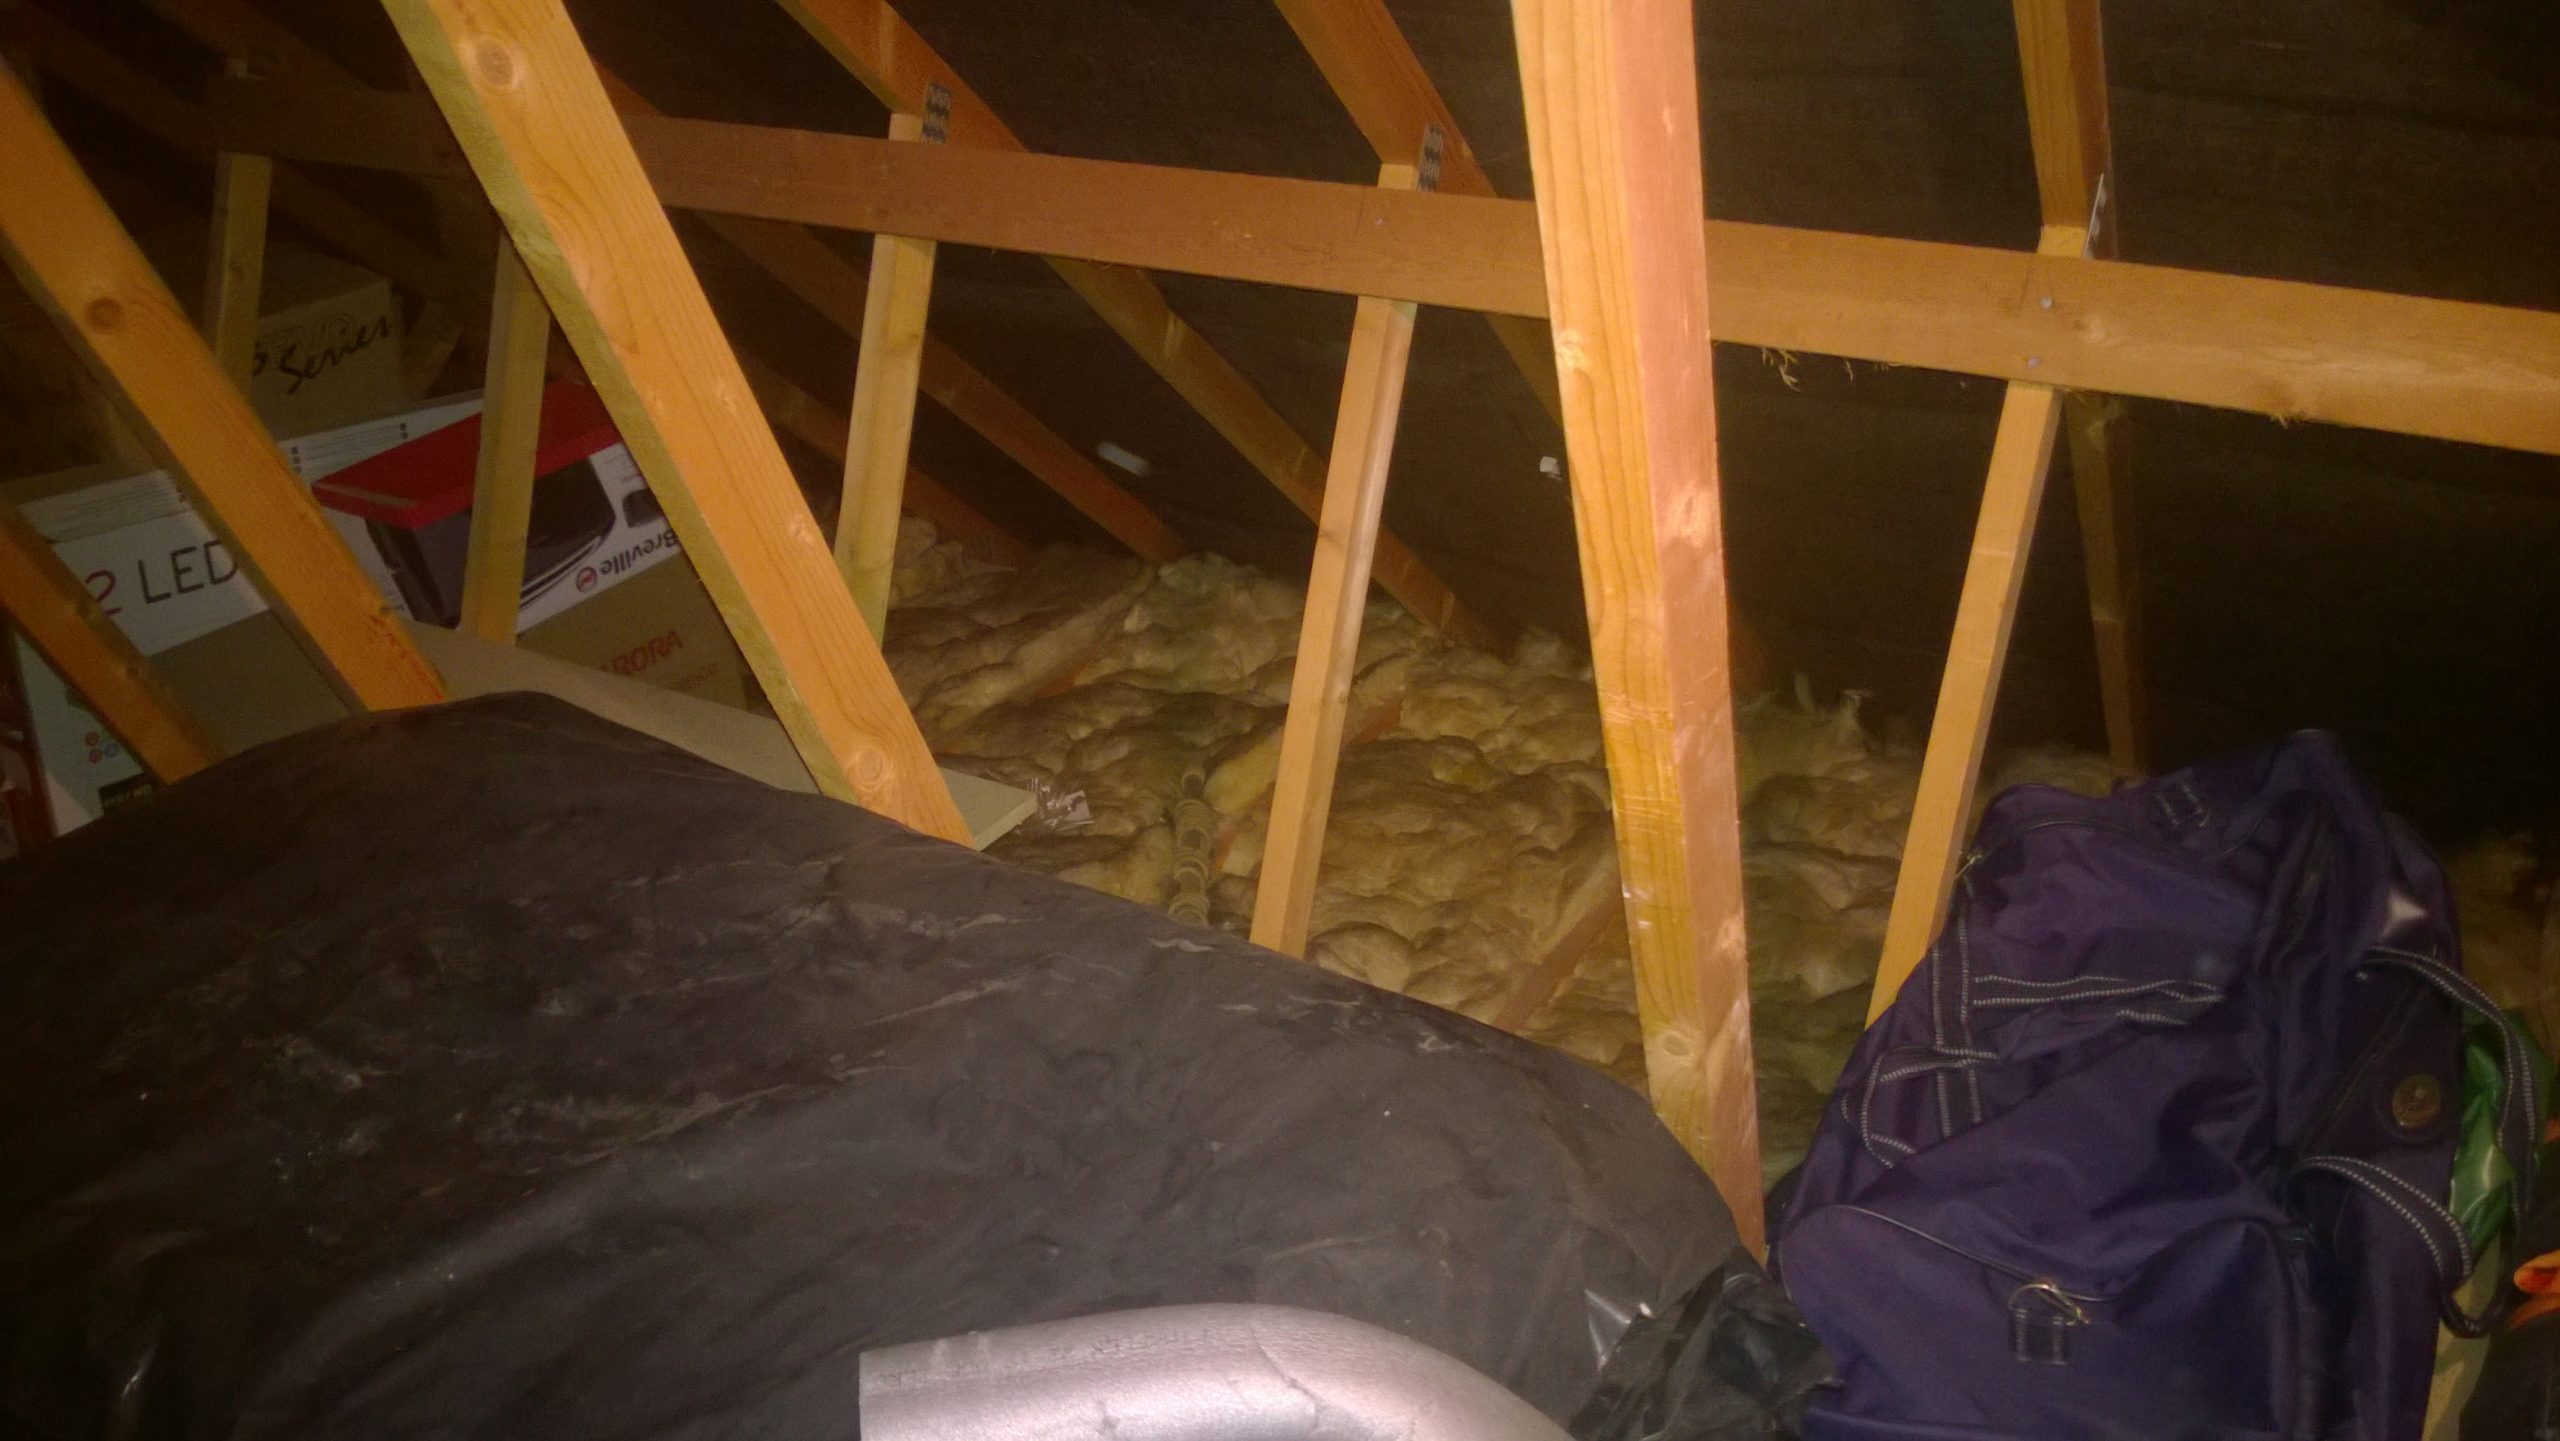
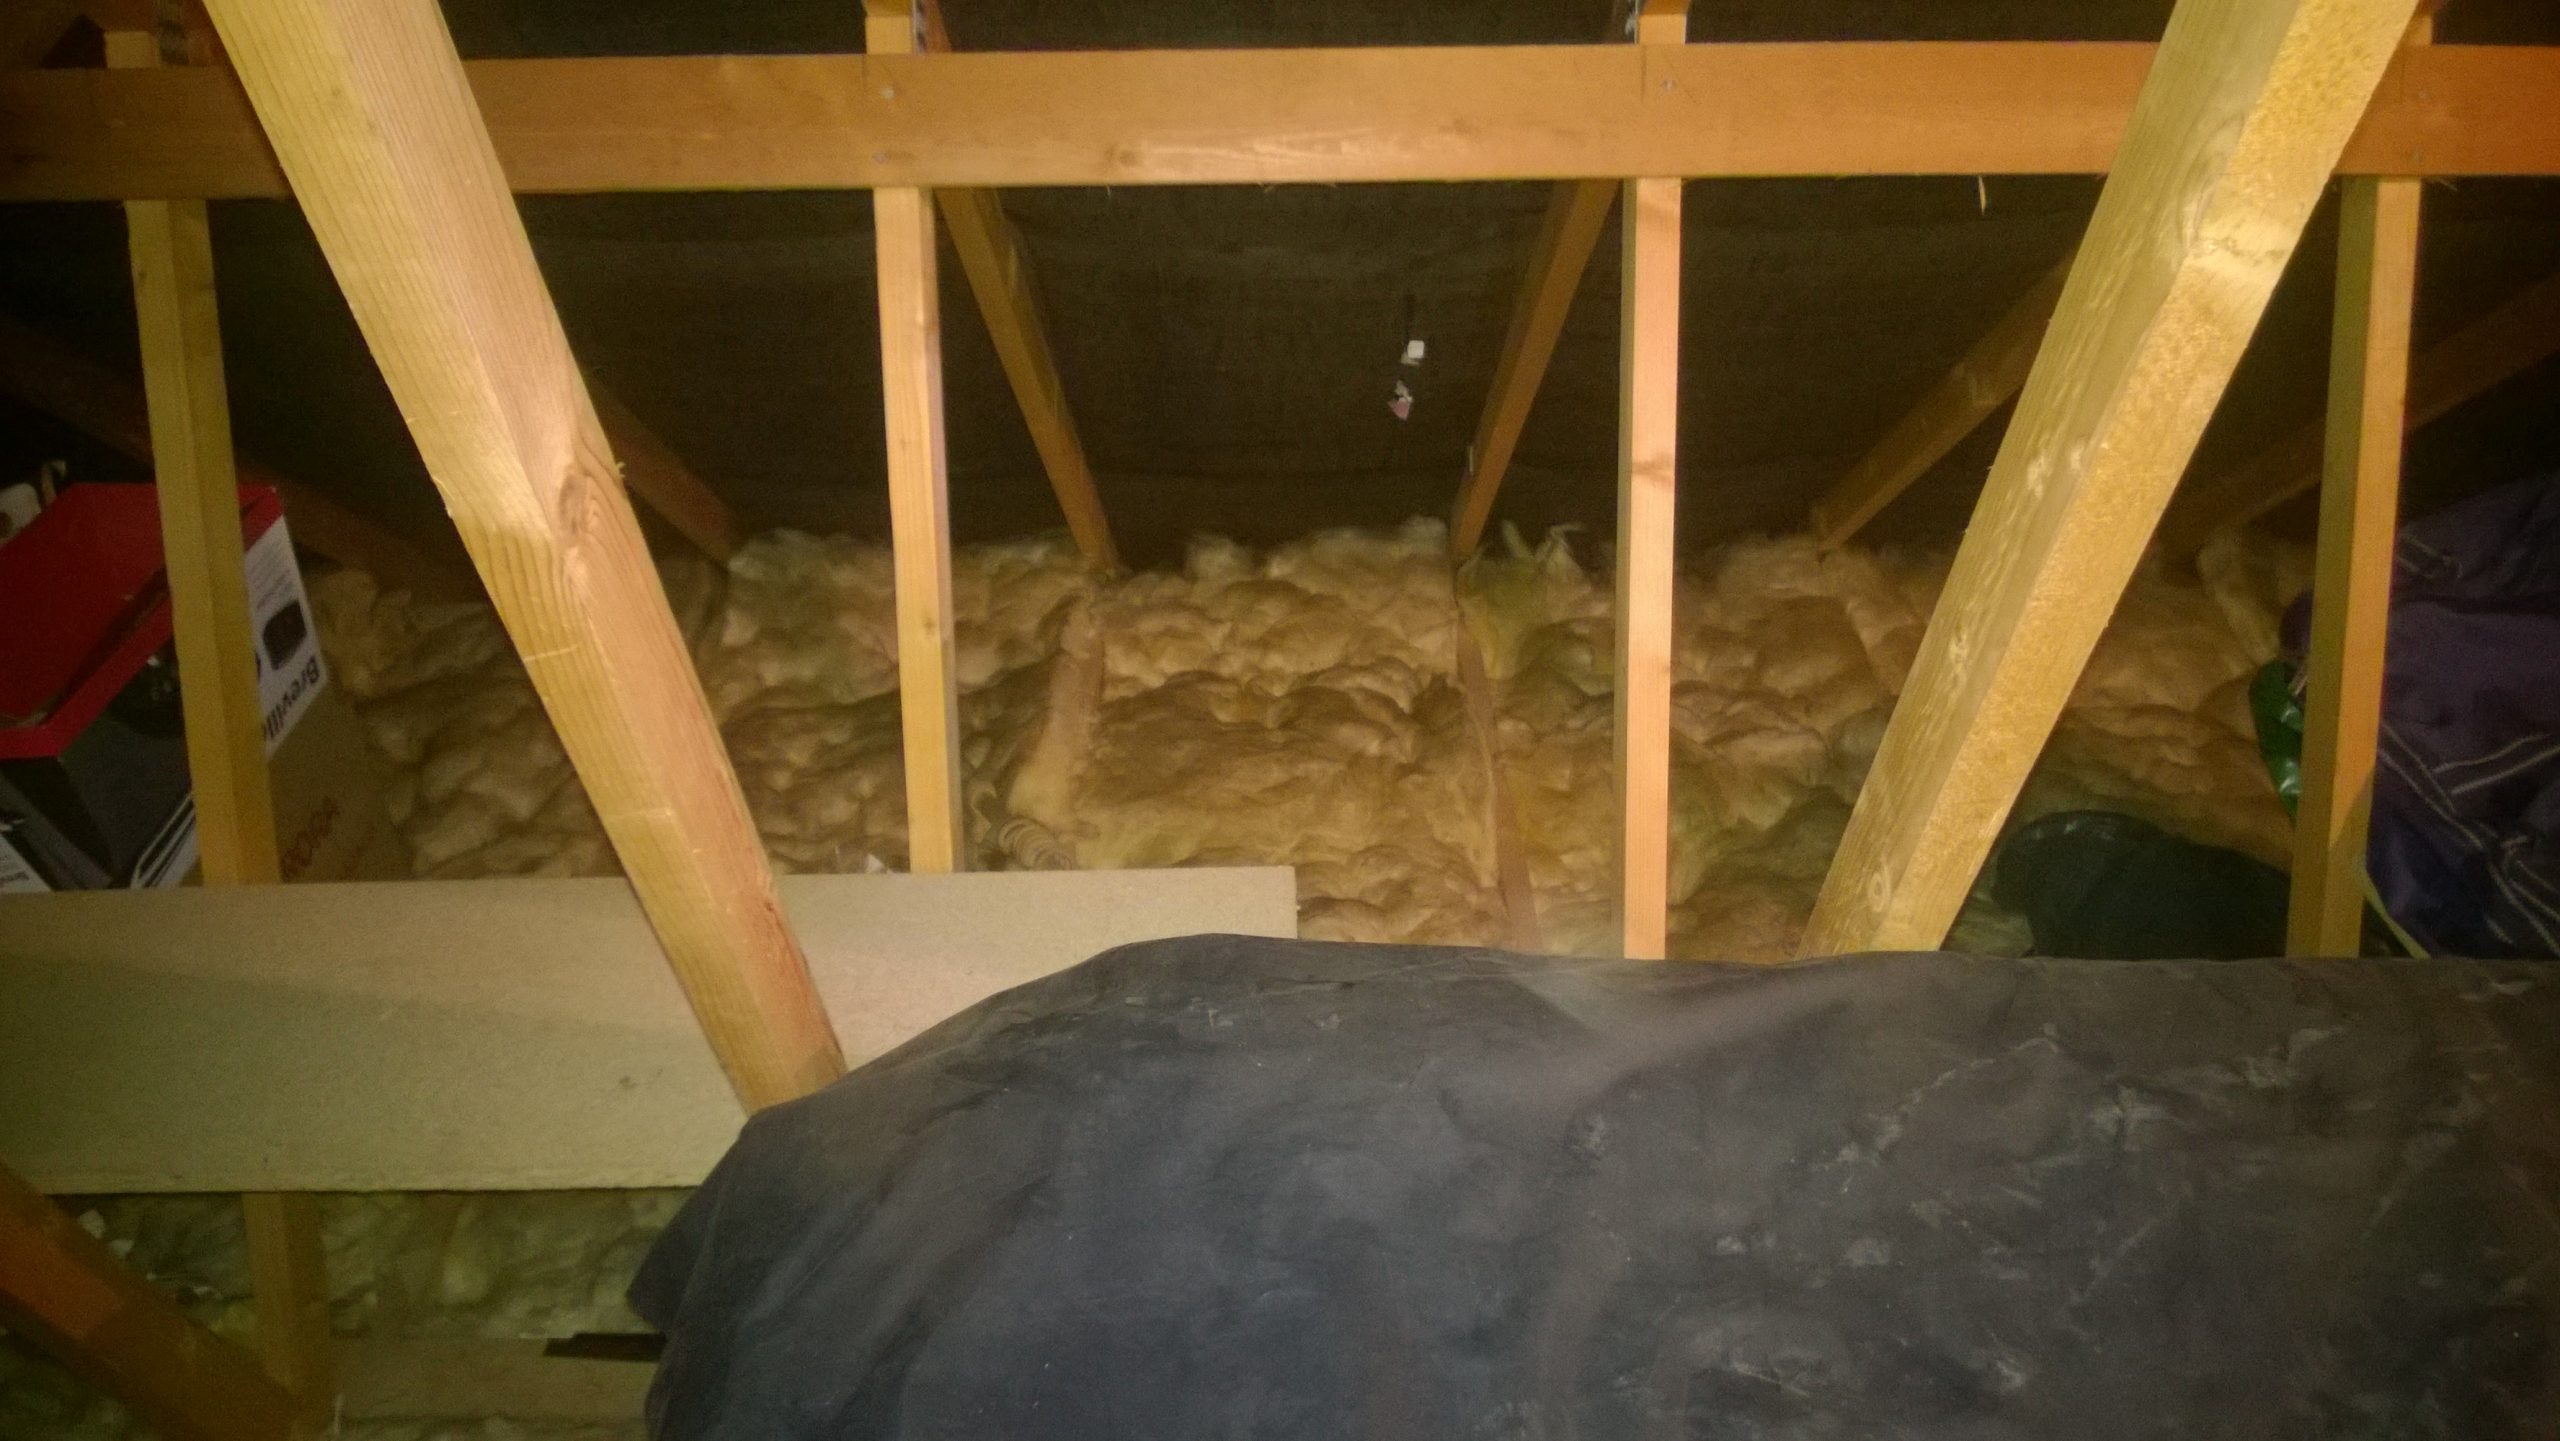

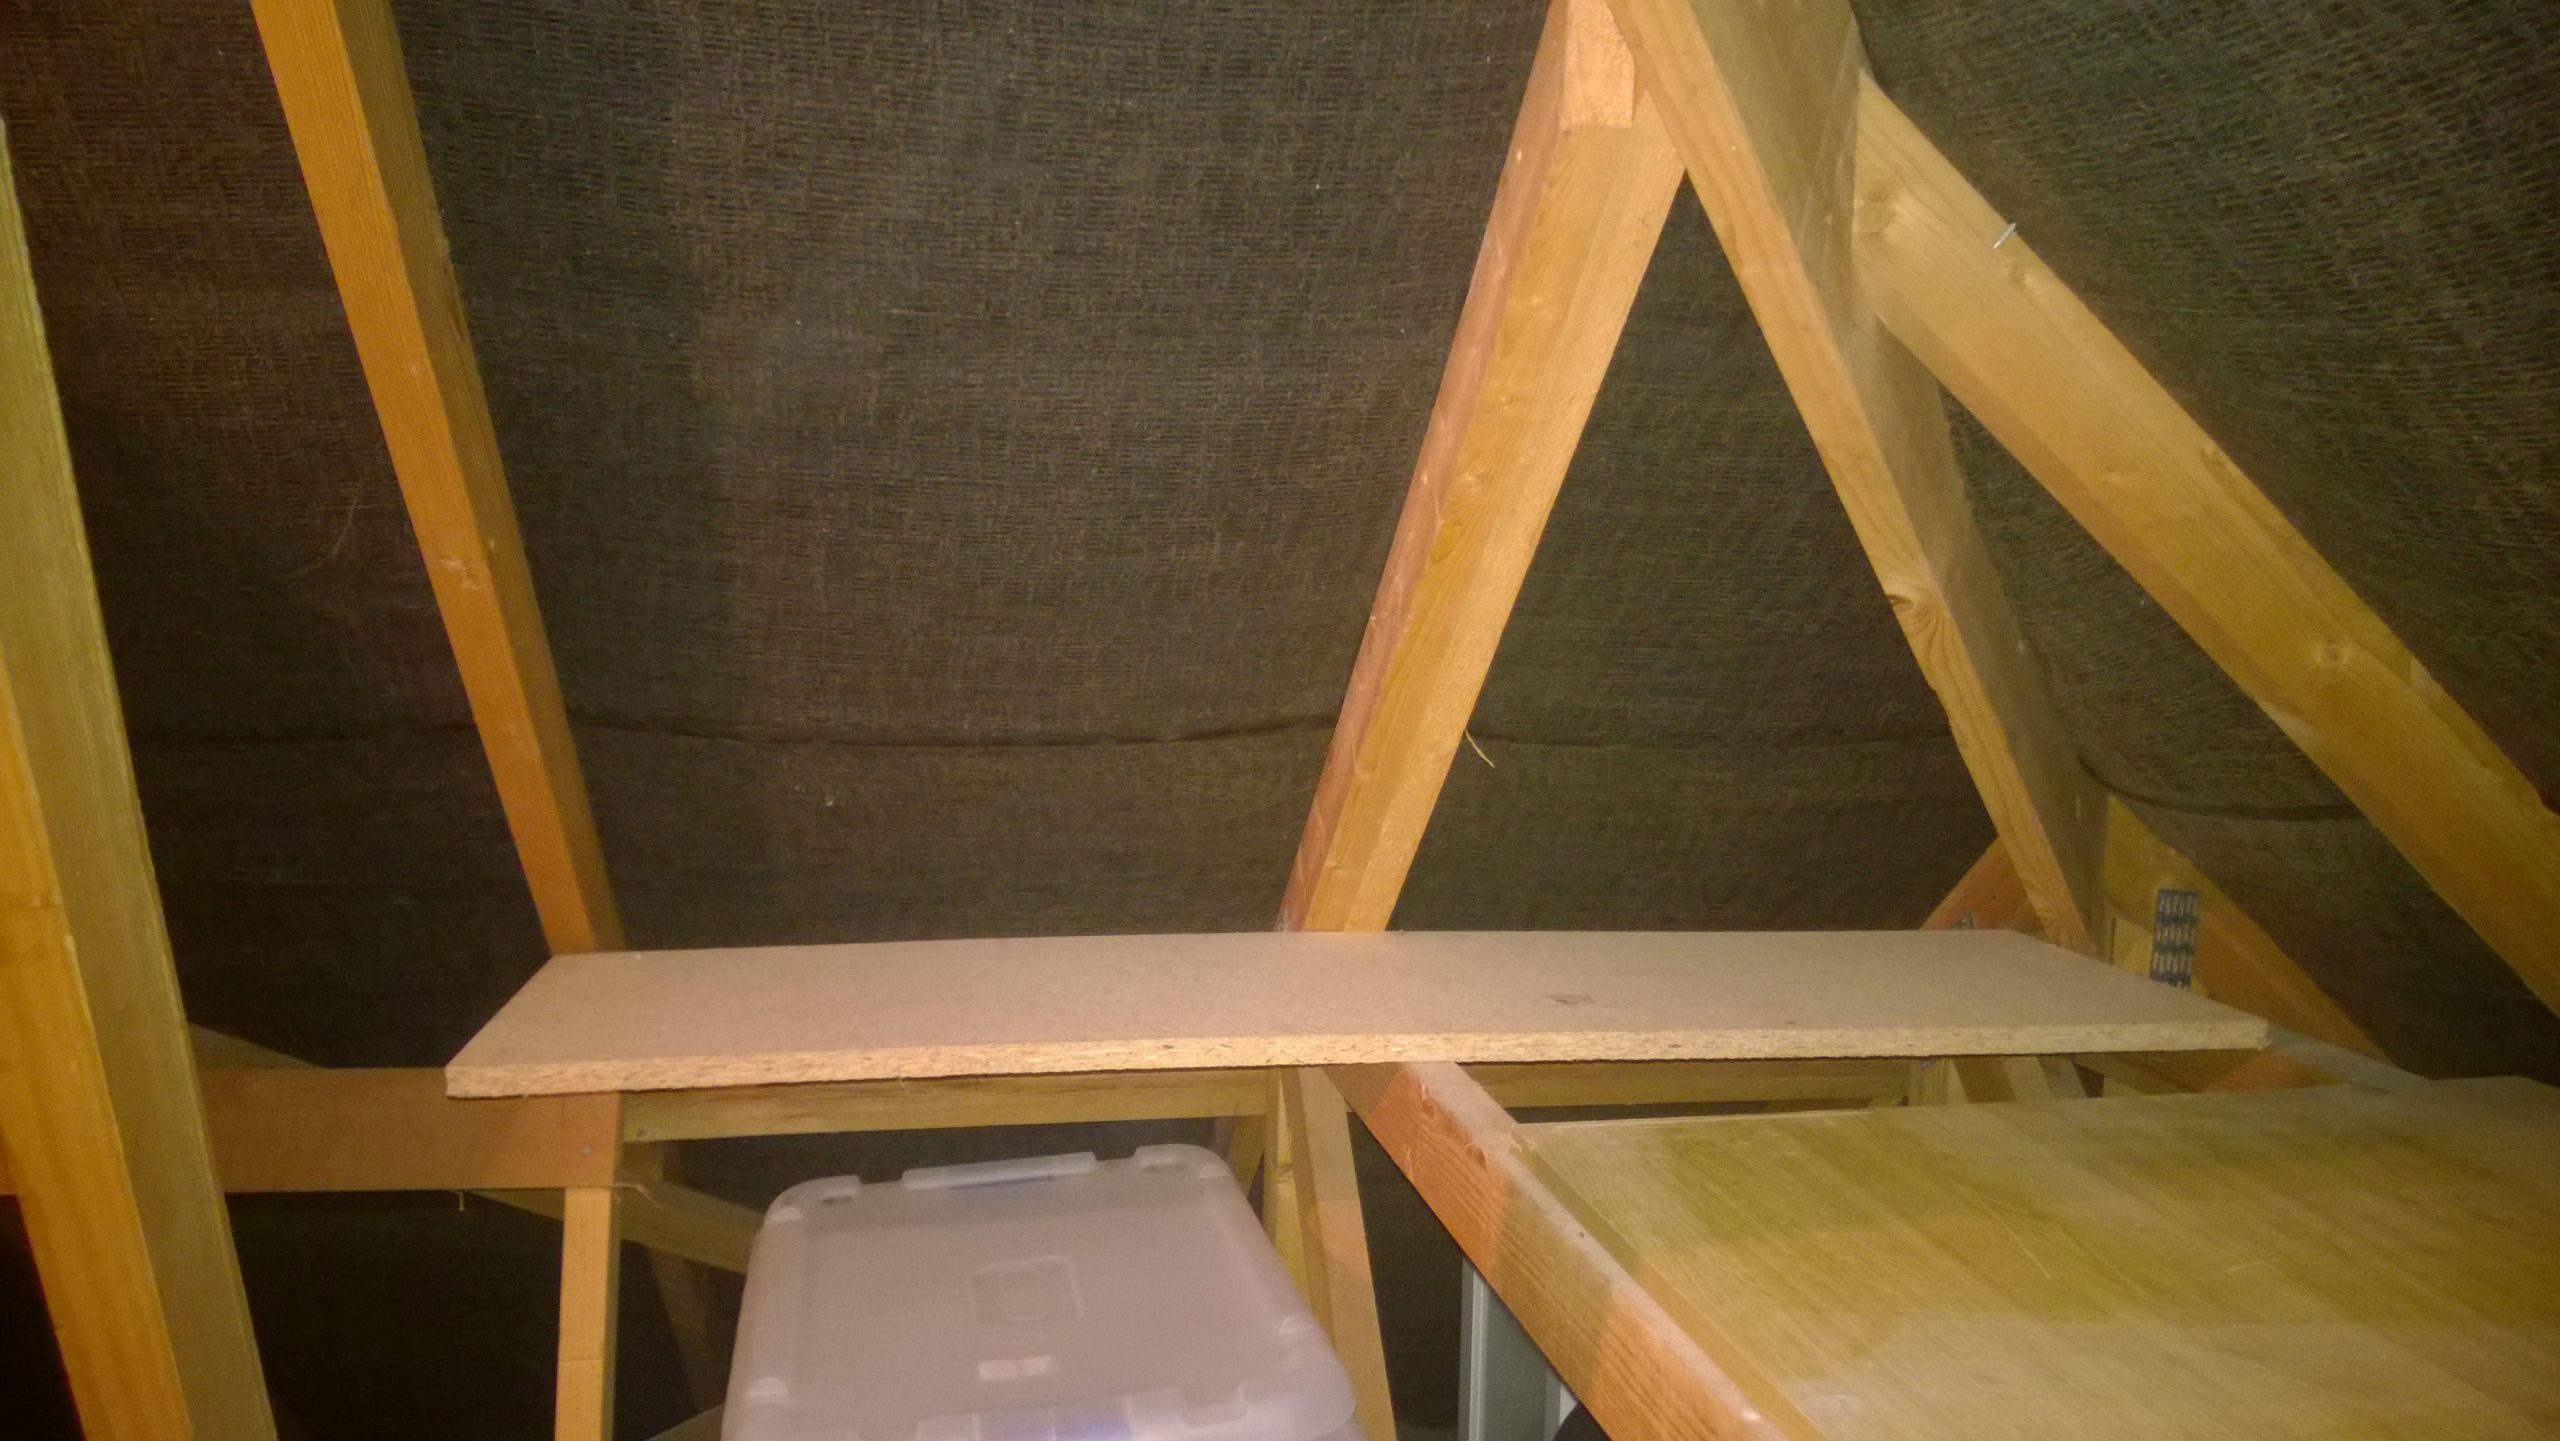
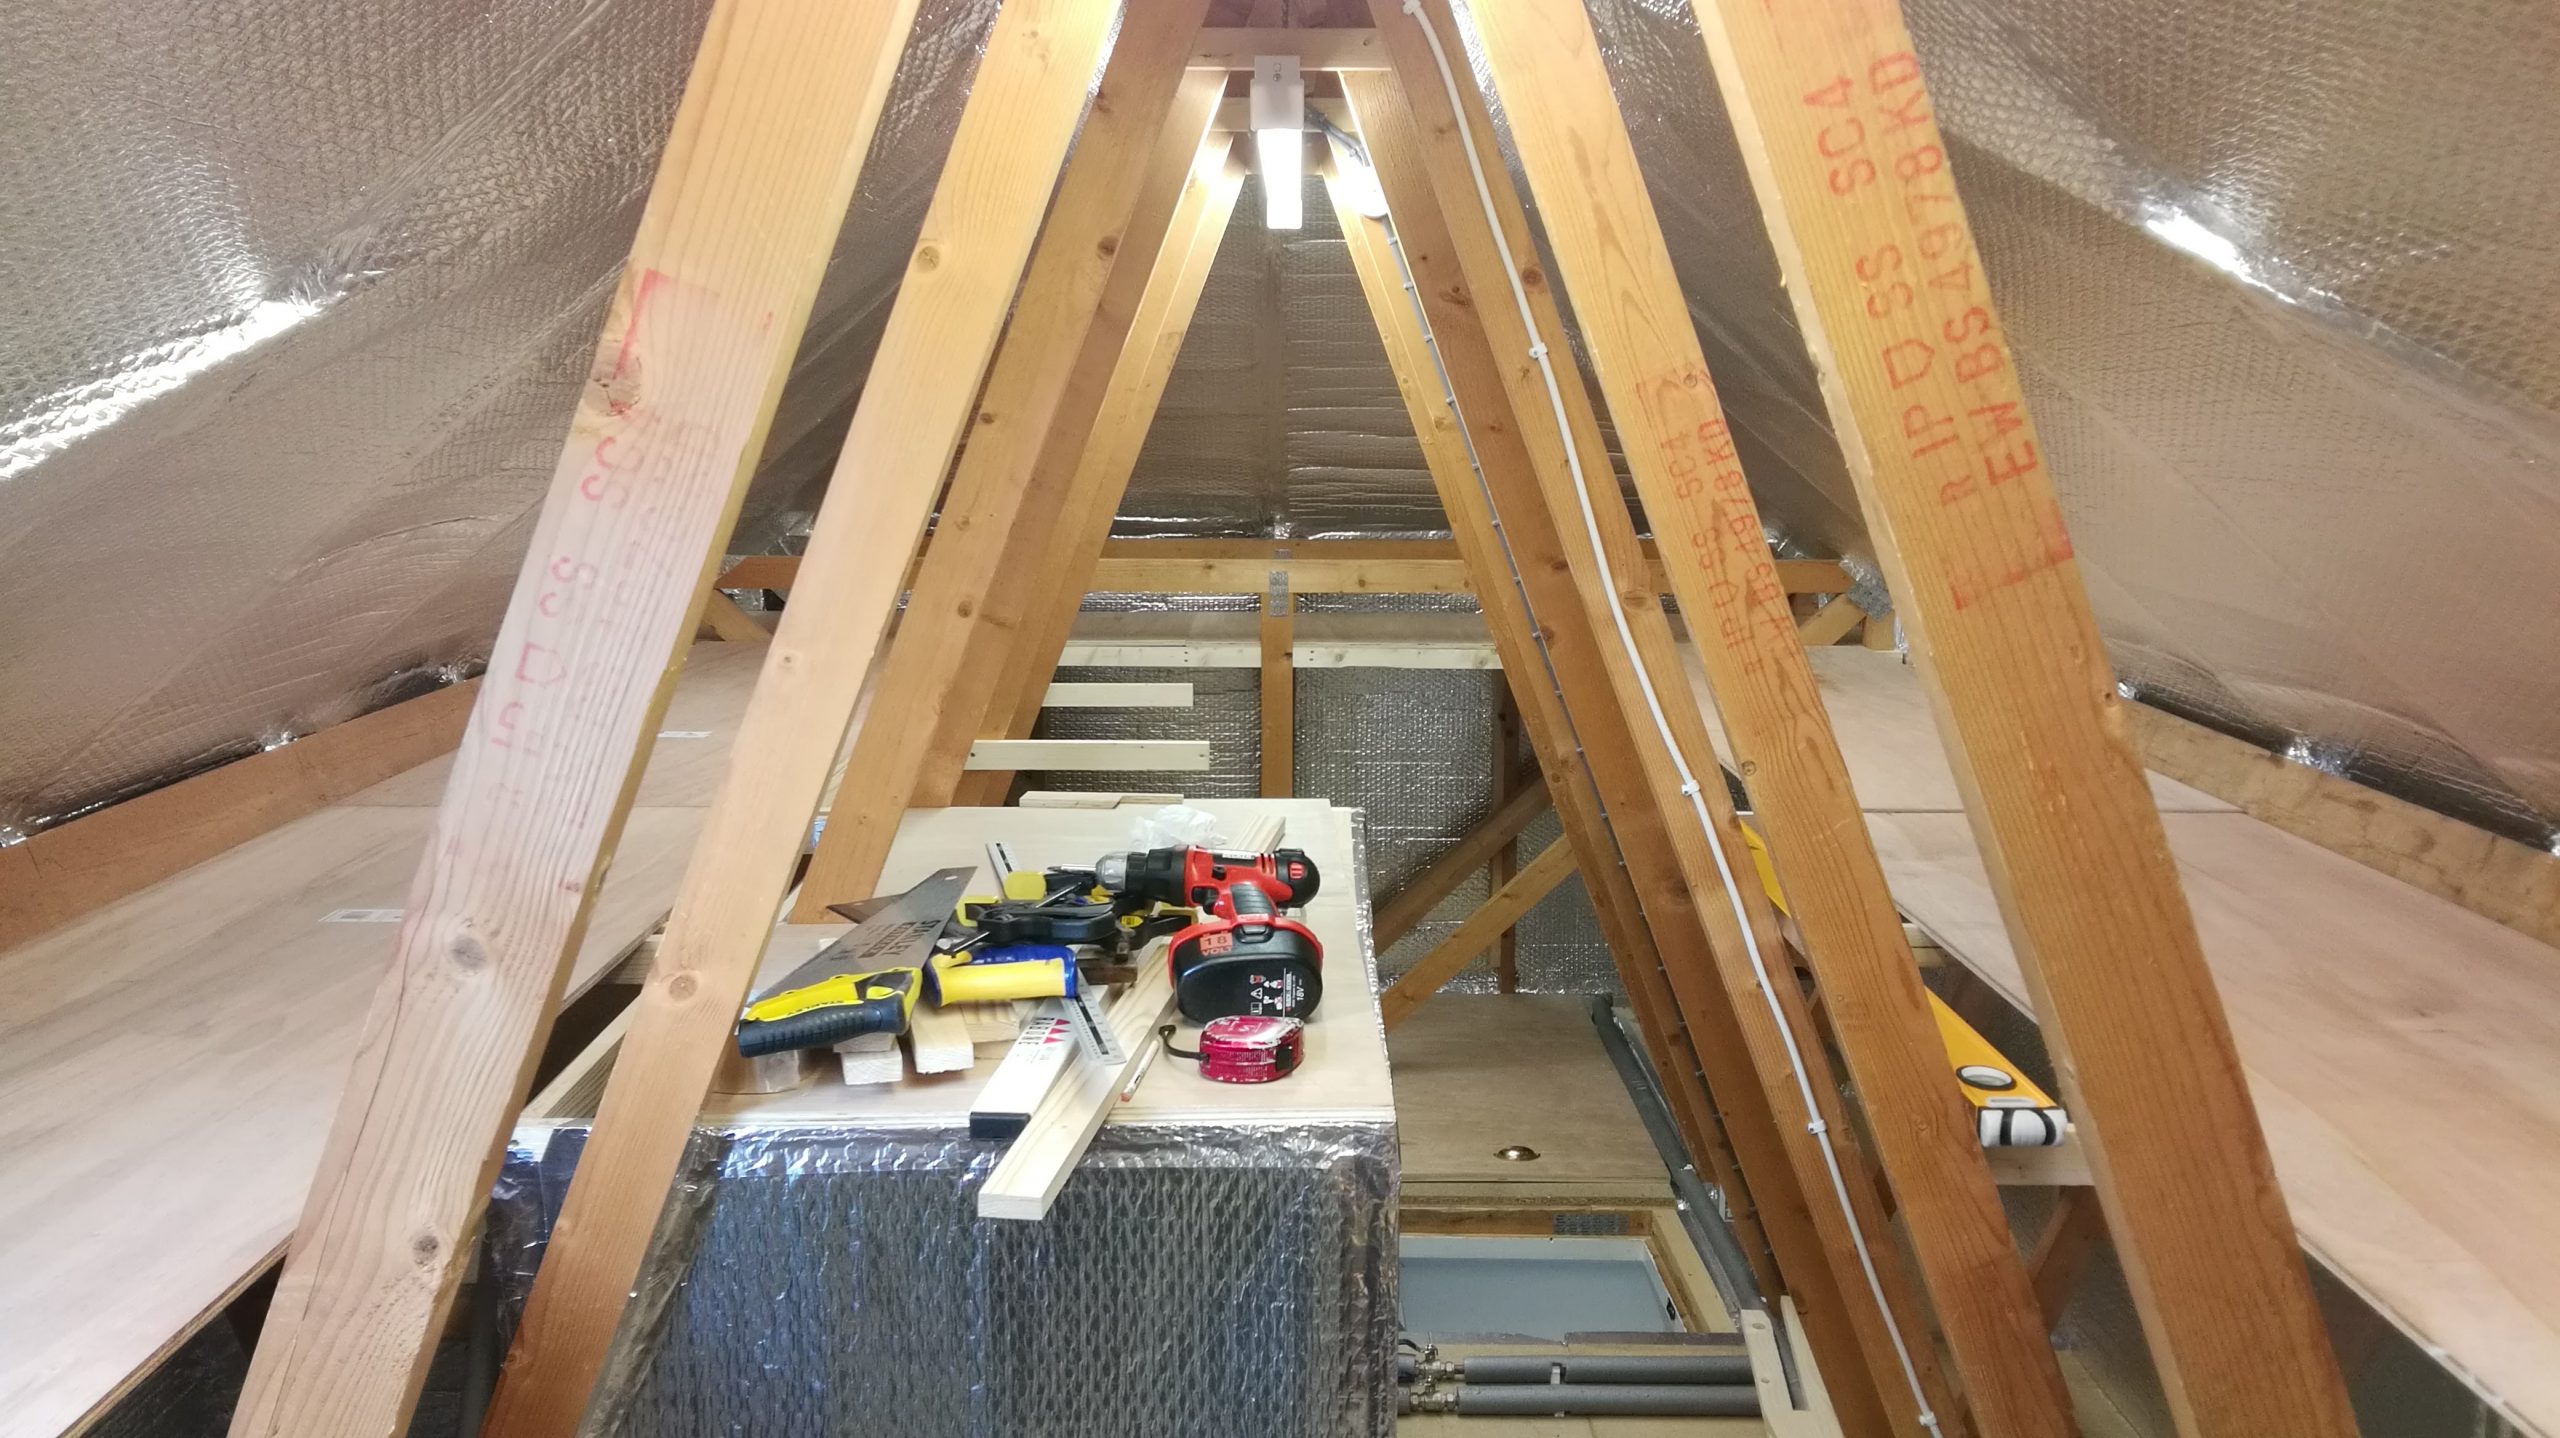
As you can see, there was the usual stuff stored up in the loft like storage boxes for moving, suitcases, etc. I was lucky in that I had a second loft over a converted double garage attached to the house so I was able to
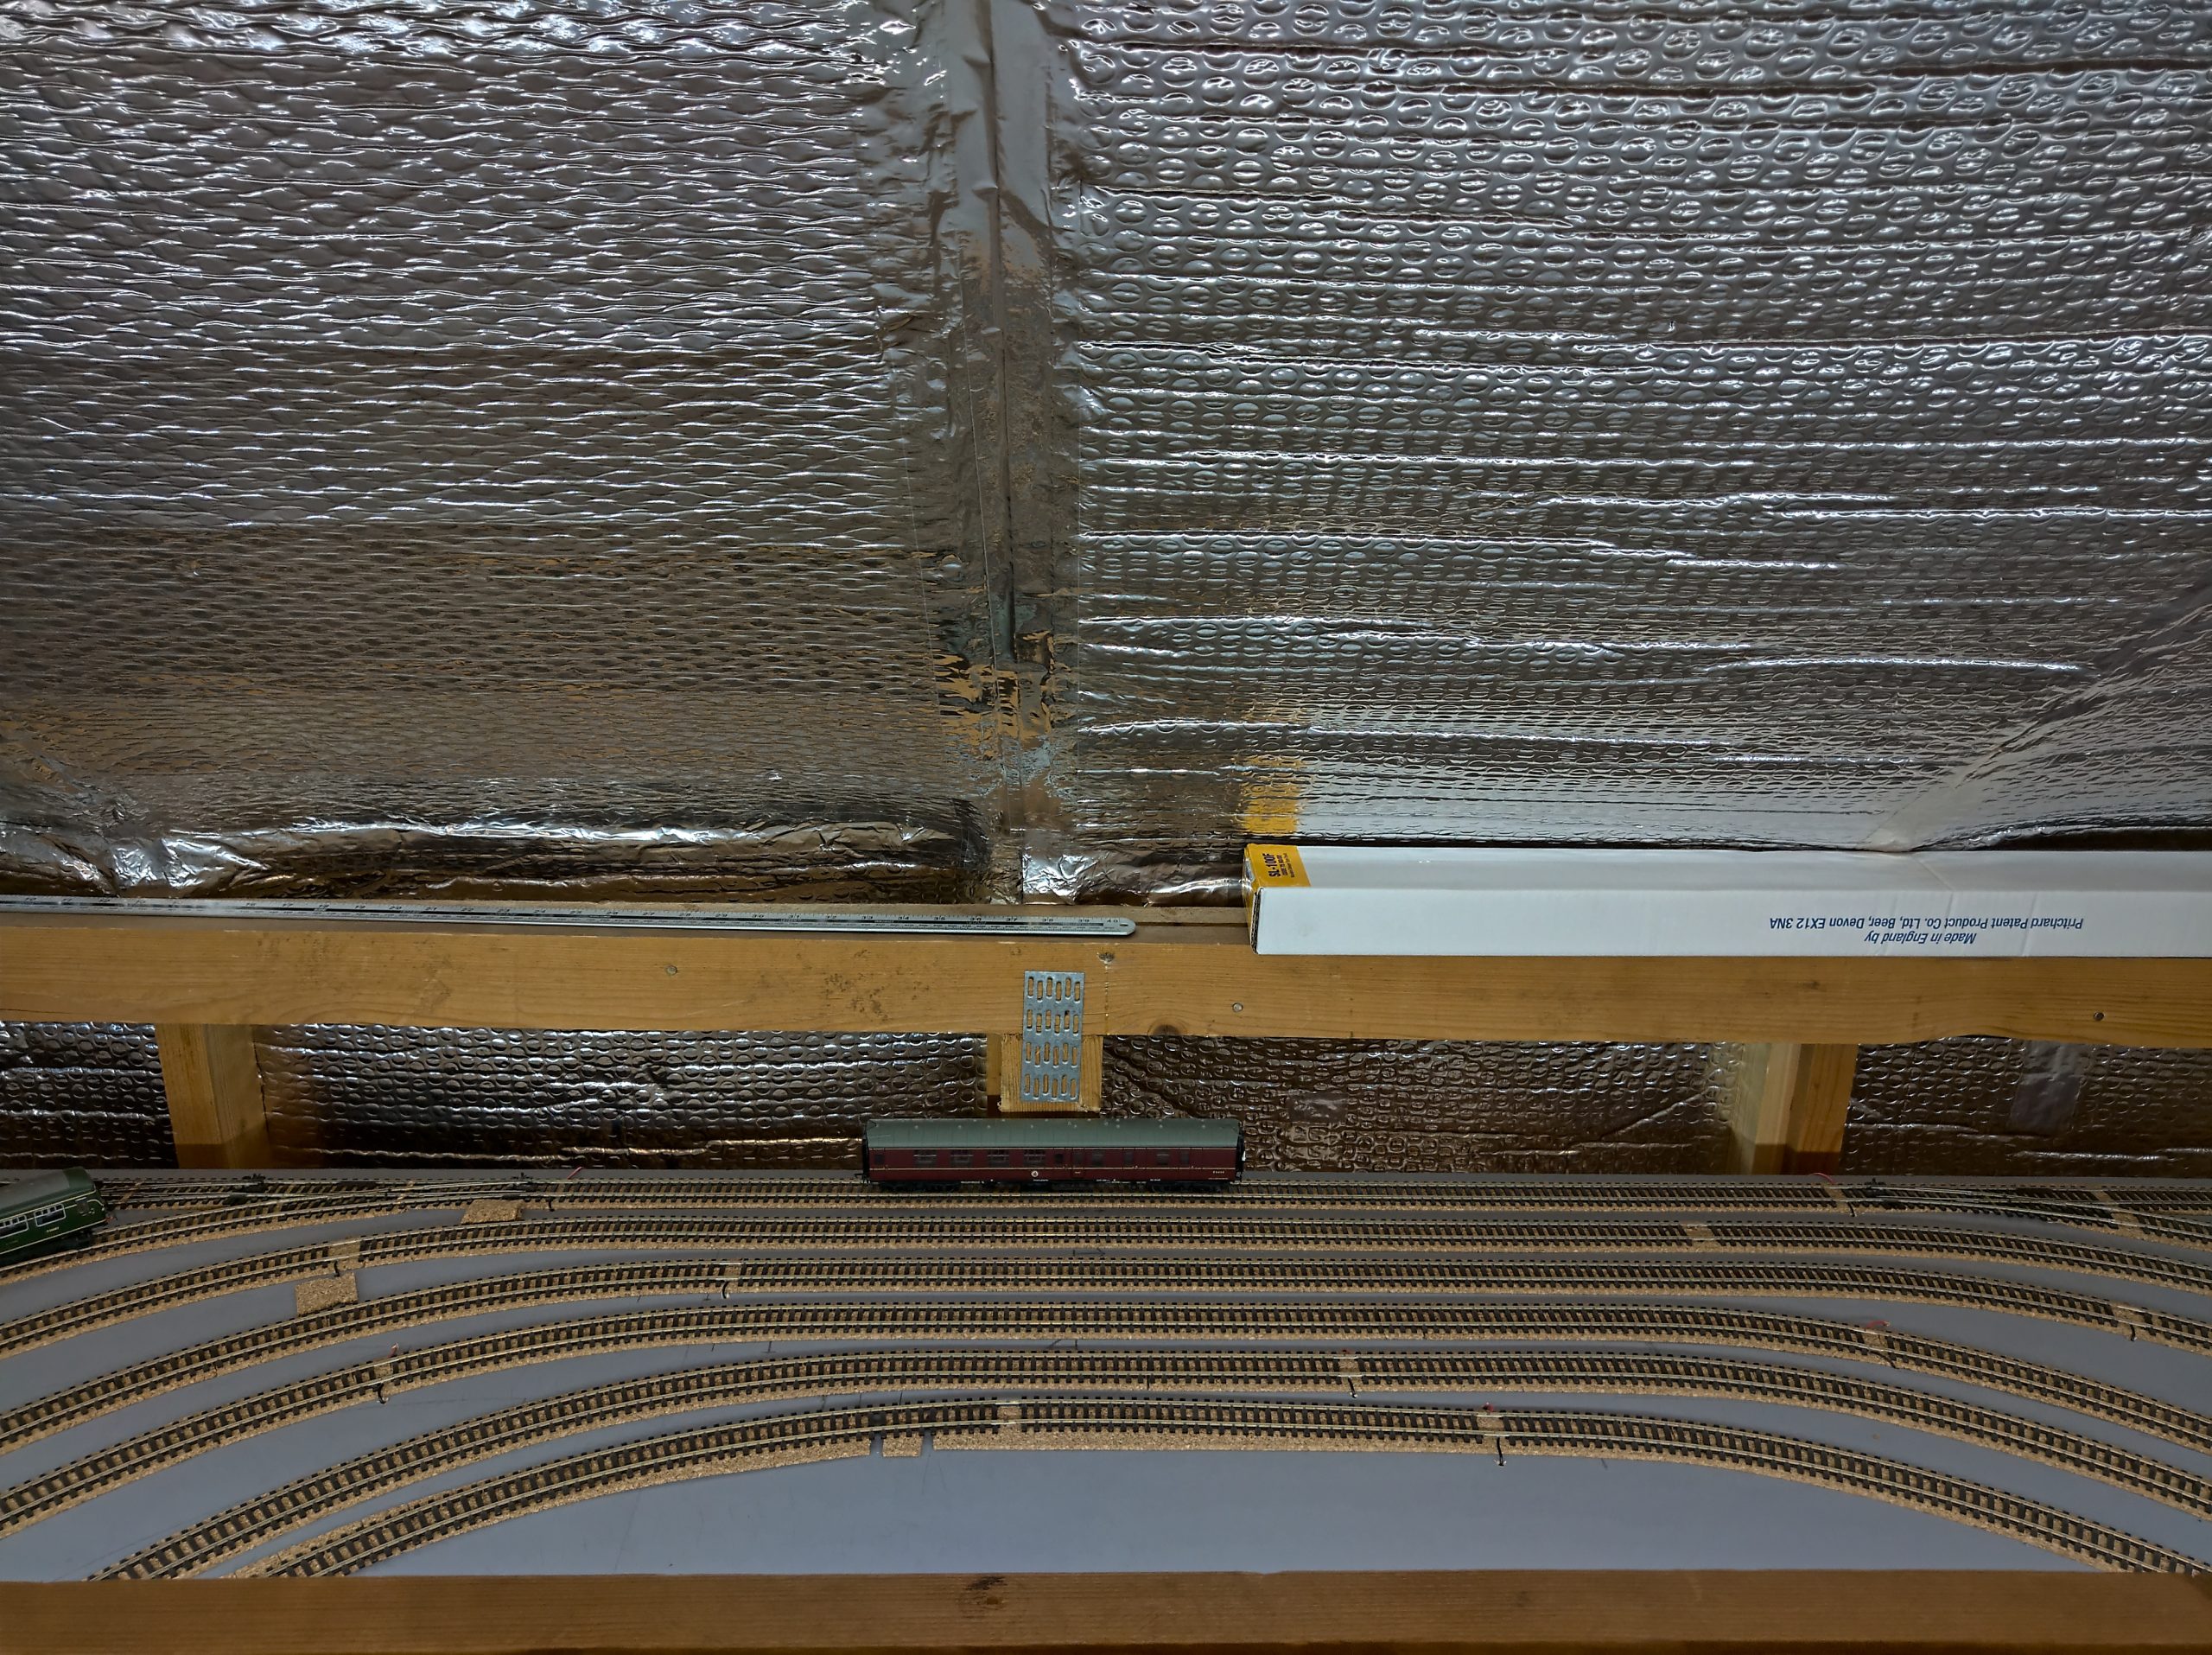
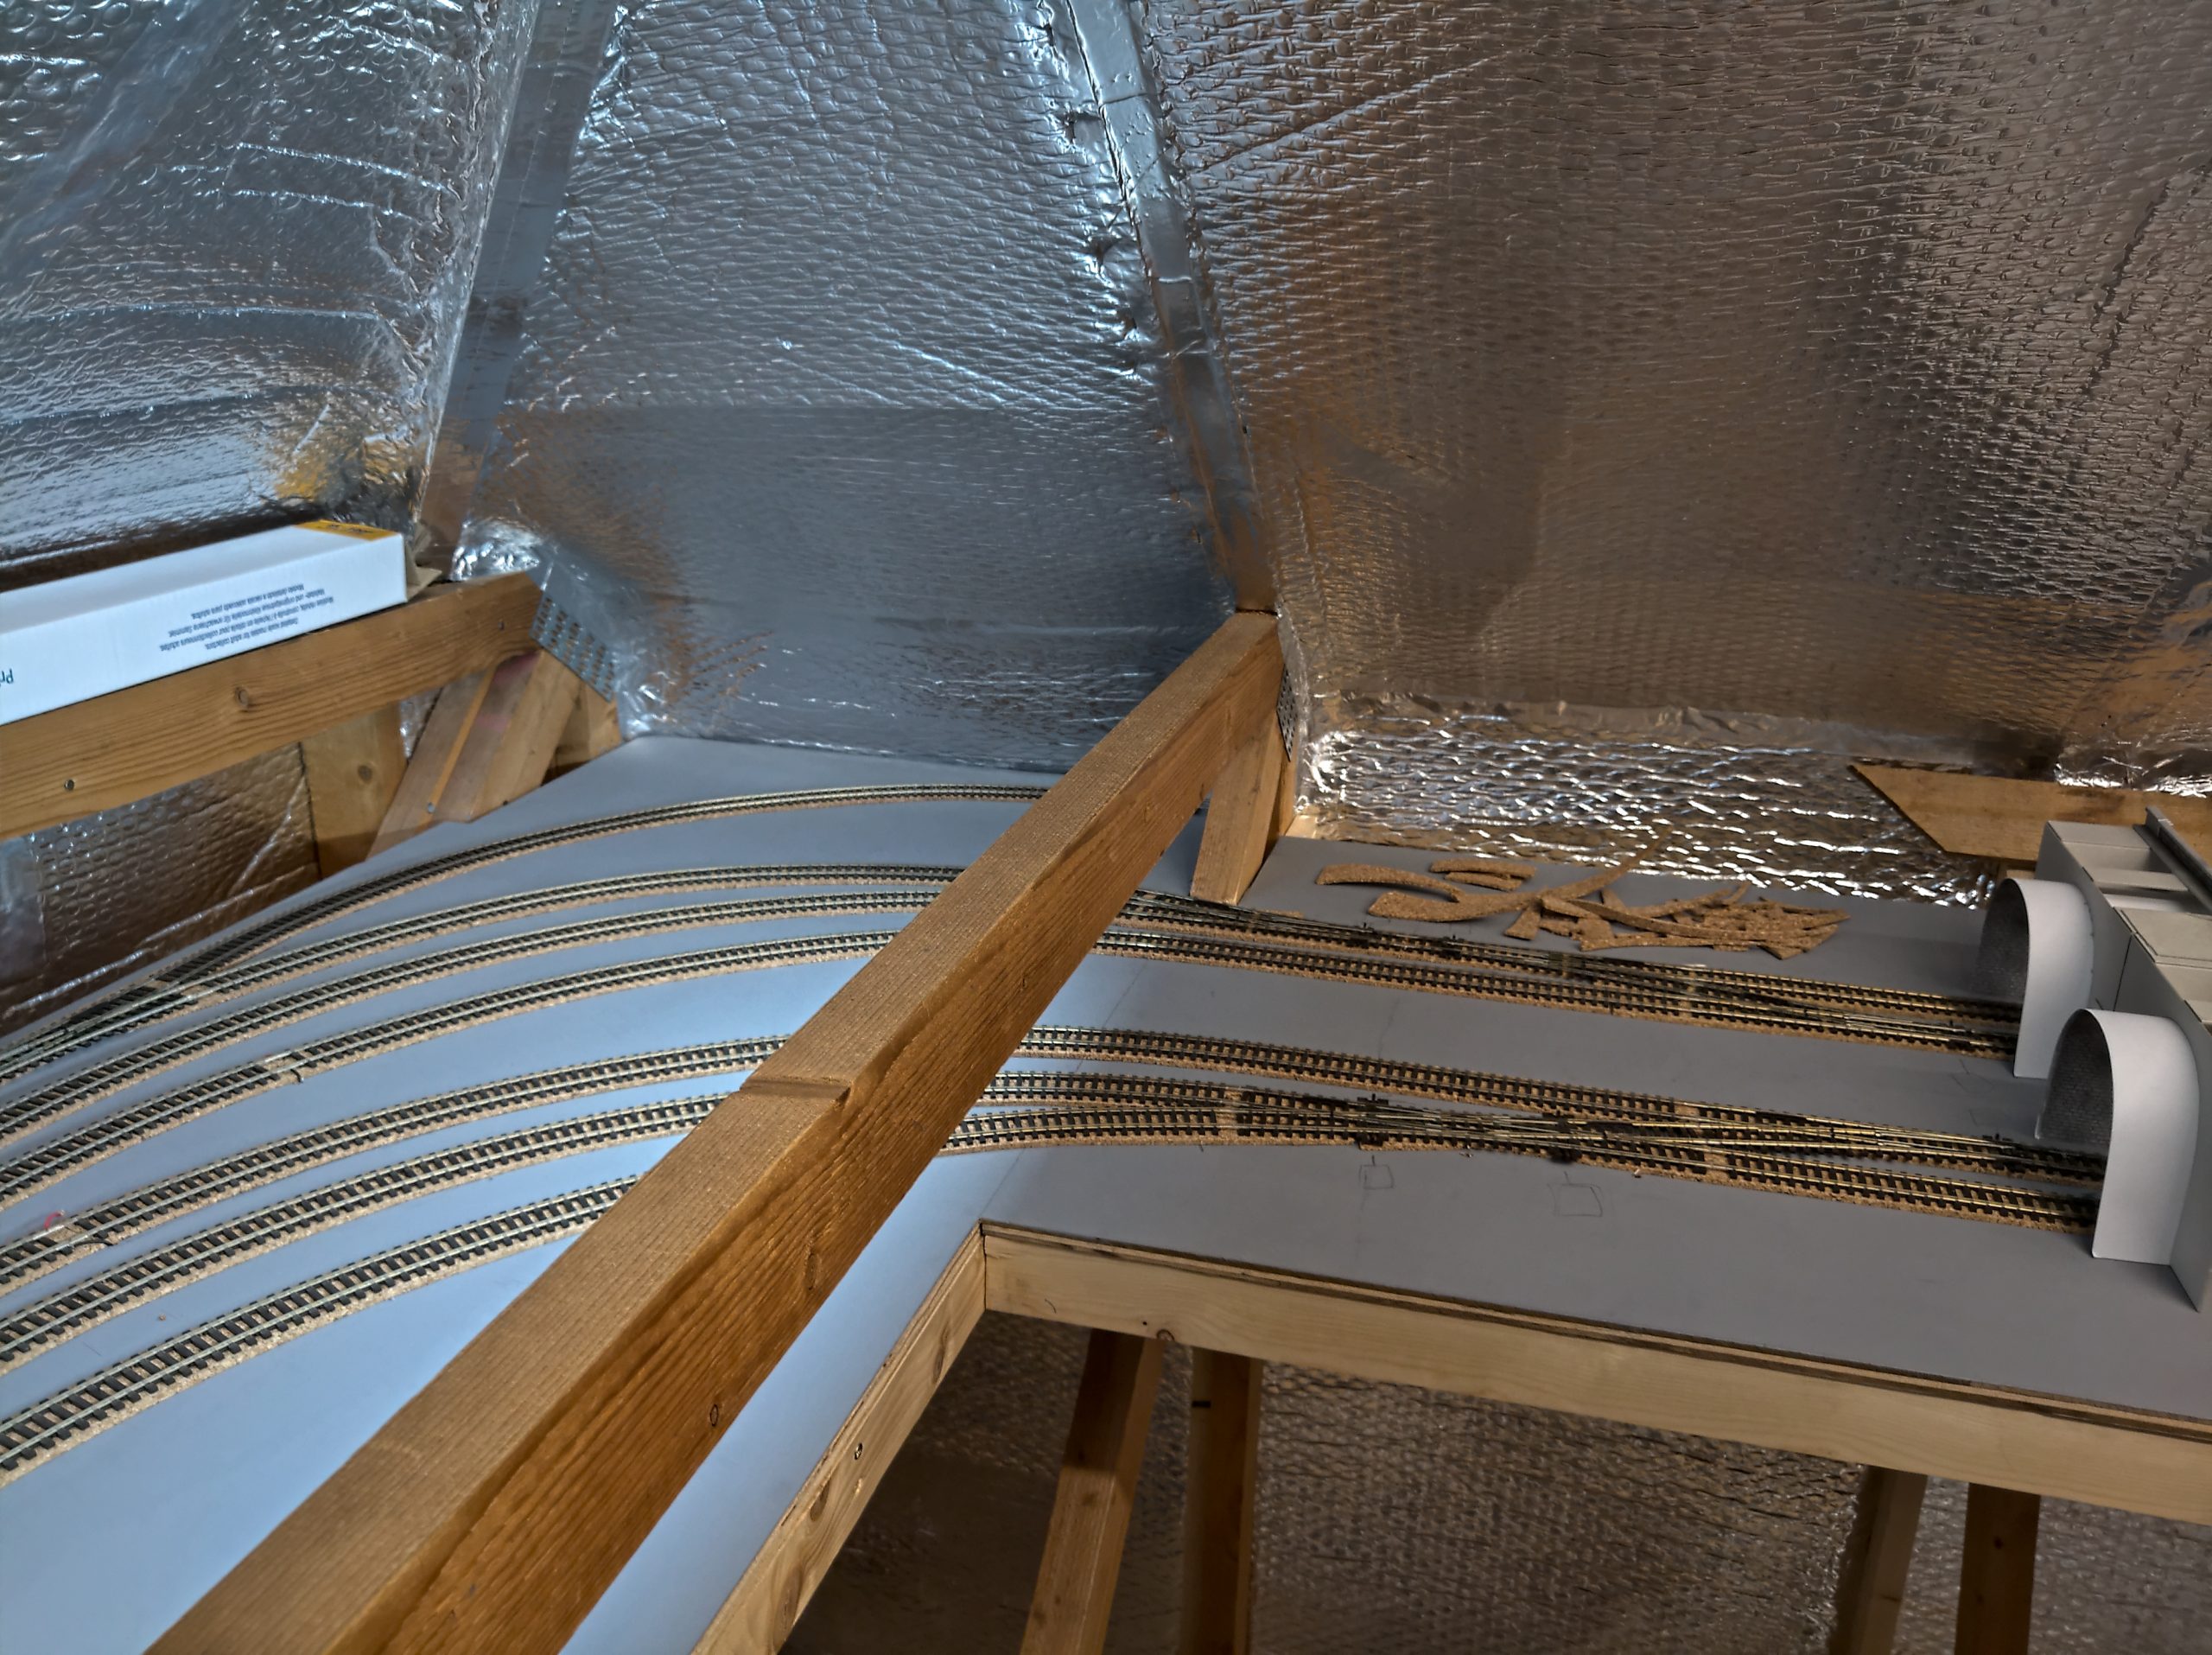
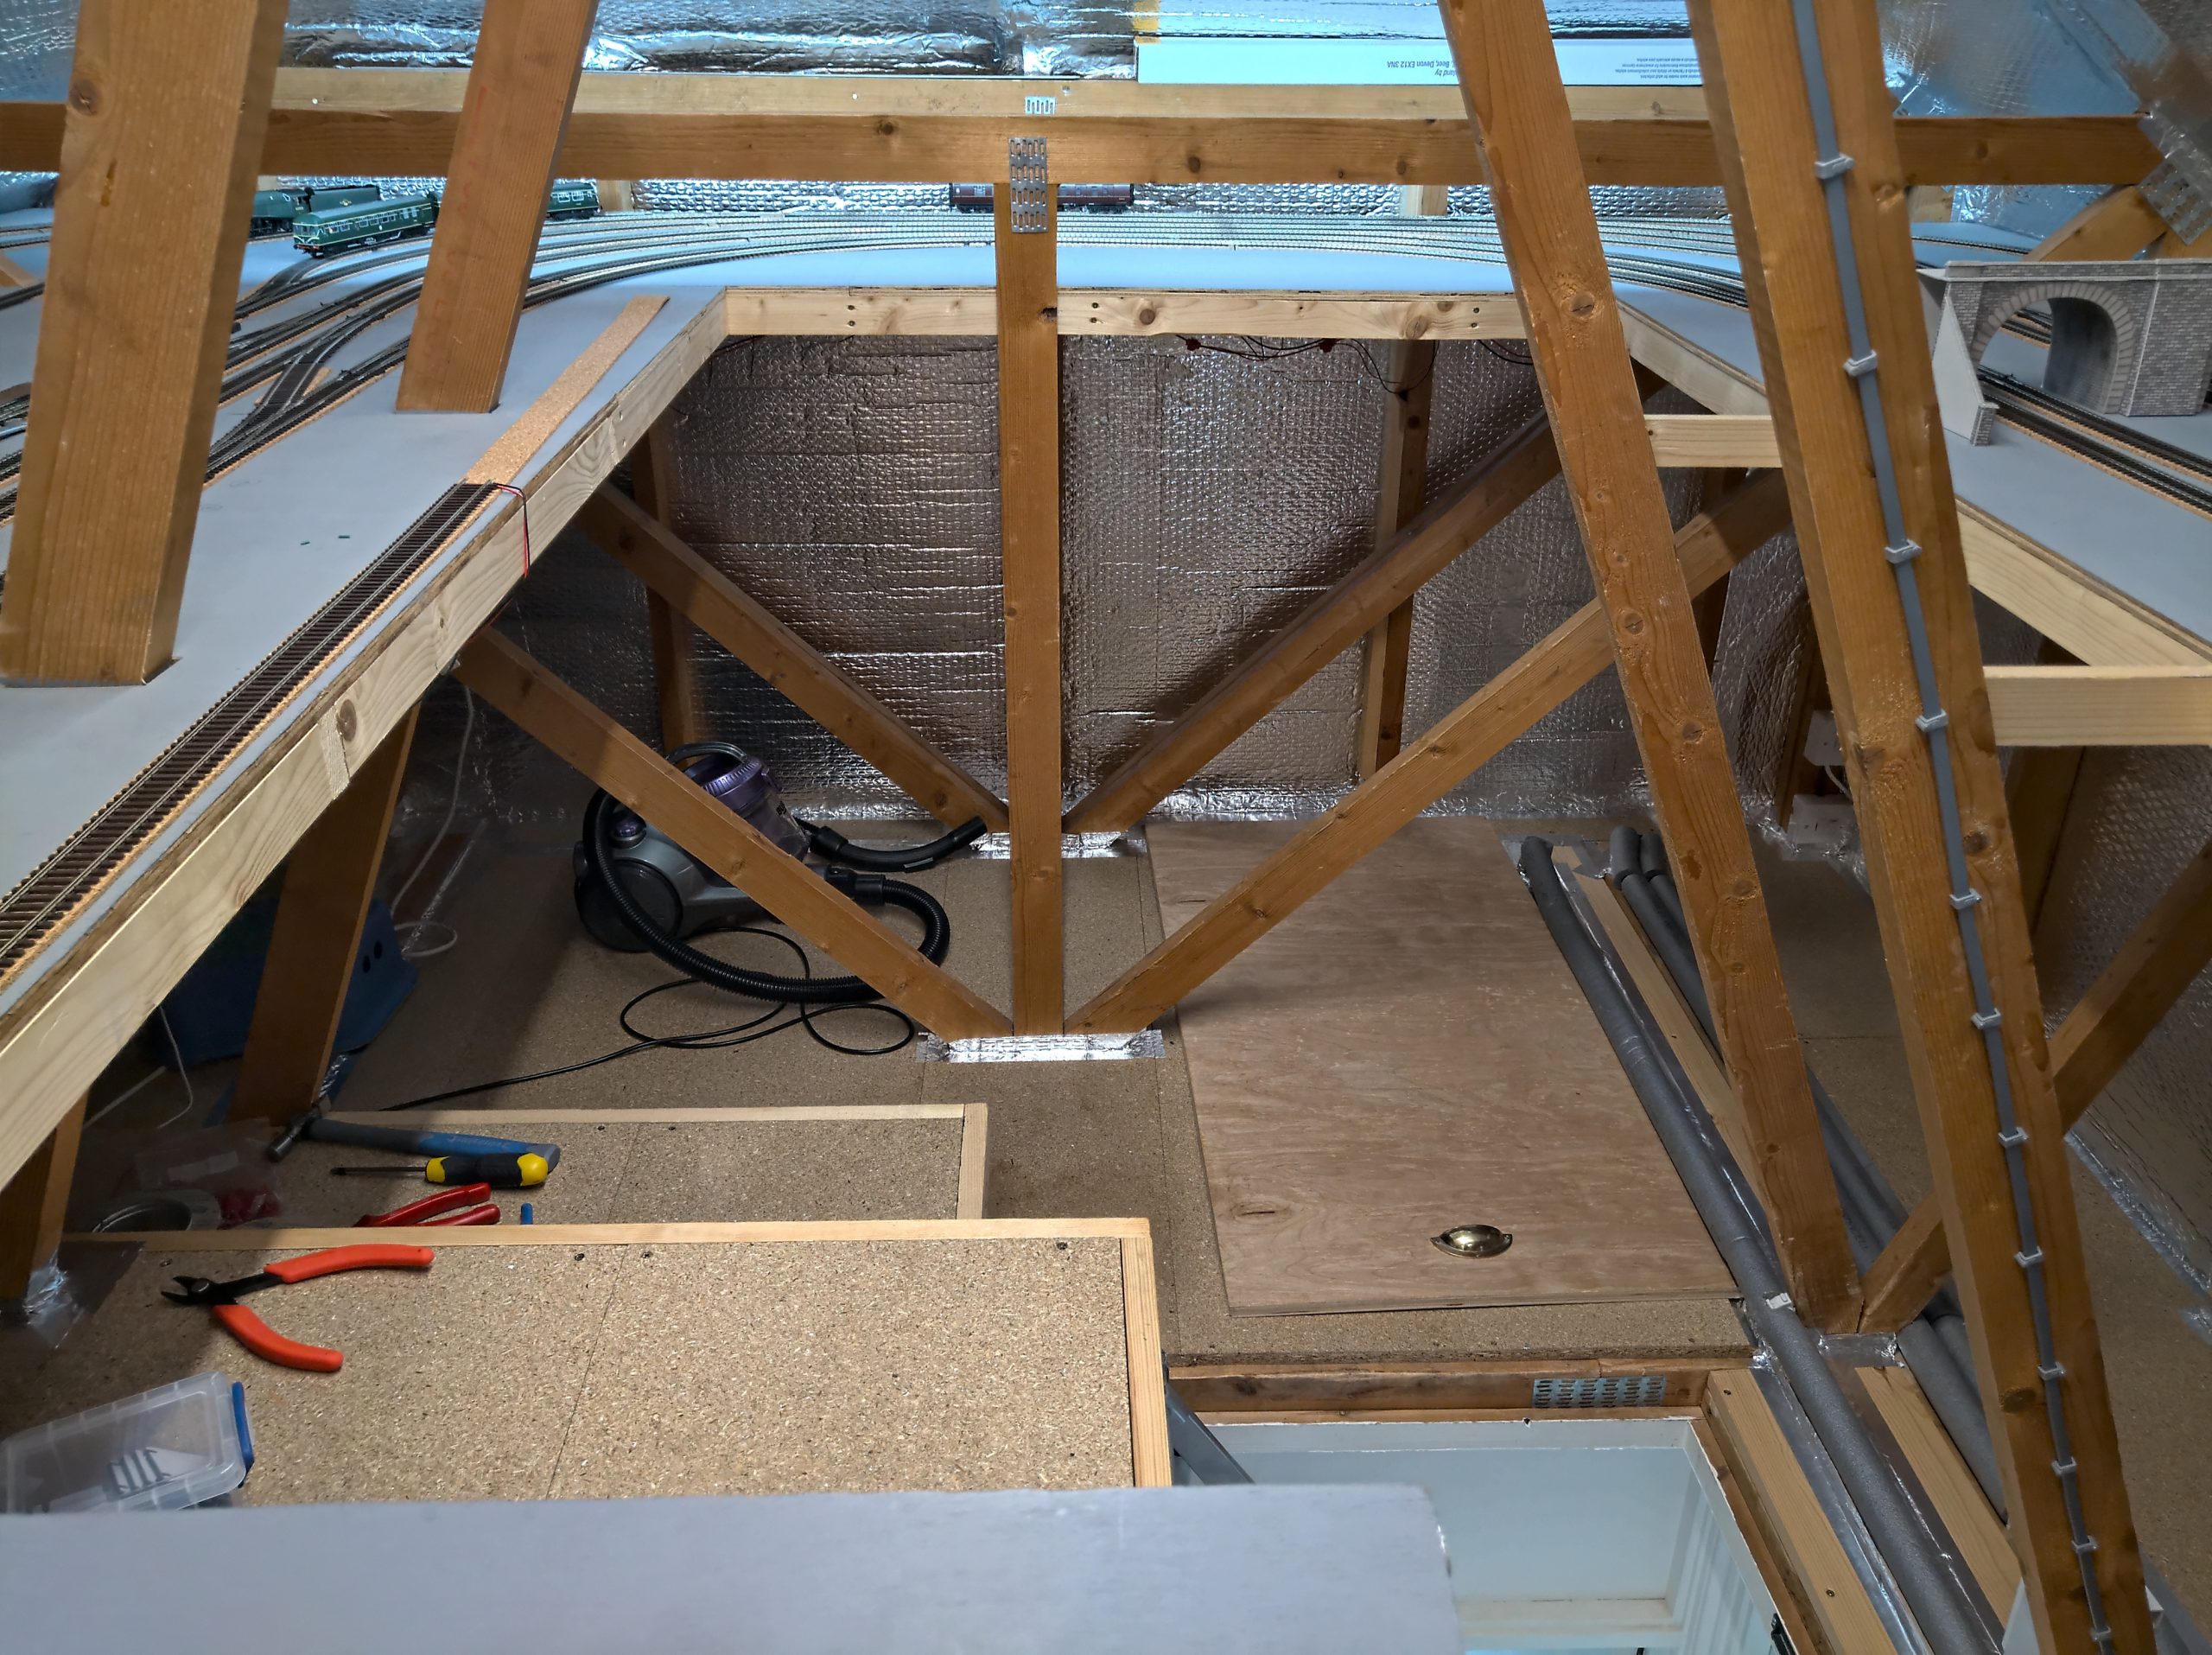
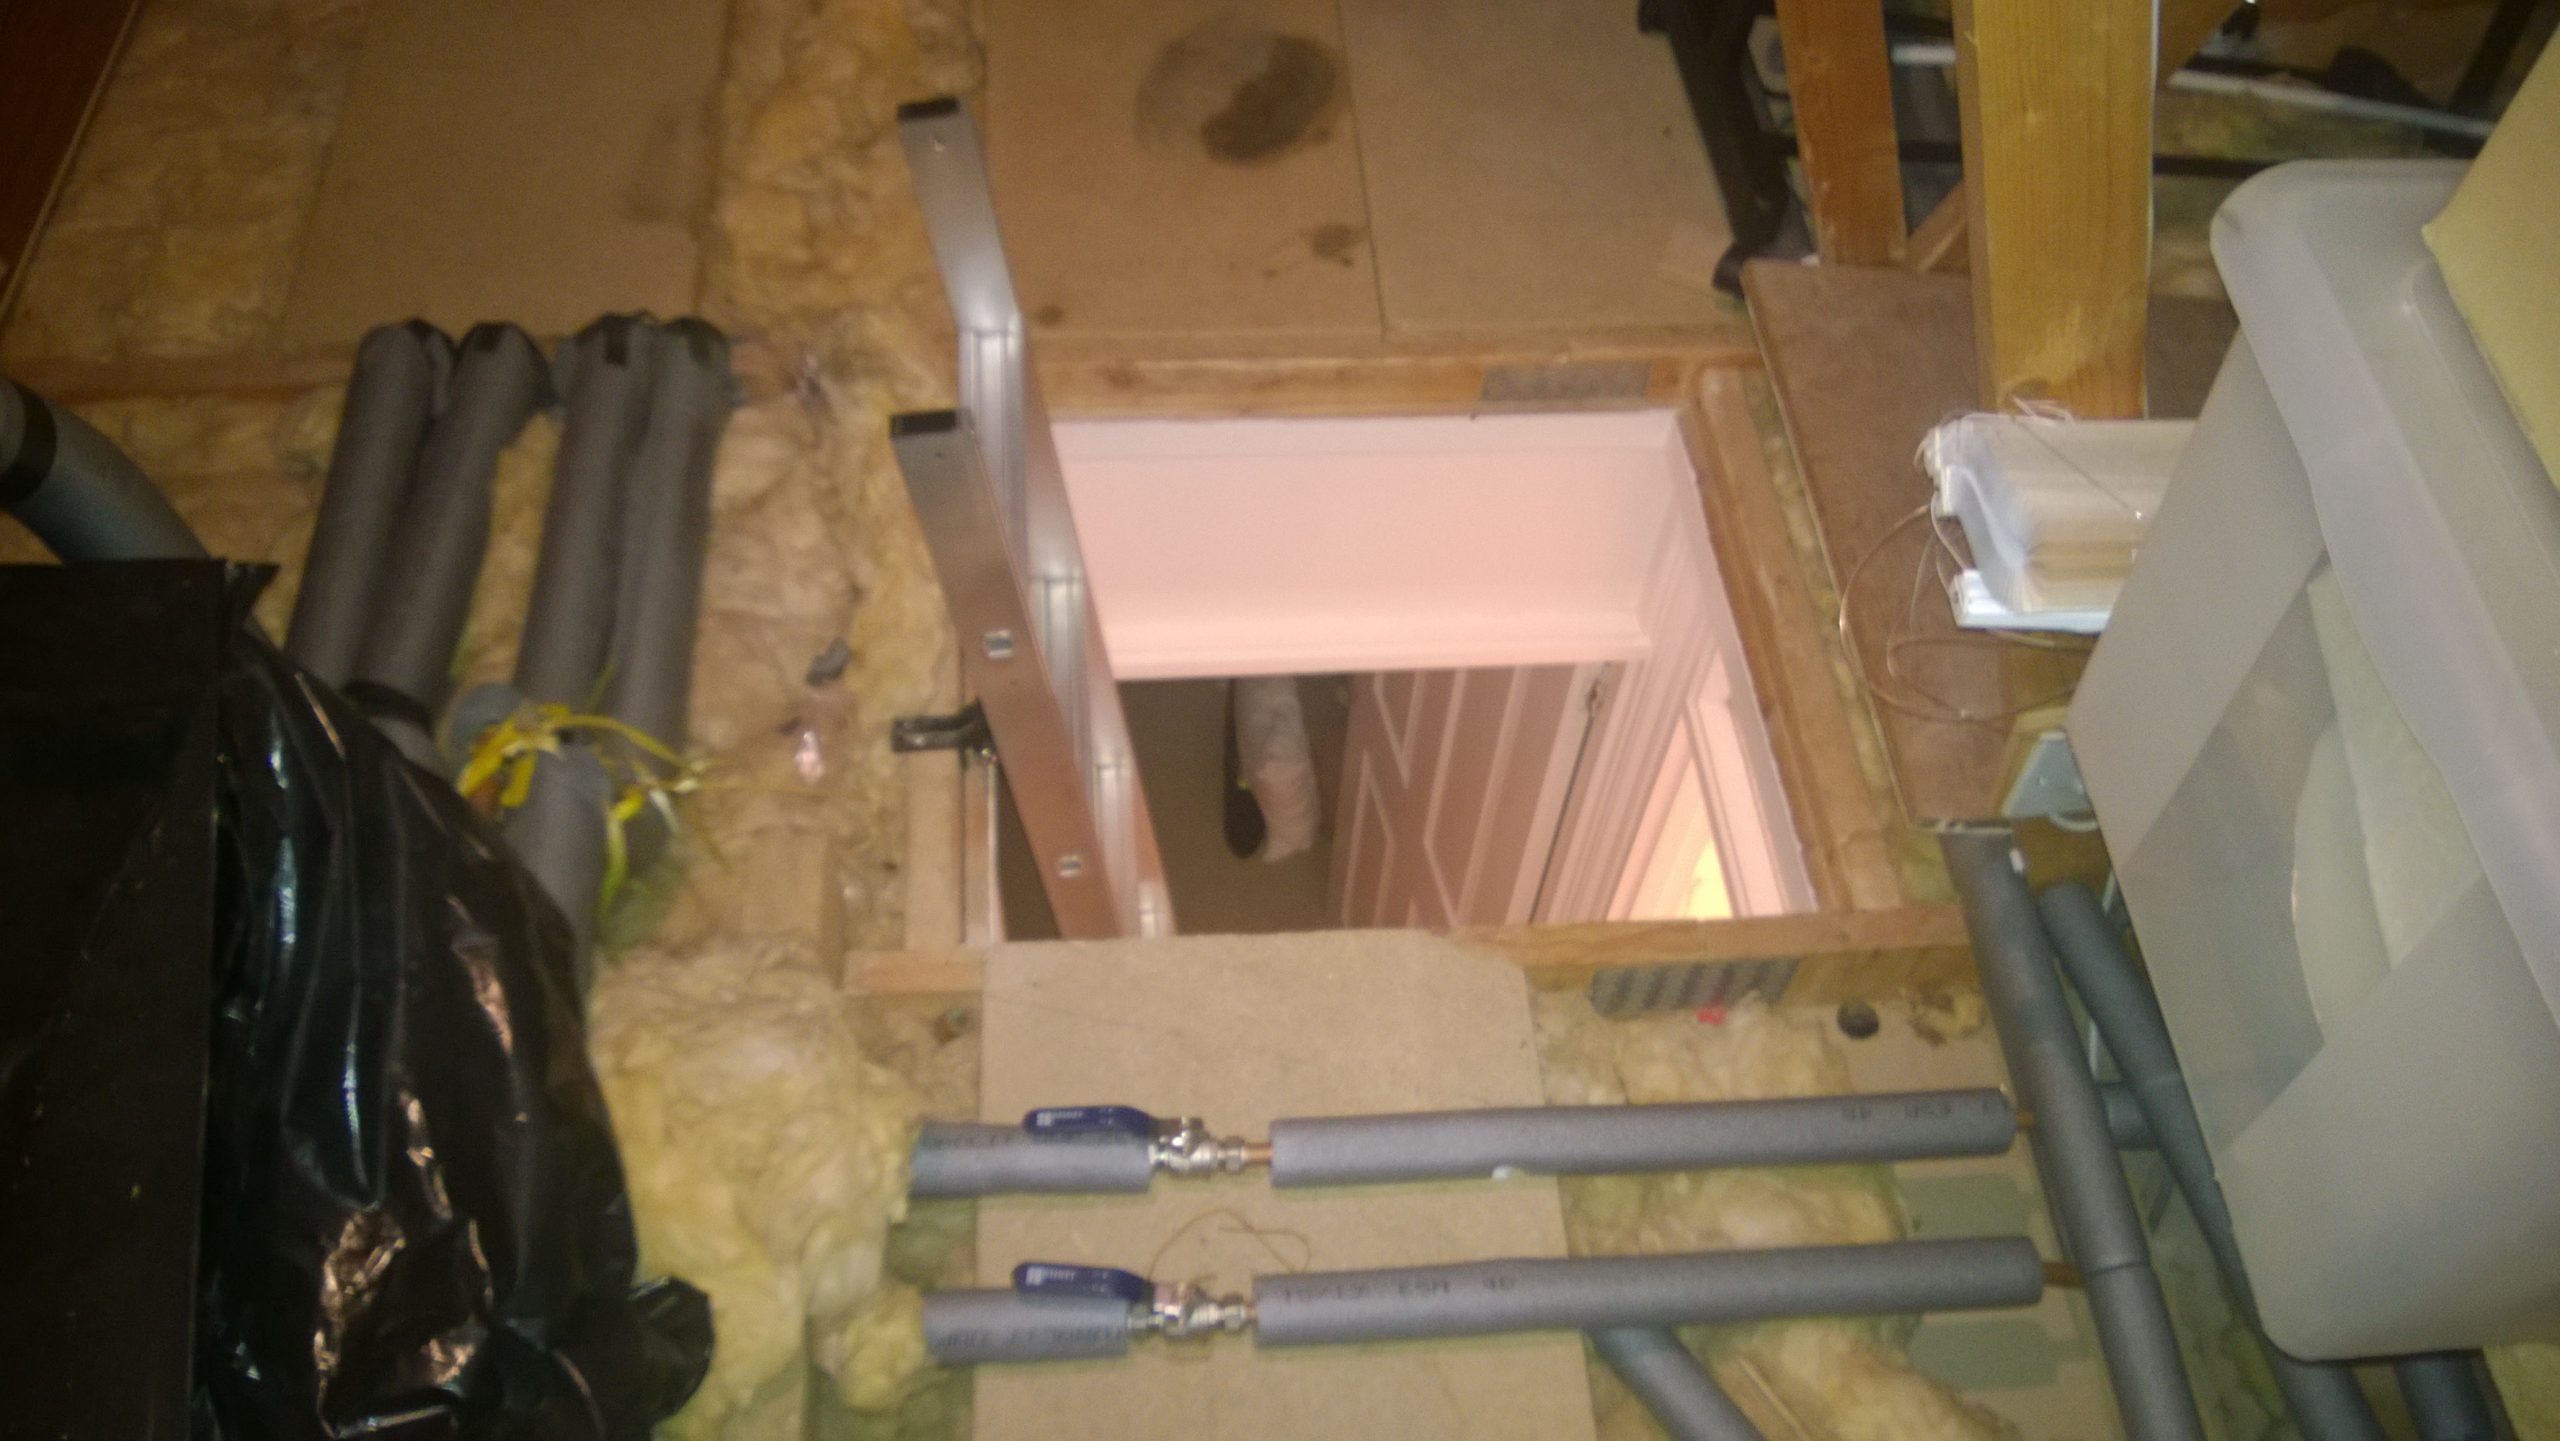
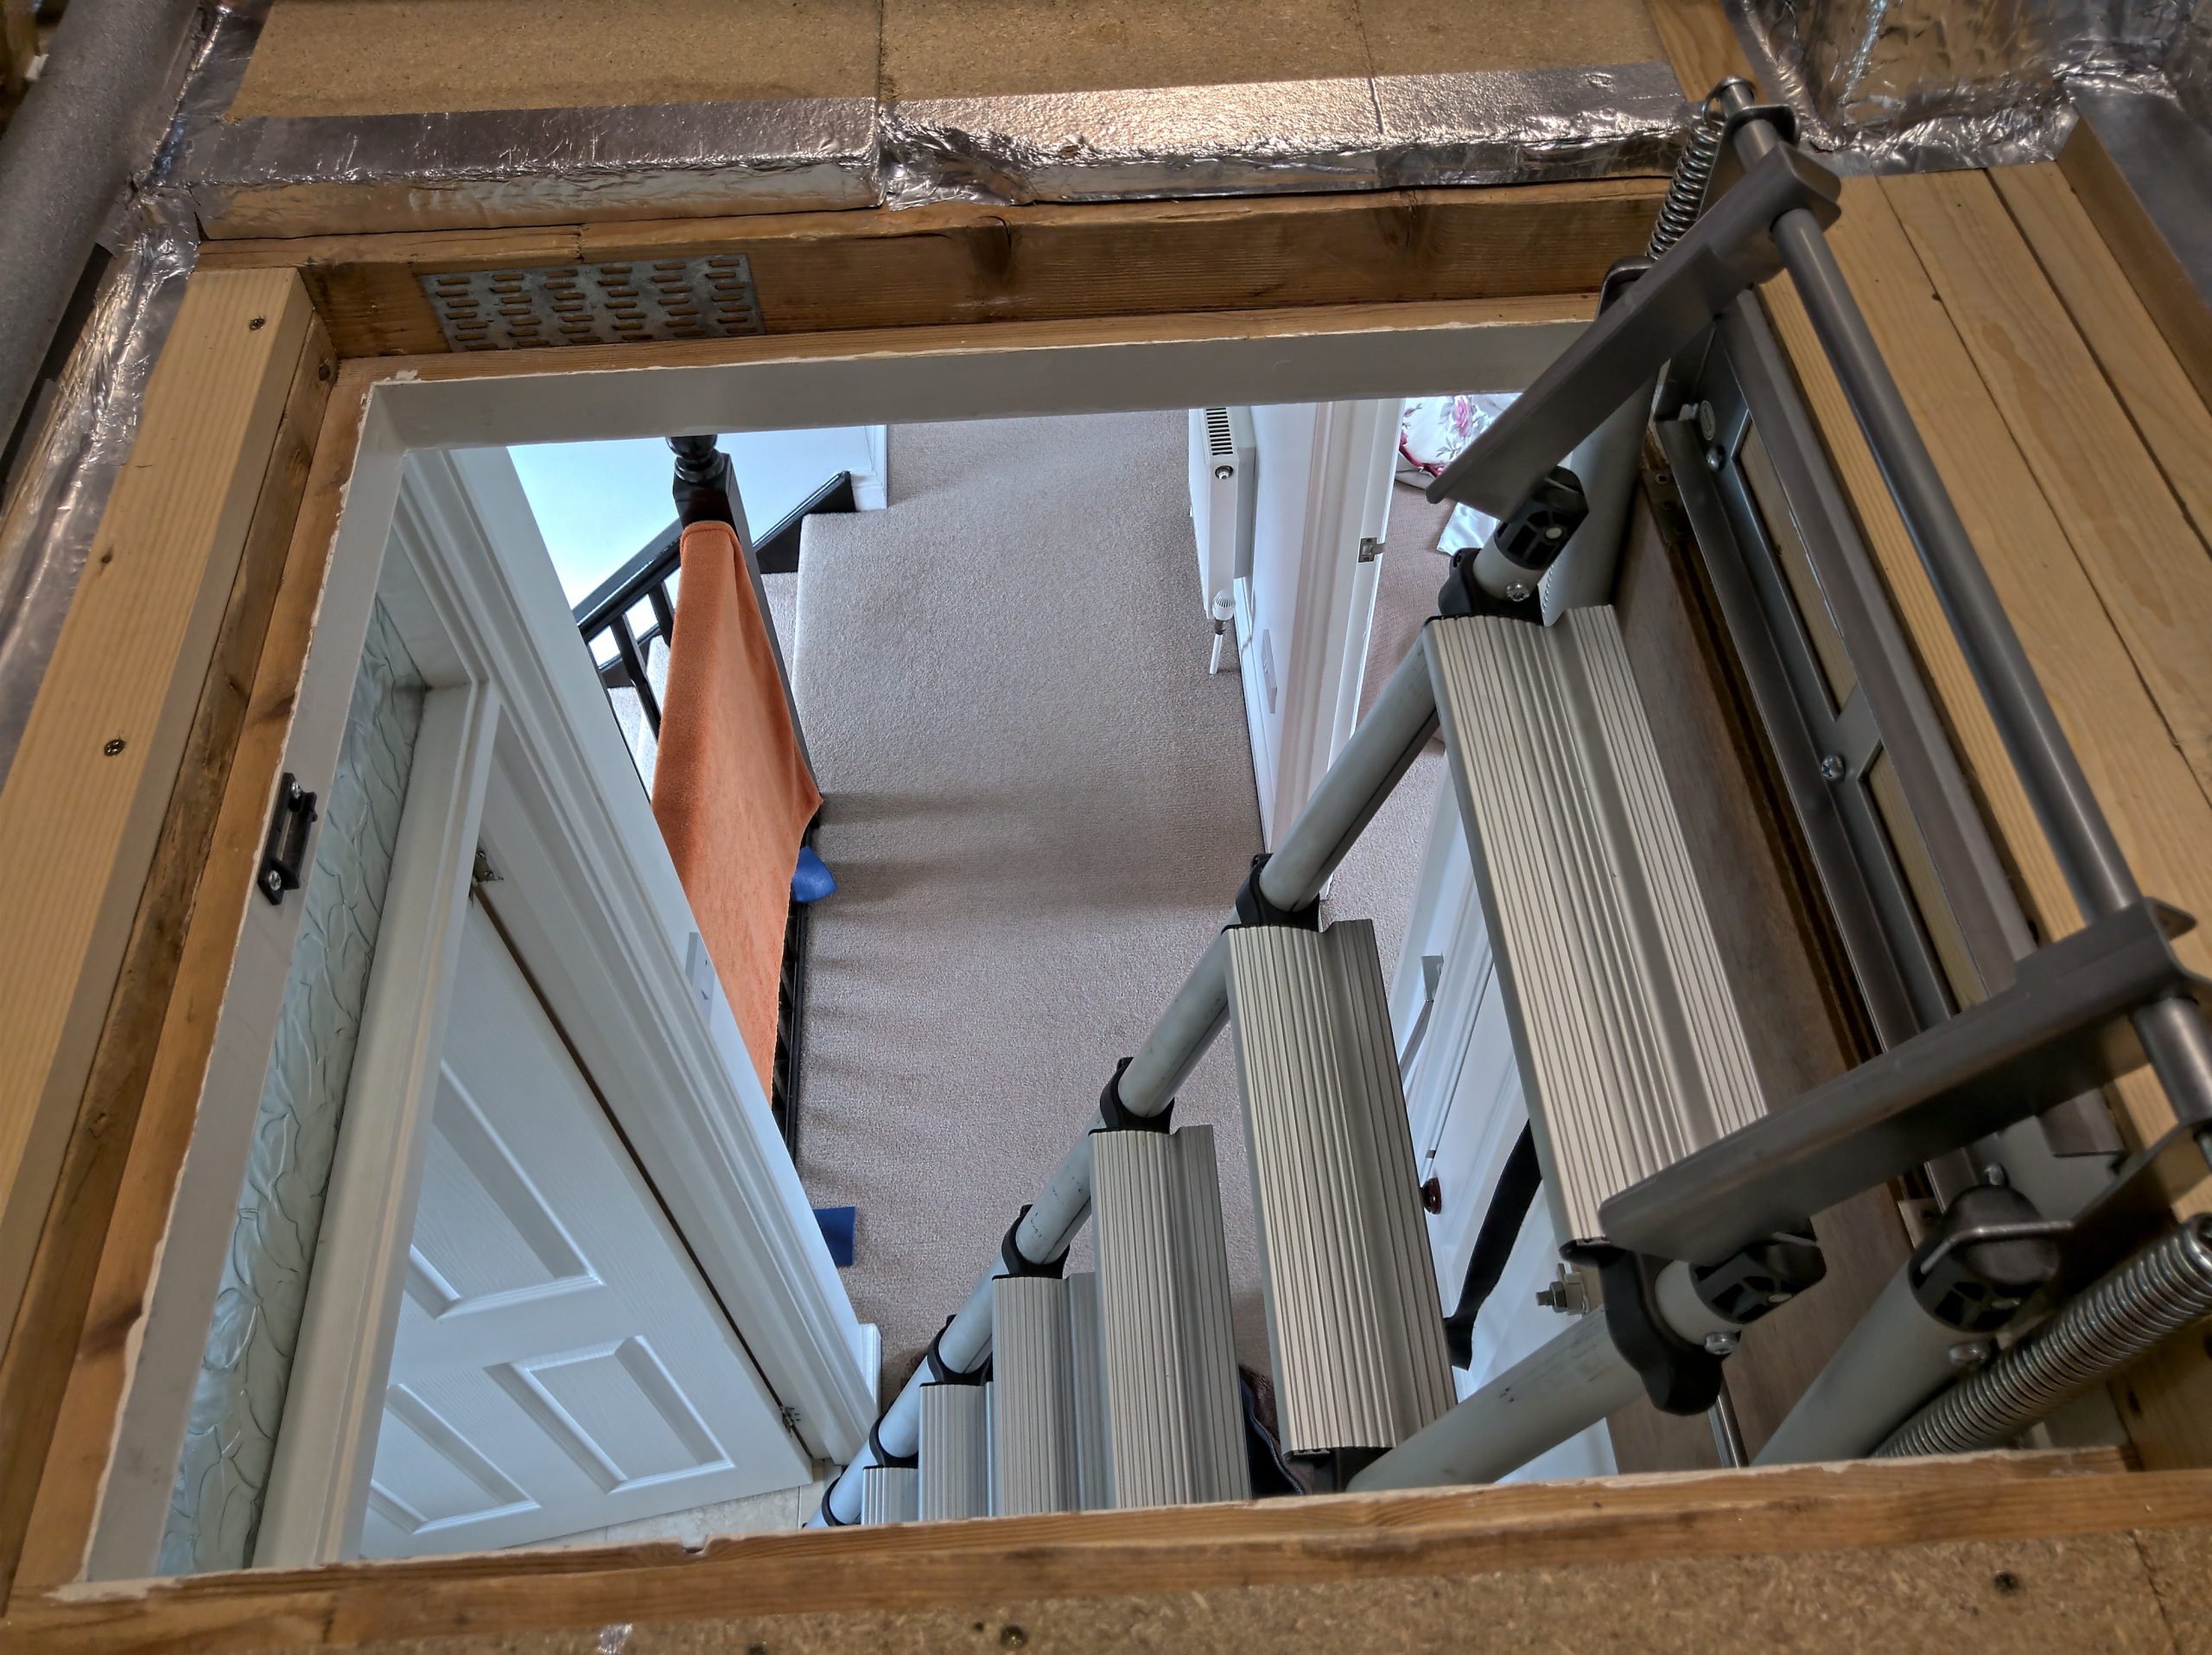
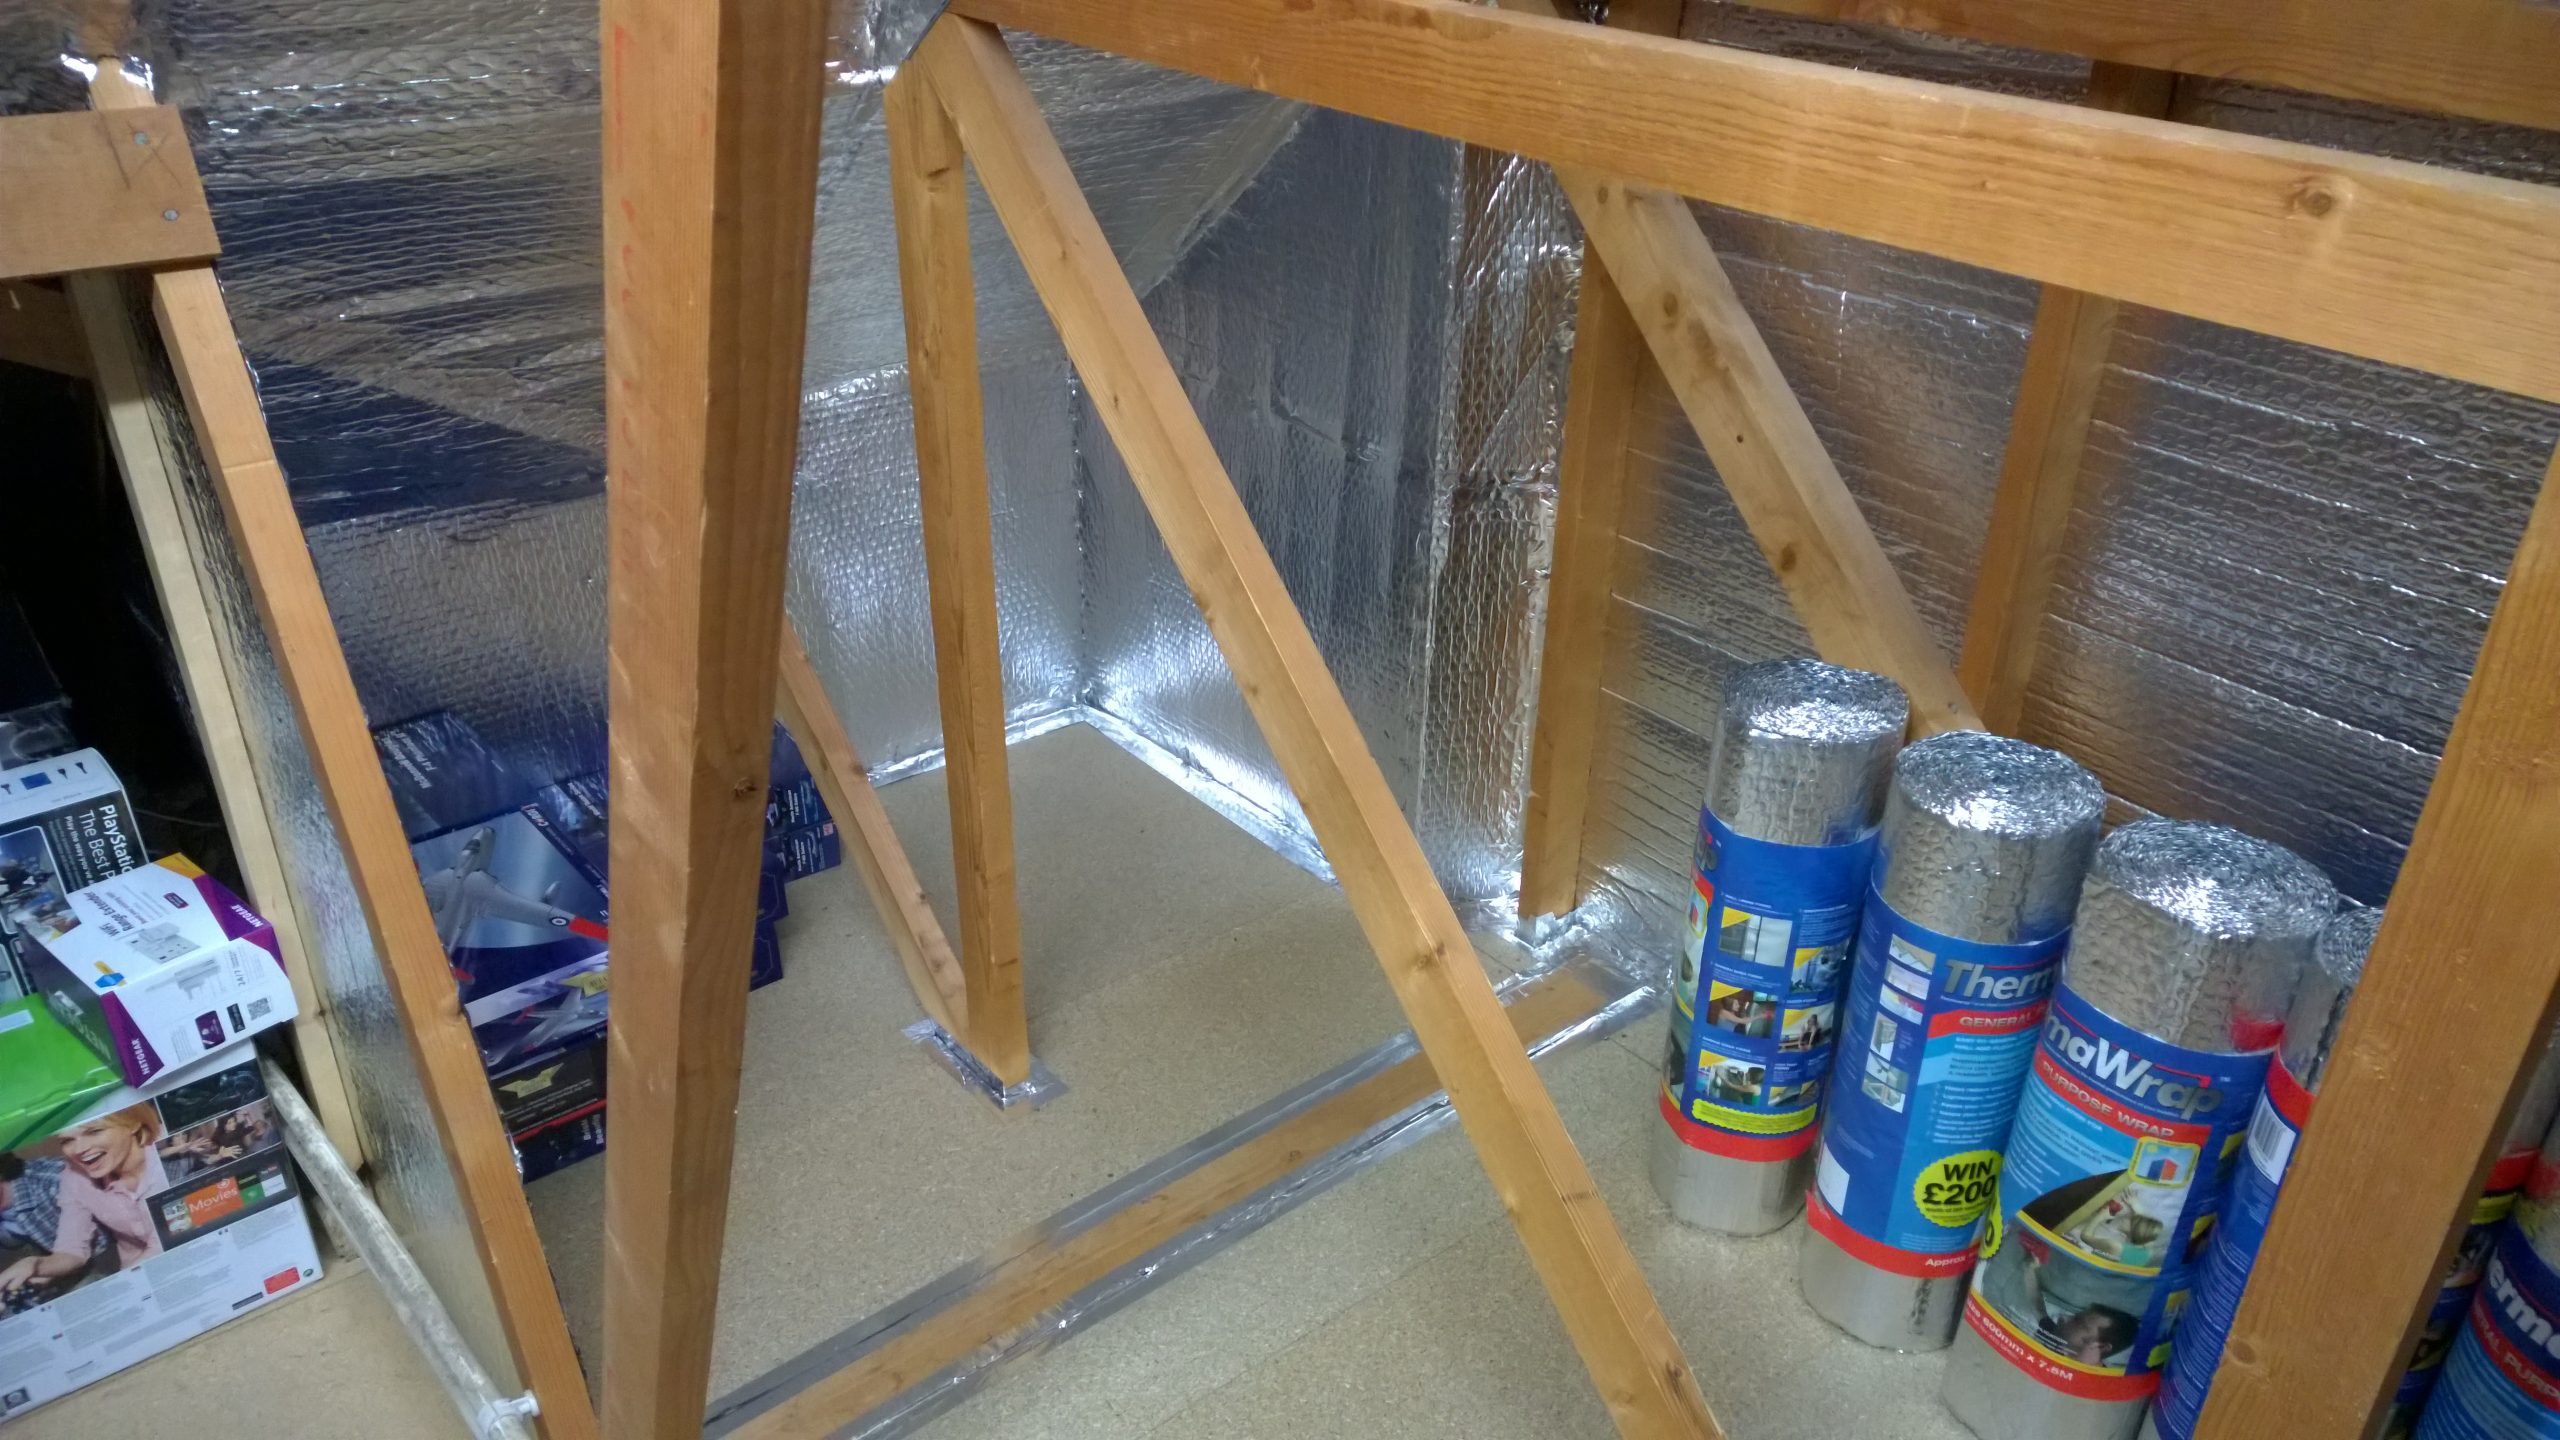
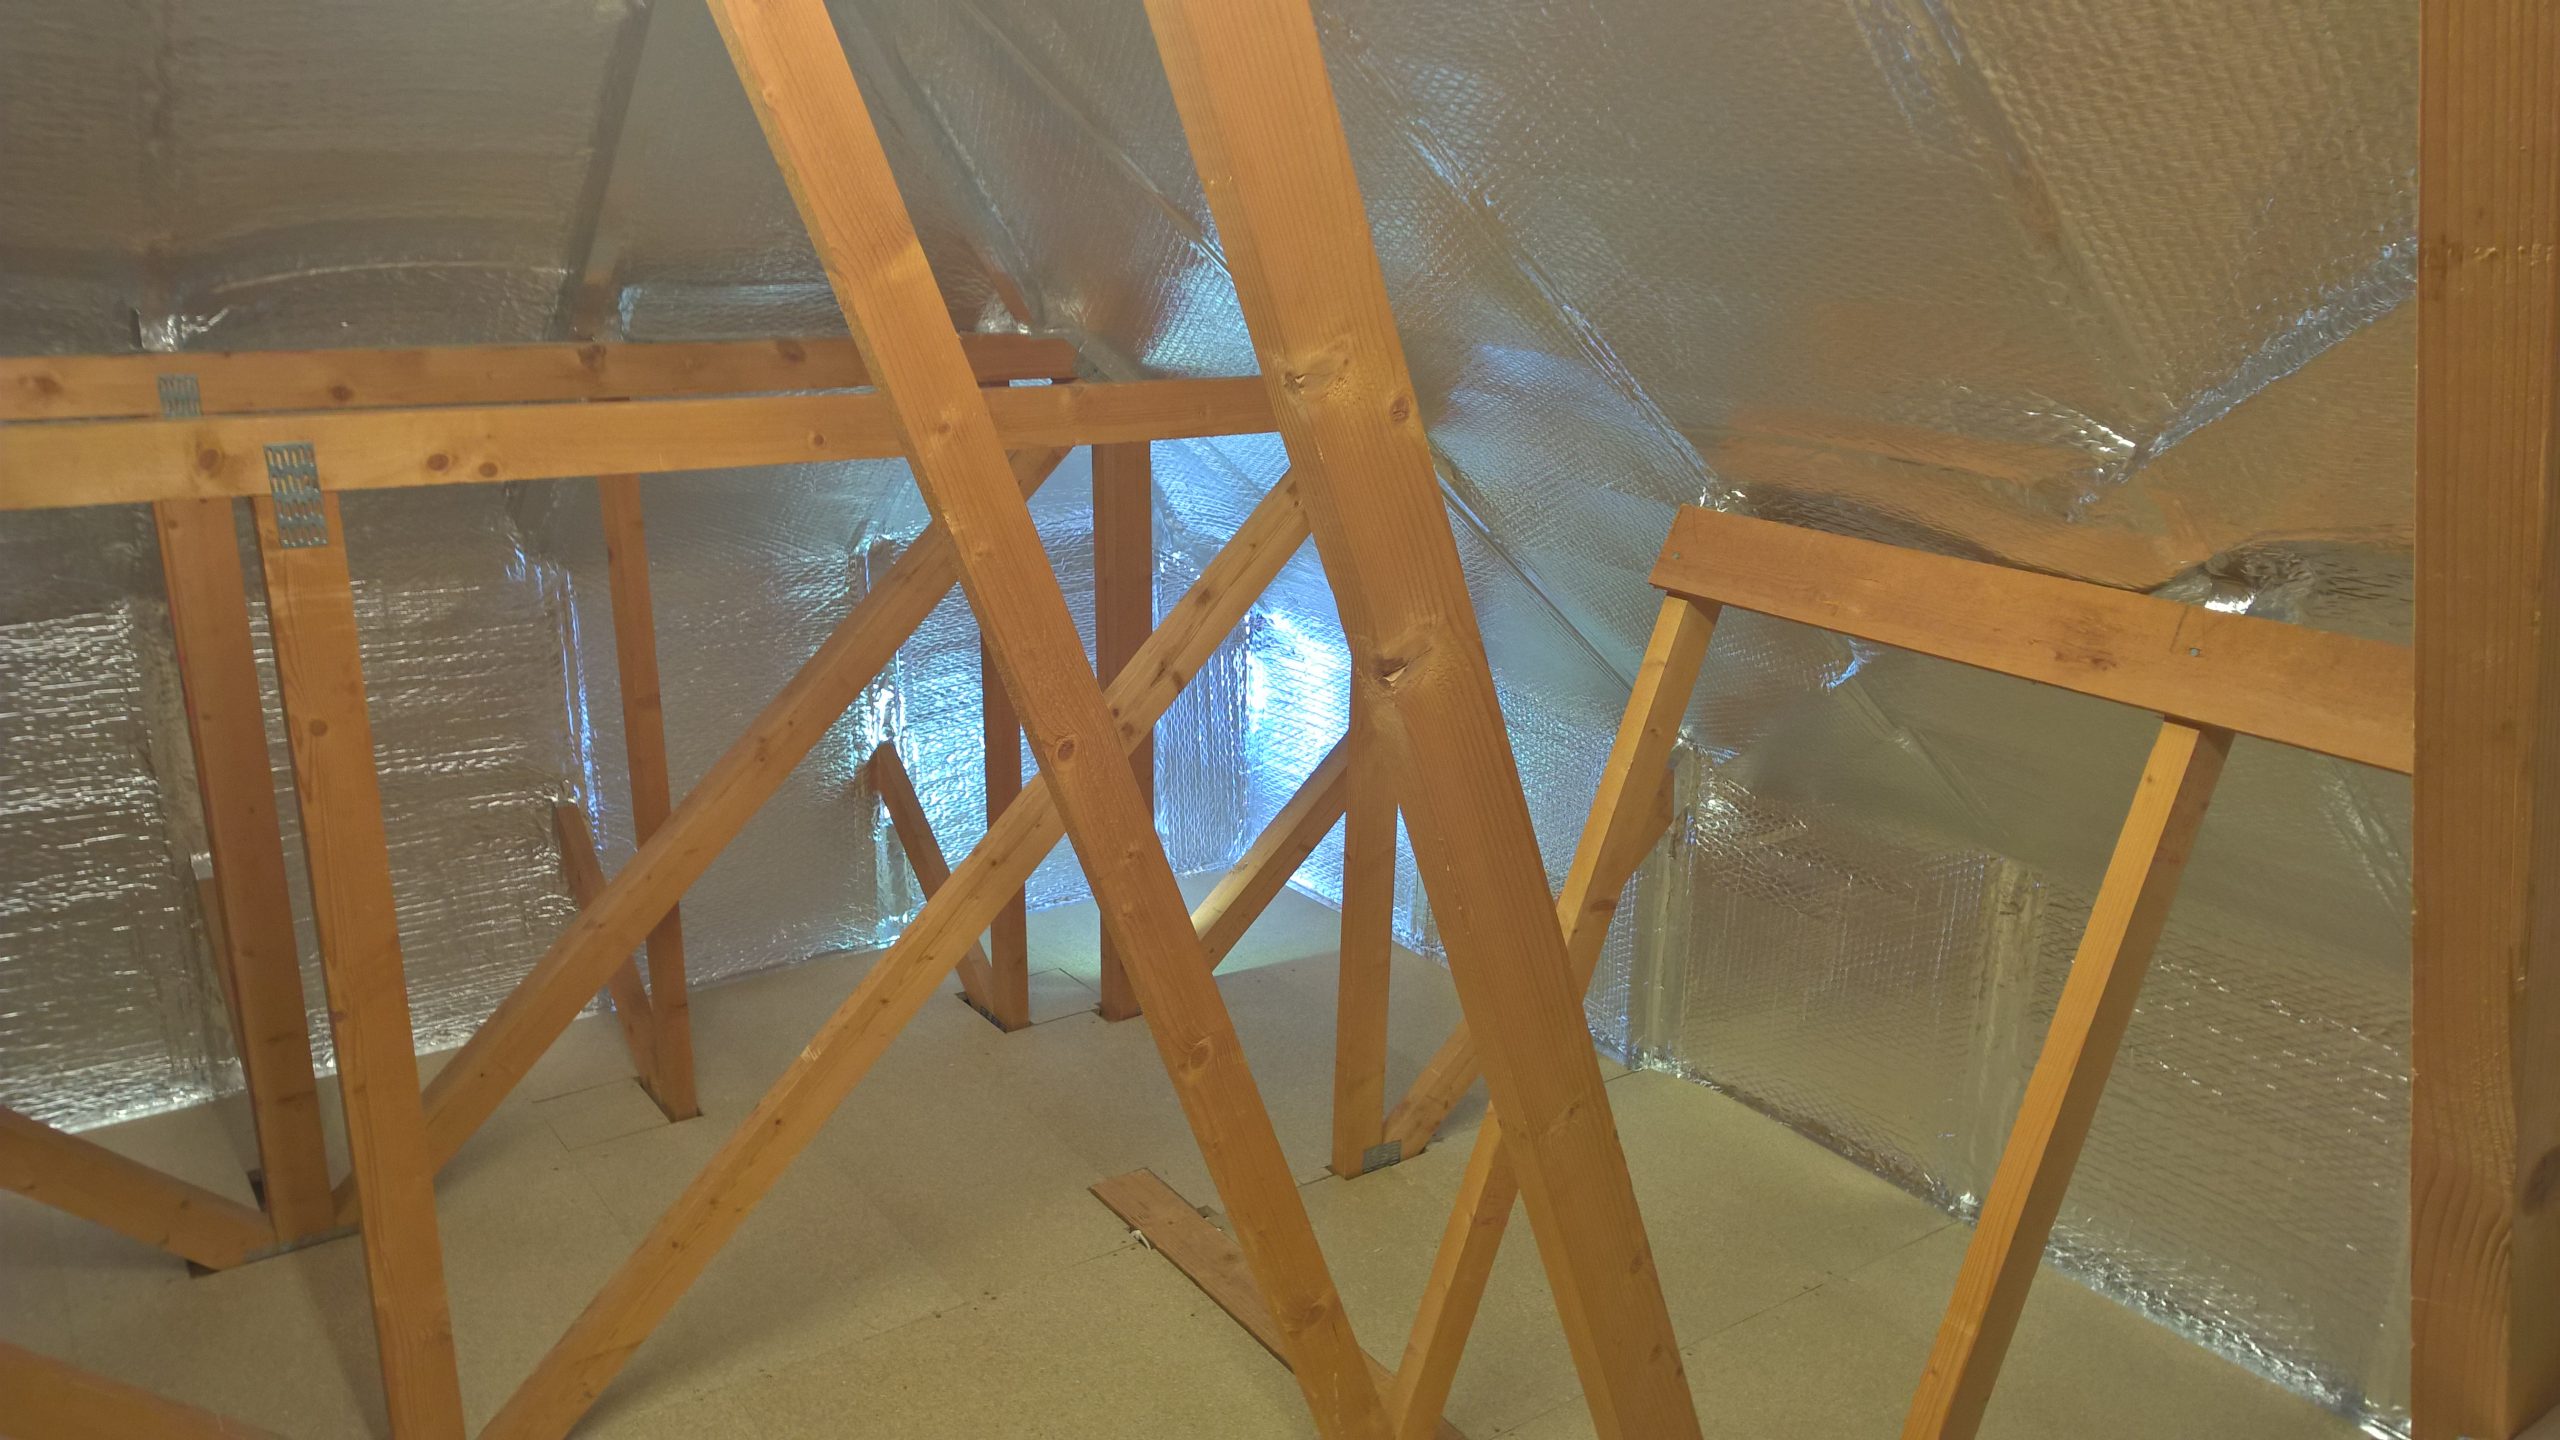
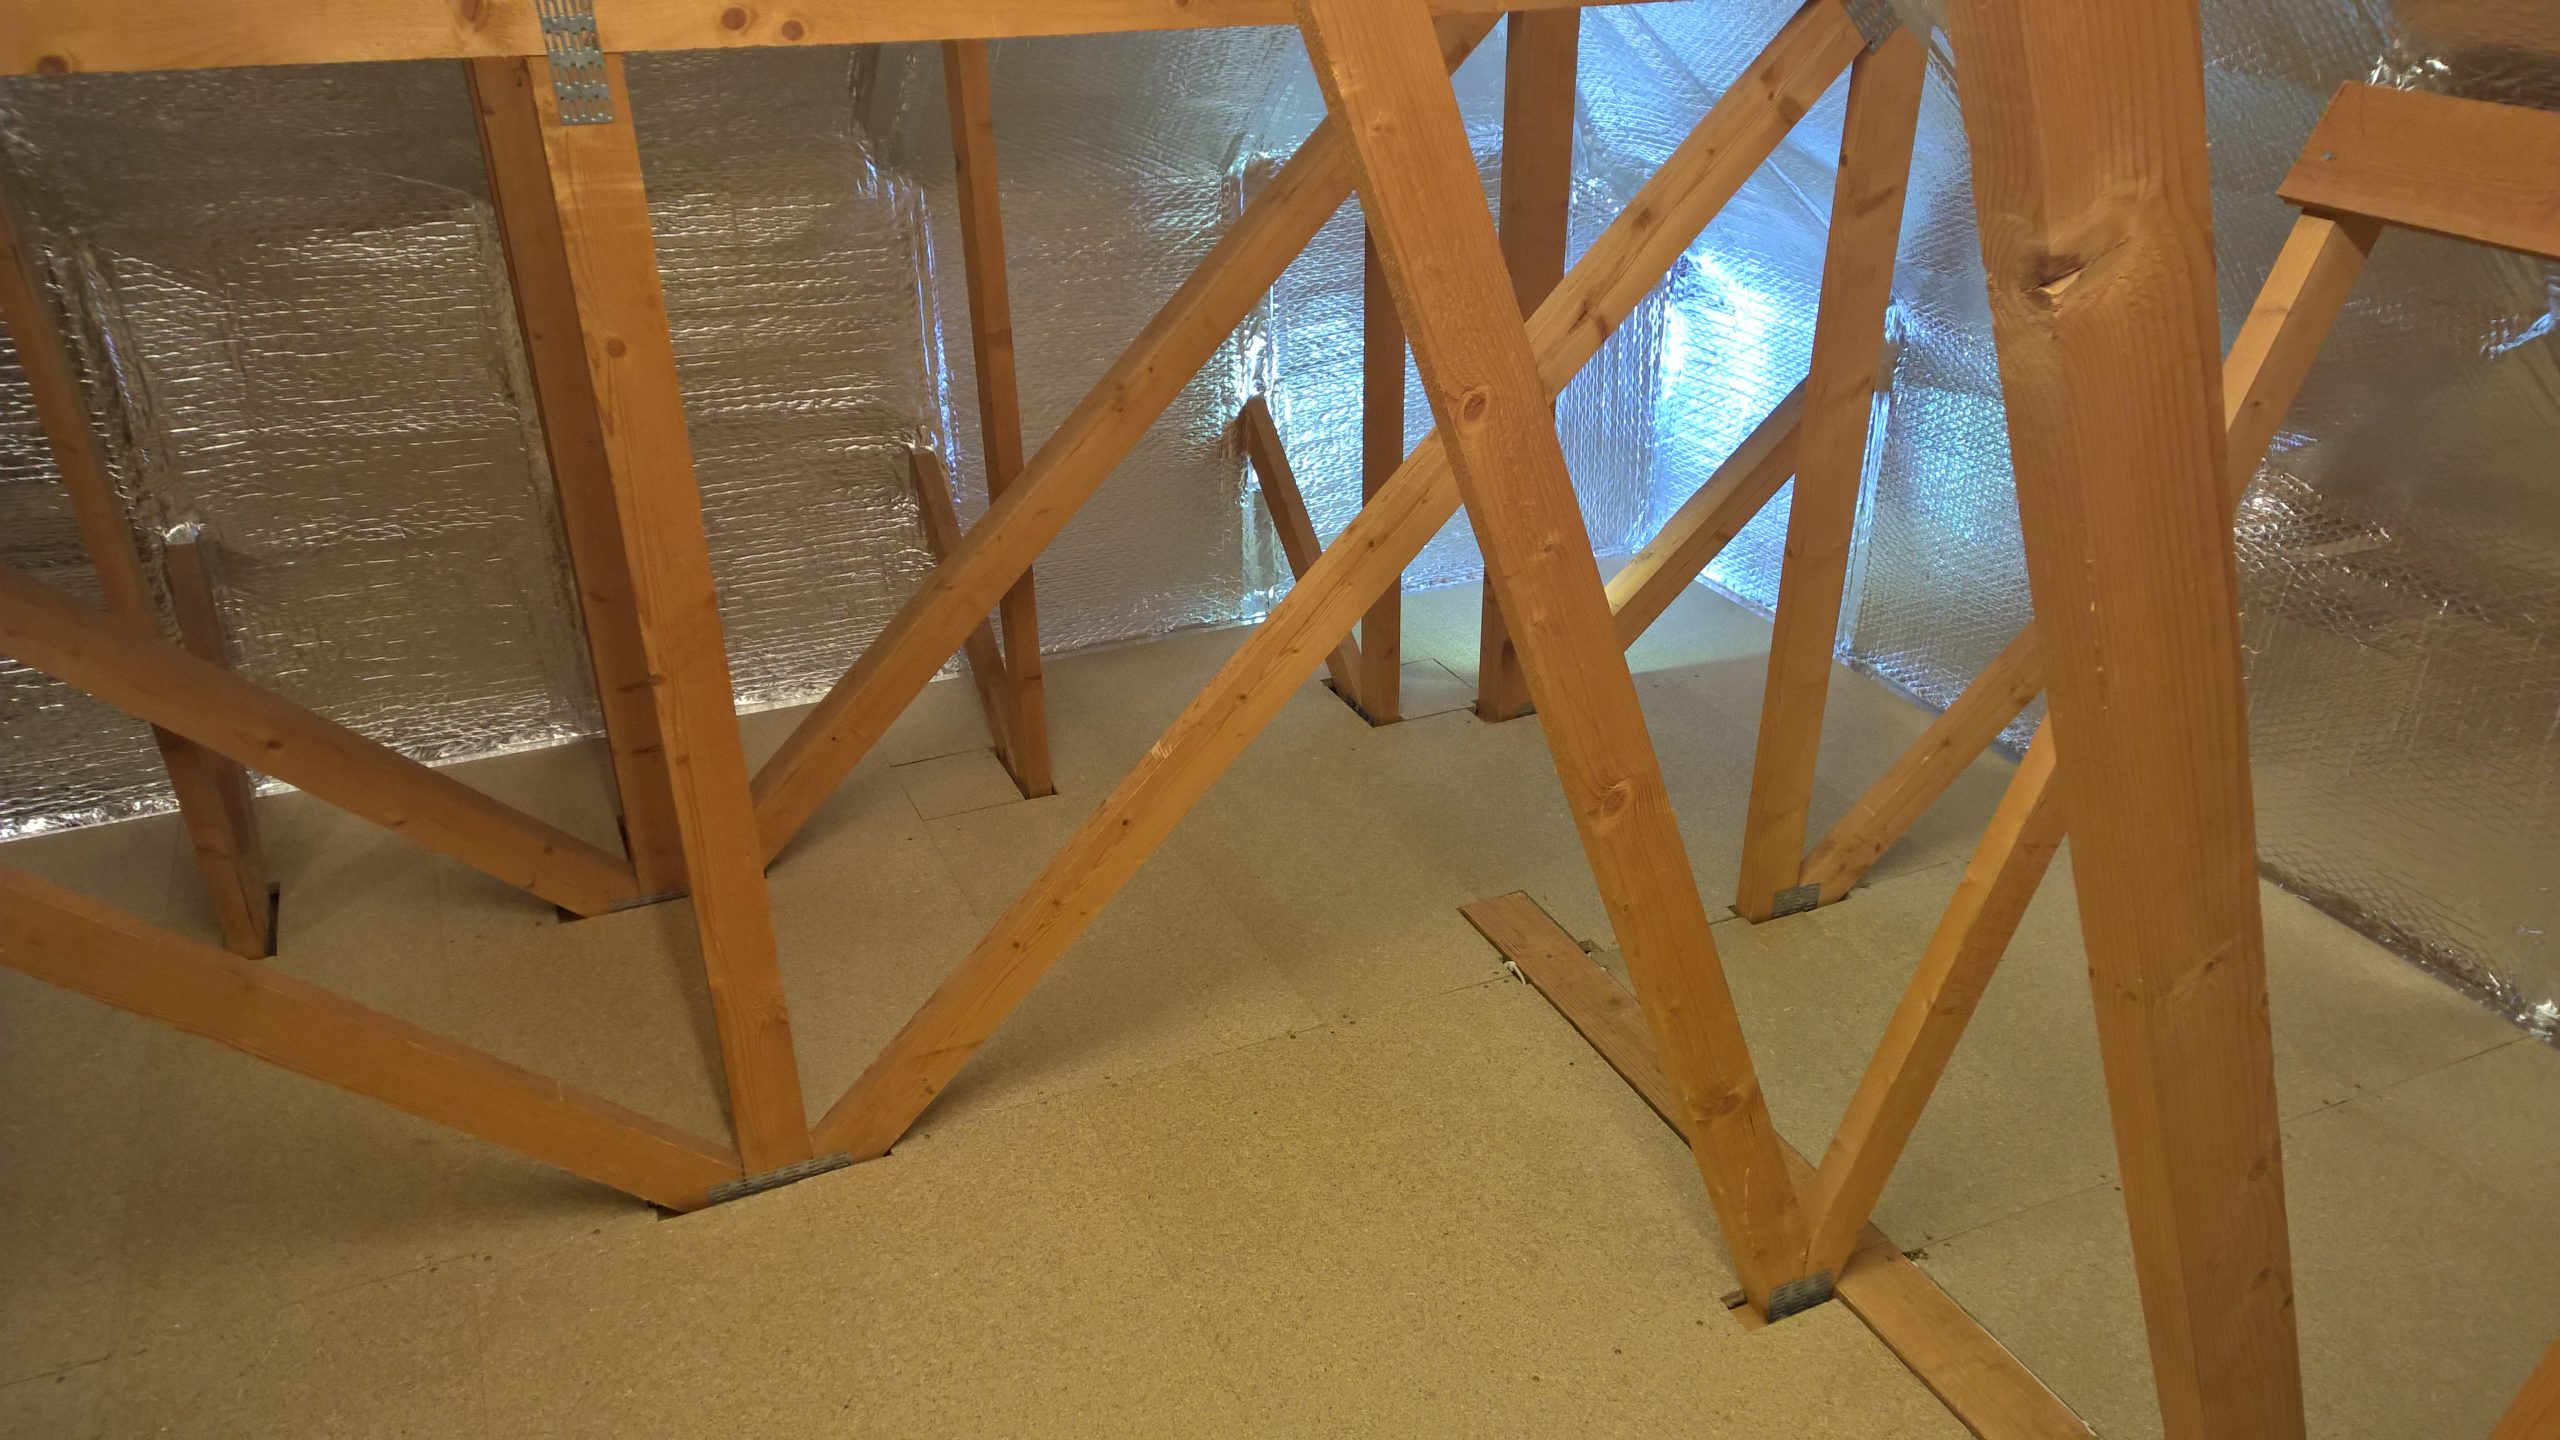
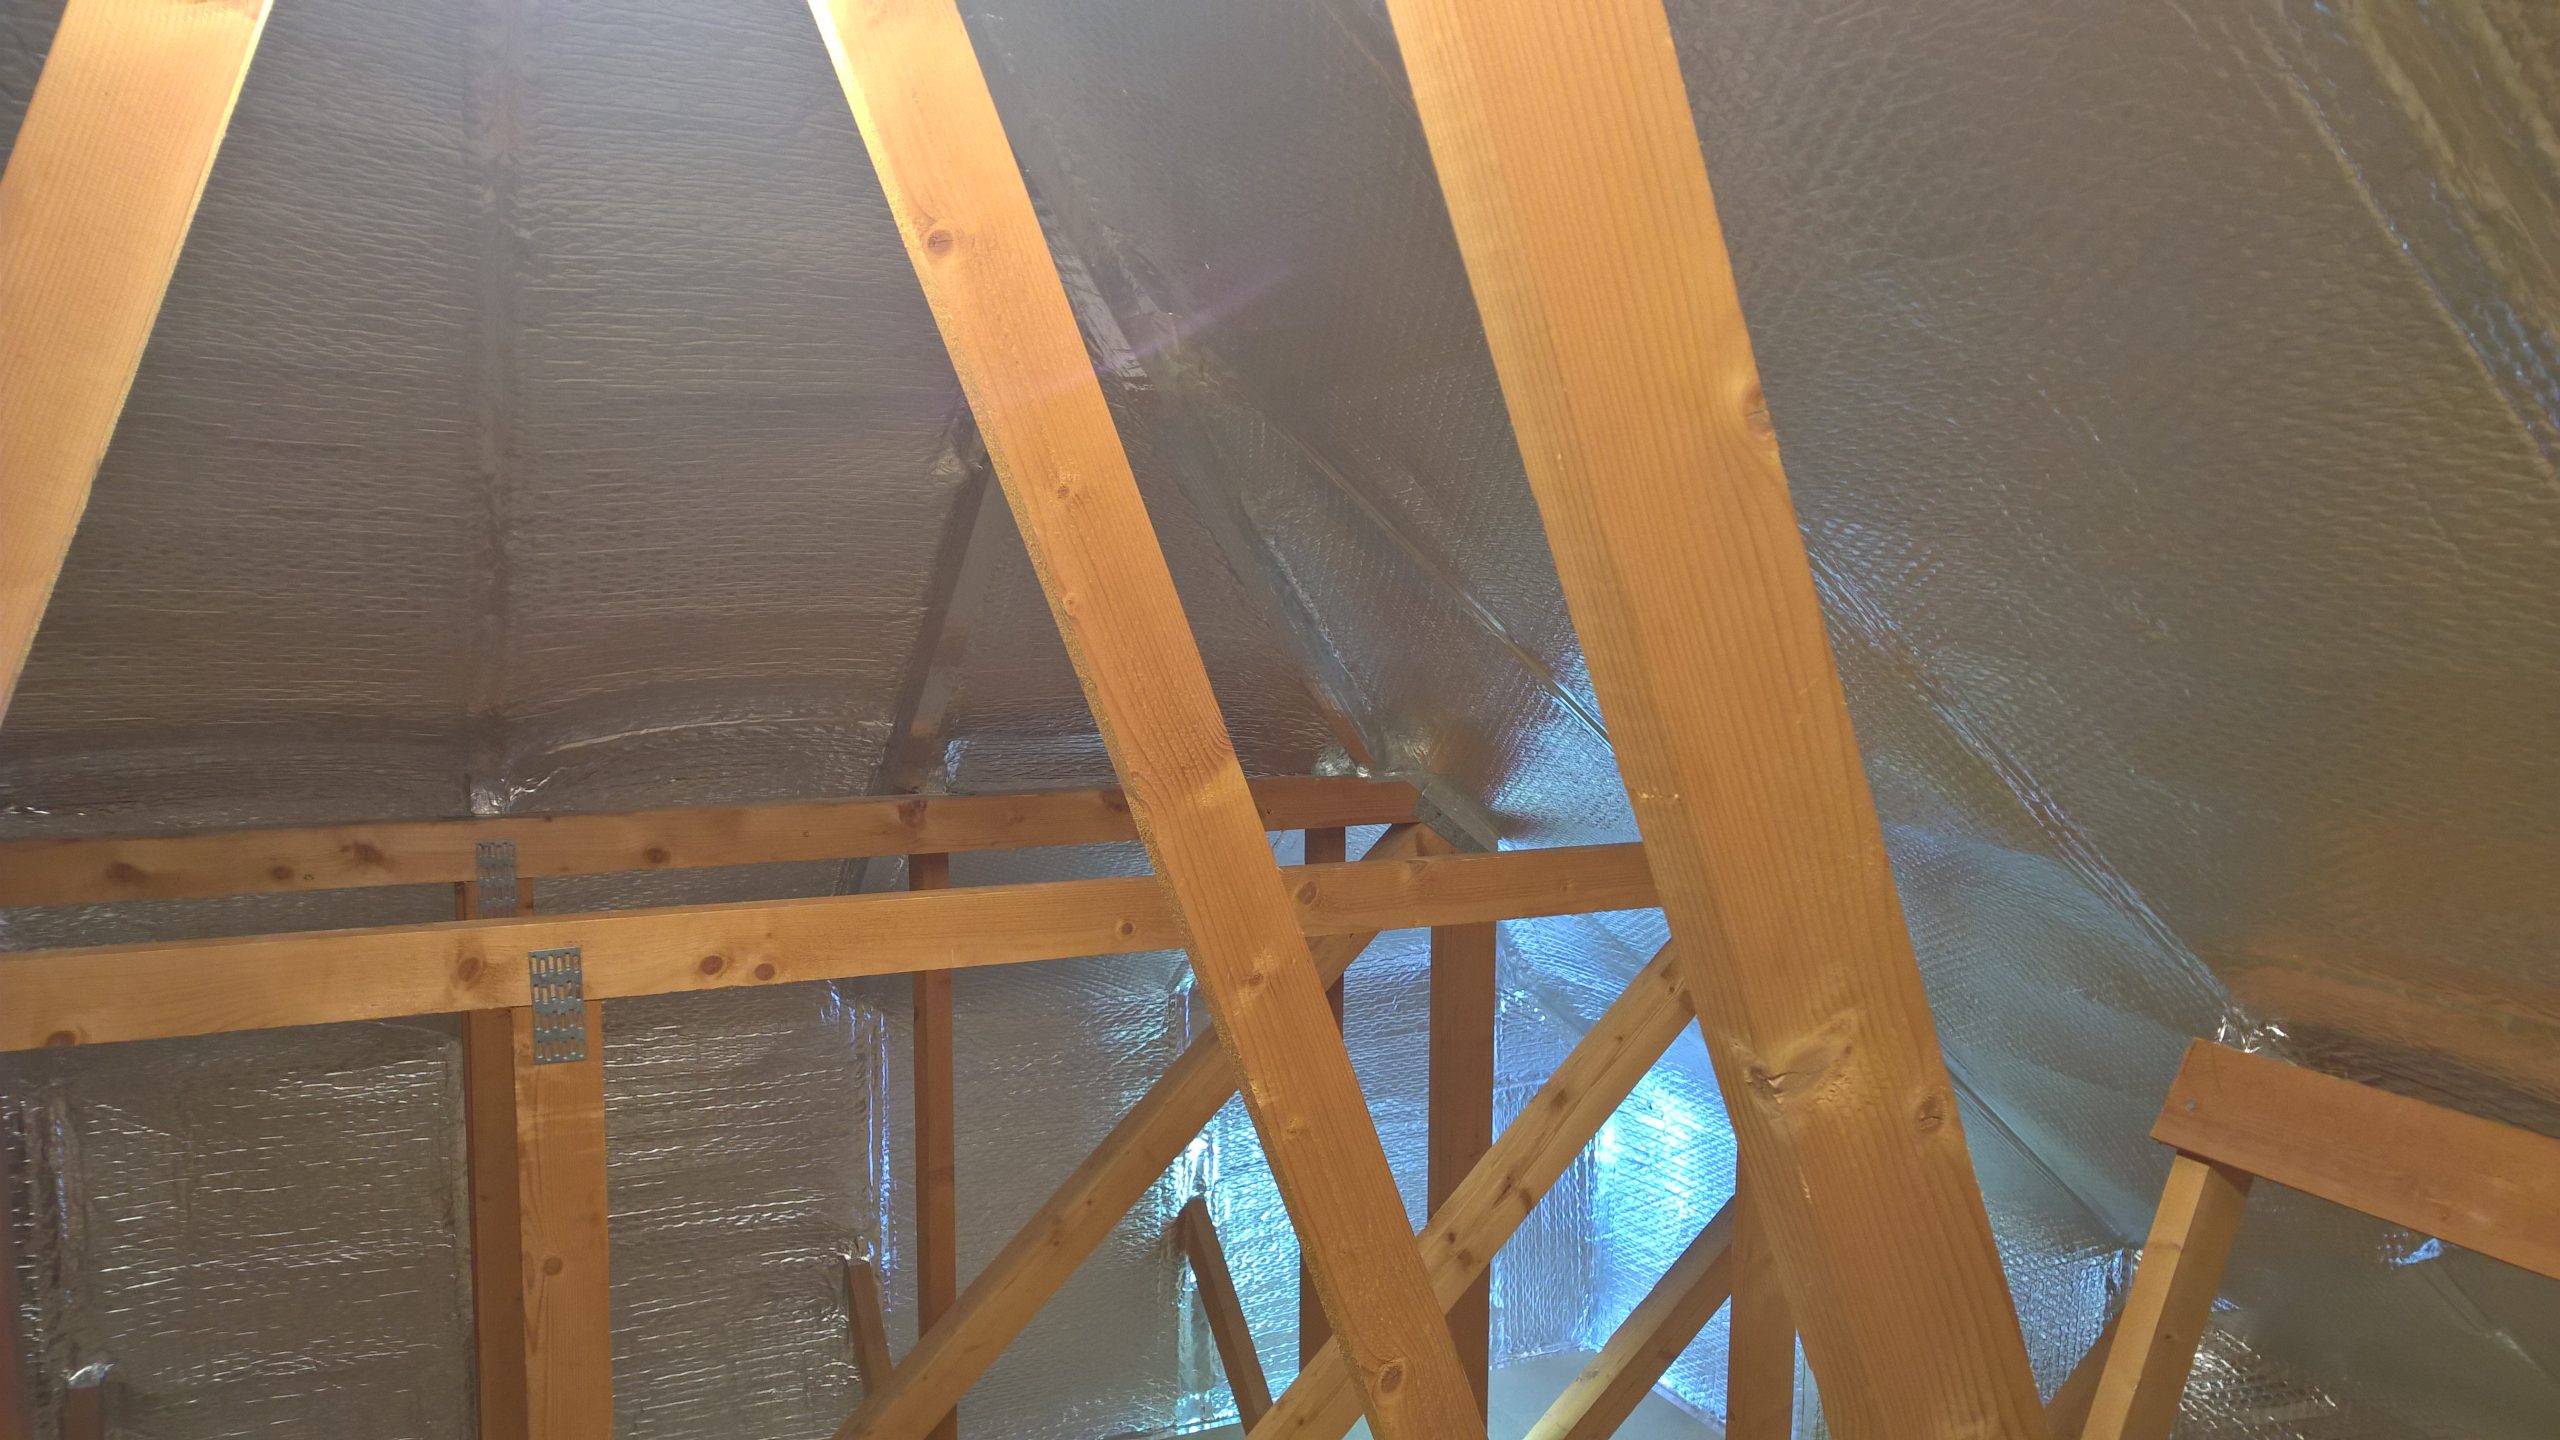
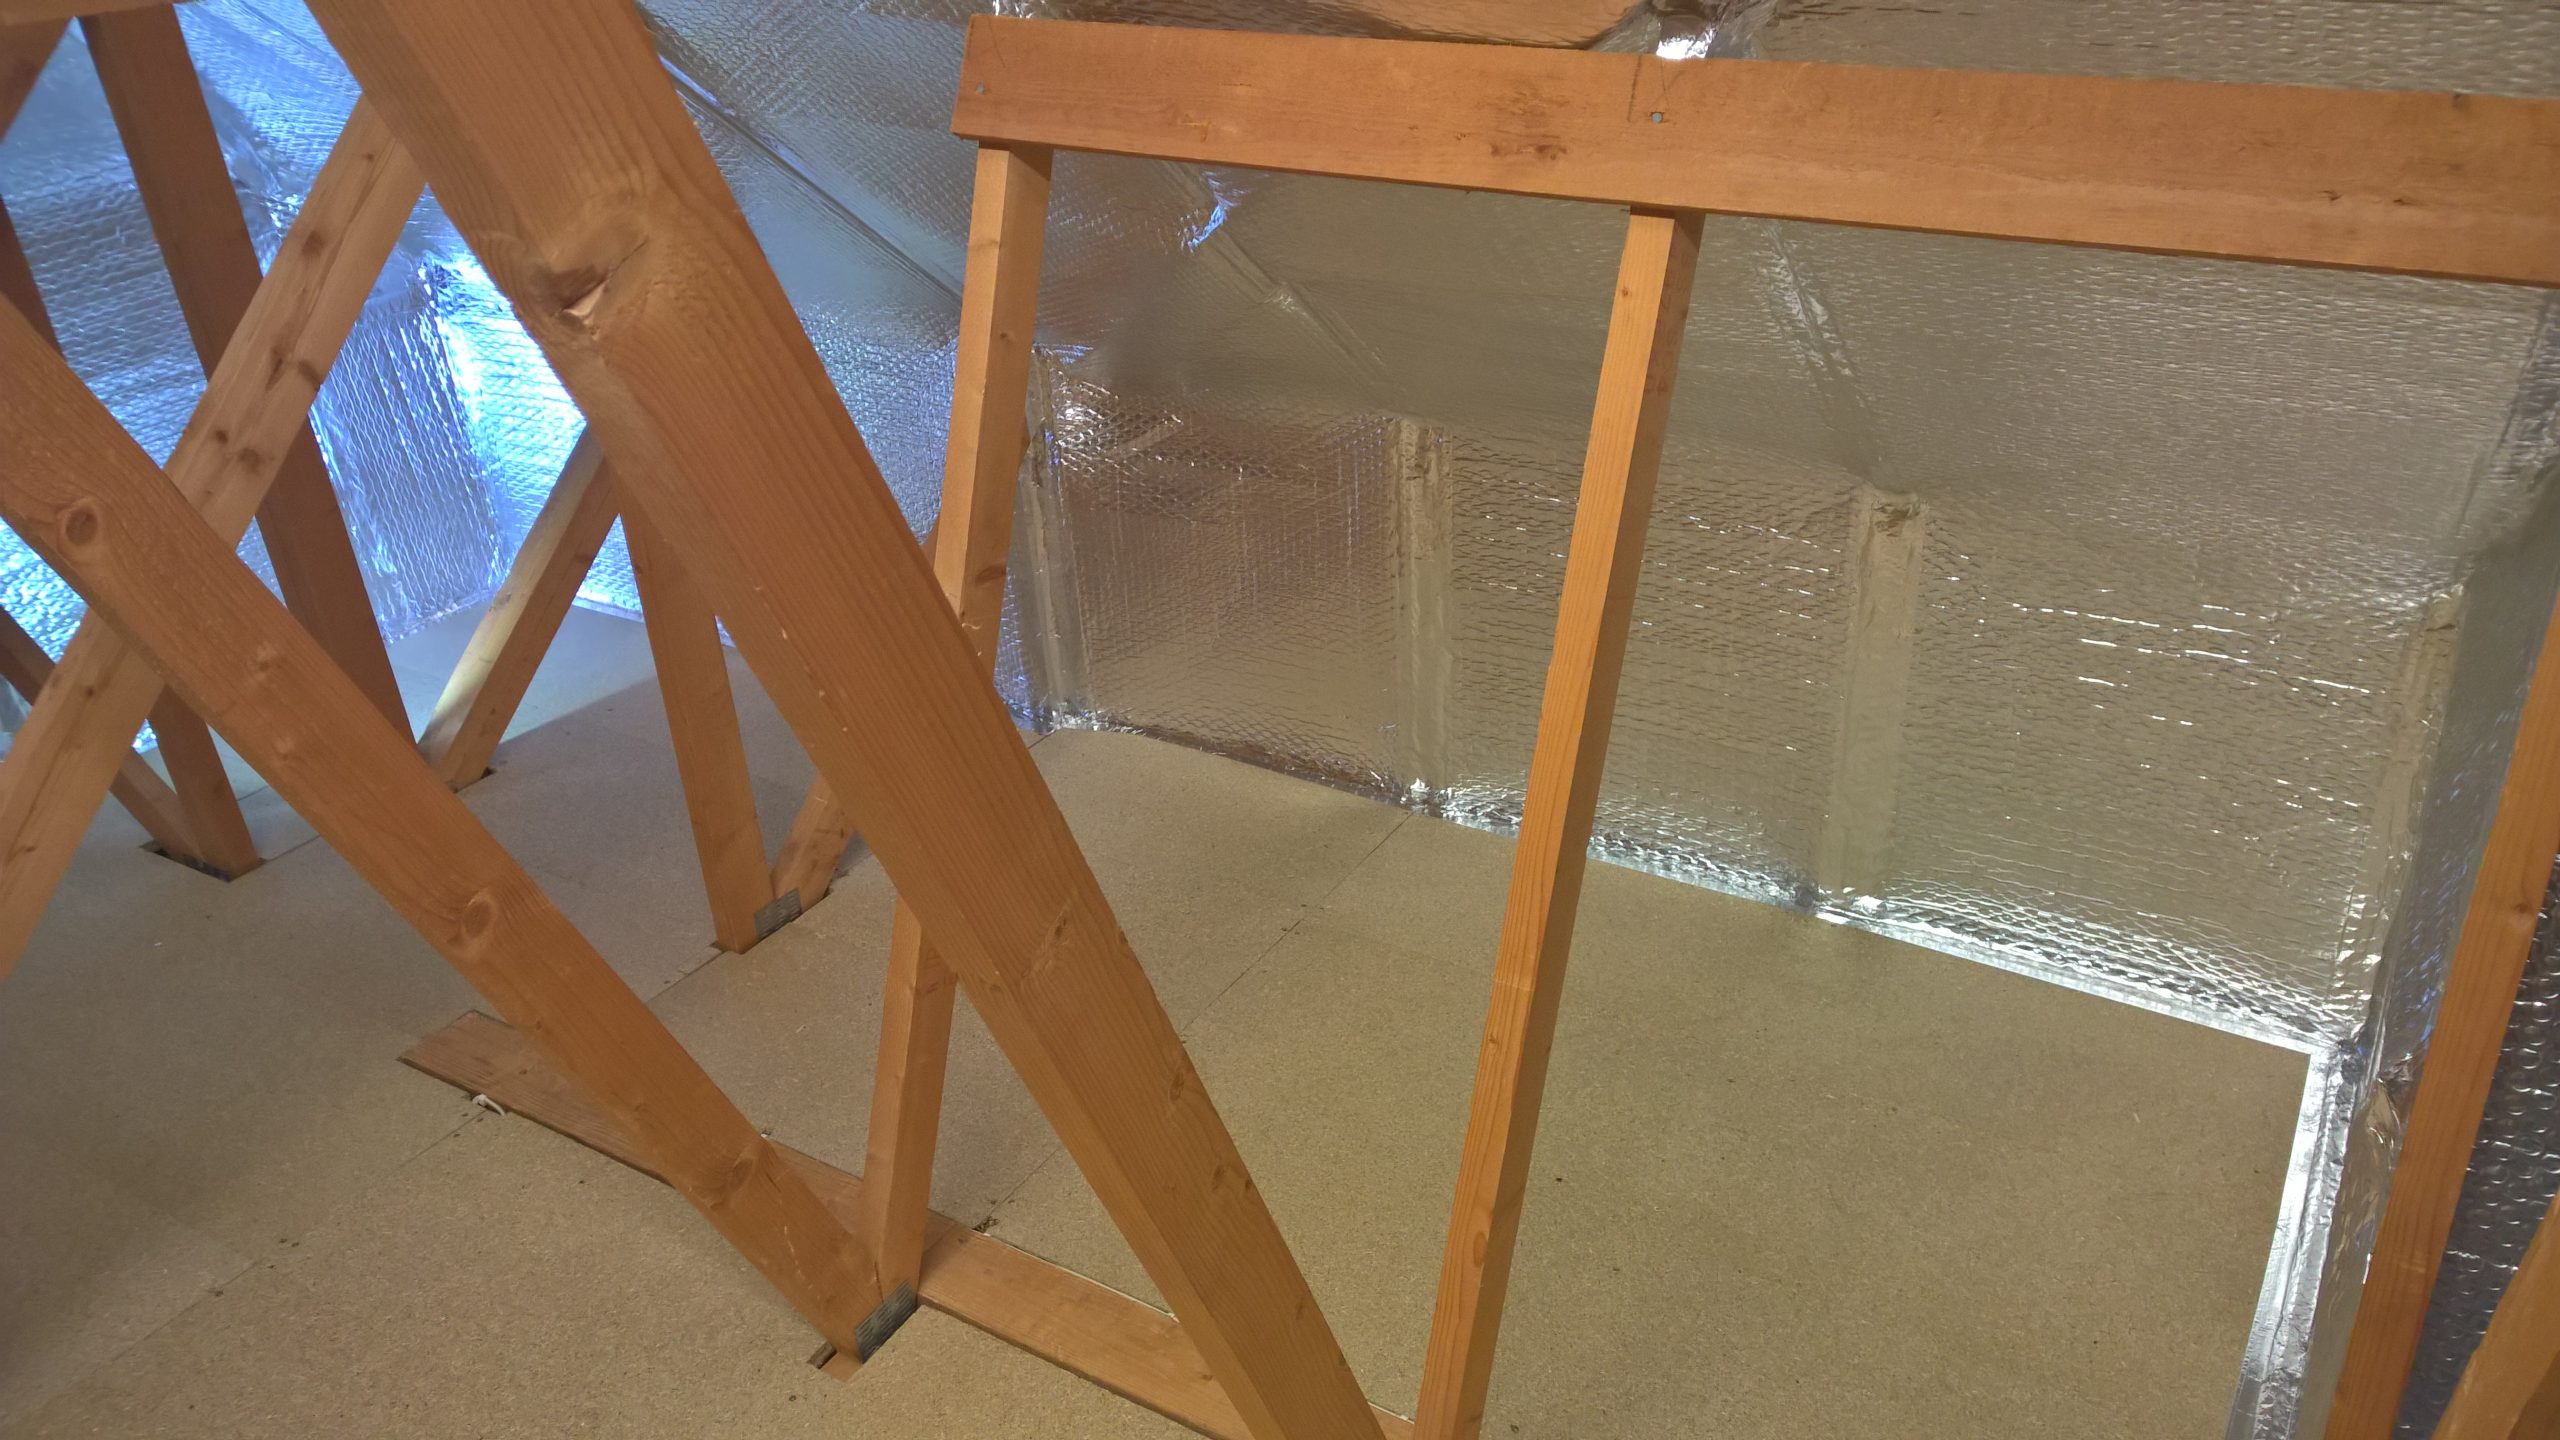
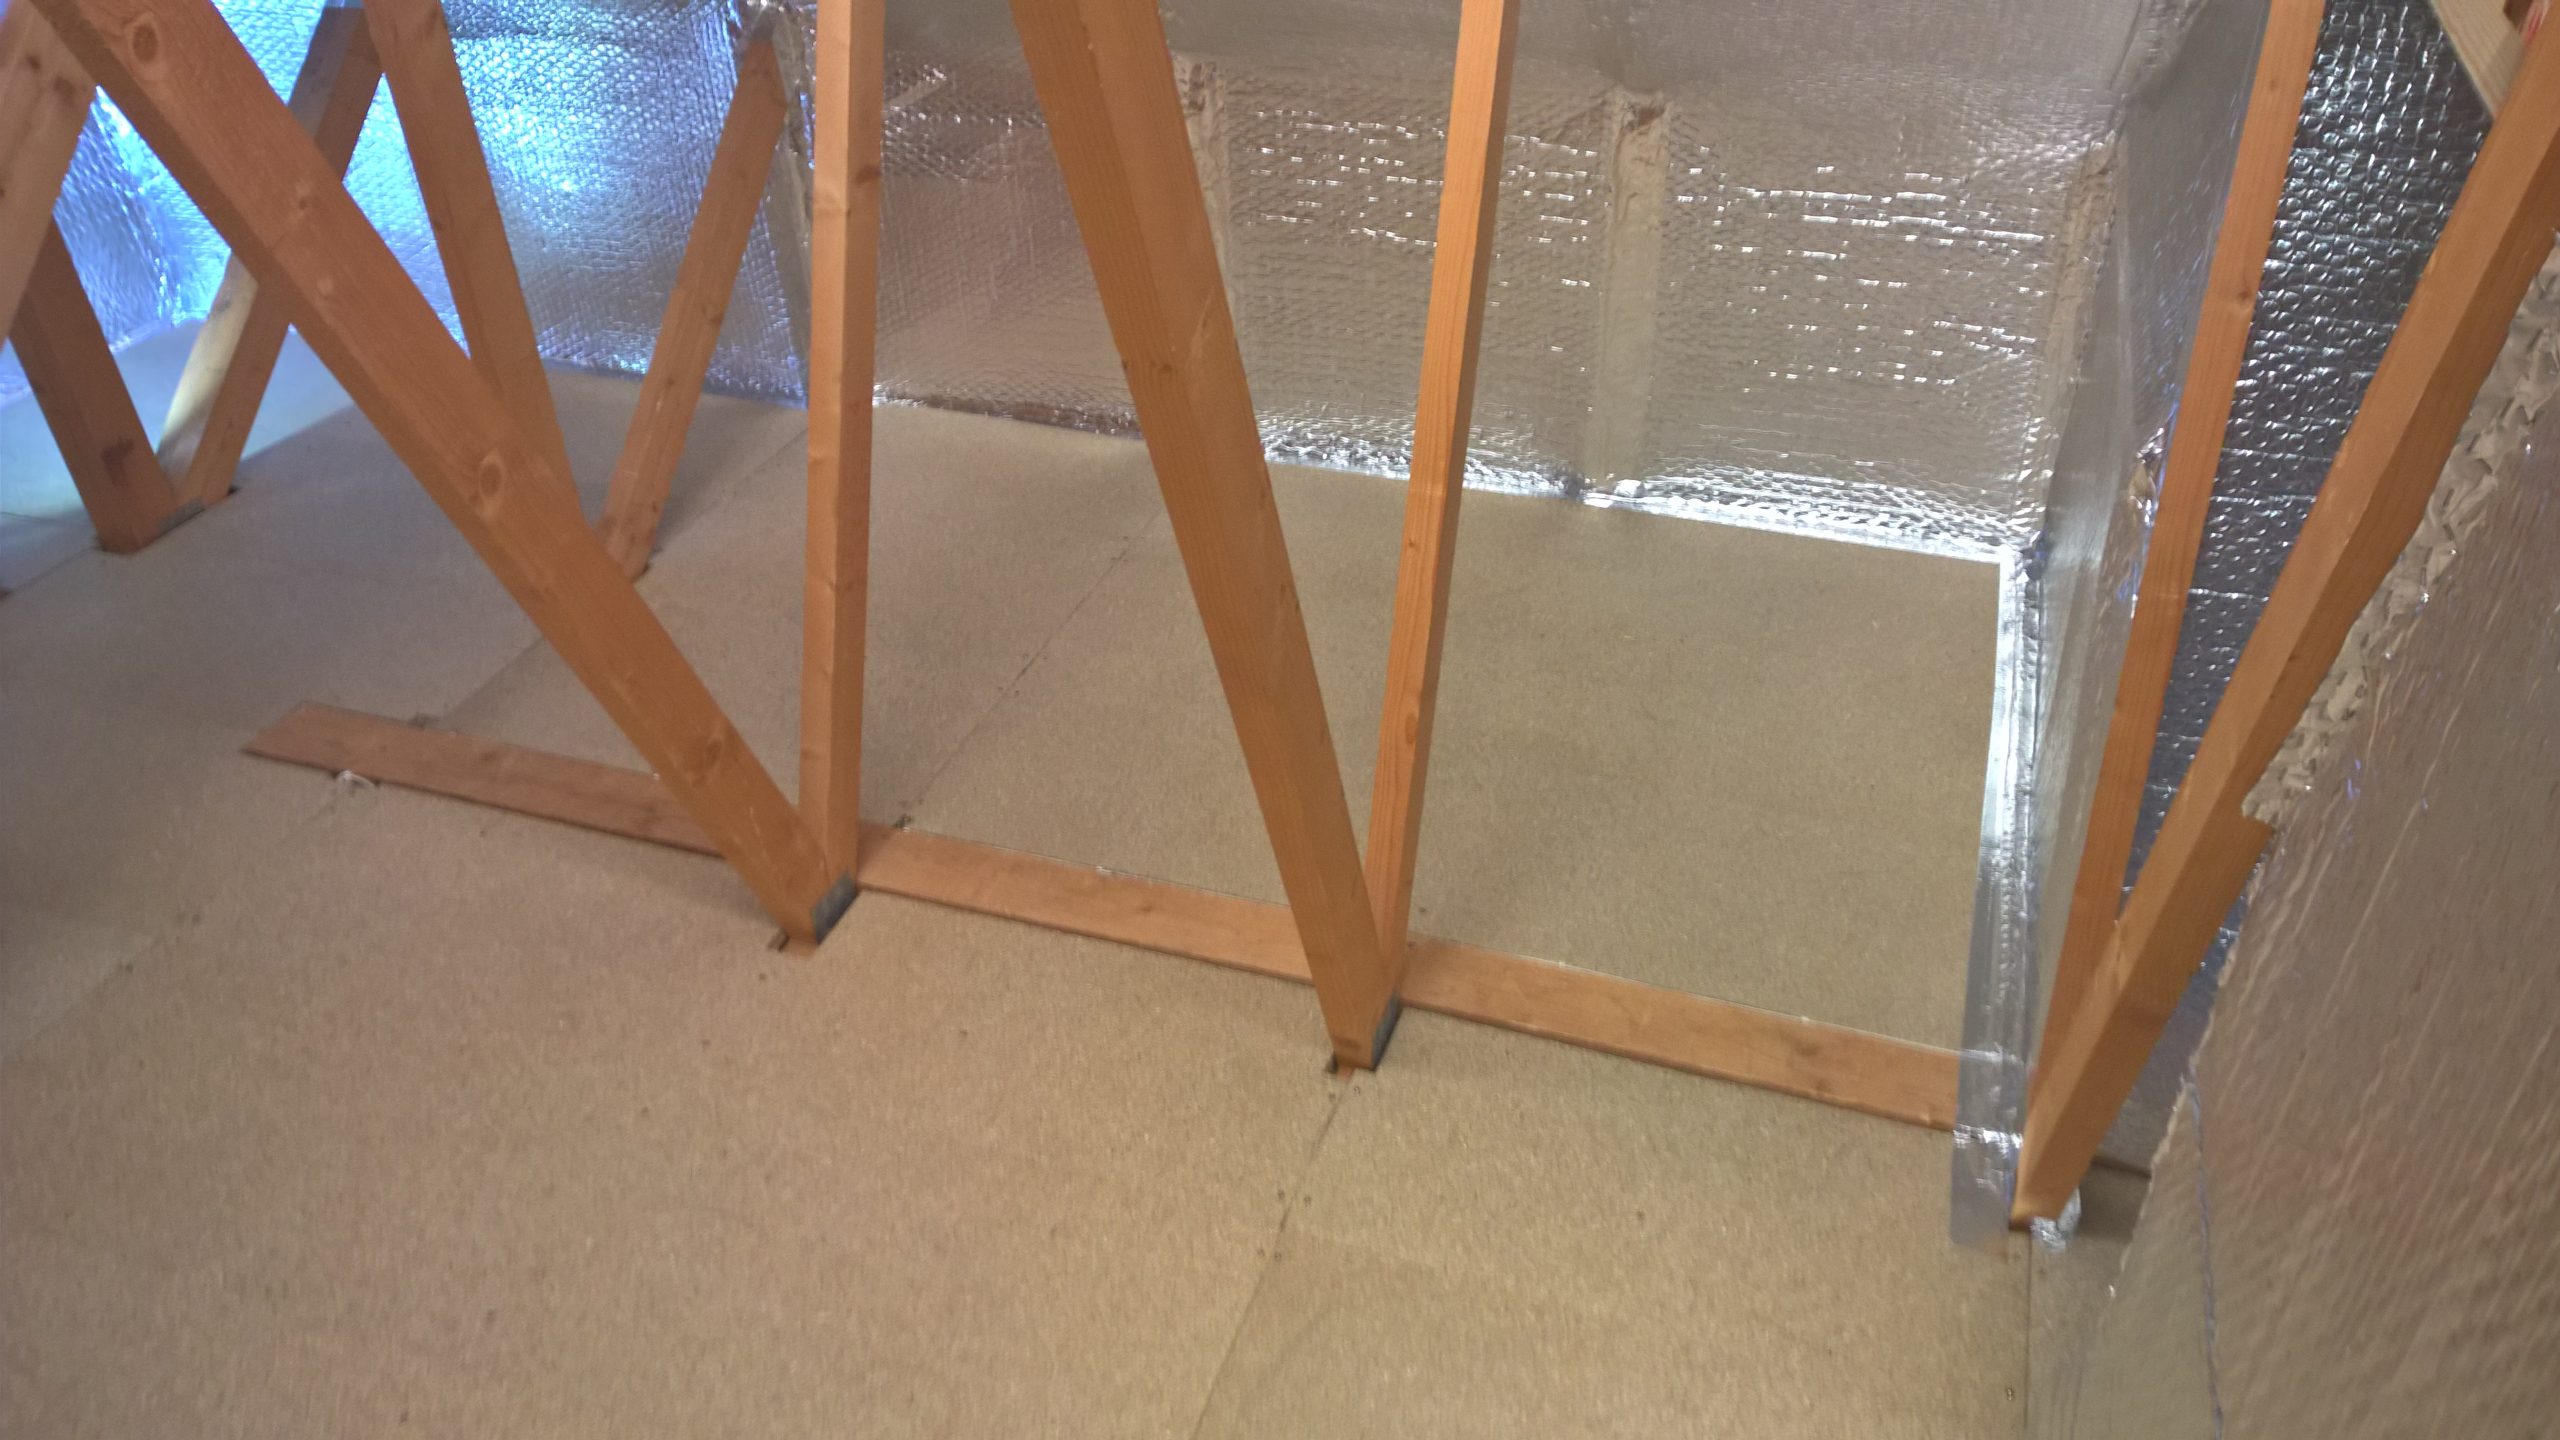
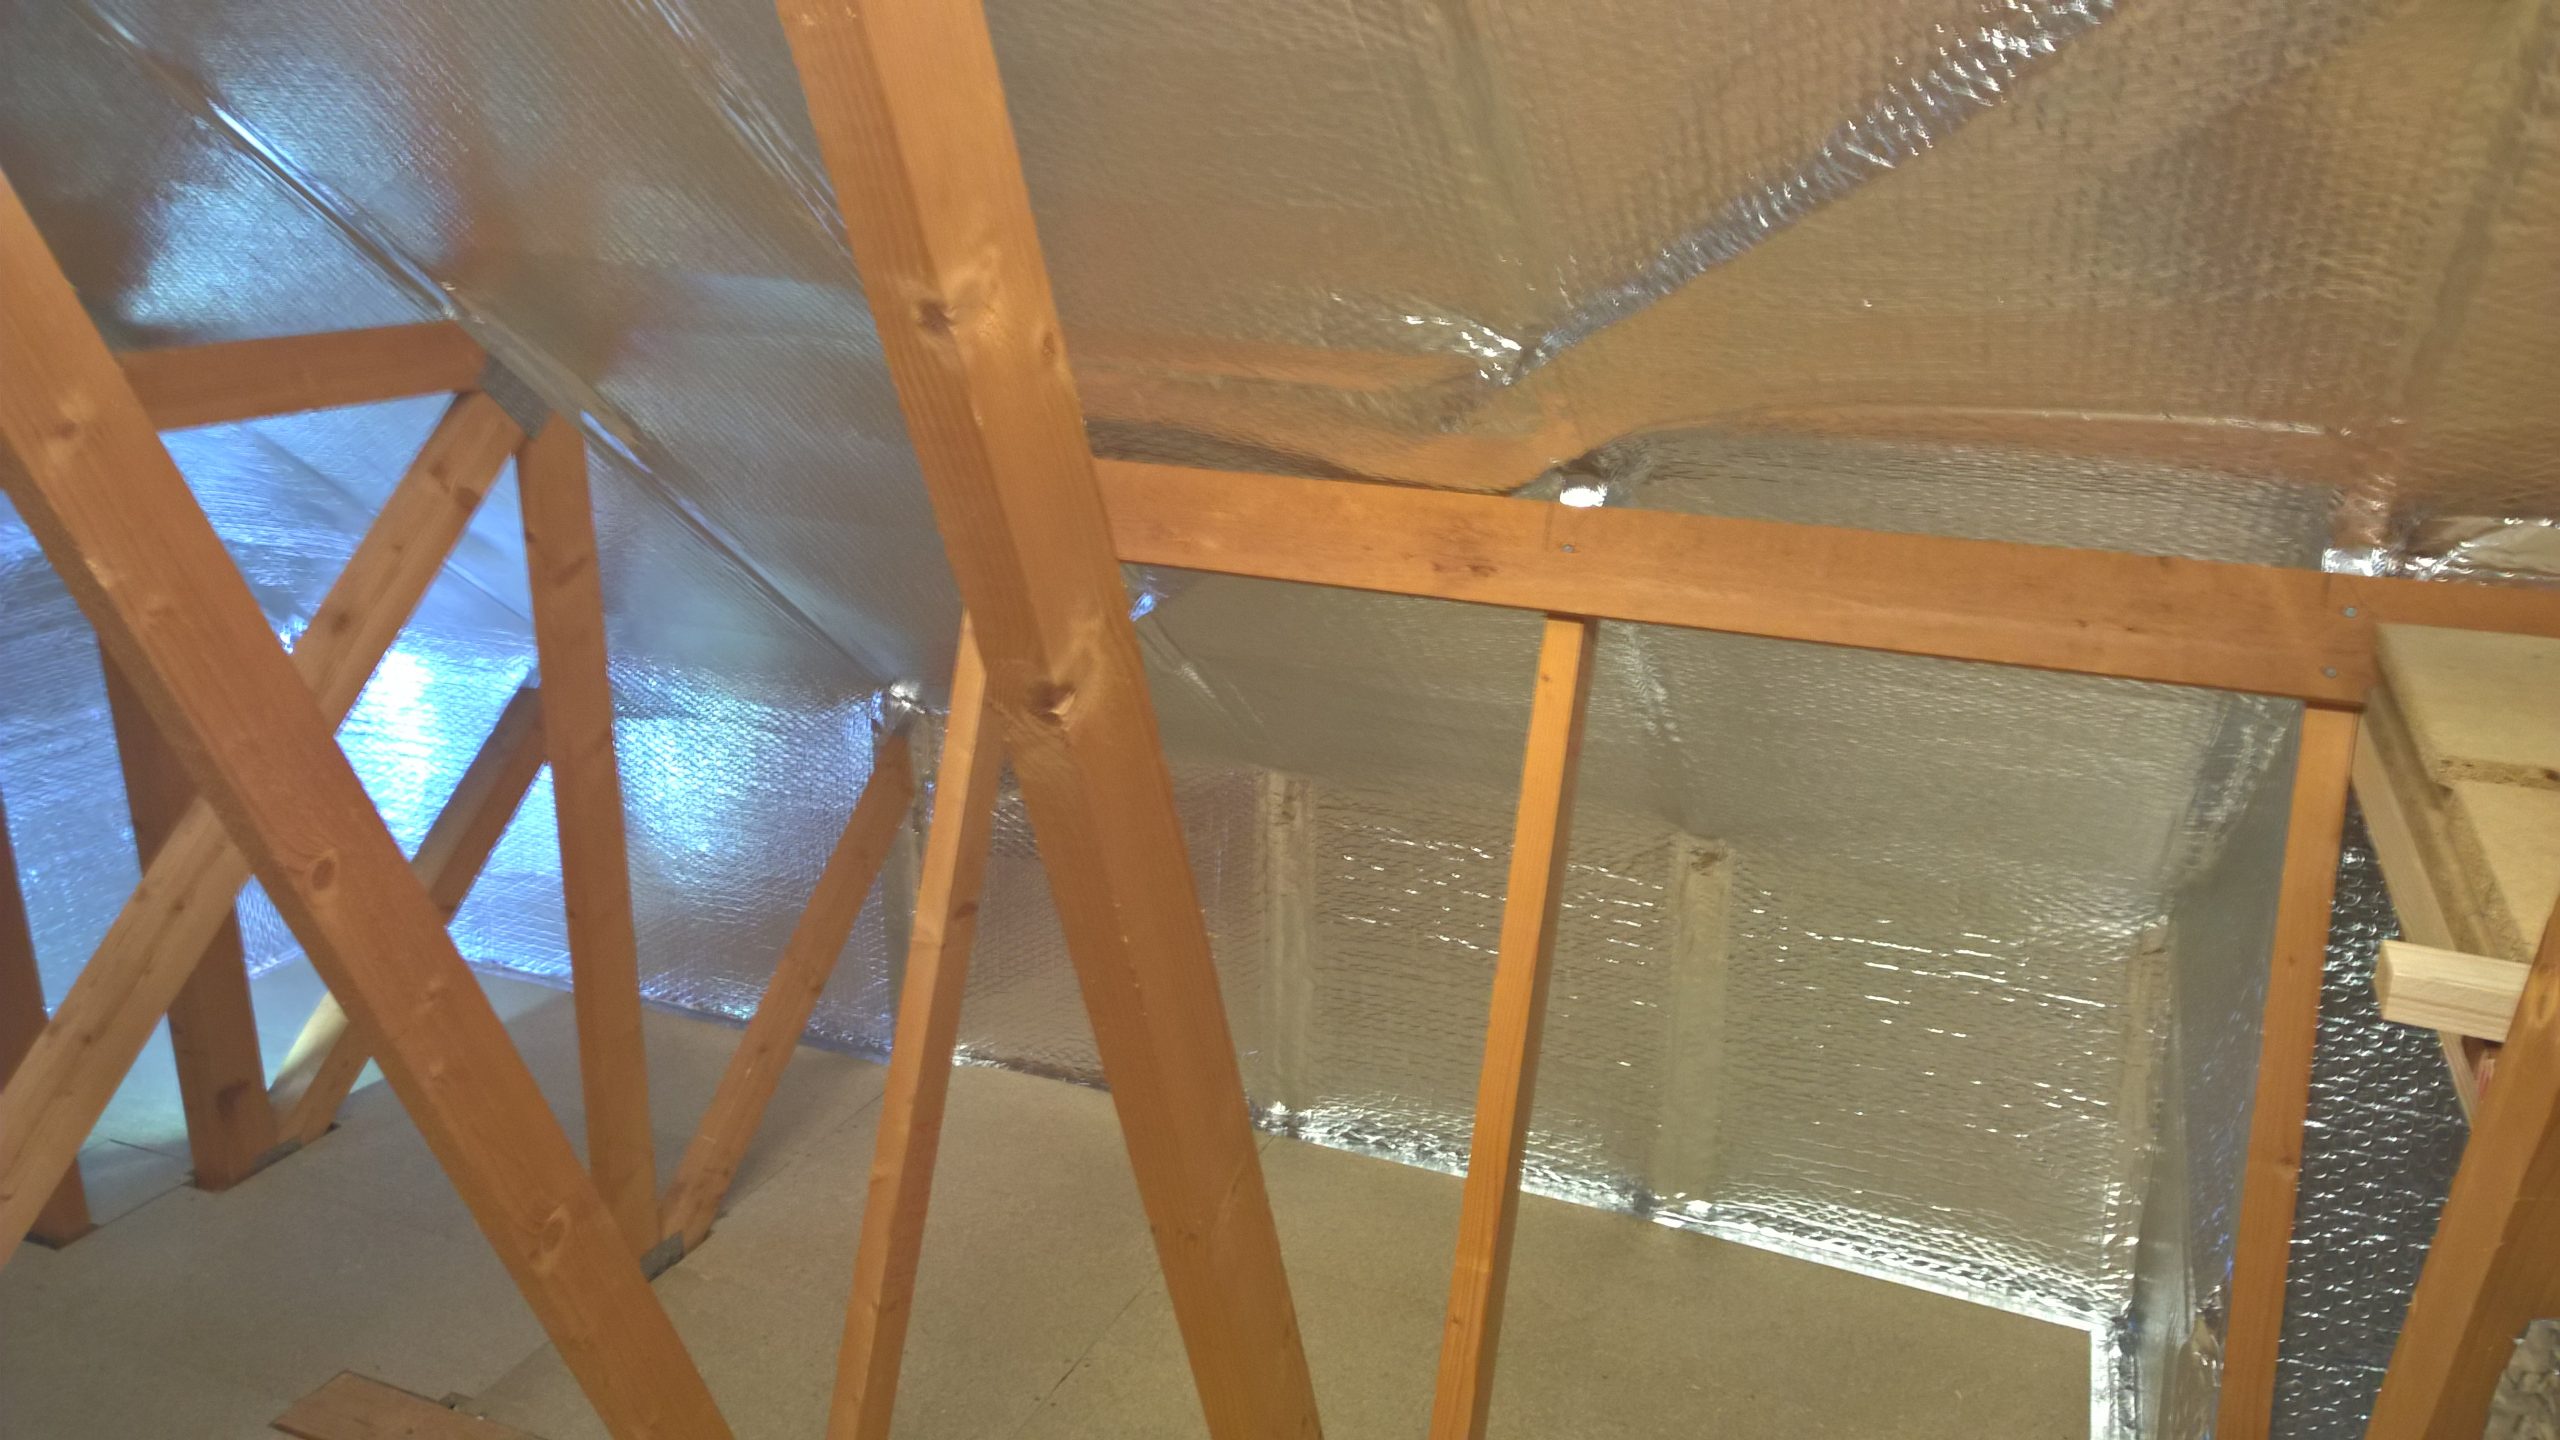
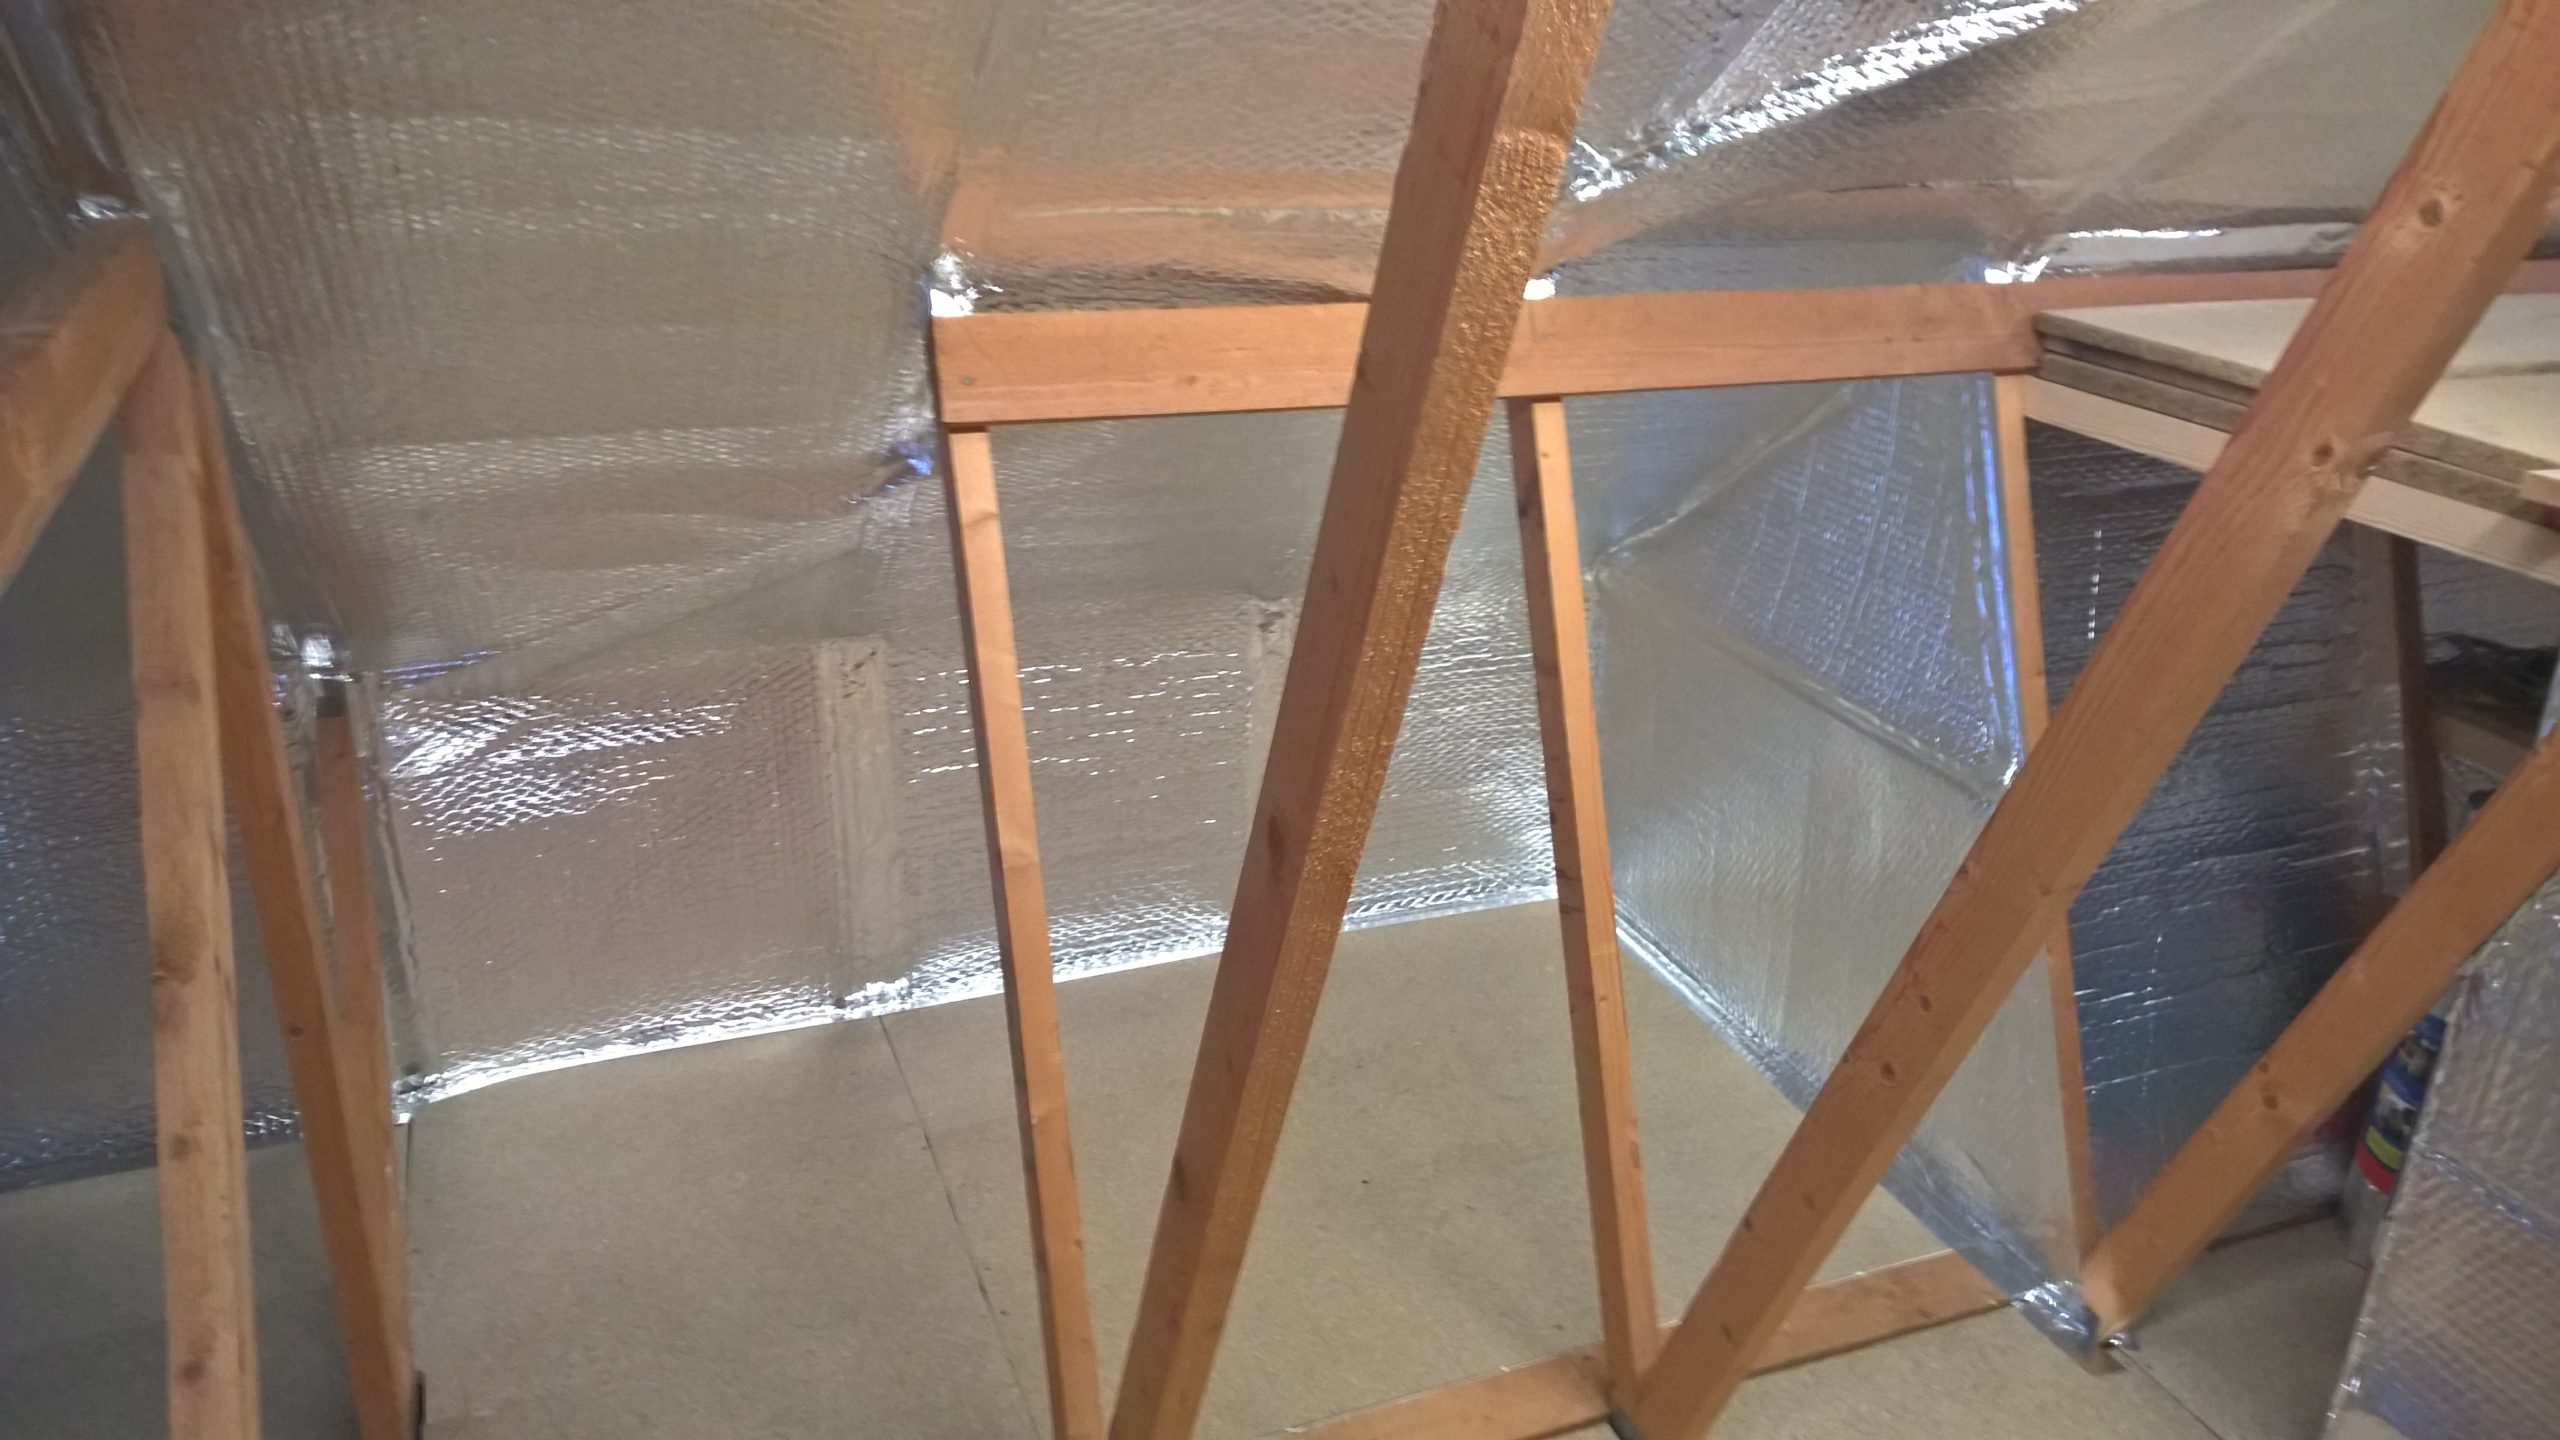
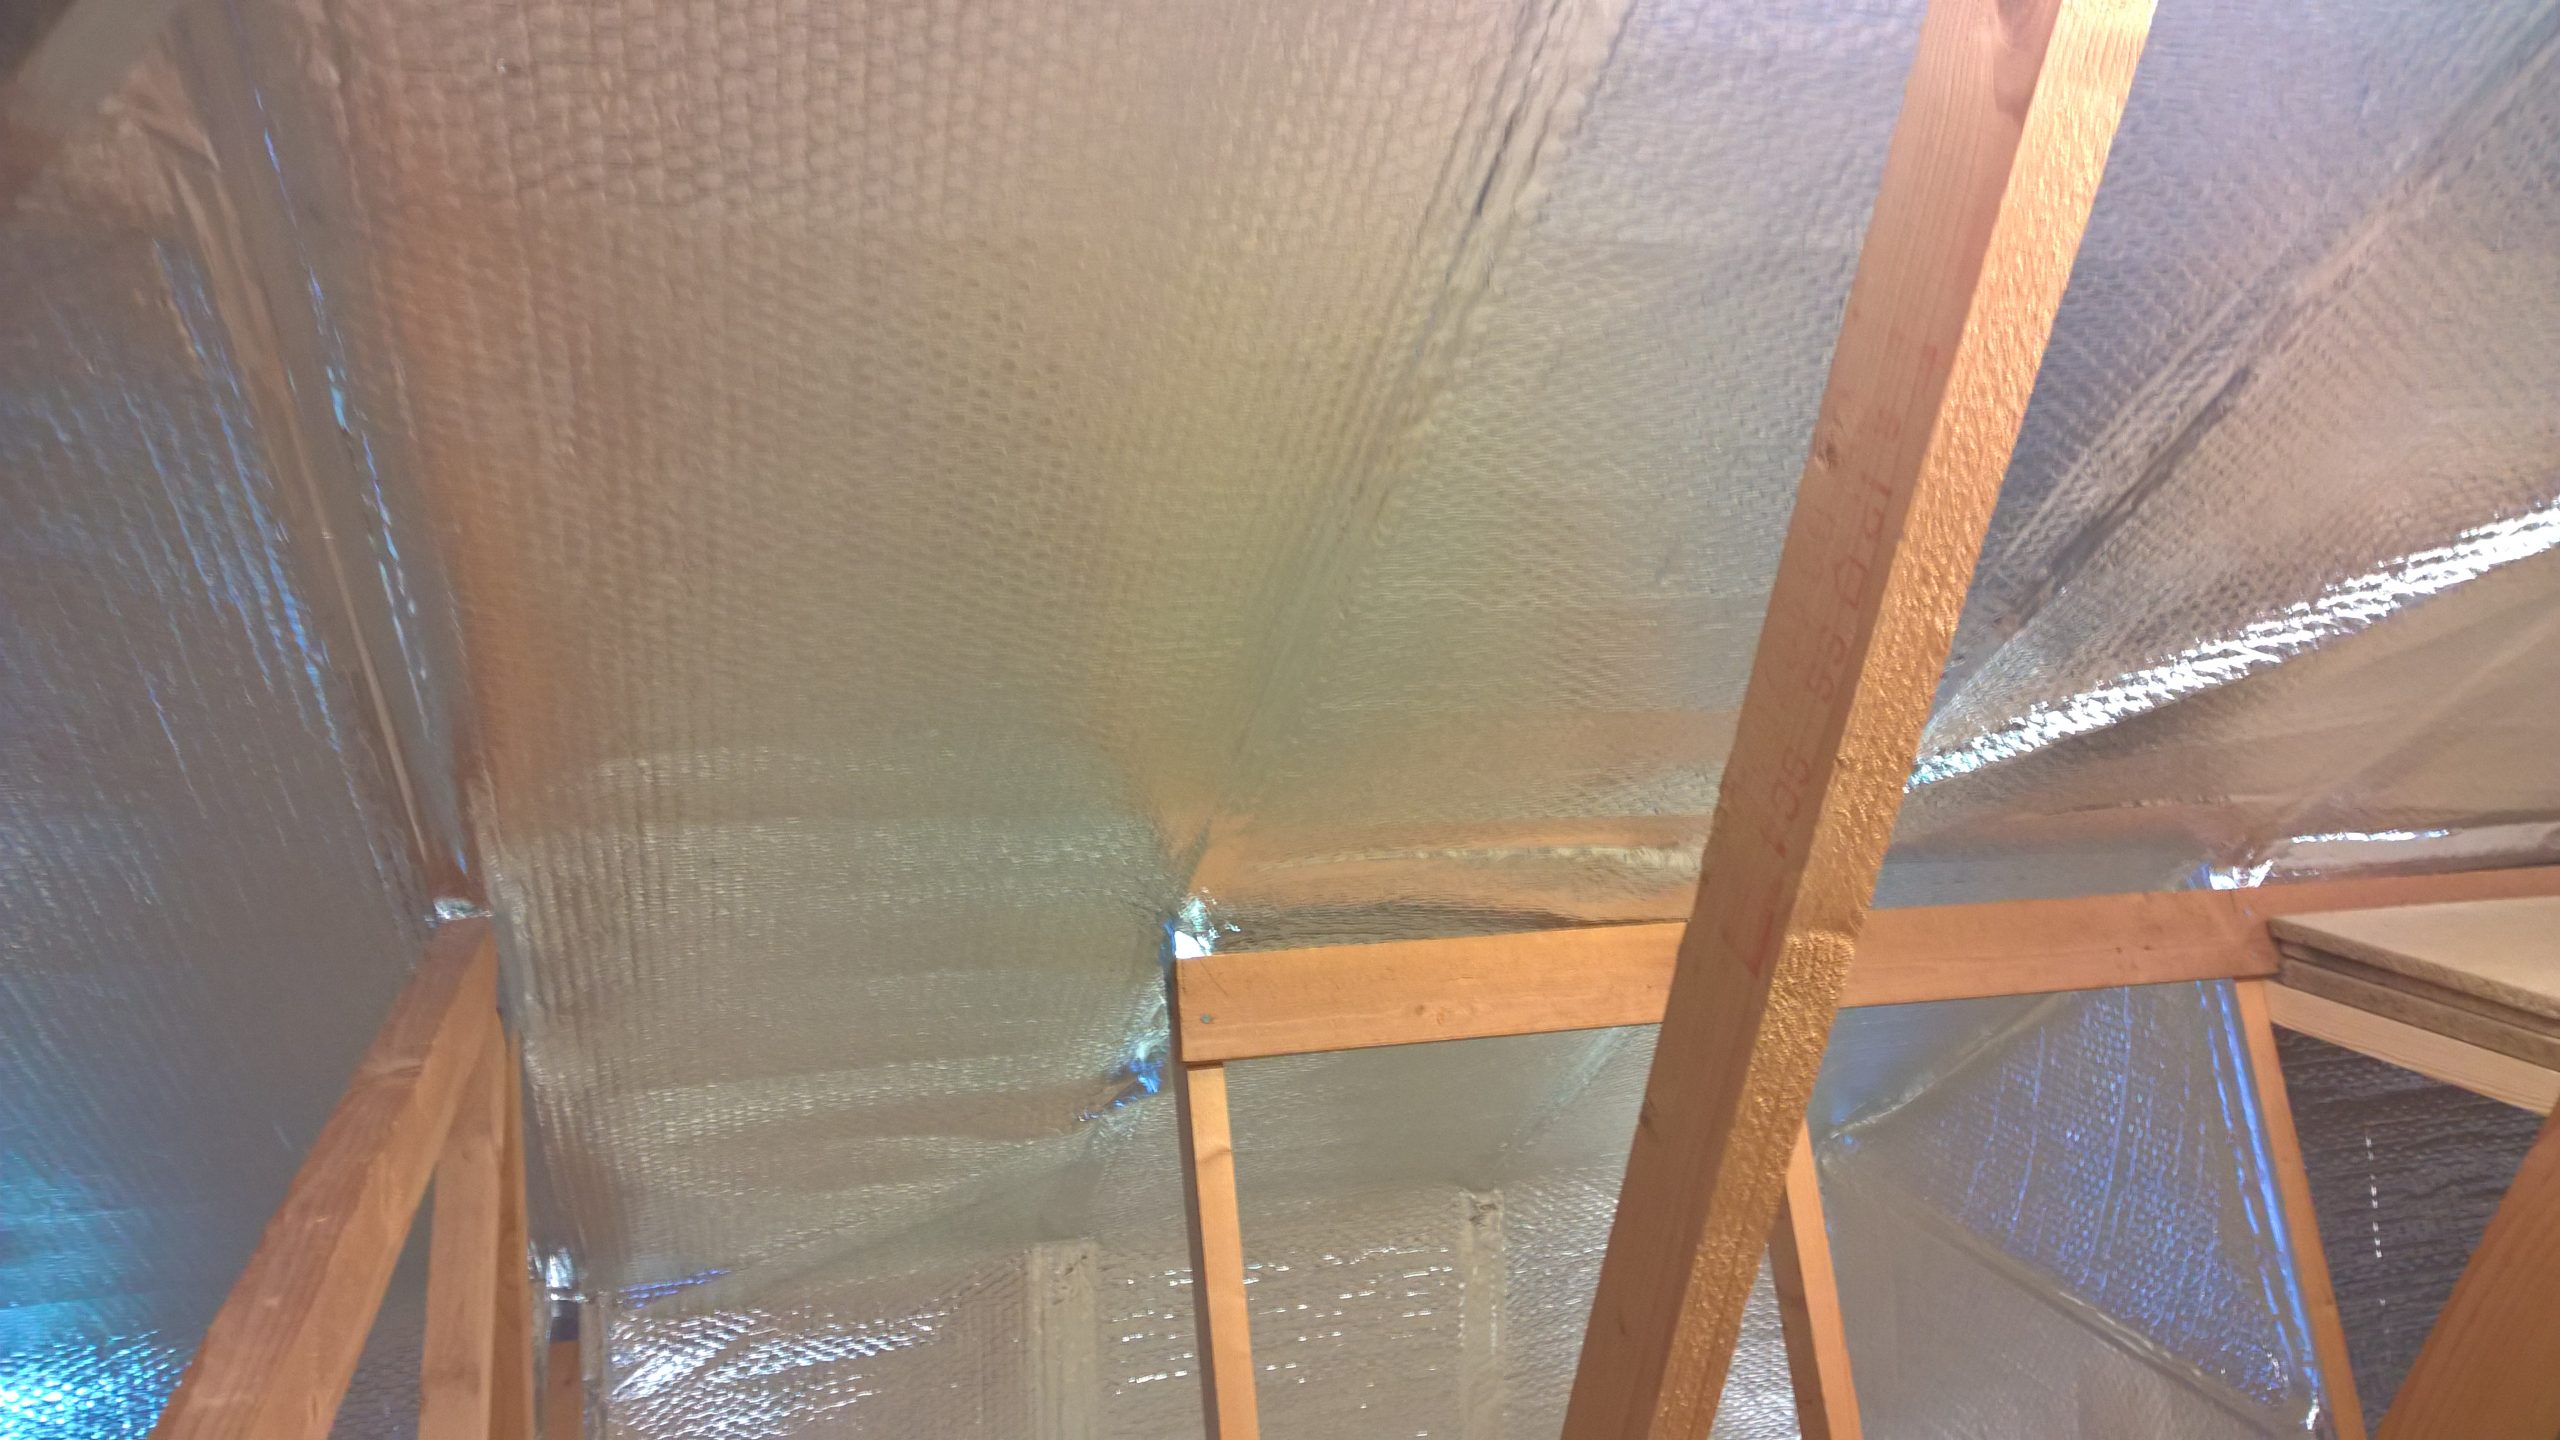
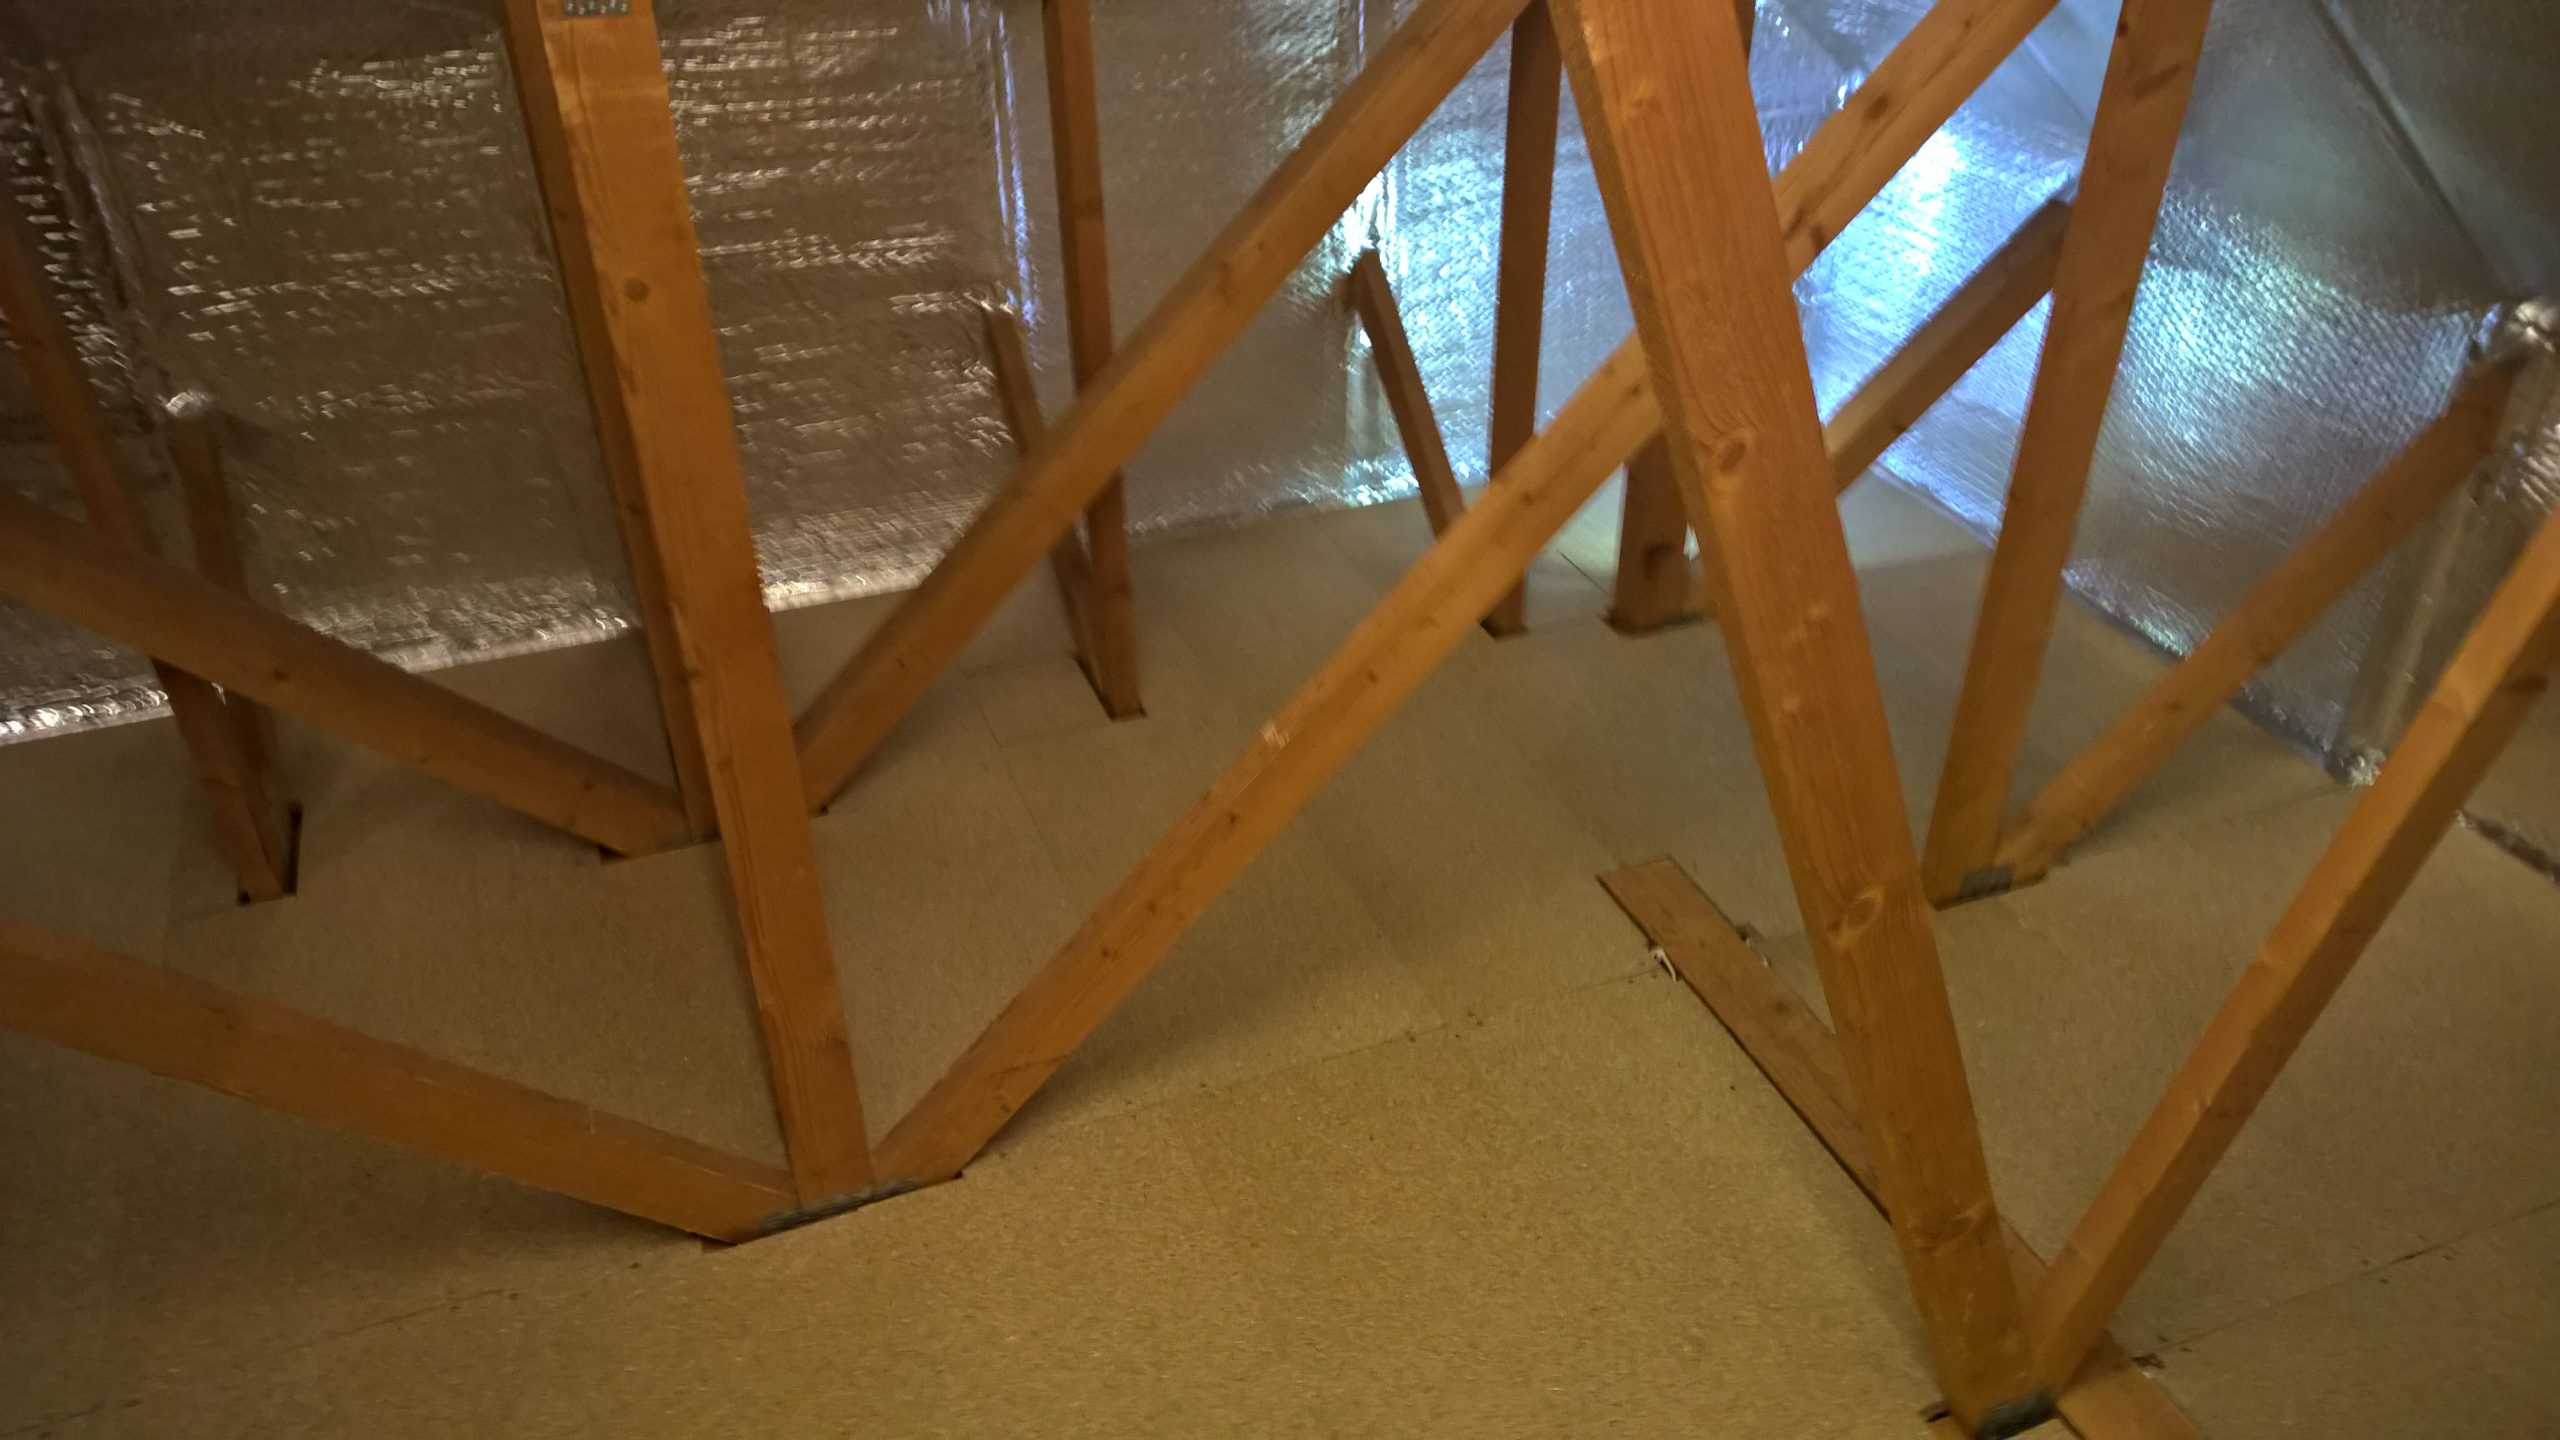
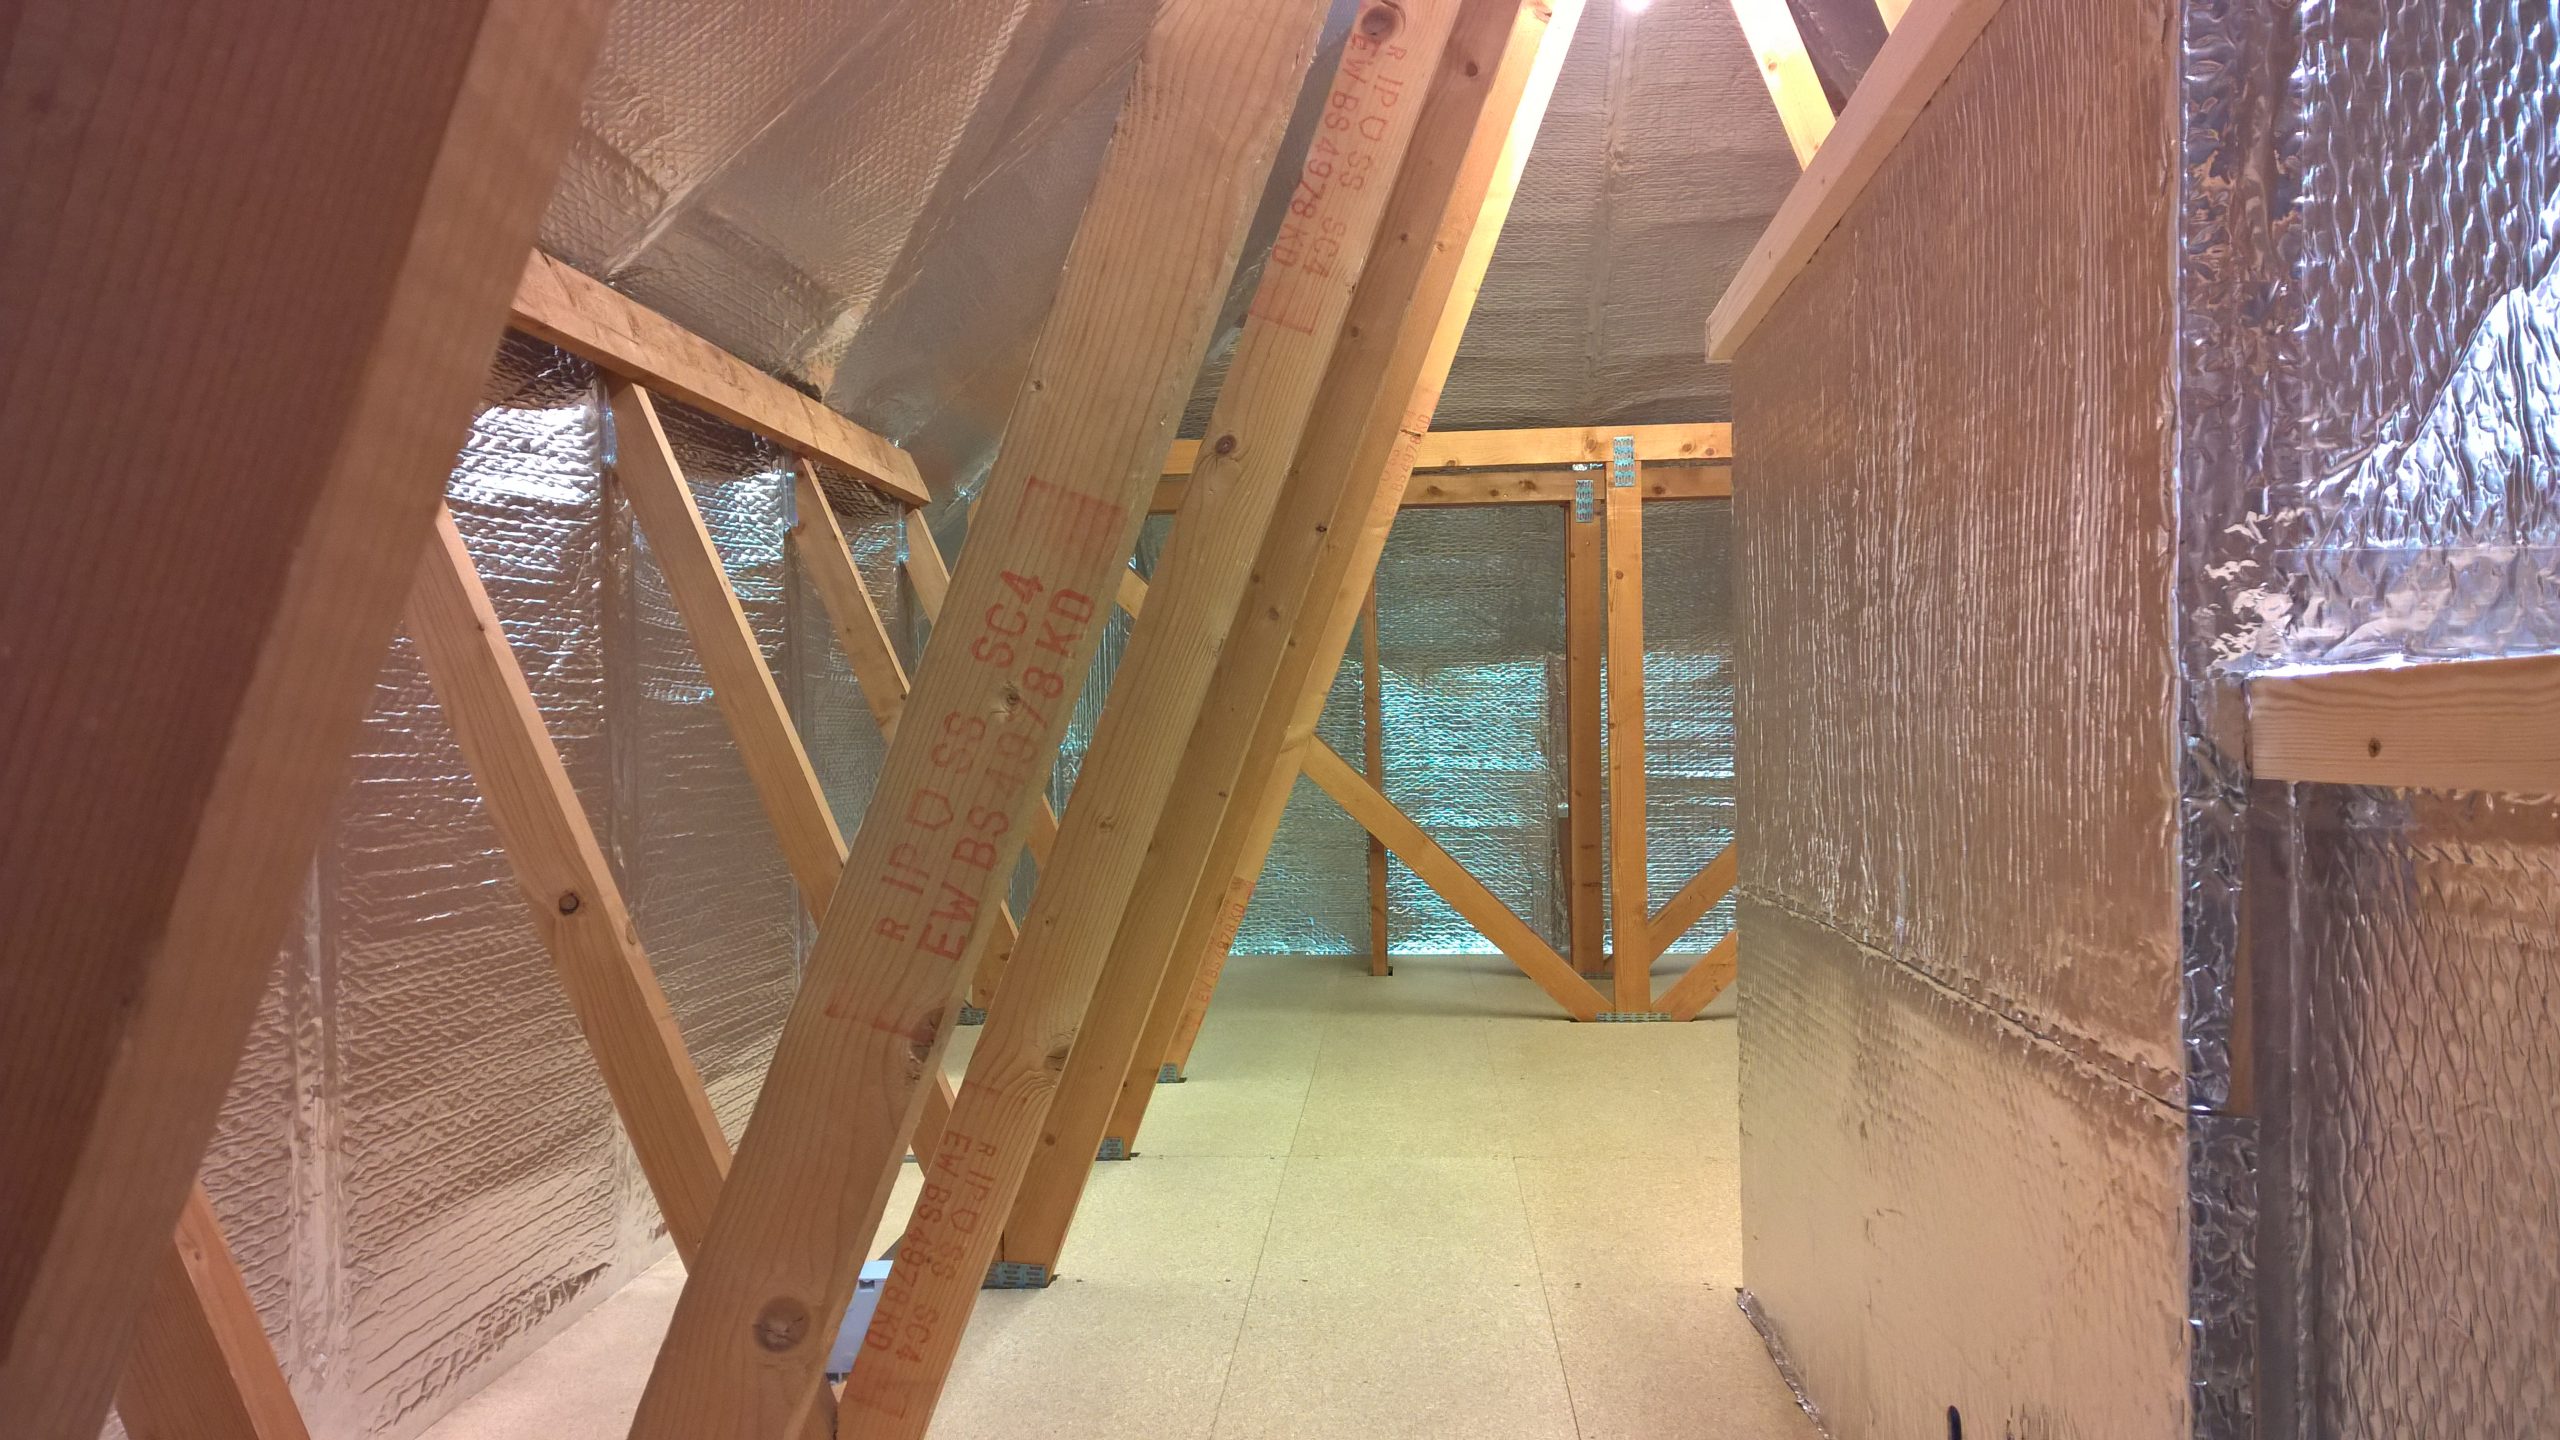
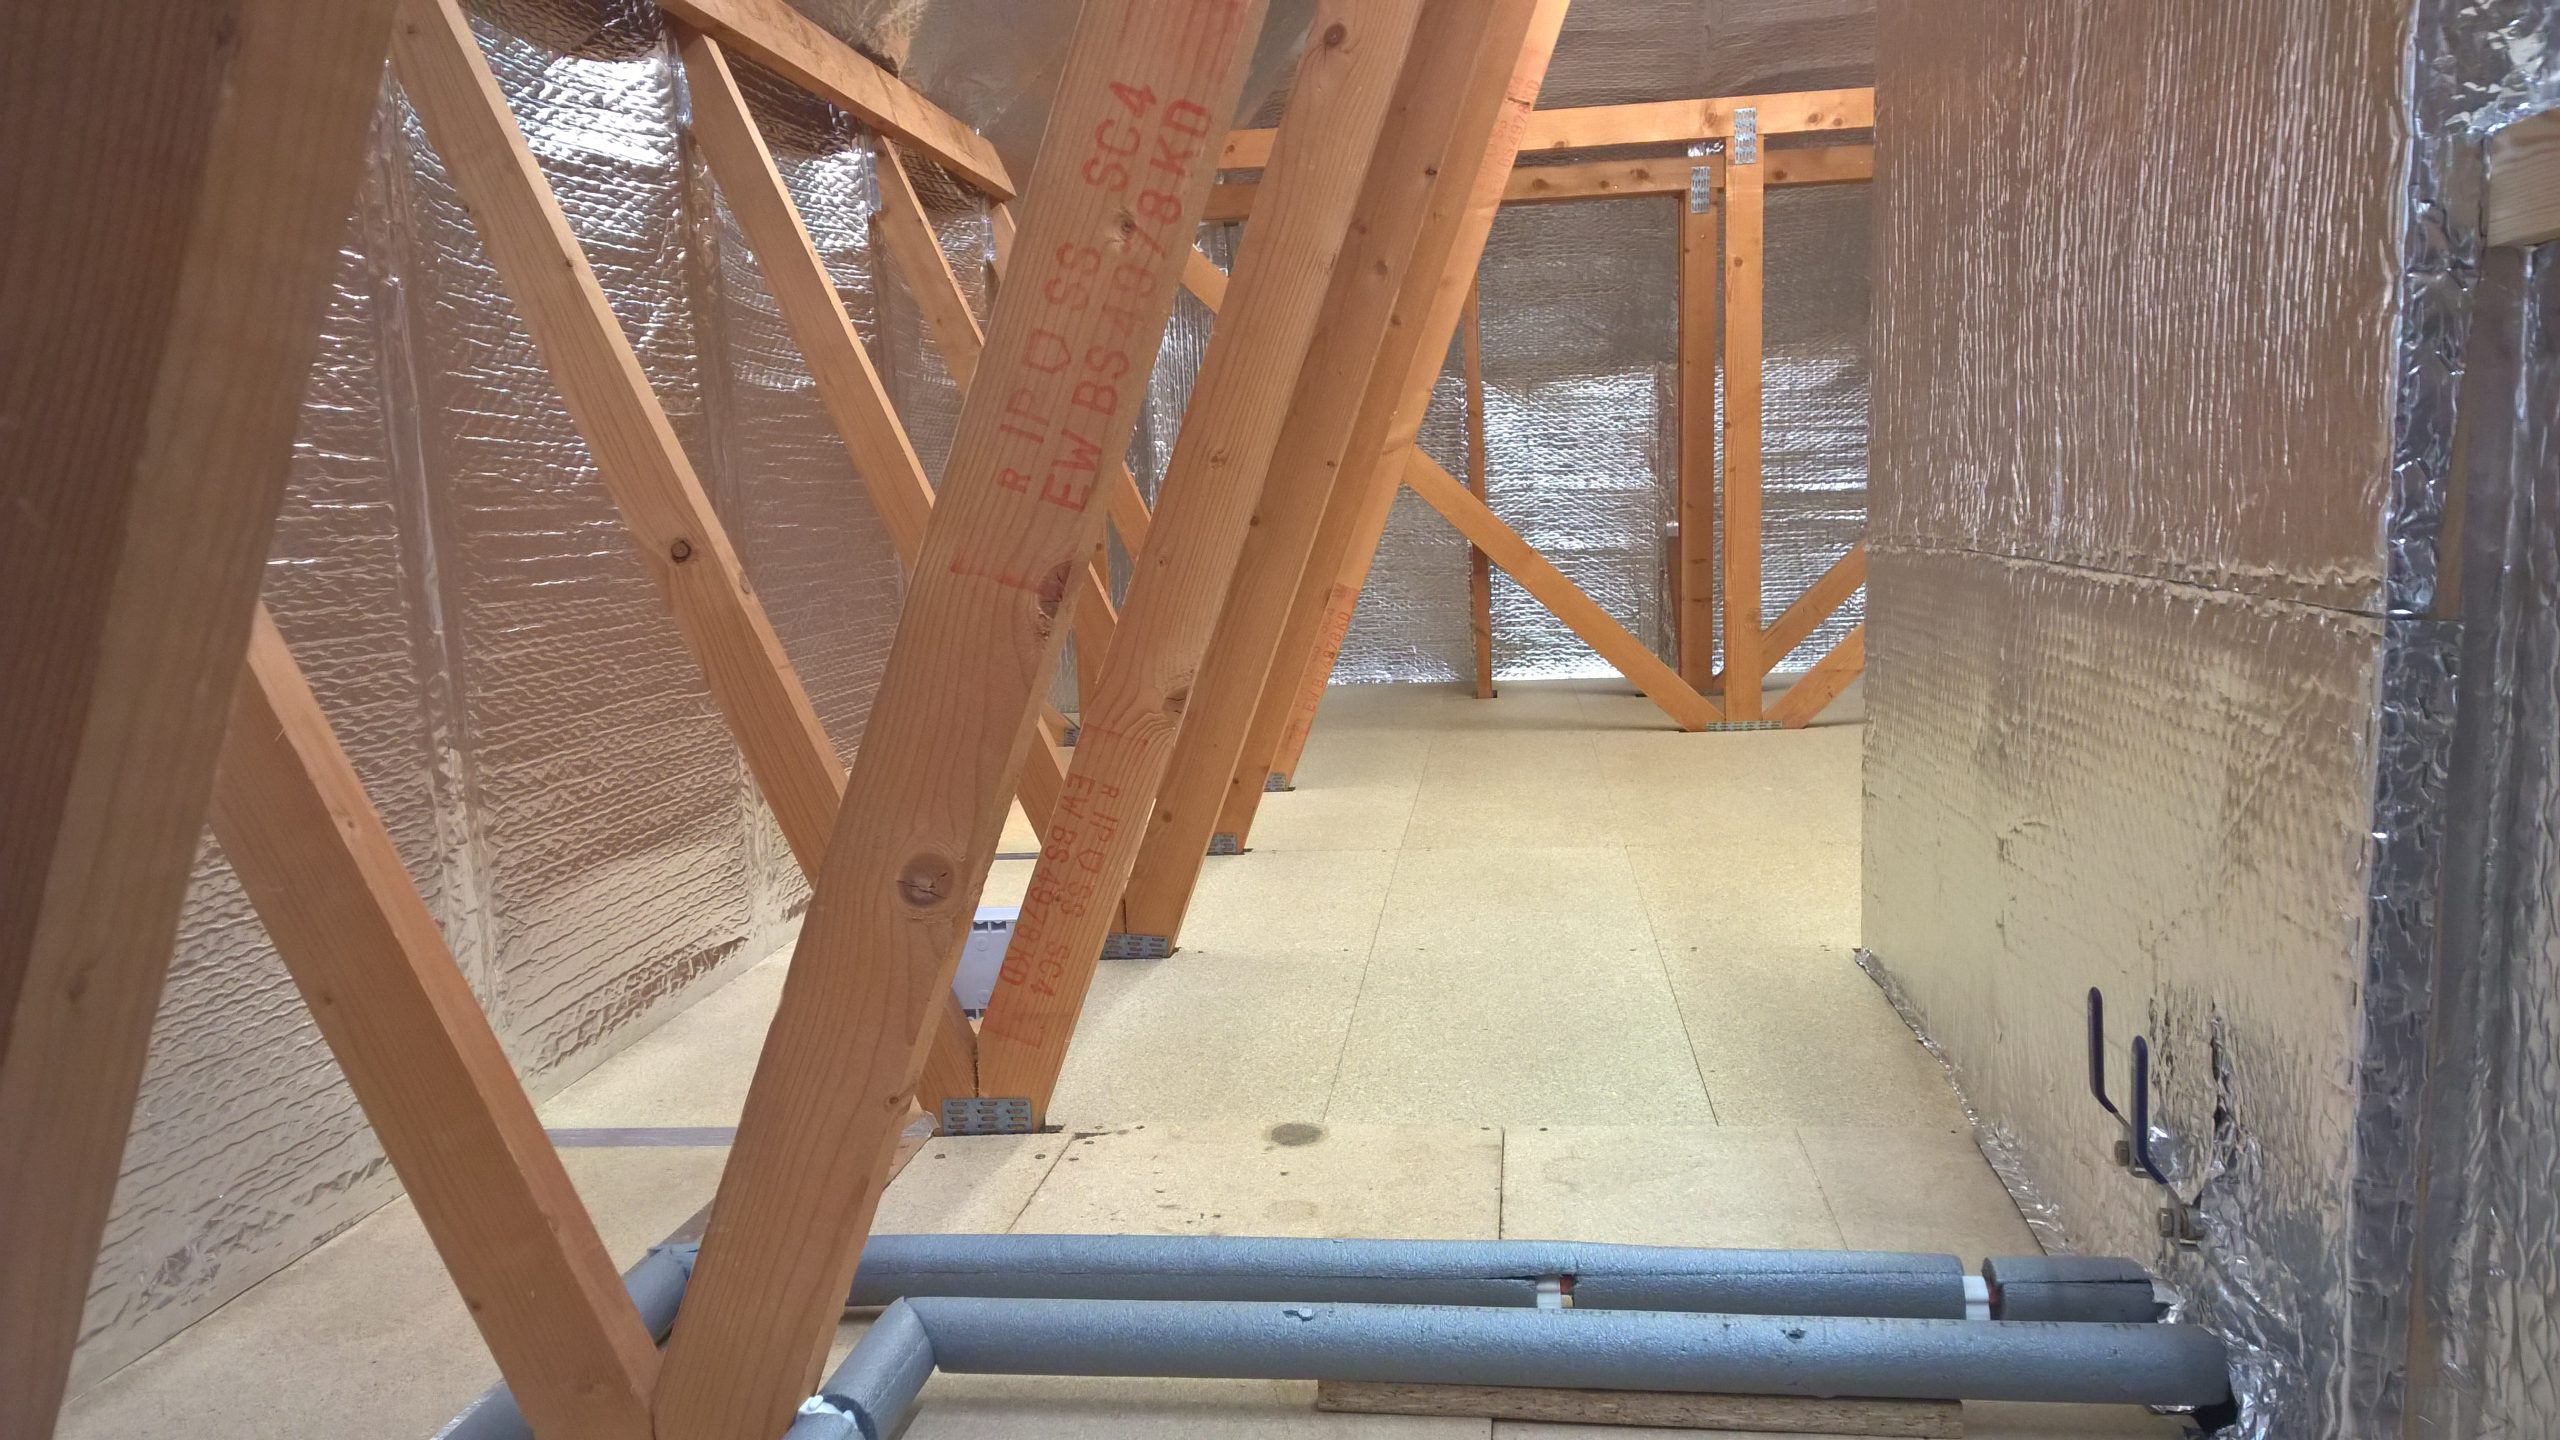
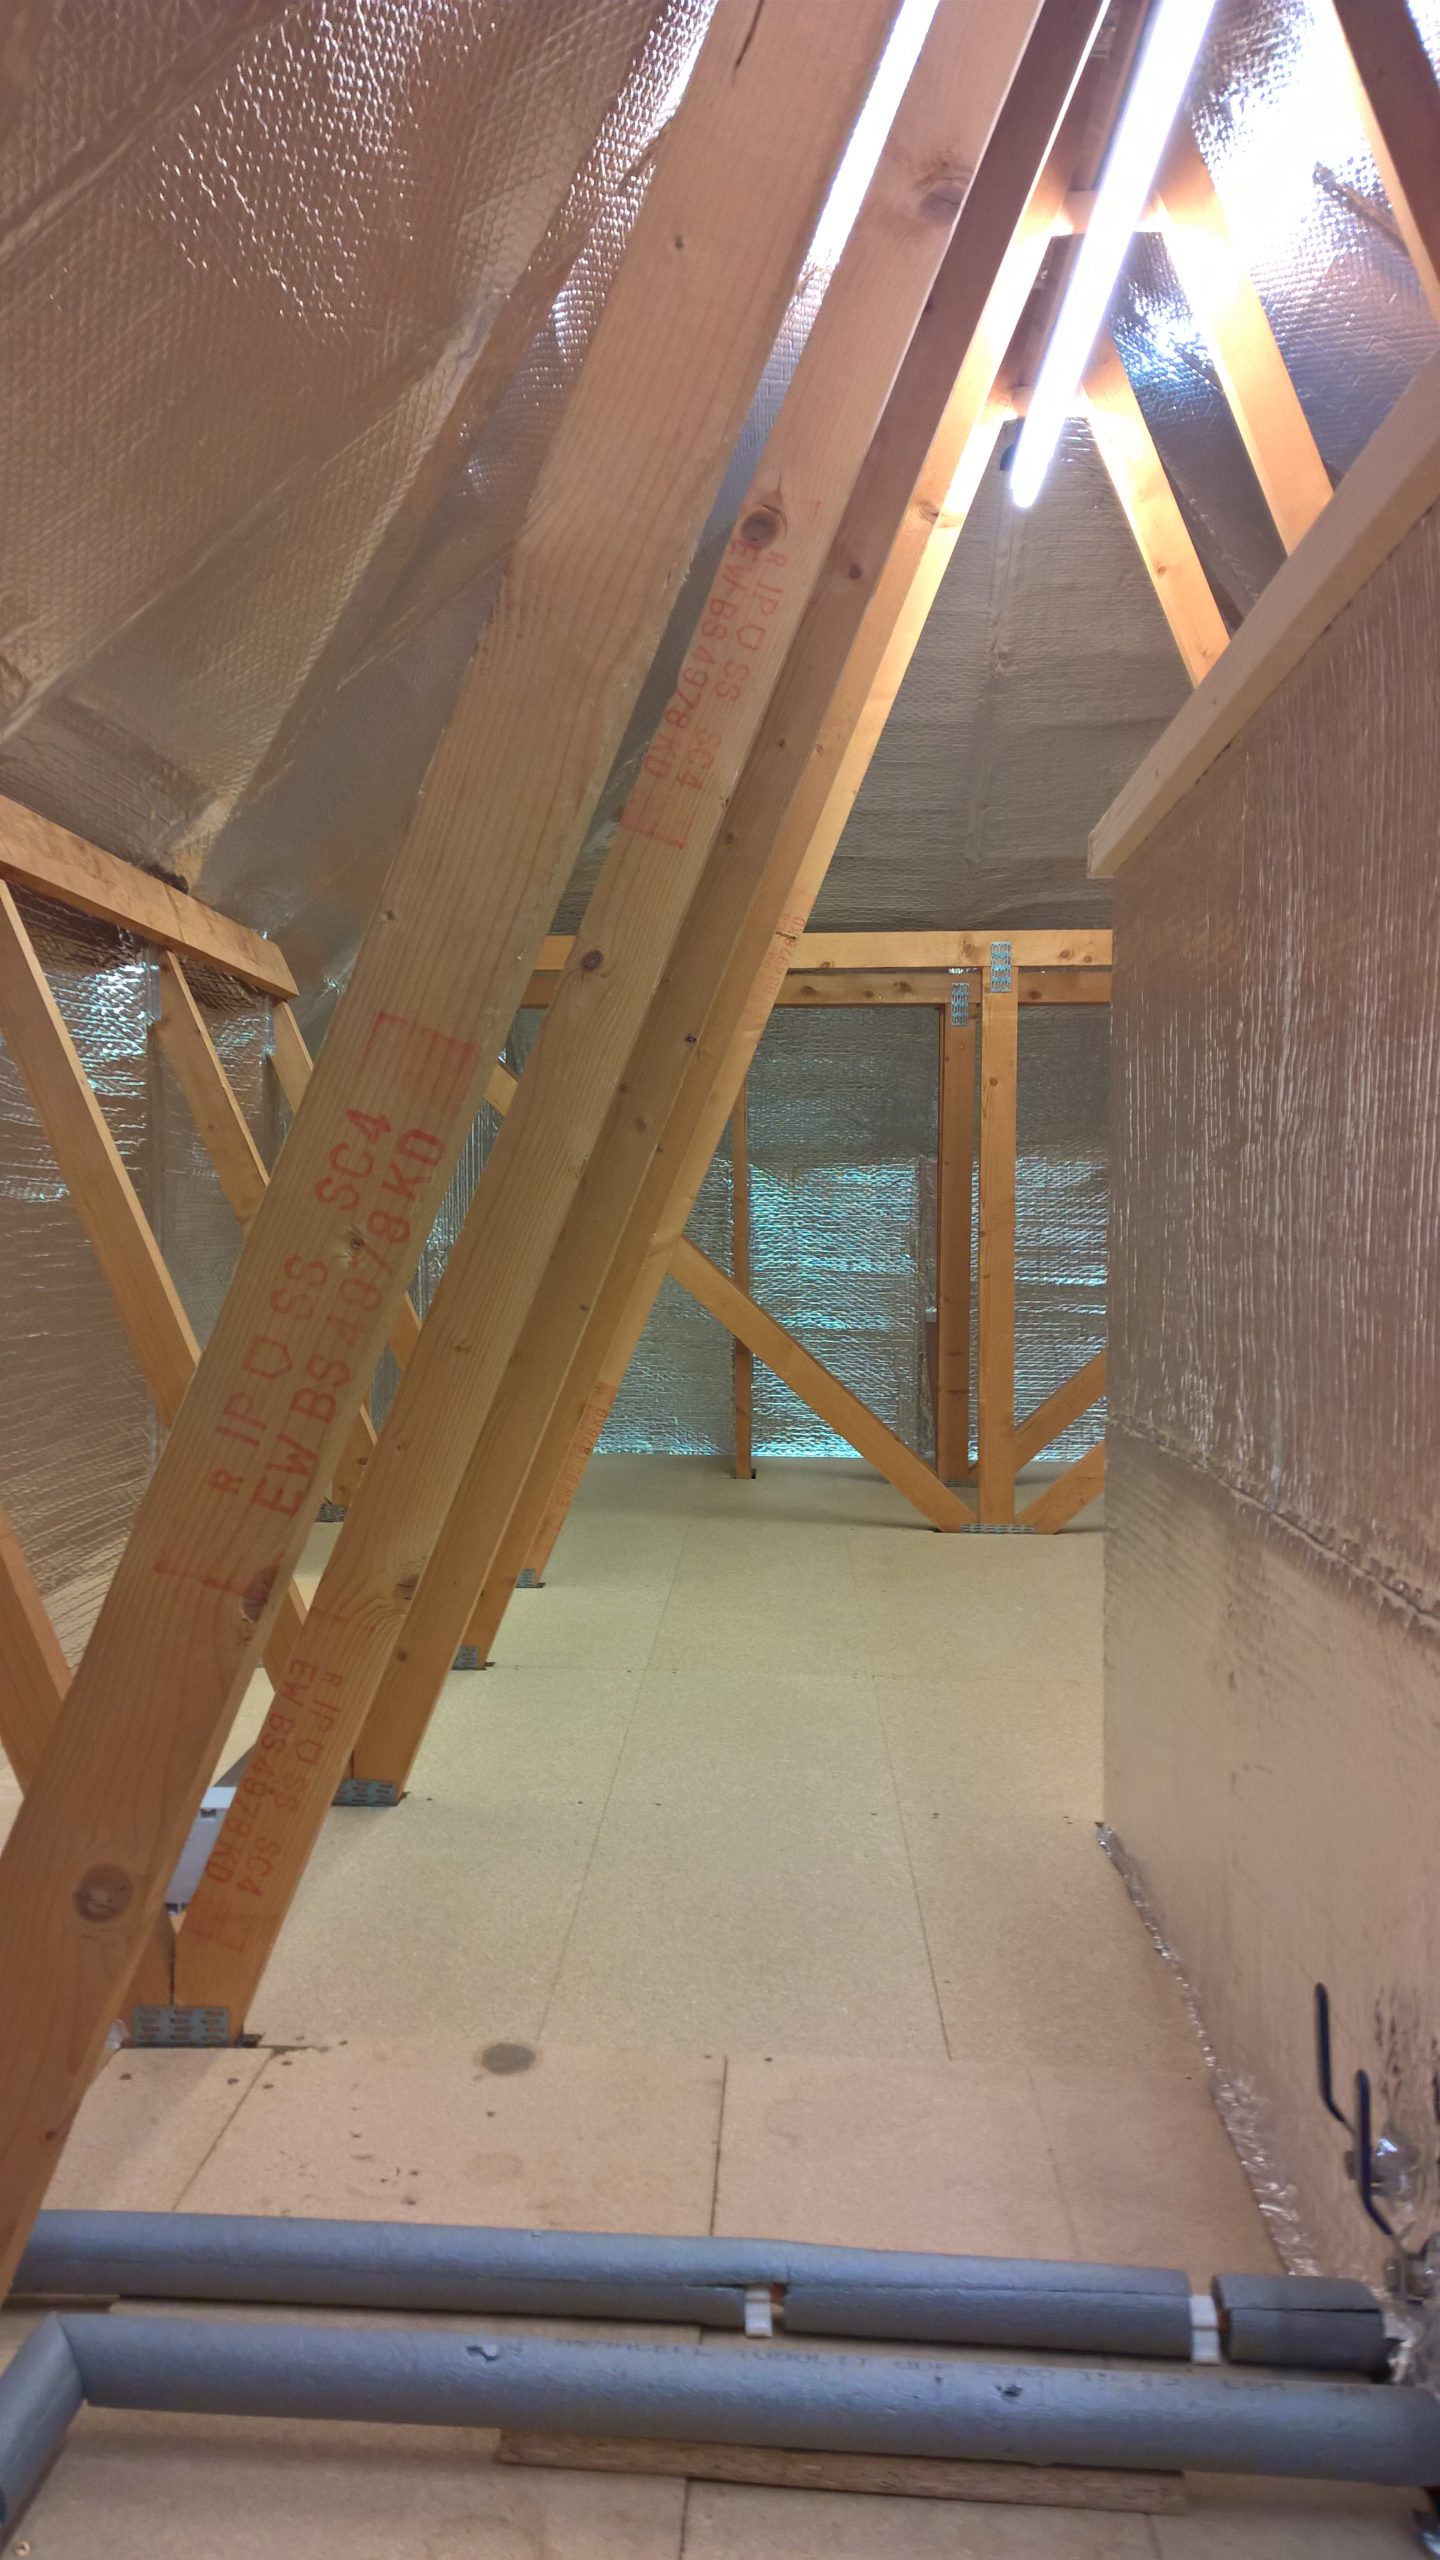
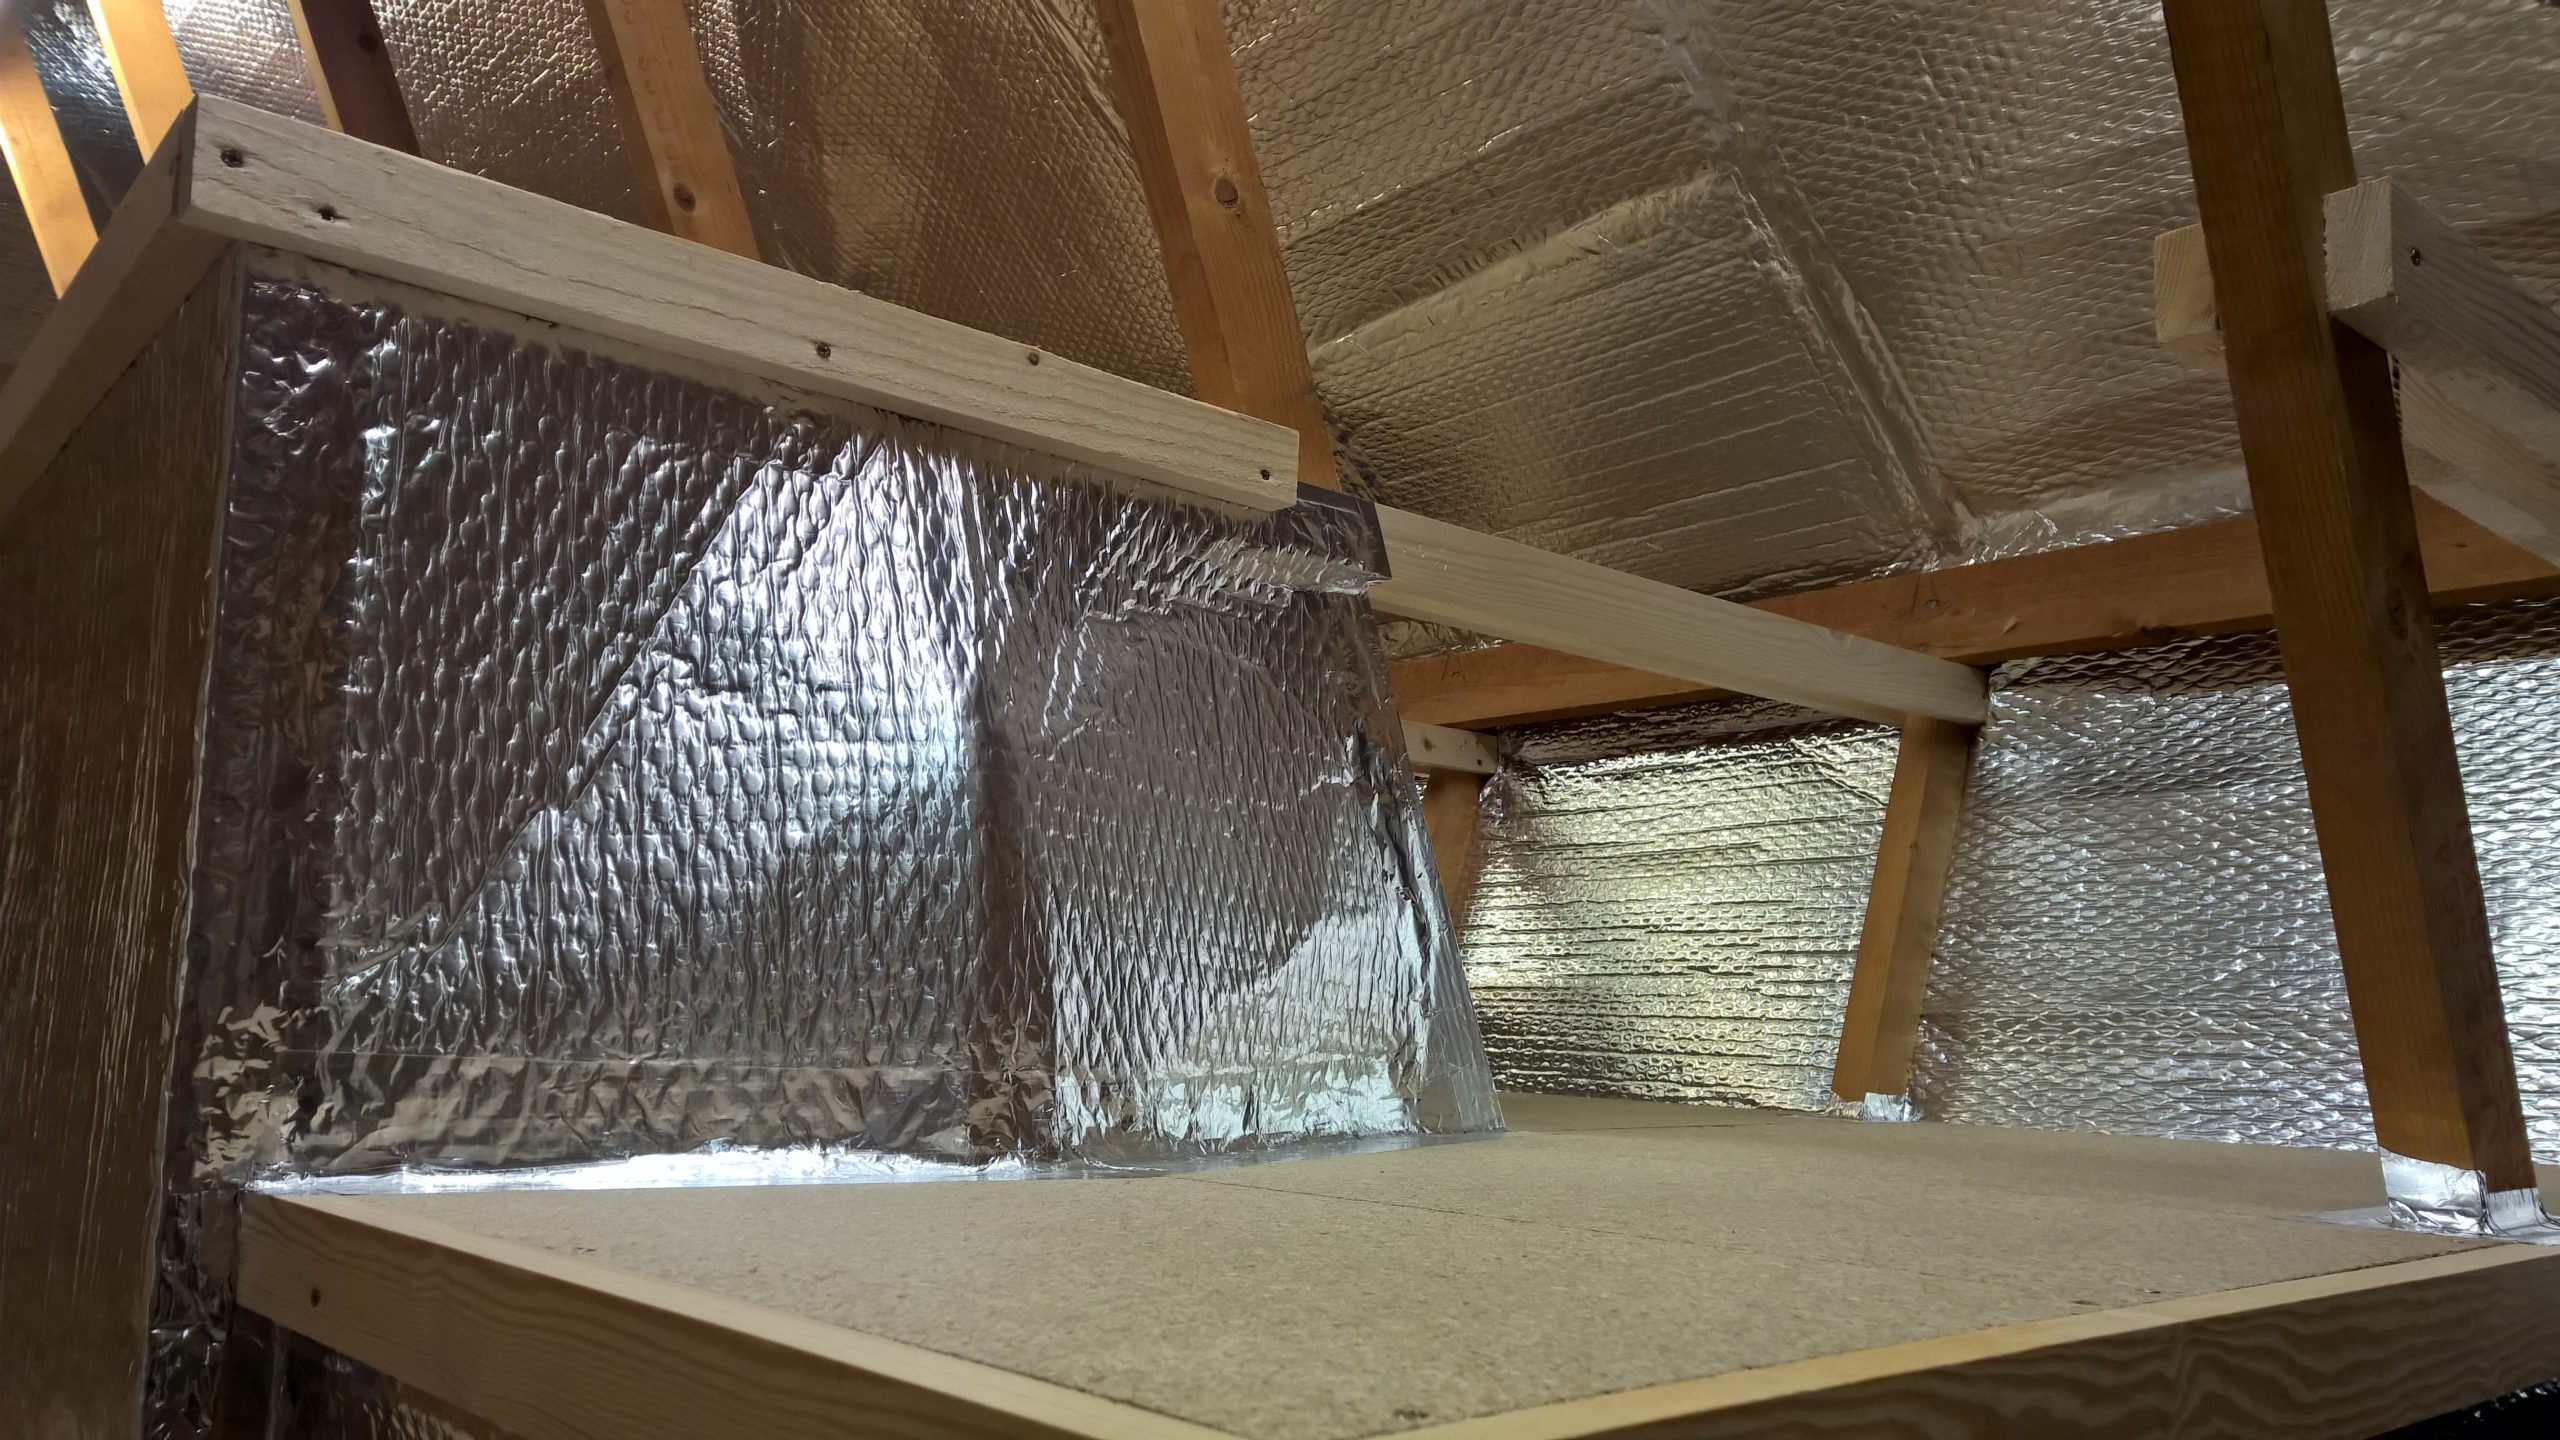
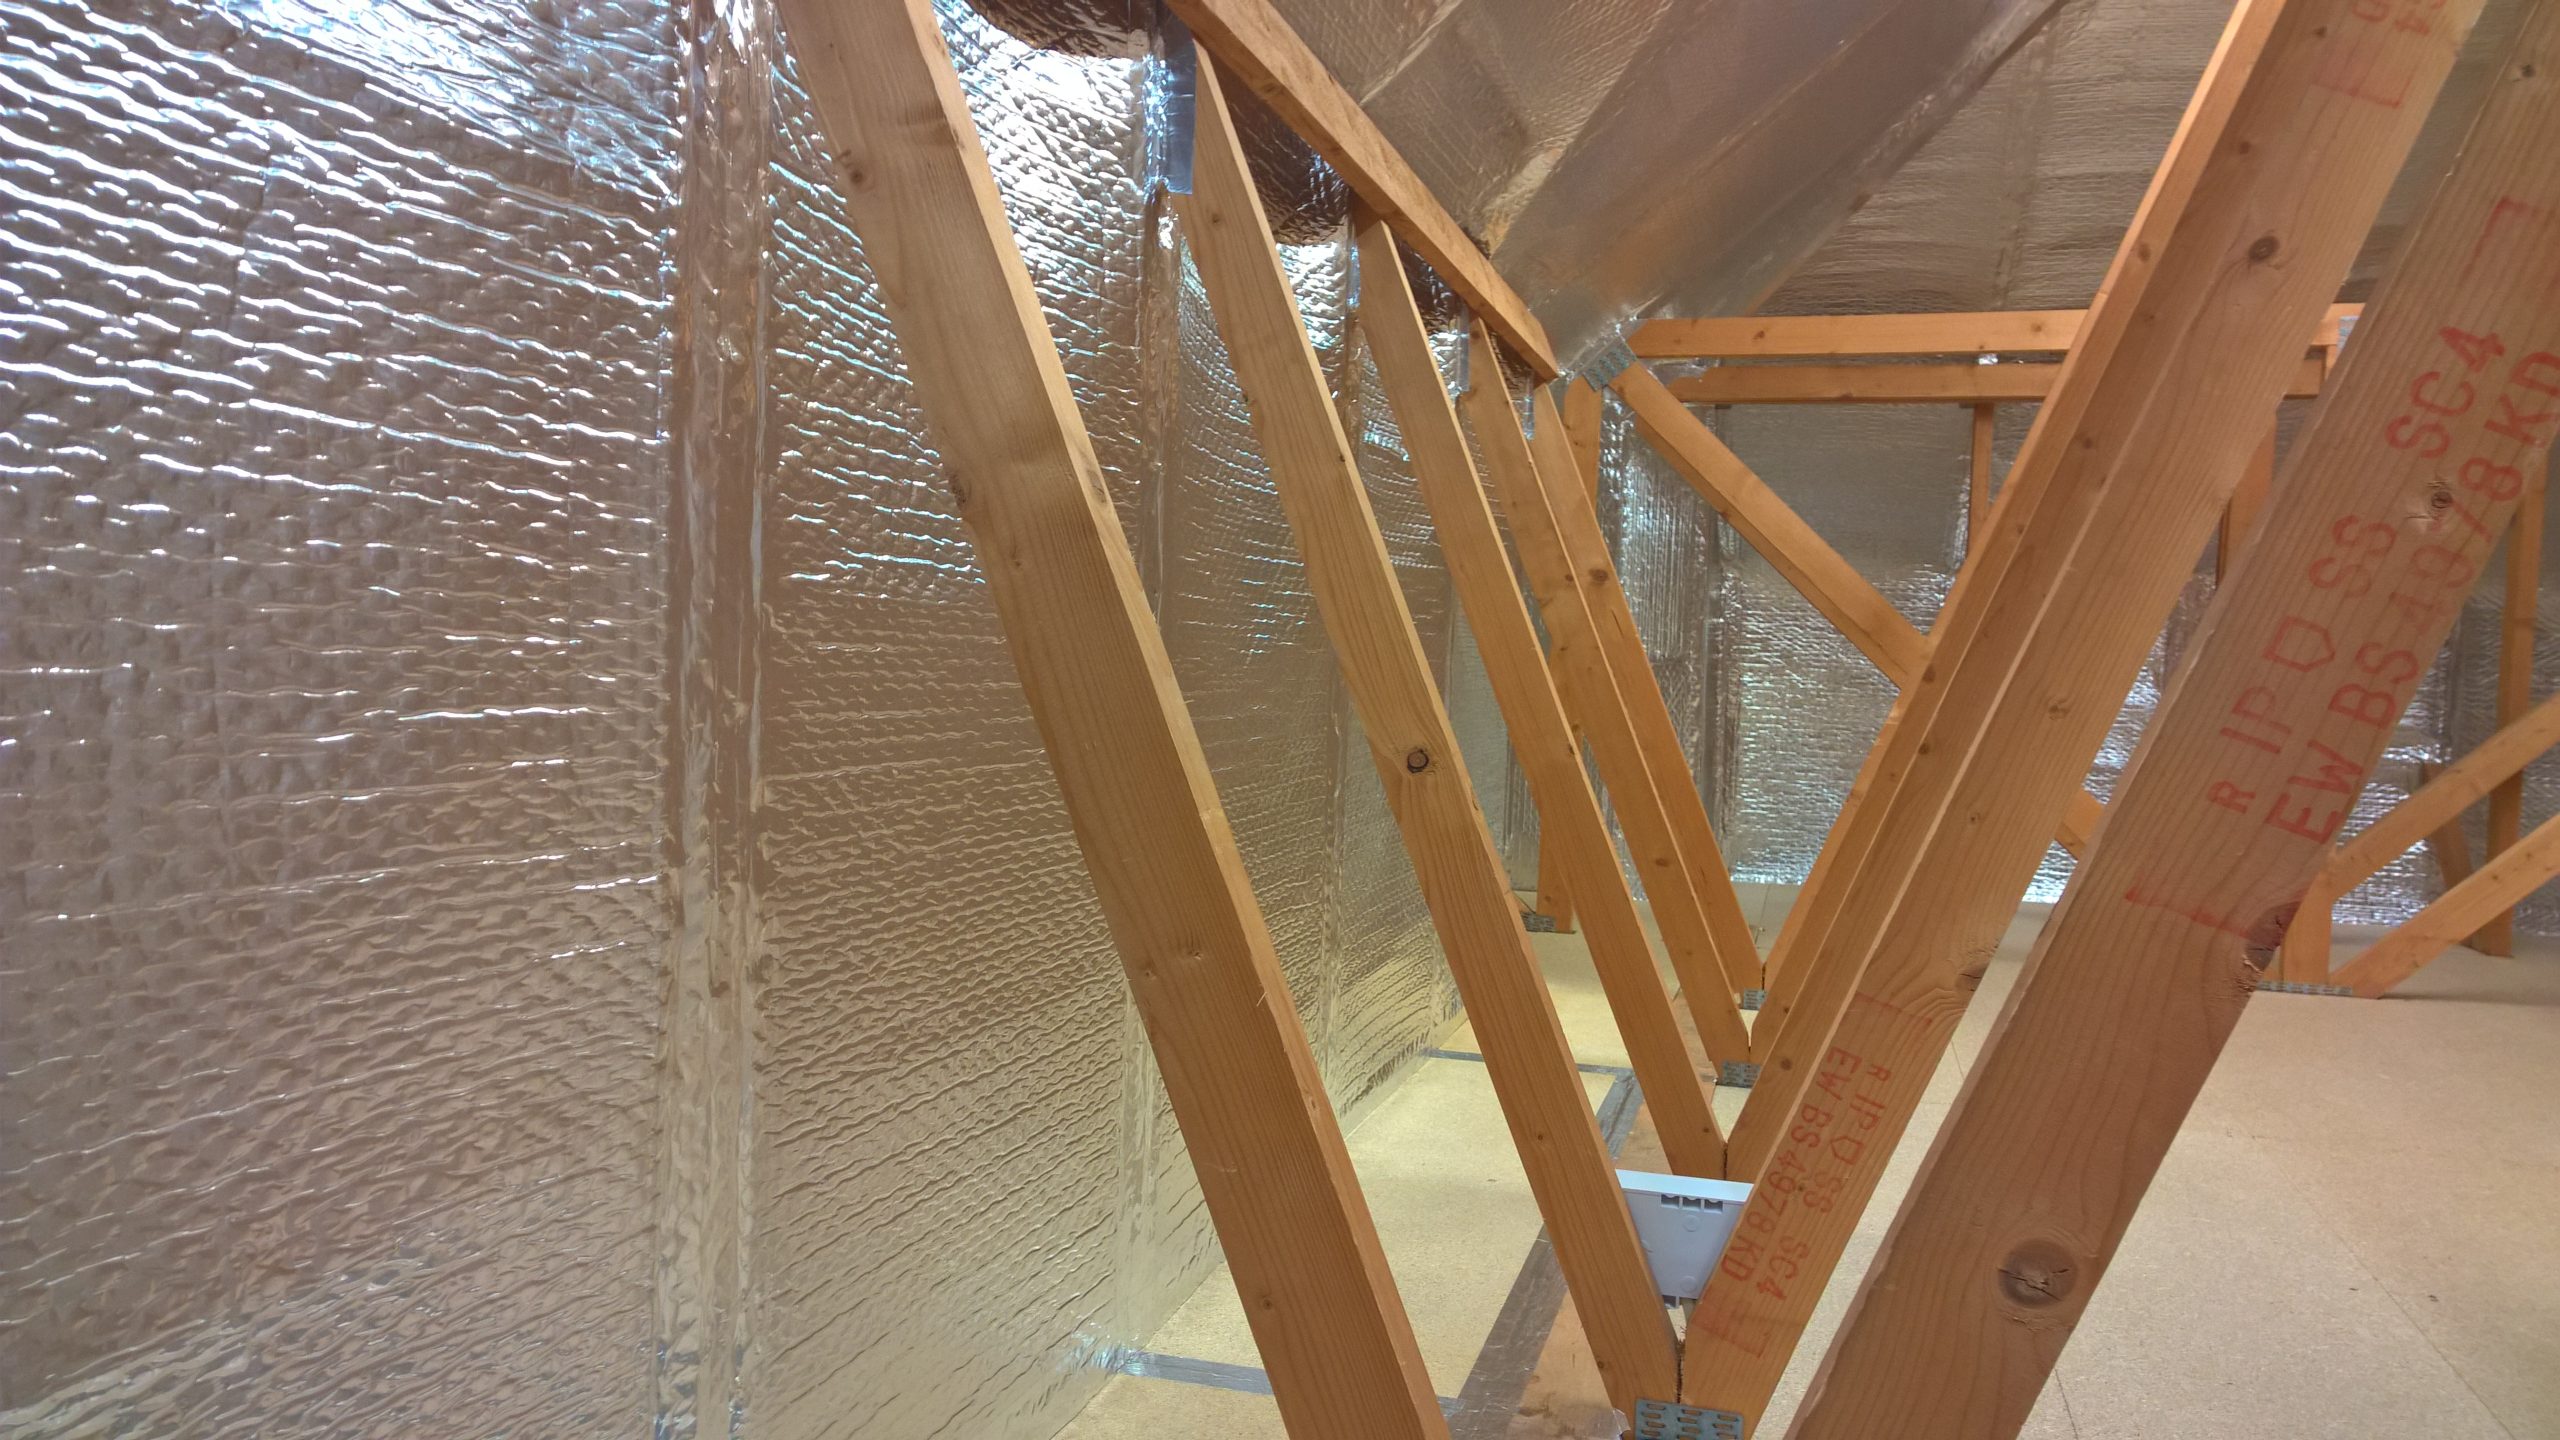
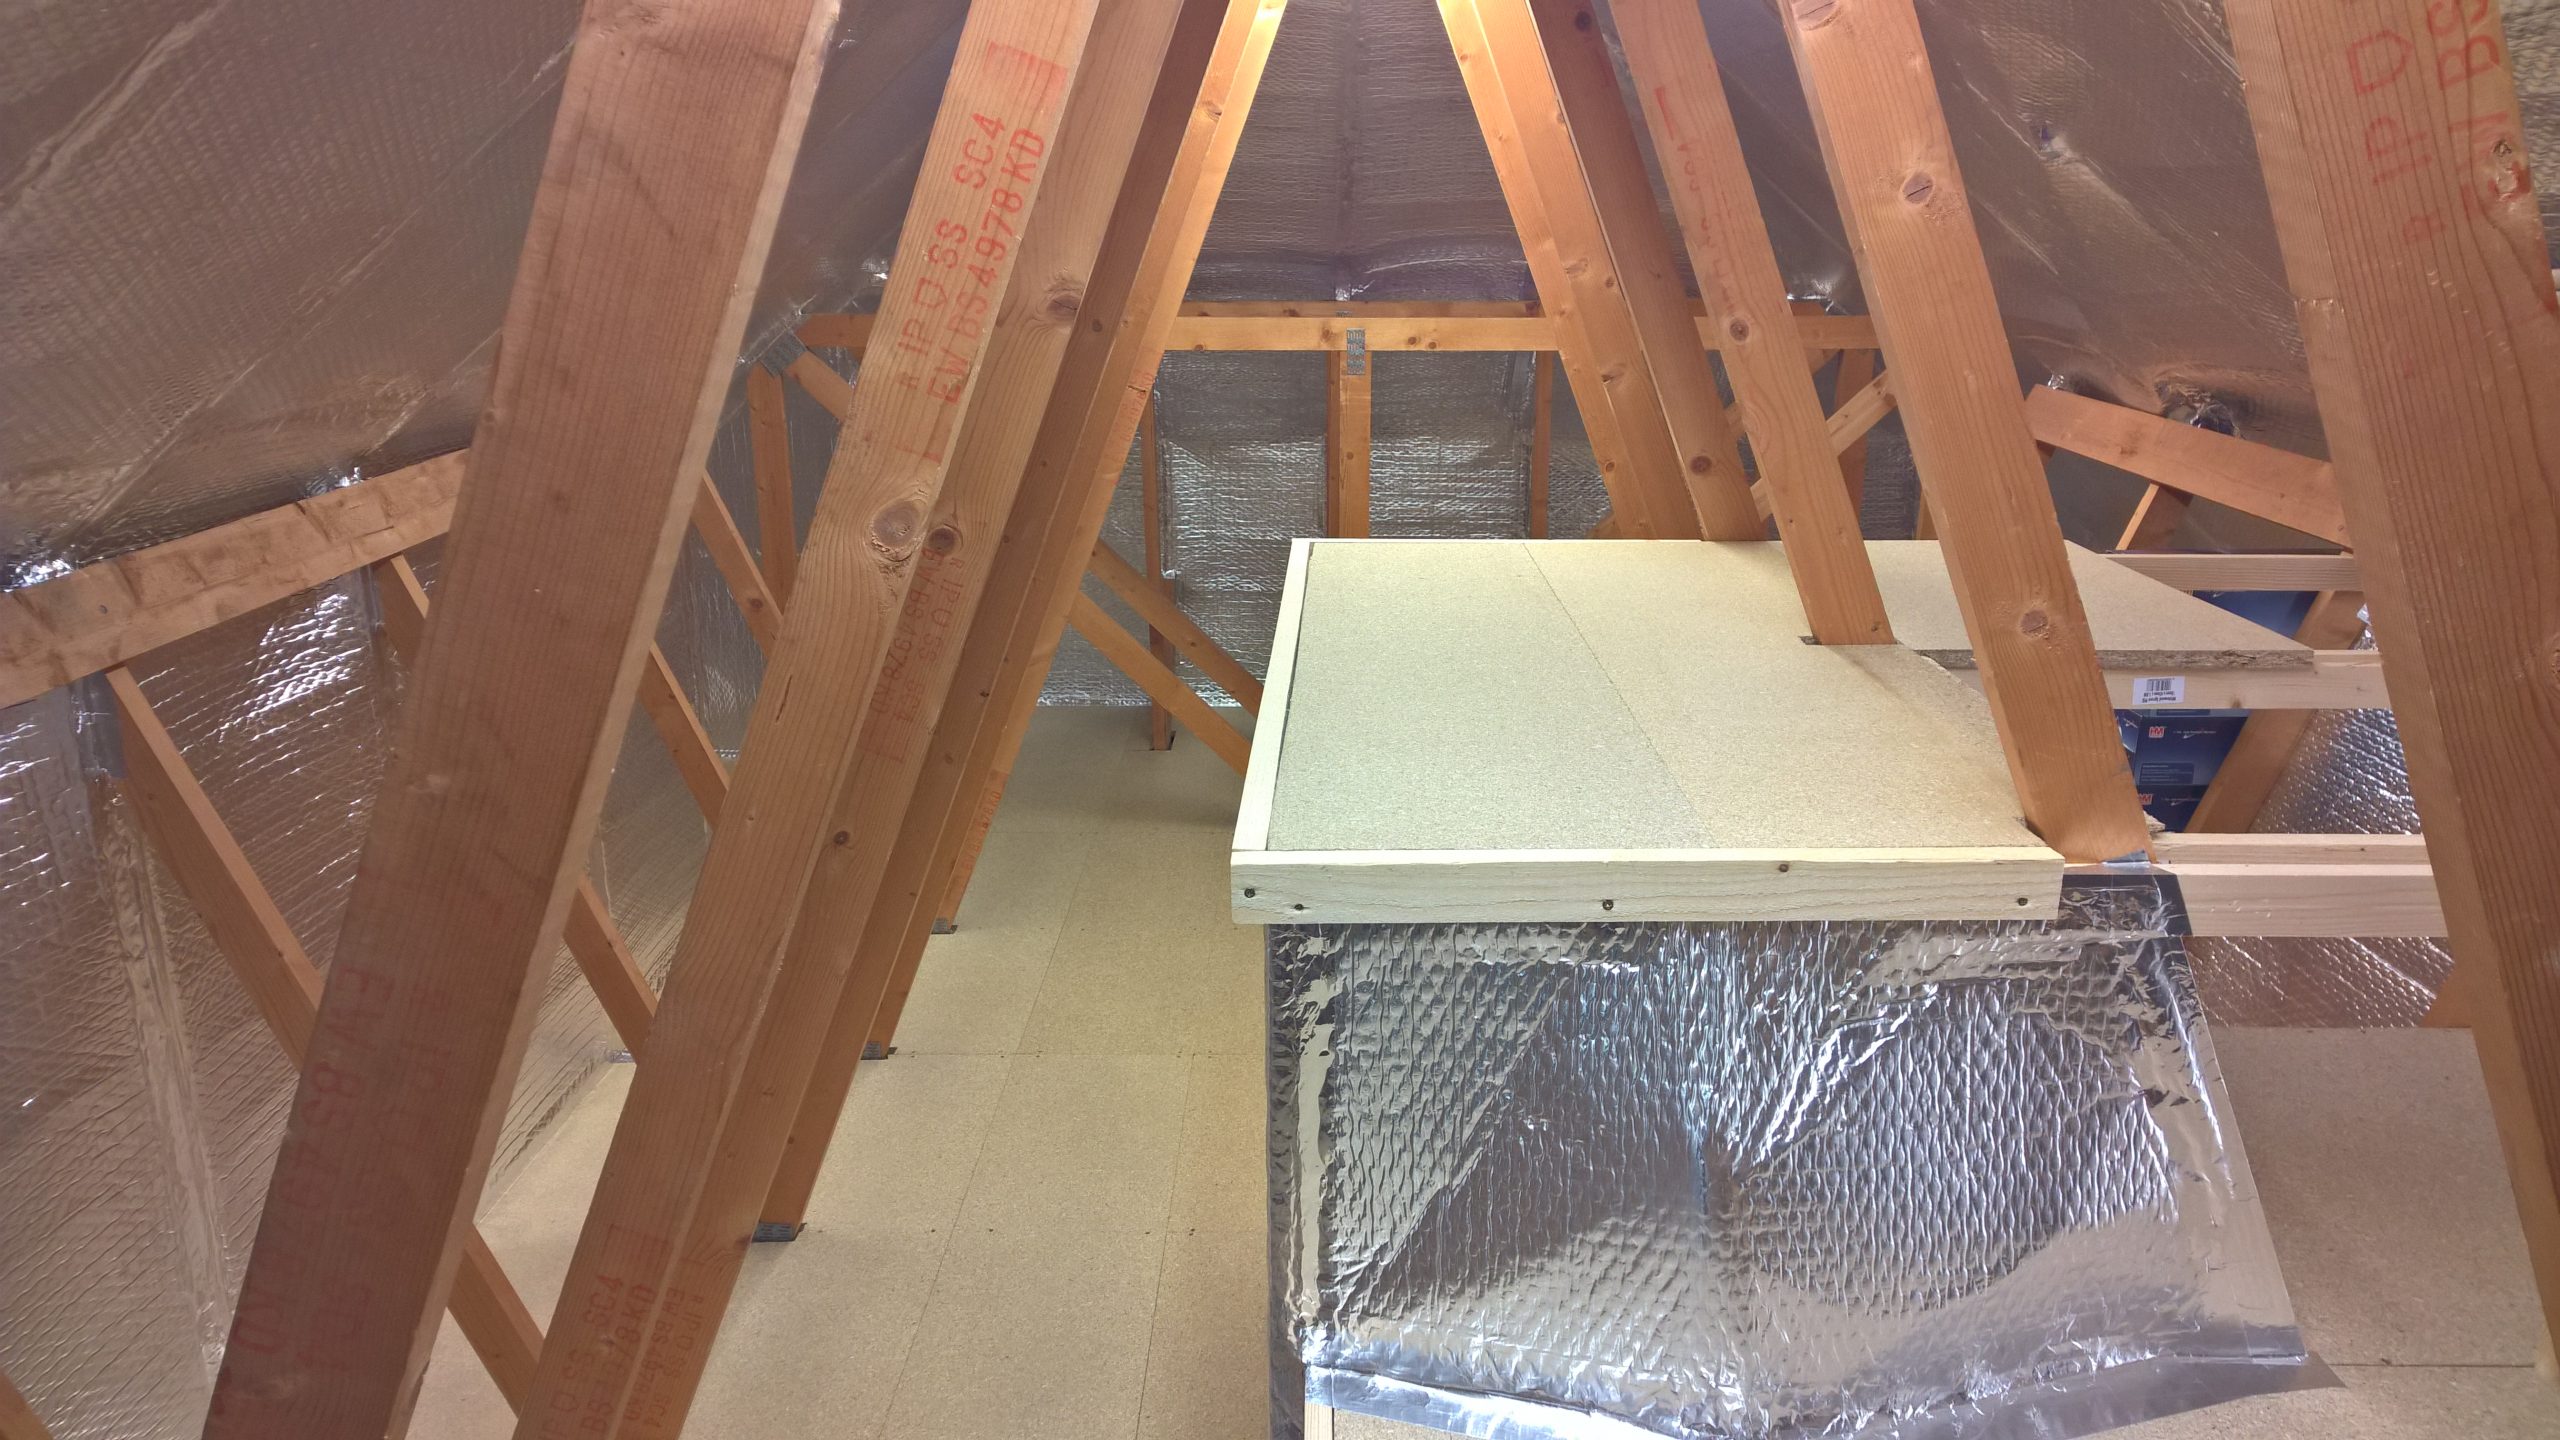
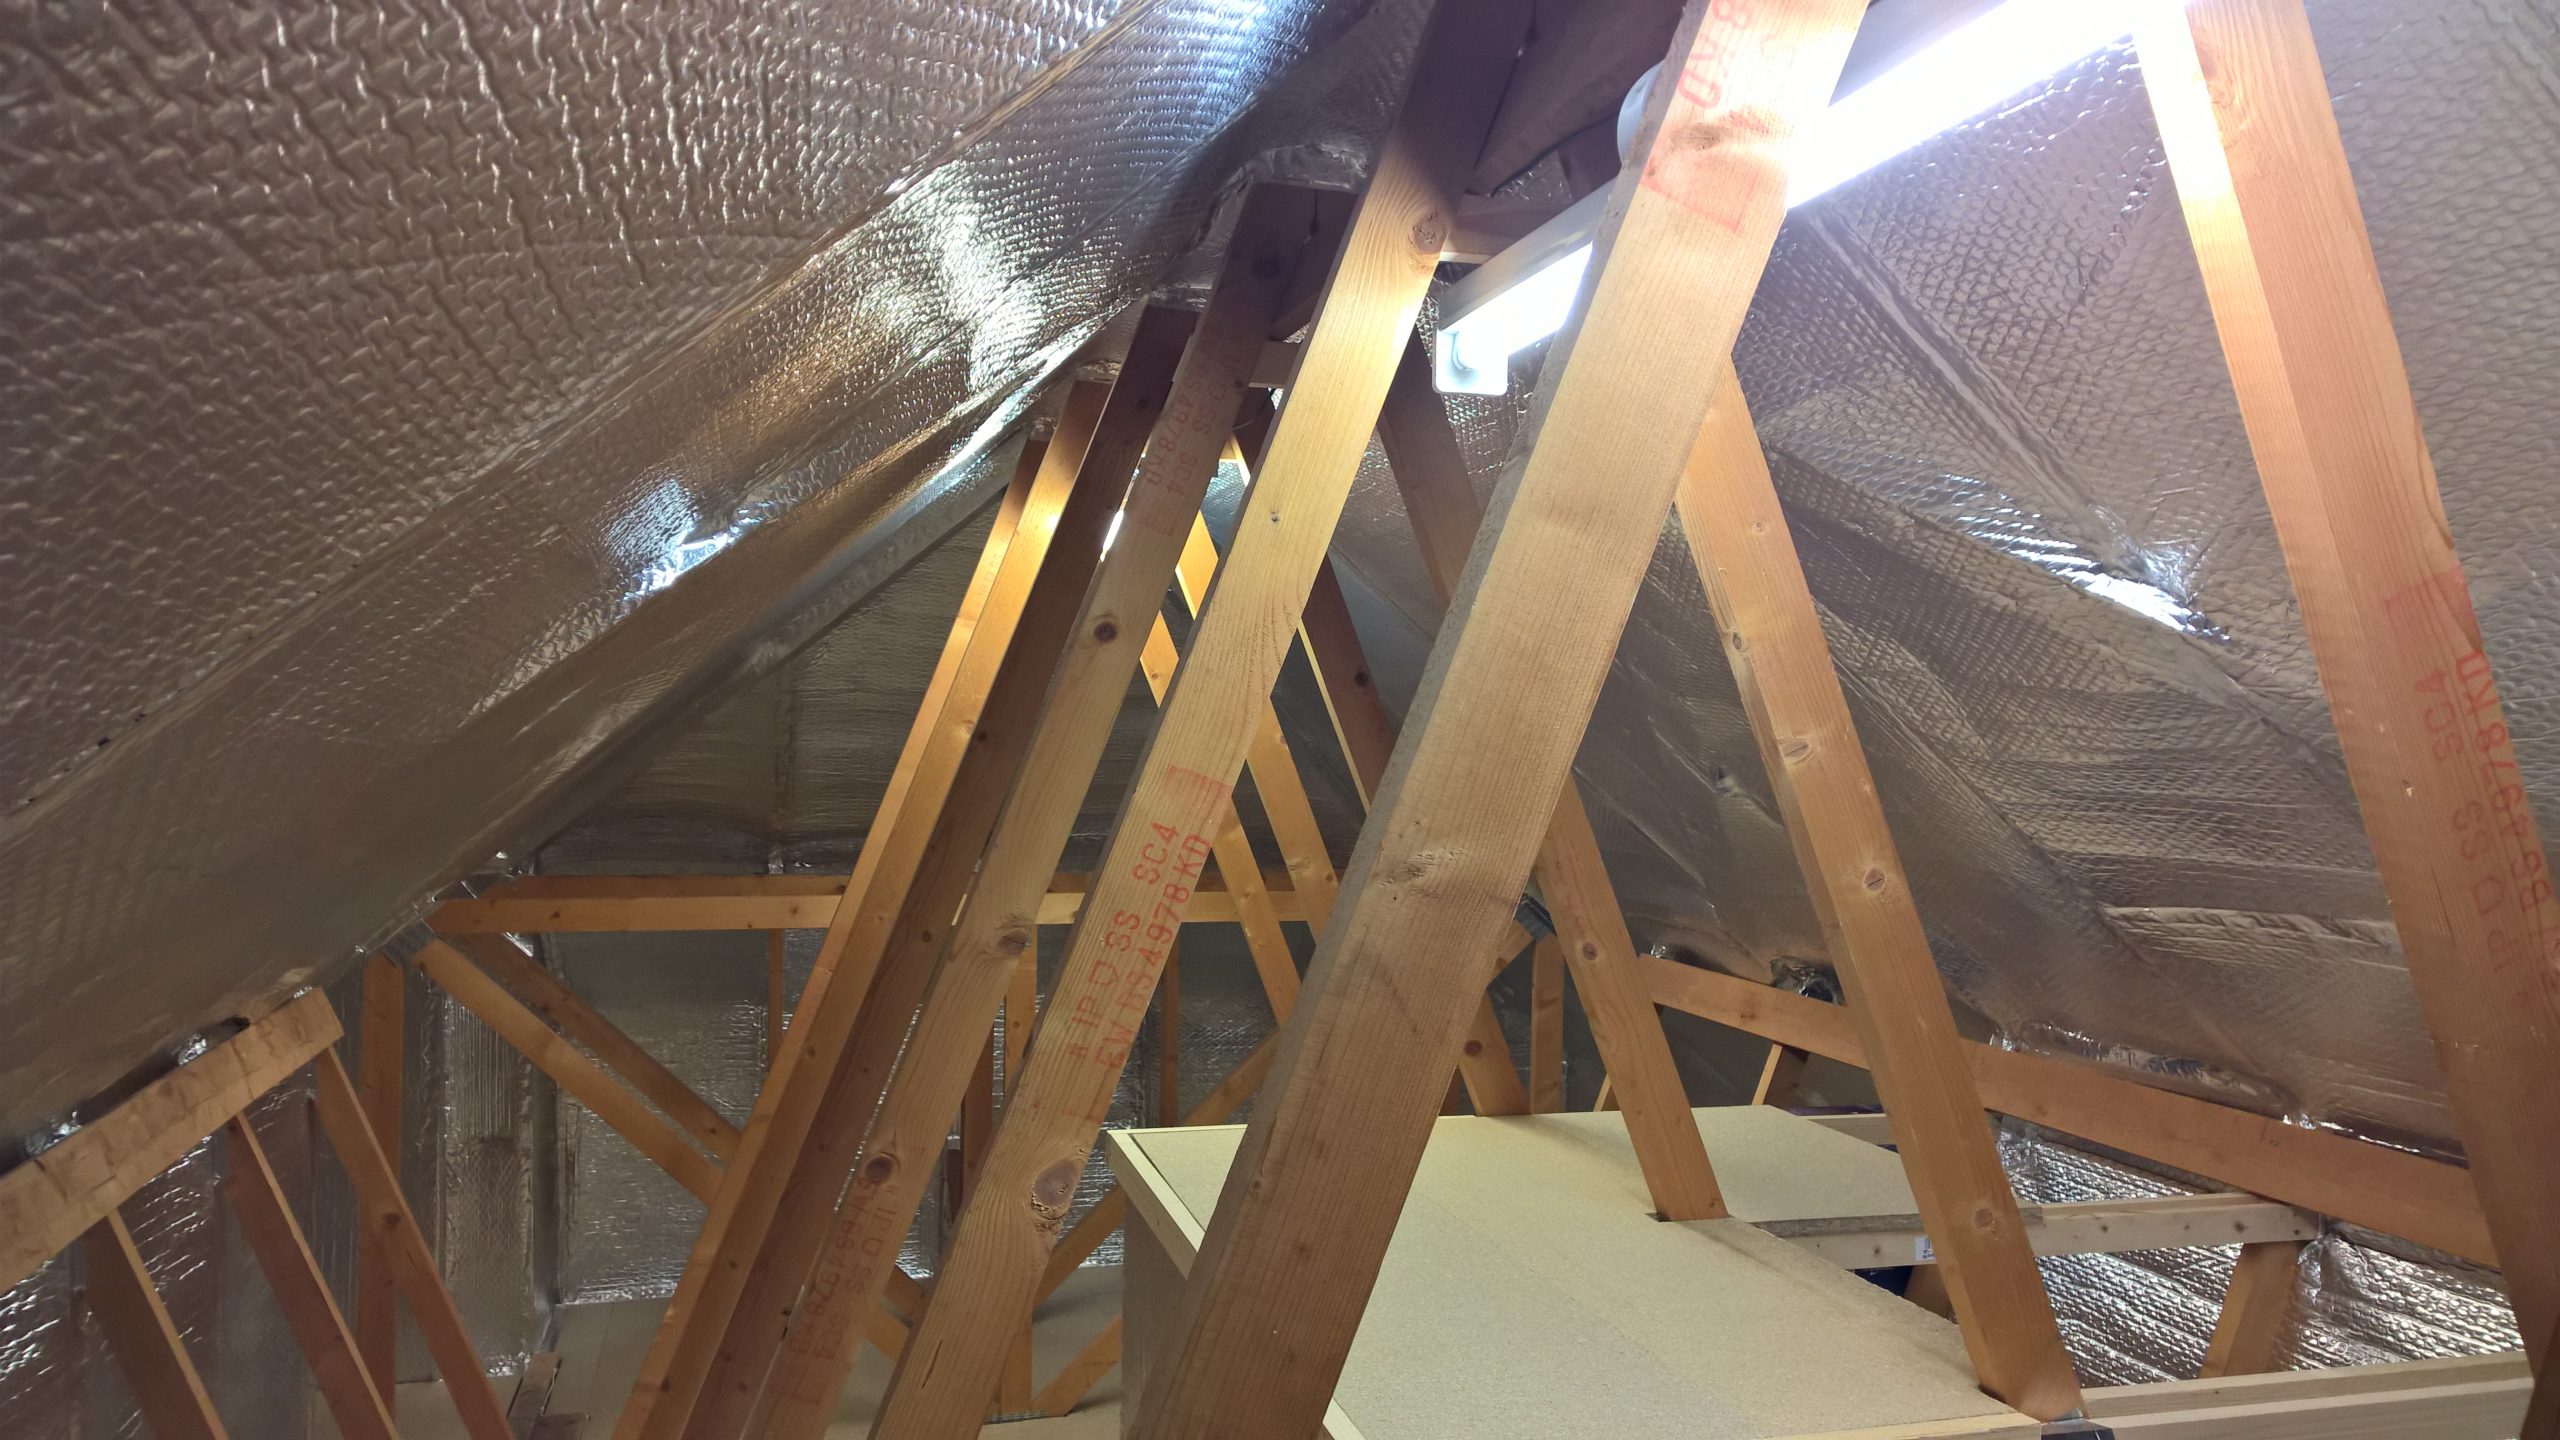
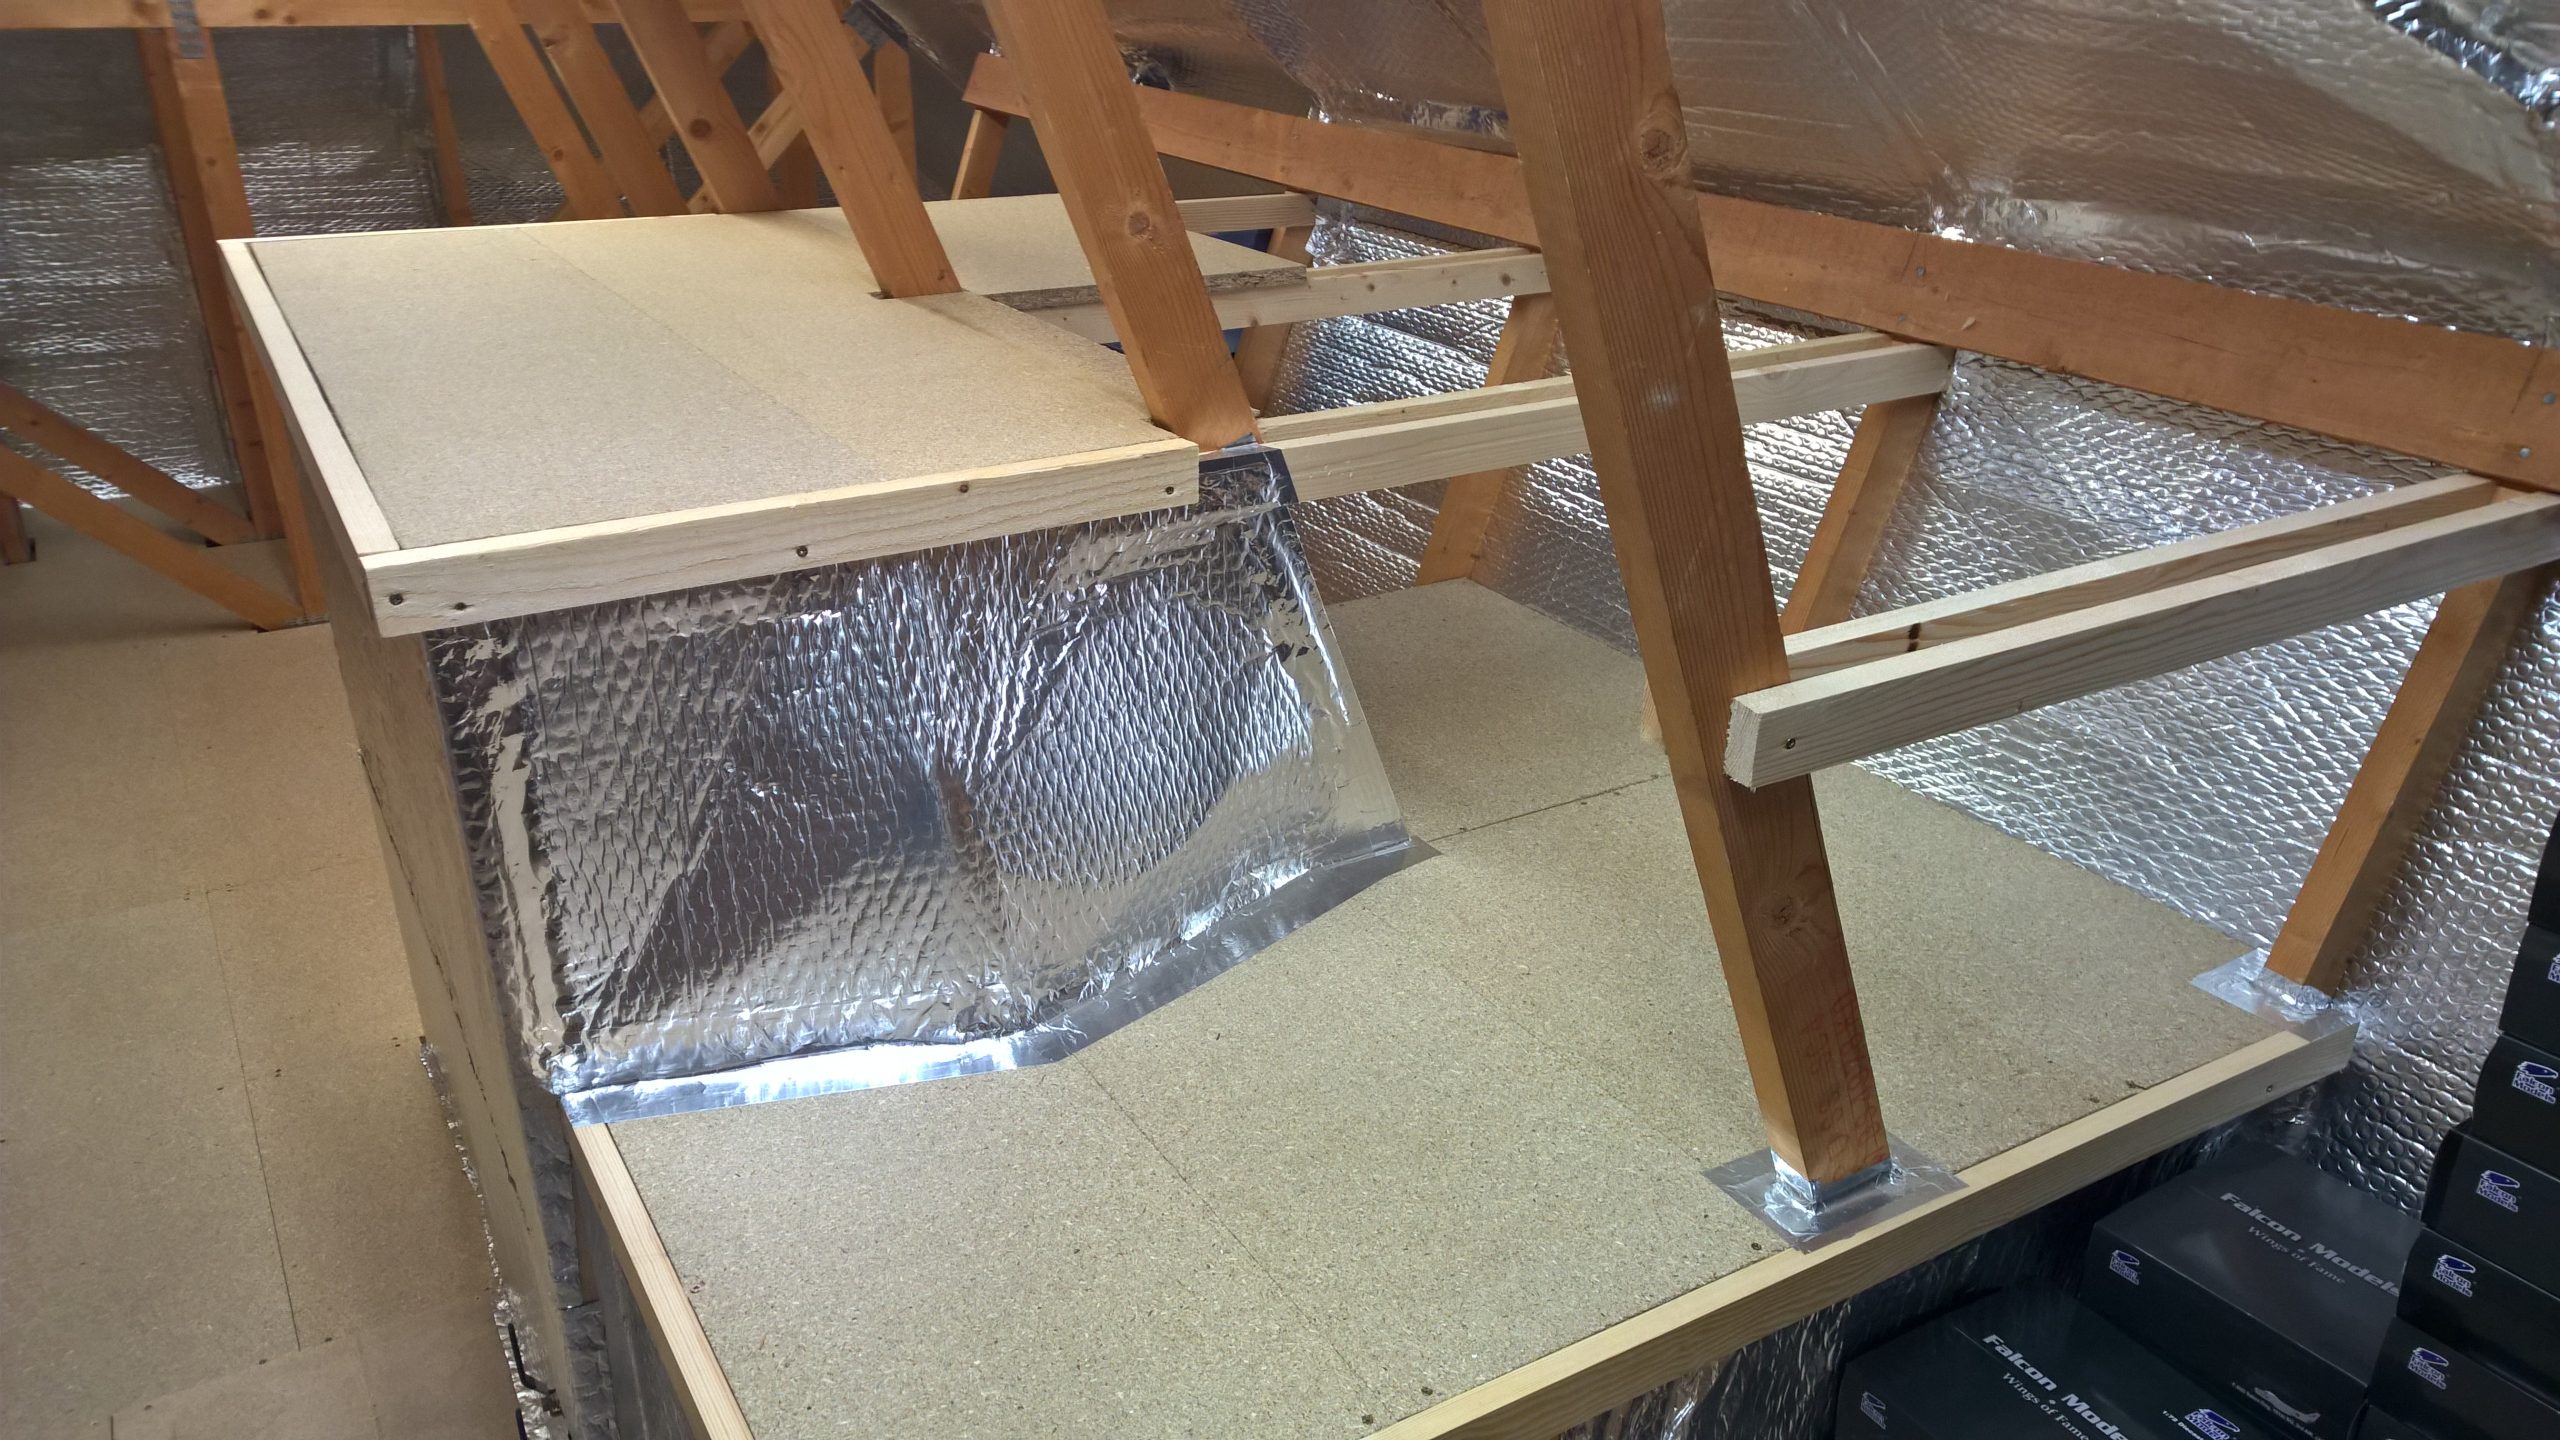
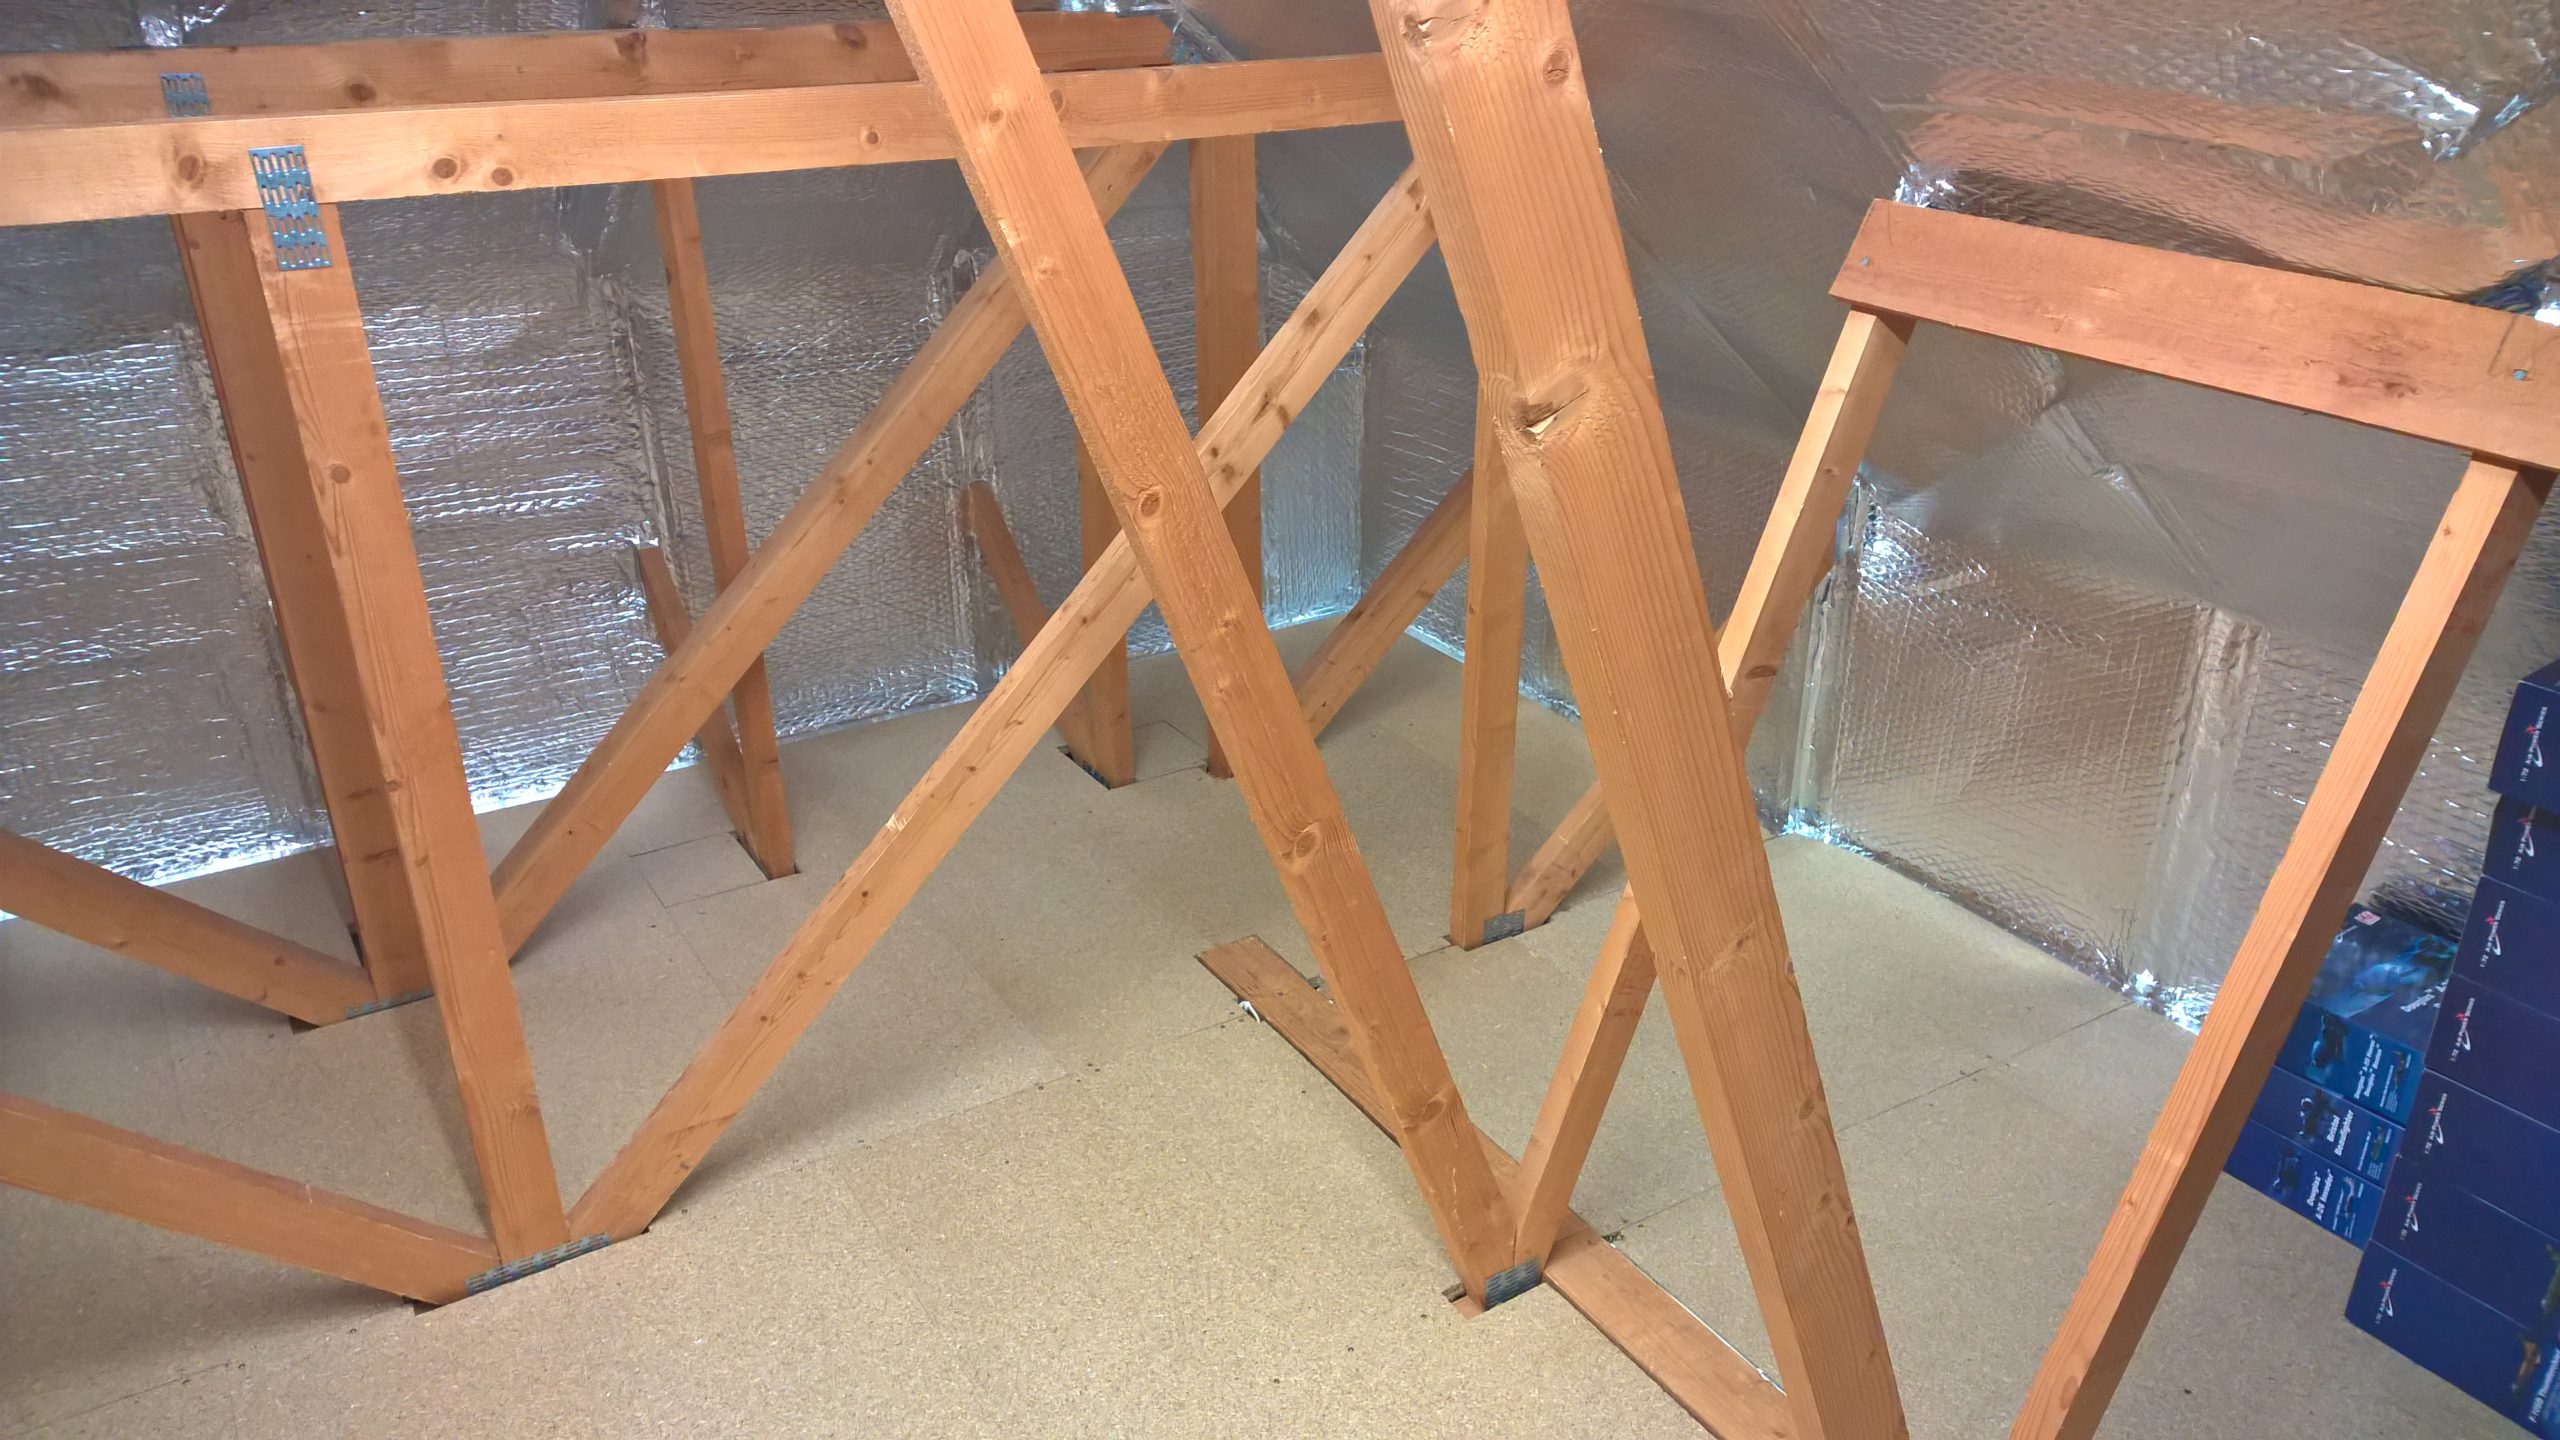
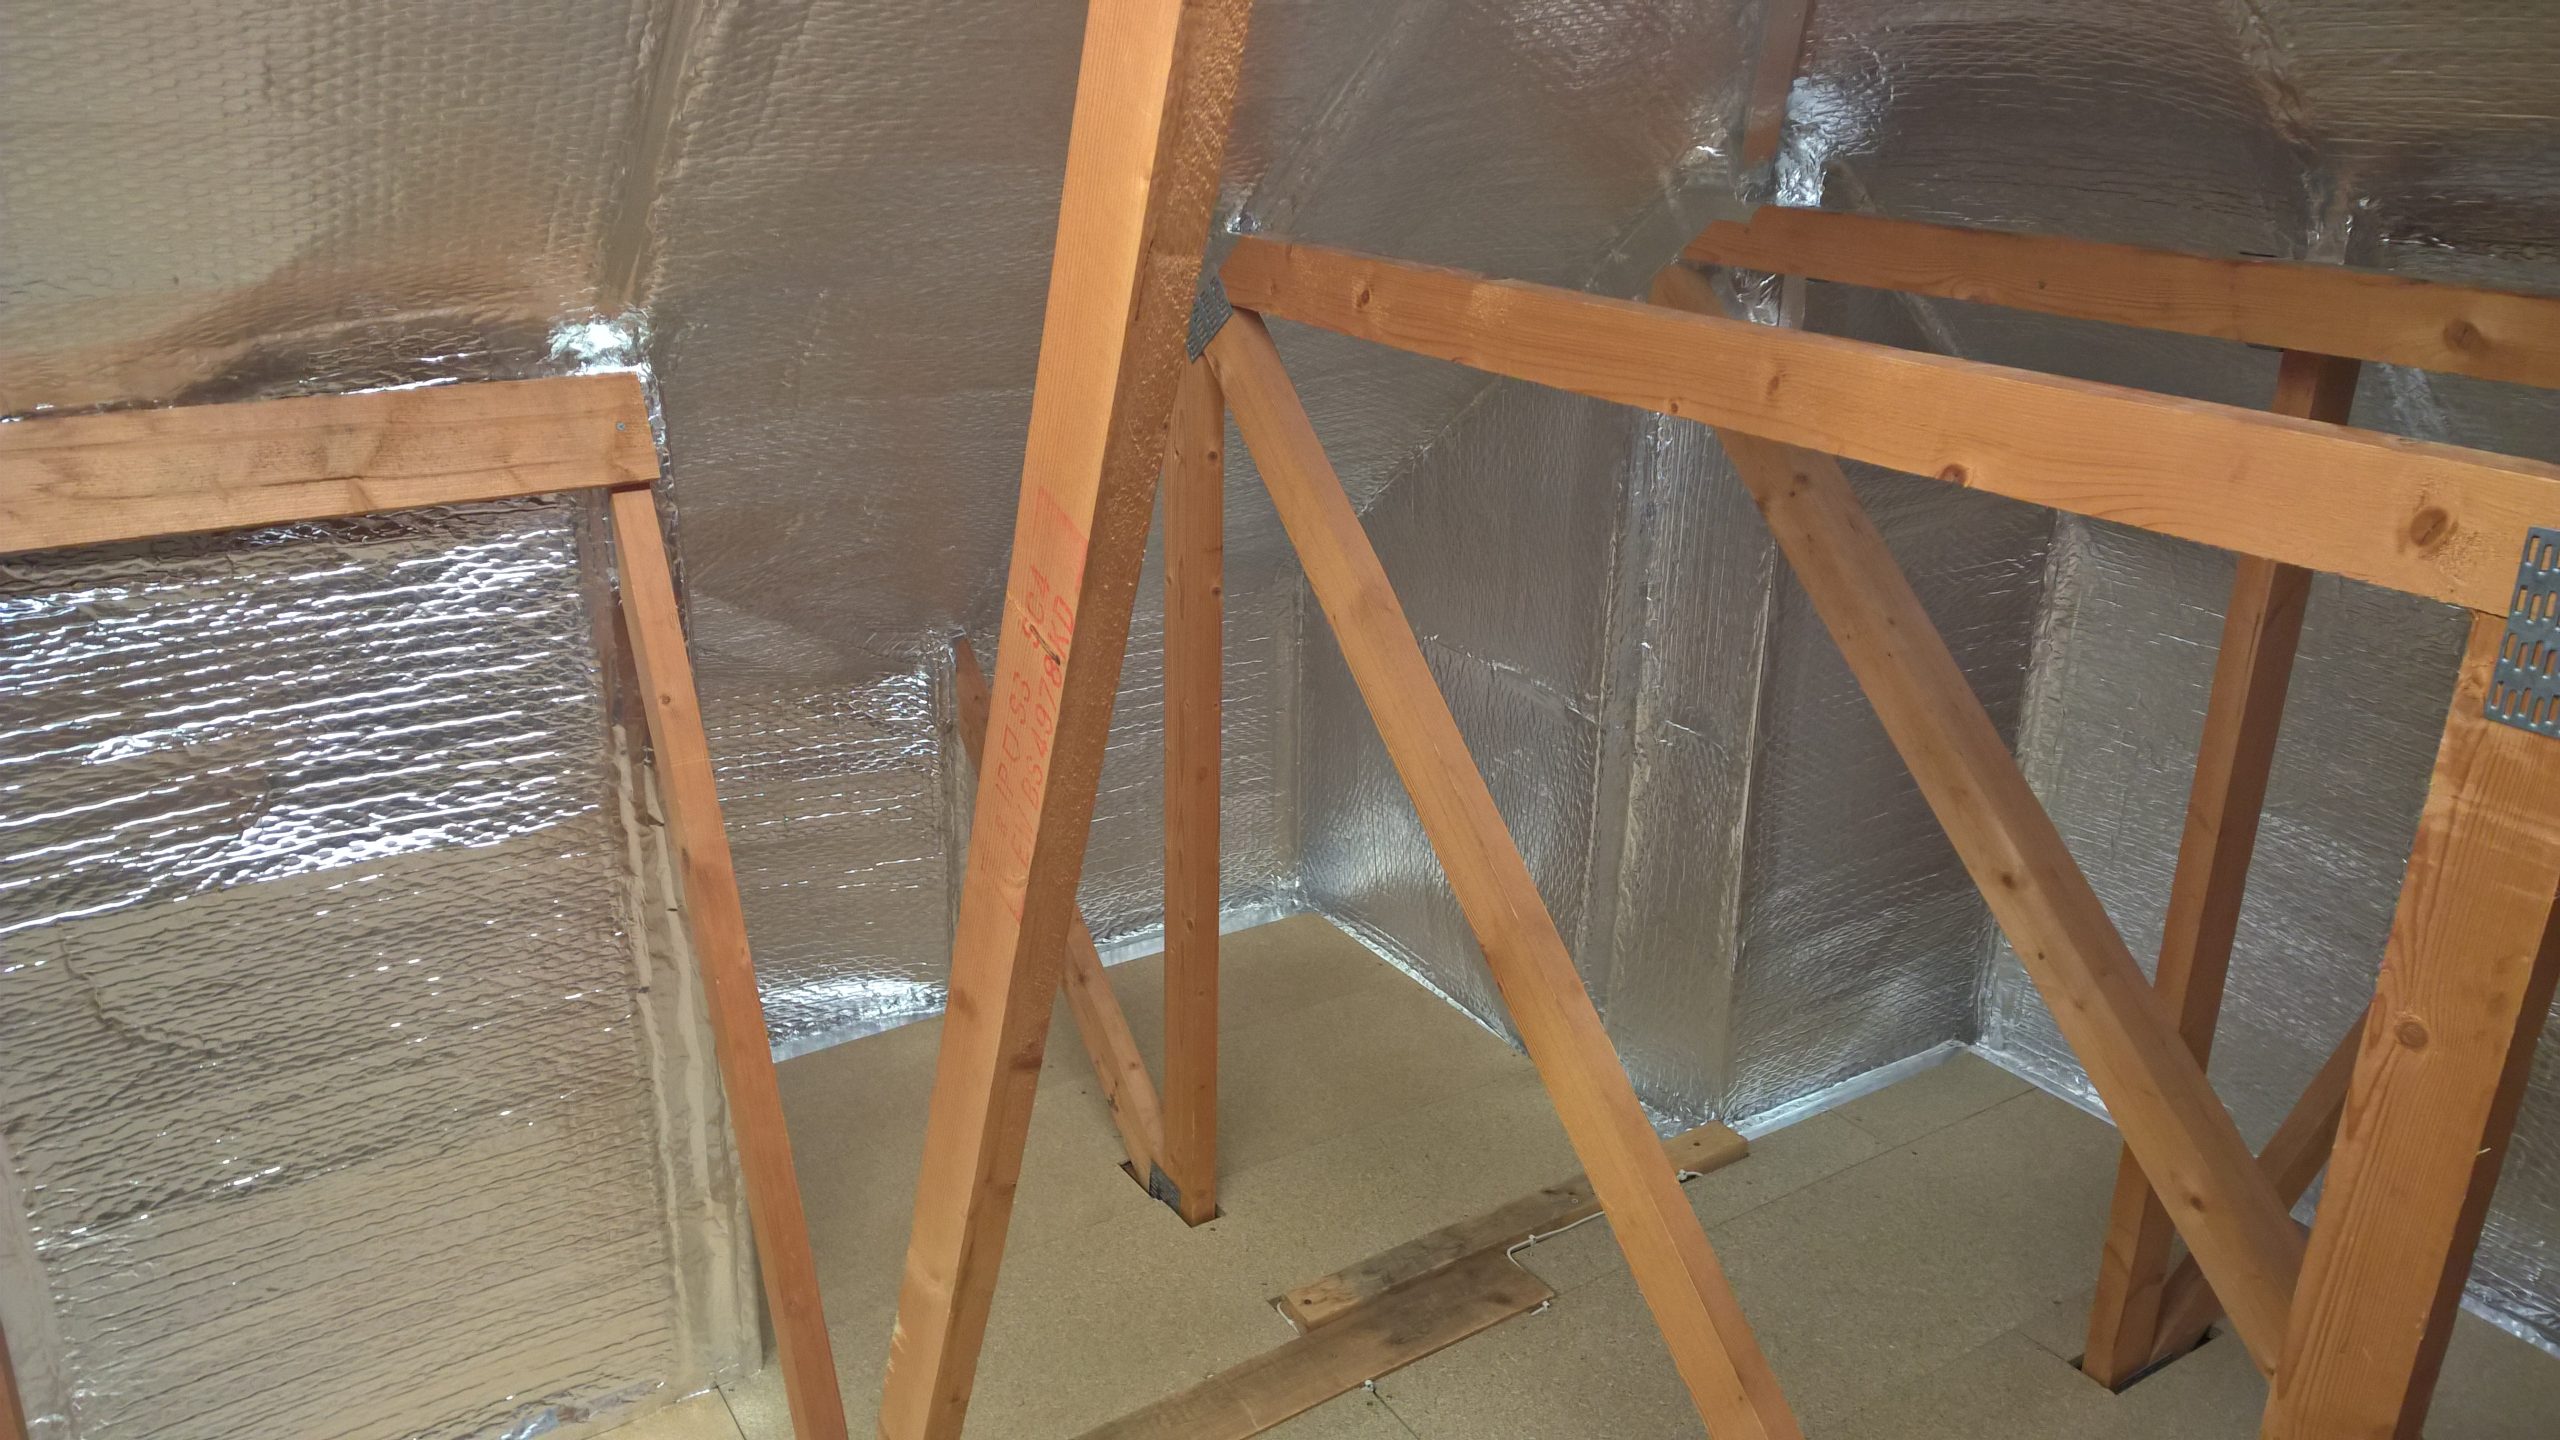
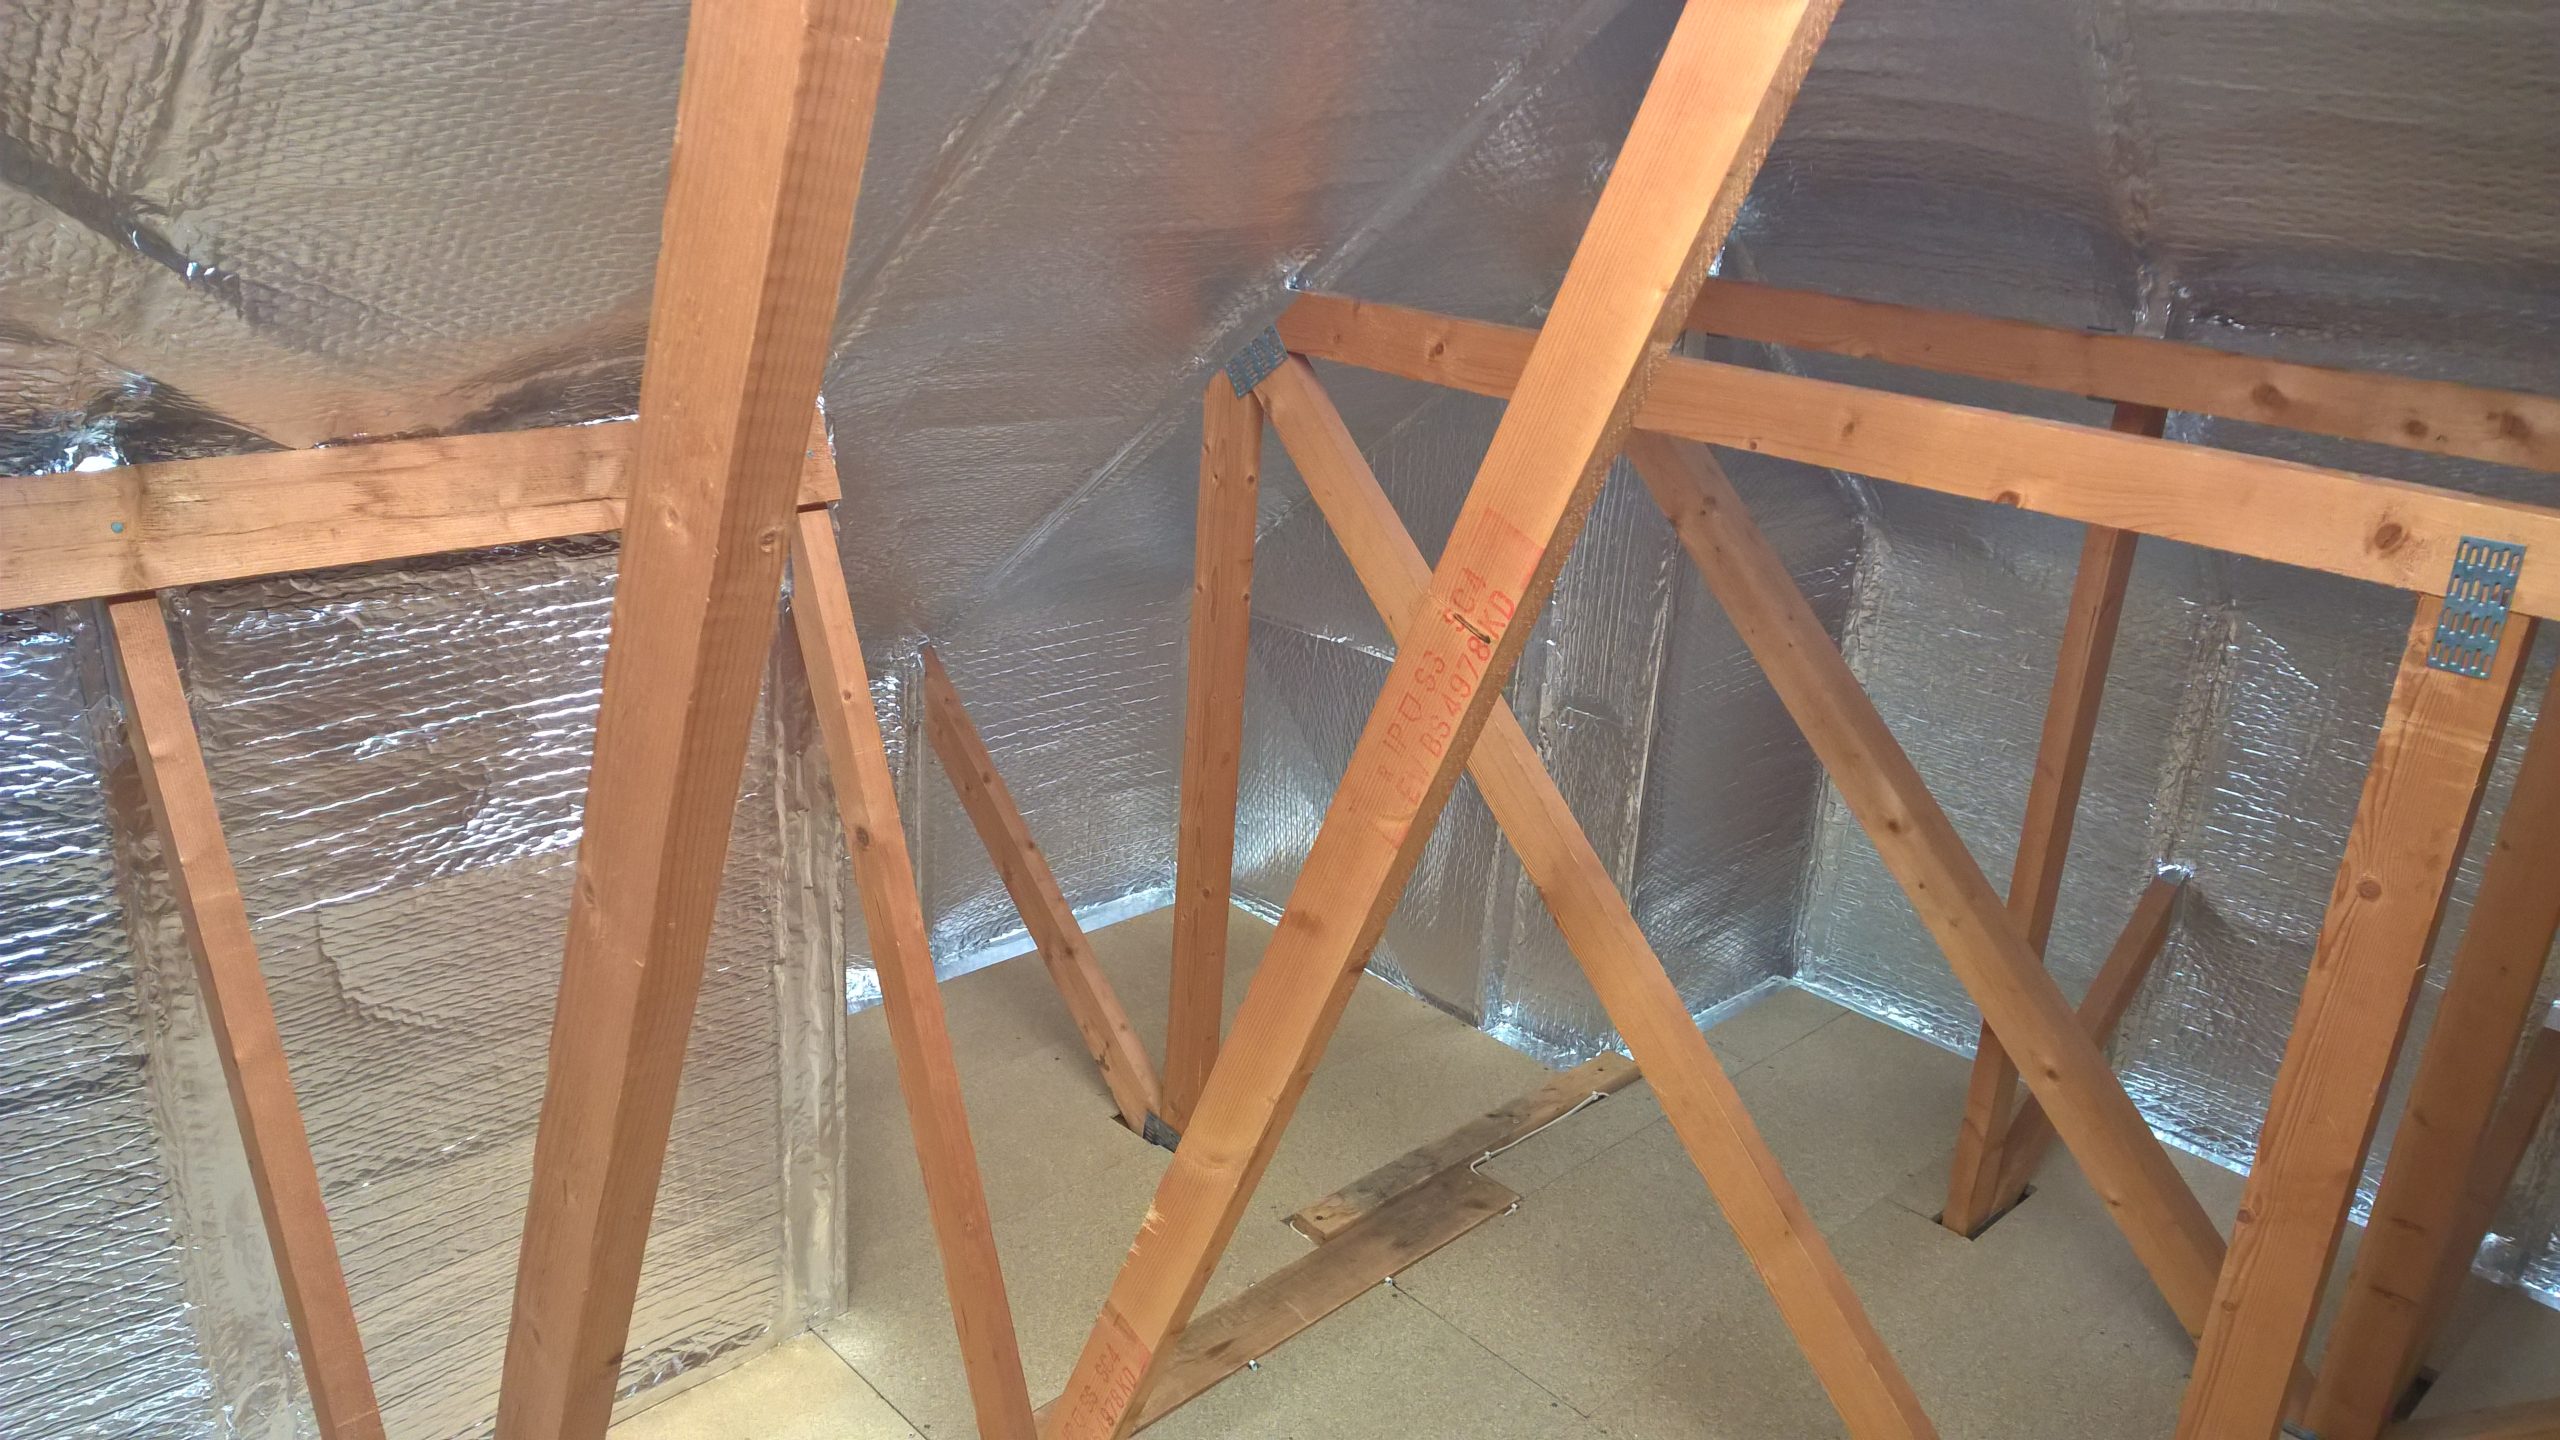
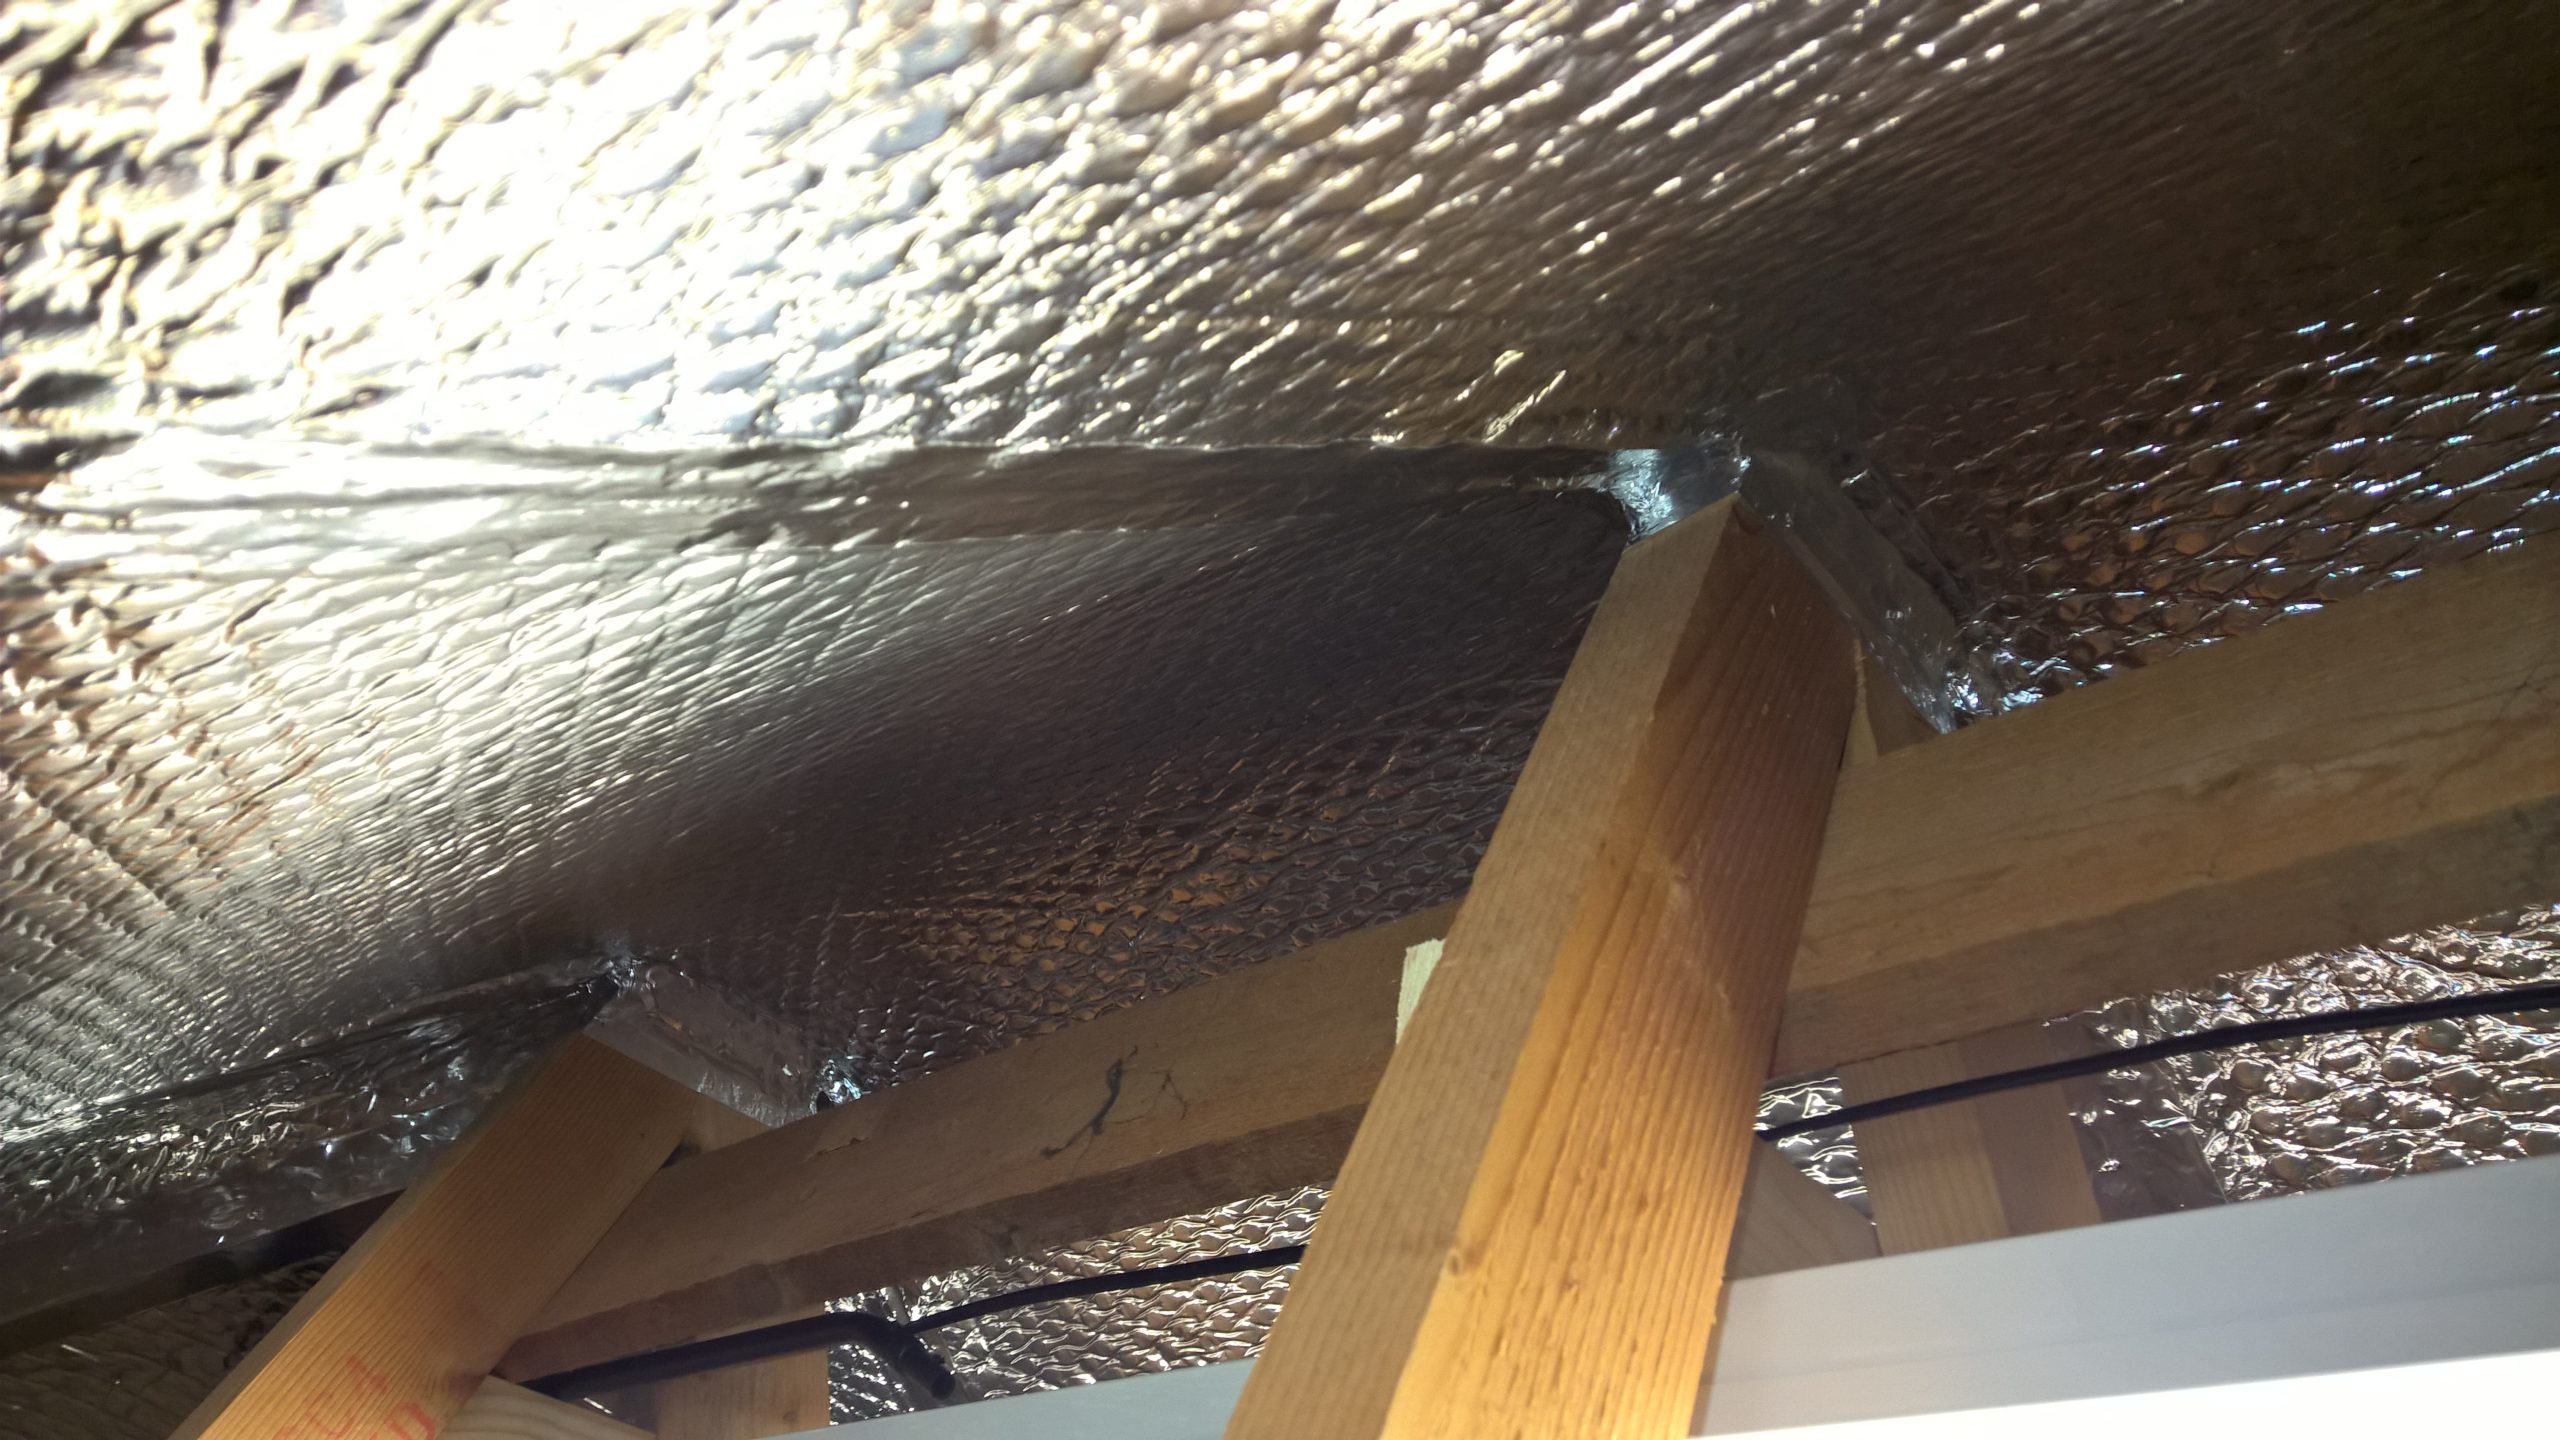
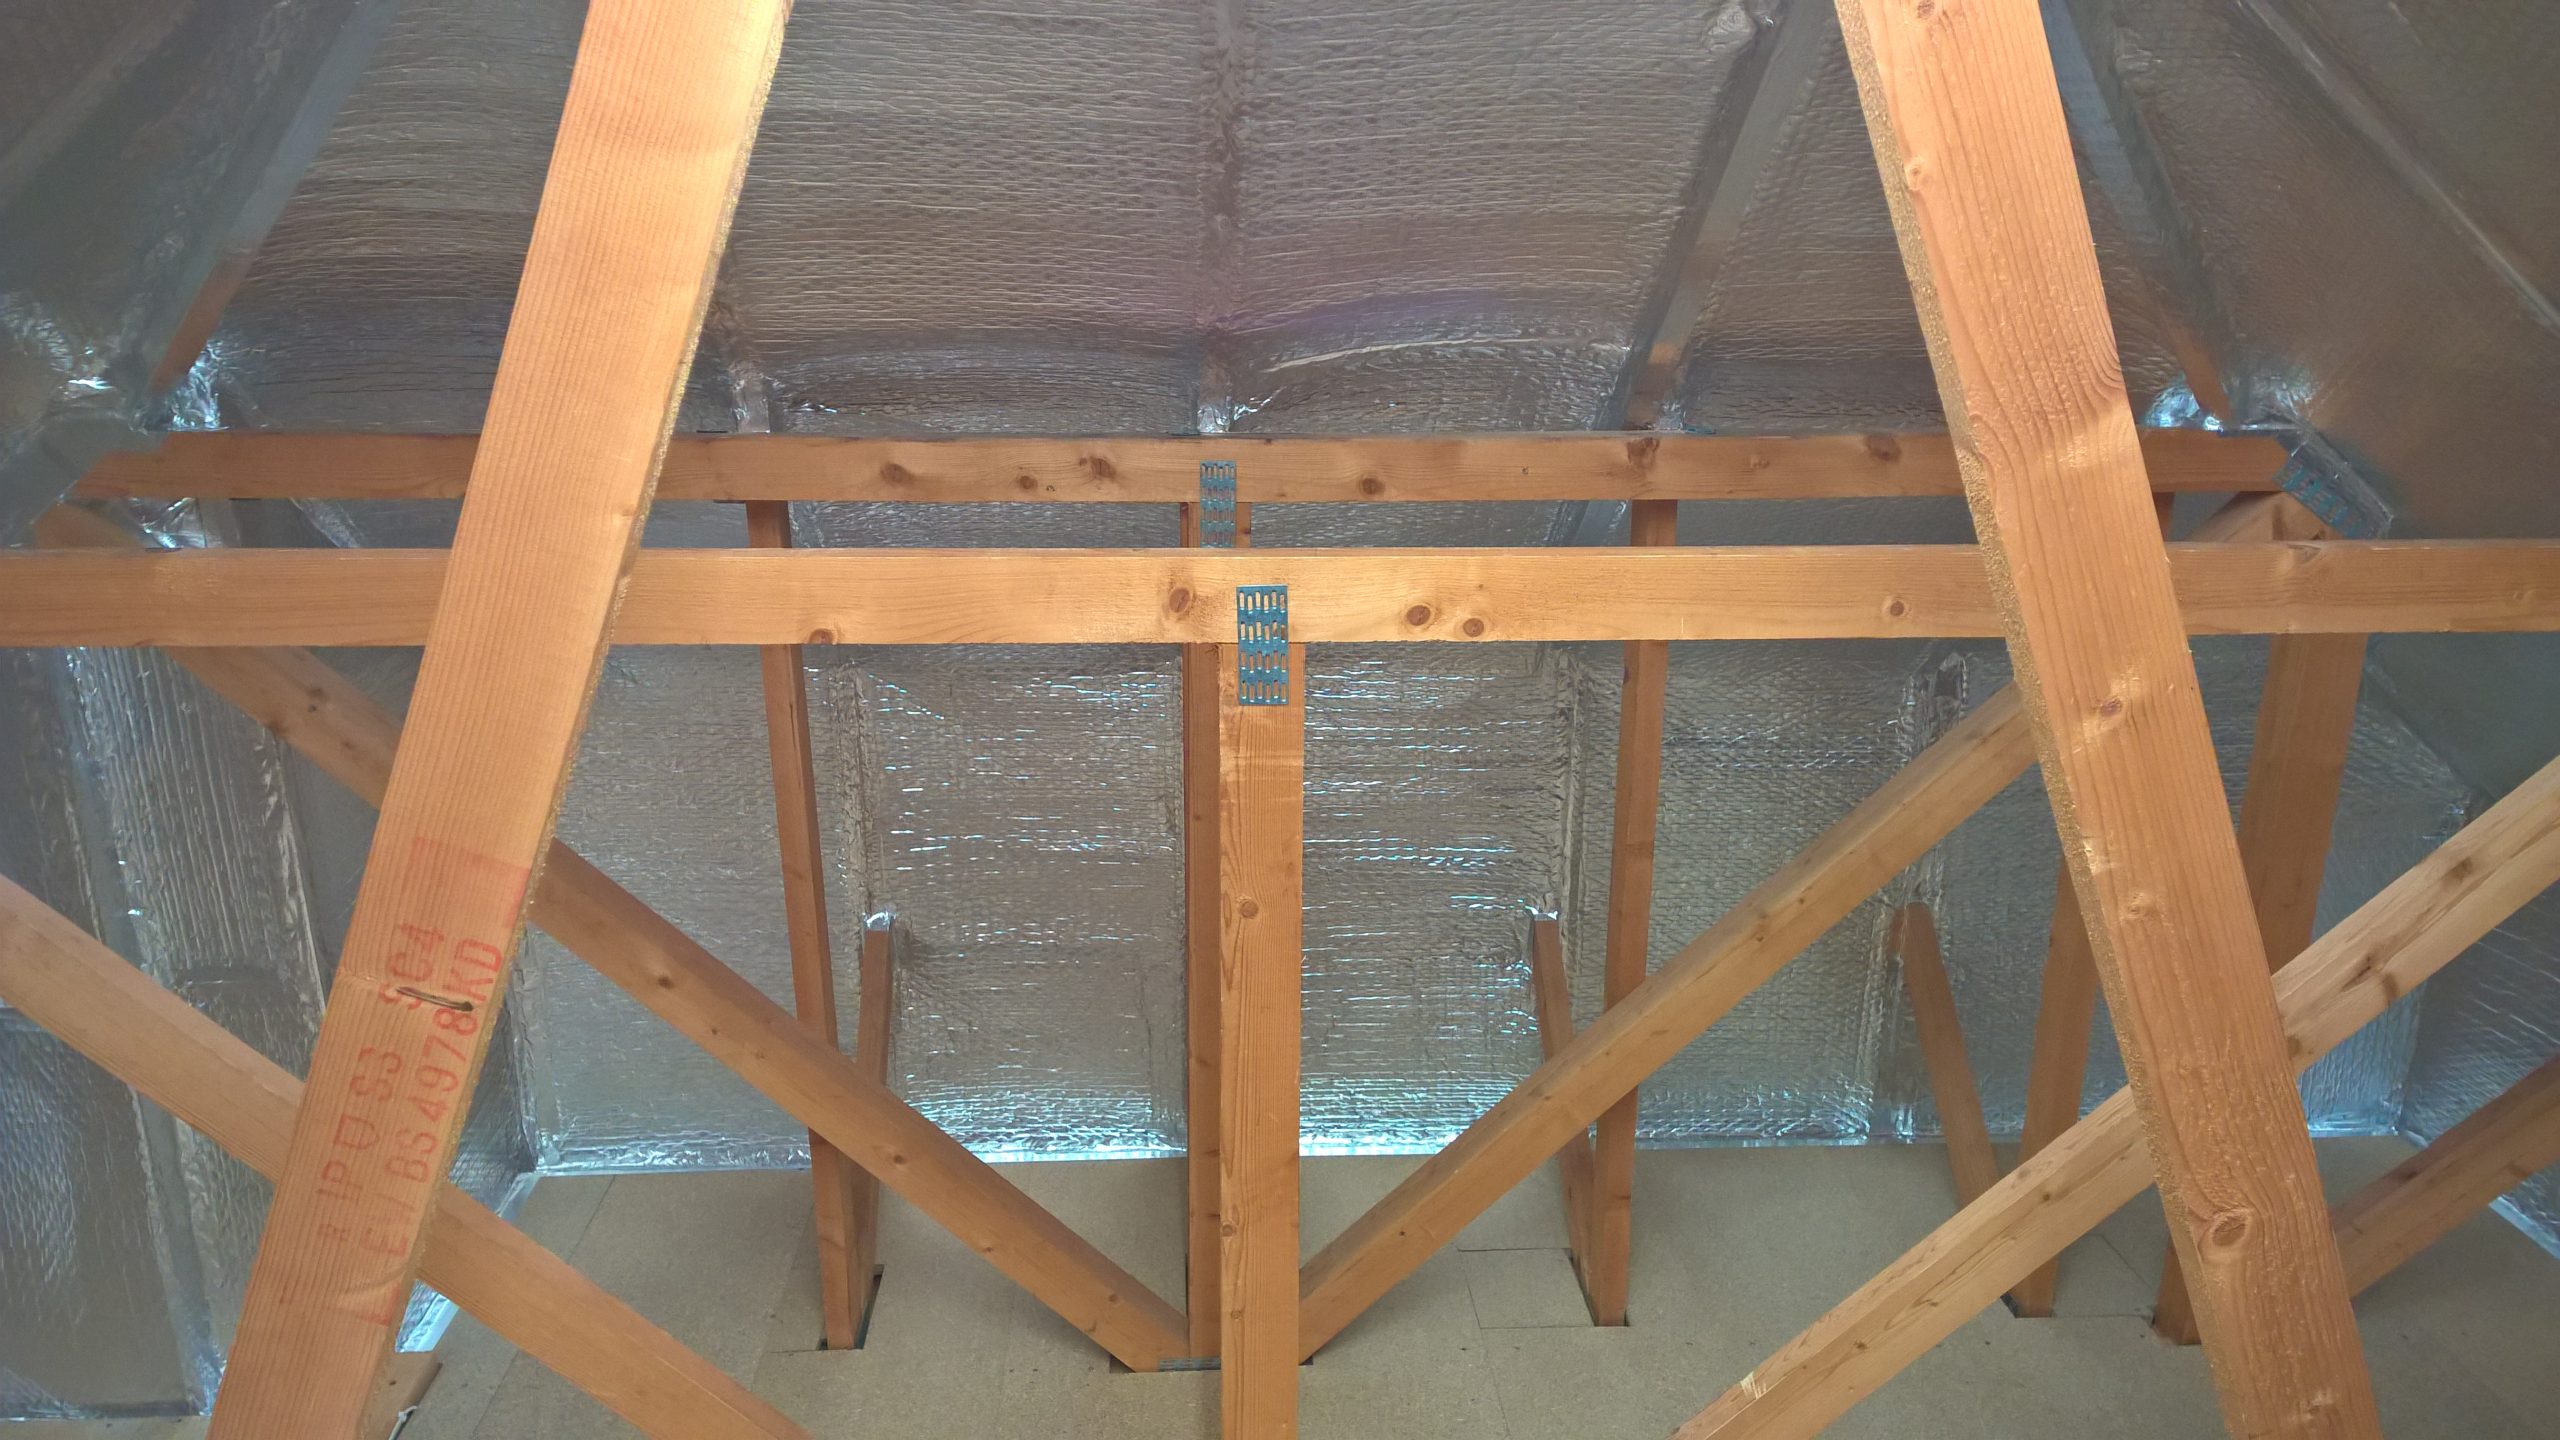
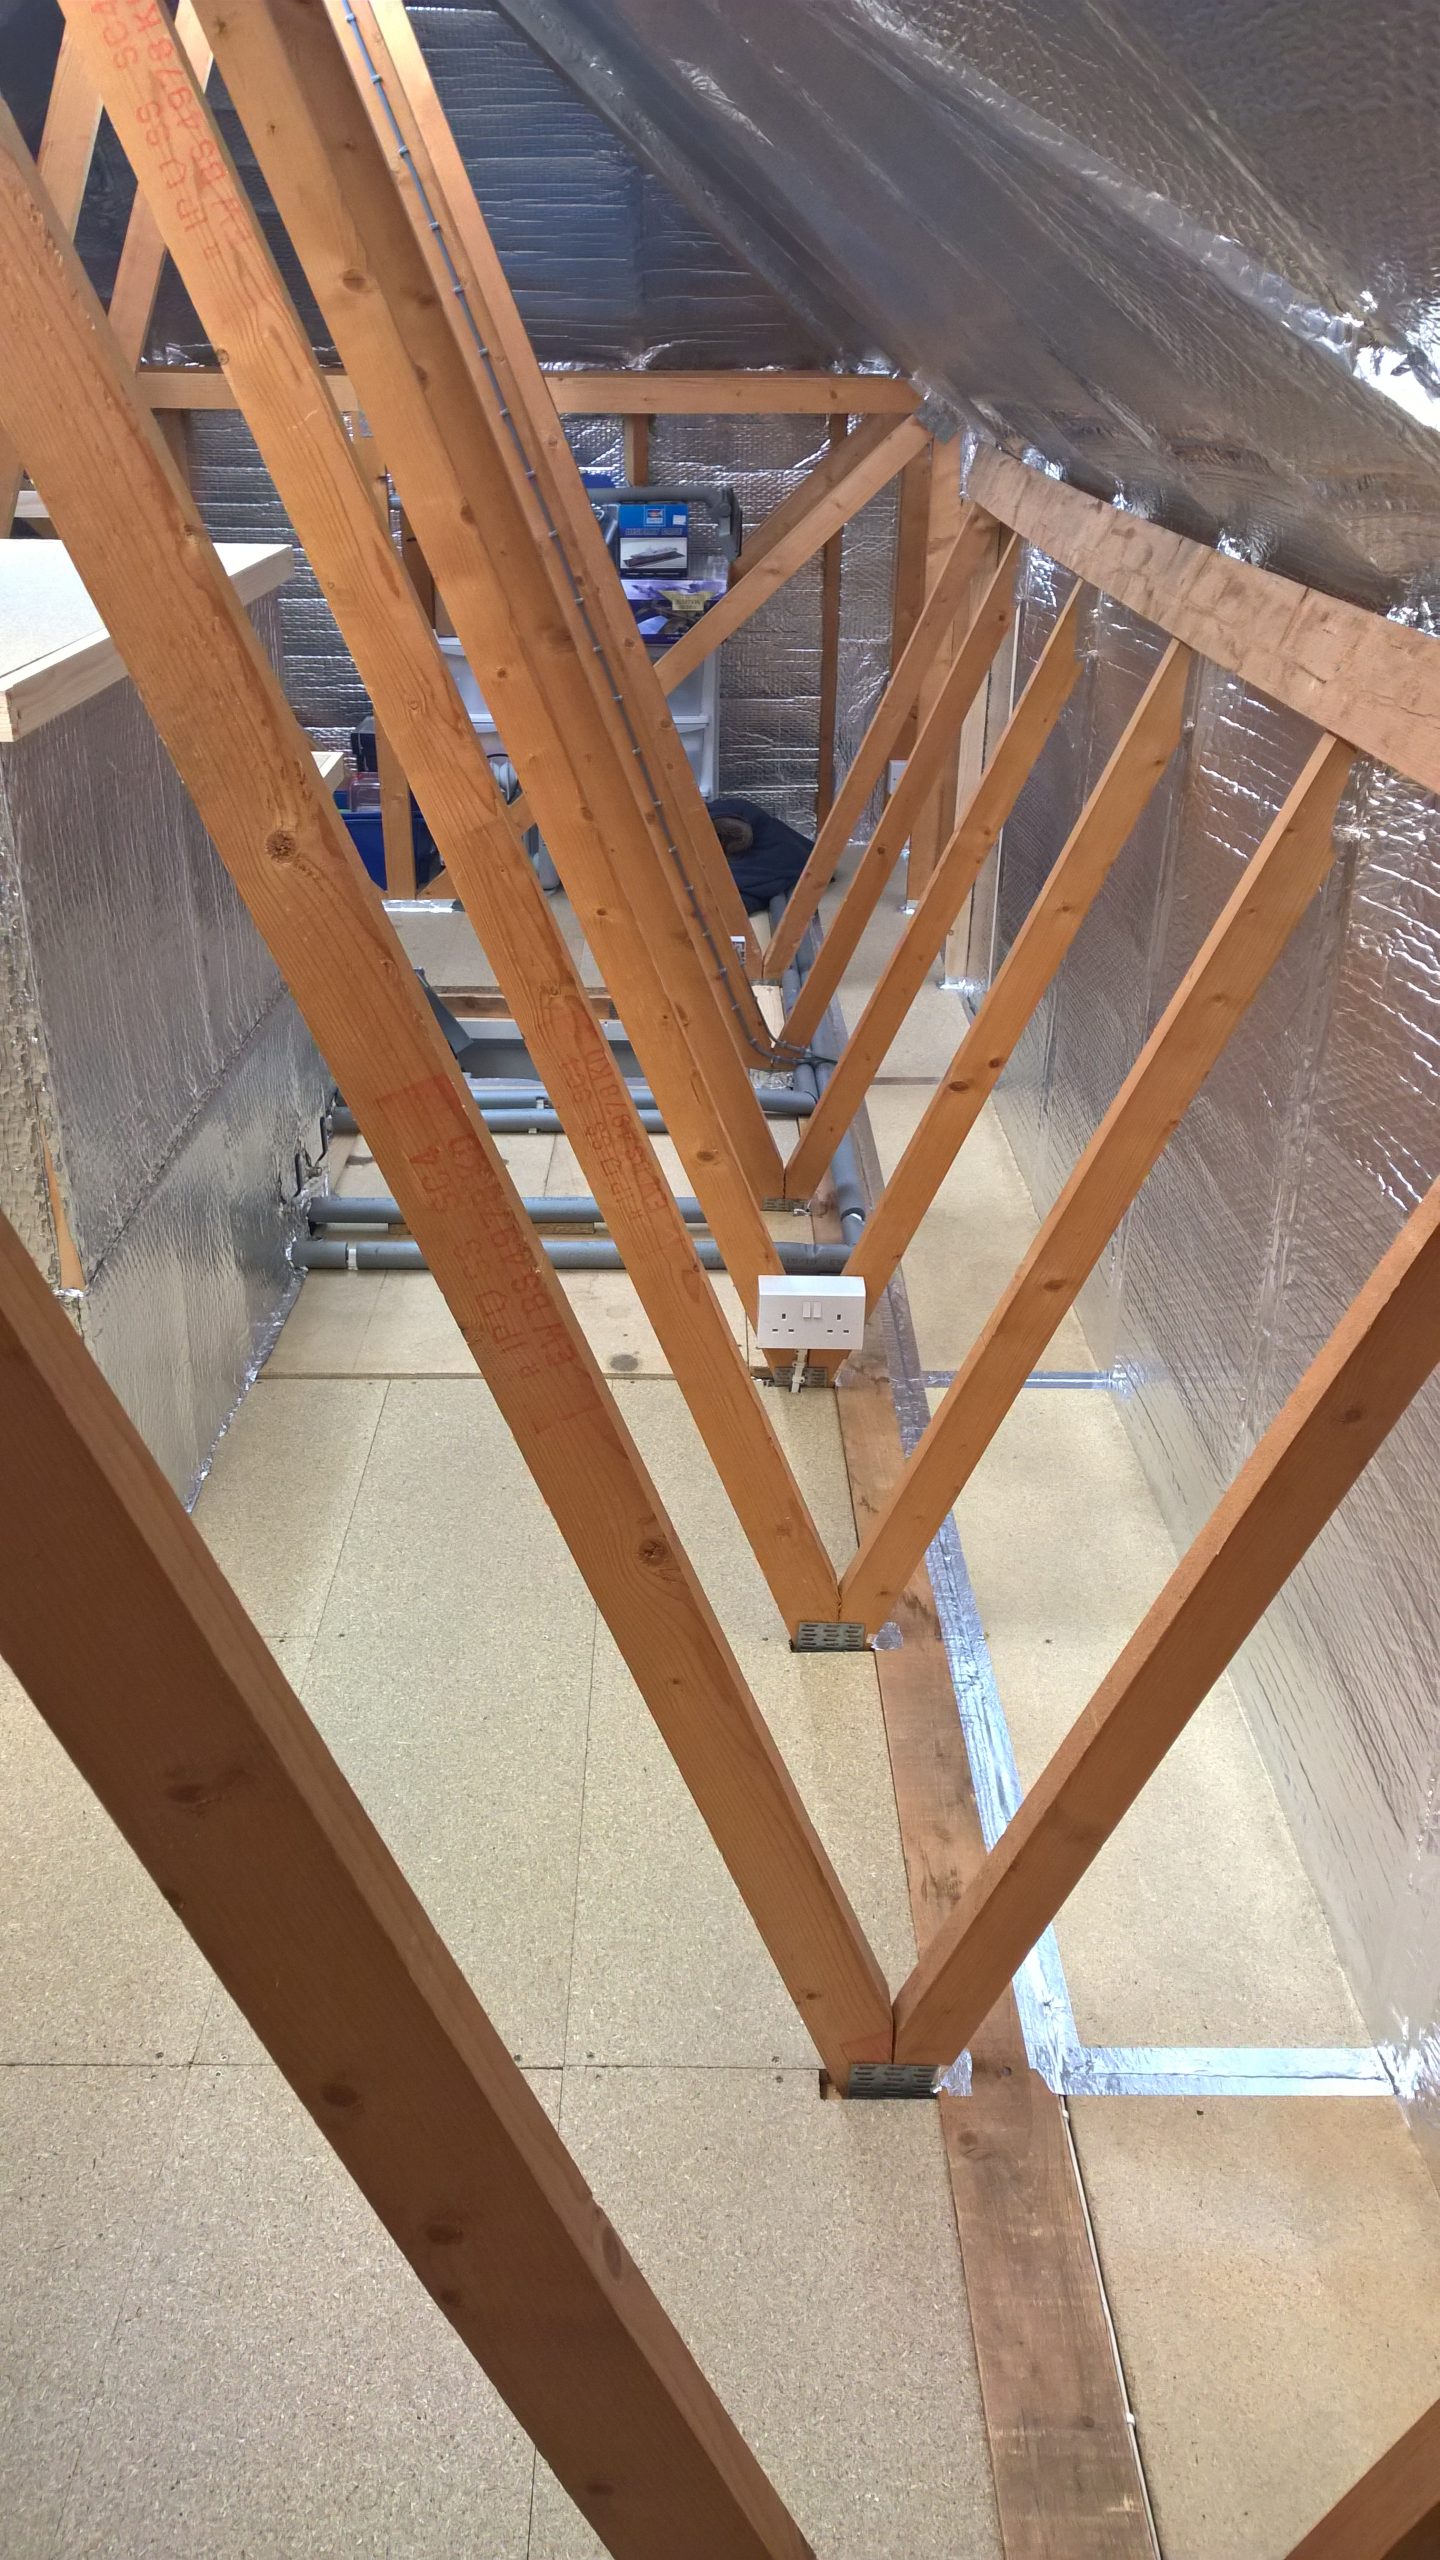
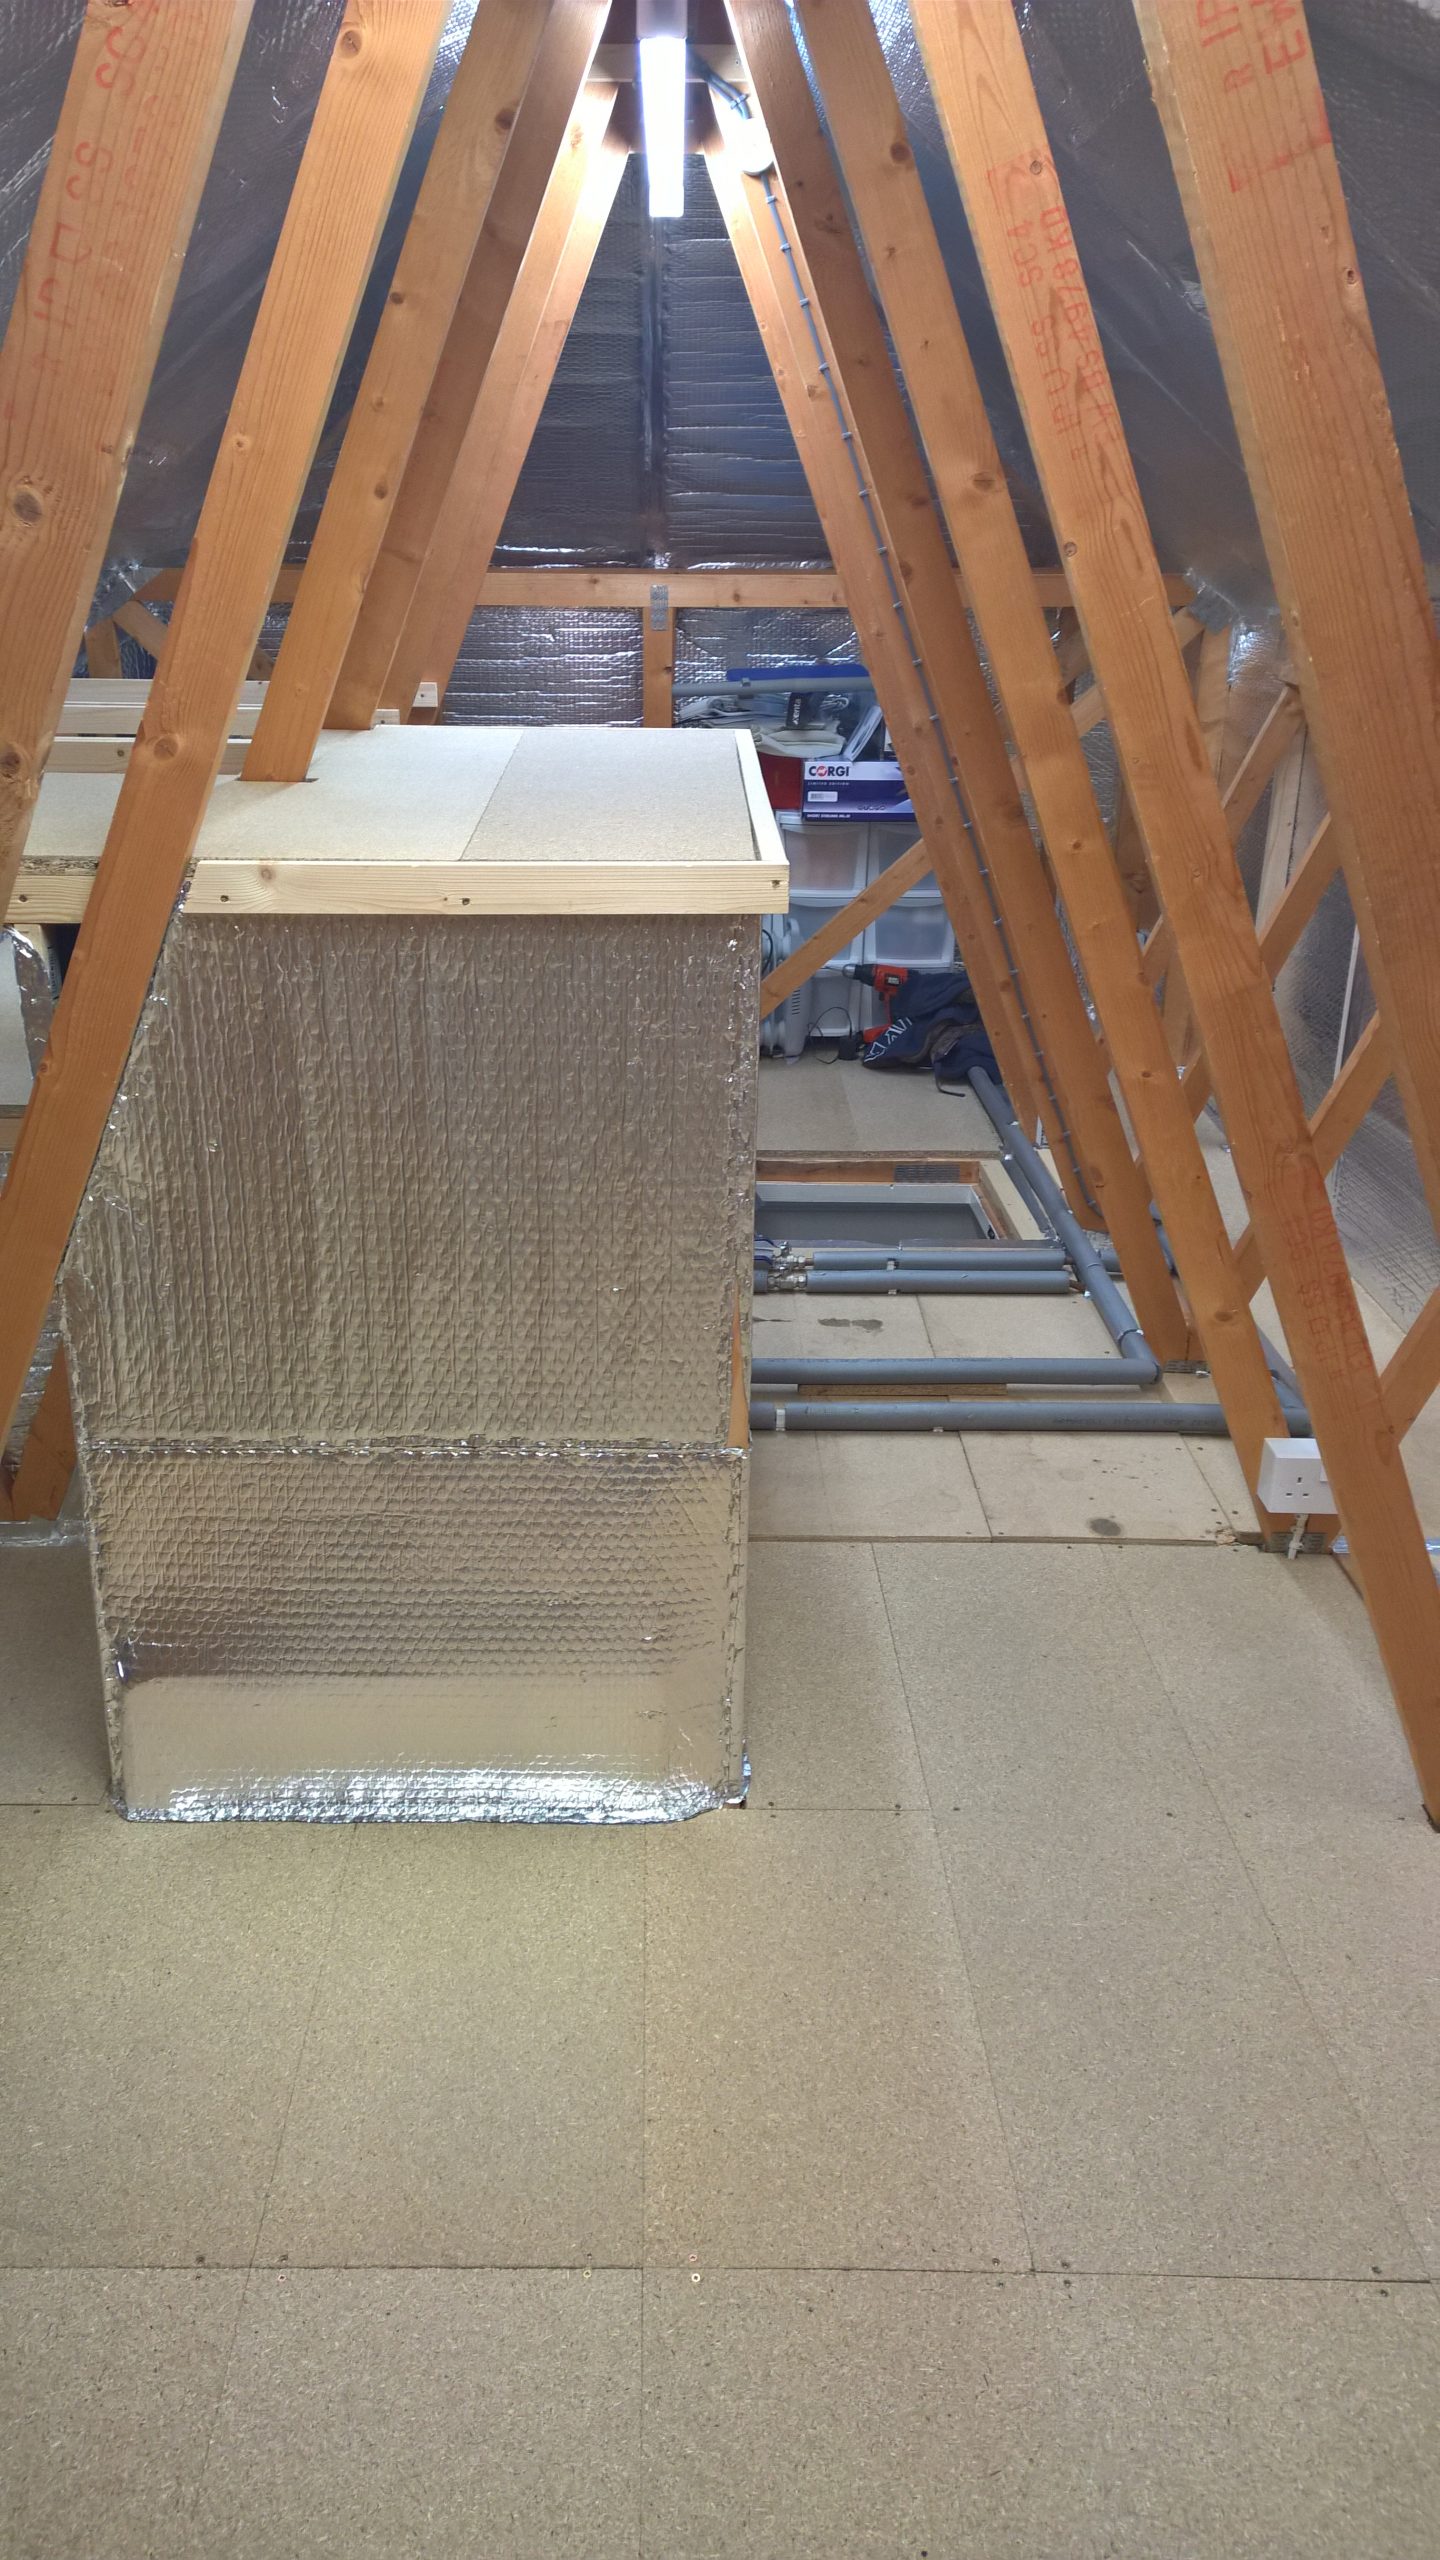
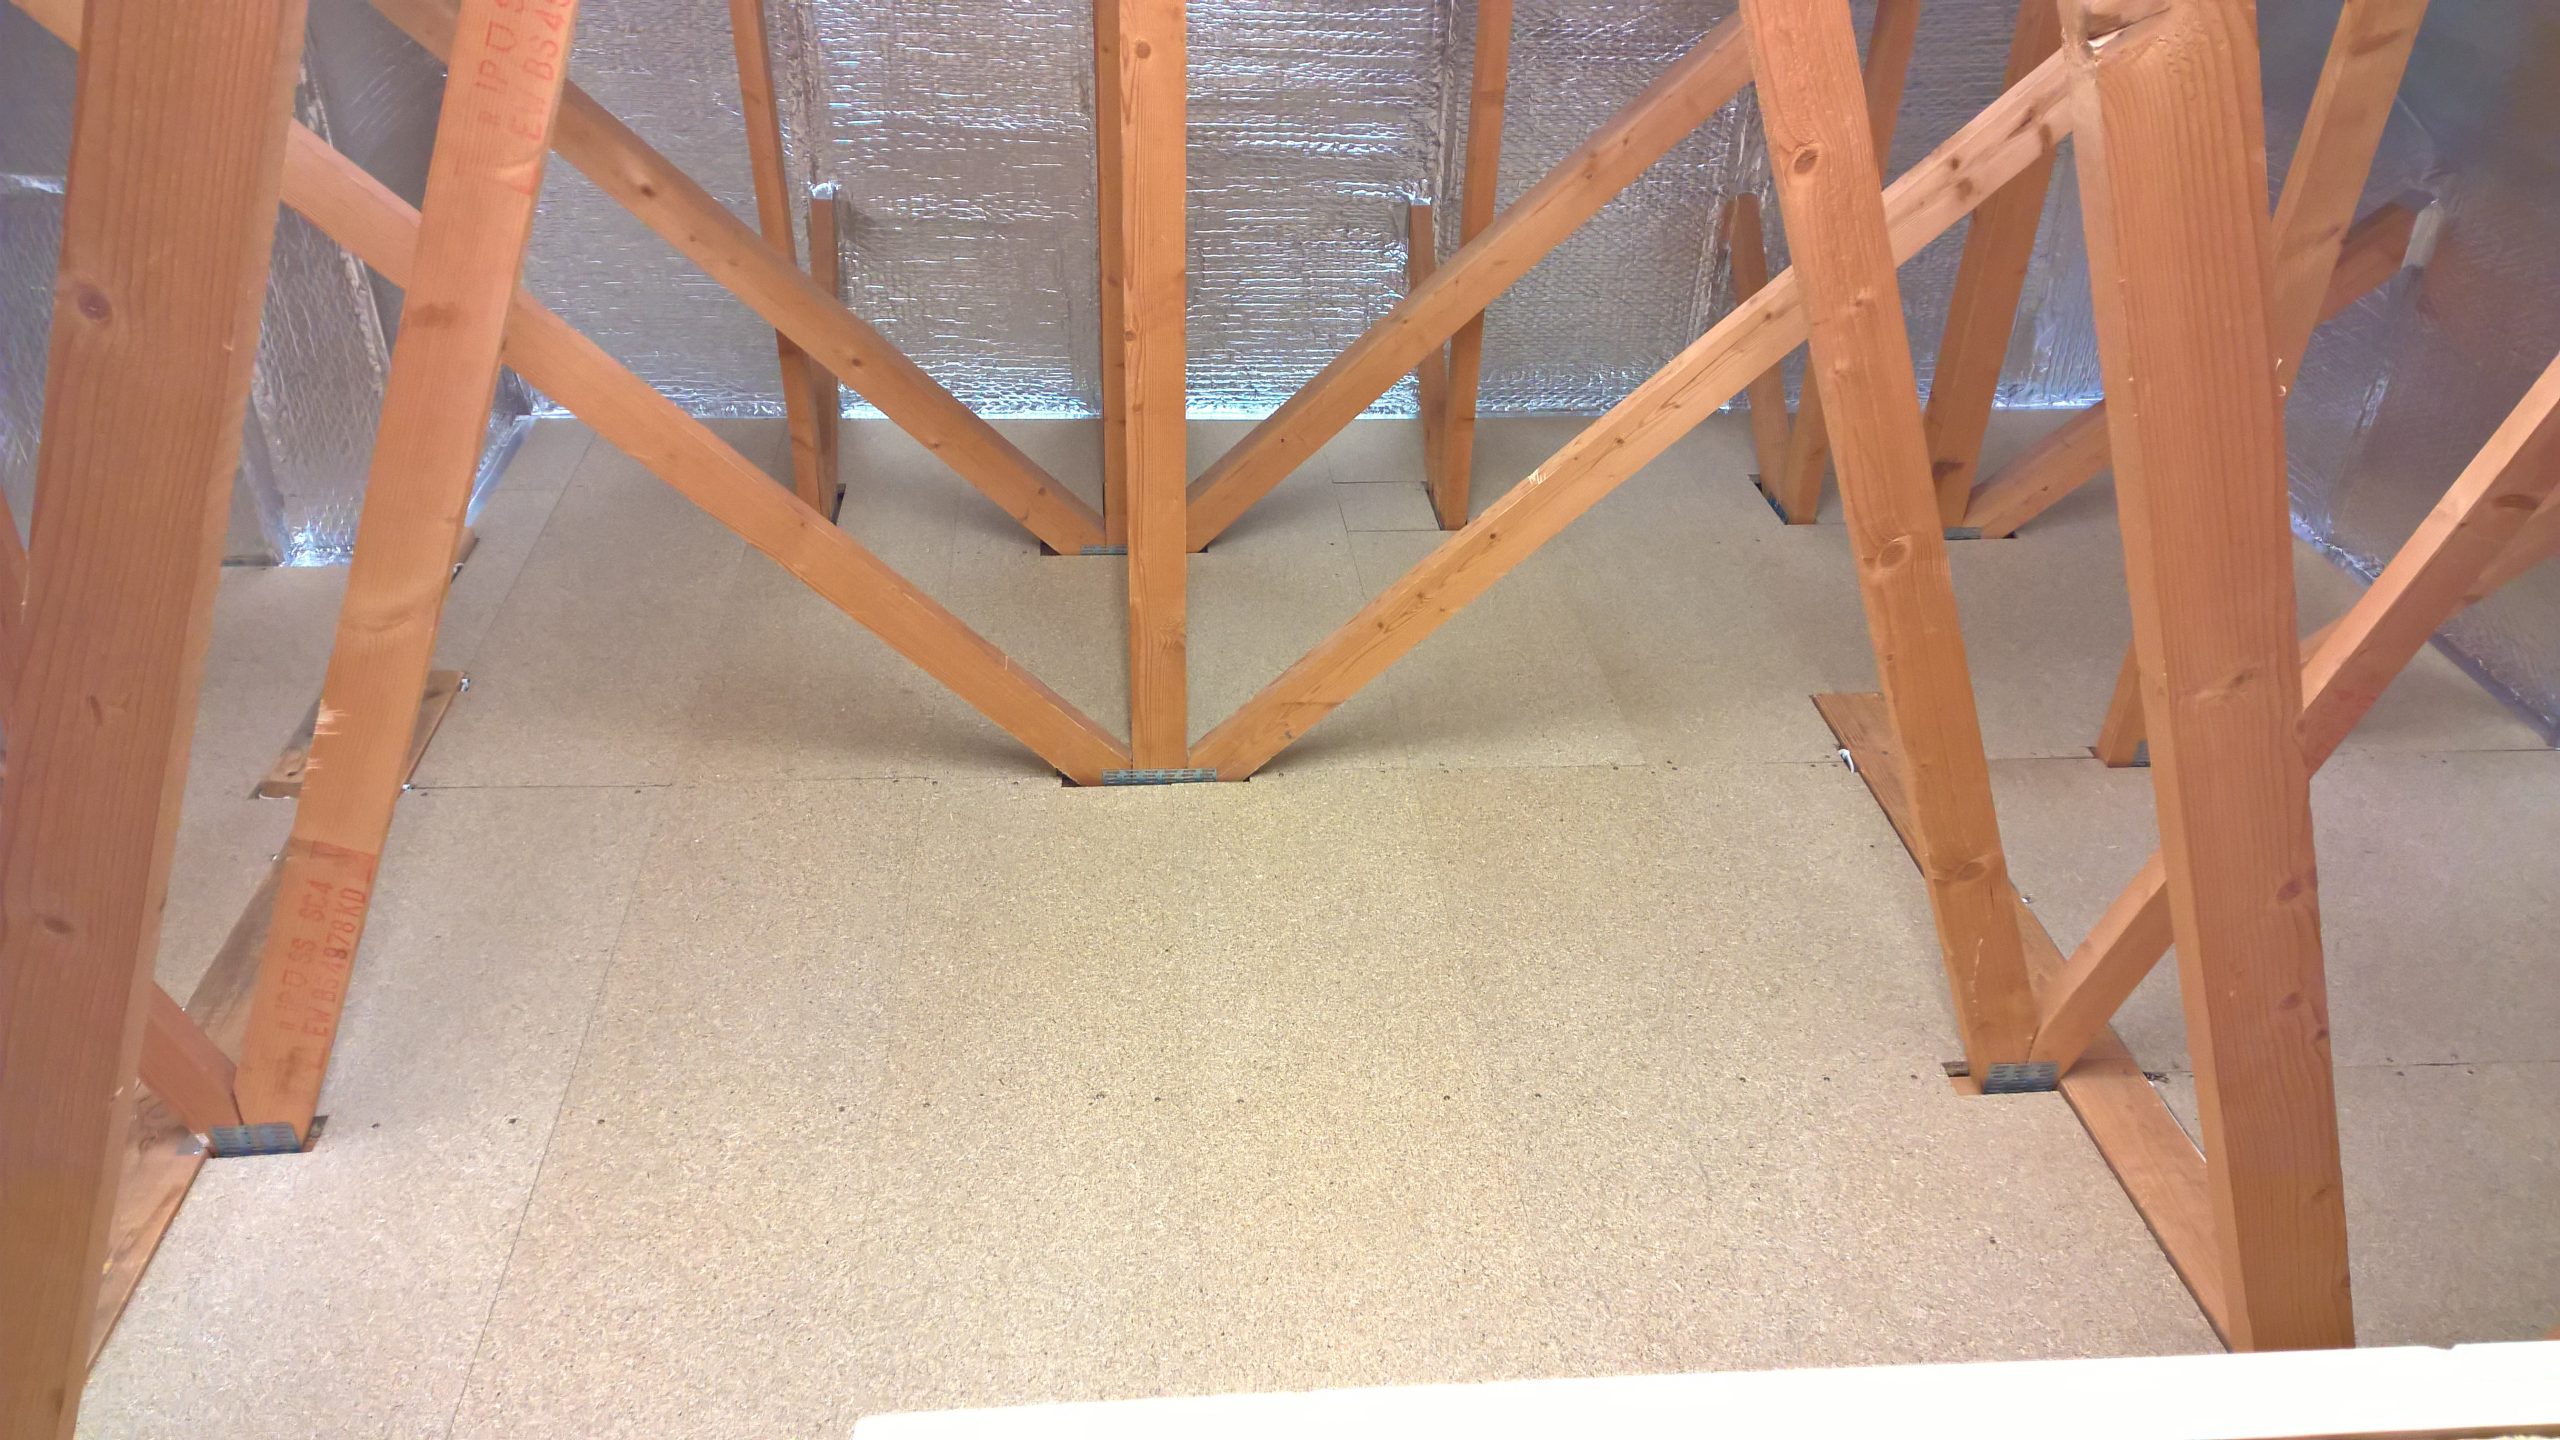
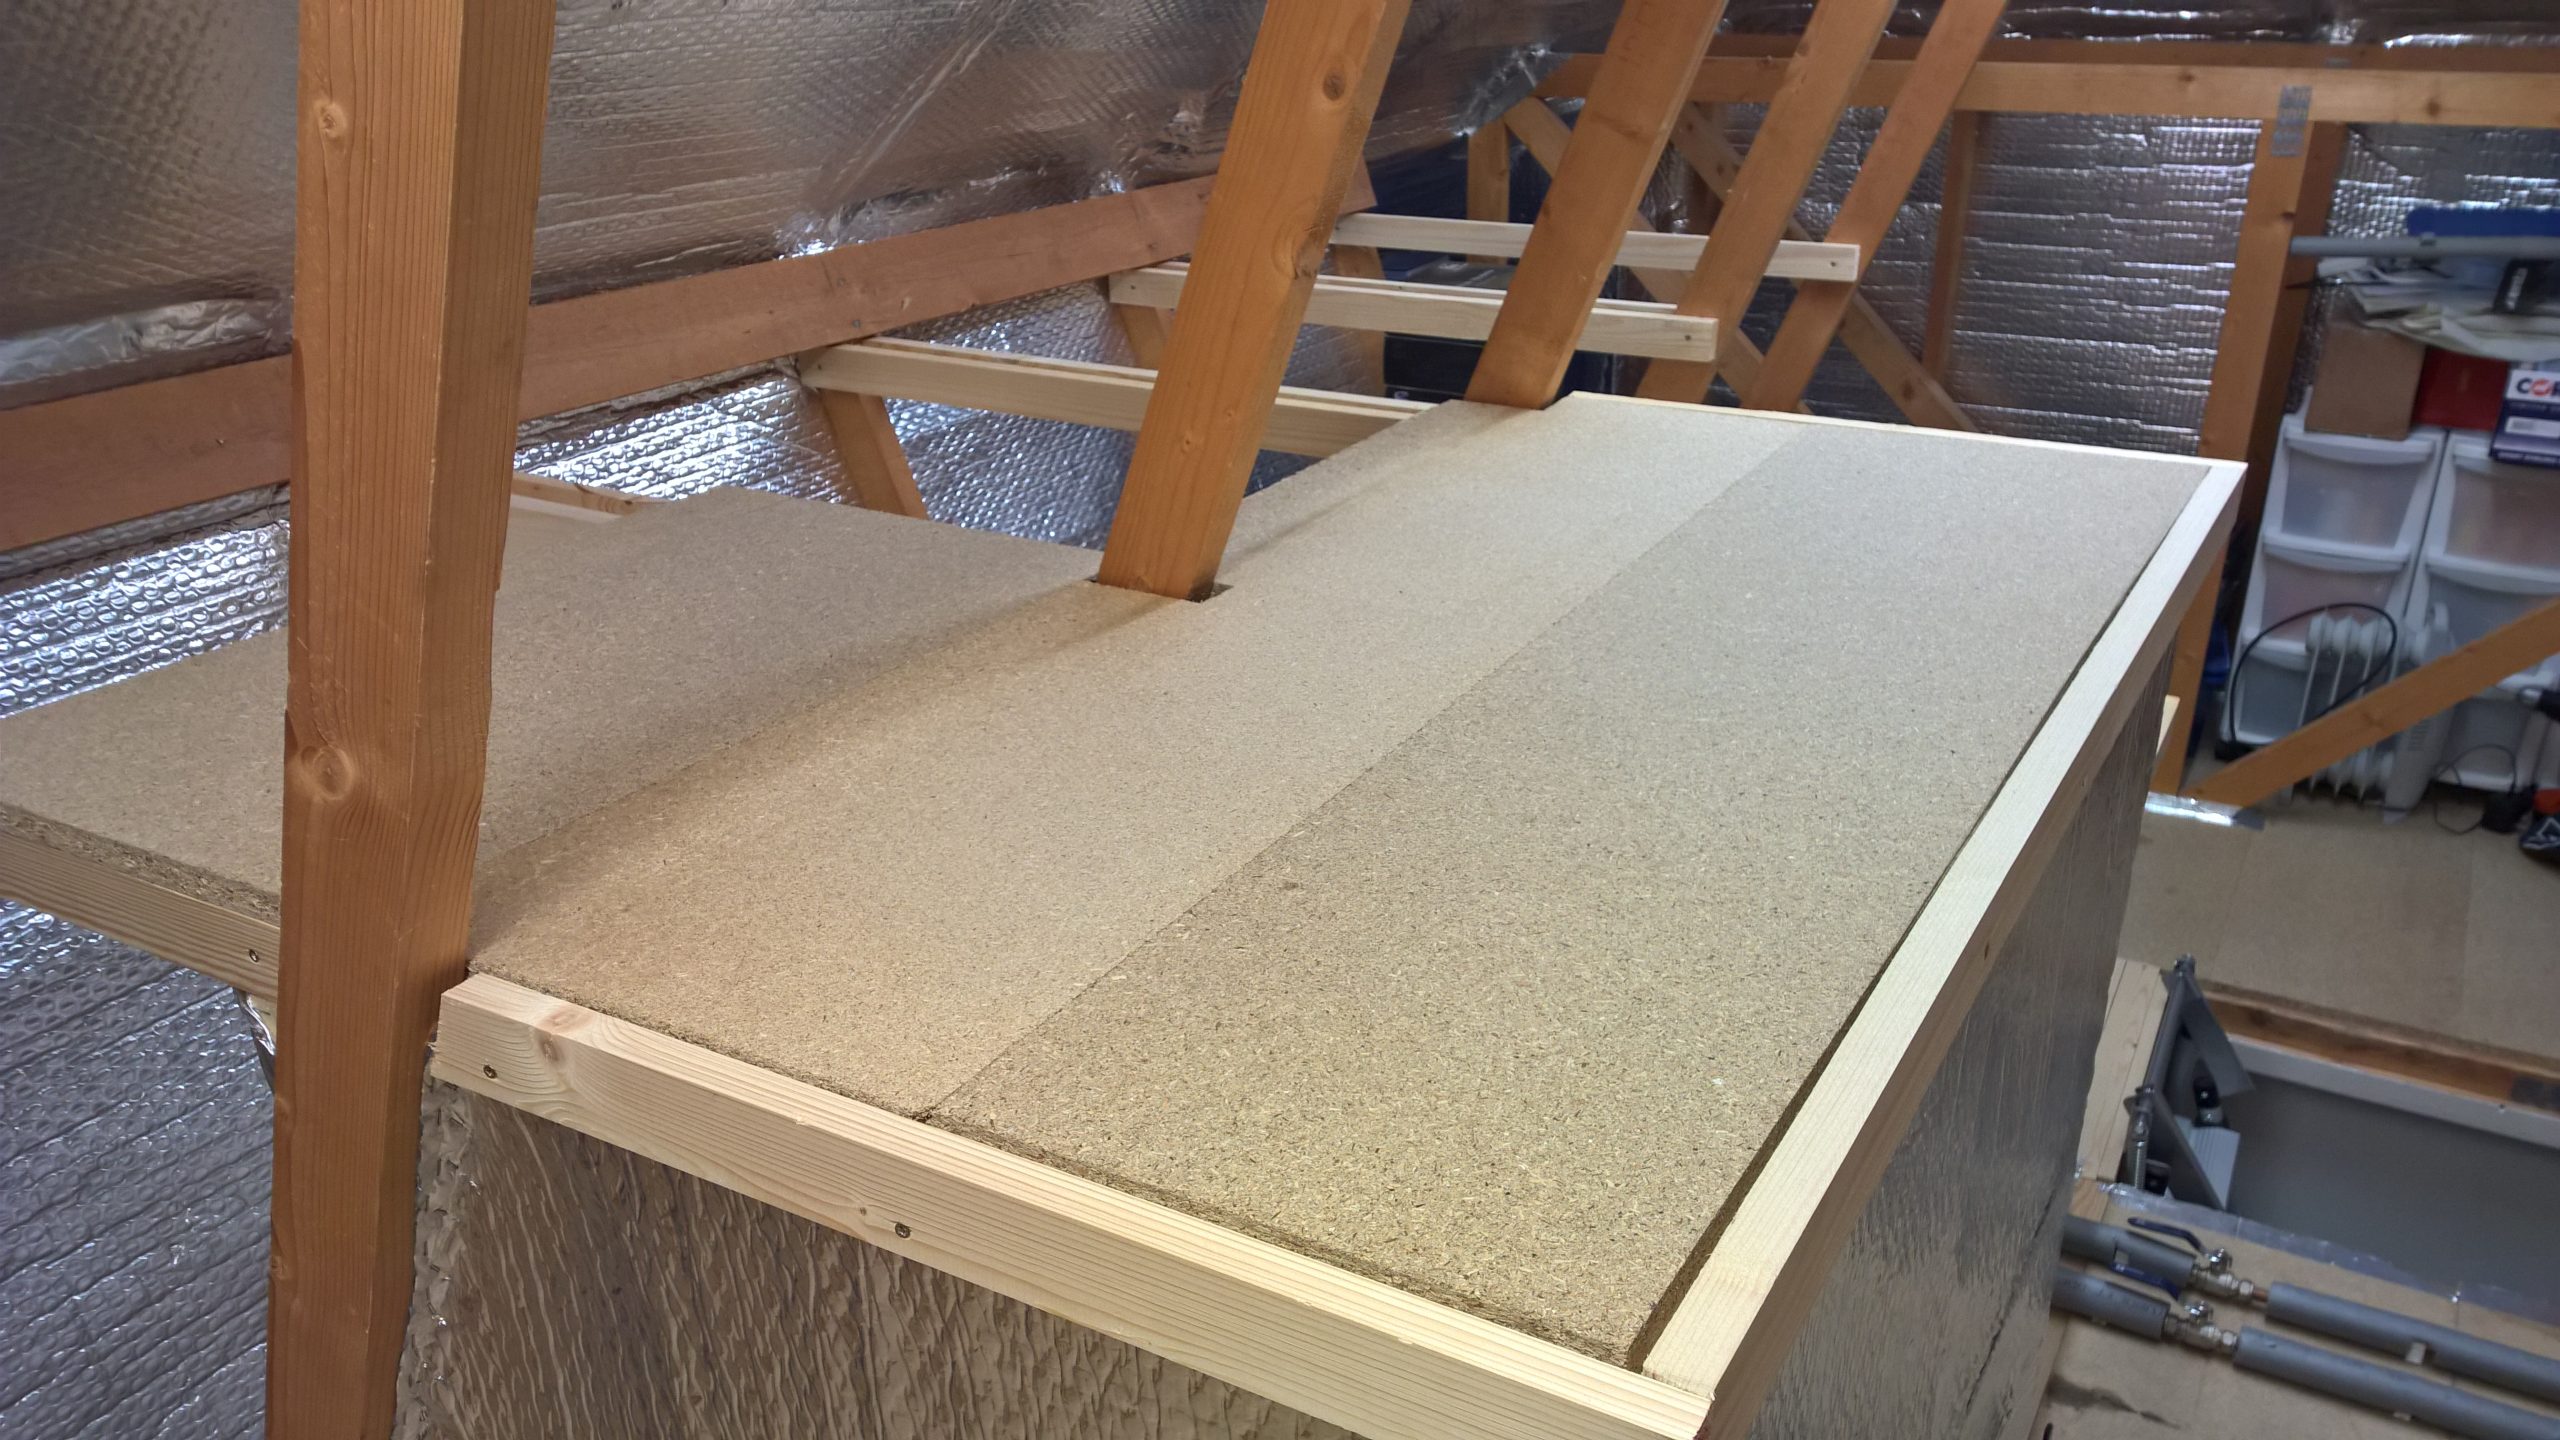
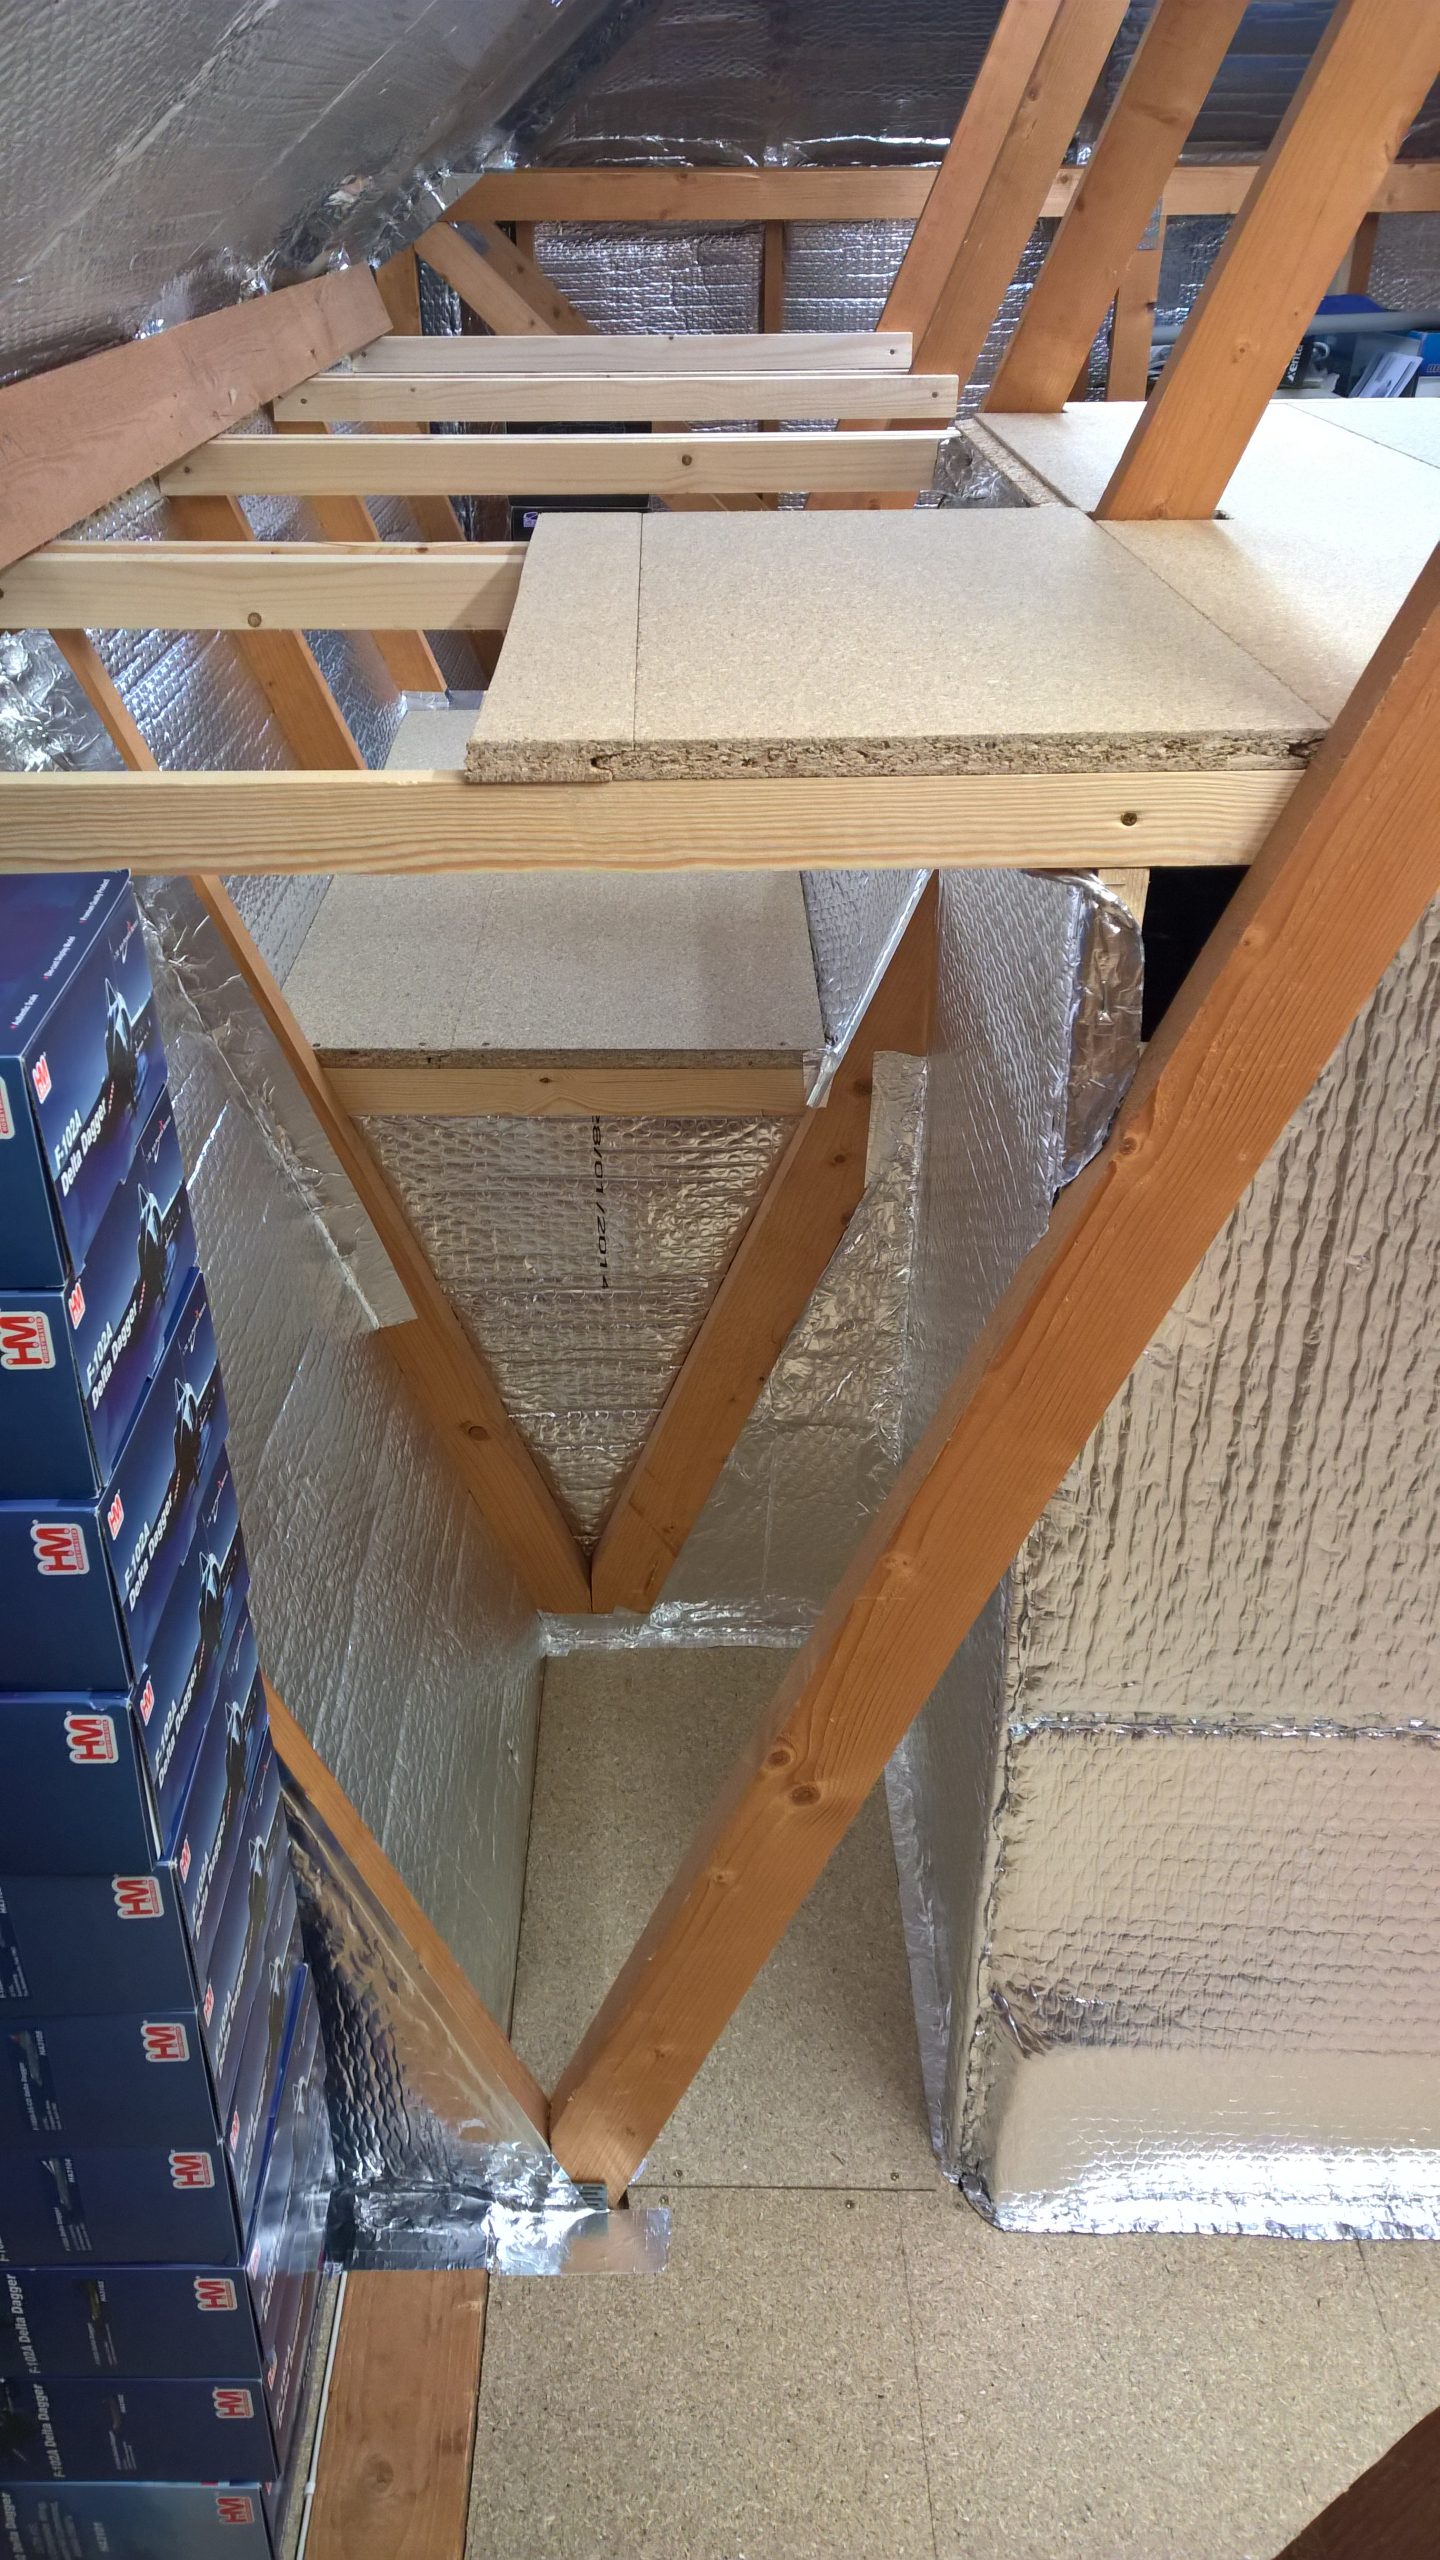
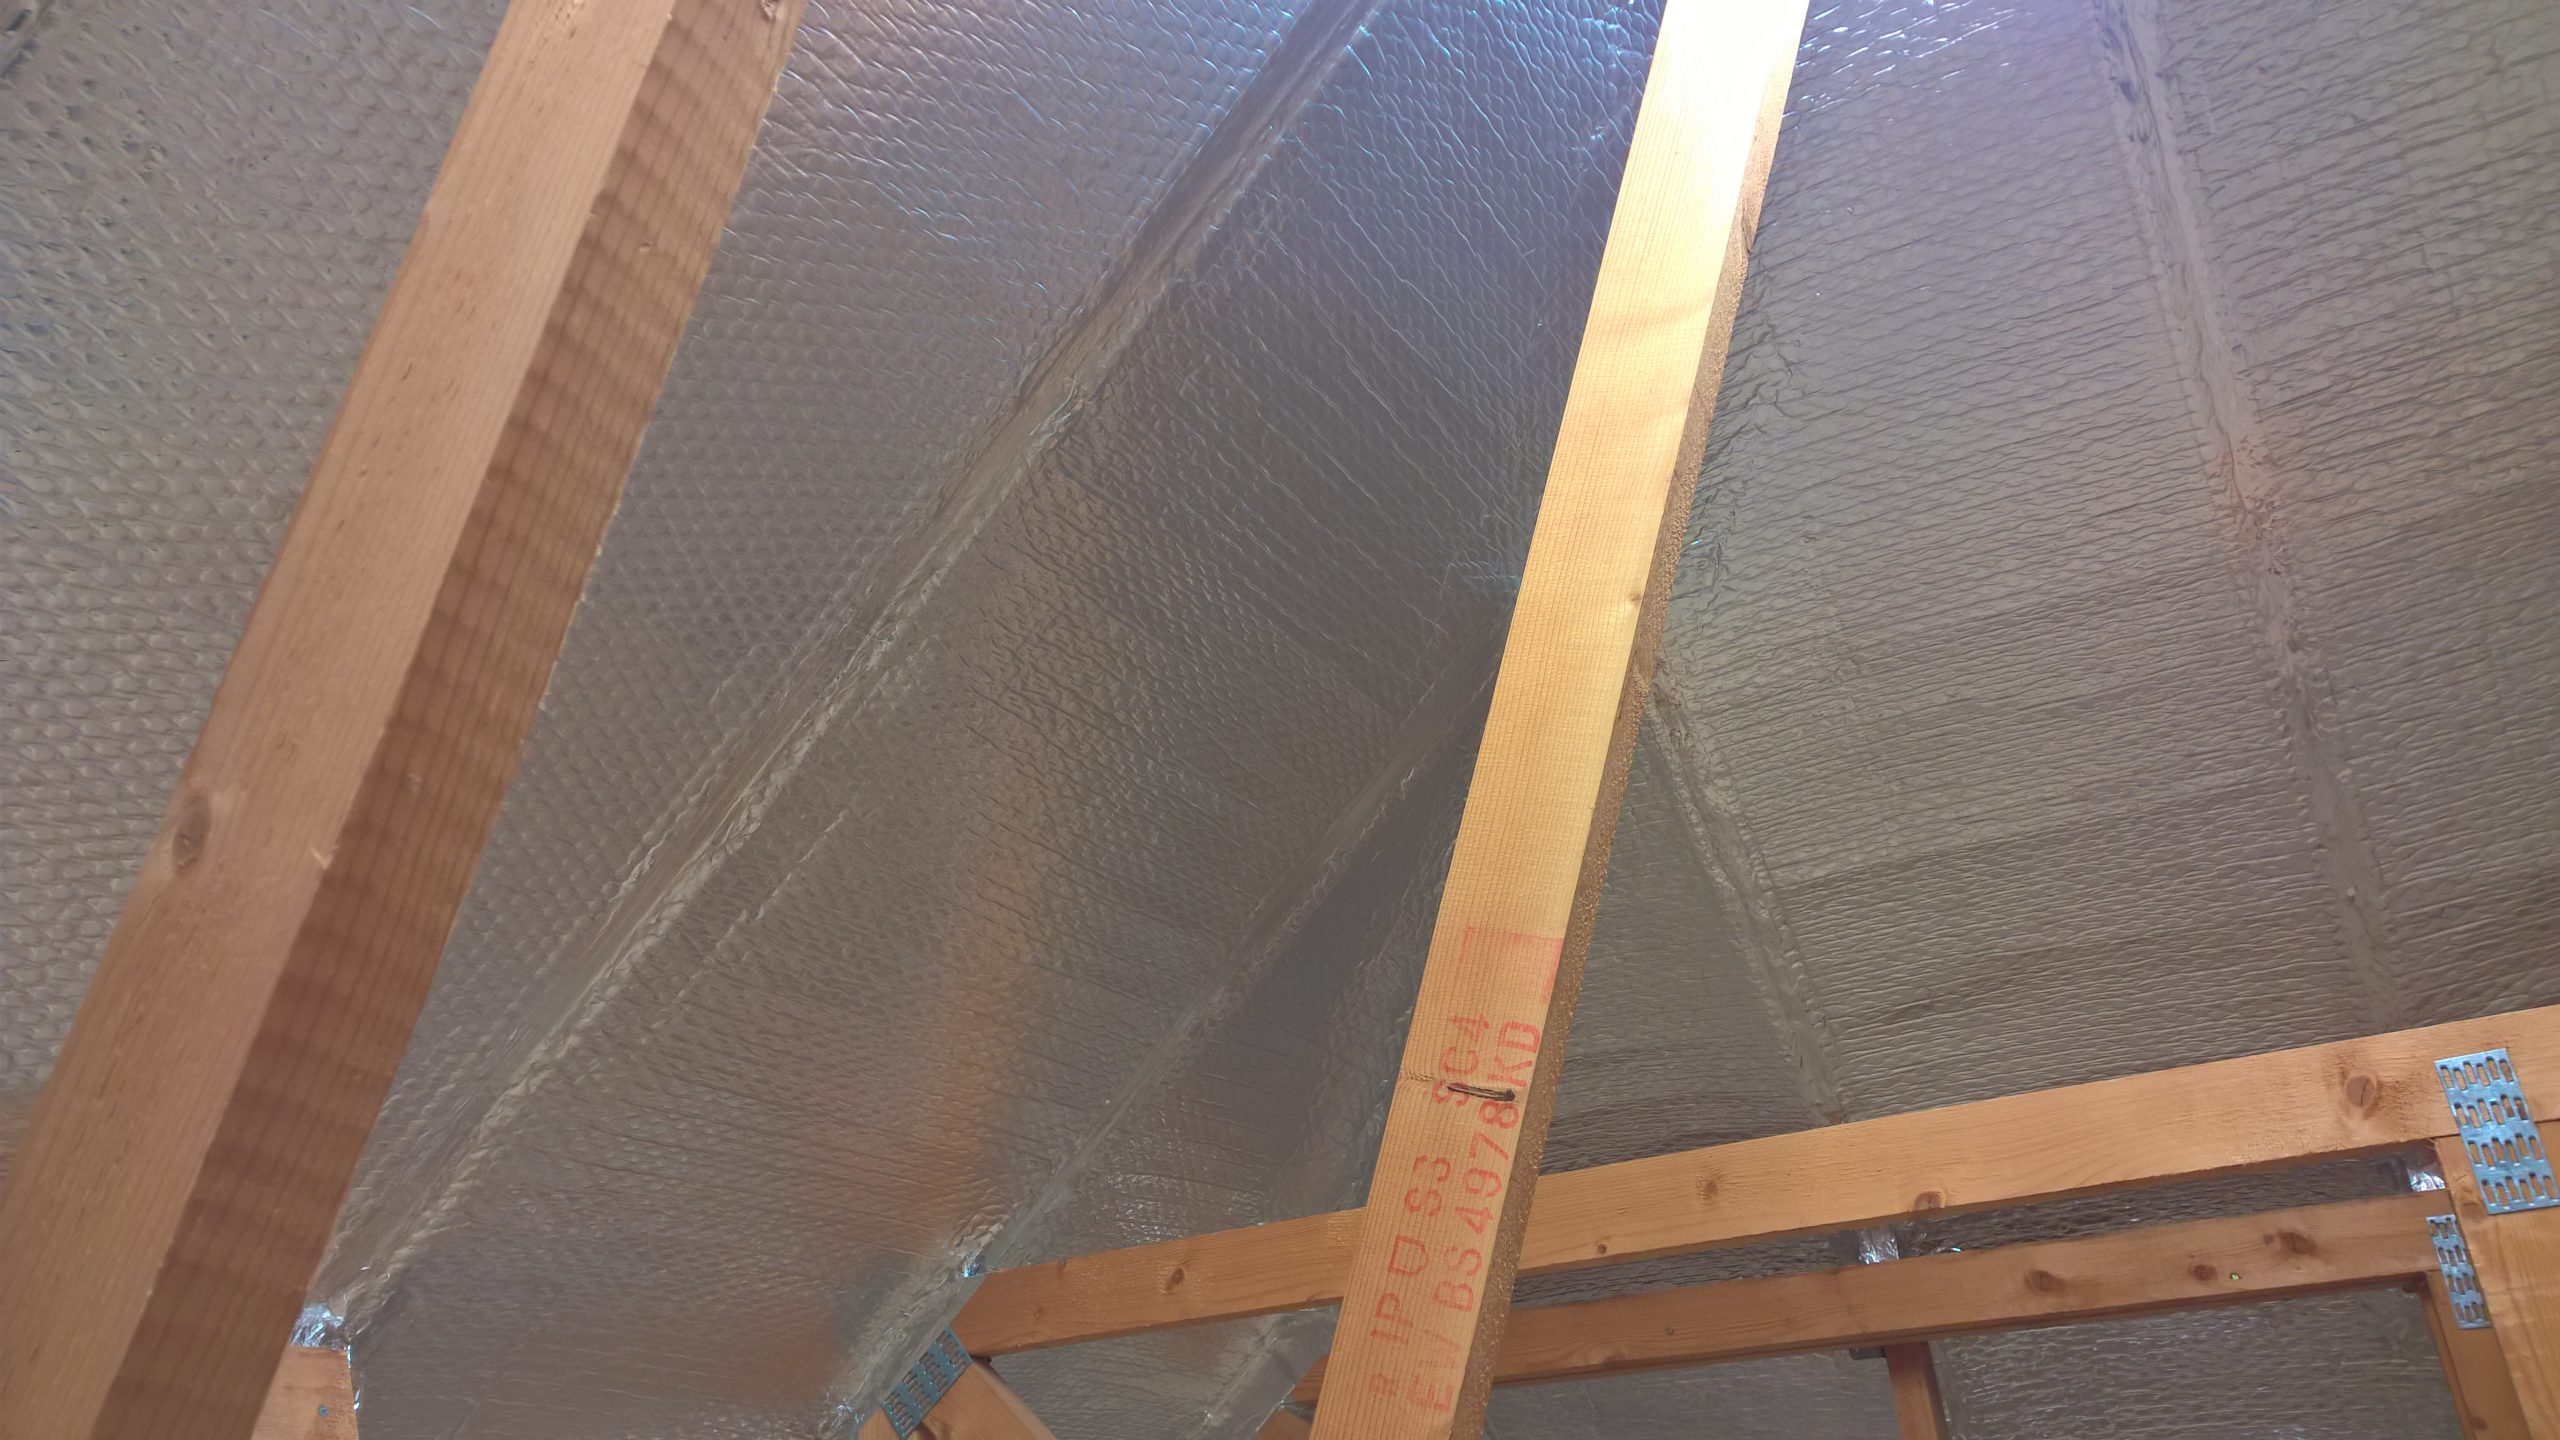
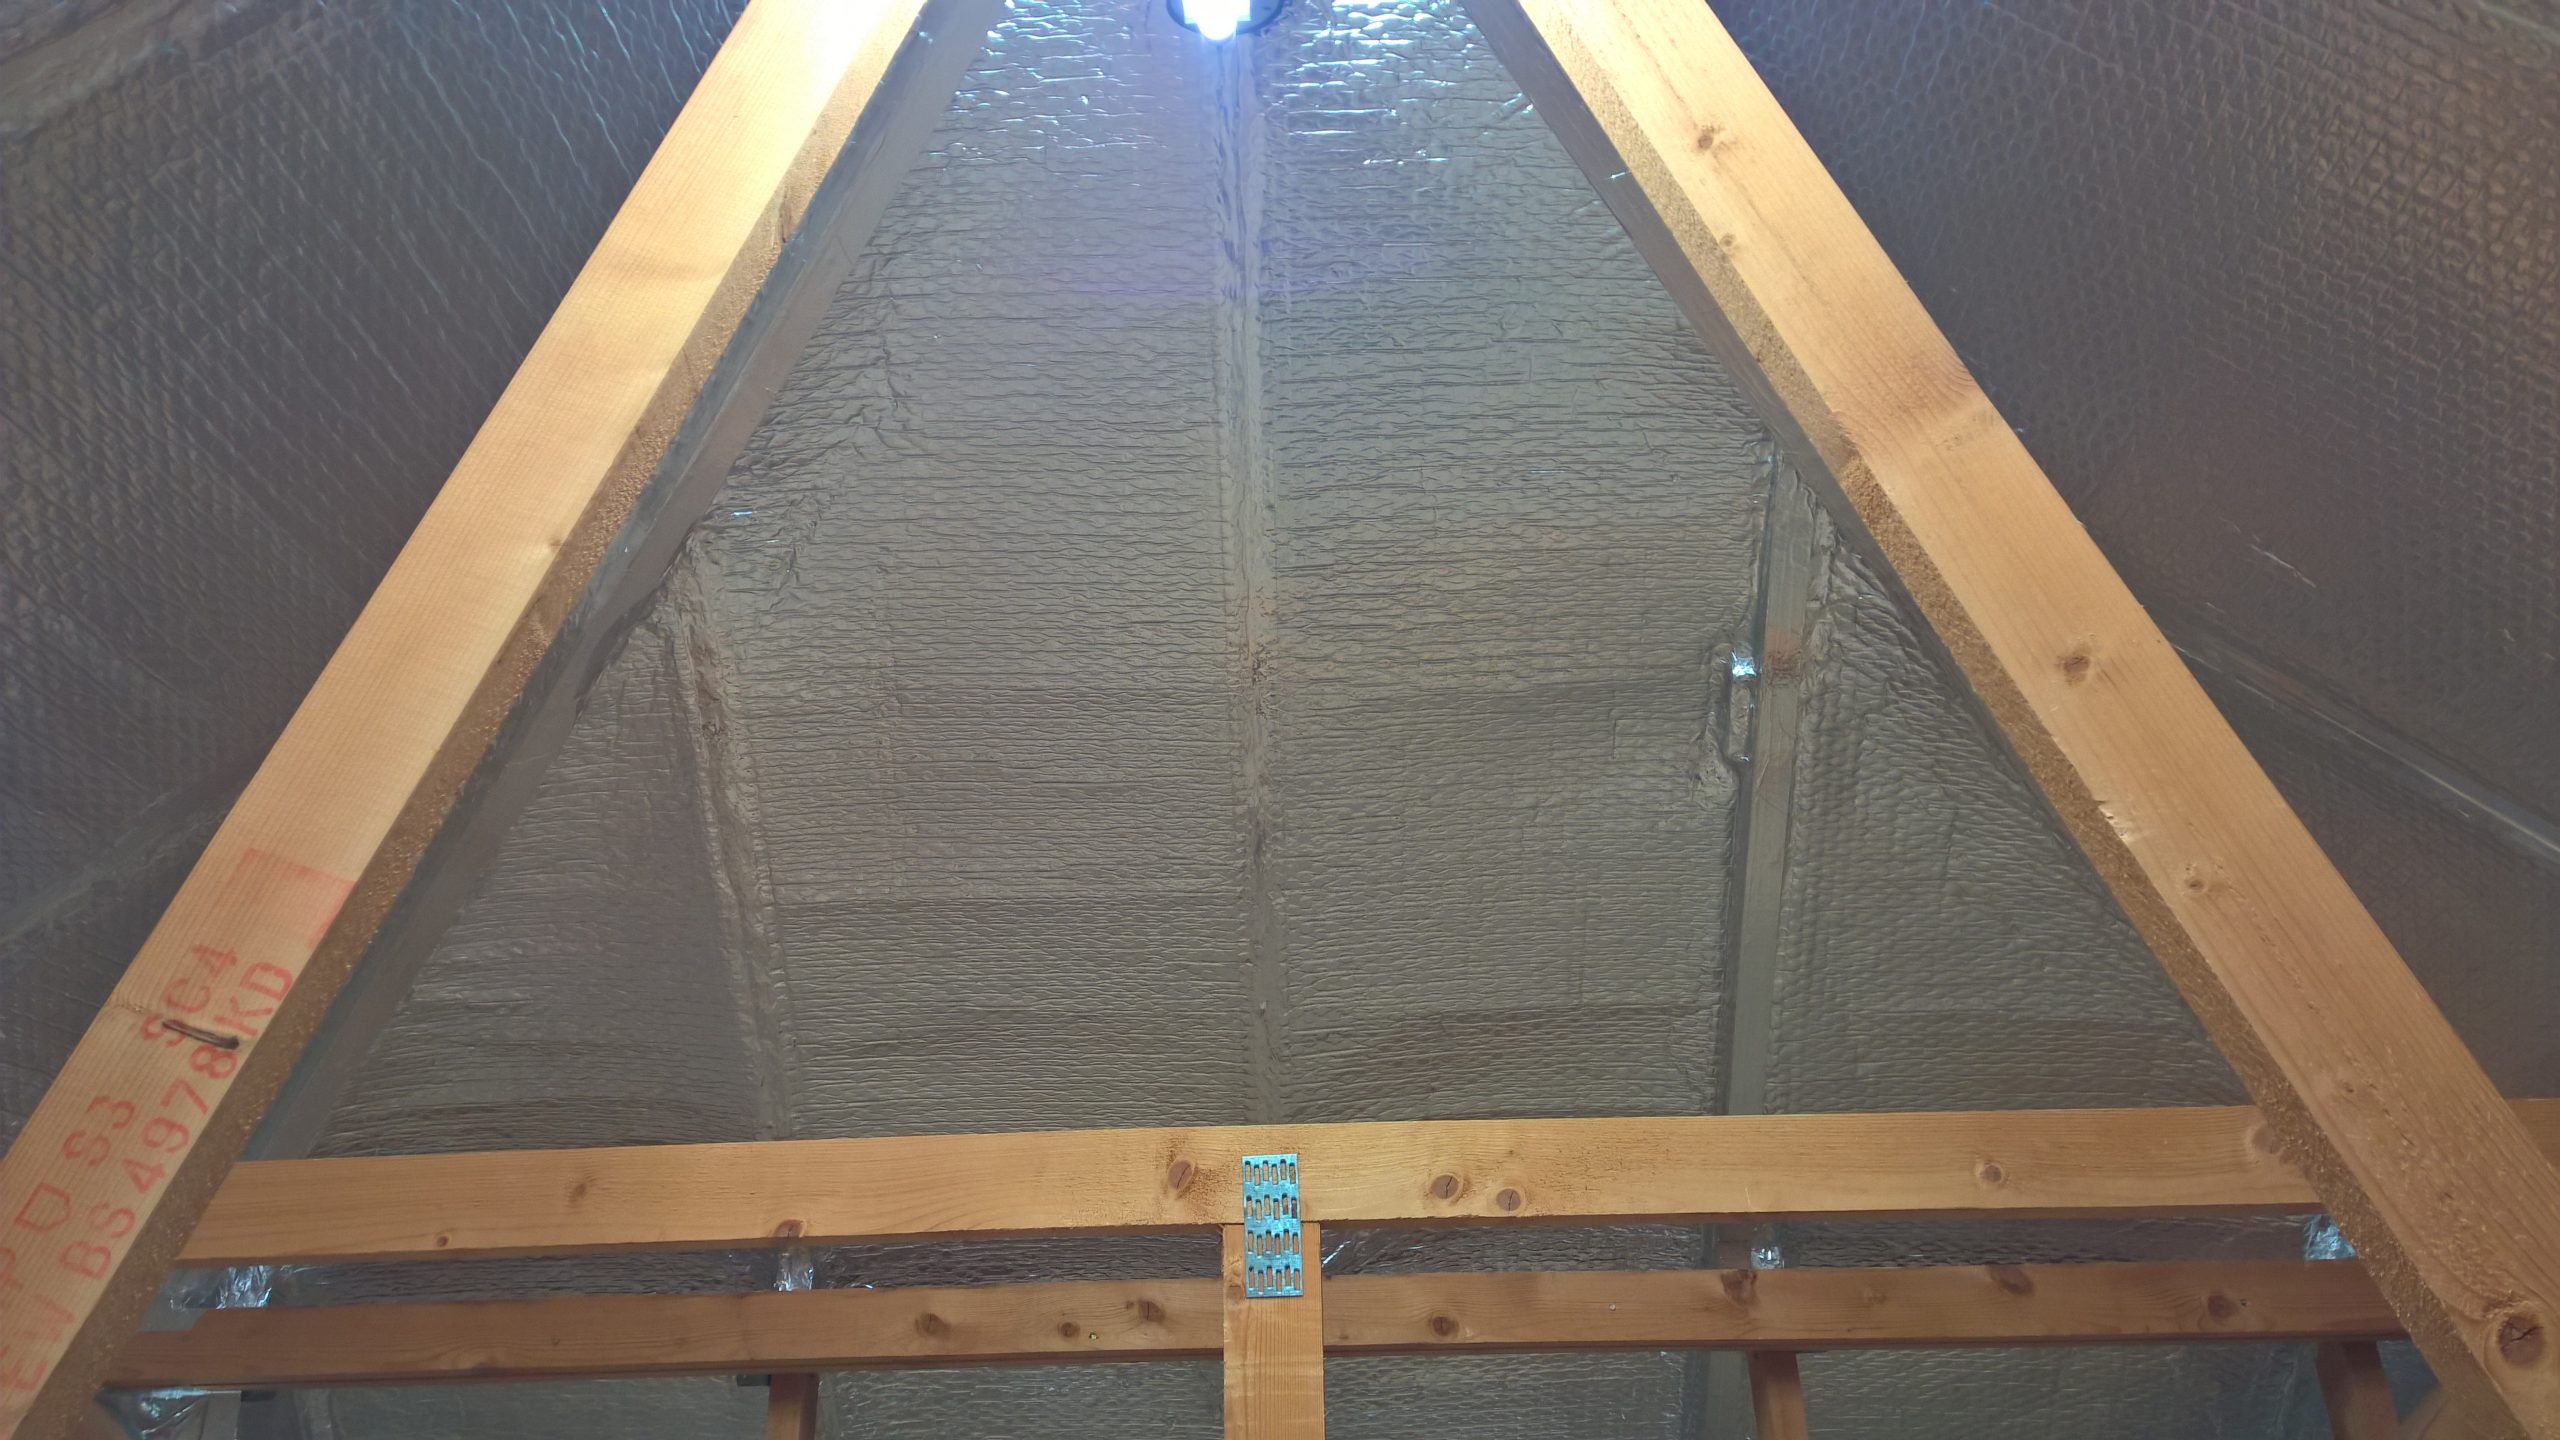
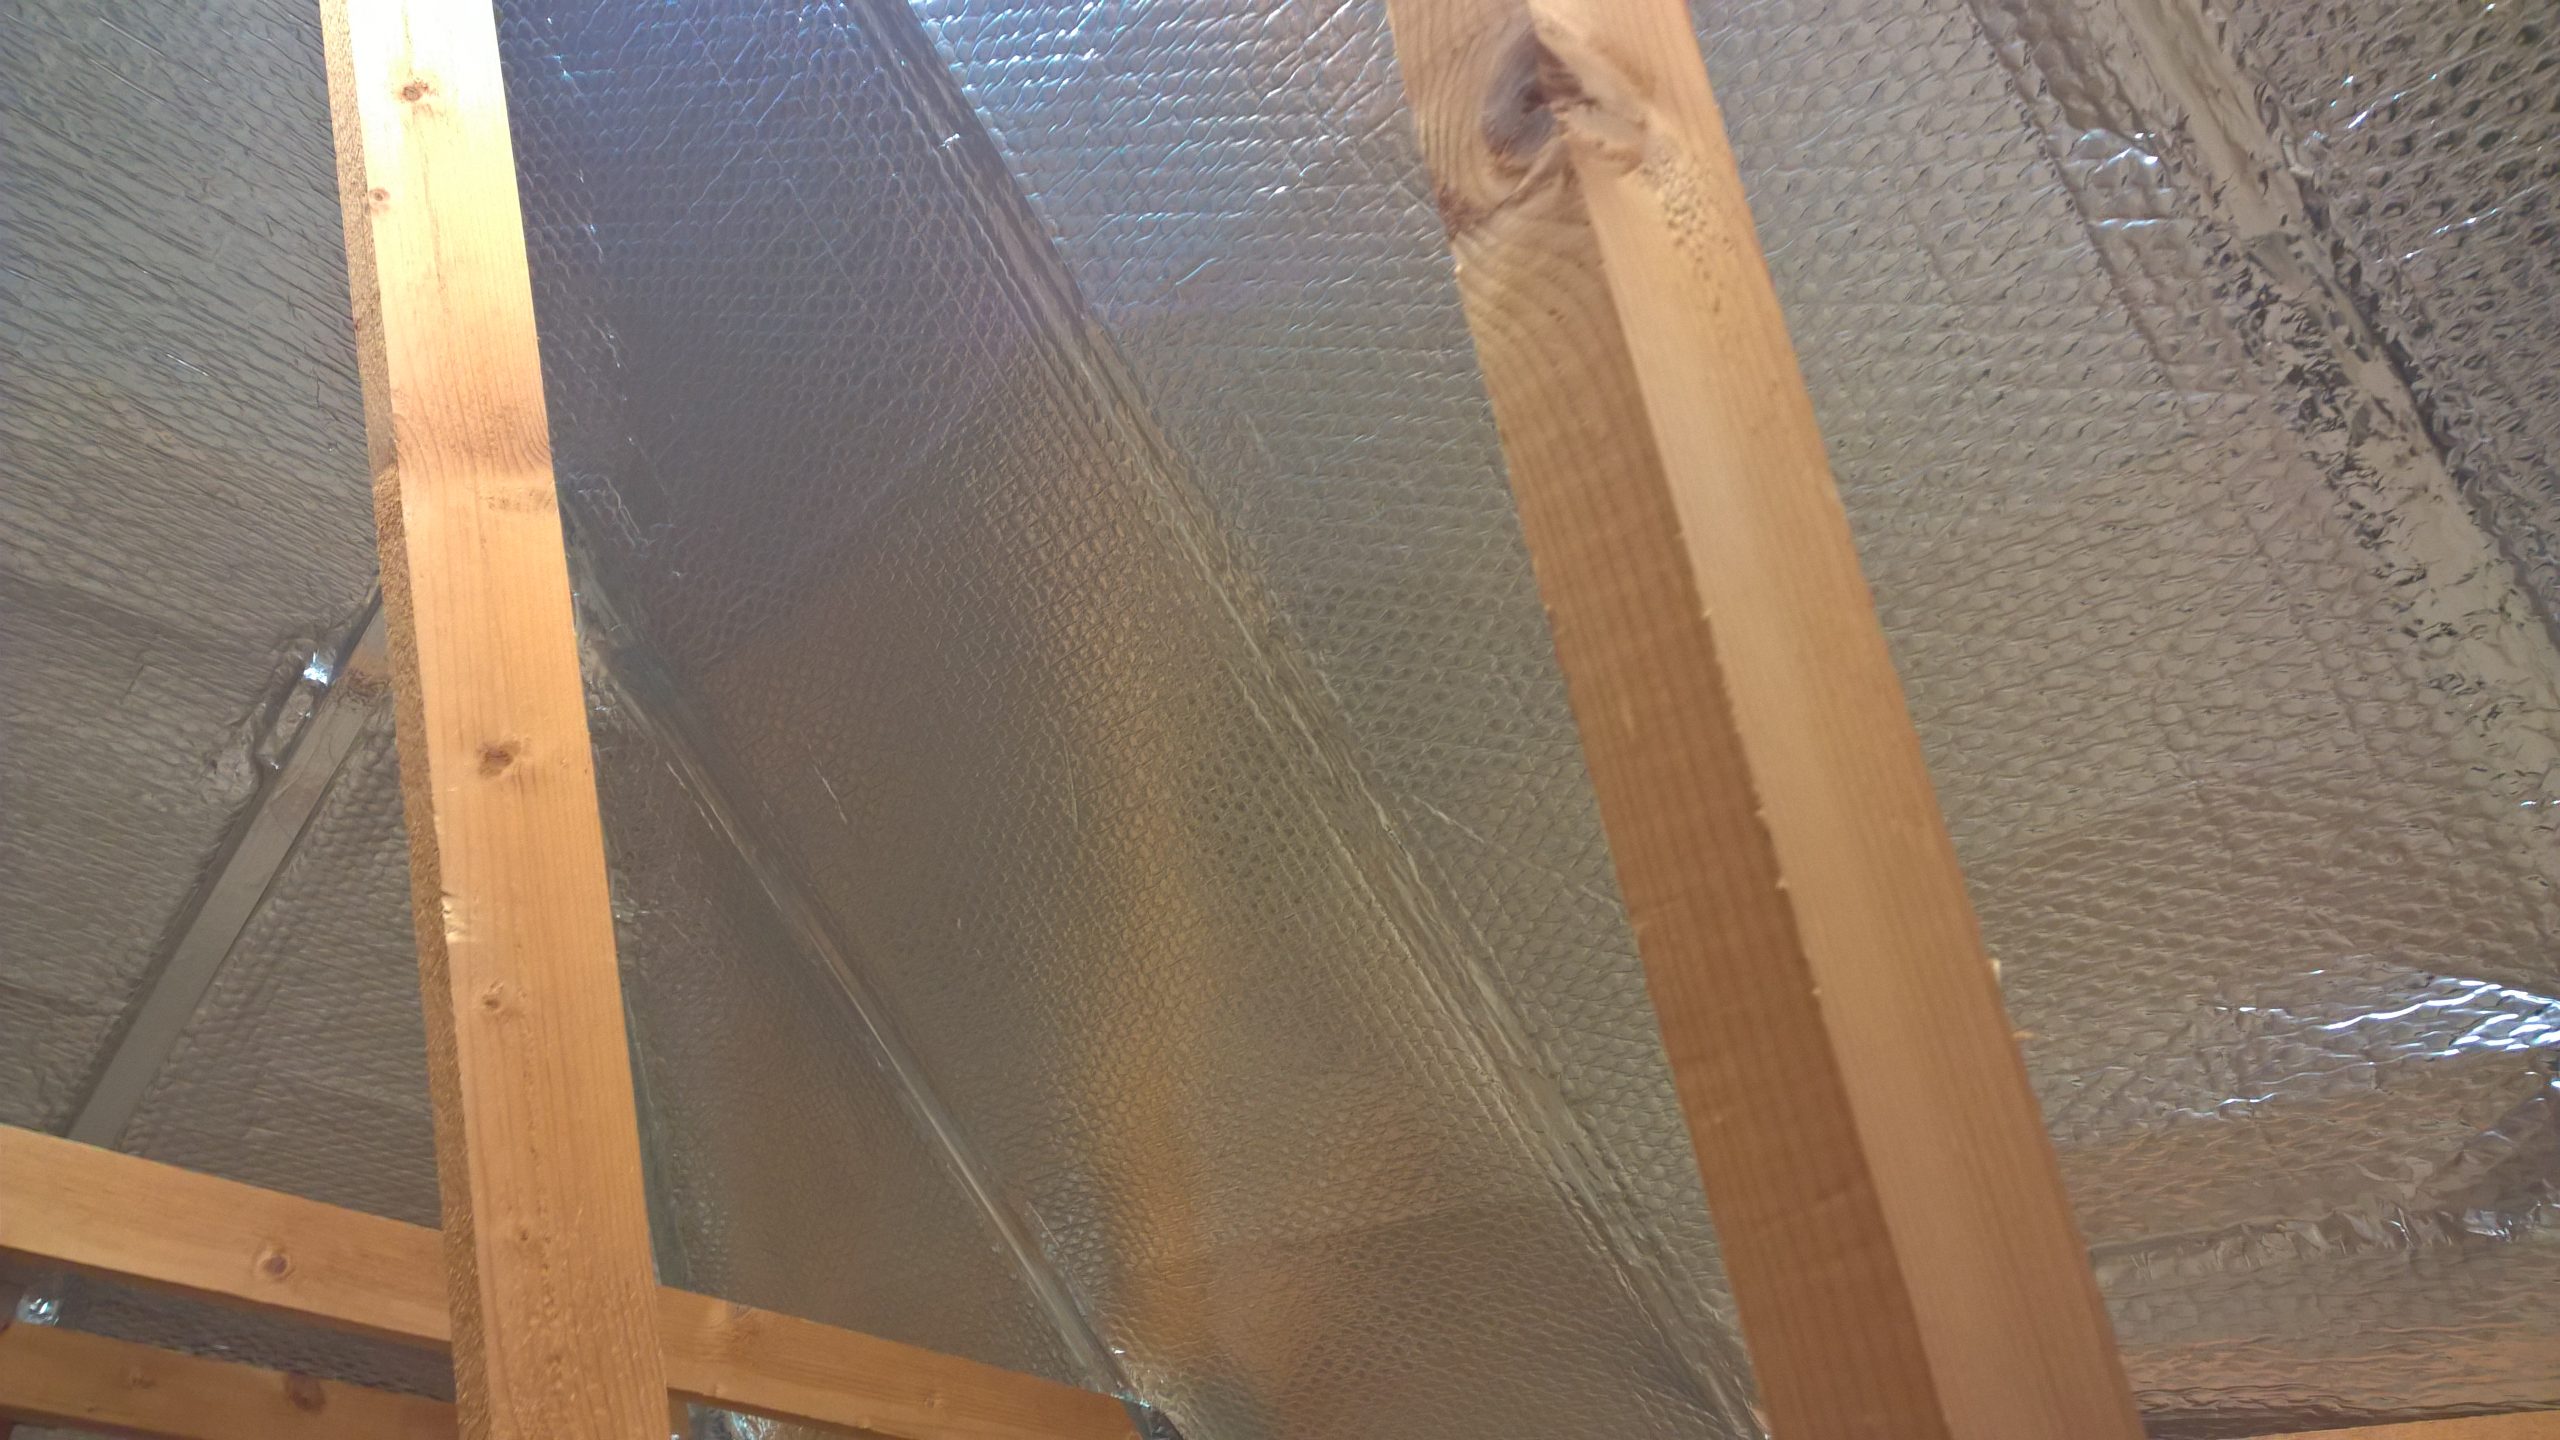
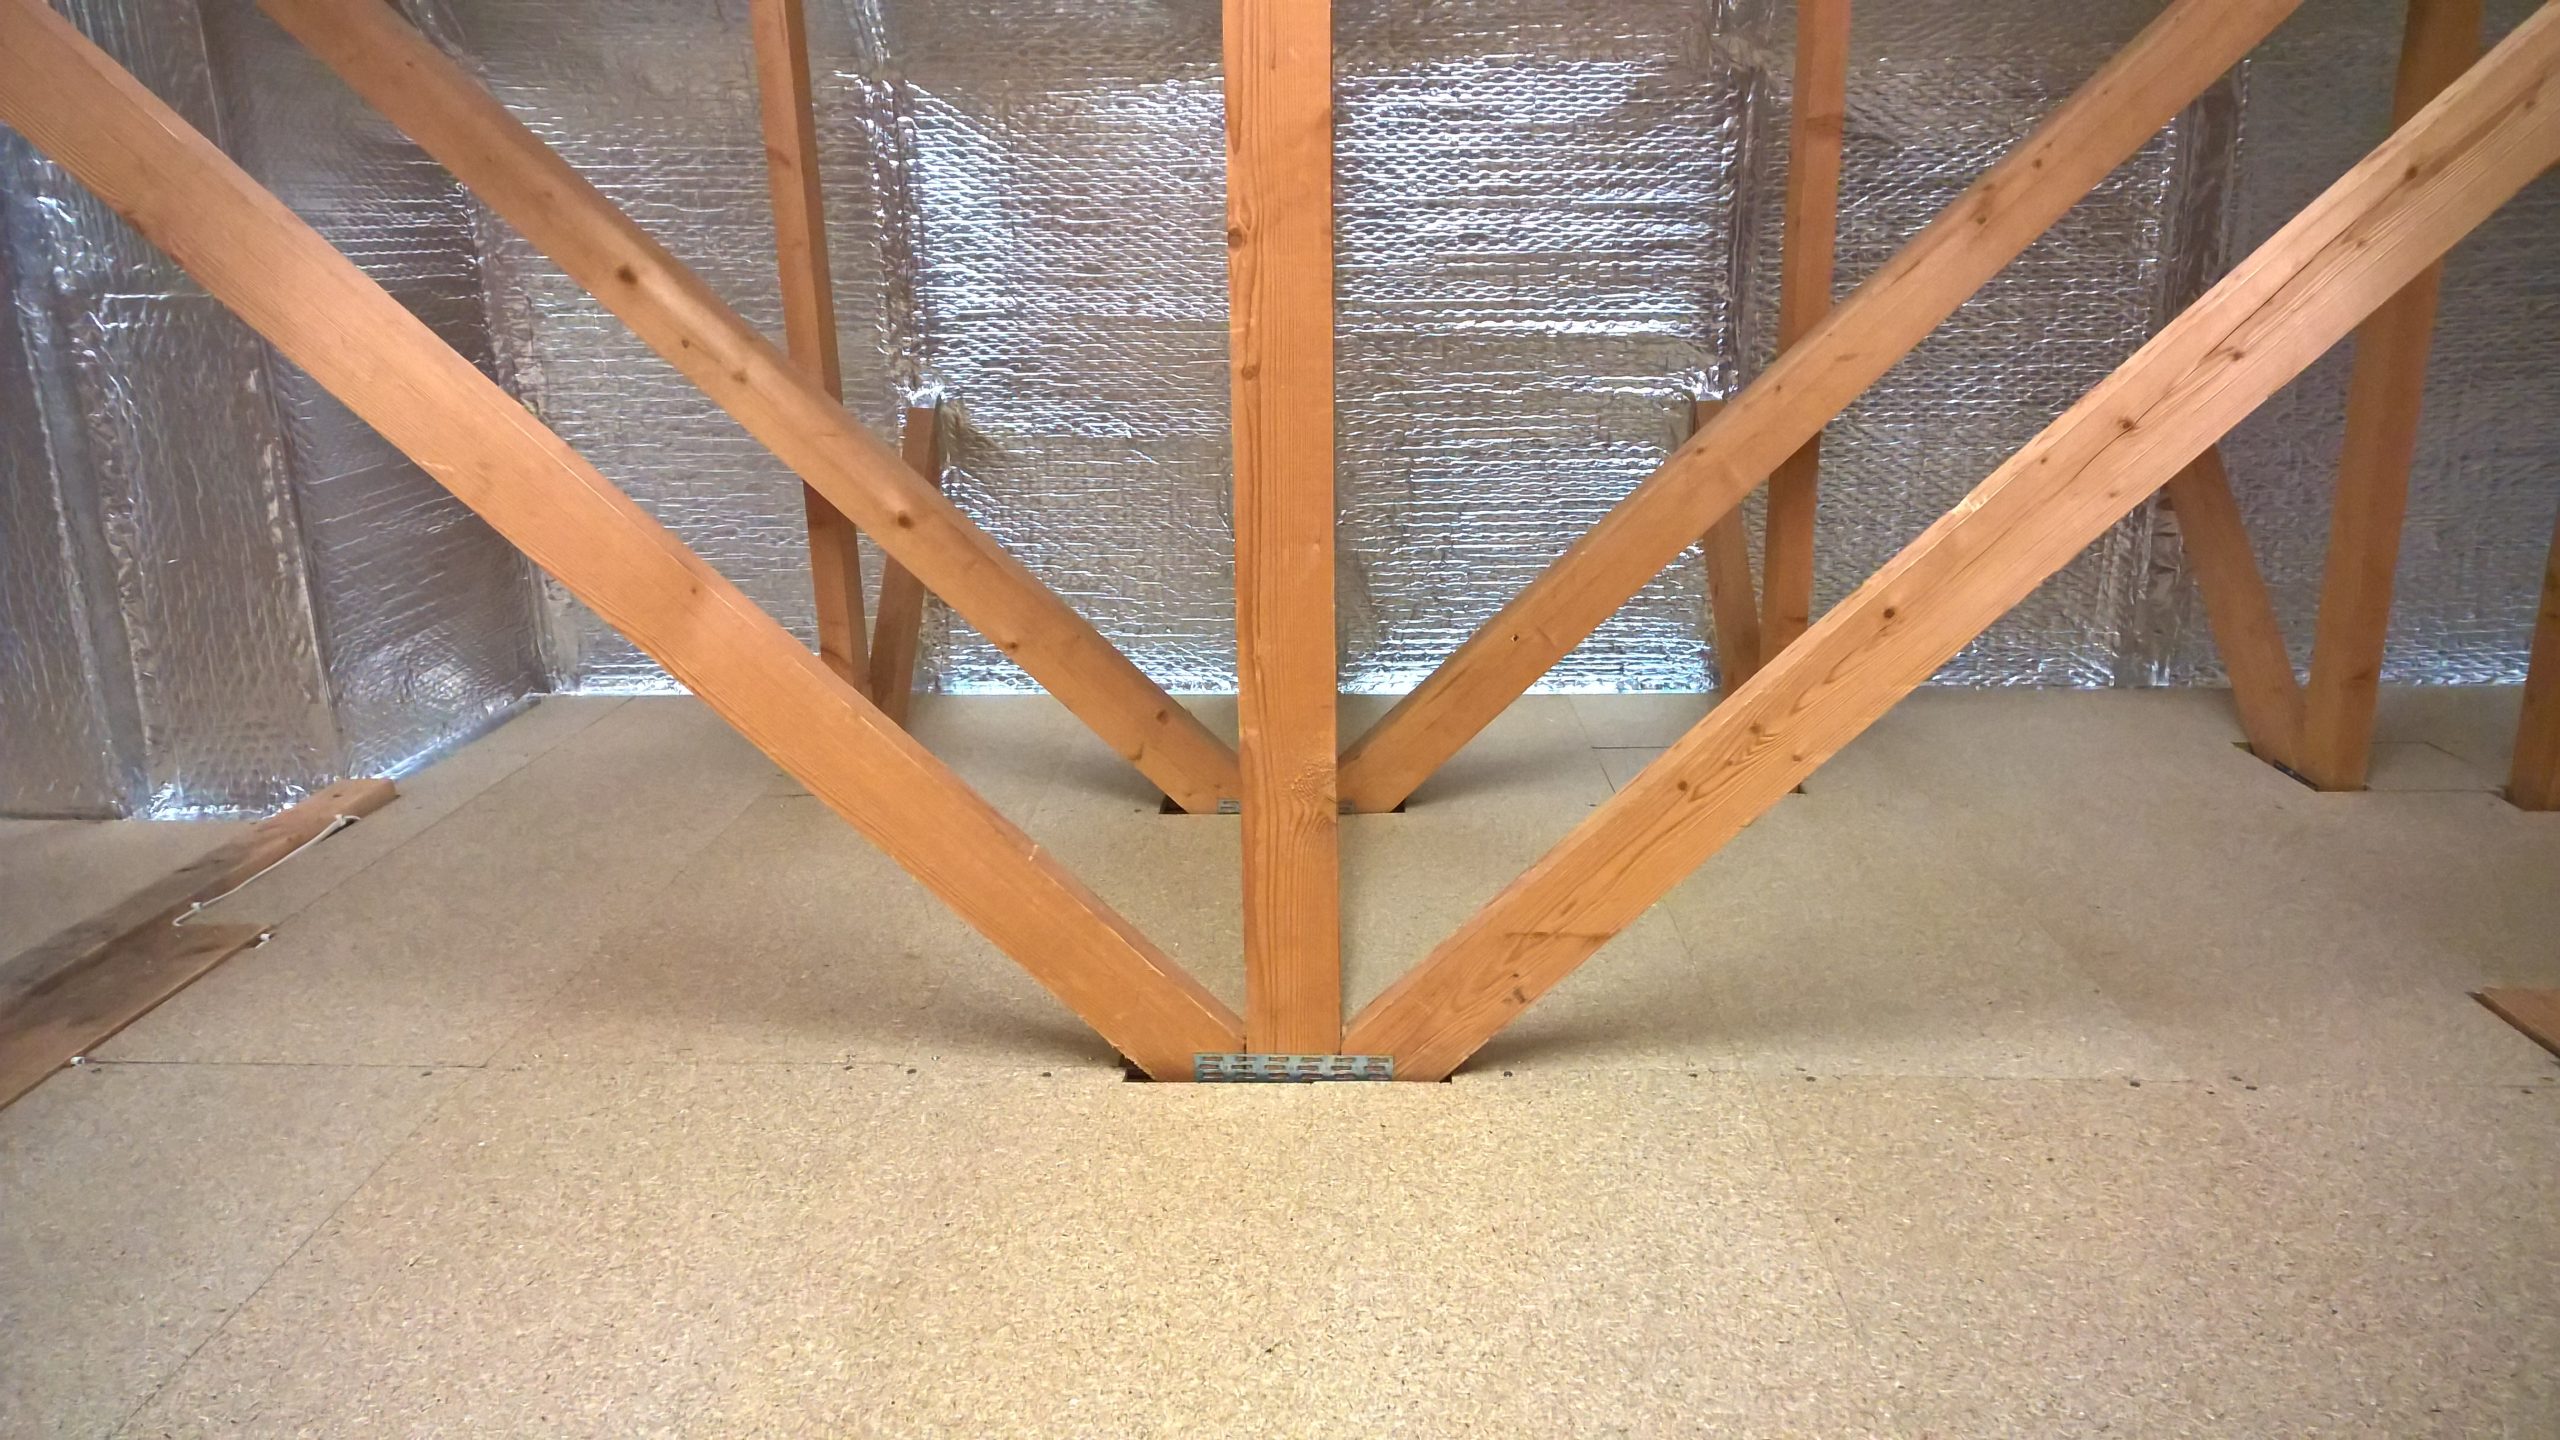
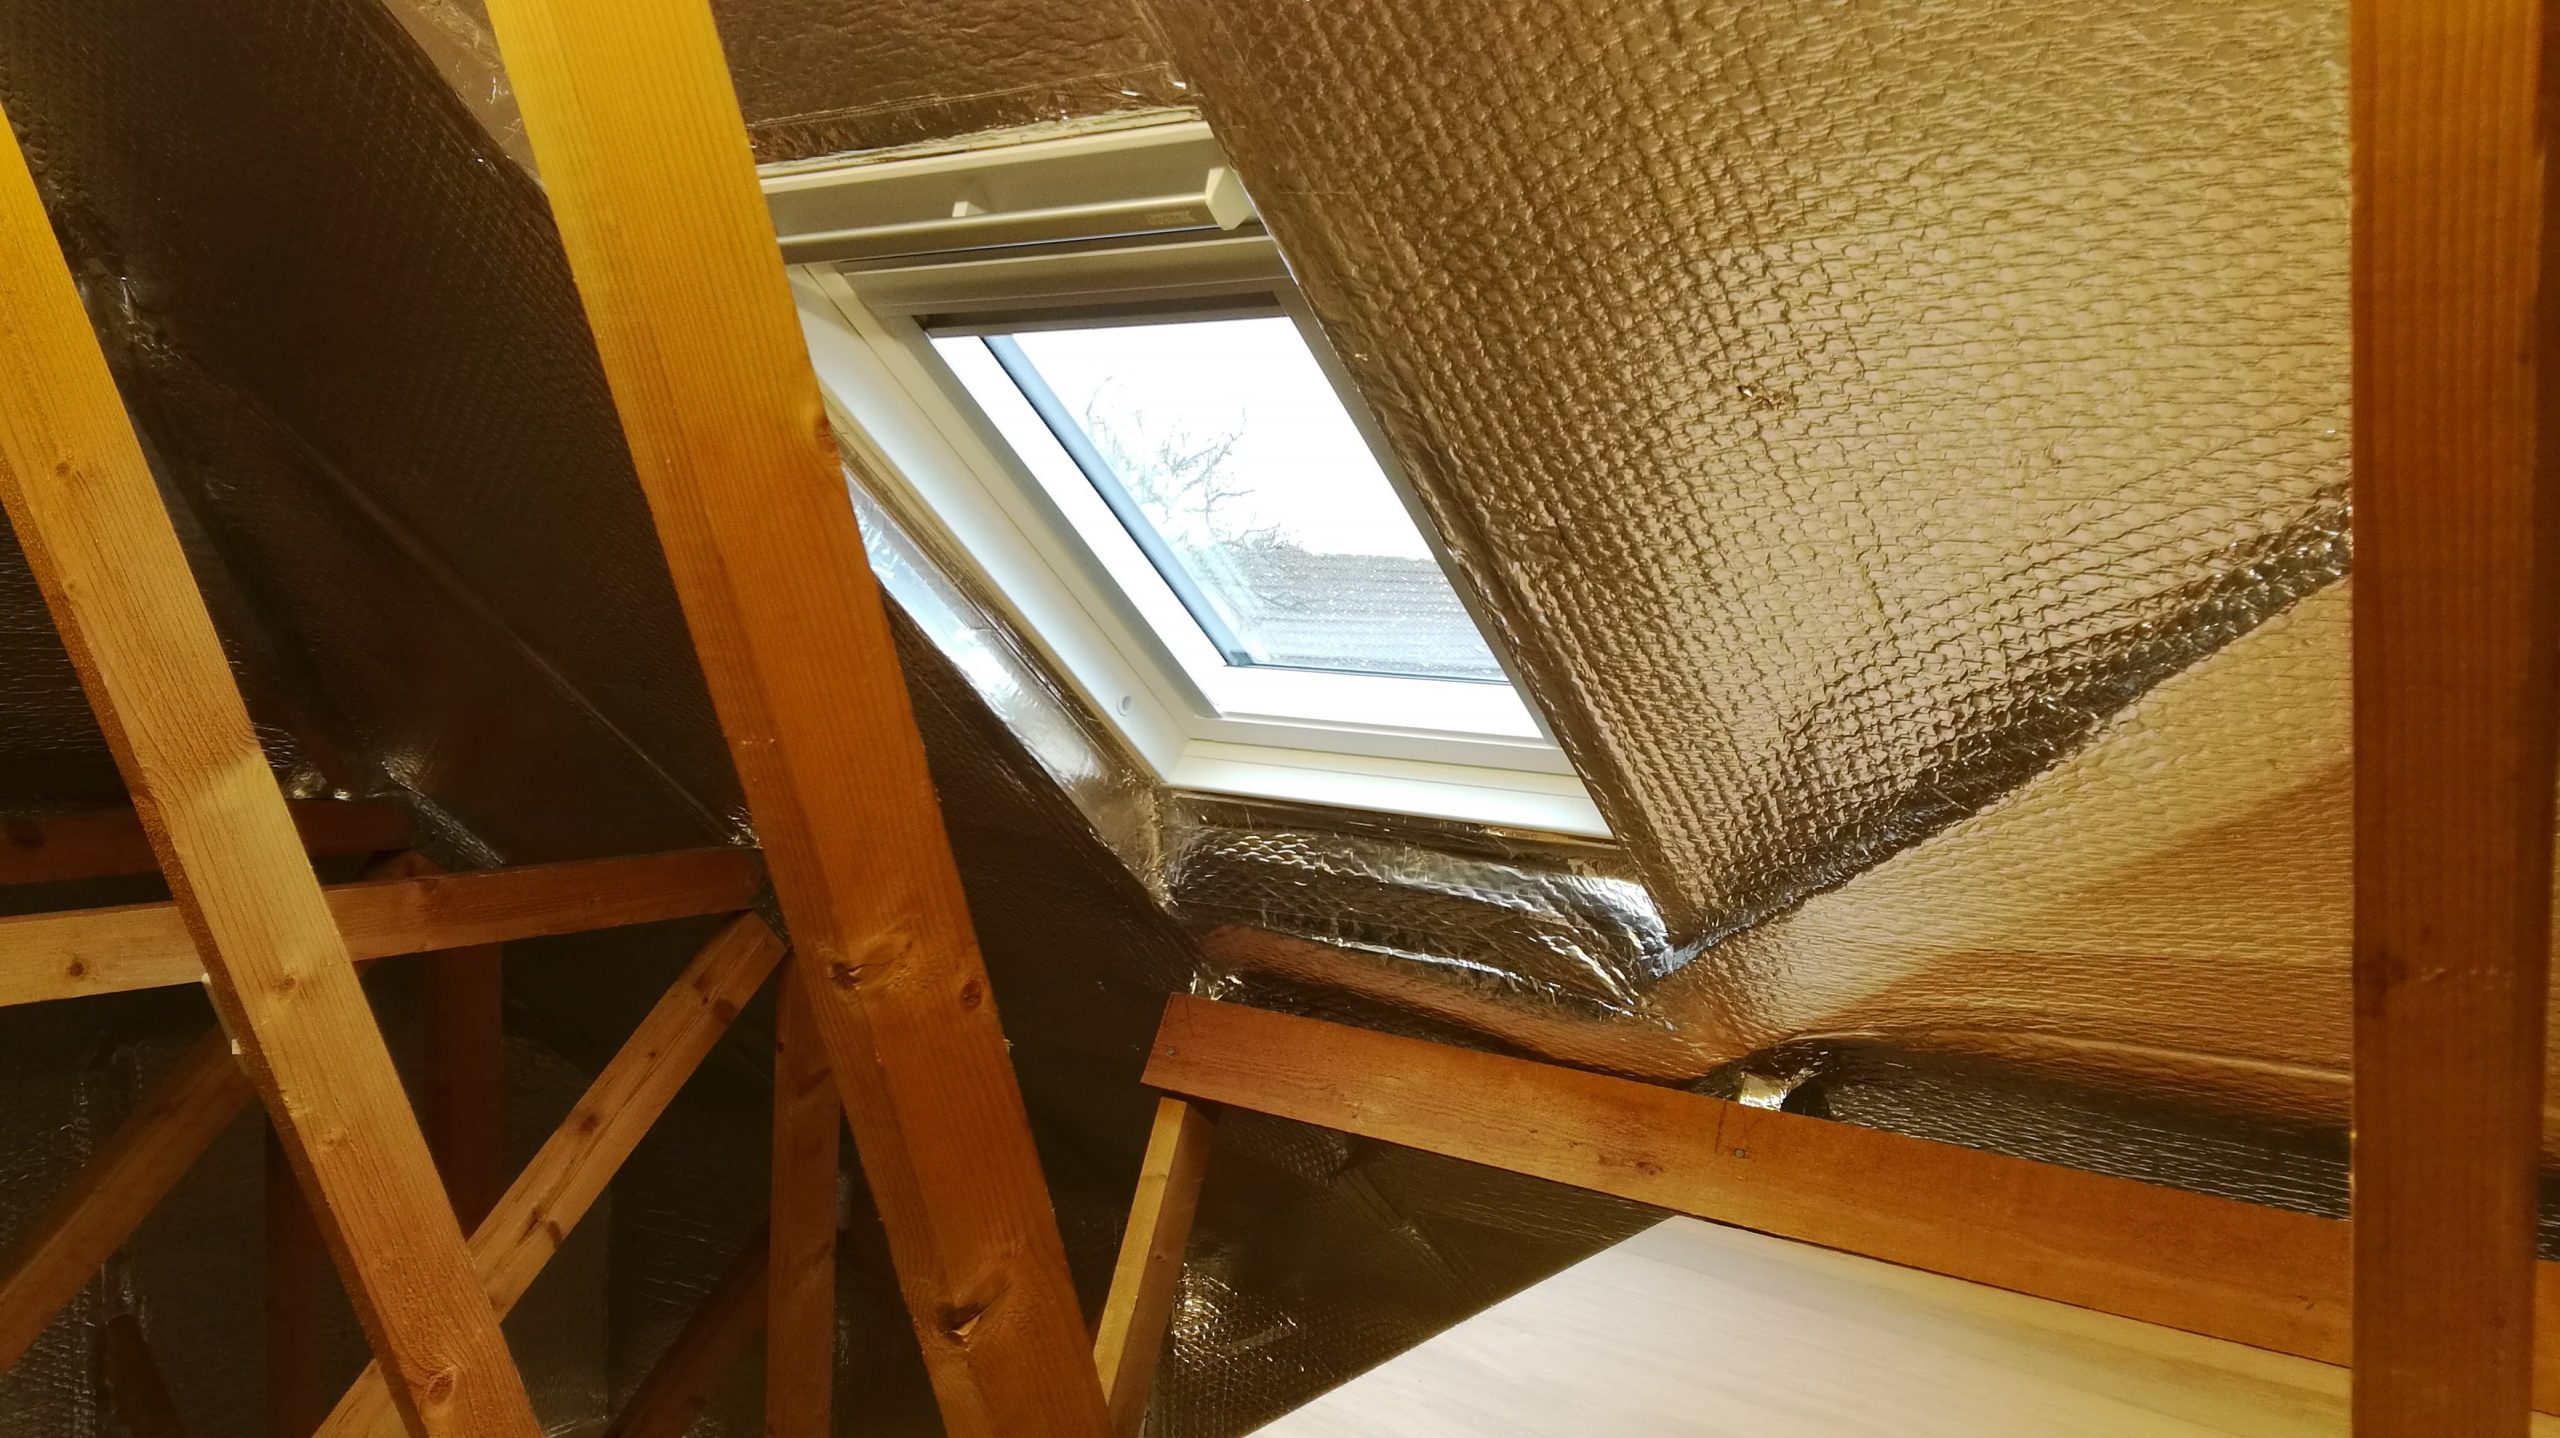
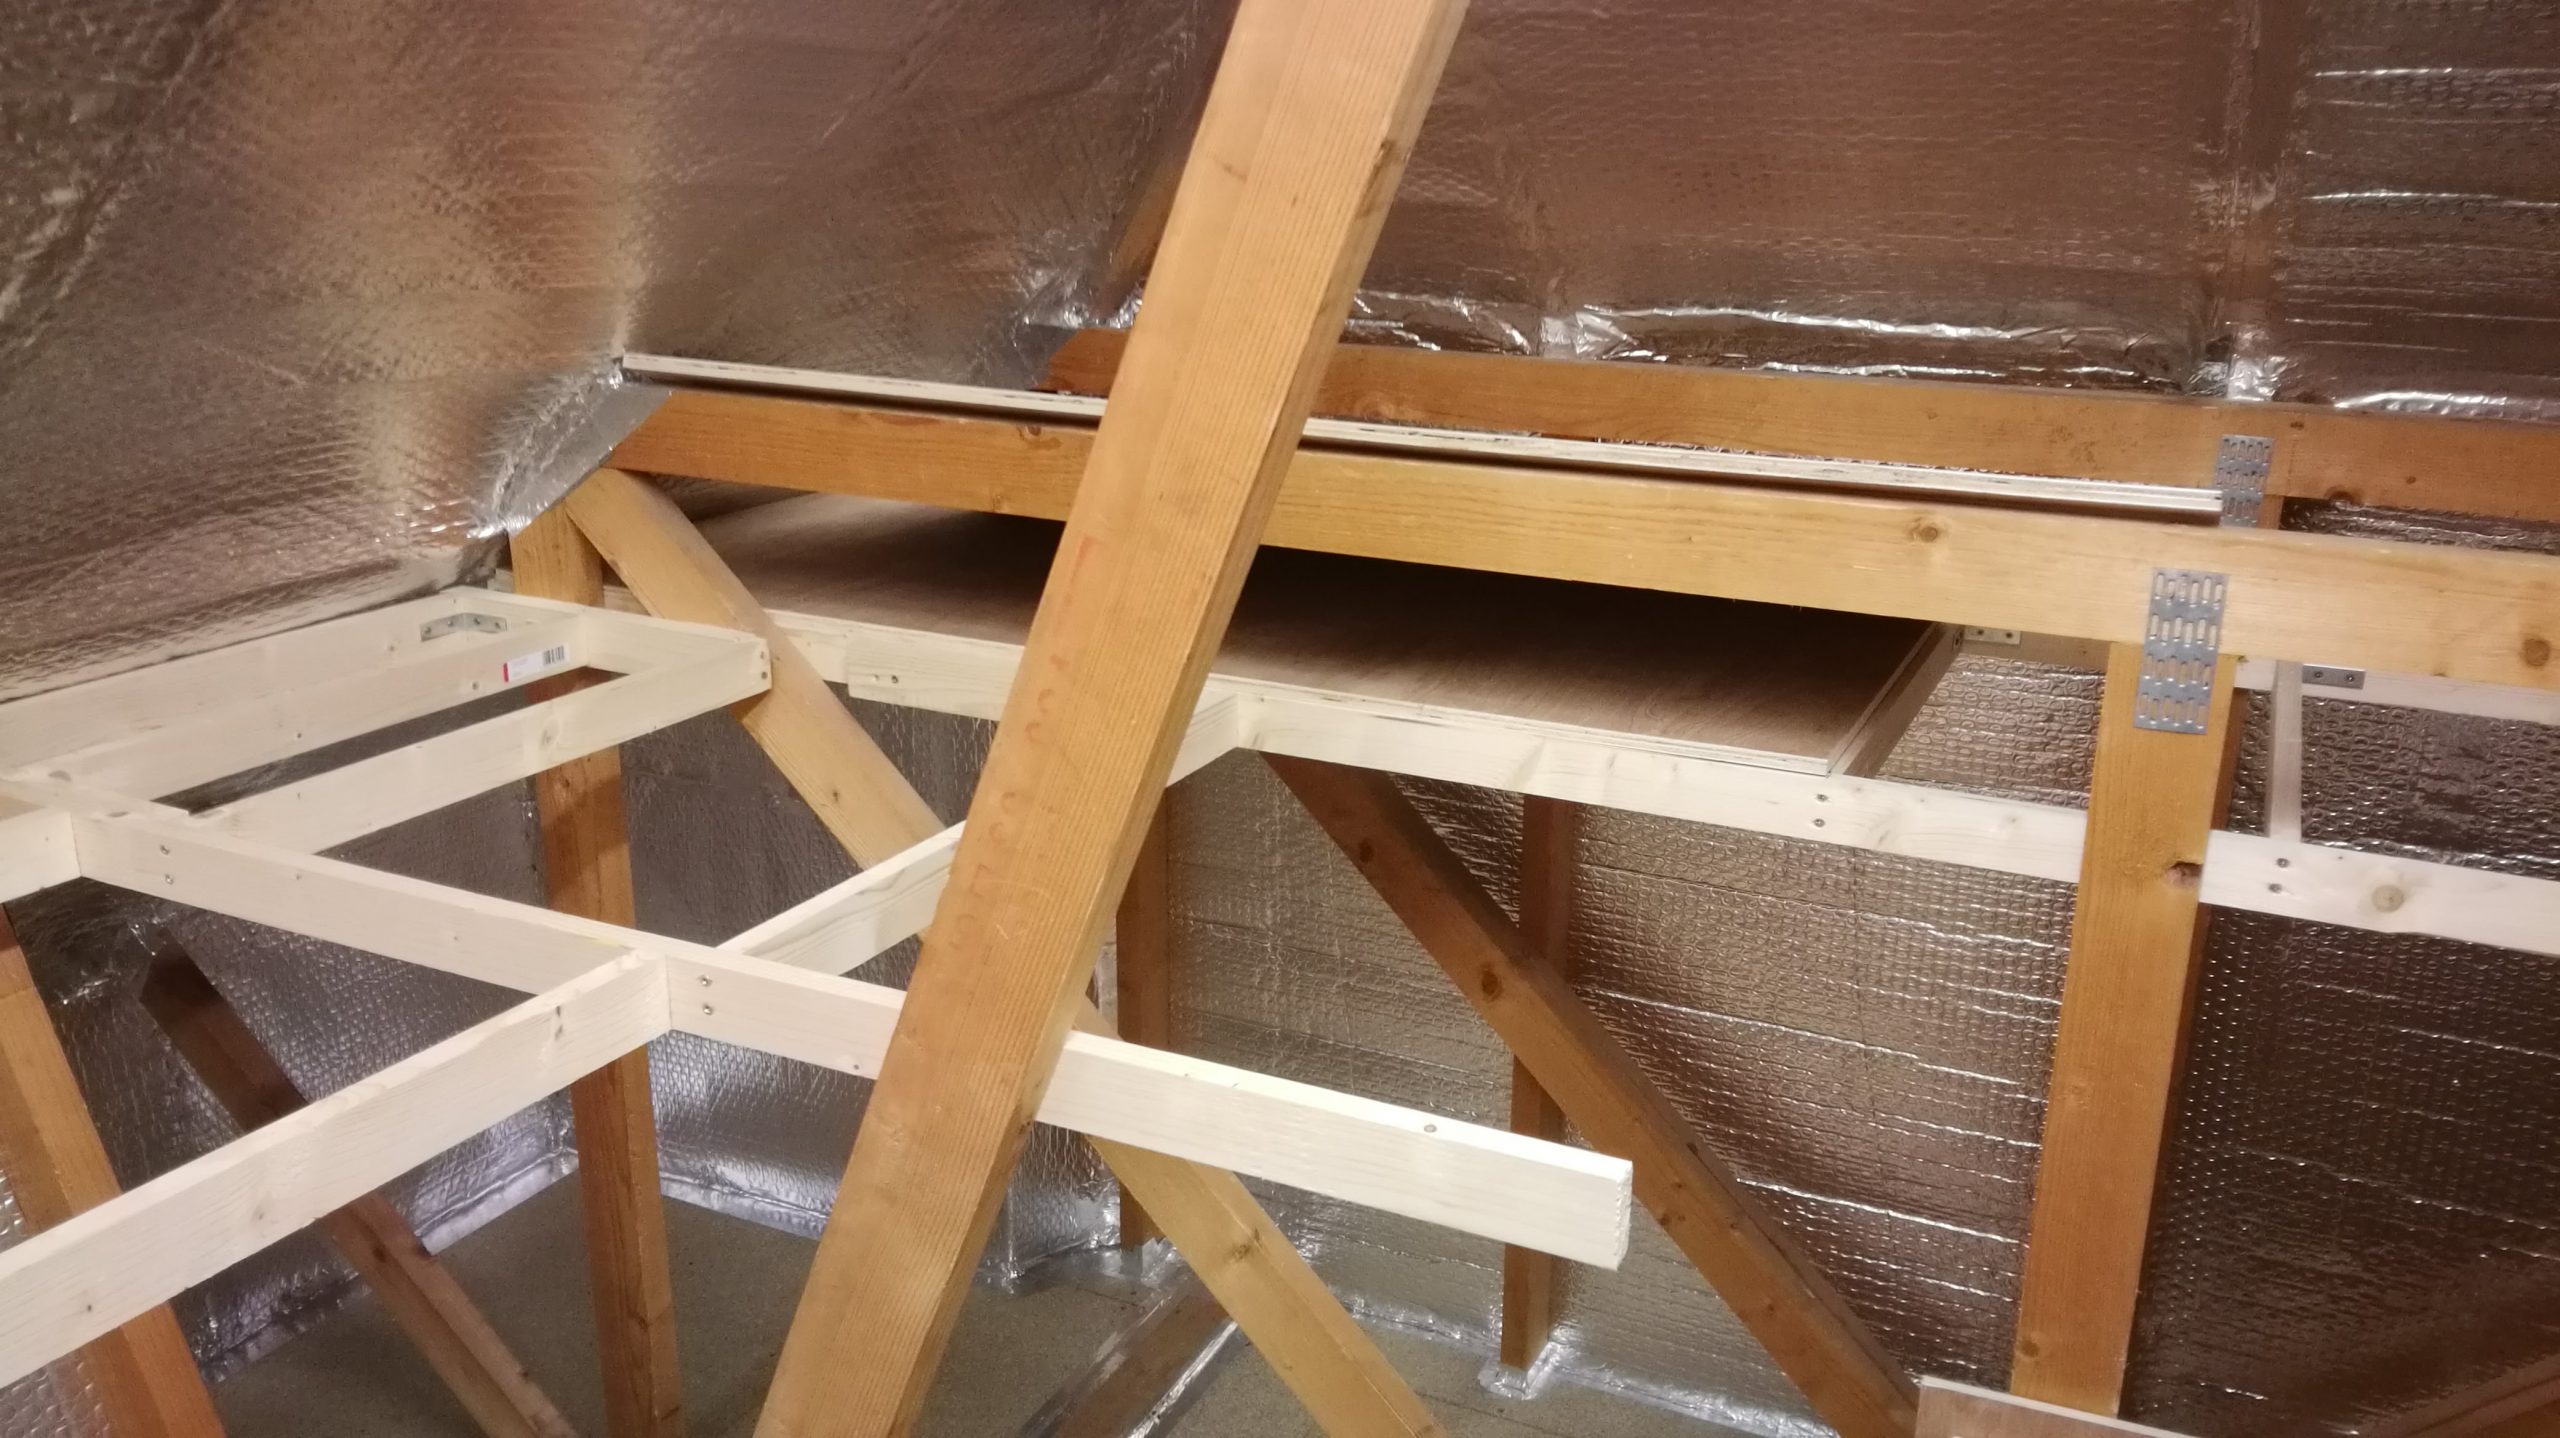
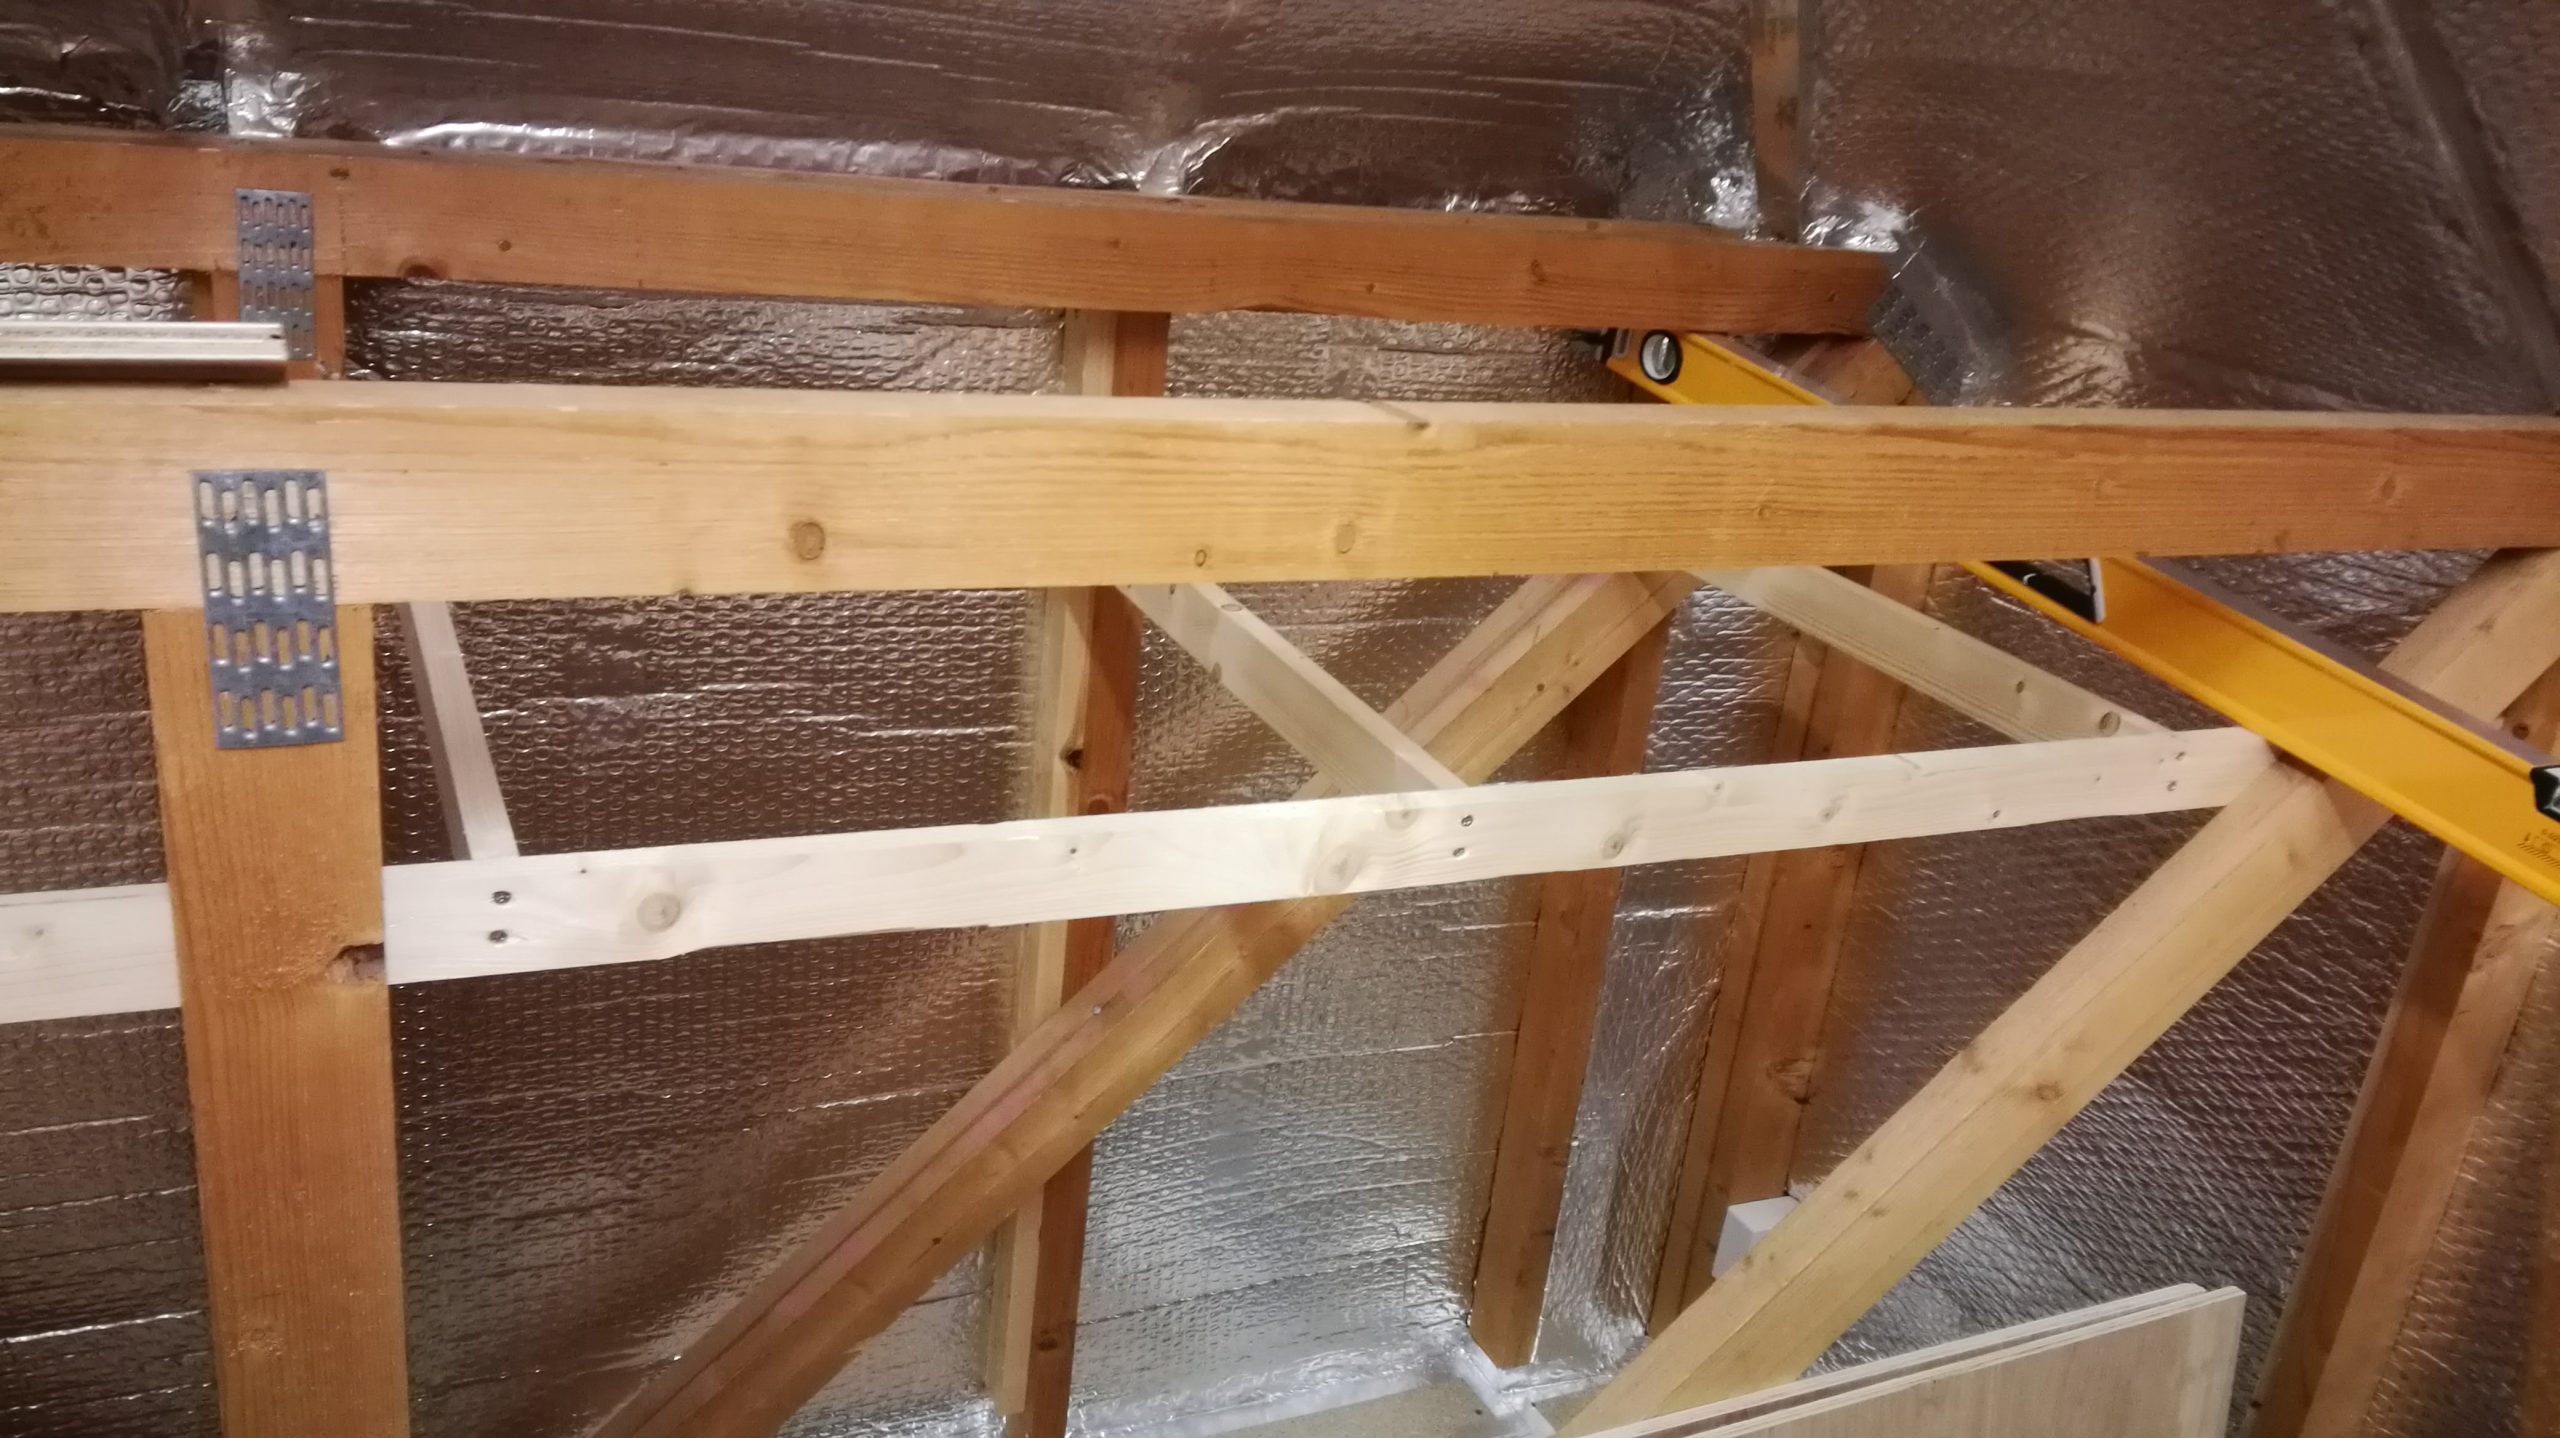
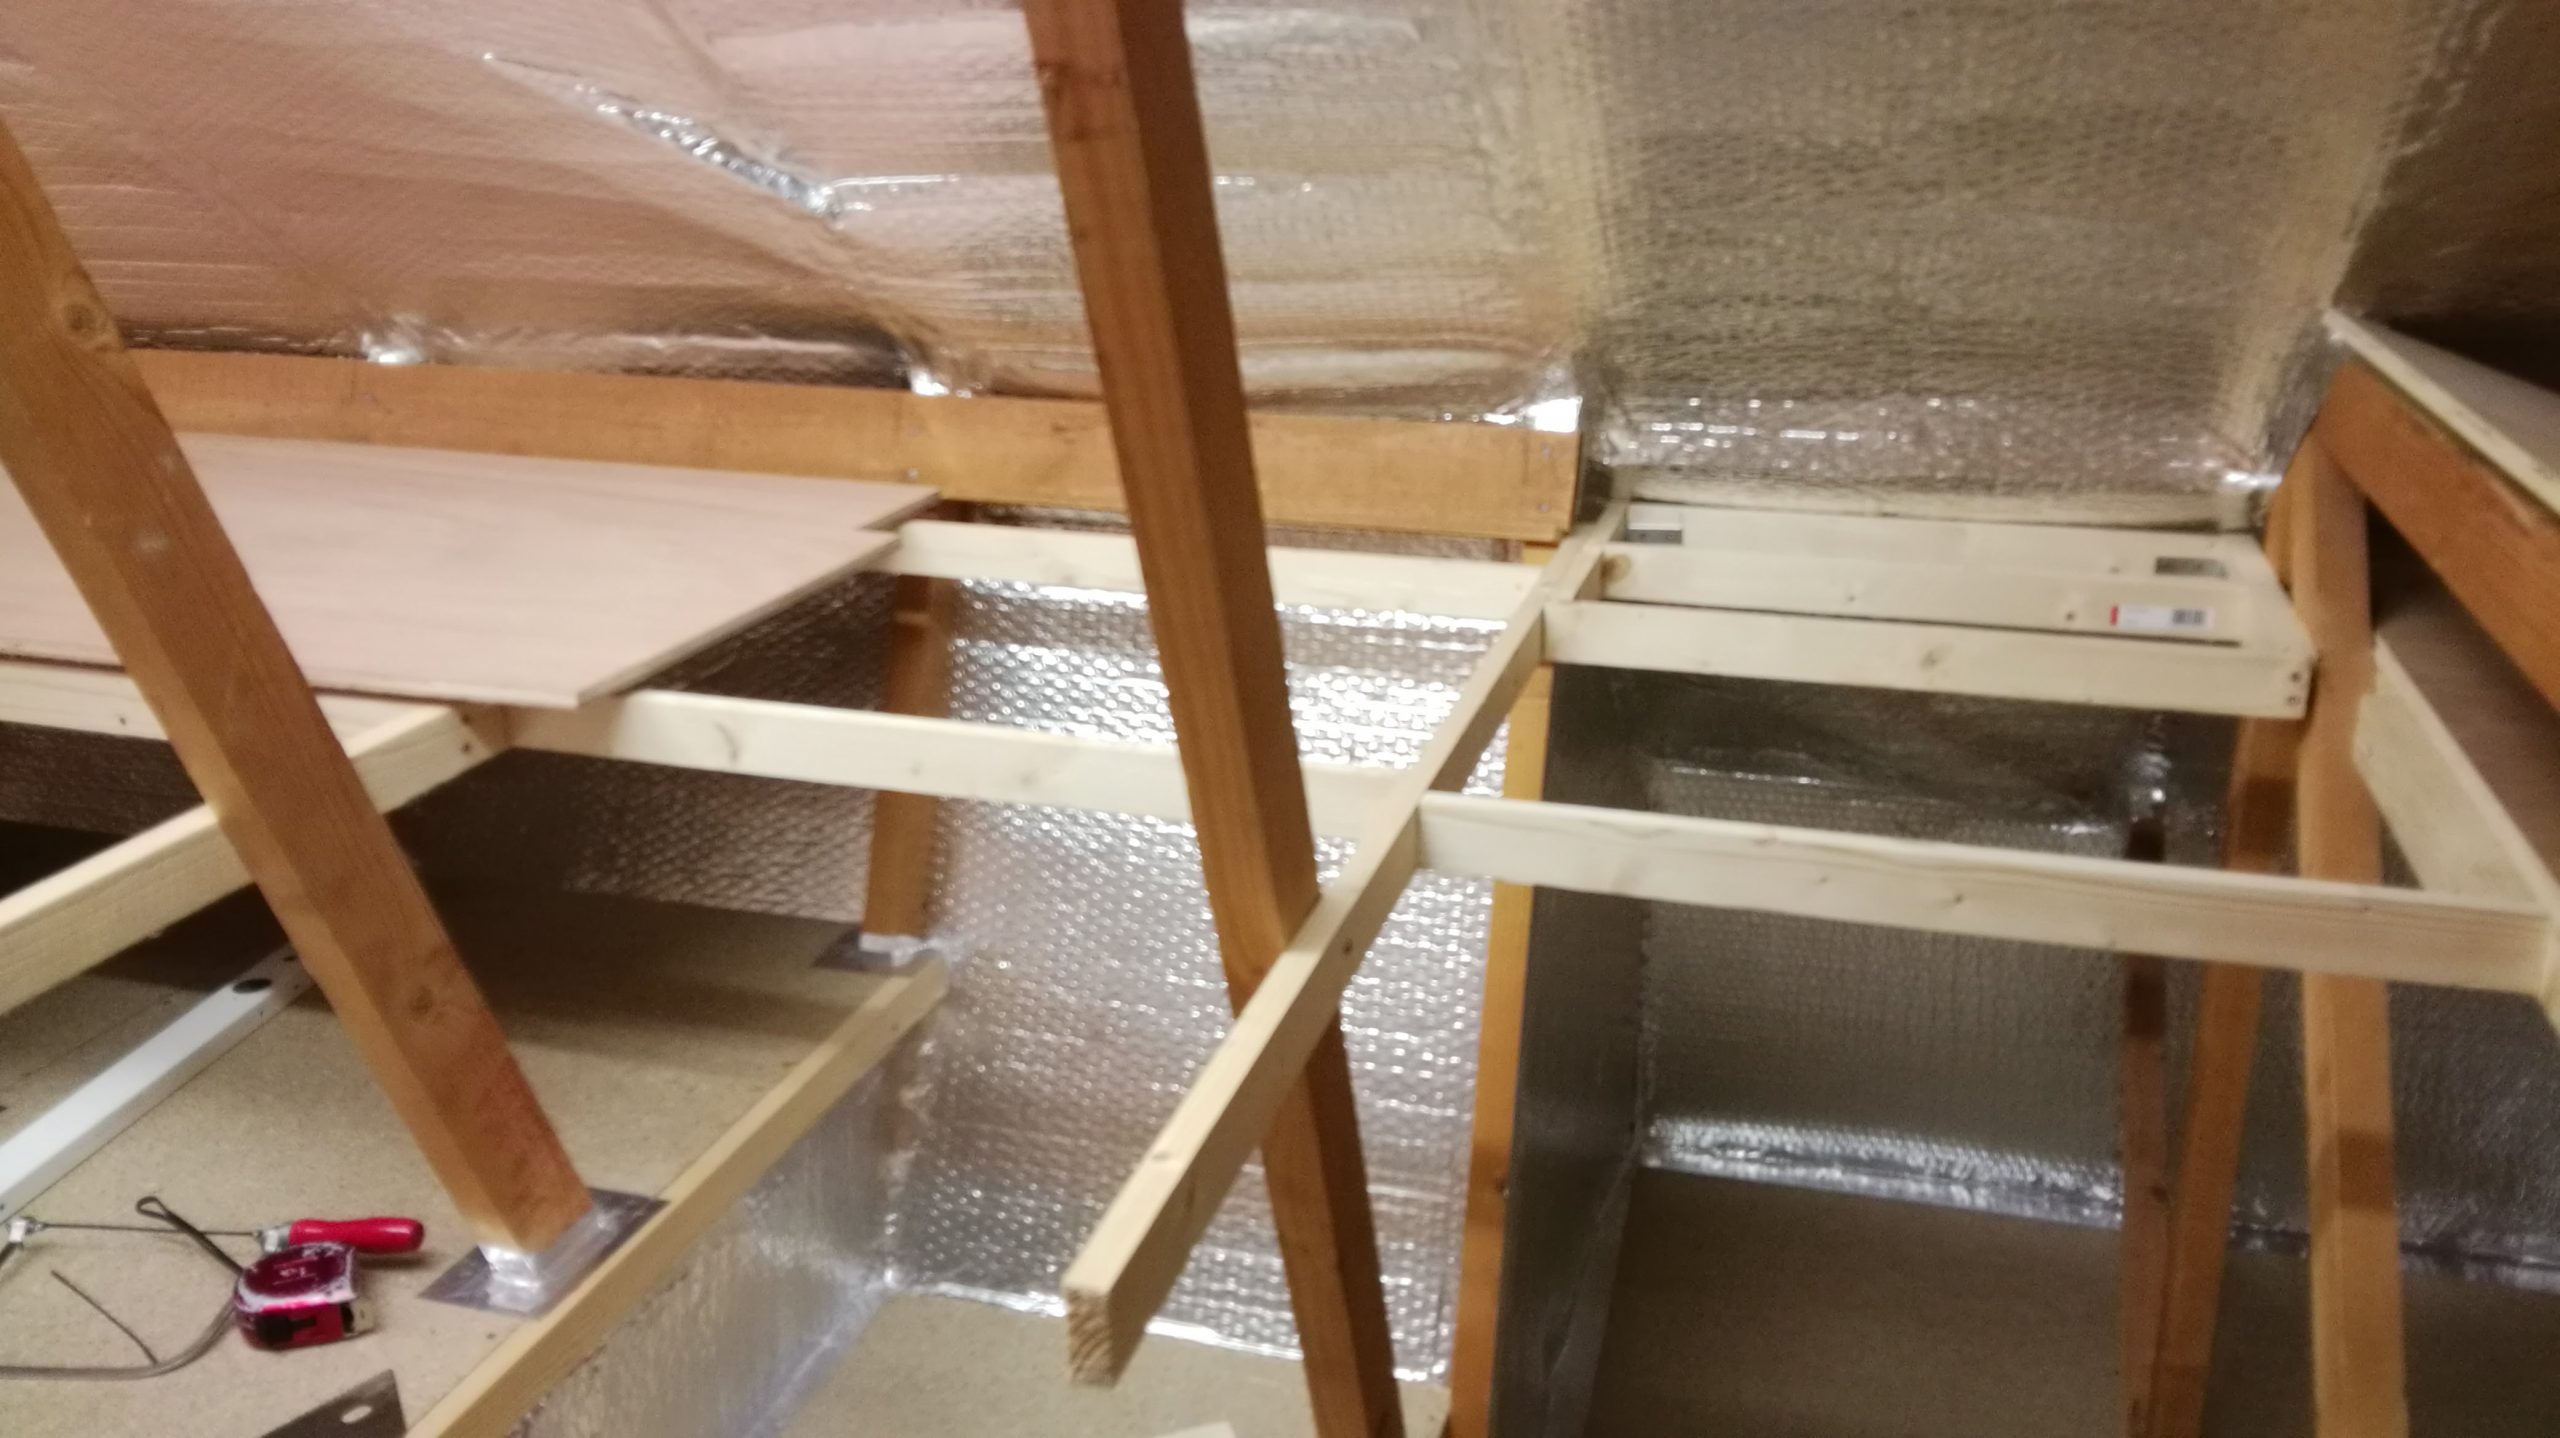
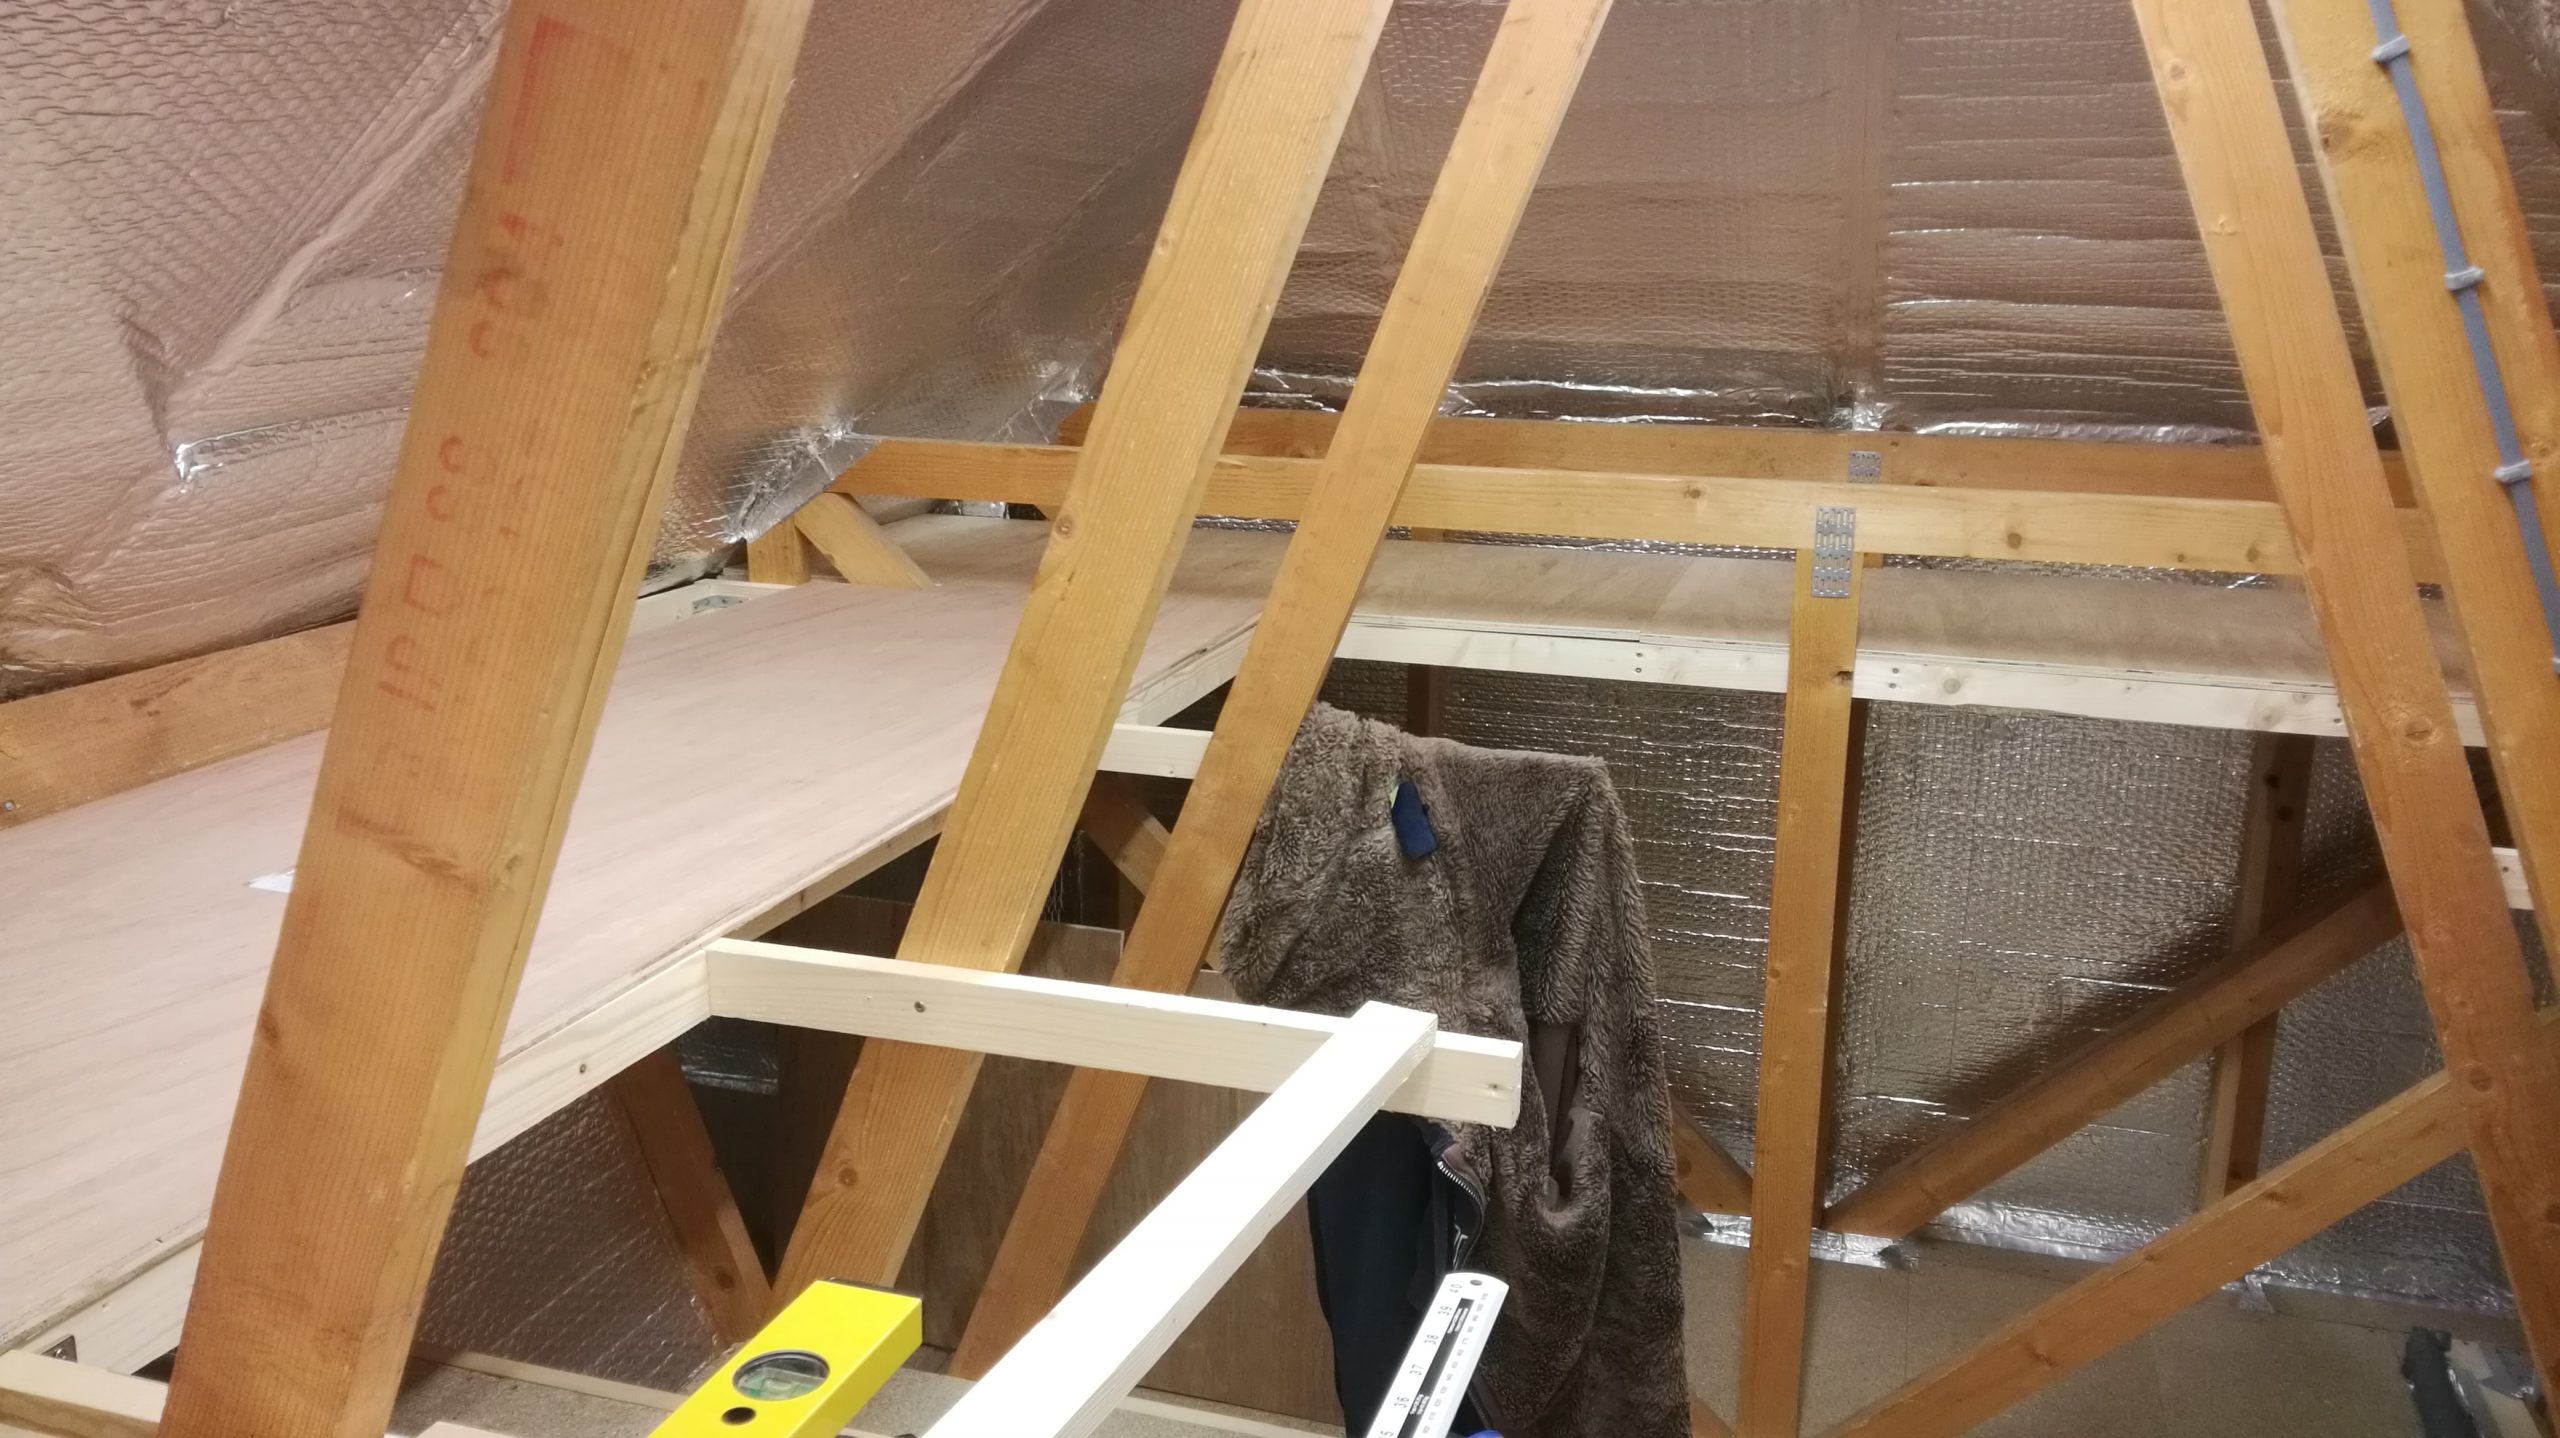
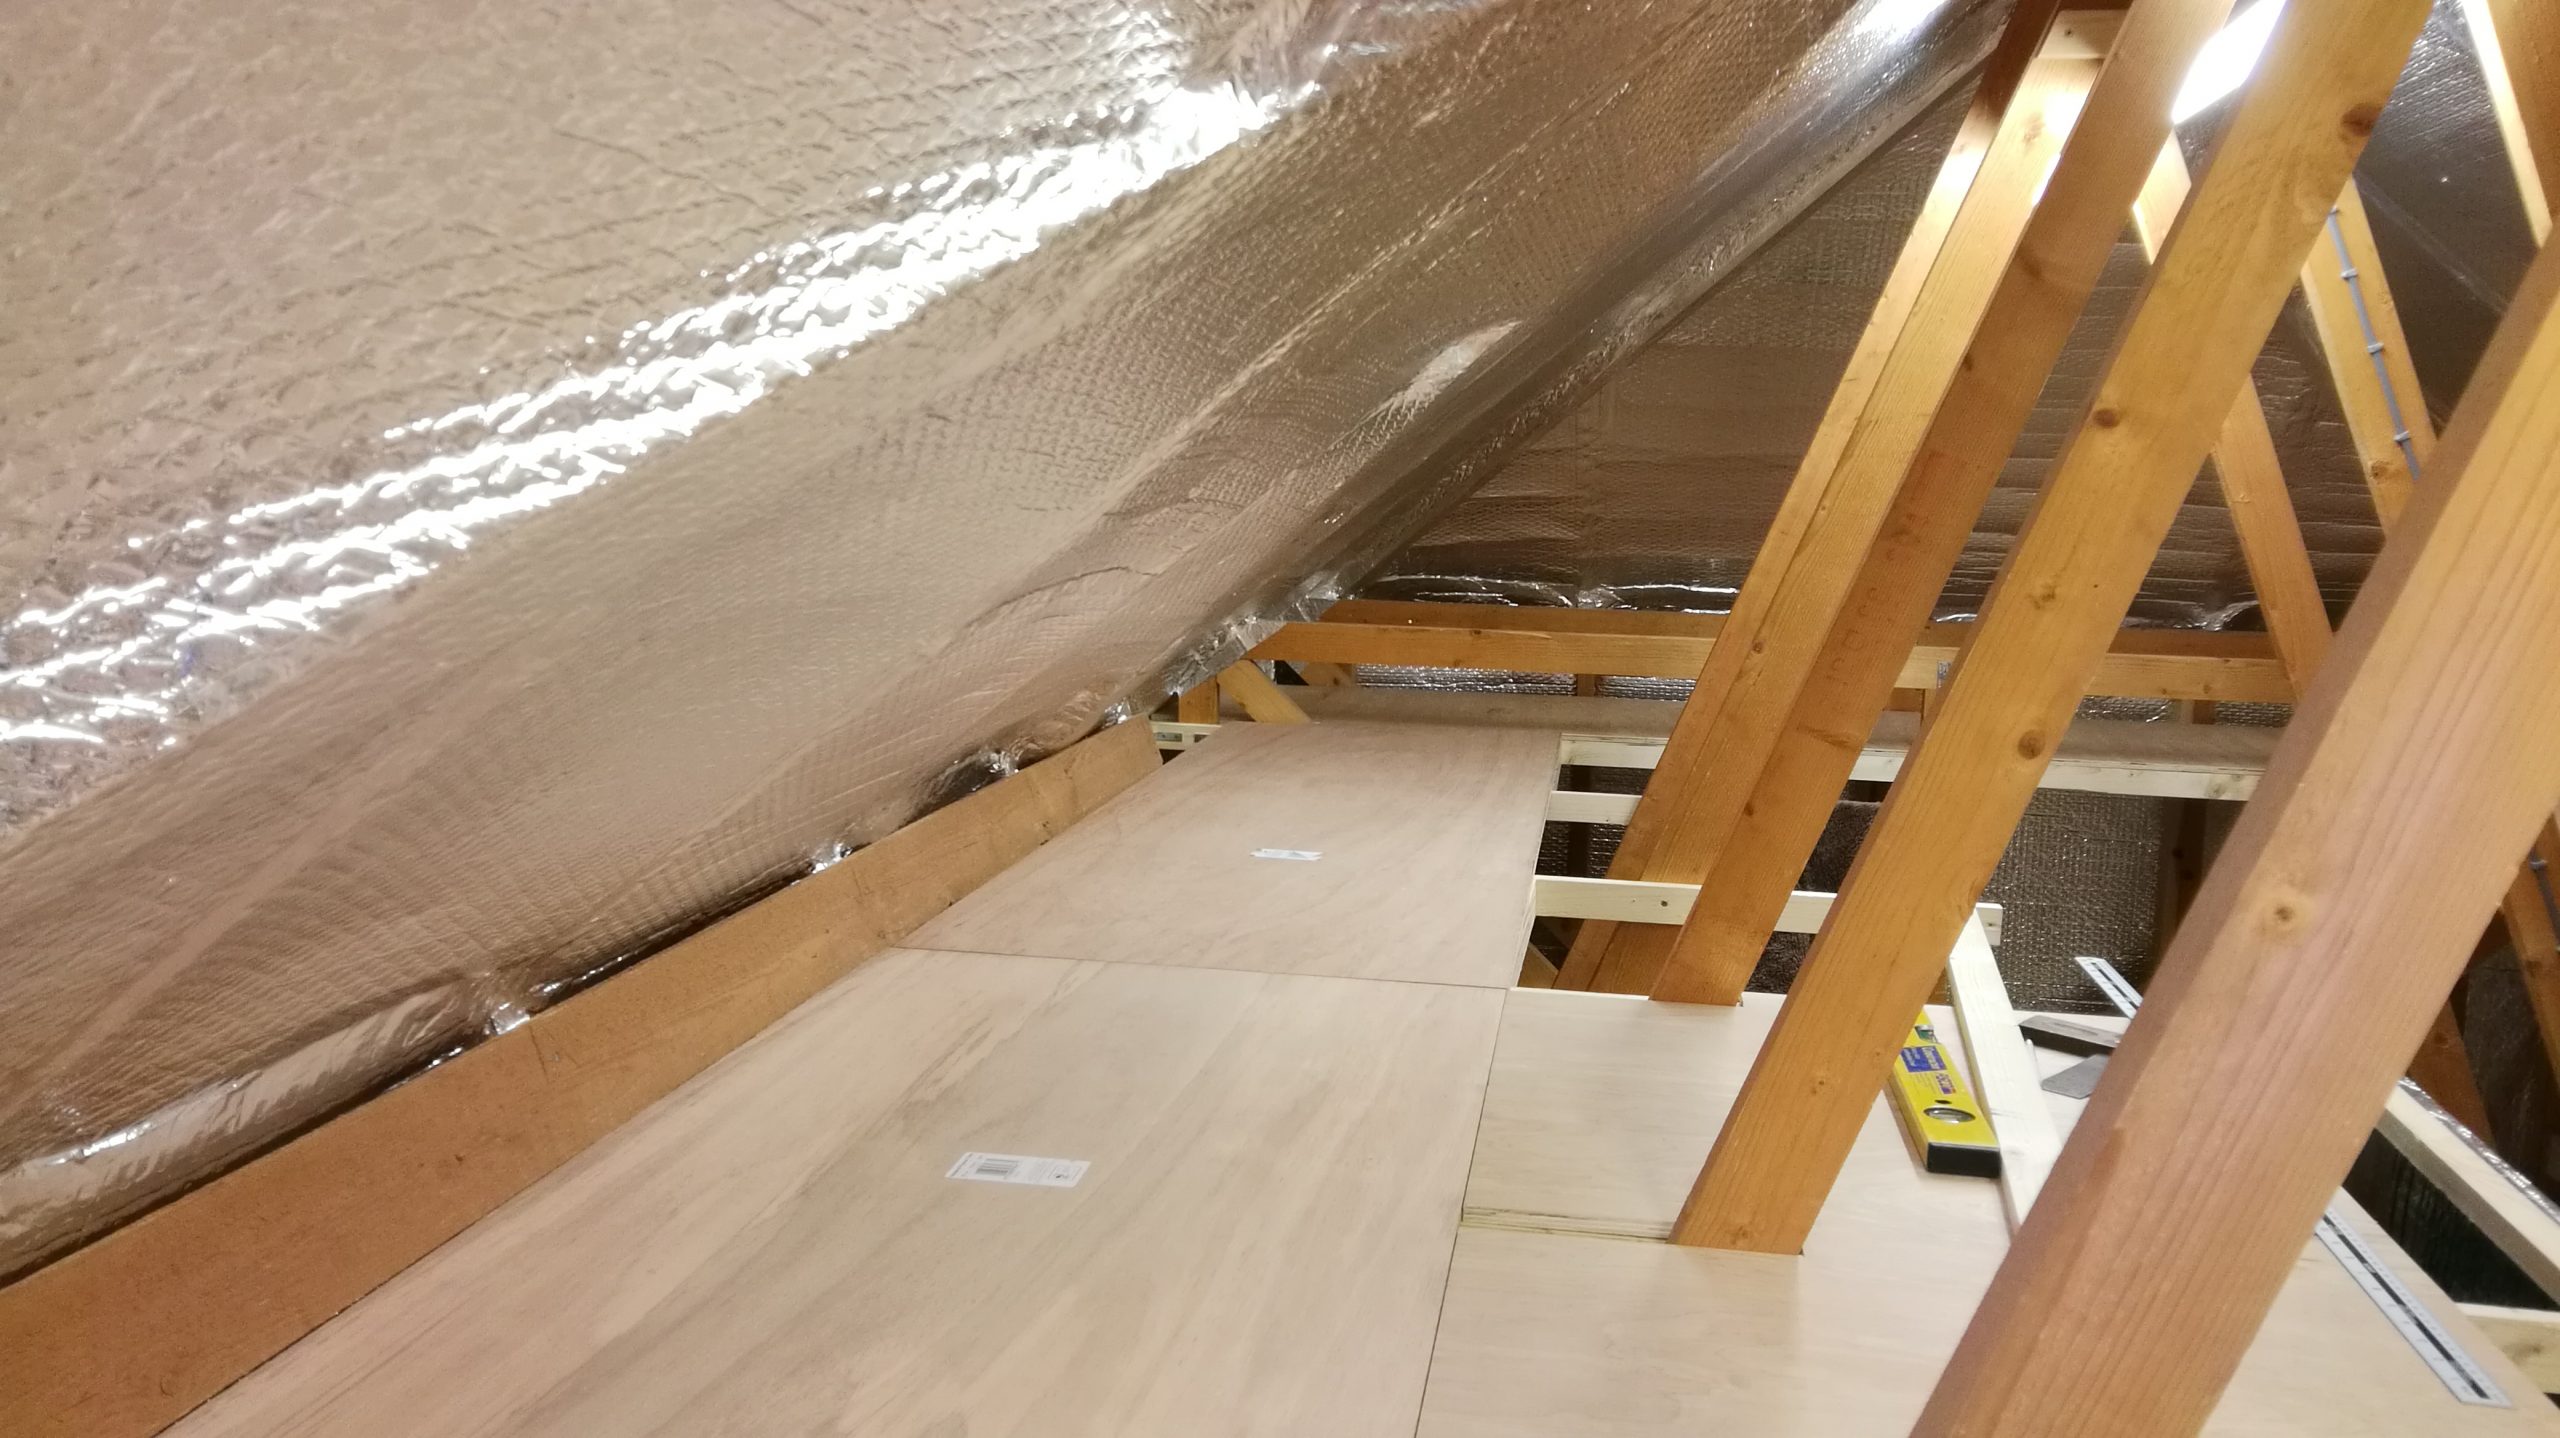
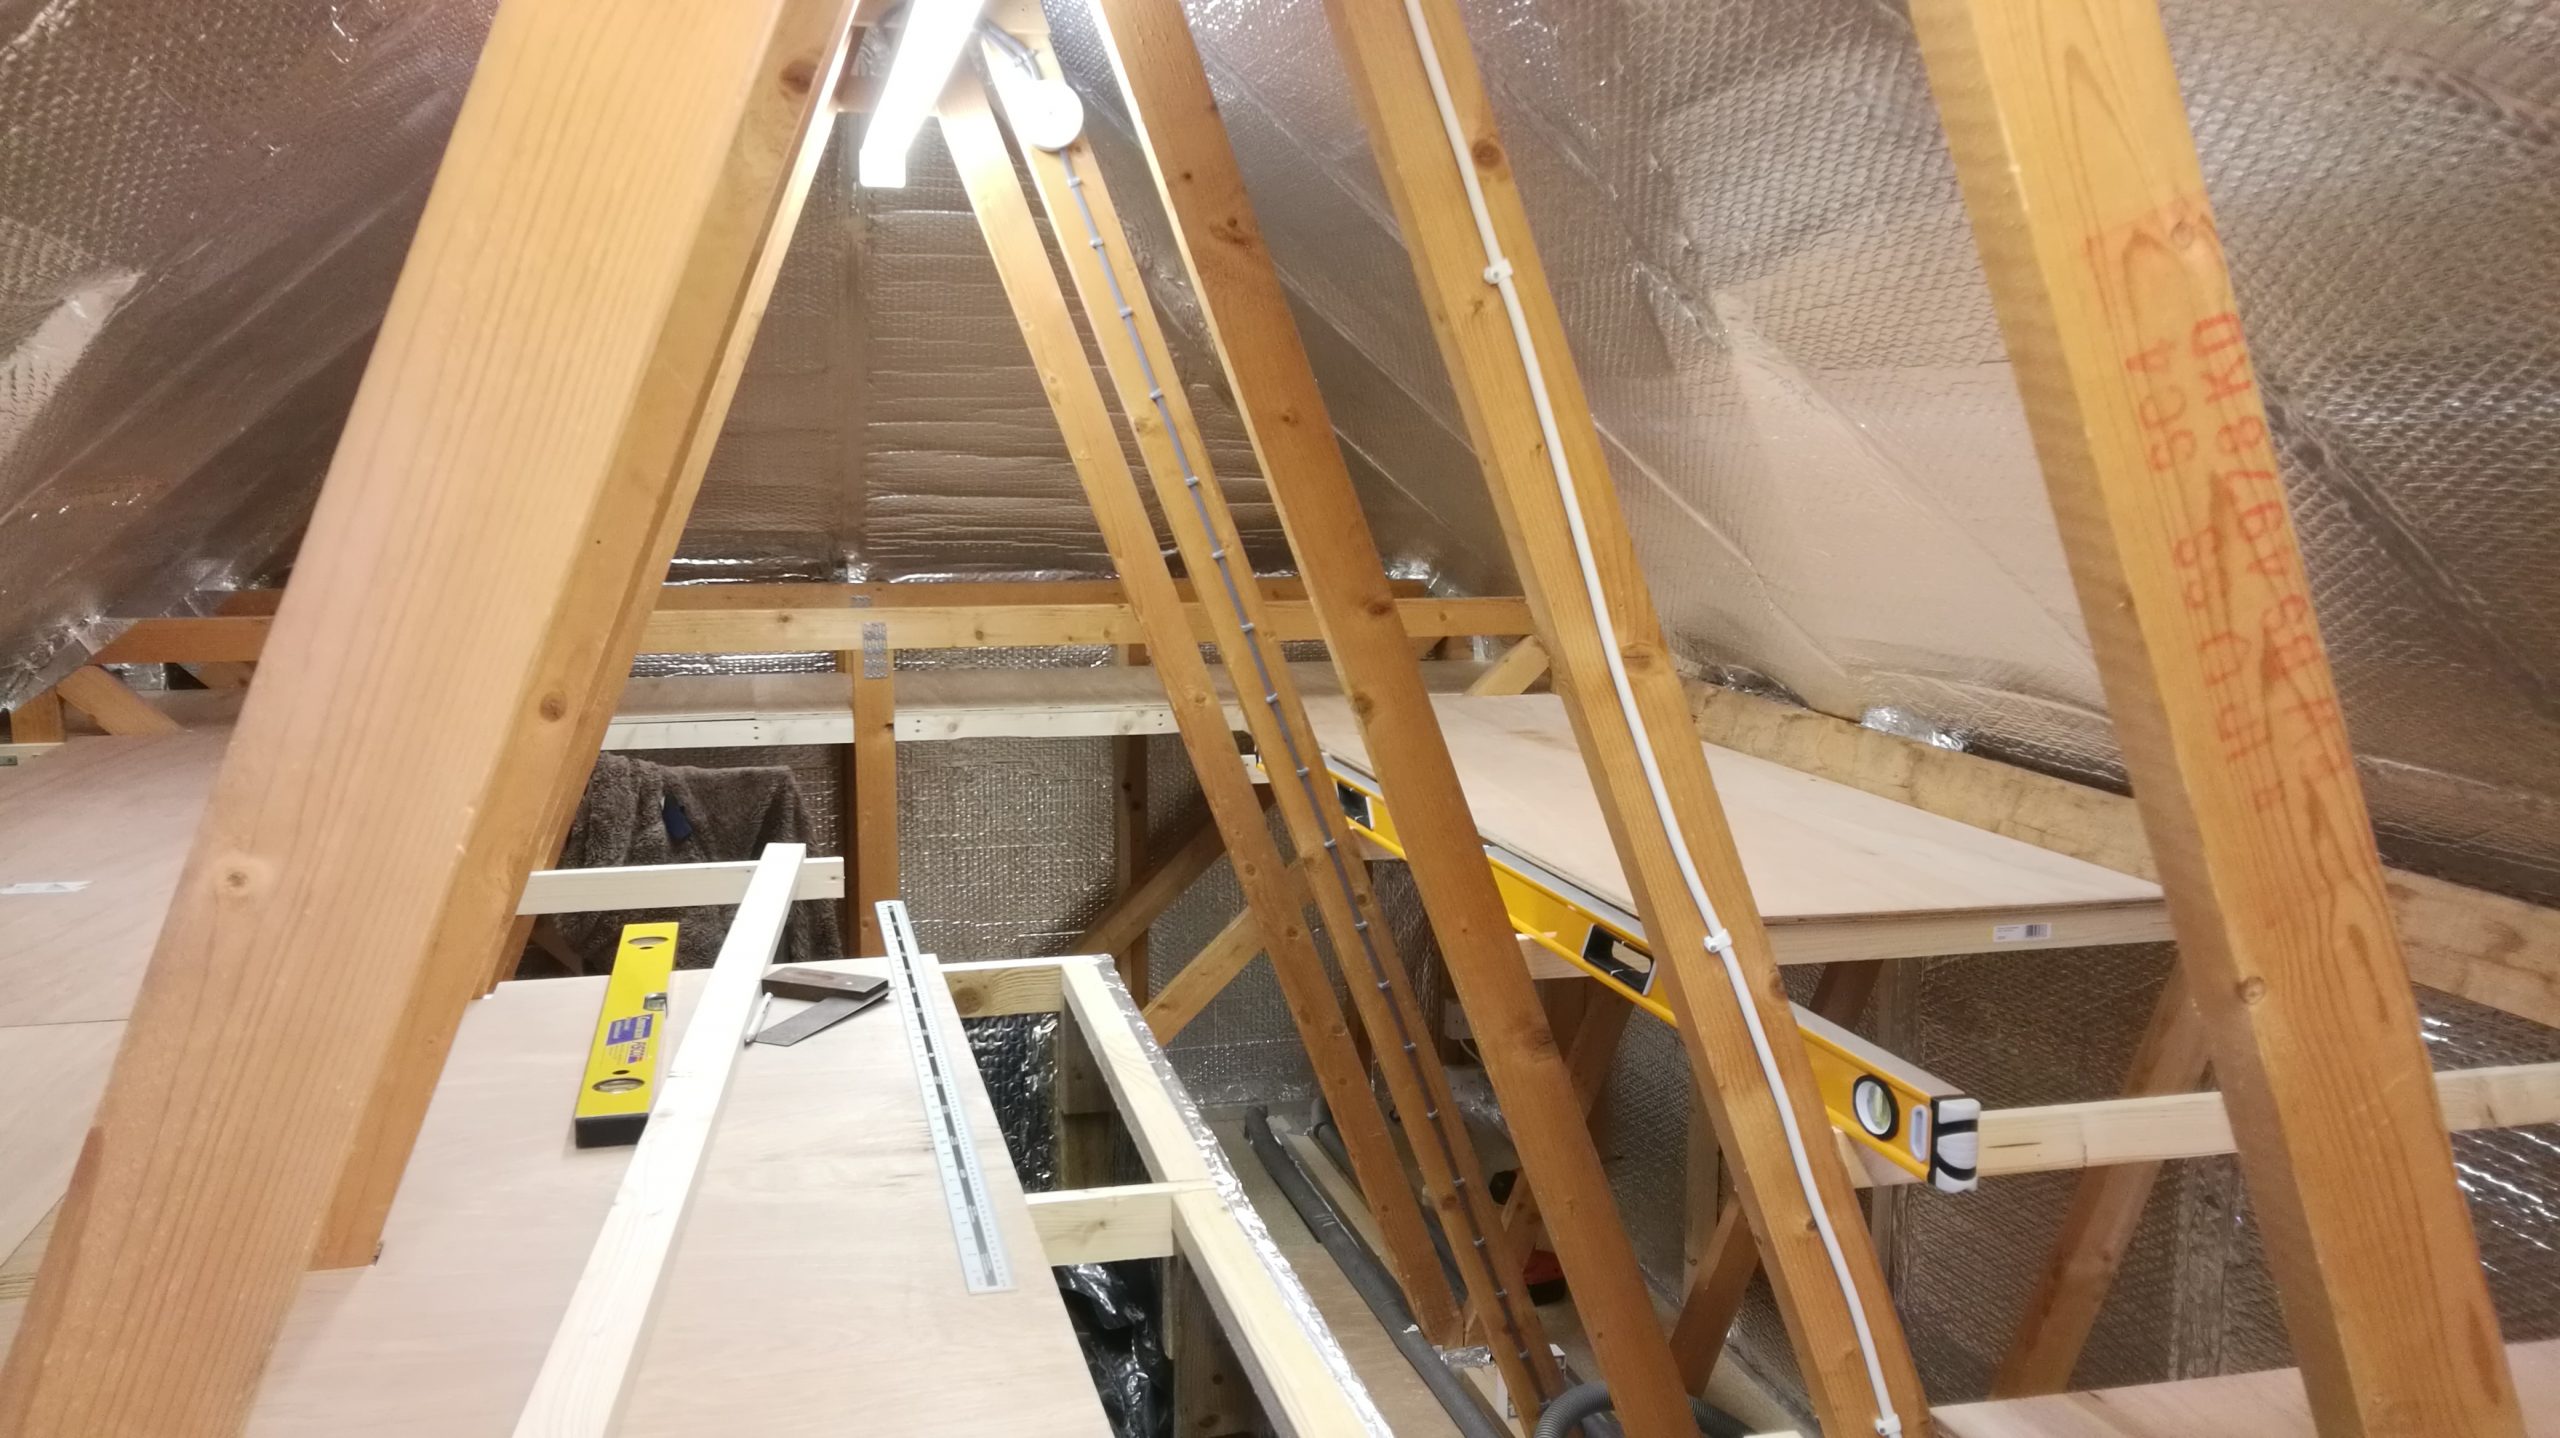
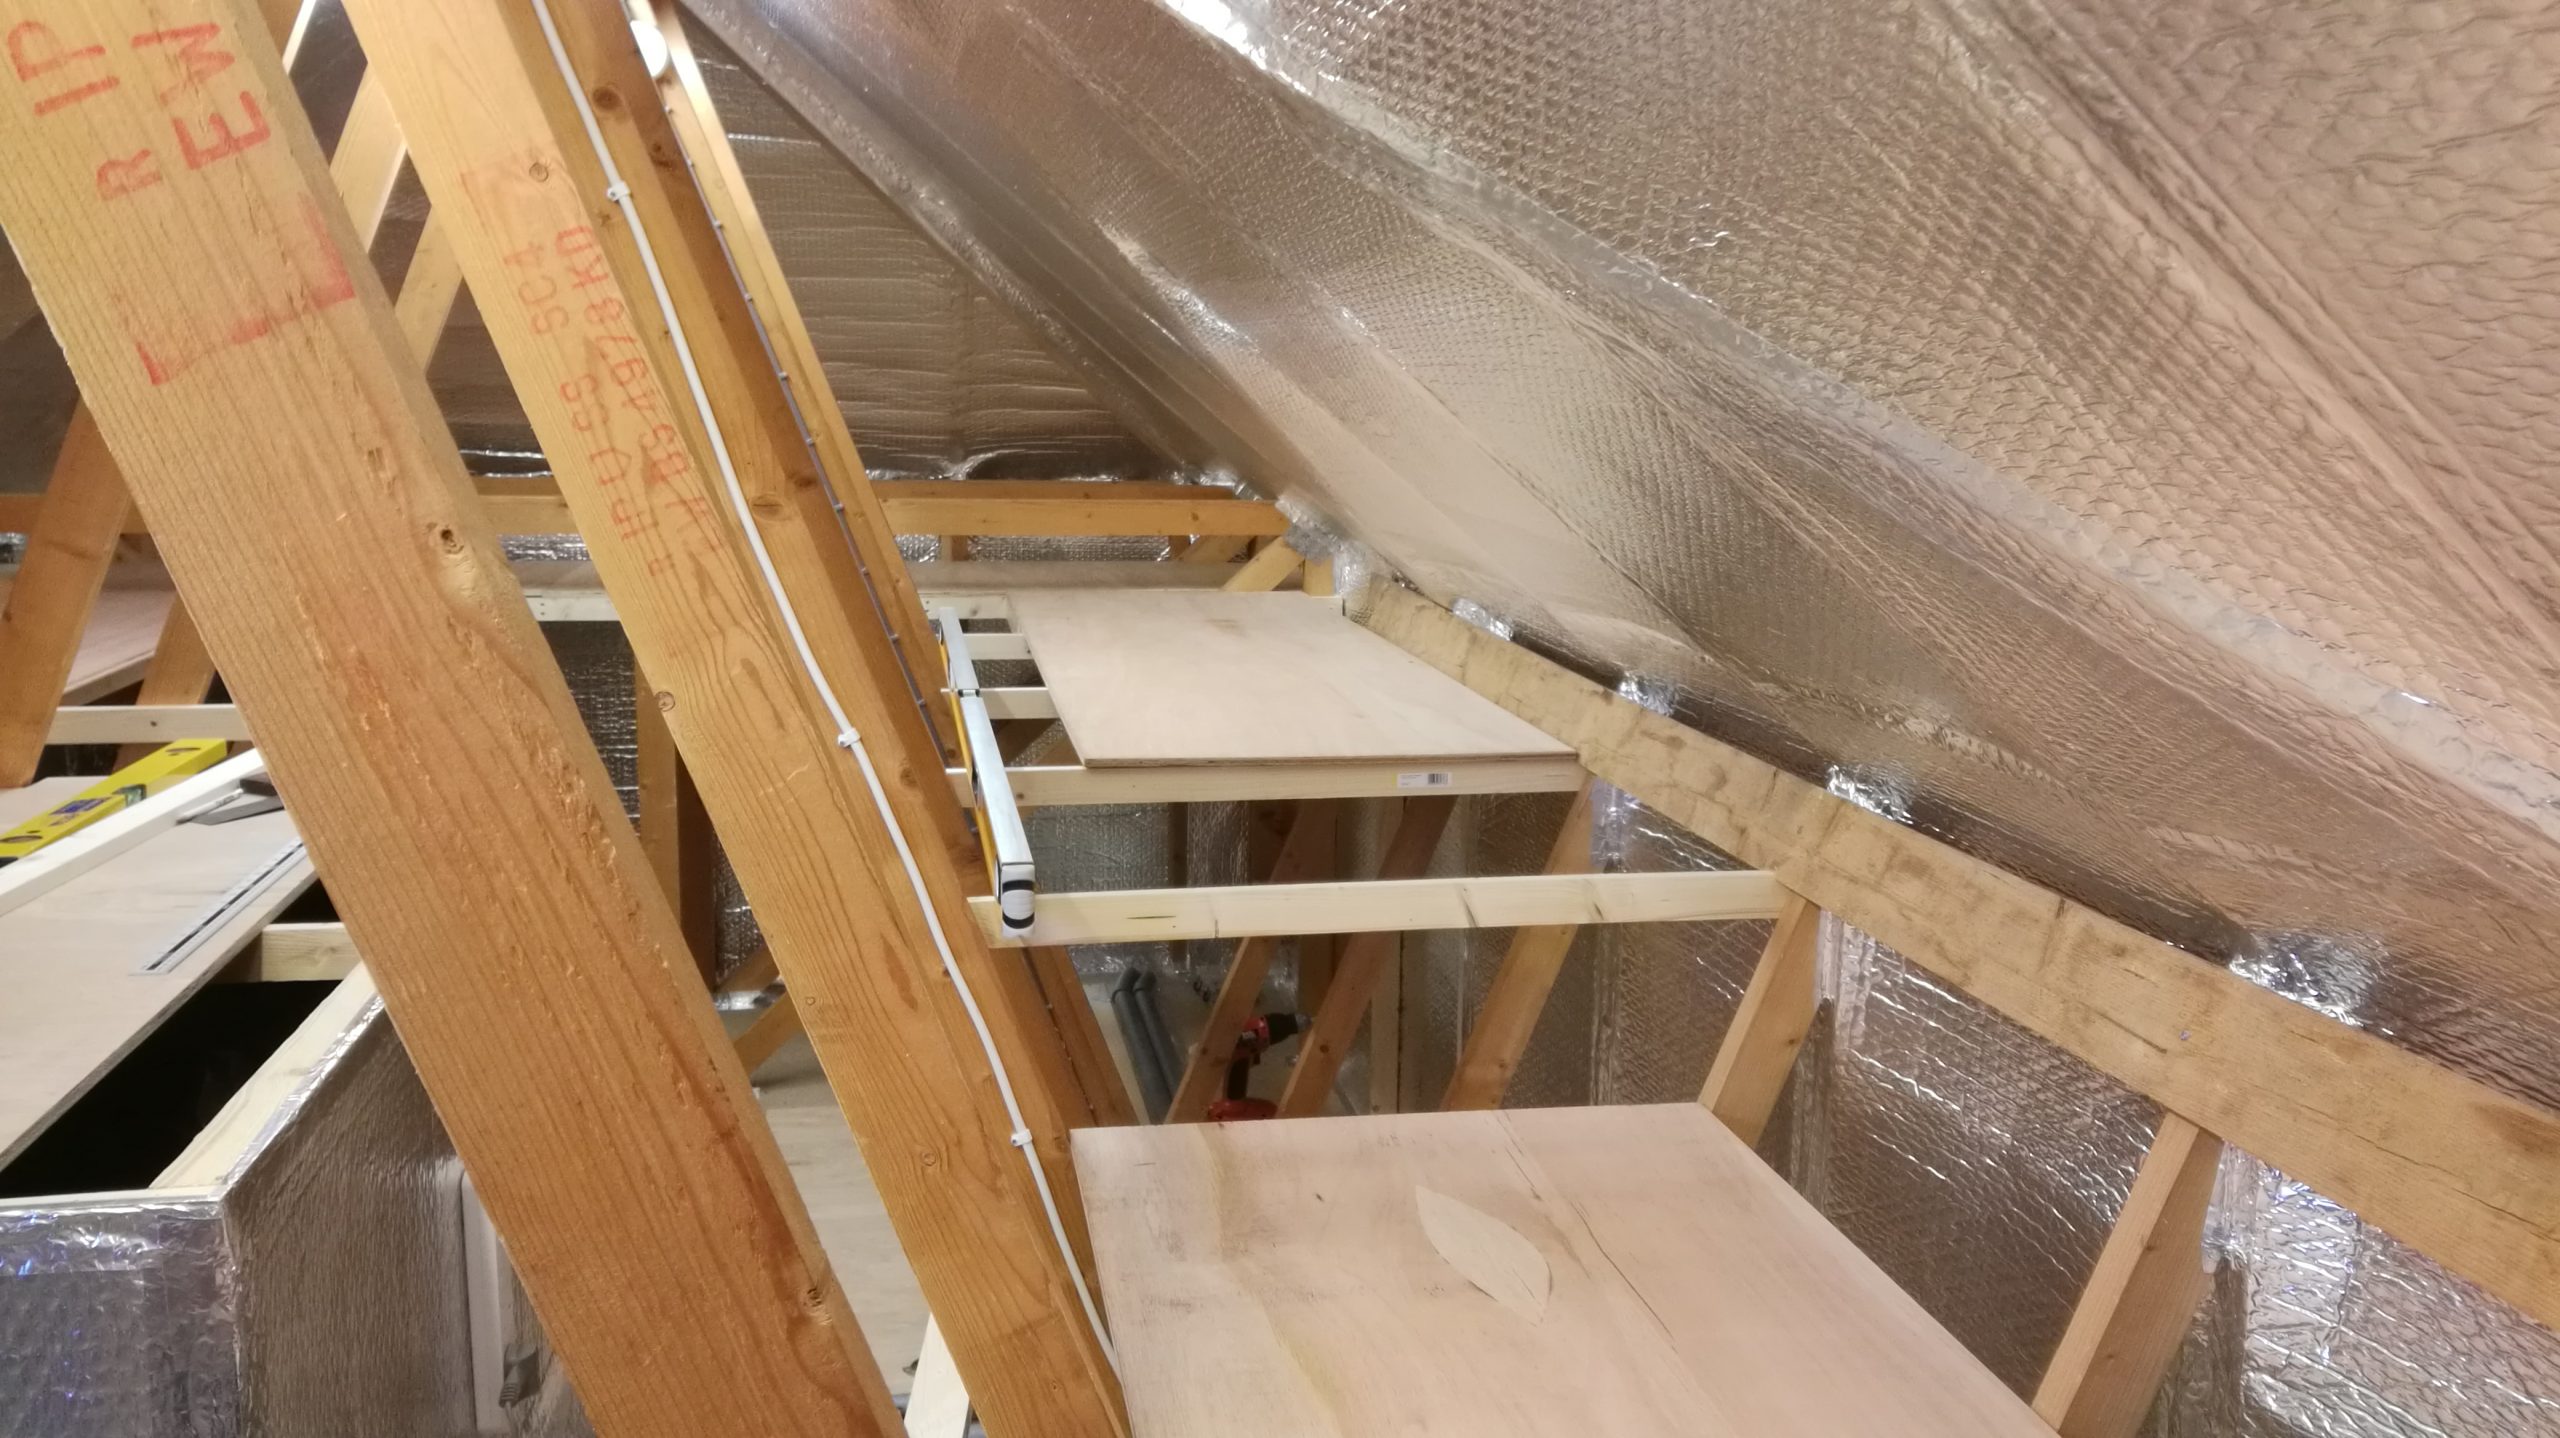
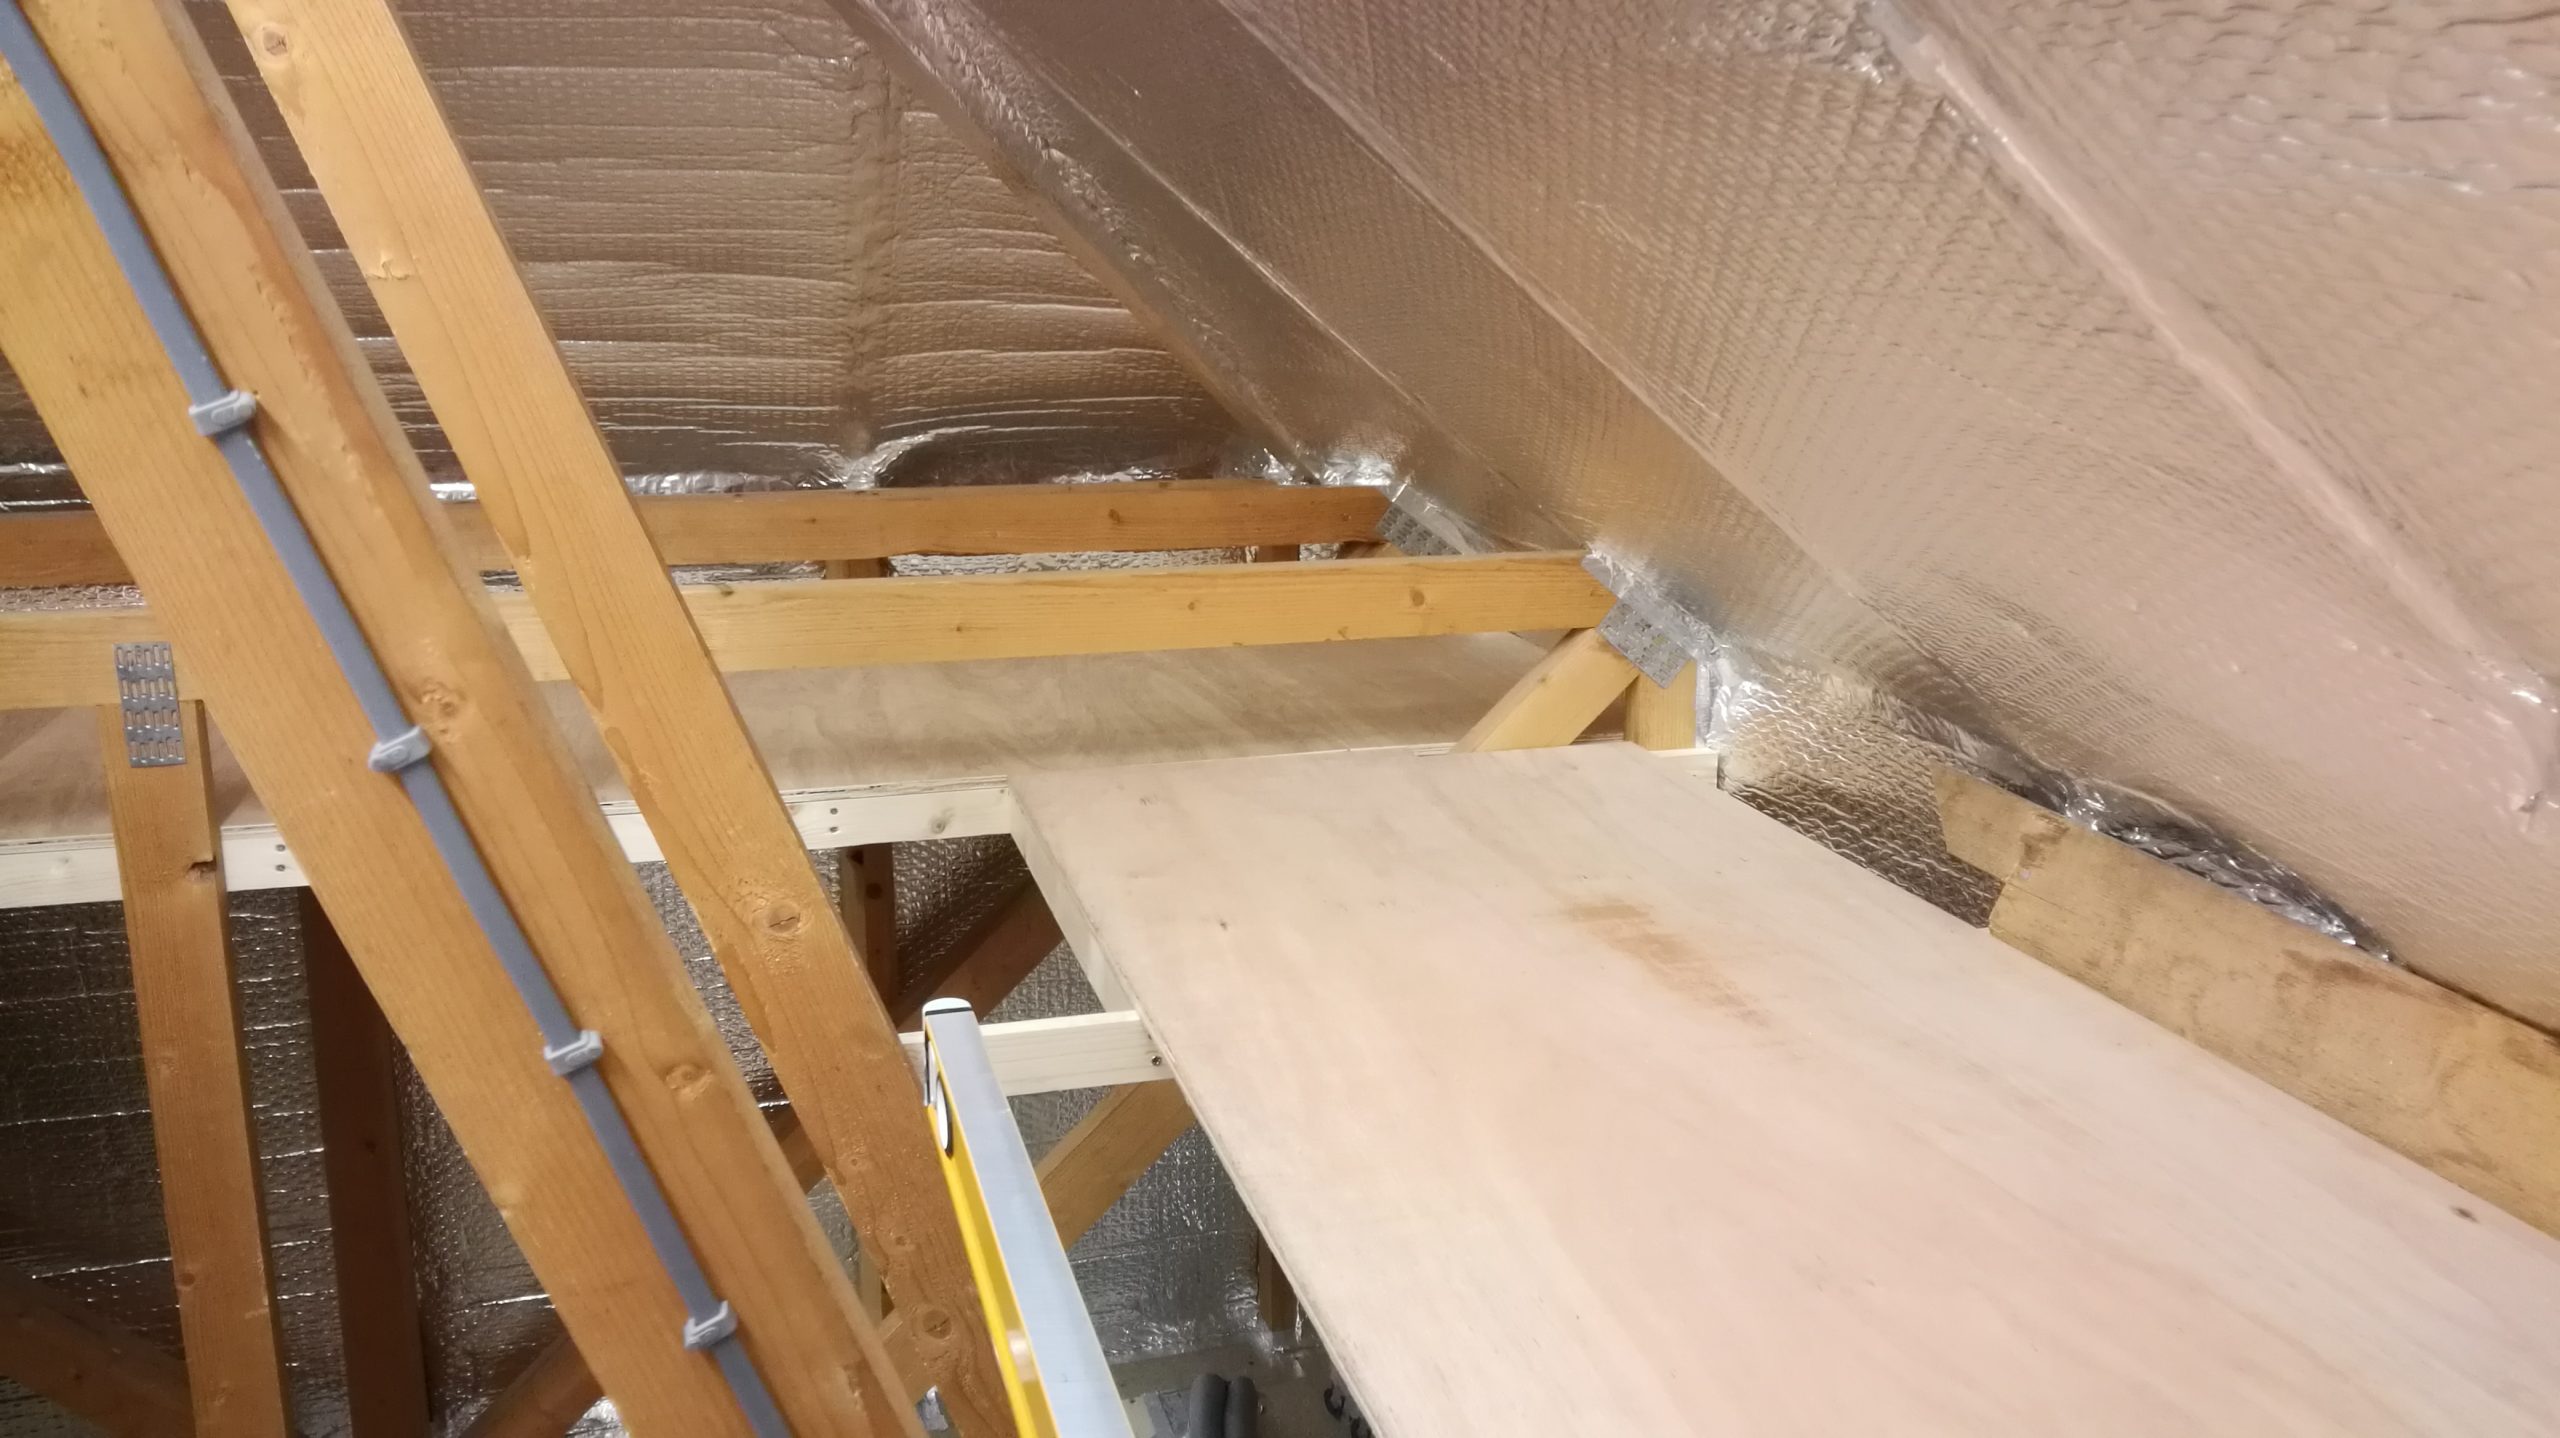
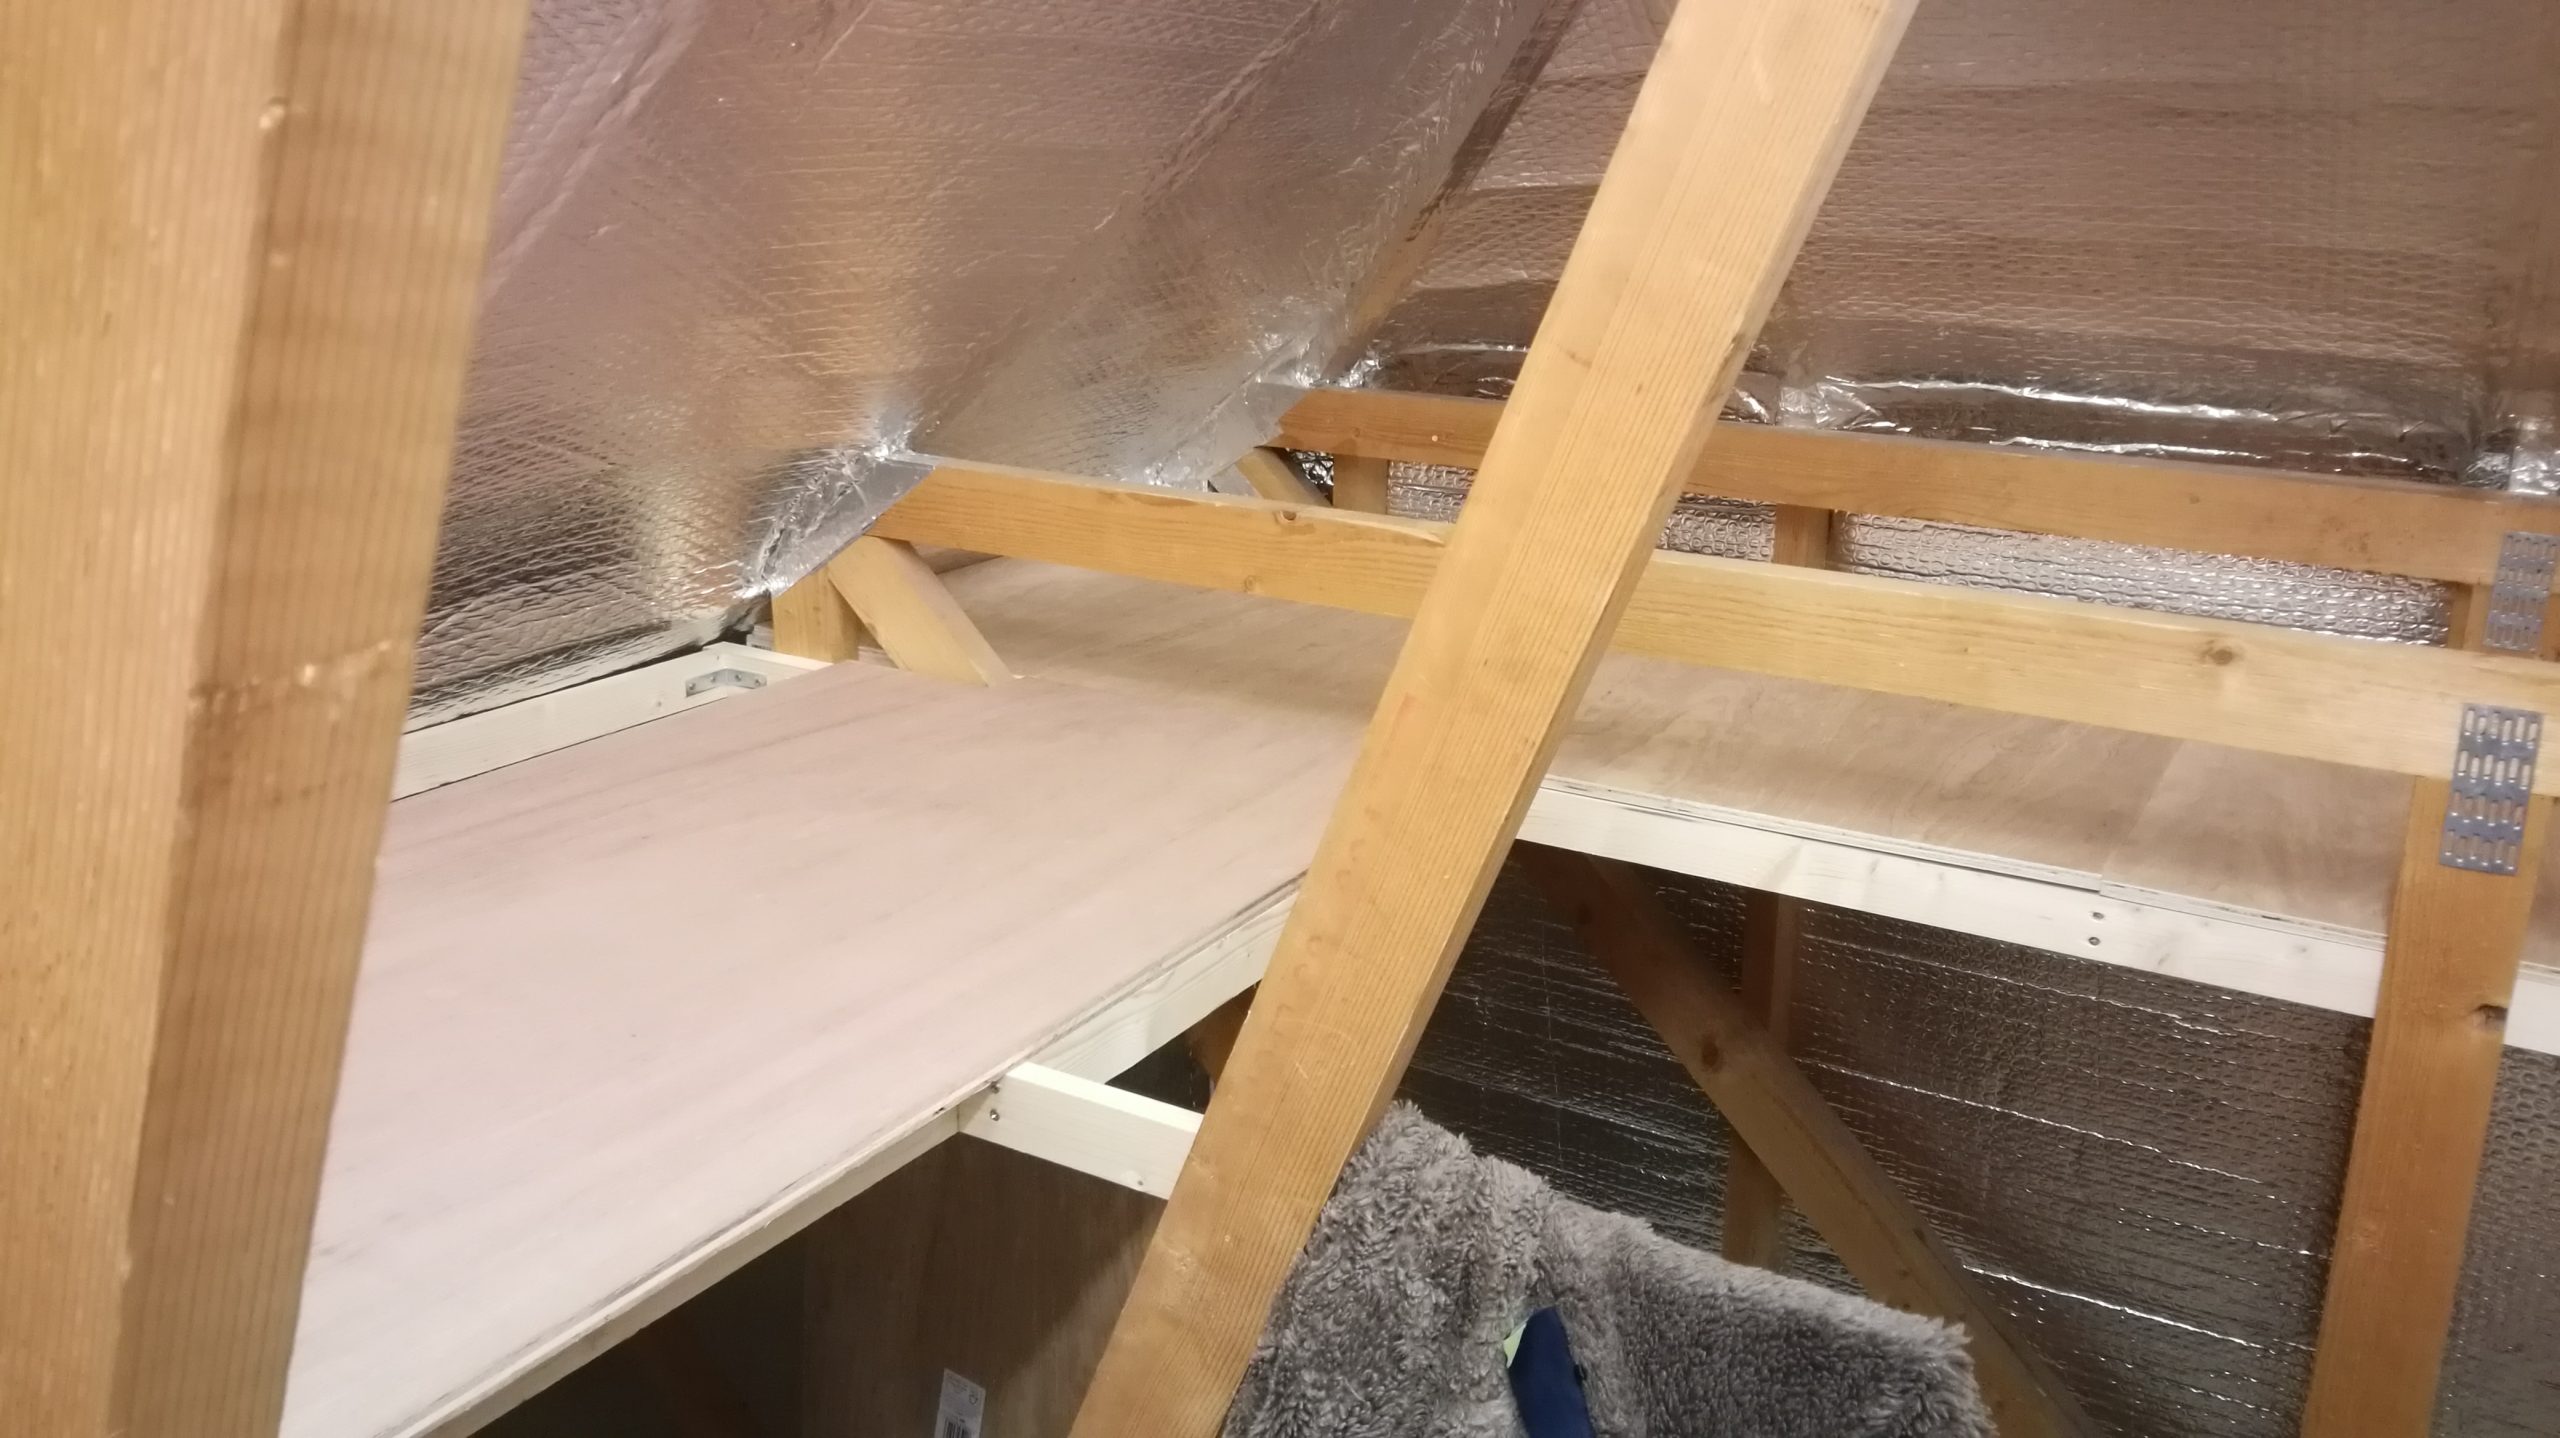
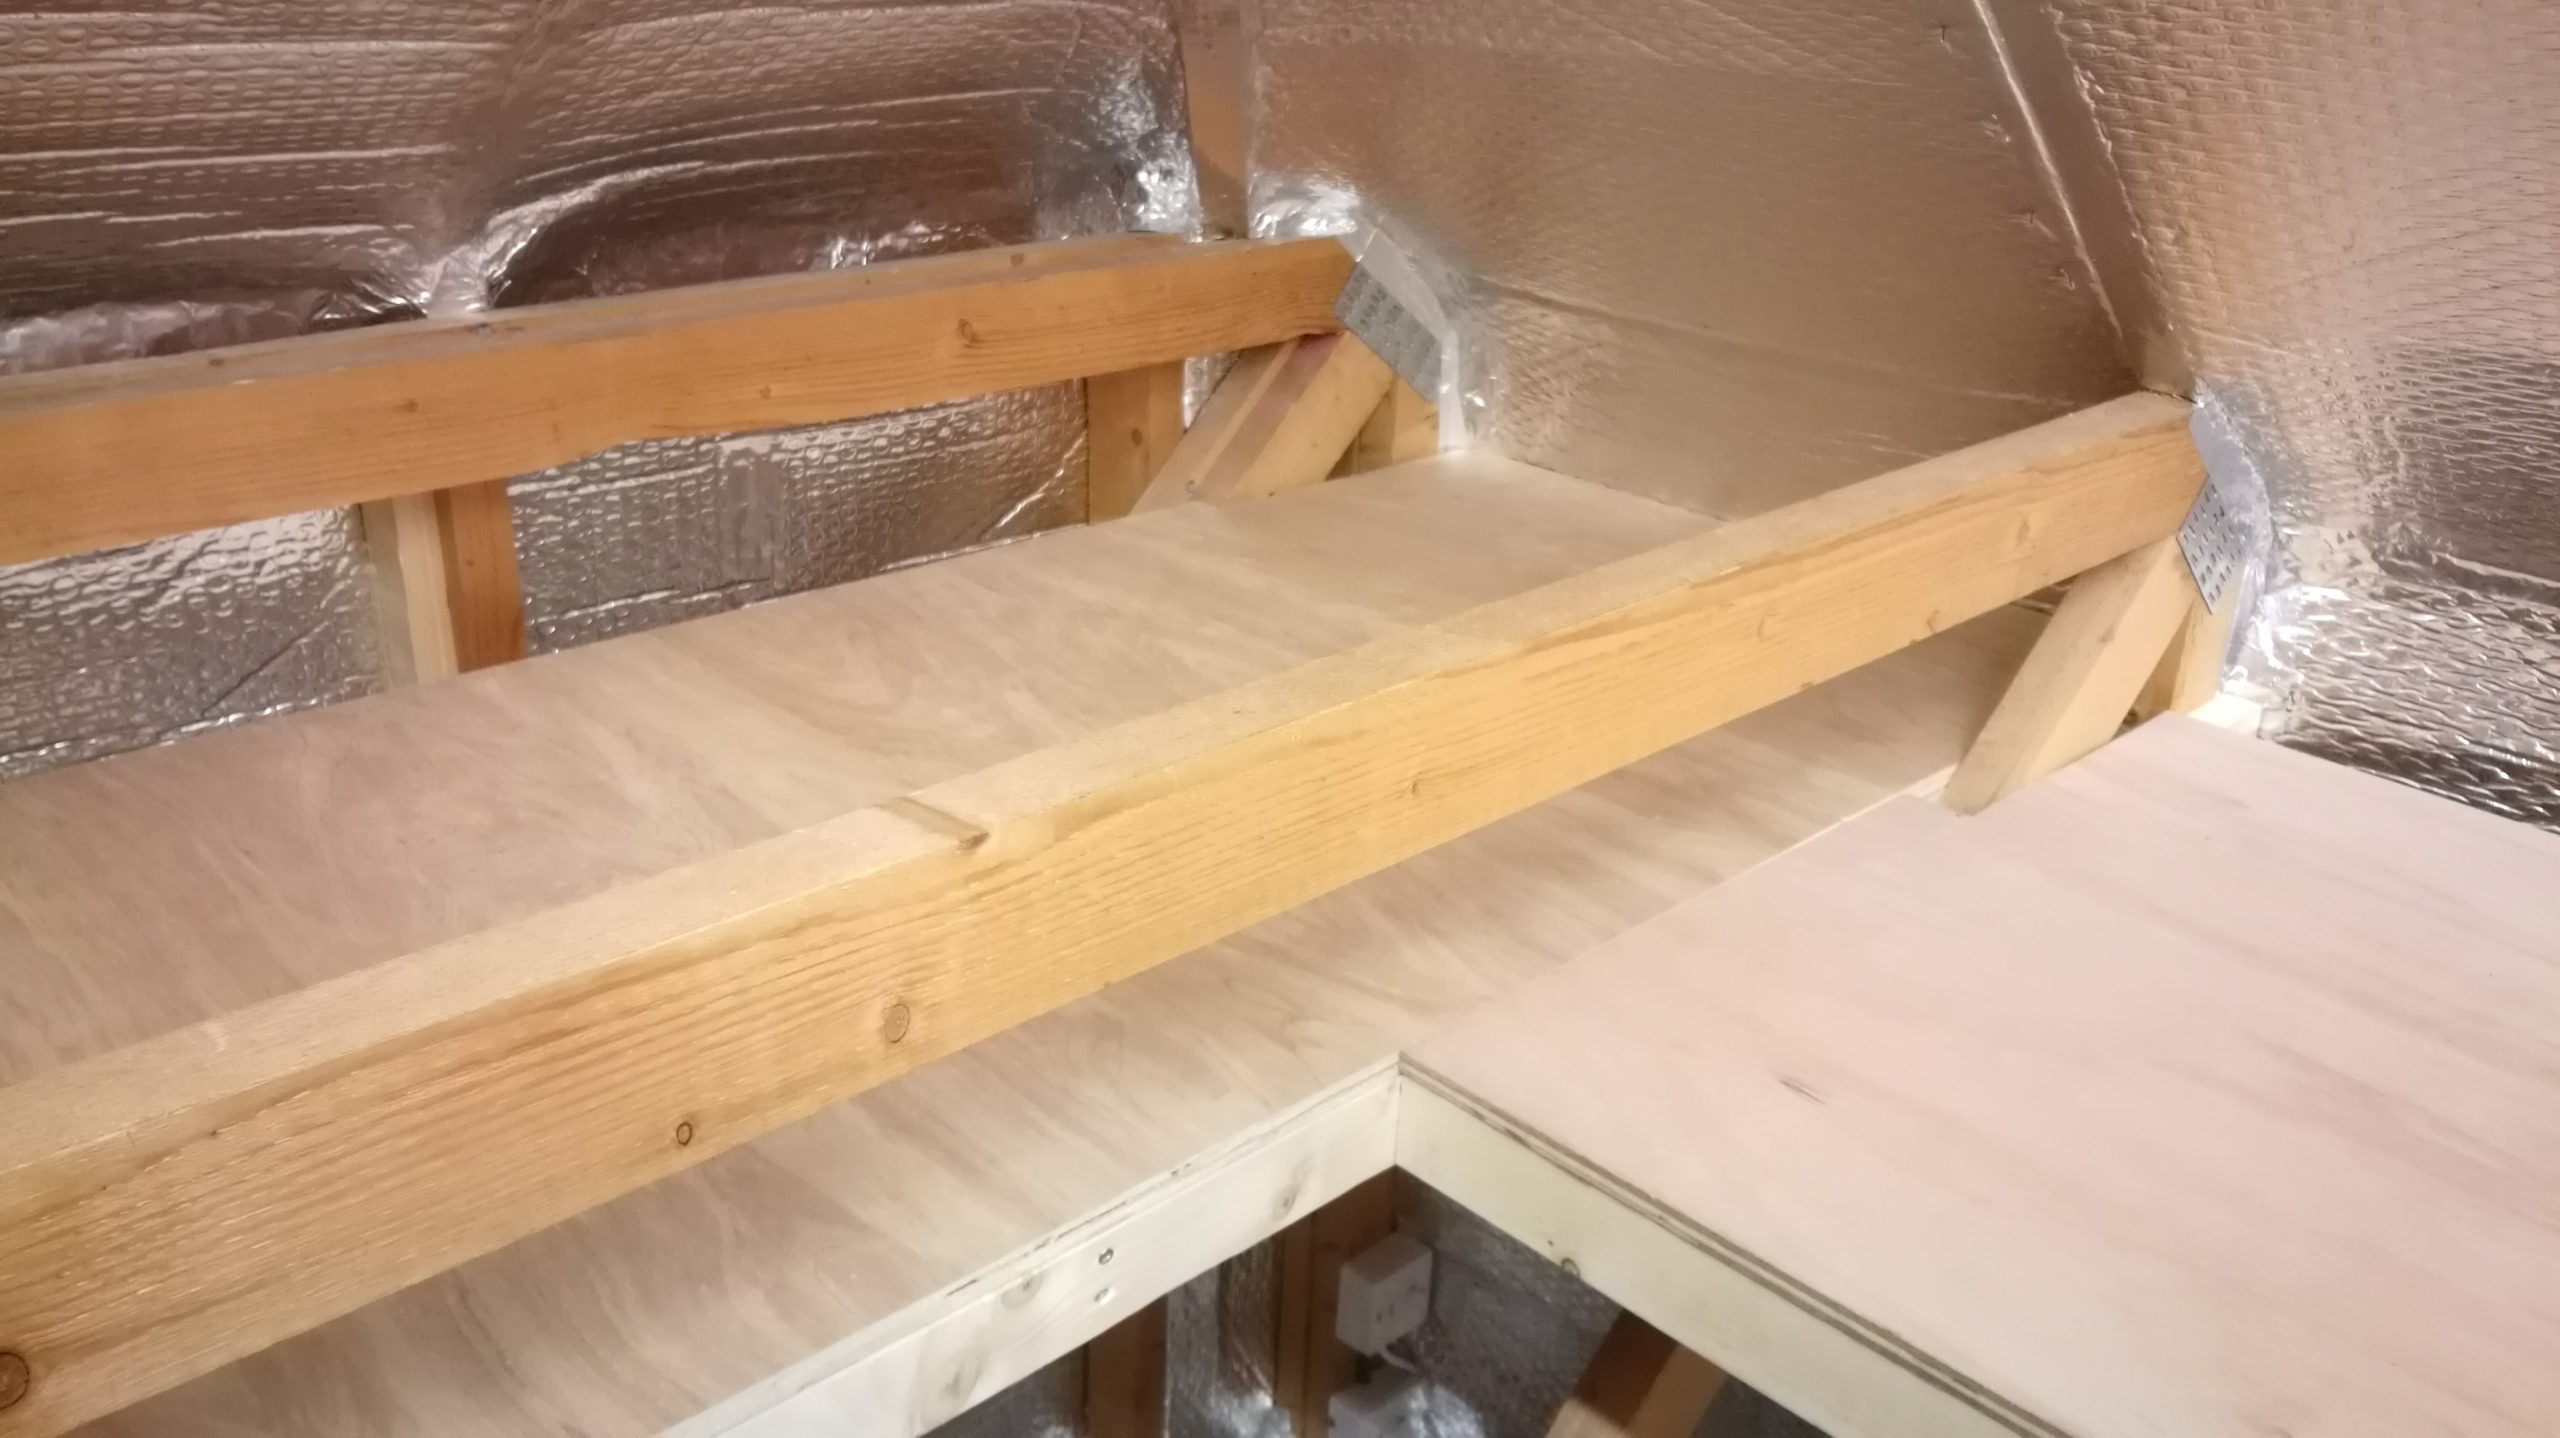
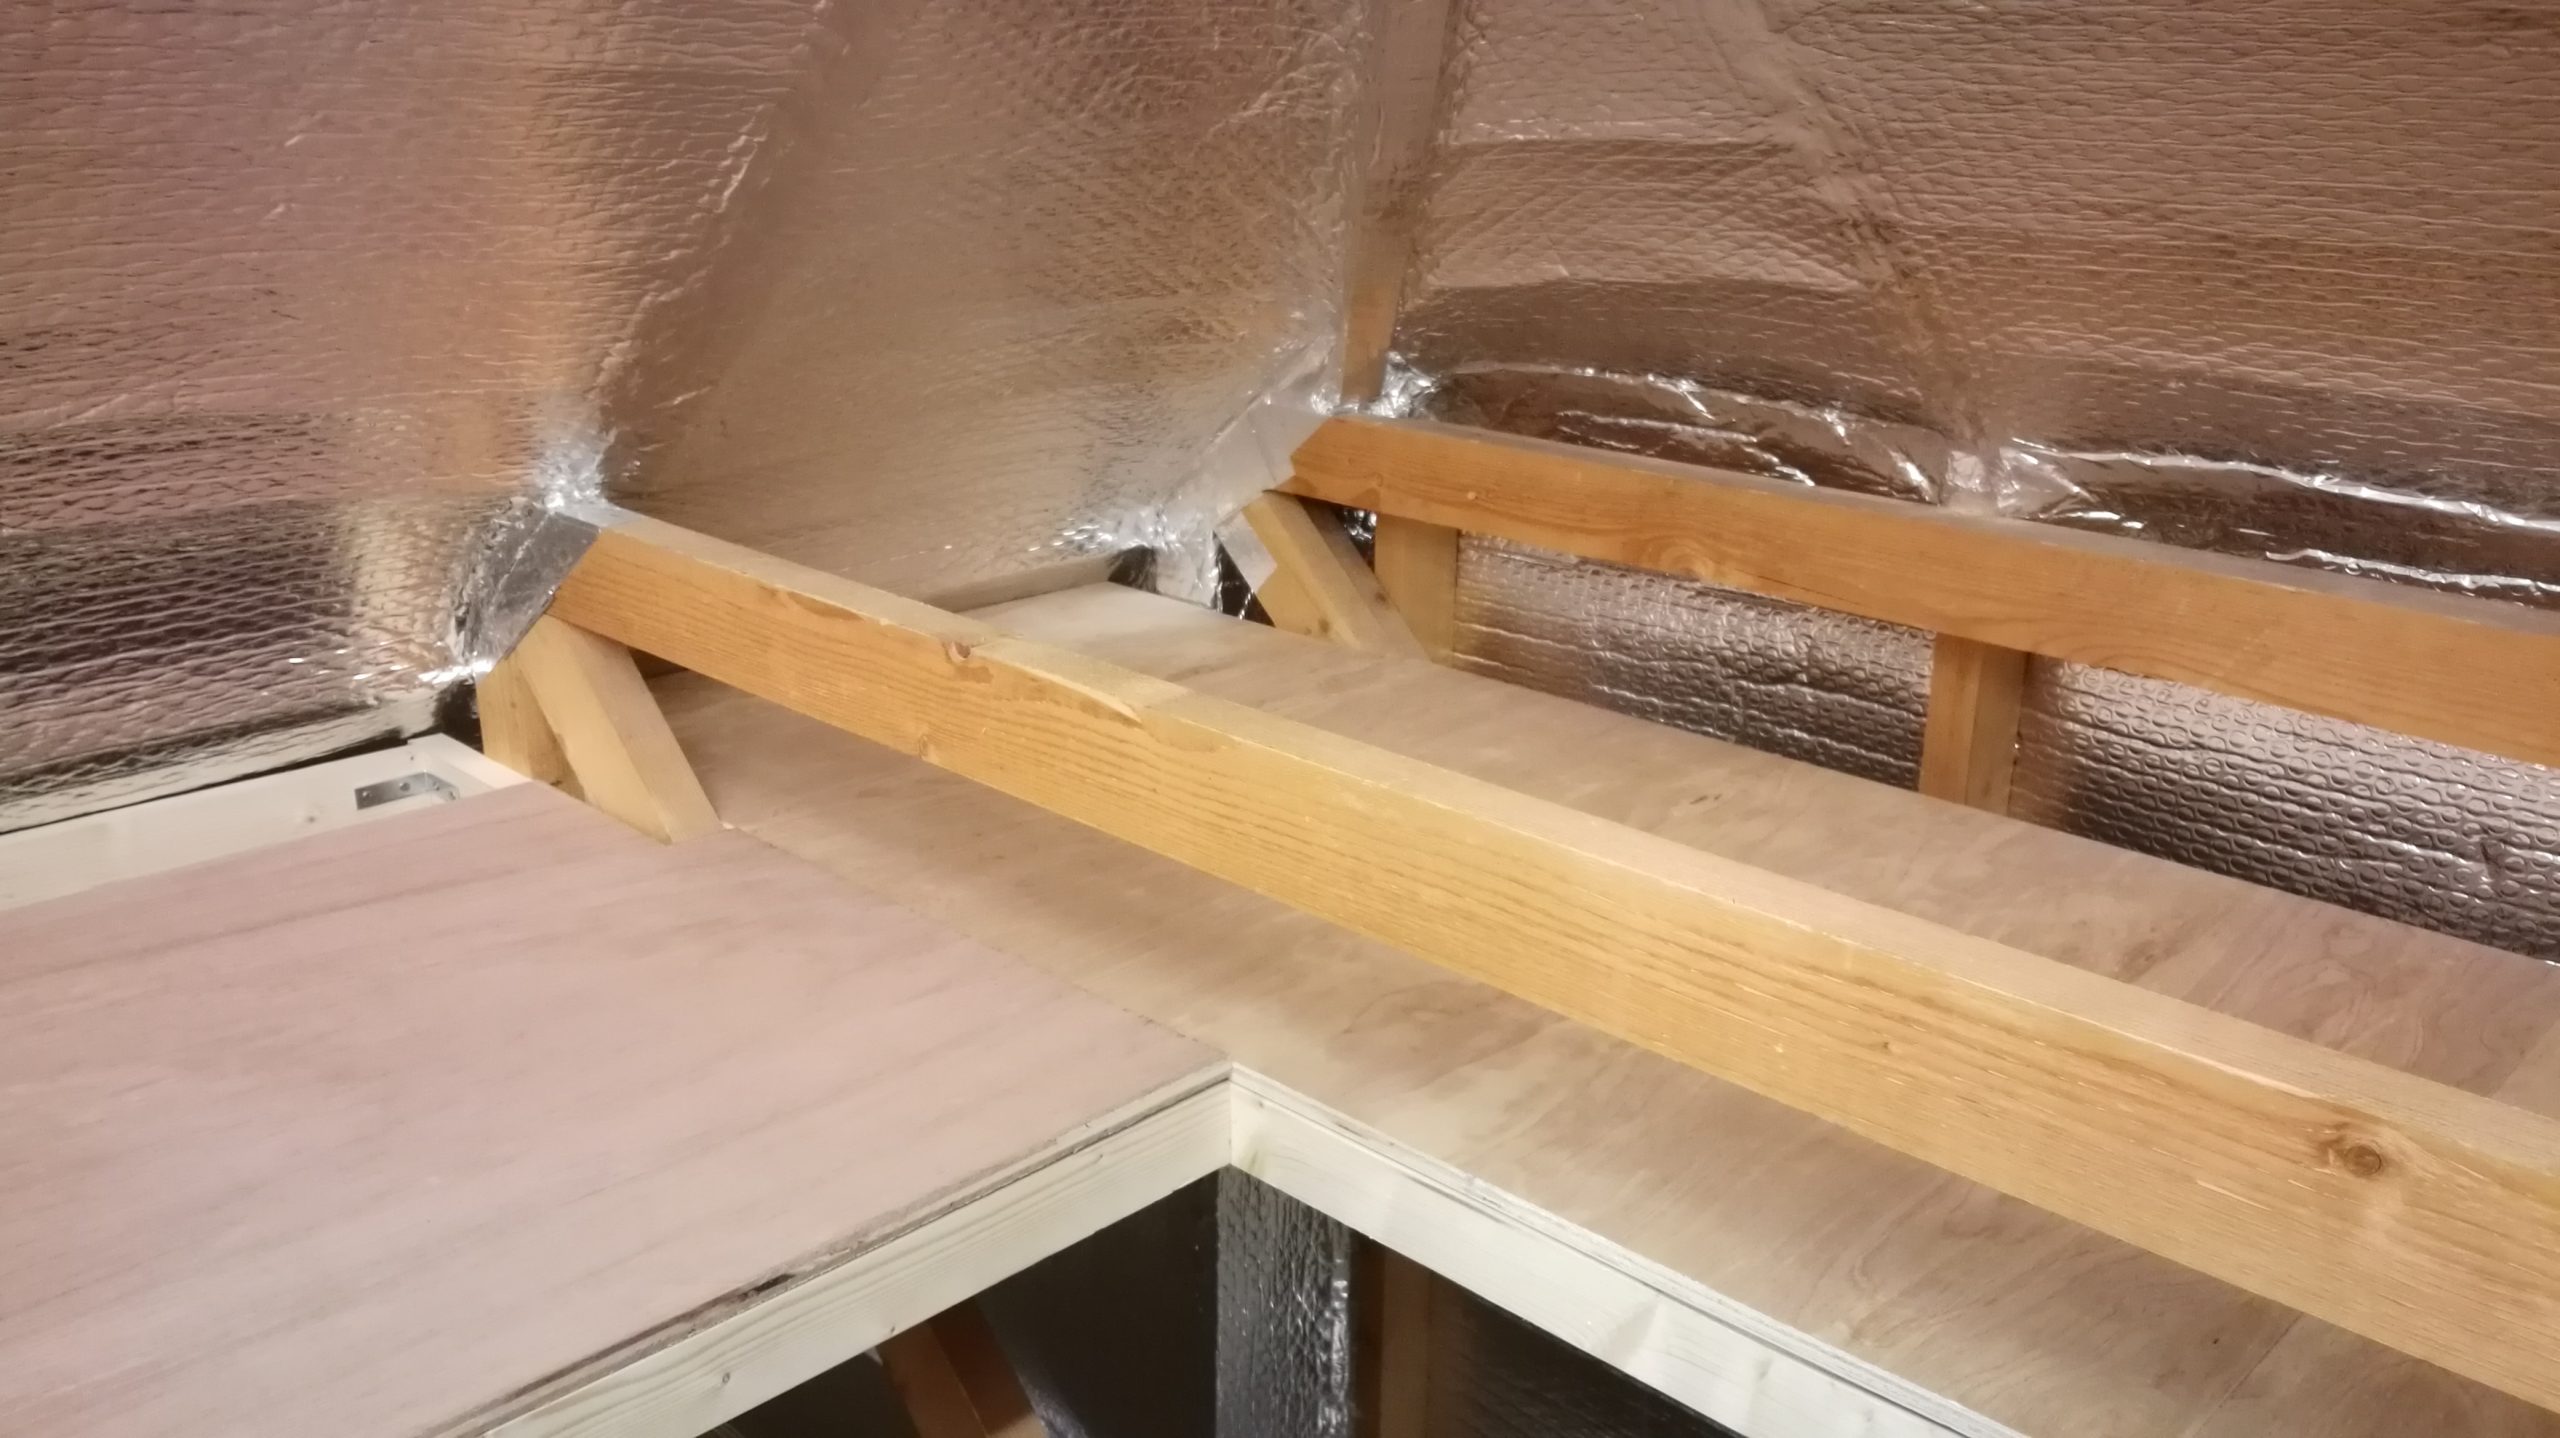
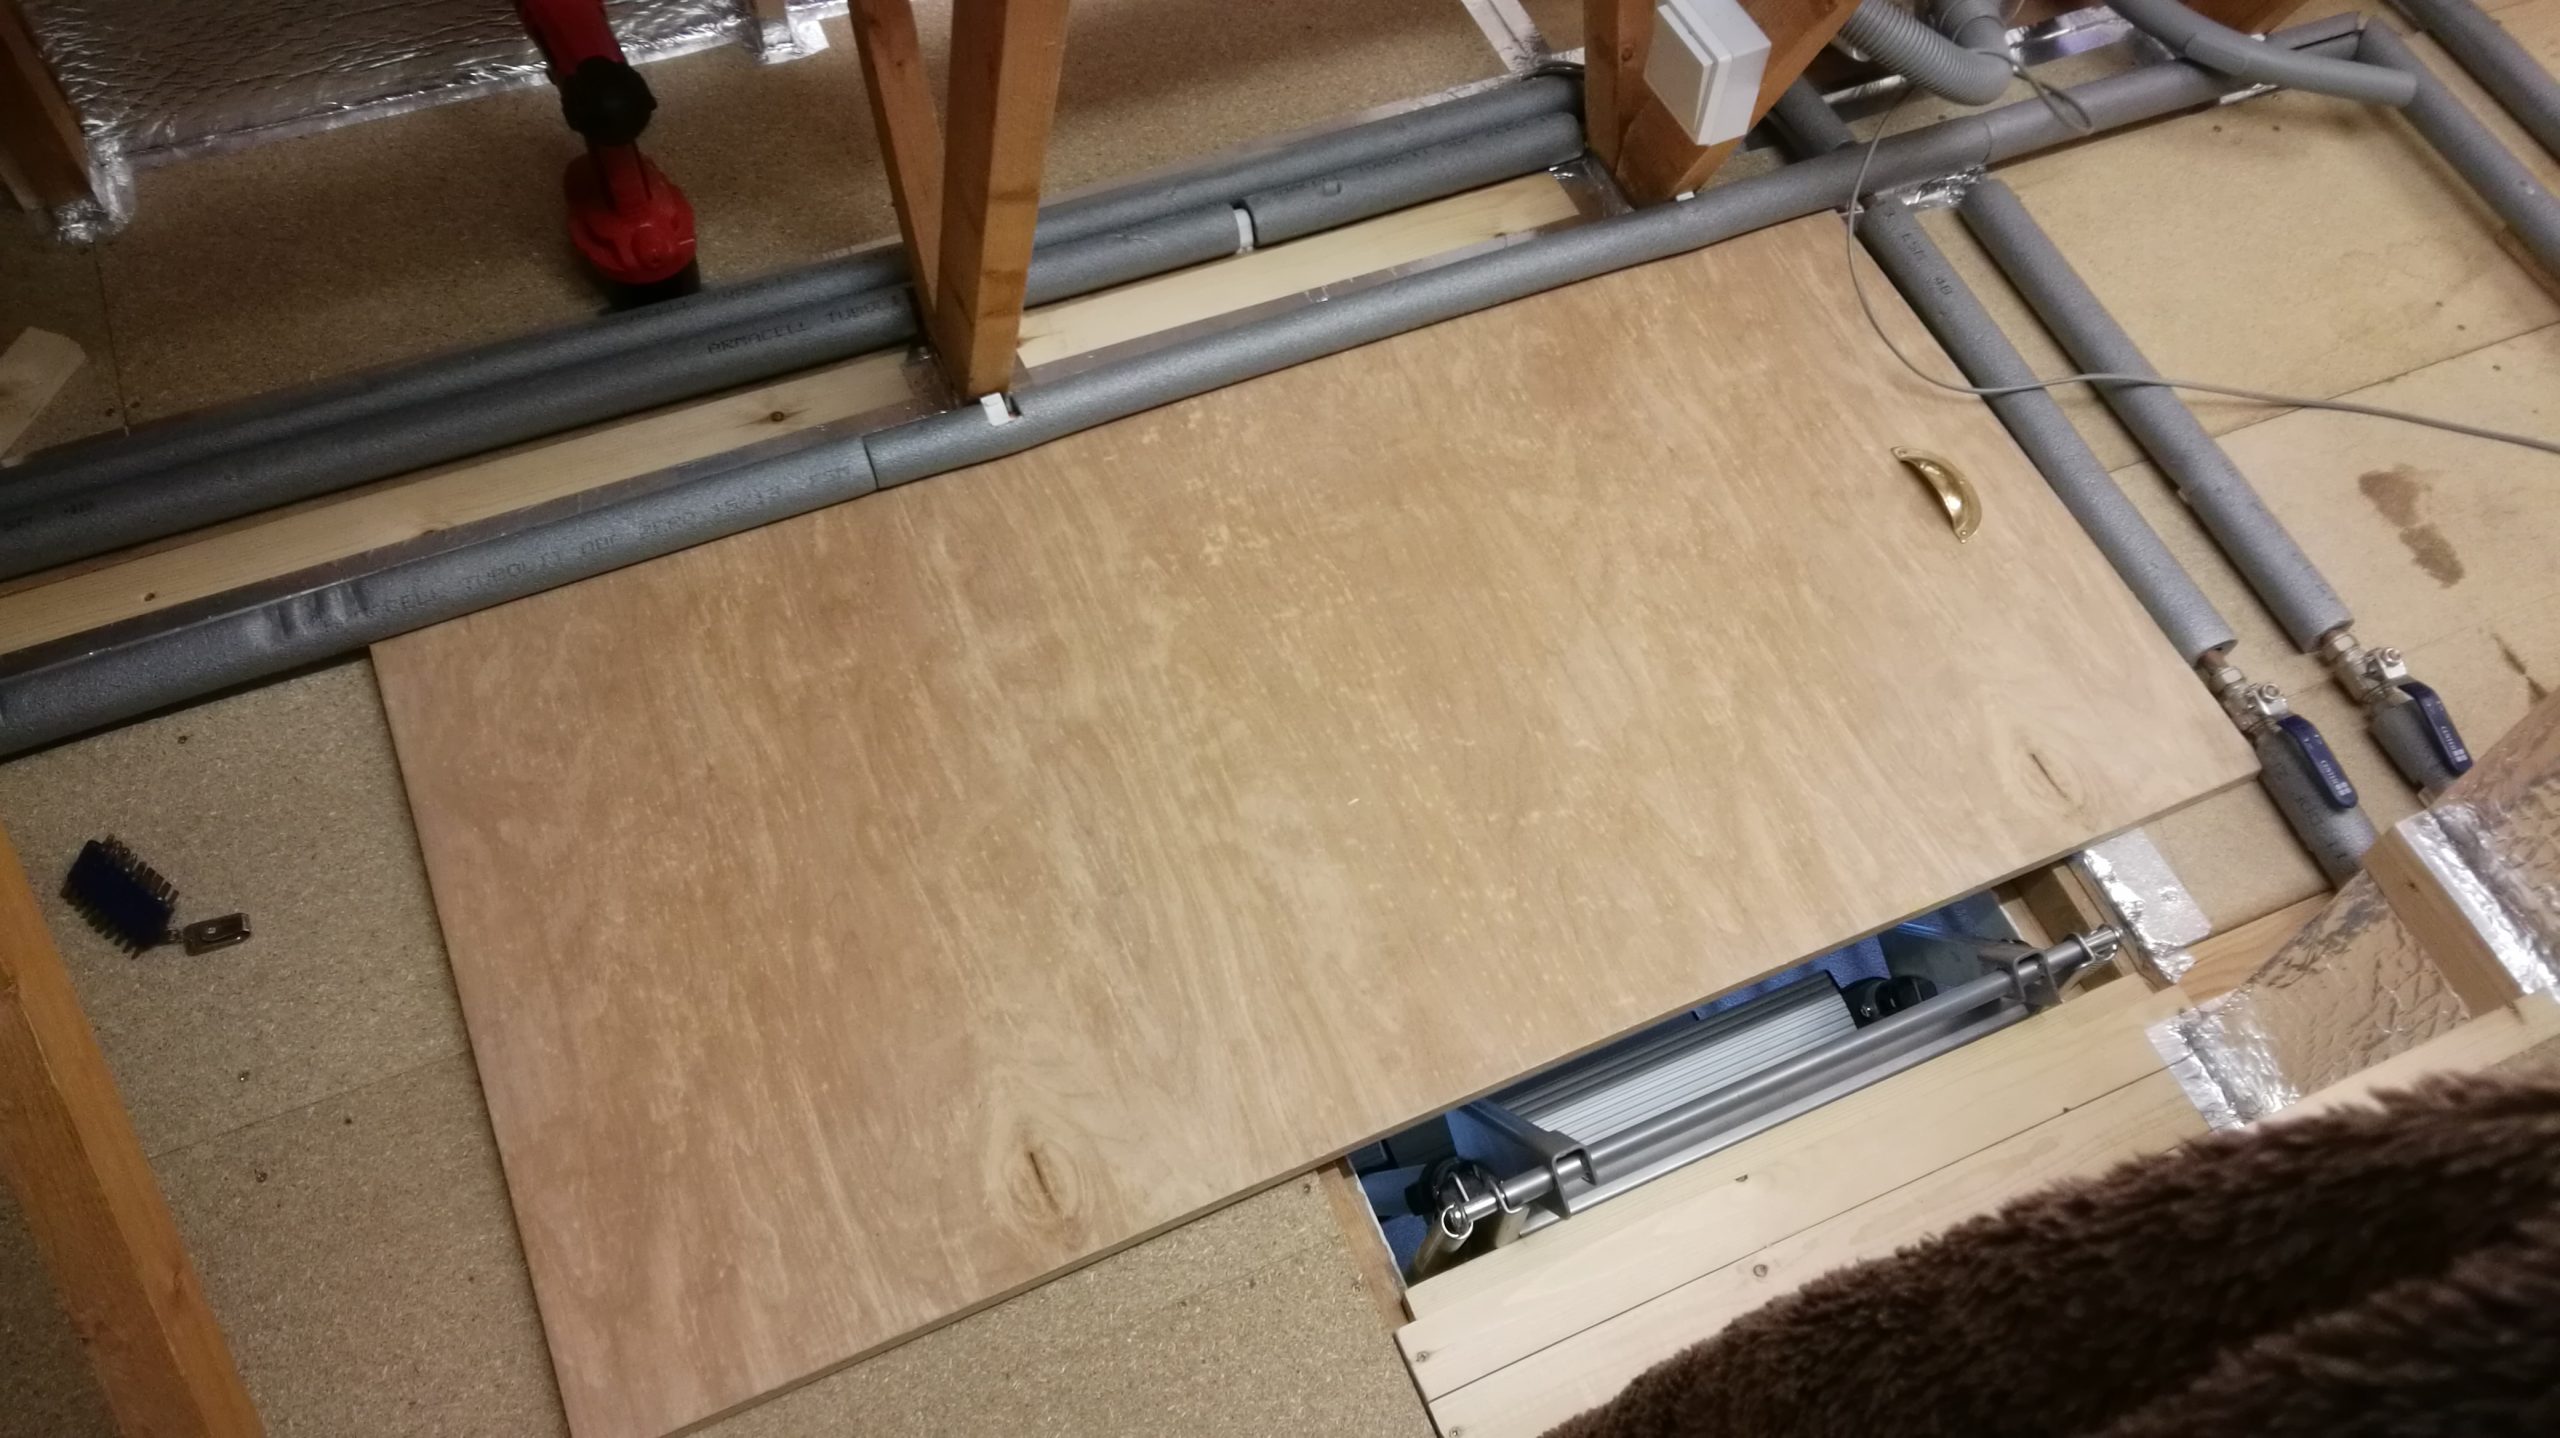
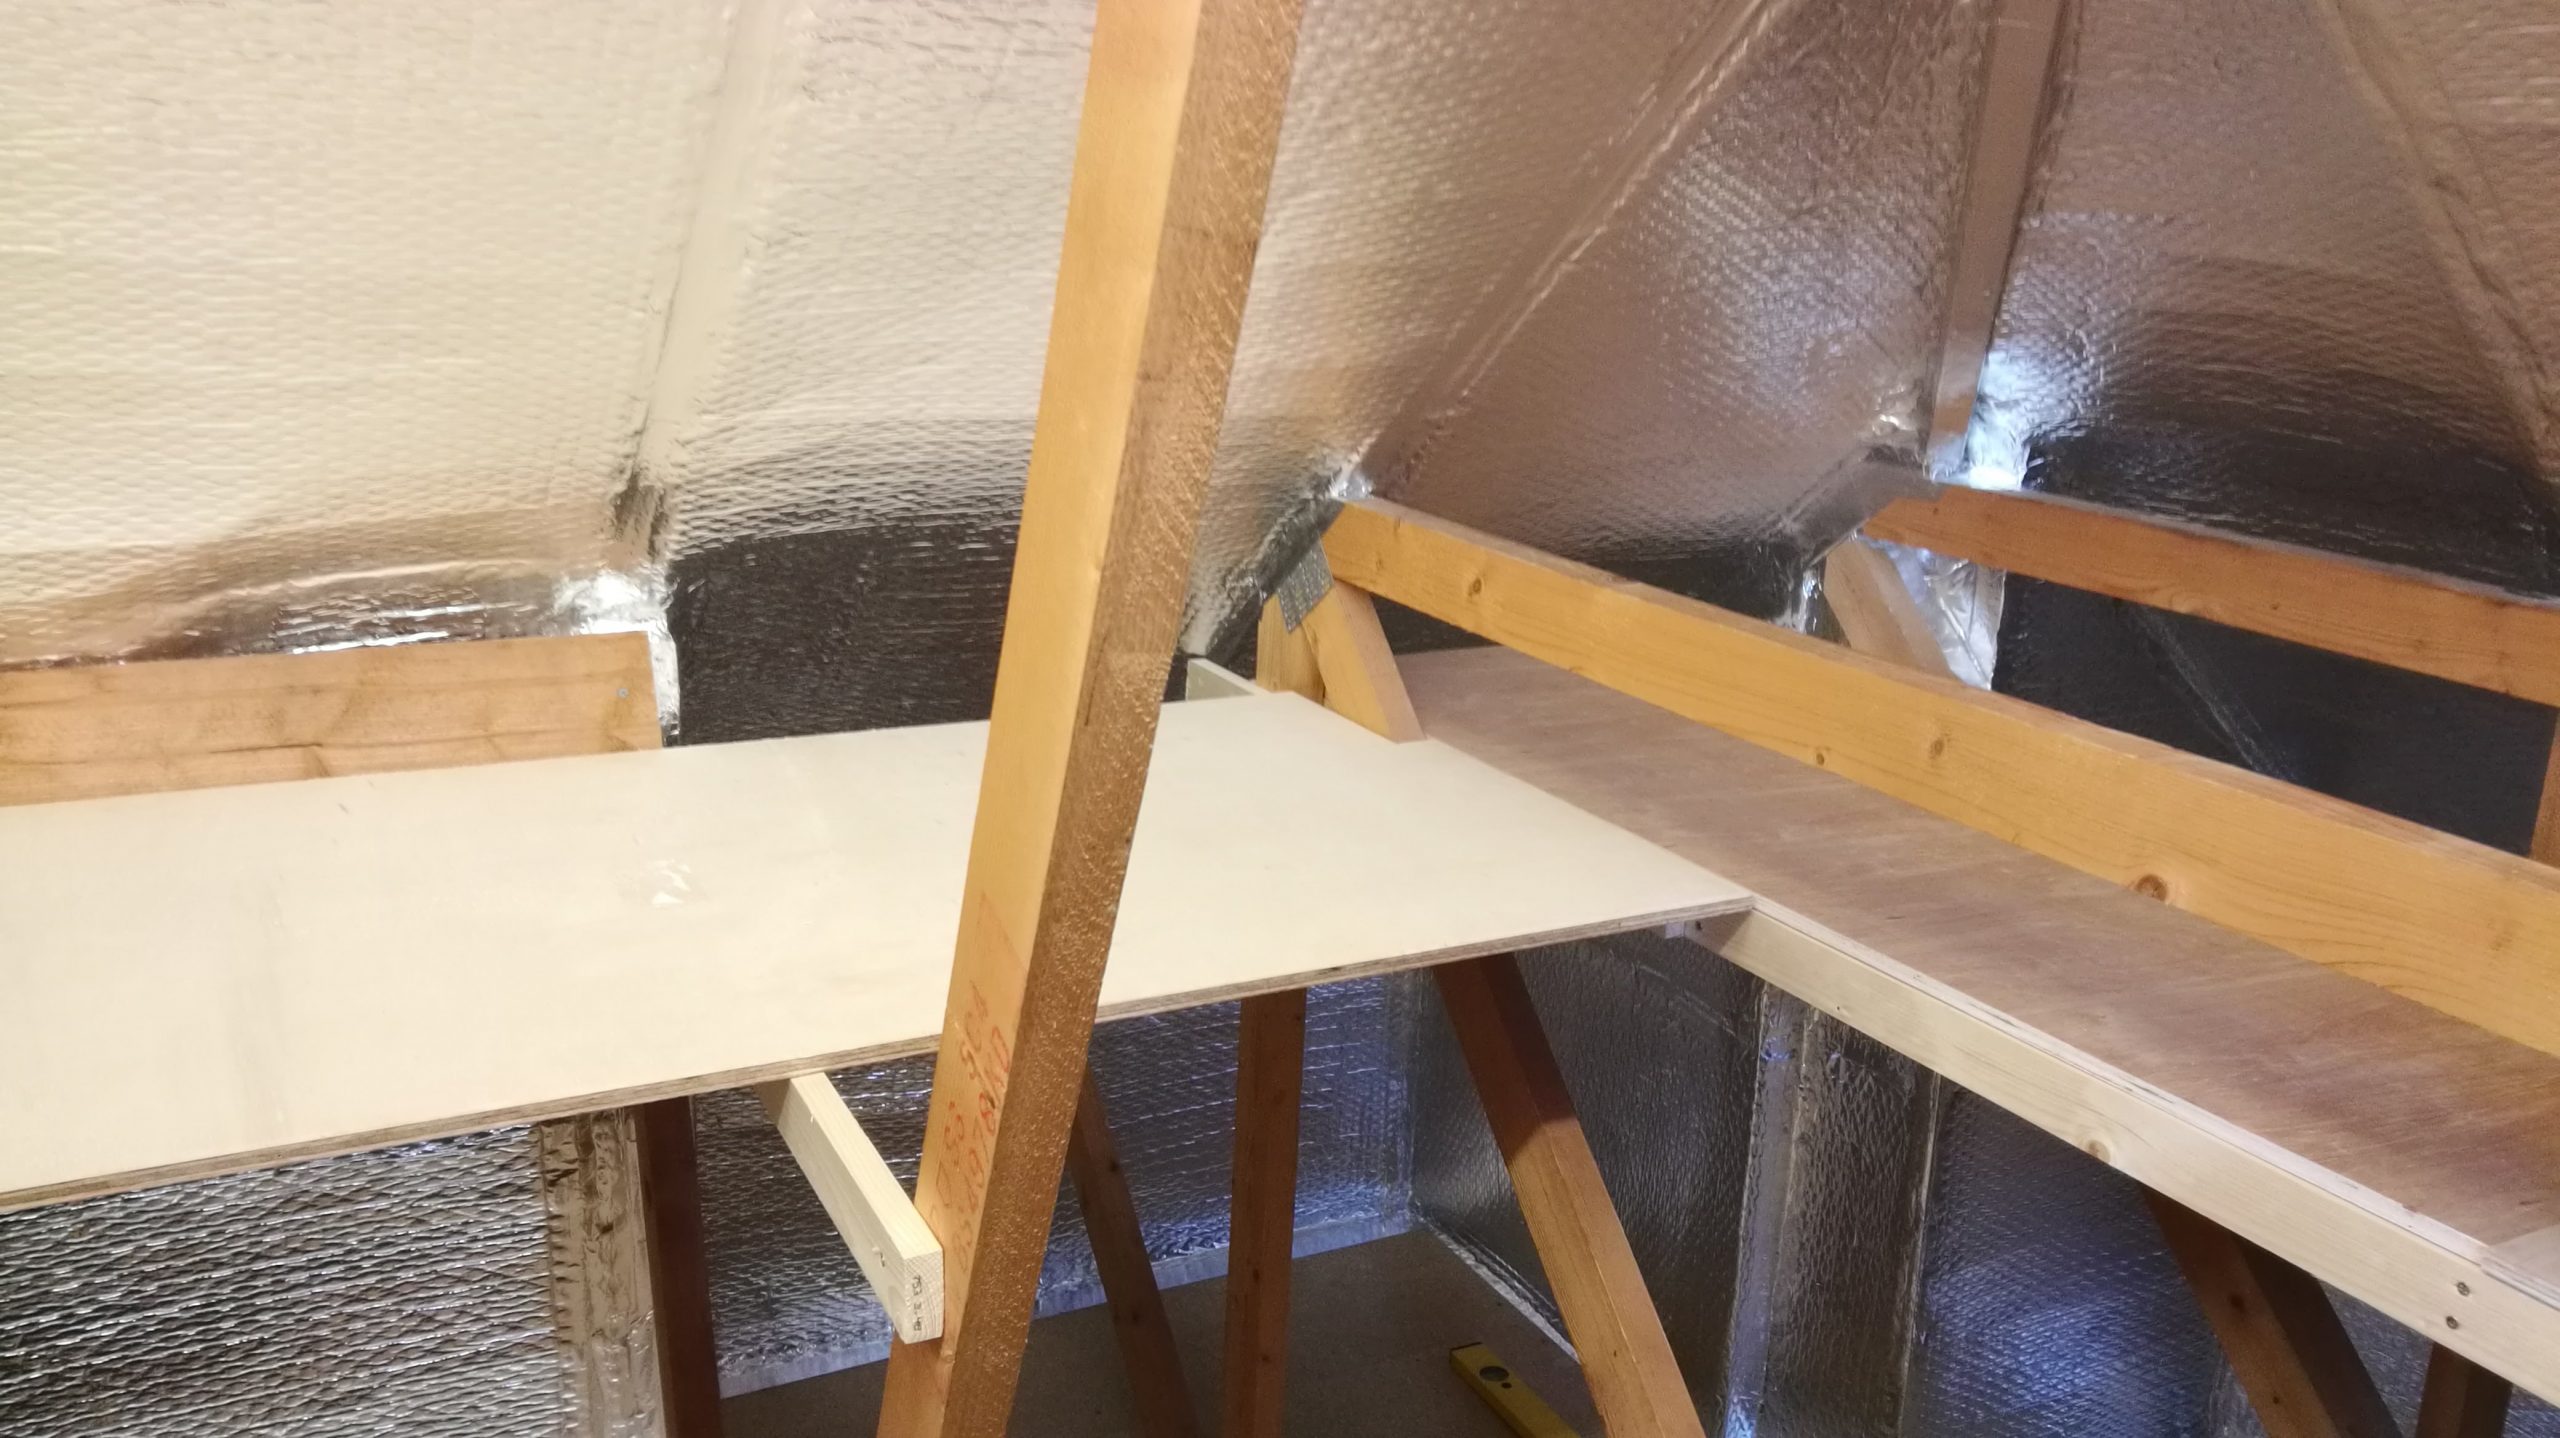
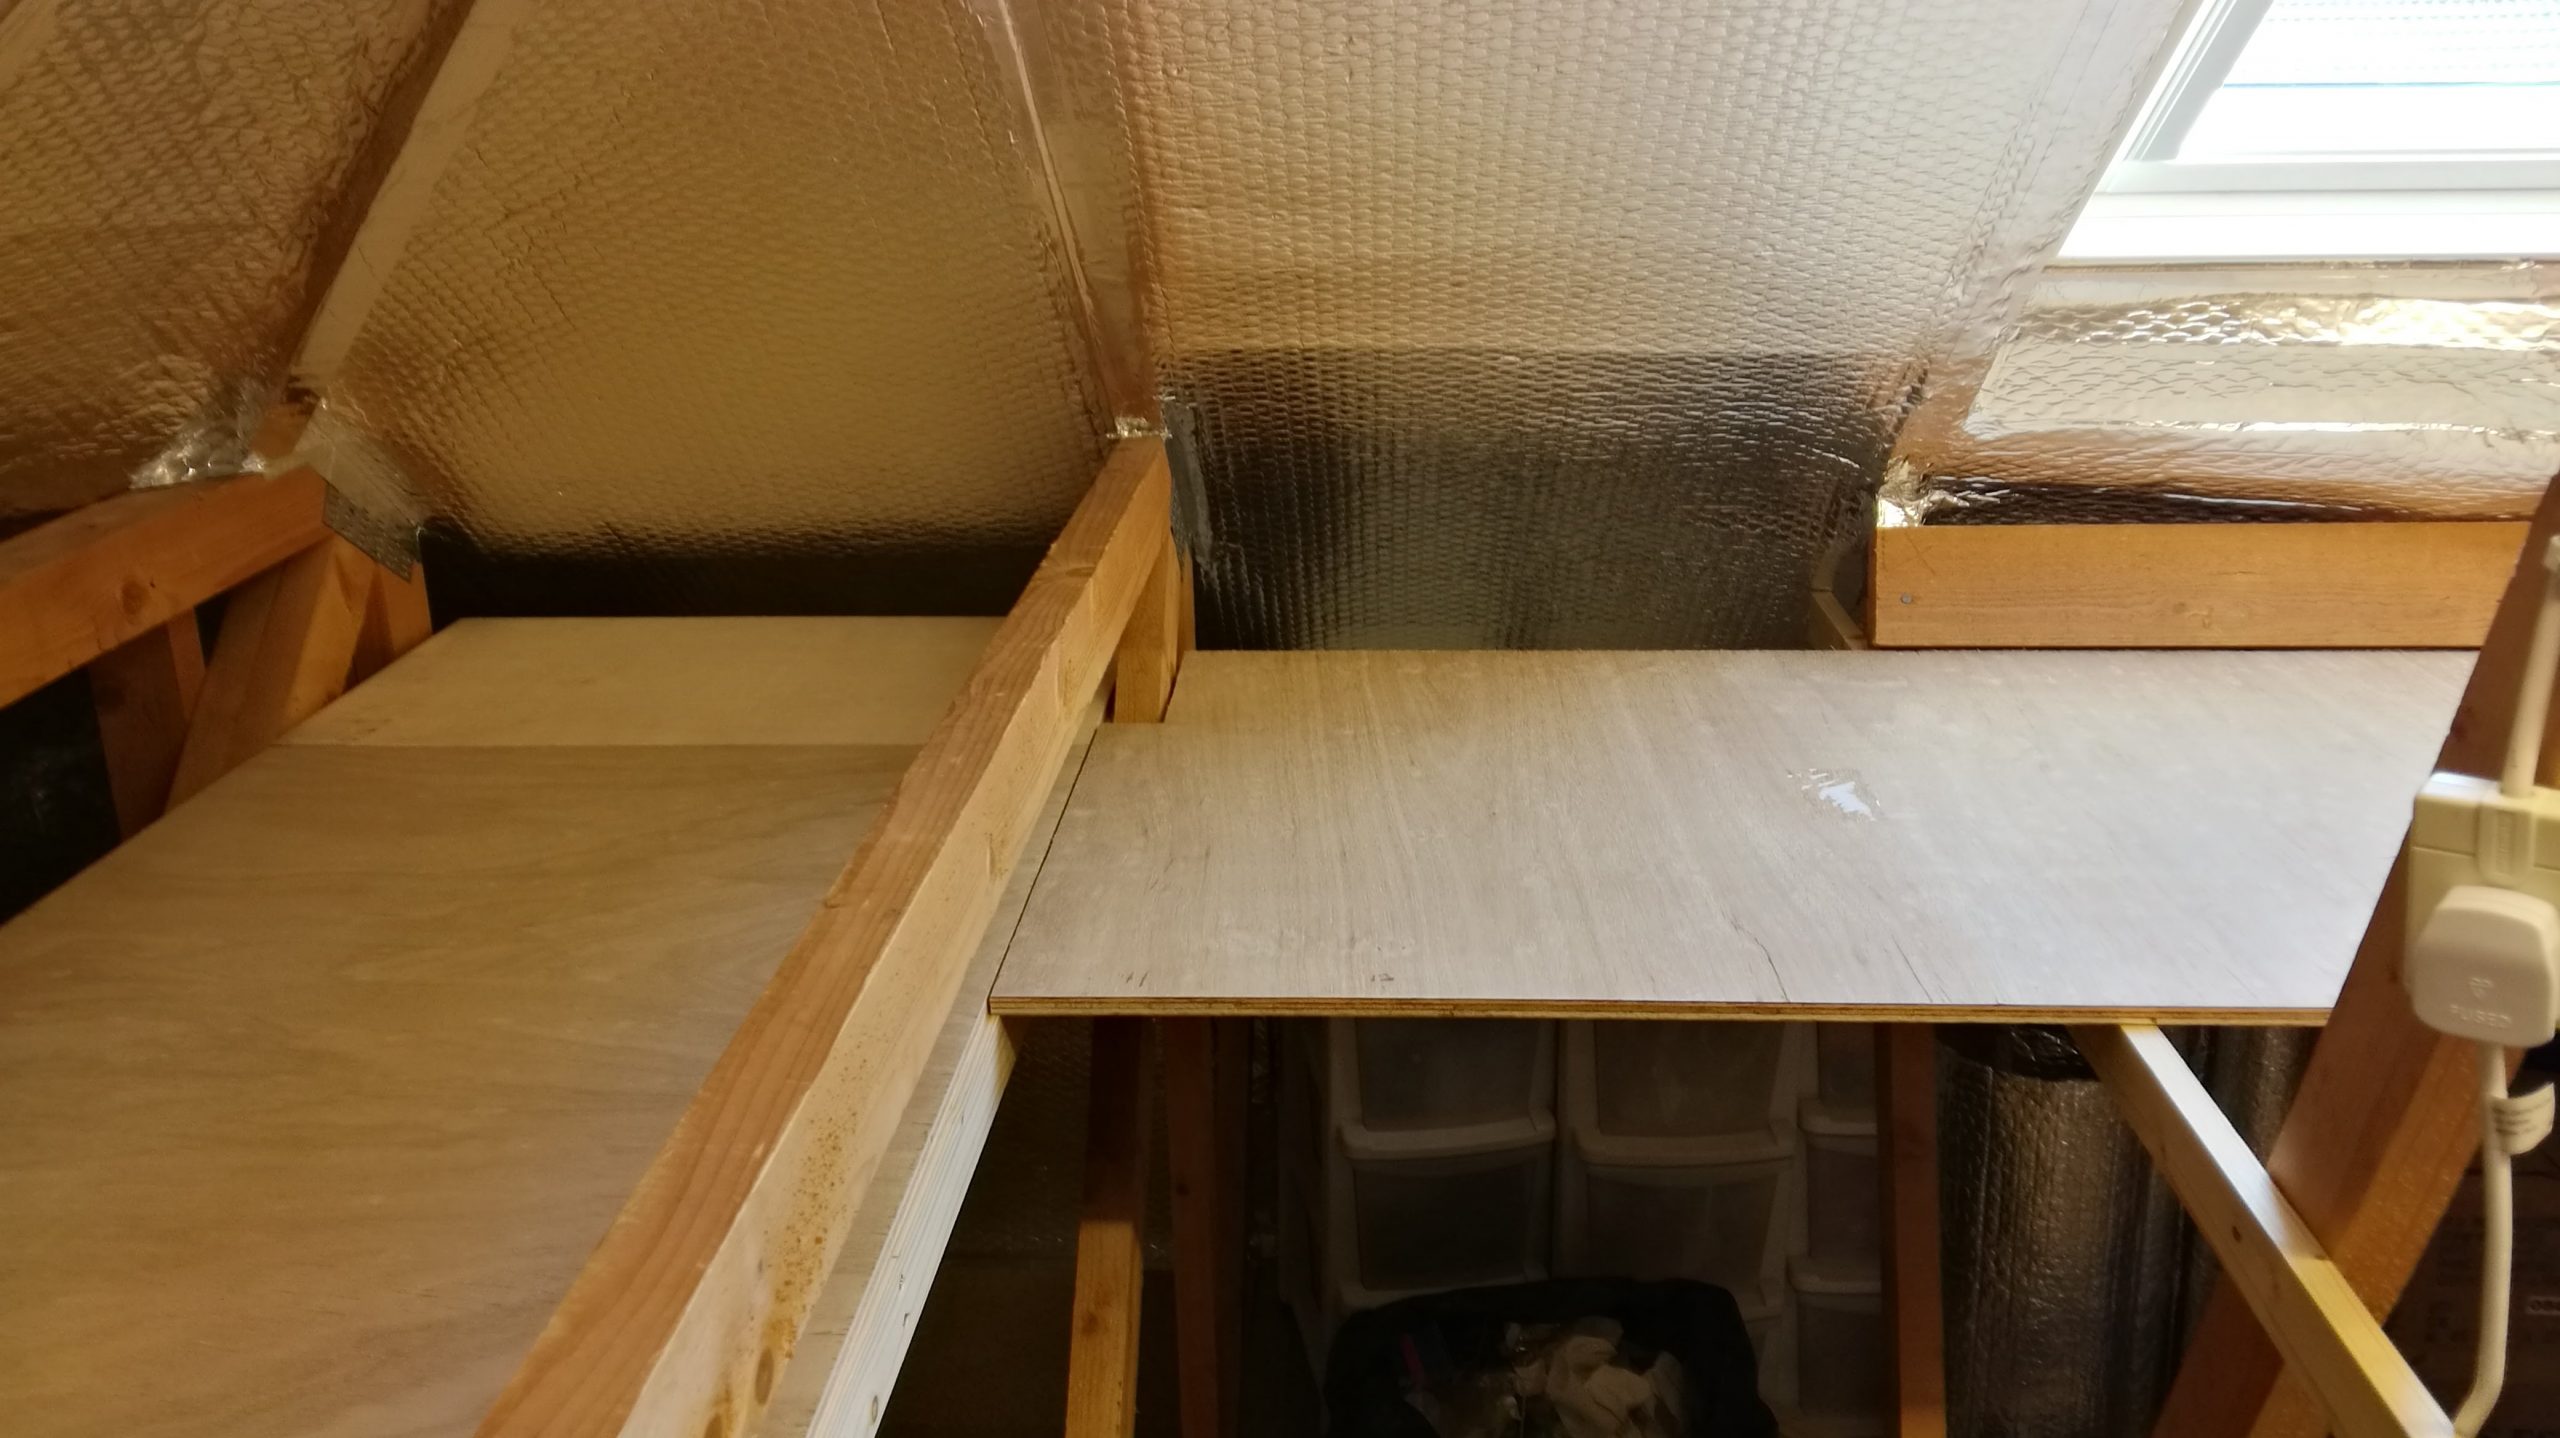
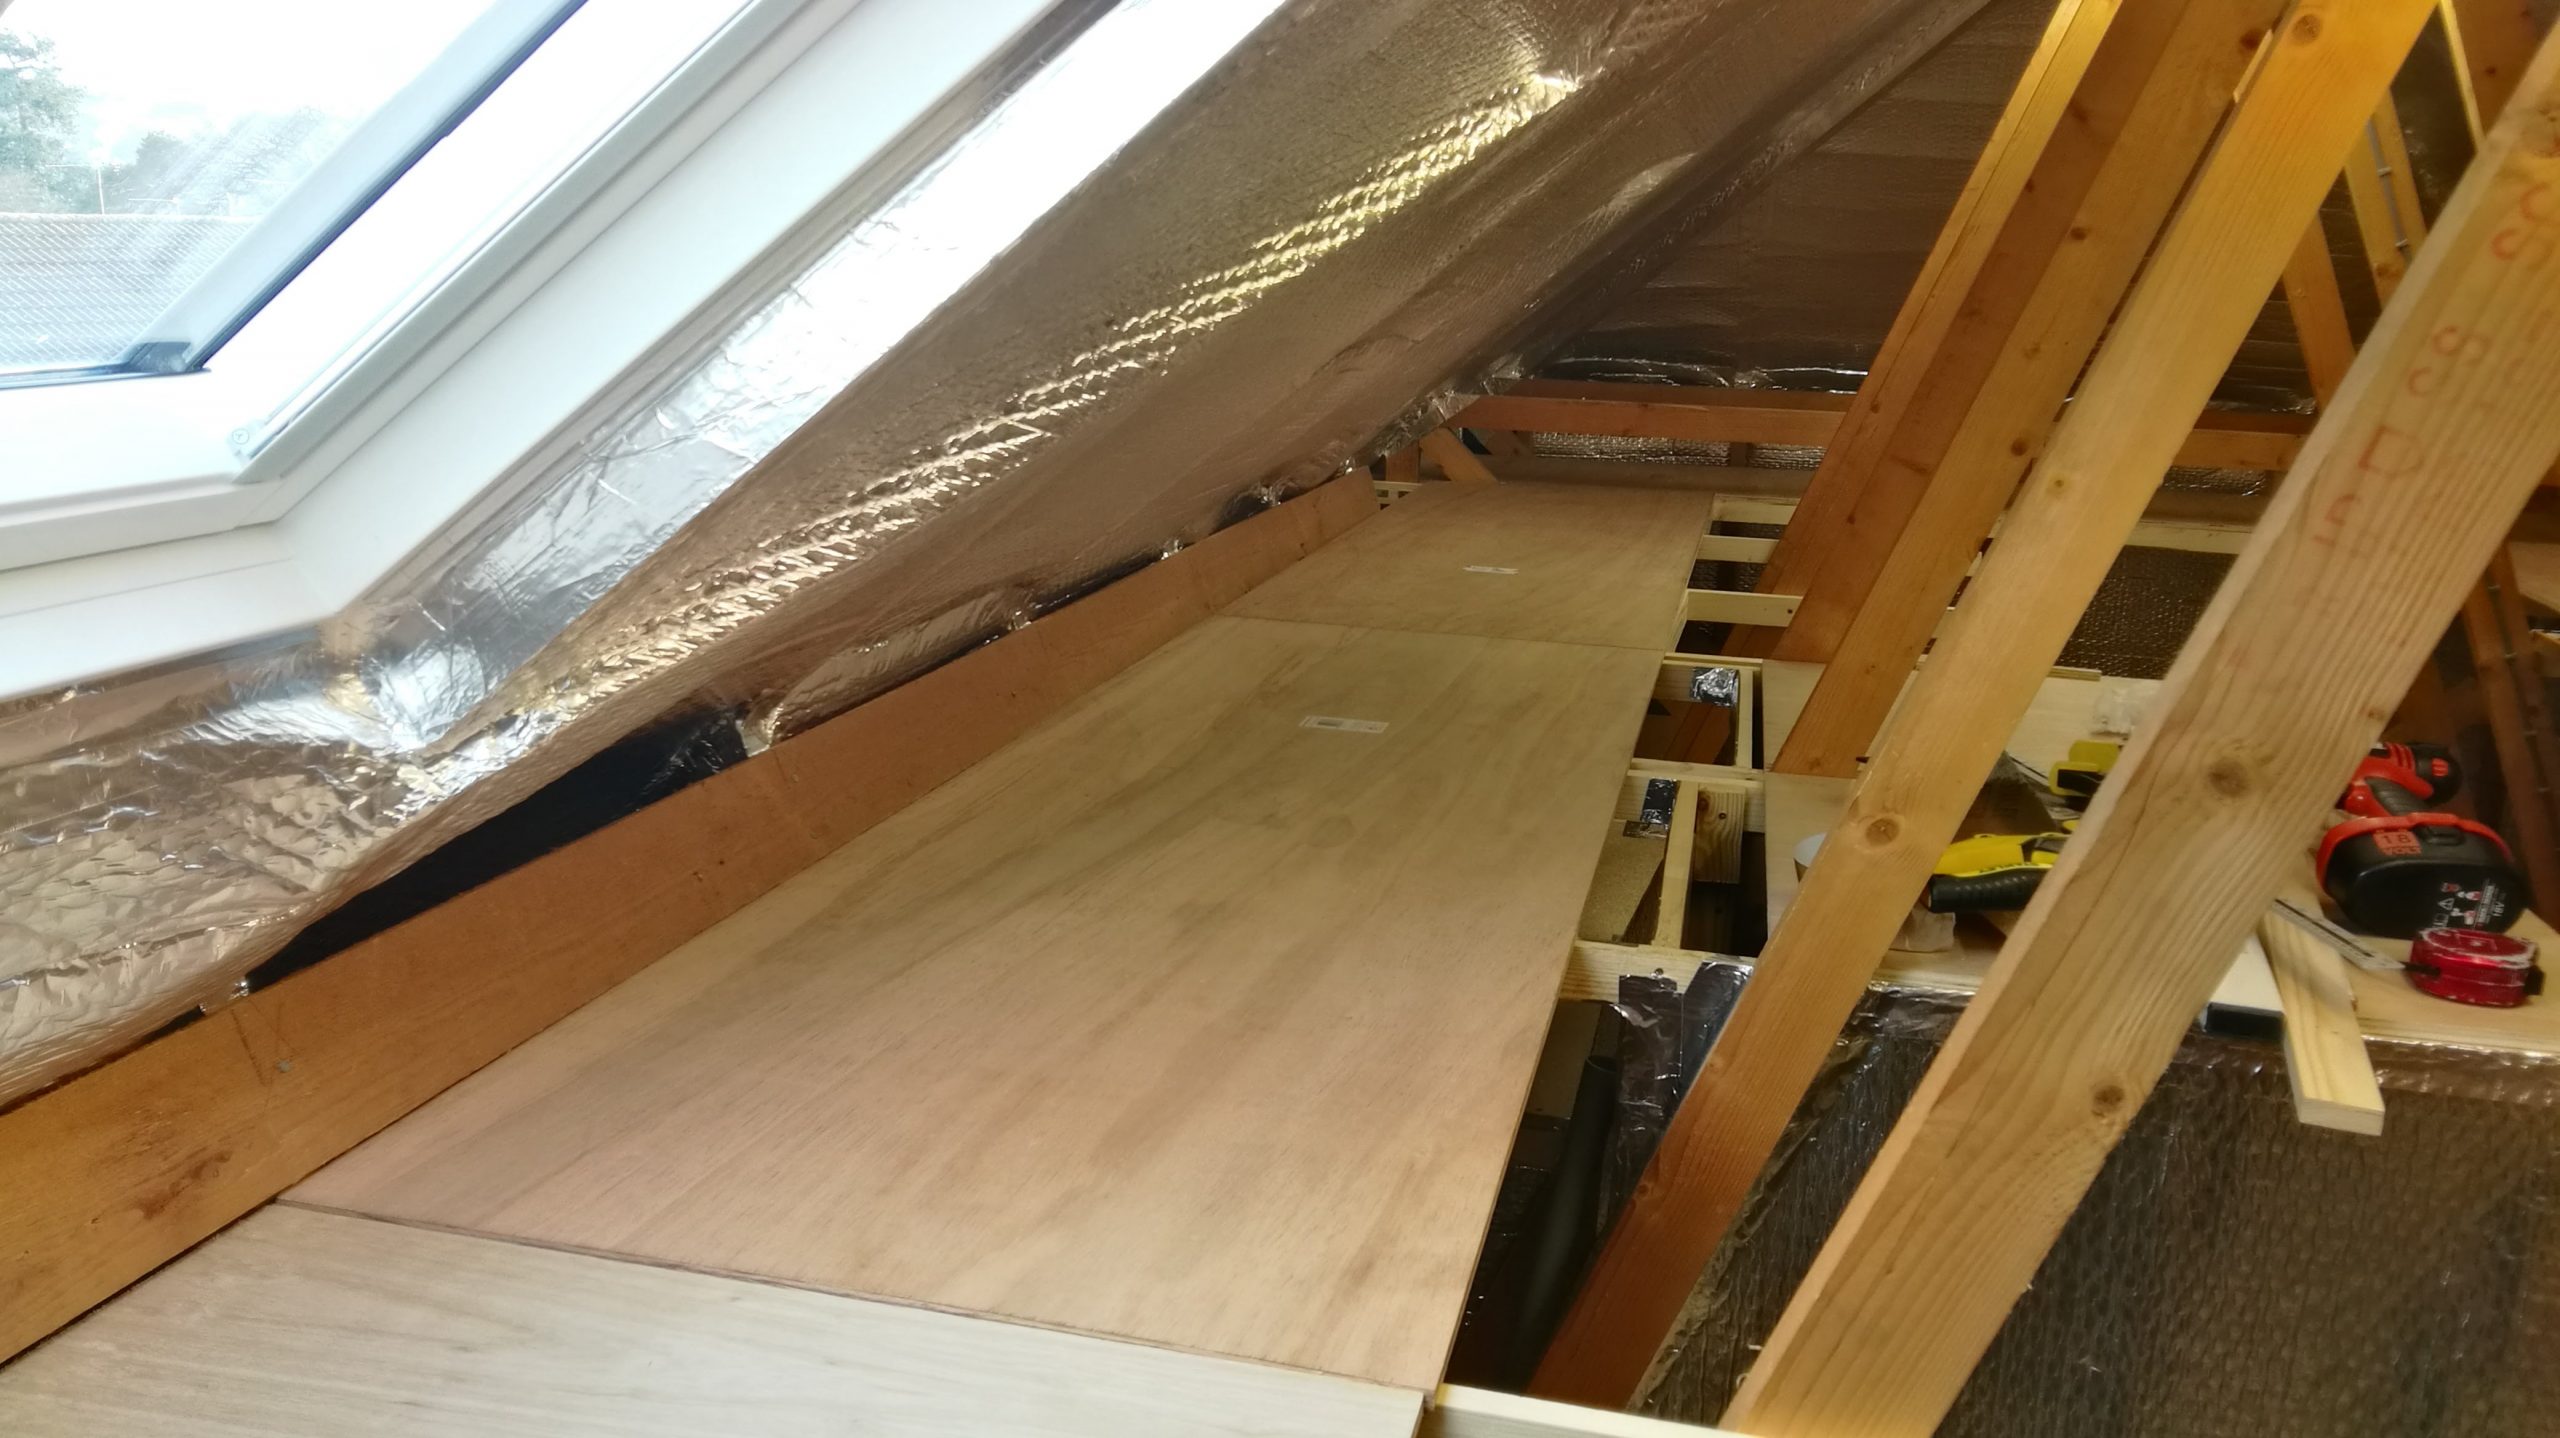
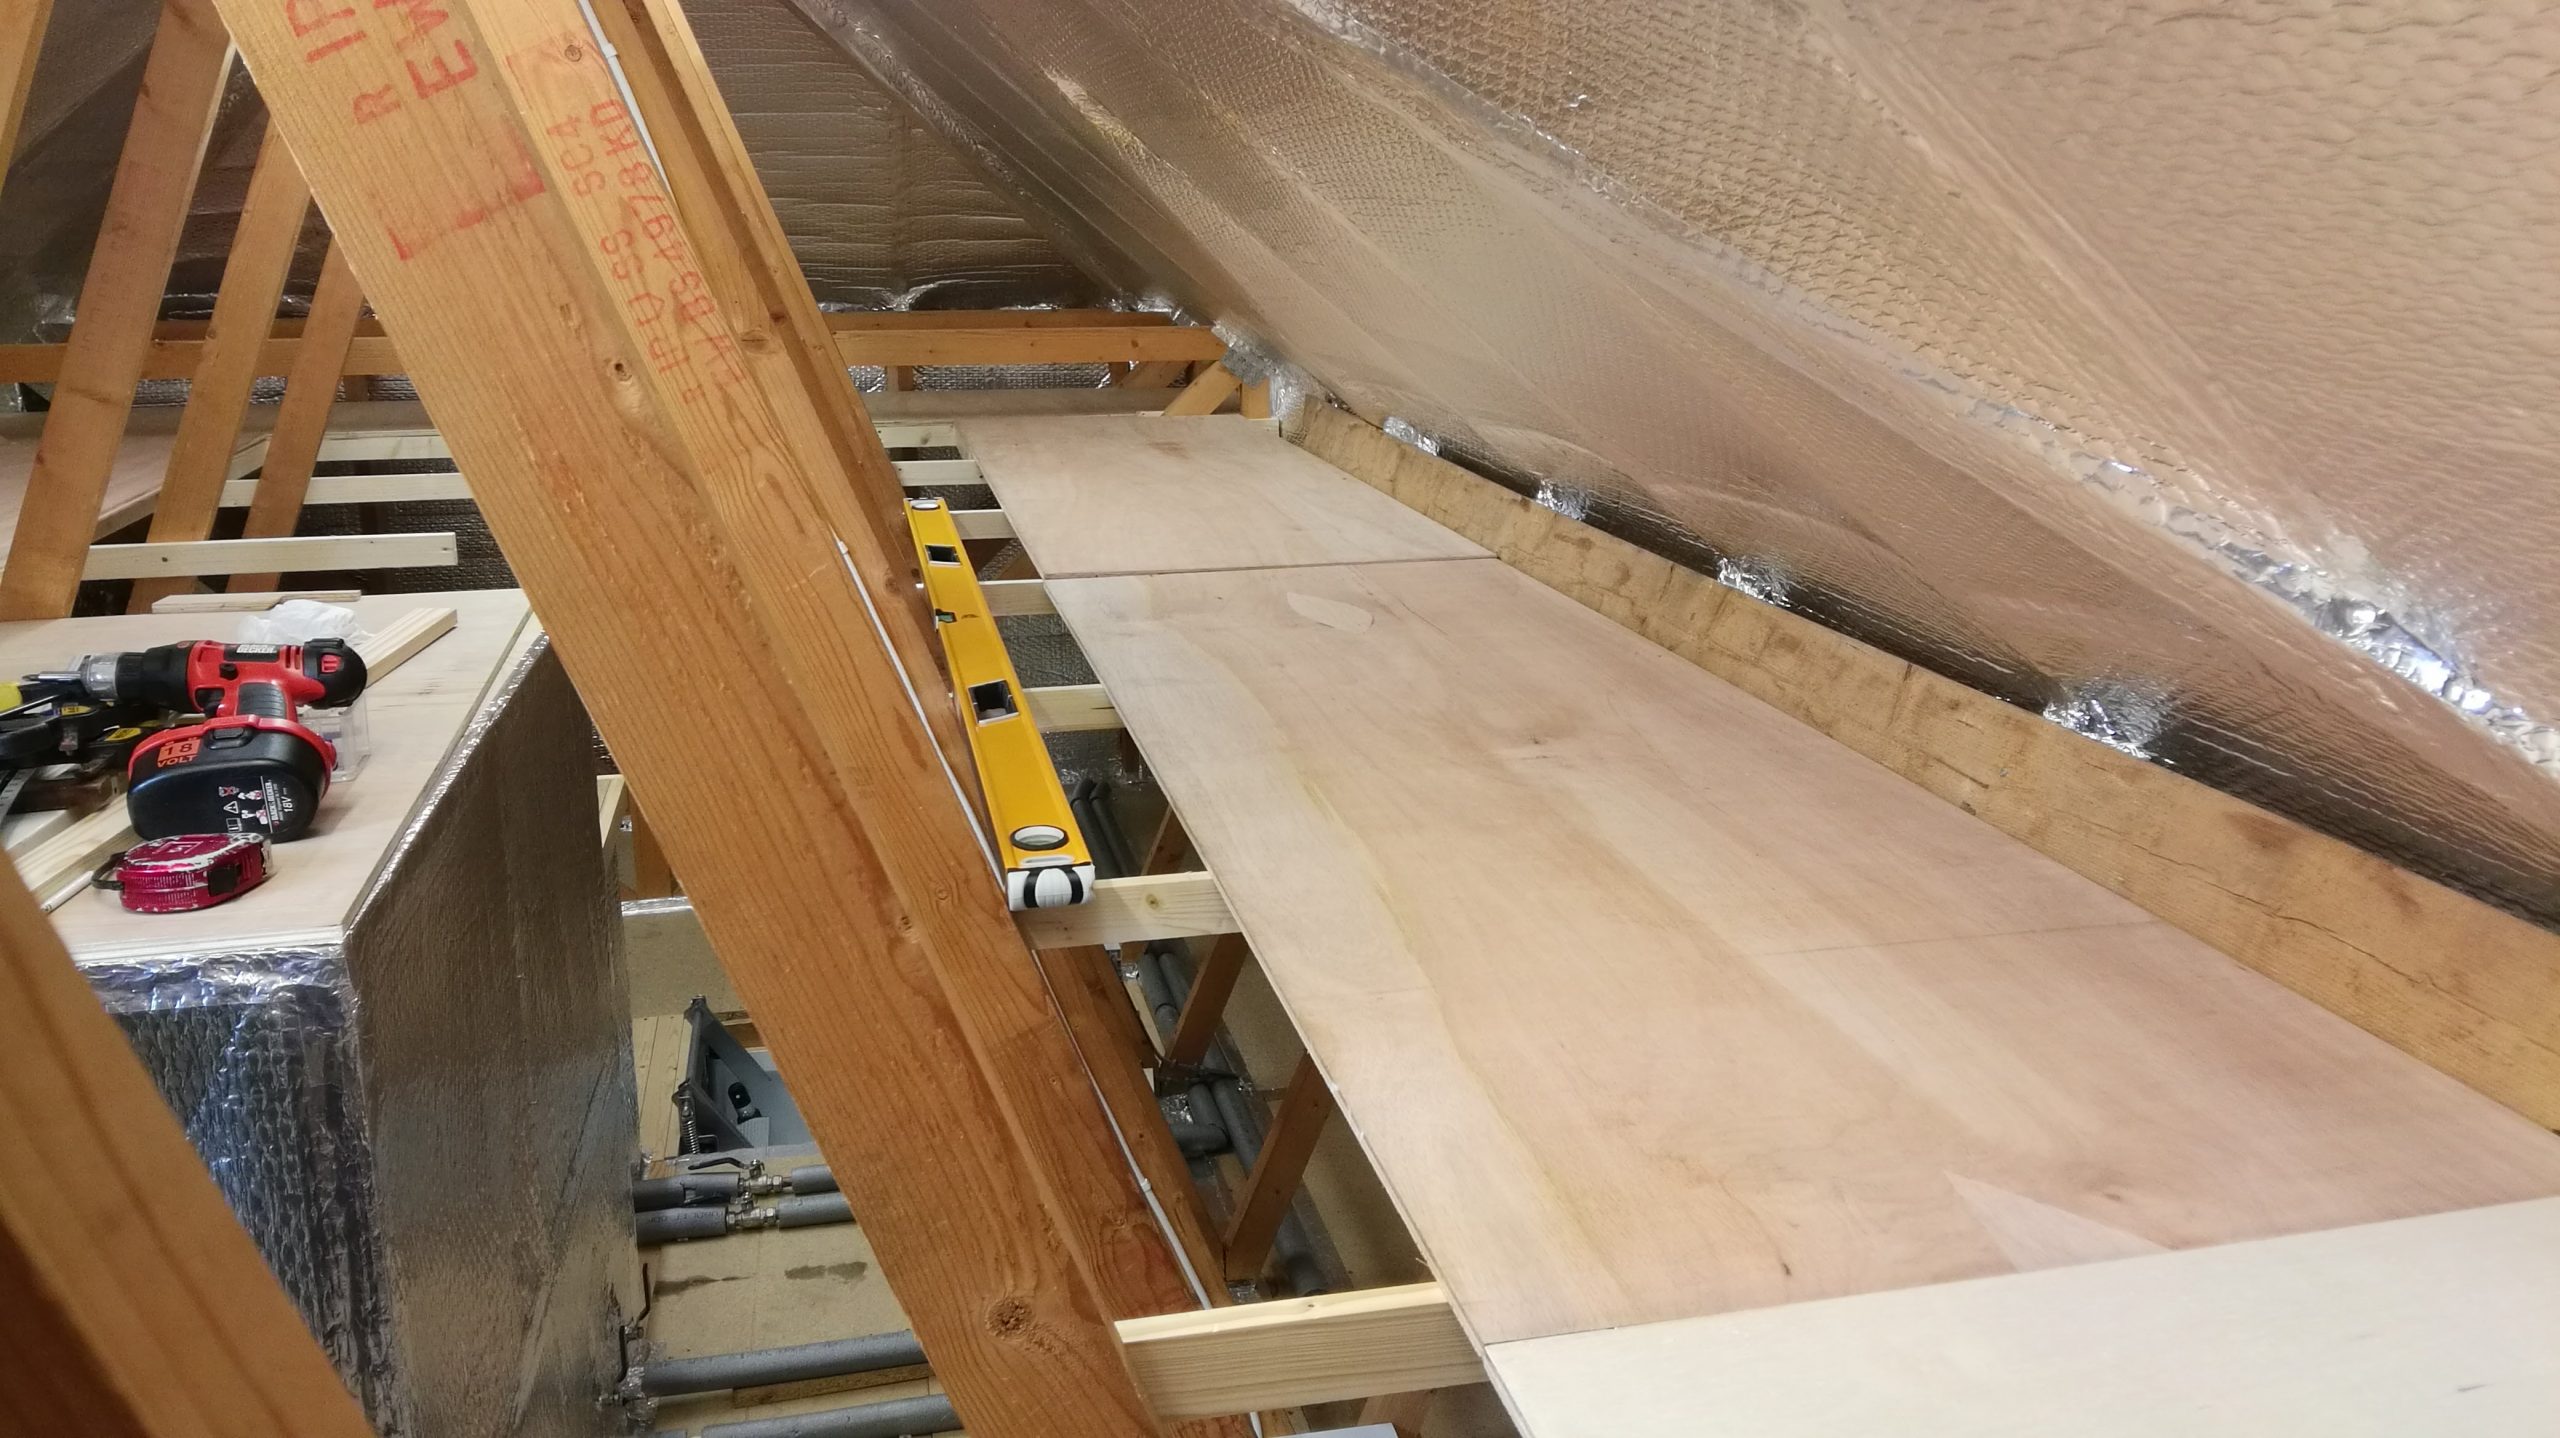
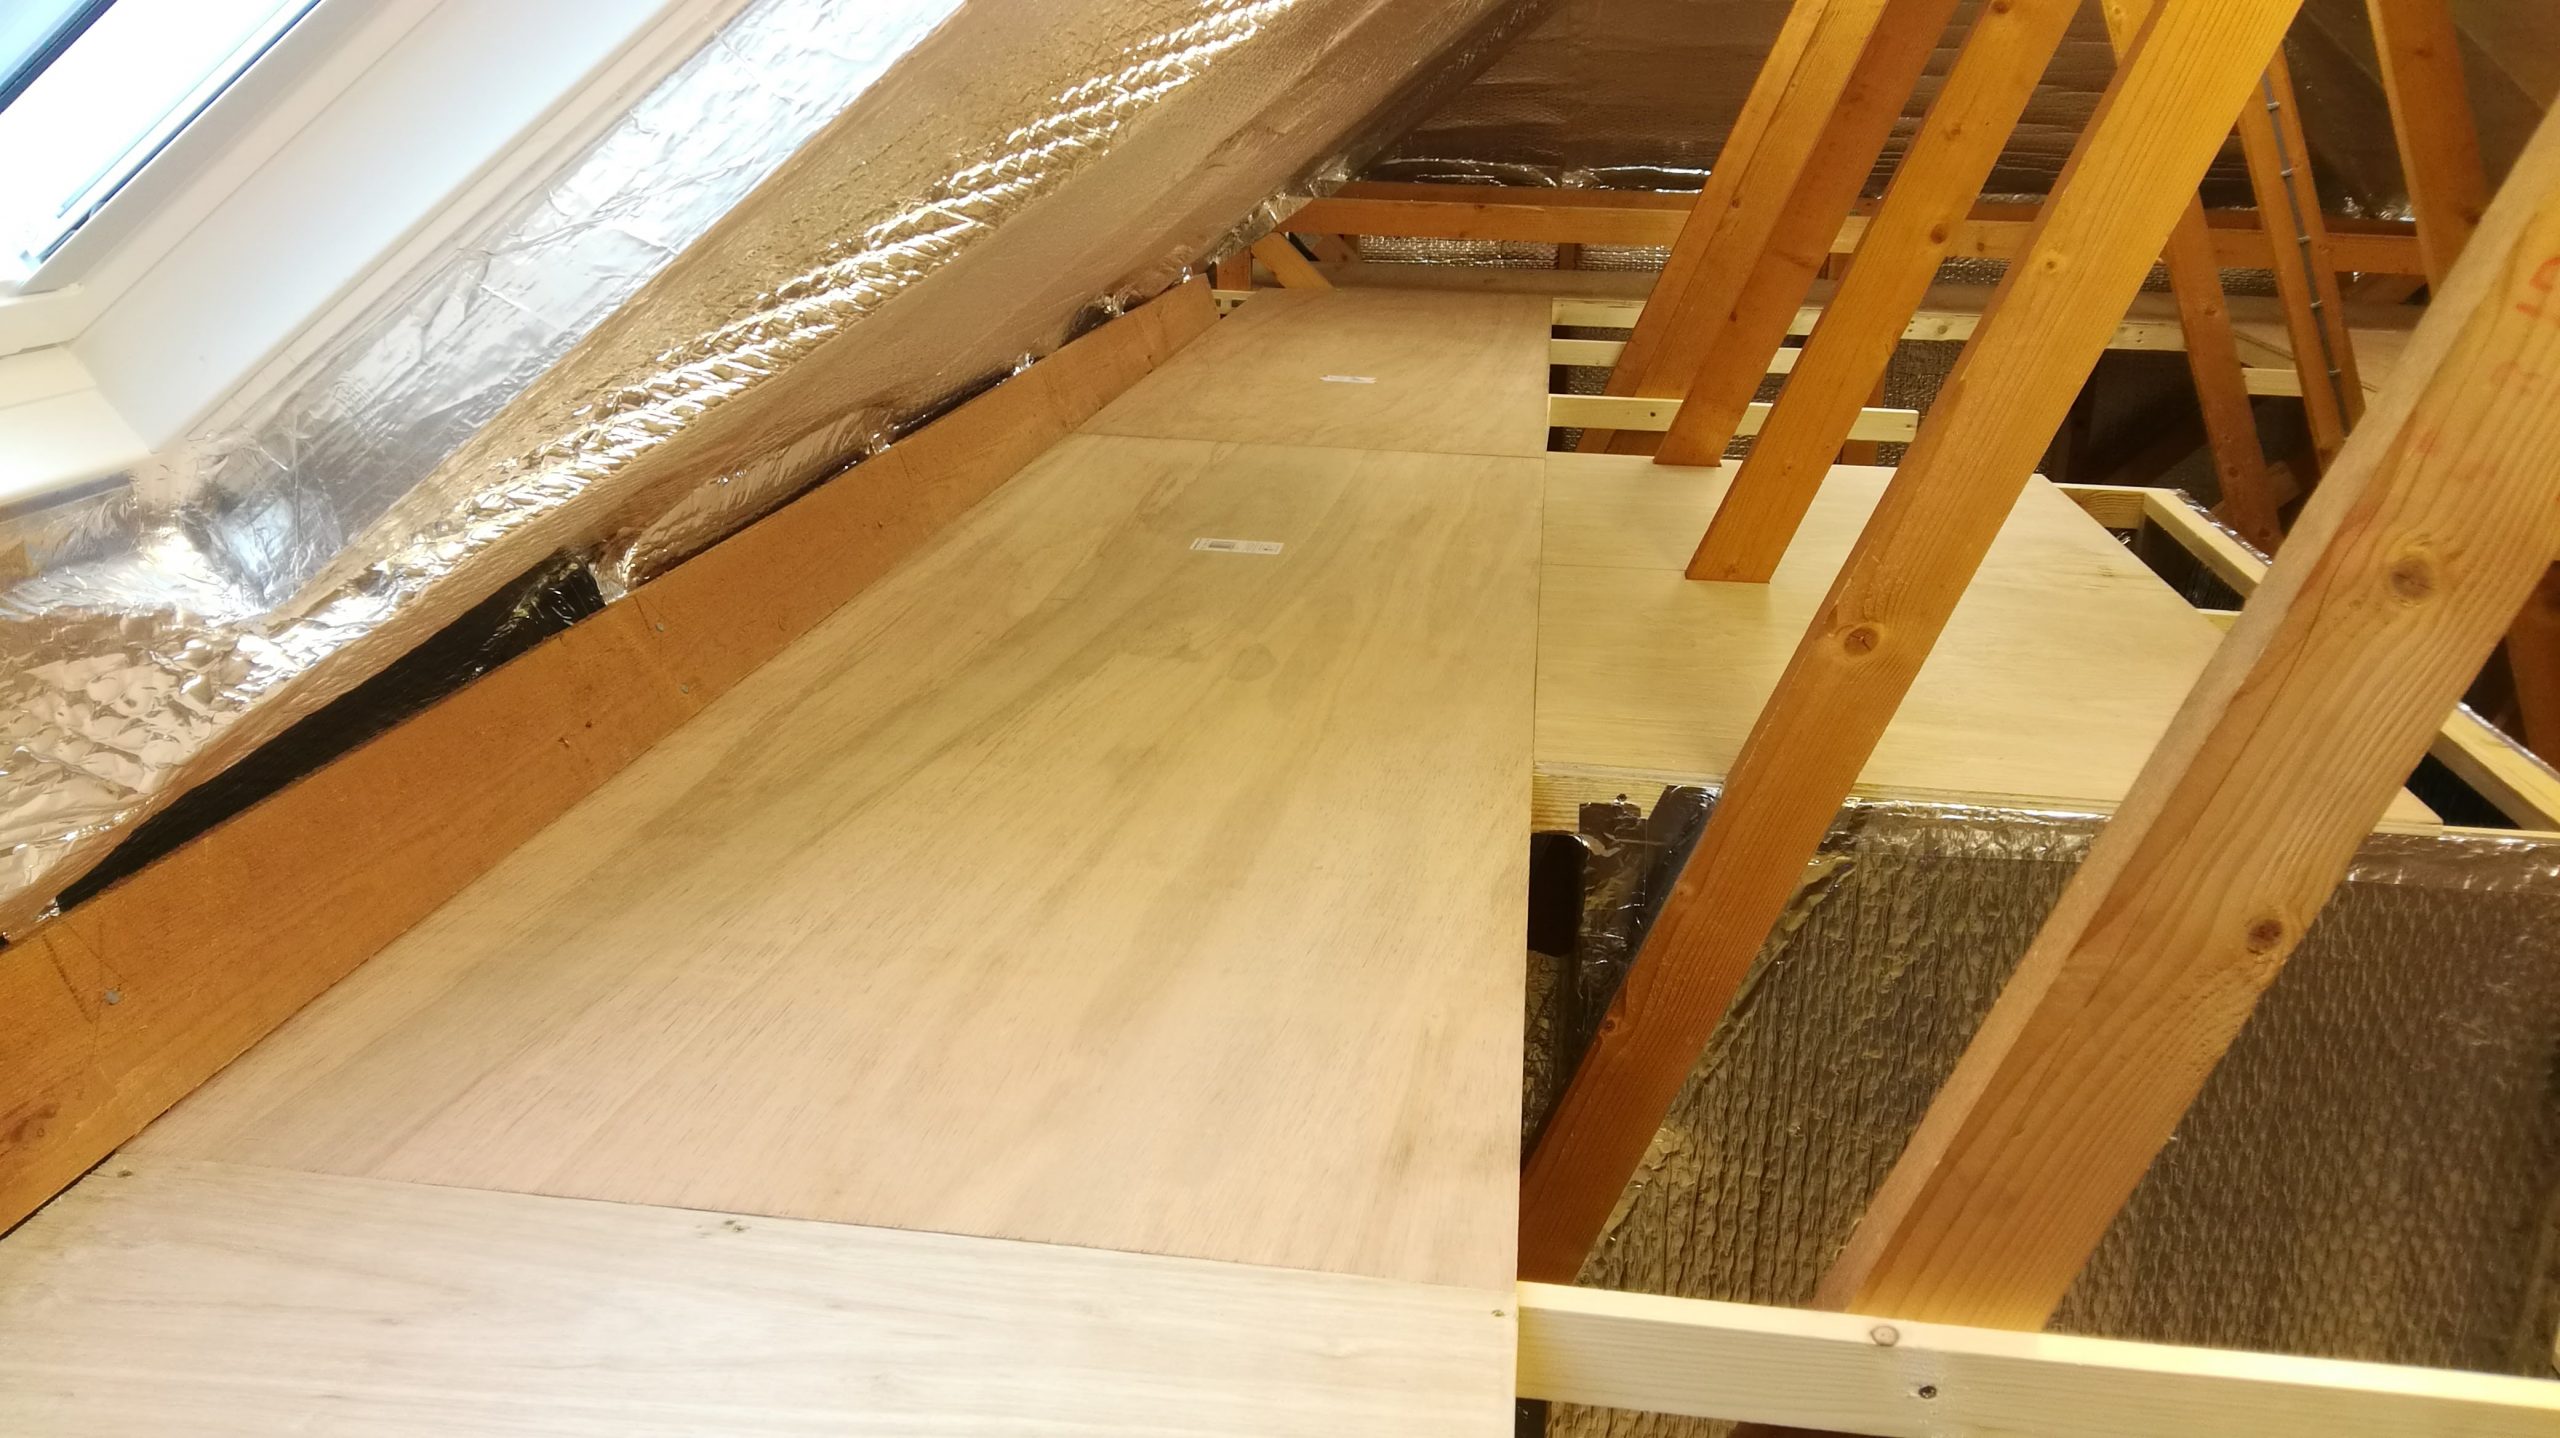
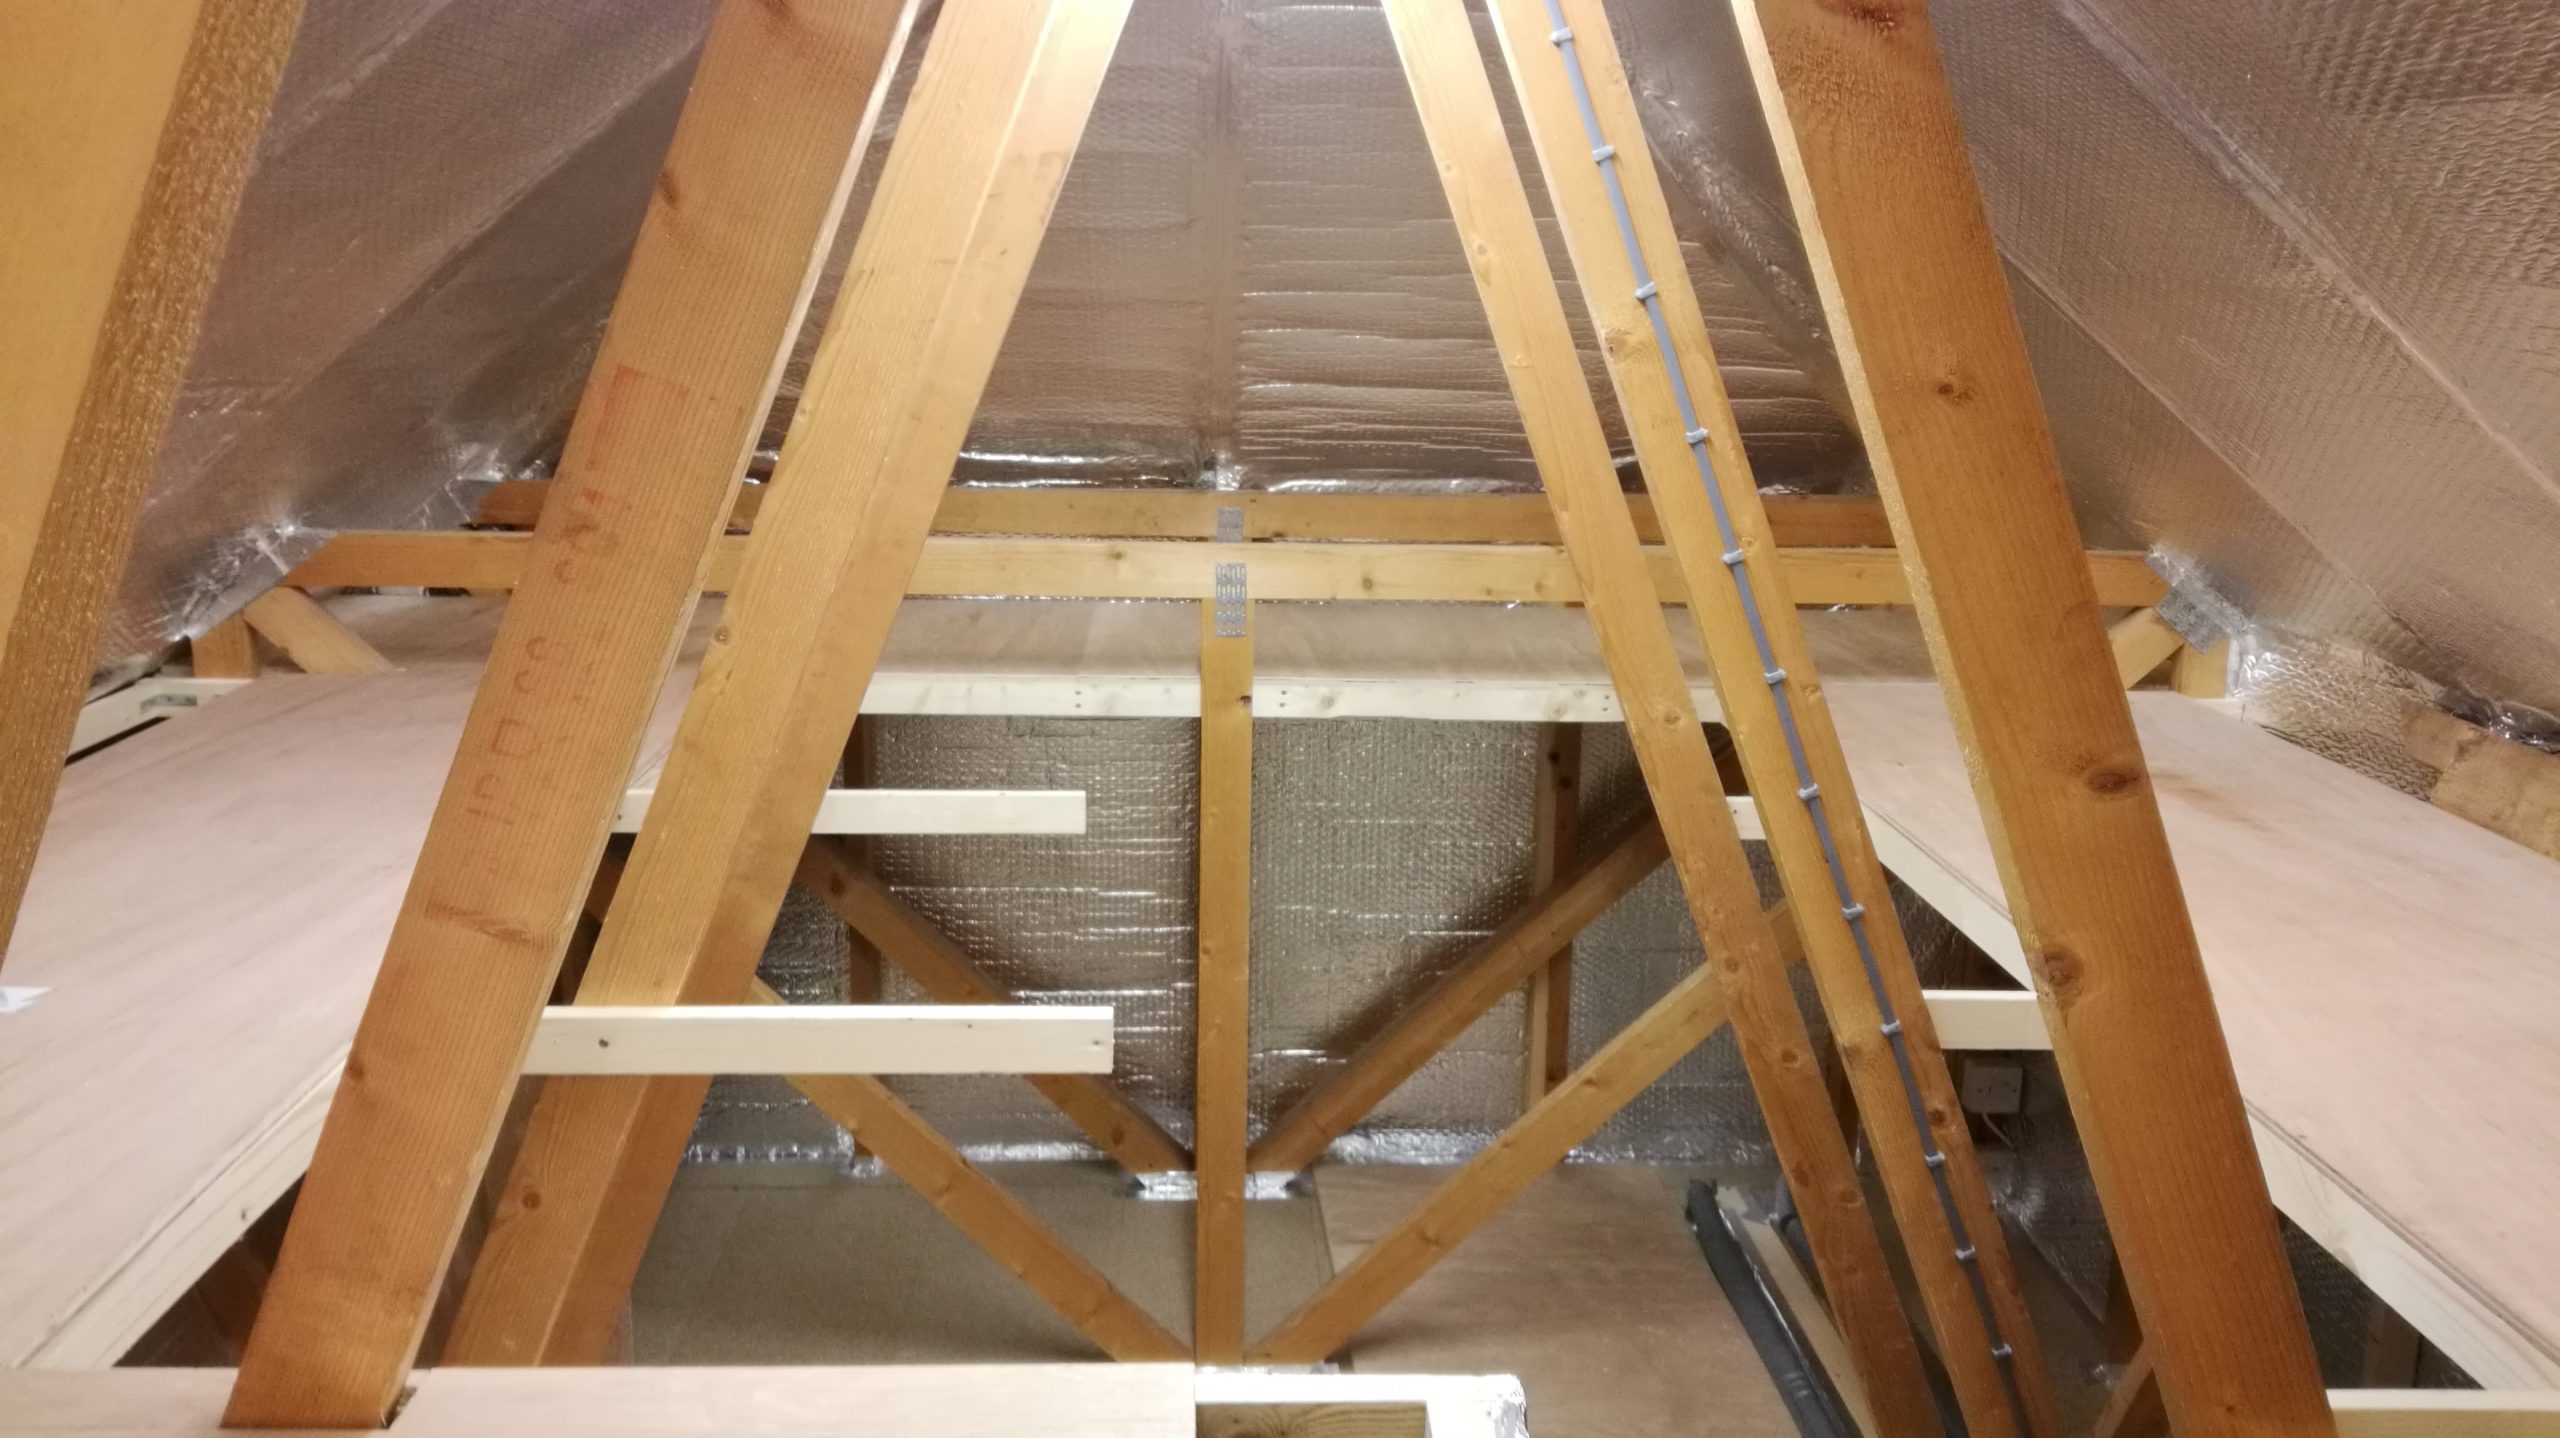
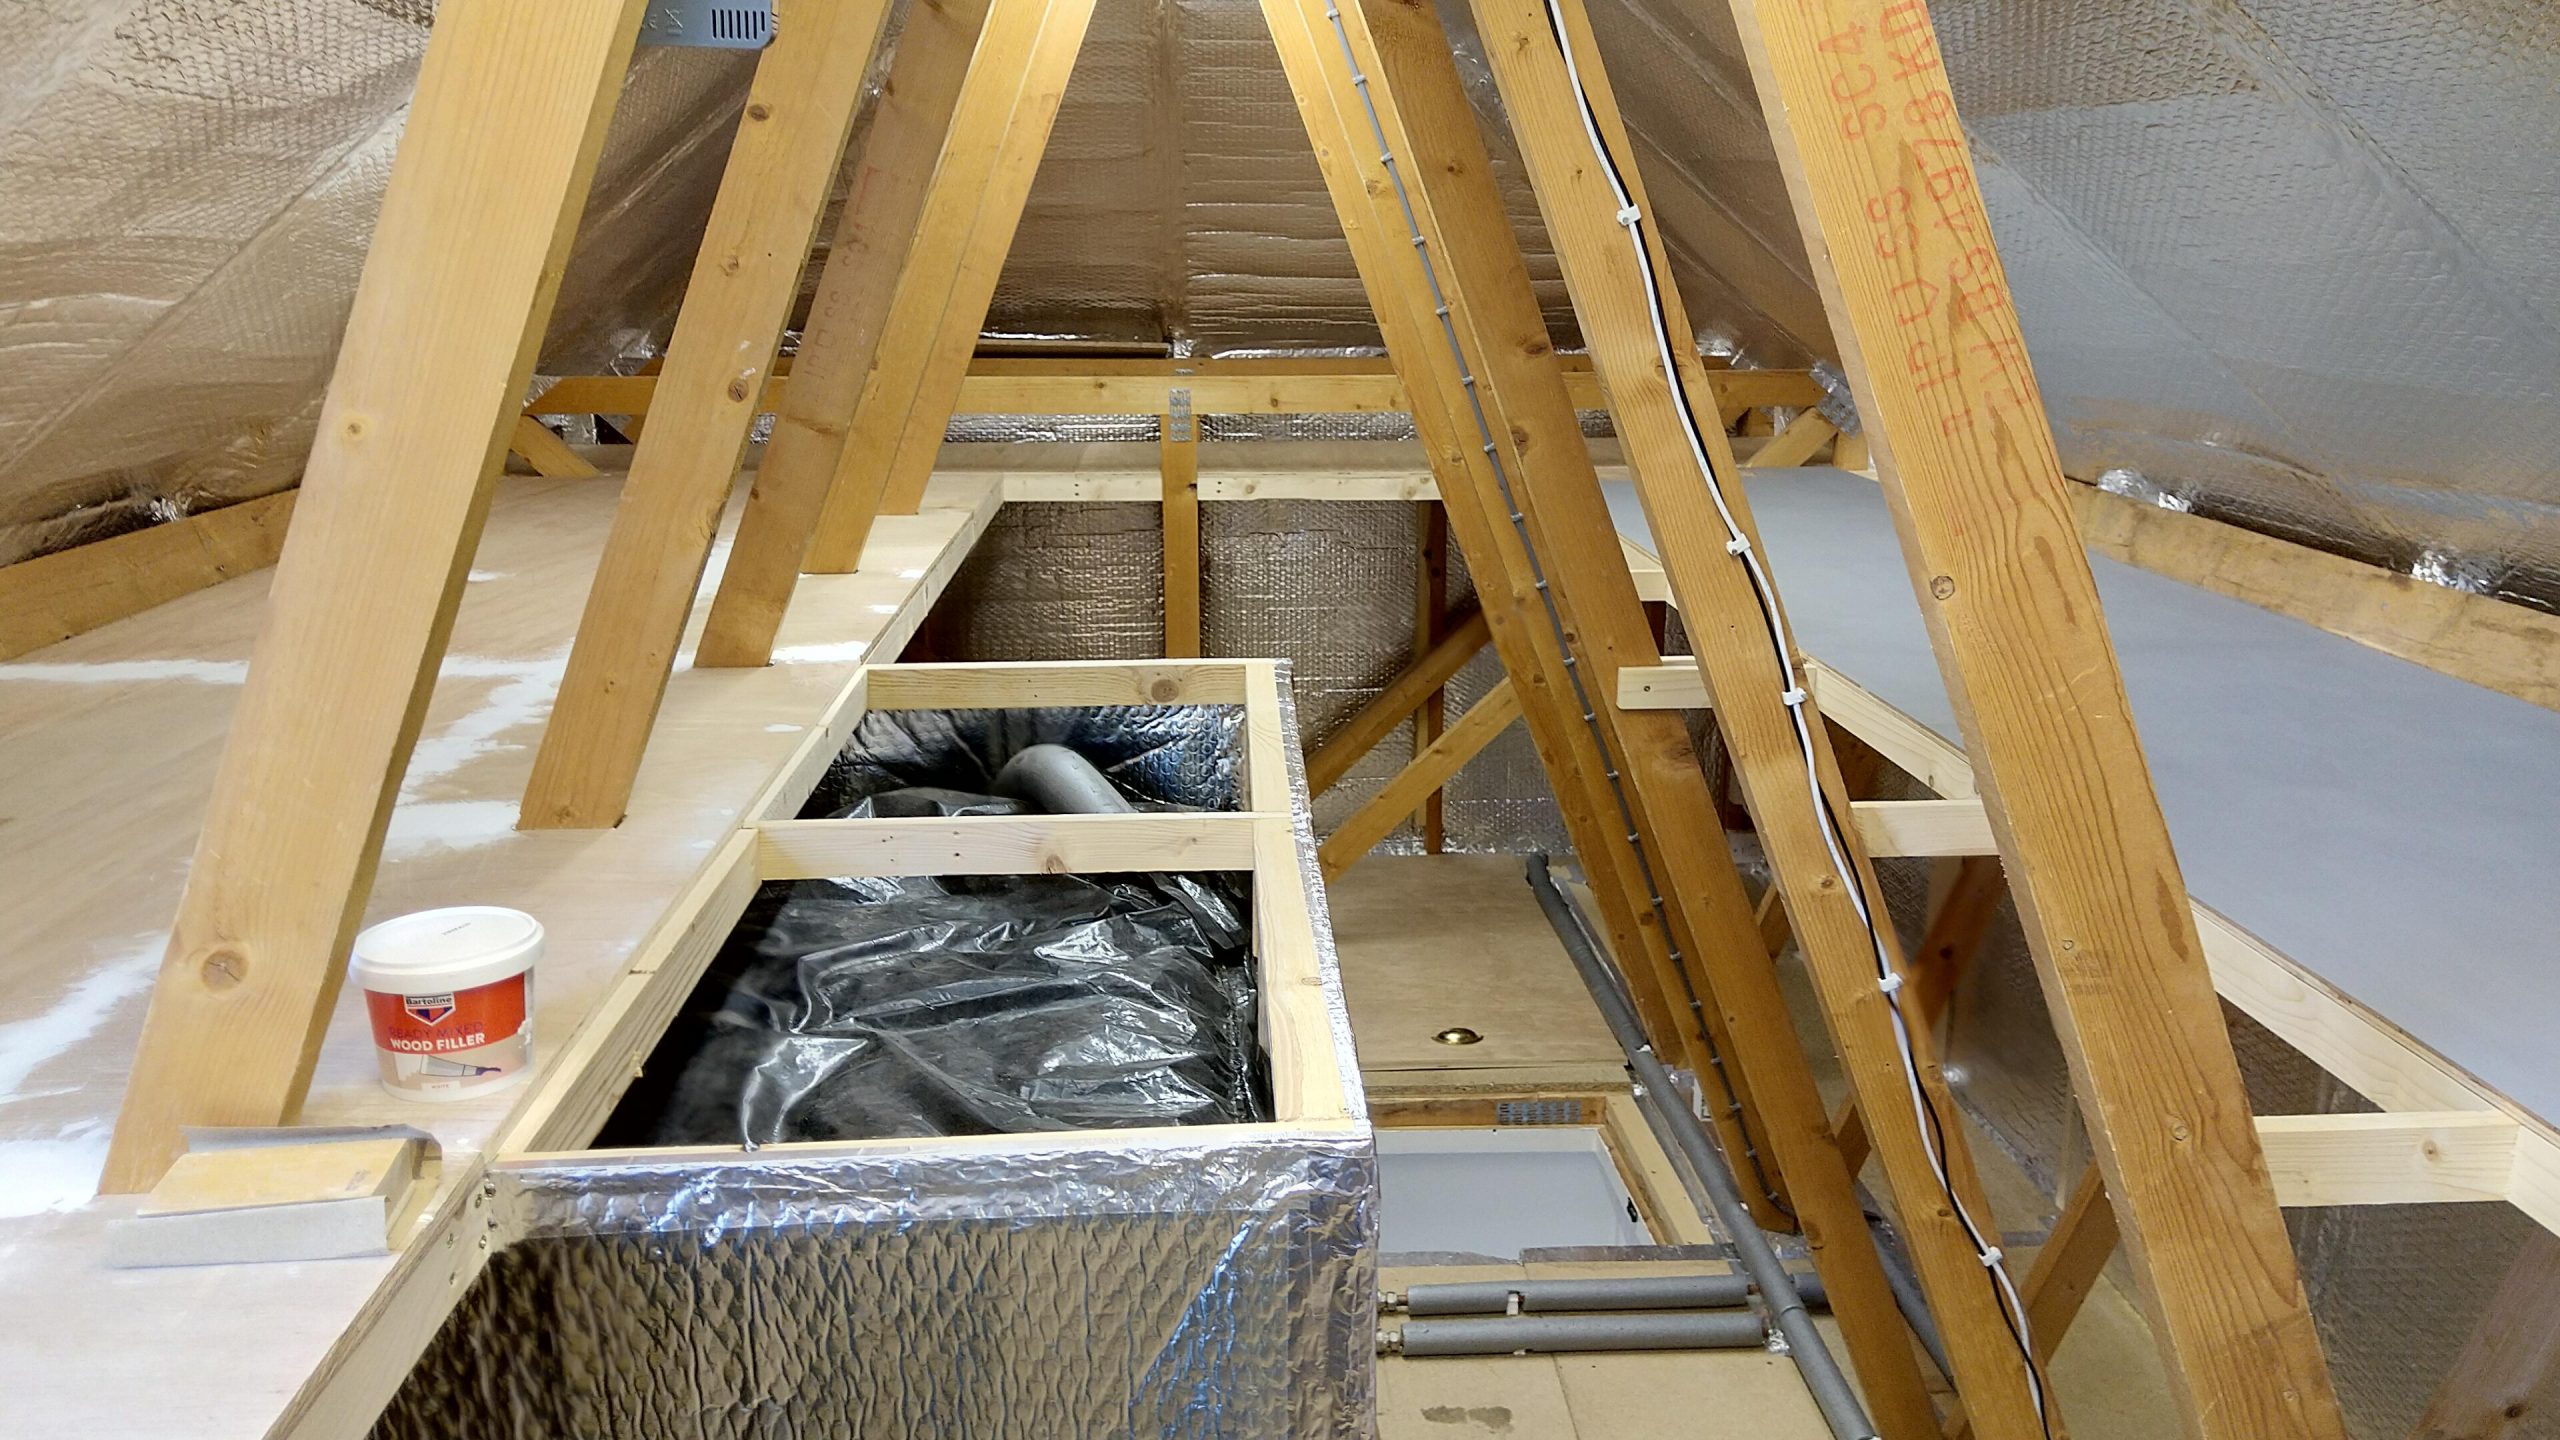
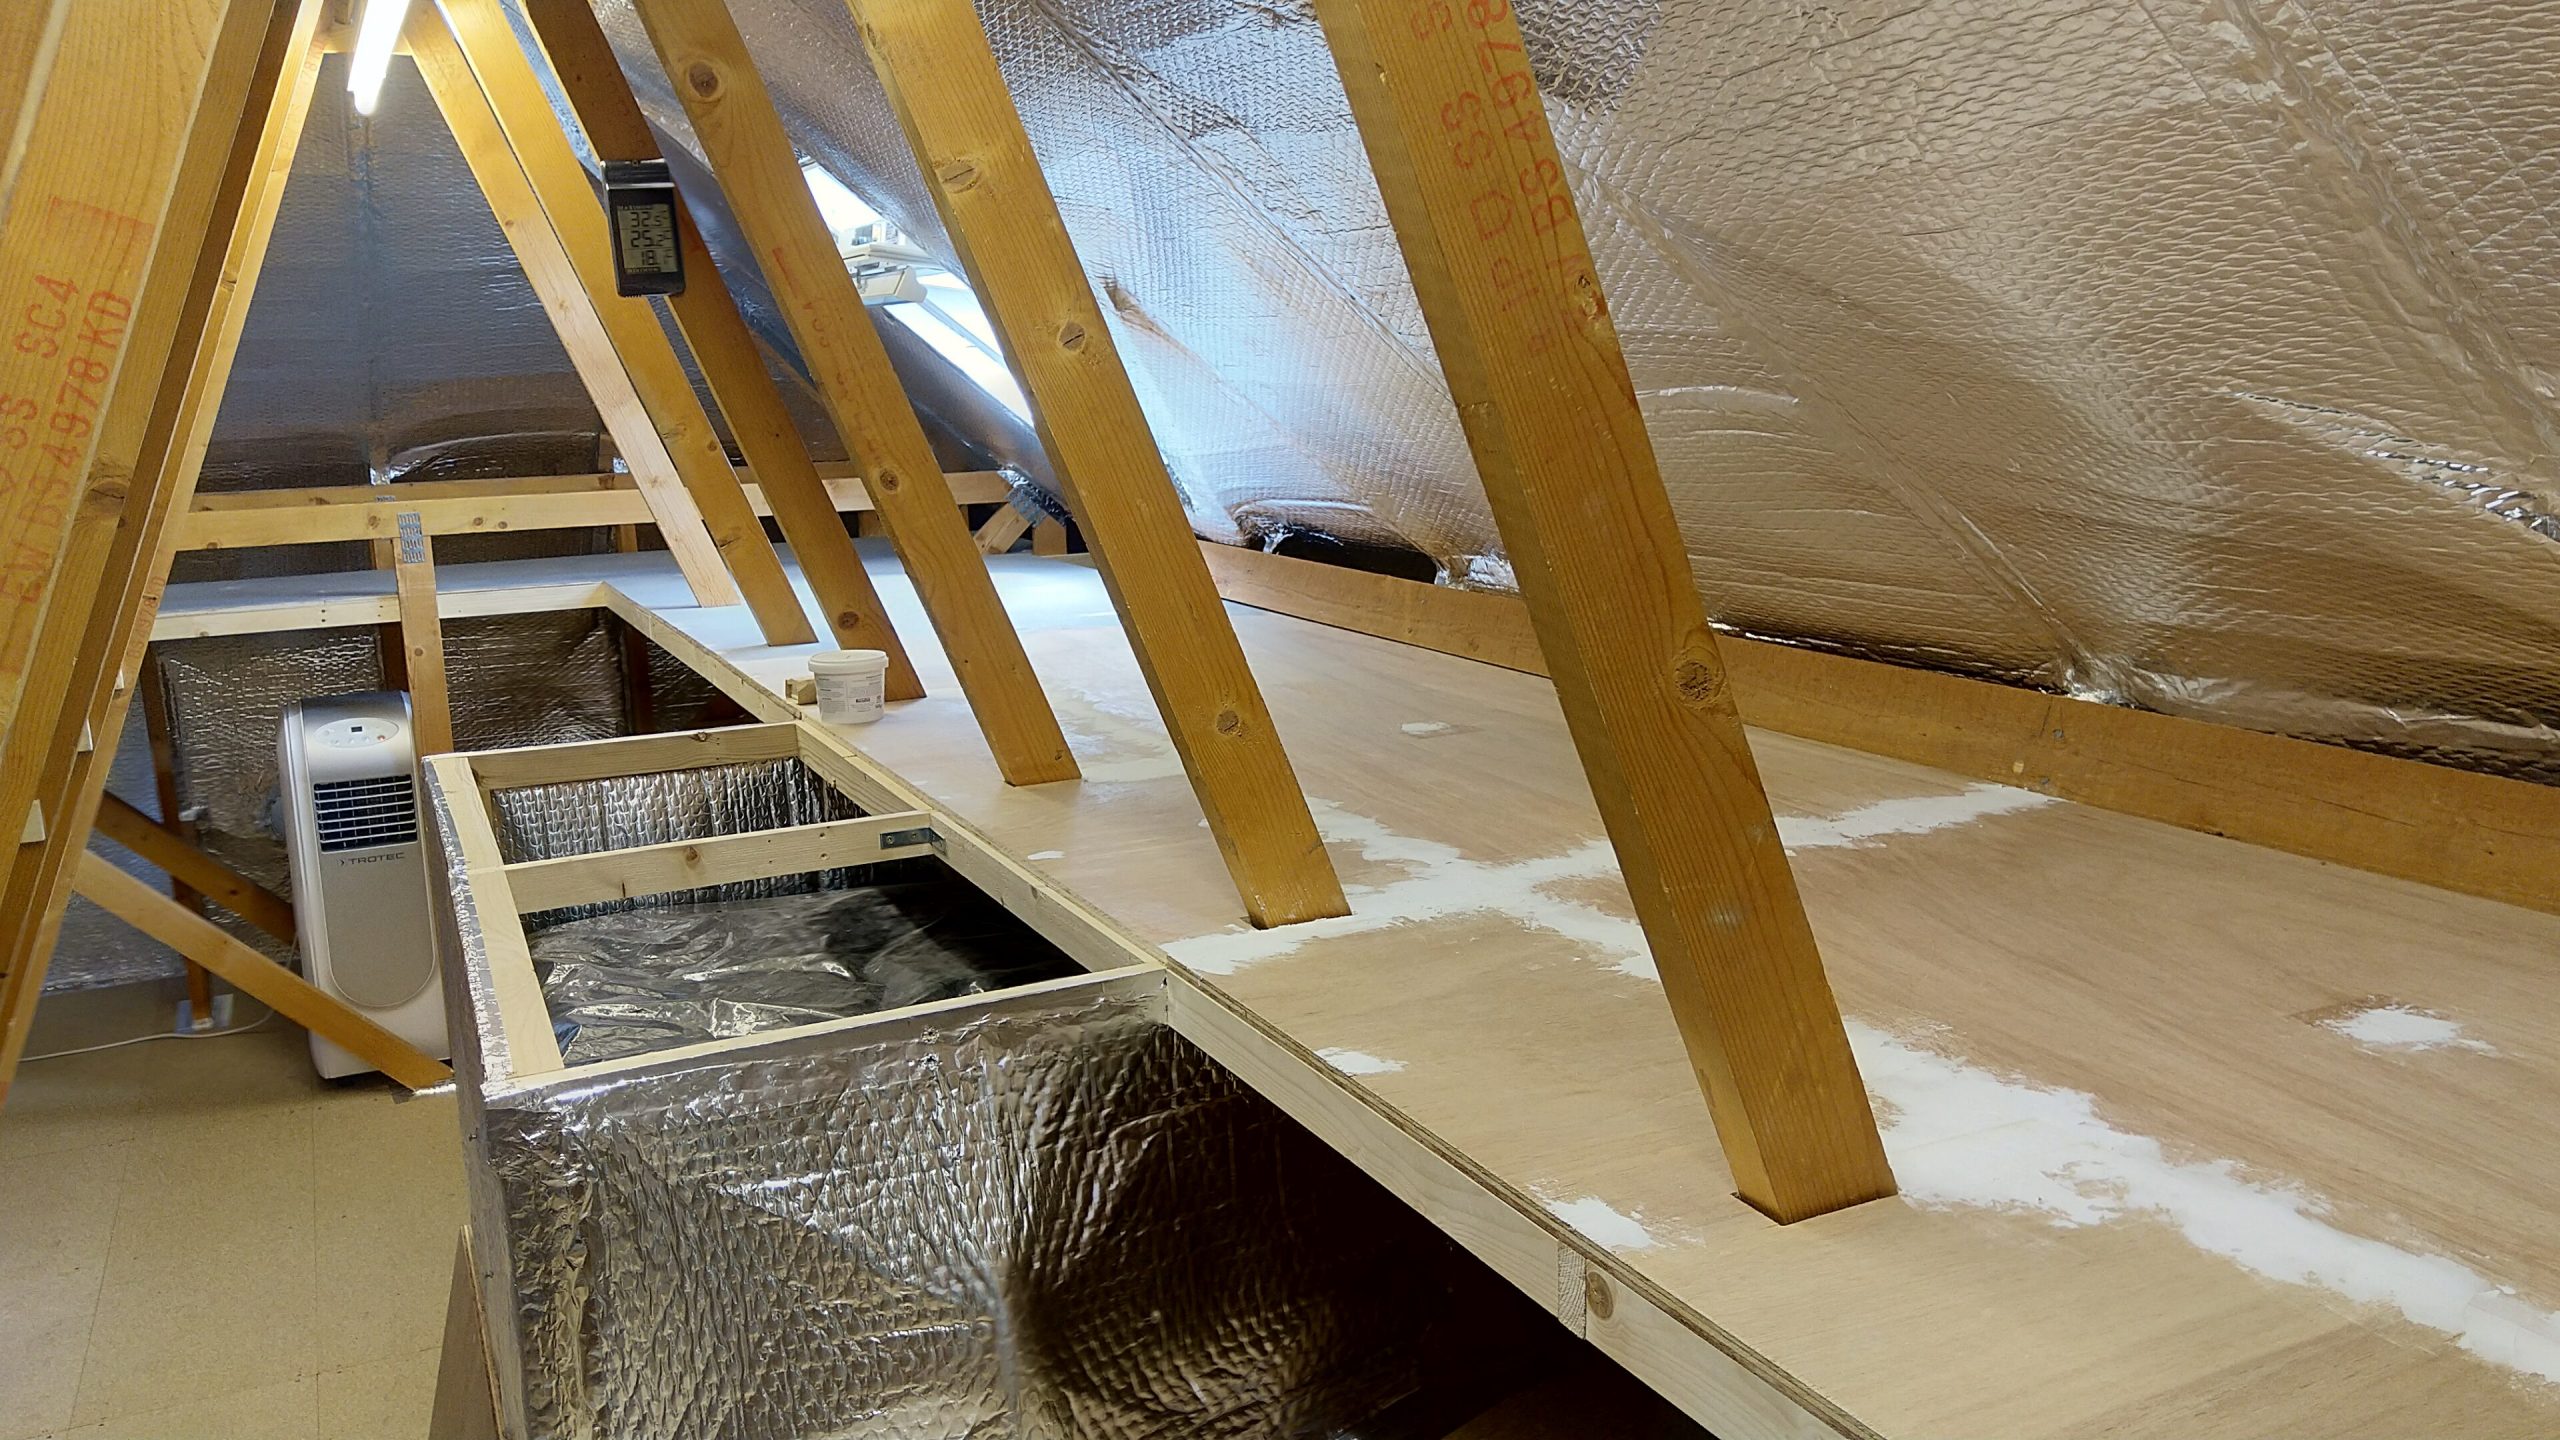
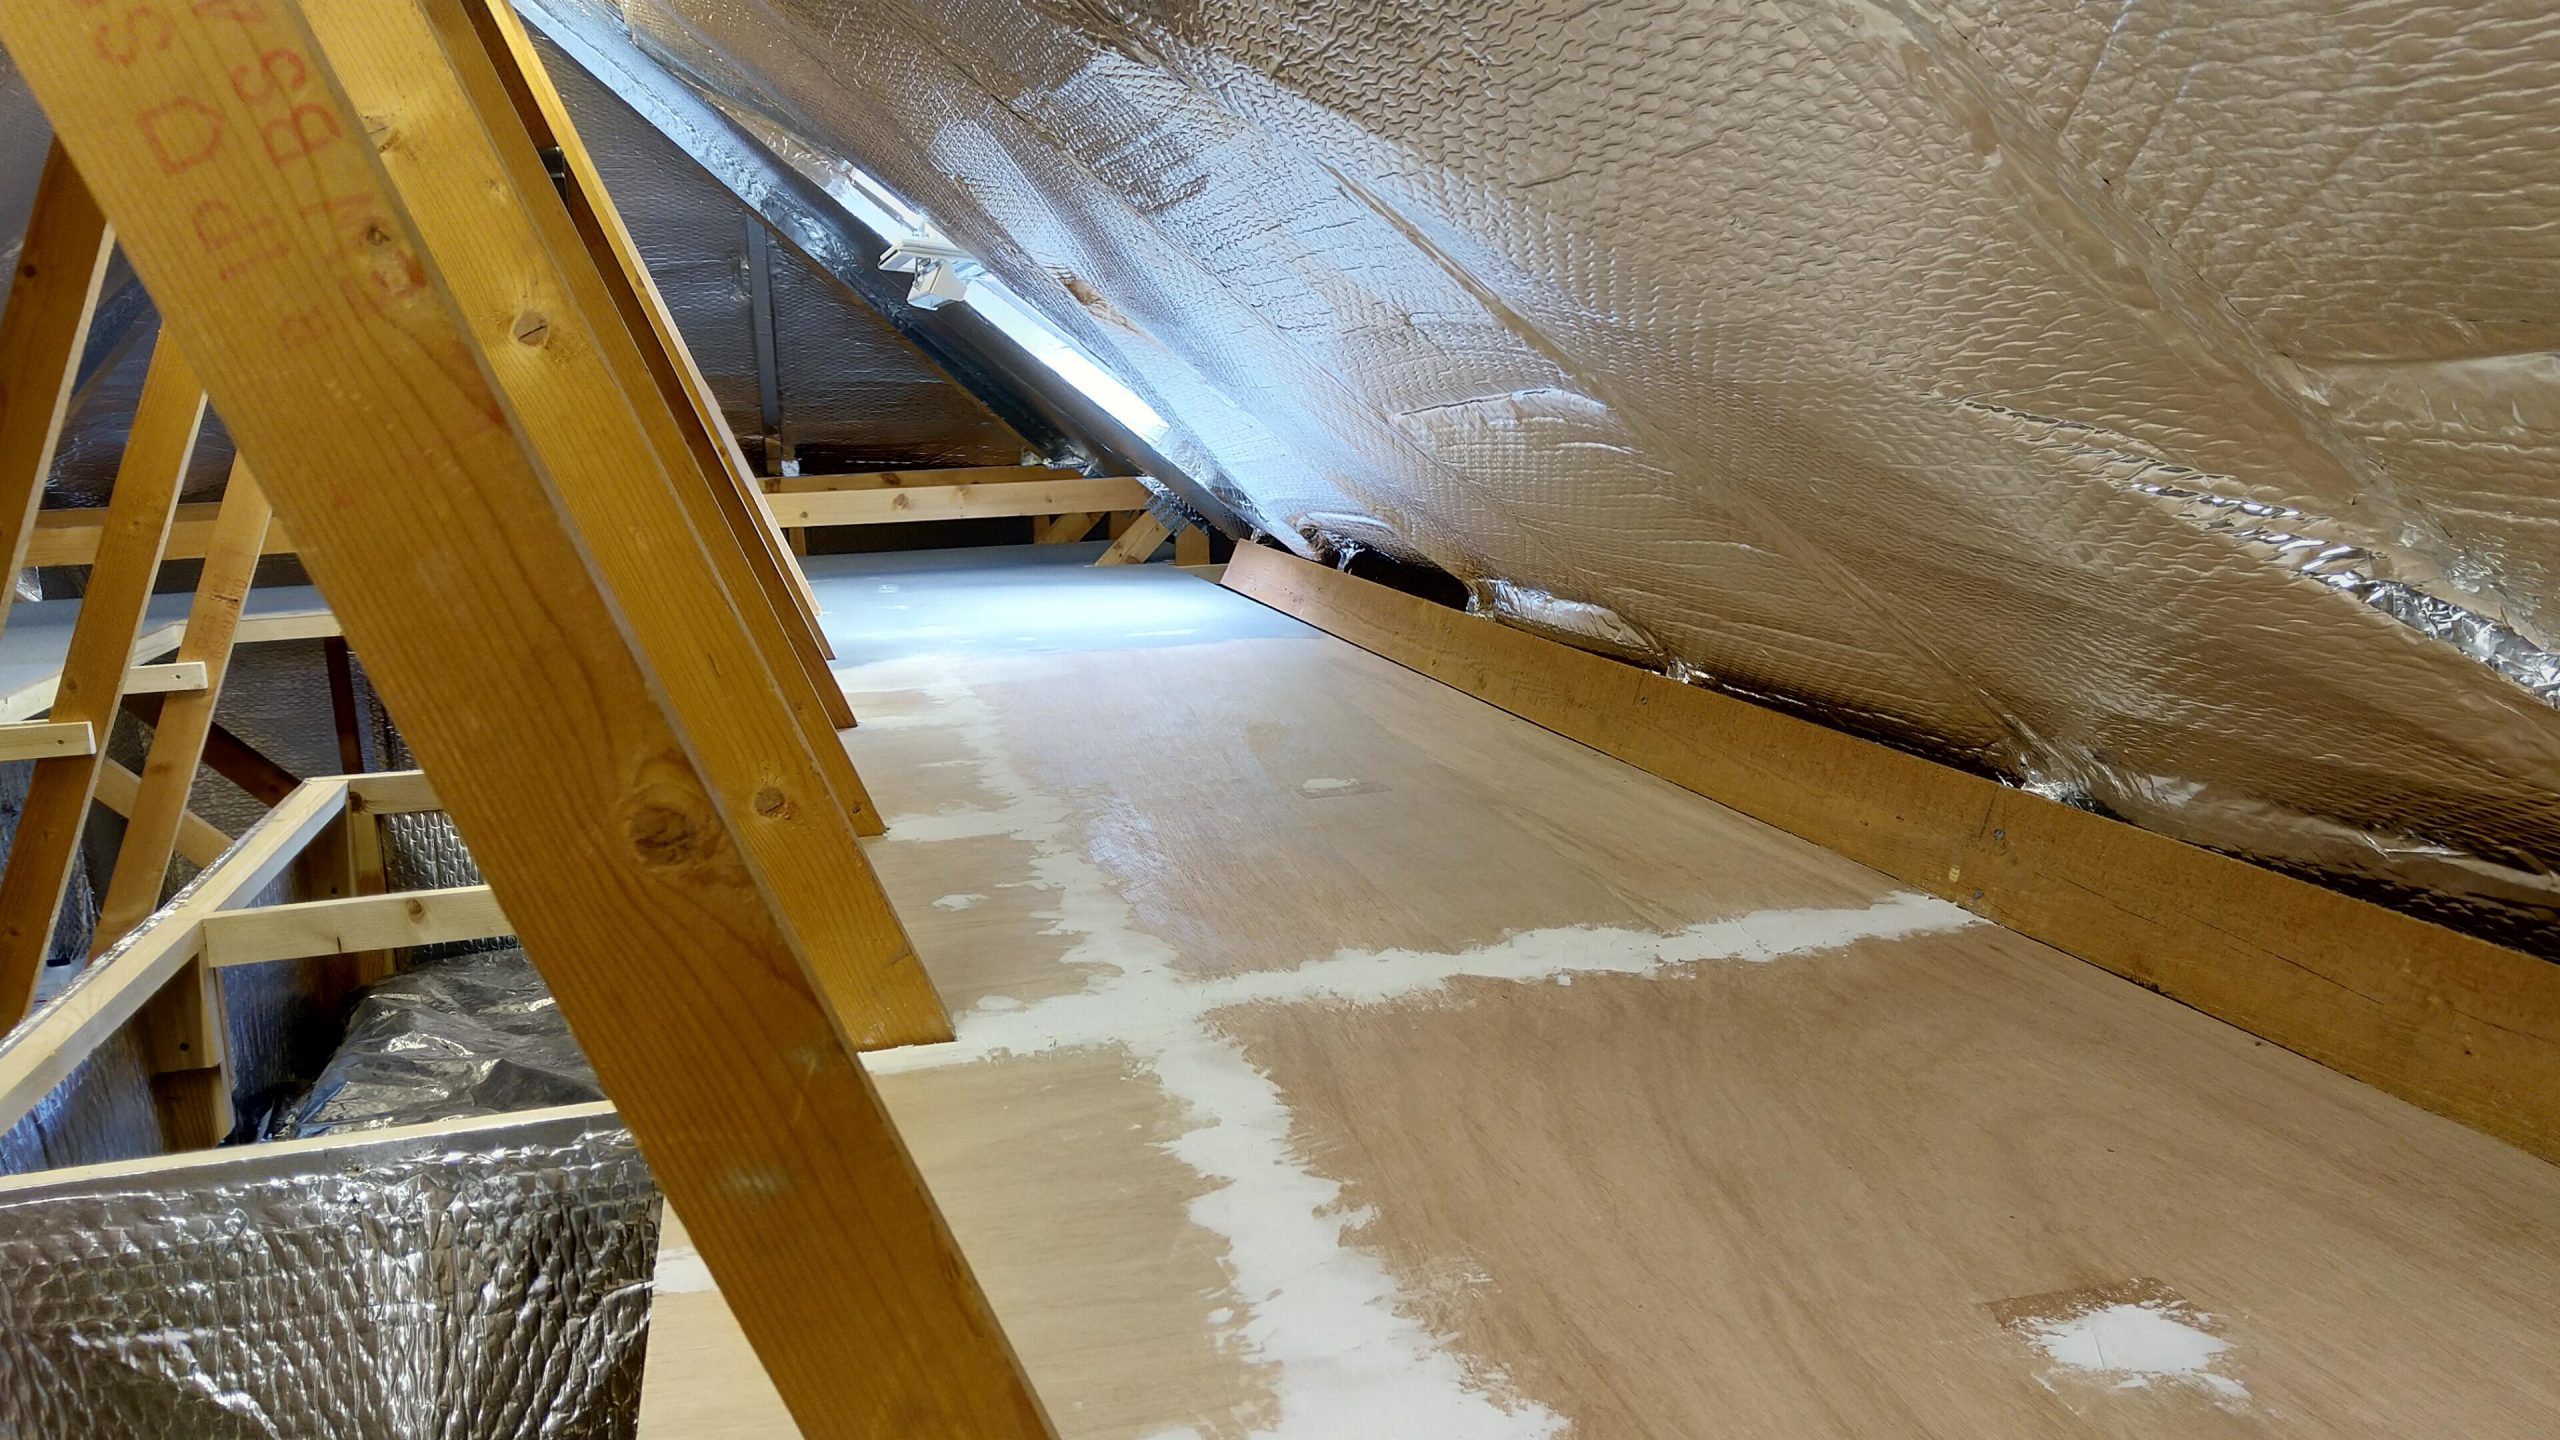
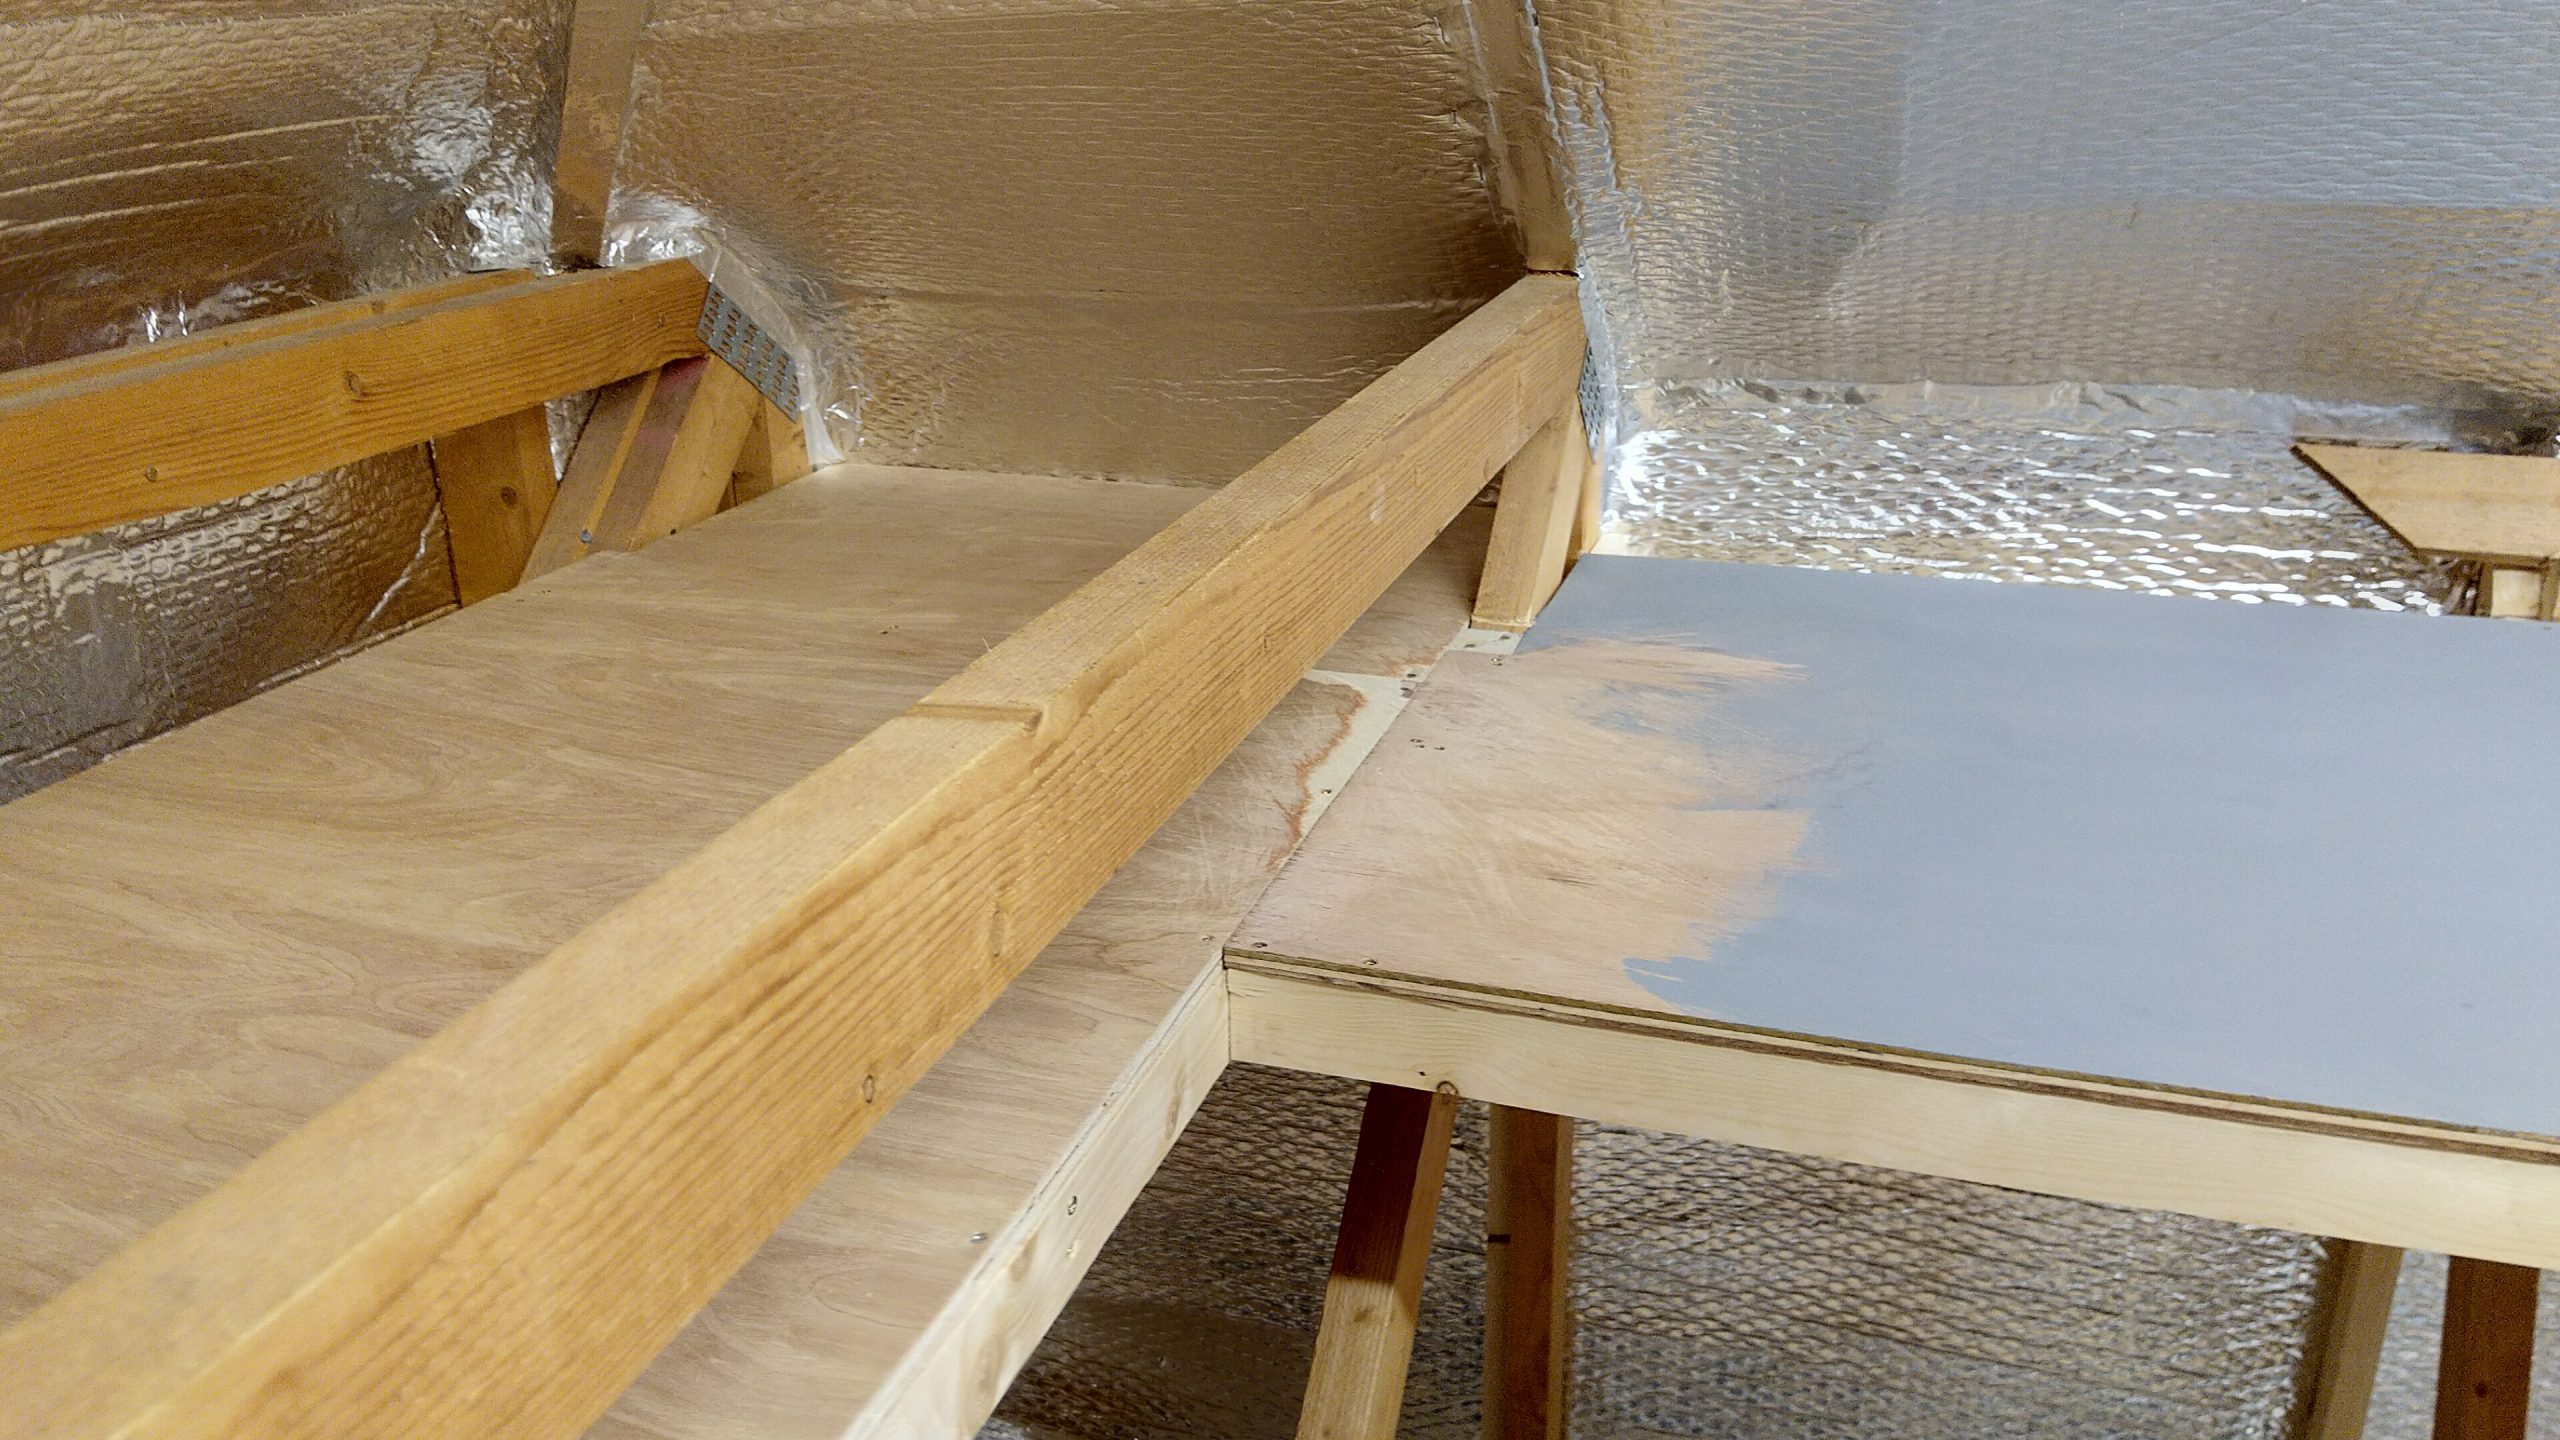
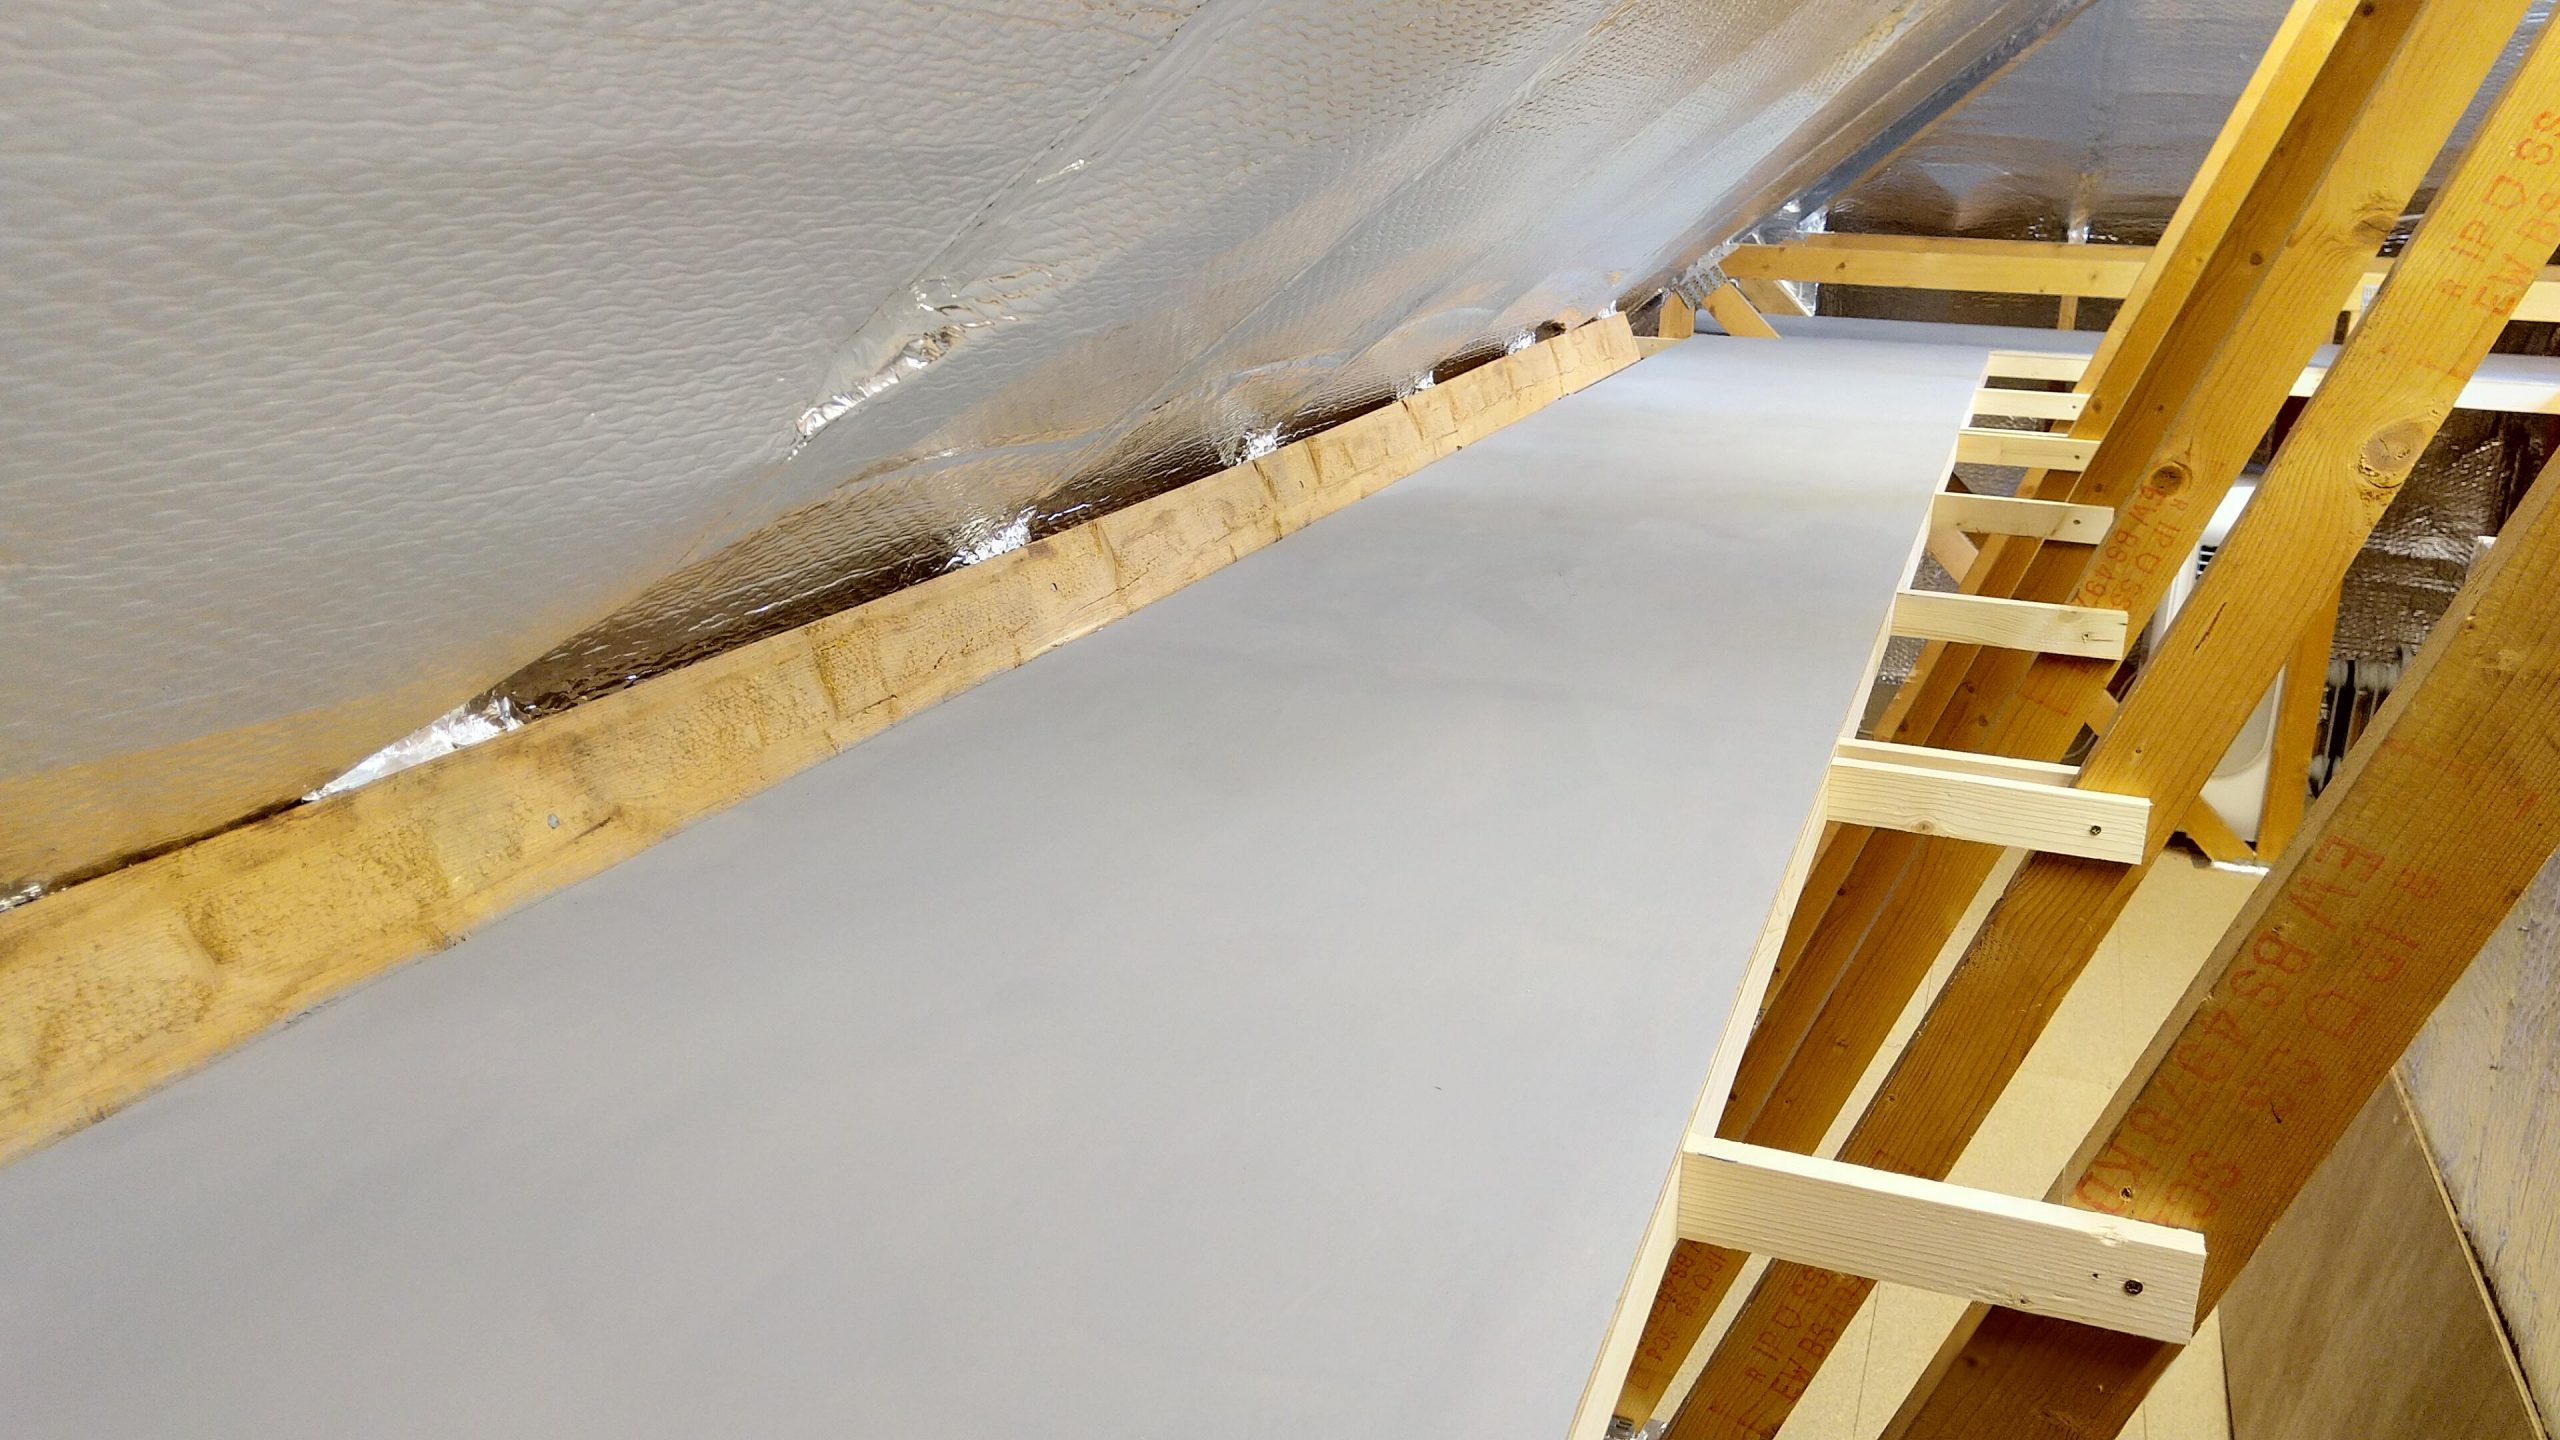
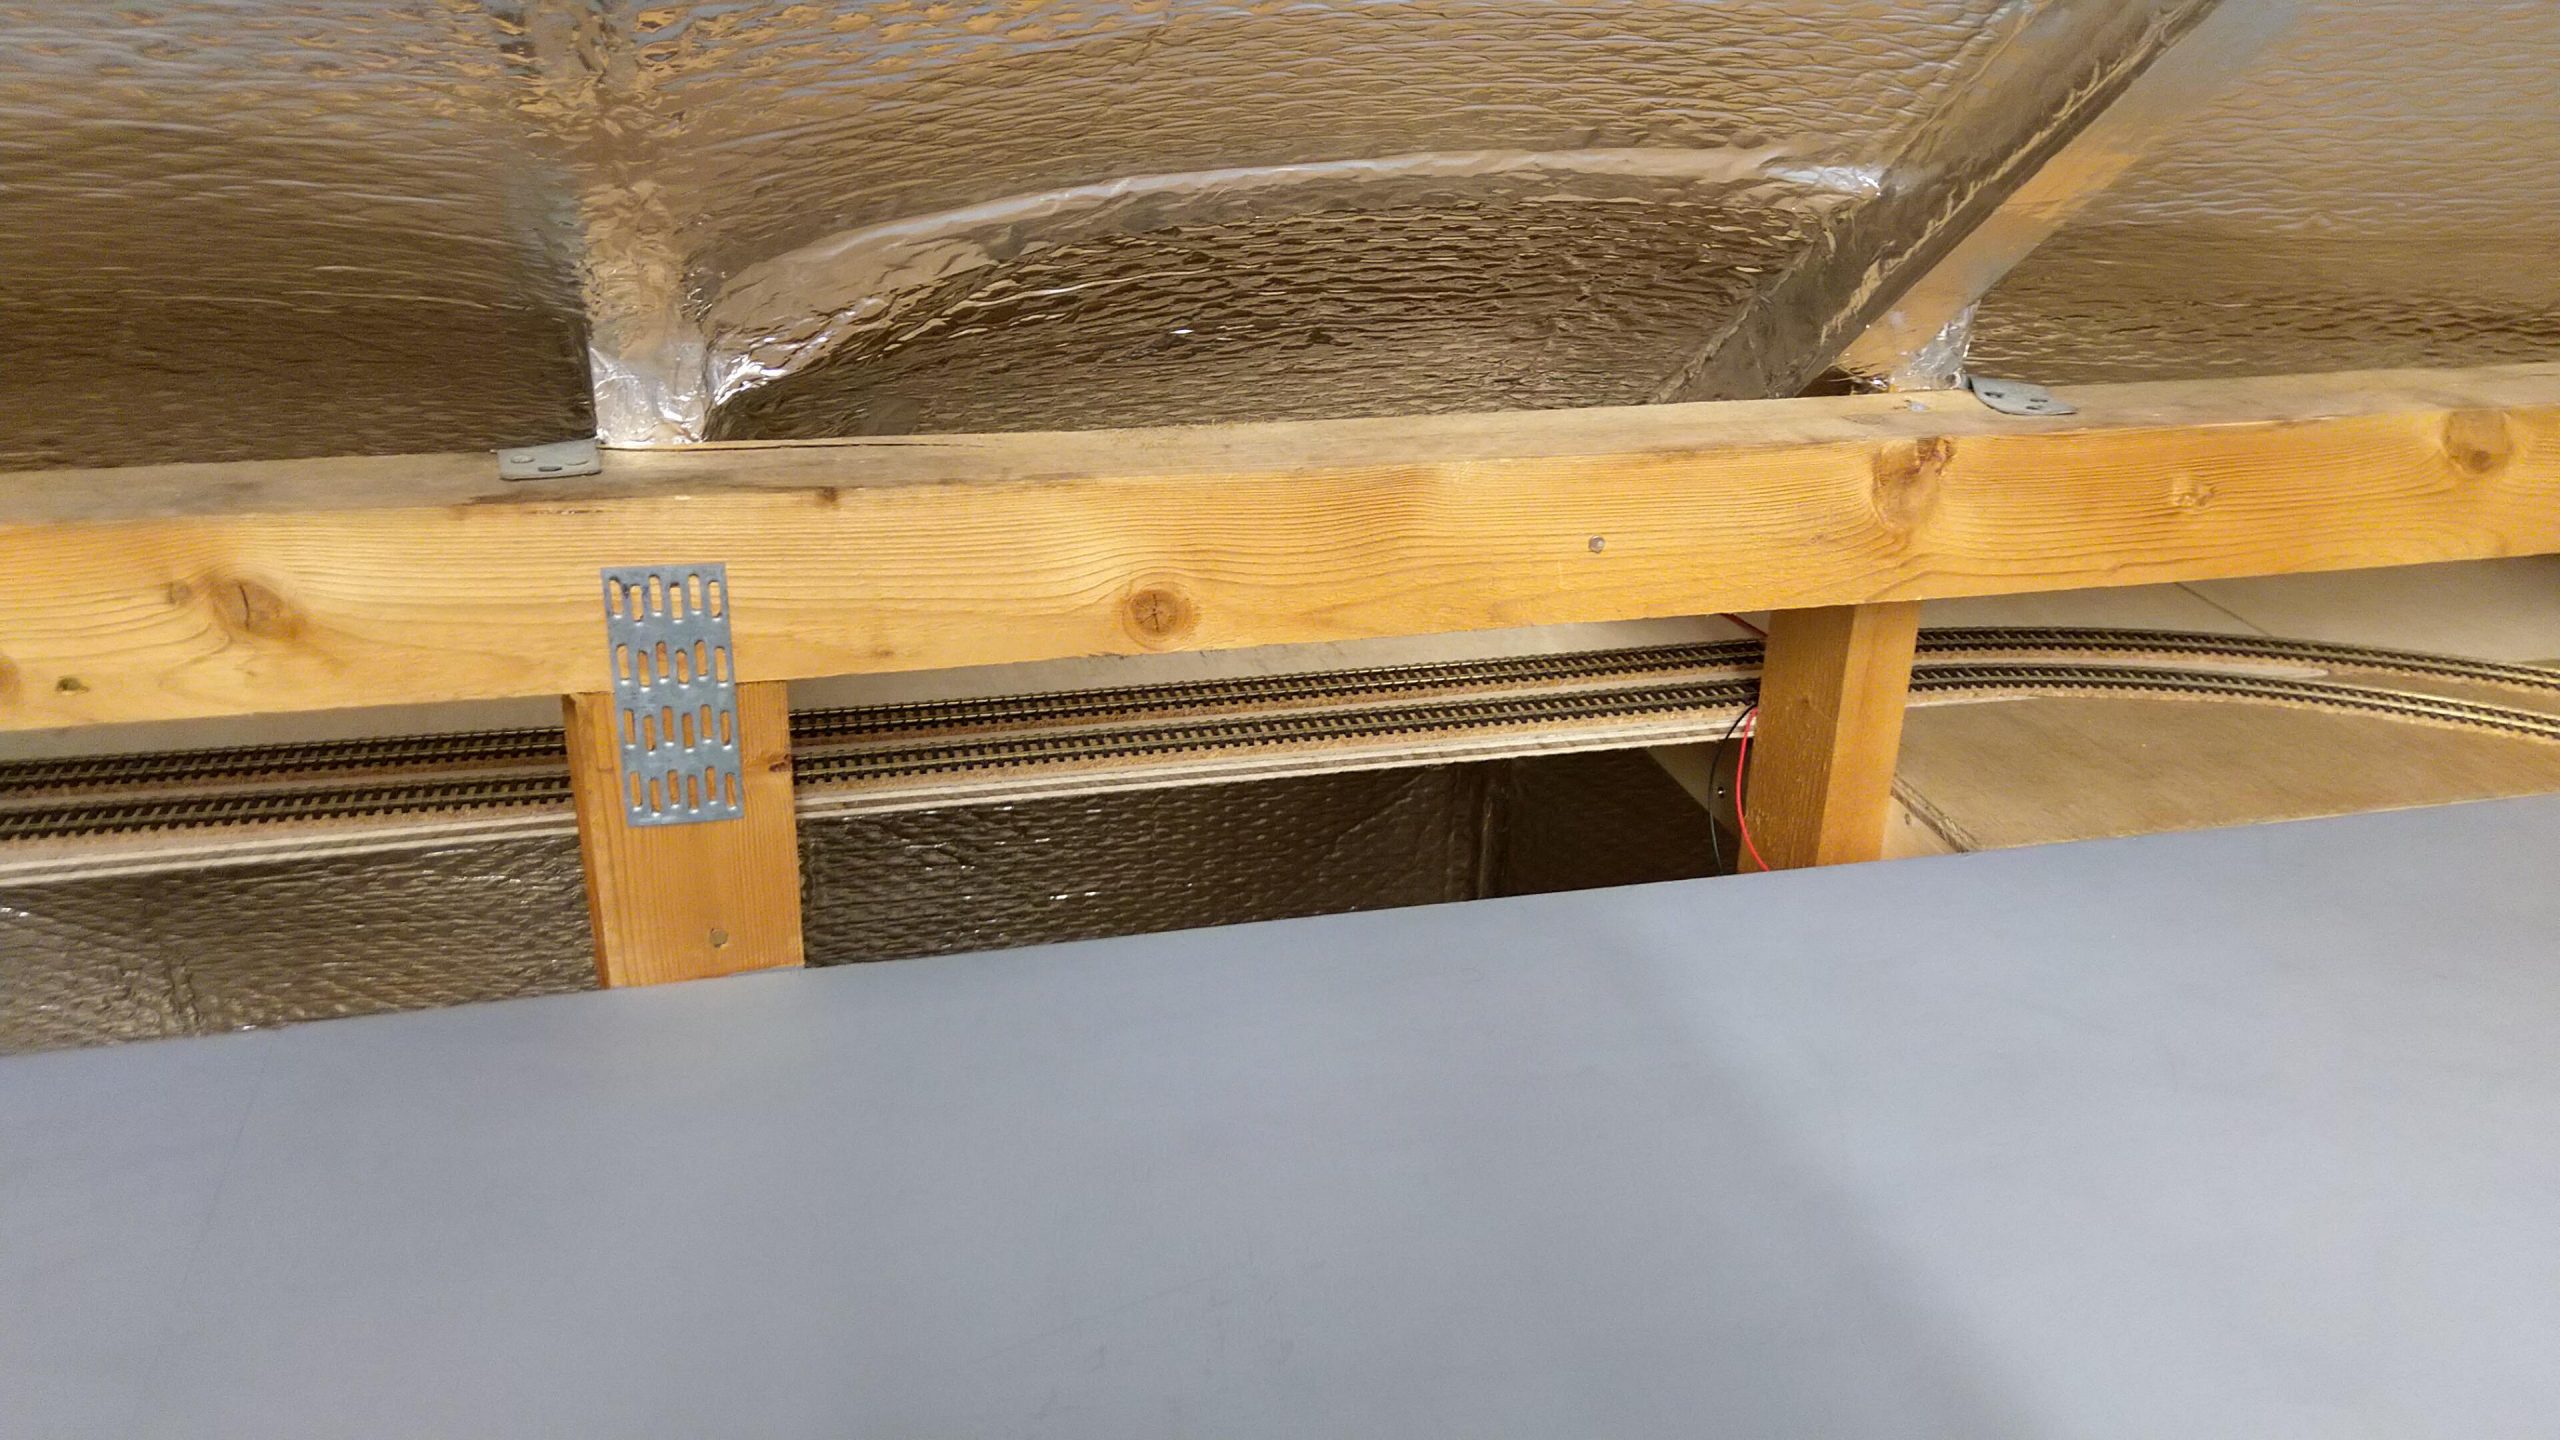
I put boards that were sold specifically as ‘loft boards’ down on the floor, screwing them directly to the joist over the top of the existing glass-fibre insulation. I also cleared this insulation away from the gaps in the soffits so air could get in for ventilation. I lined the inside of the rafters by stapling ‘ThermaWrap’ across them, leaving an air gap so the air could circulate. This is basically bubble wrap covered in silver foil that comes in big rolls. The joints between the sheets were sealed with foil tape. This helped insulate the loft and sealed it to stop the black grit from the roofing felt falling on the layout, stop the glass fibre from the insulation already up there getting in and stop (big) spiders getting in! There were many difficulties in sealing up the loft, as well as the many joists and rafters from the roof shape there was a large cold water tank, a central heating header tank and badly installed pipes to deal with. I made a frame around the tanks and covered it with Thermawrap to seal them in. I put plywood on the top but made it easily removable for maintenance (the Theremawrap is easily cut away in emergencies anyway). I had to fix the flooring under the pipes as they were already attached to it and lay the new flooring around it. I also replaced the old sliding aluminium loft ladder with a telescopic one that didn’t take up any space in the loft when folded up and changed the loft hatch to hinge down instead of lift out.
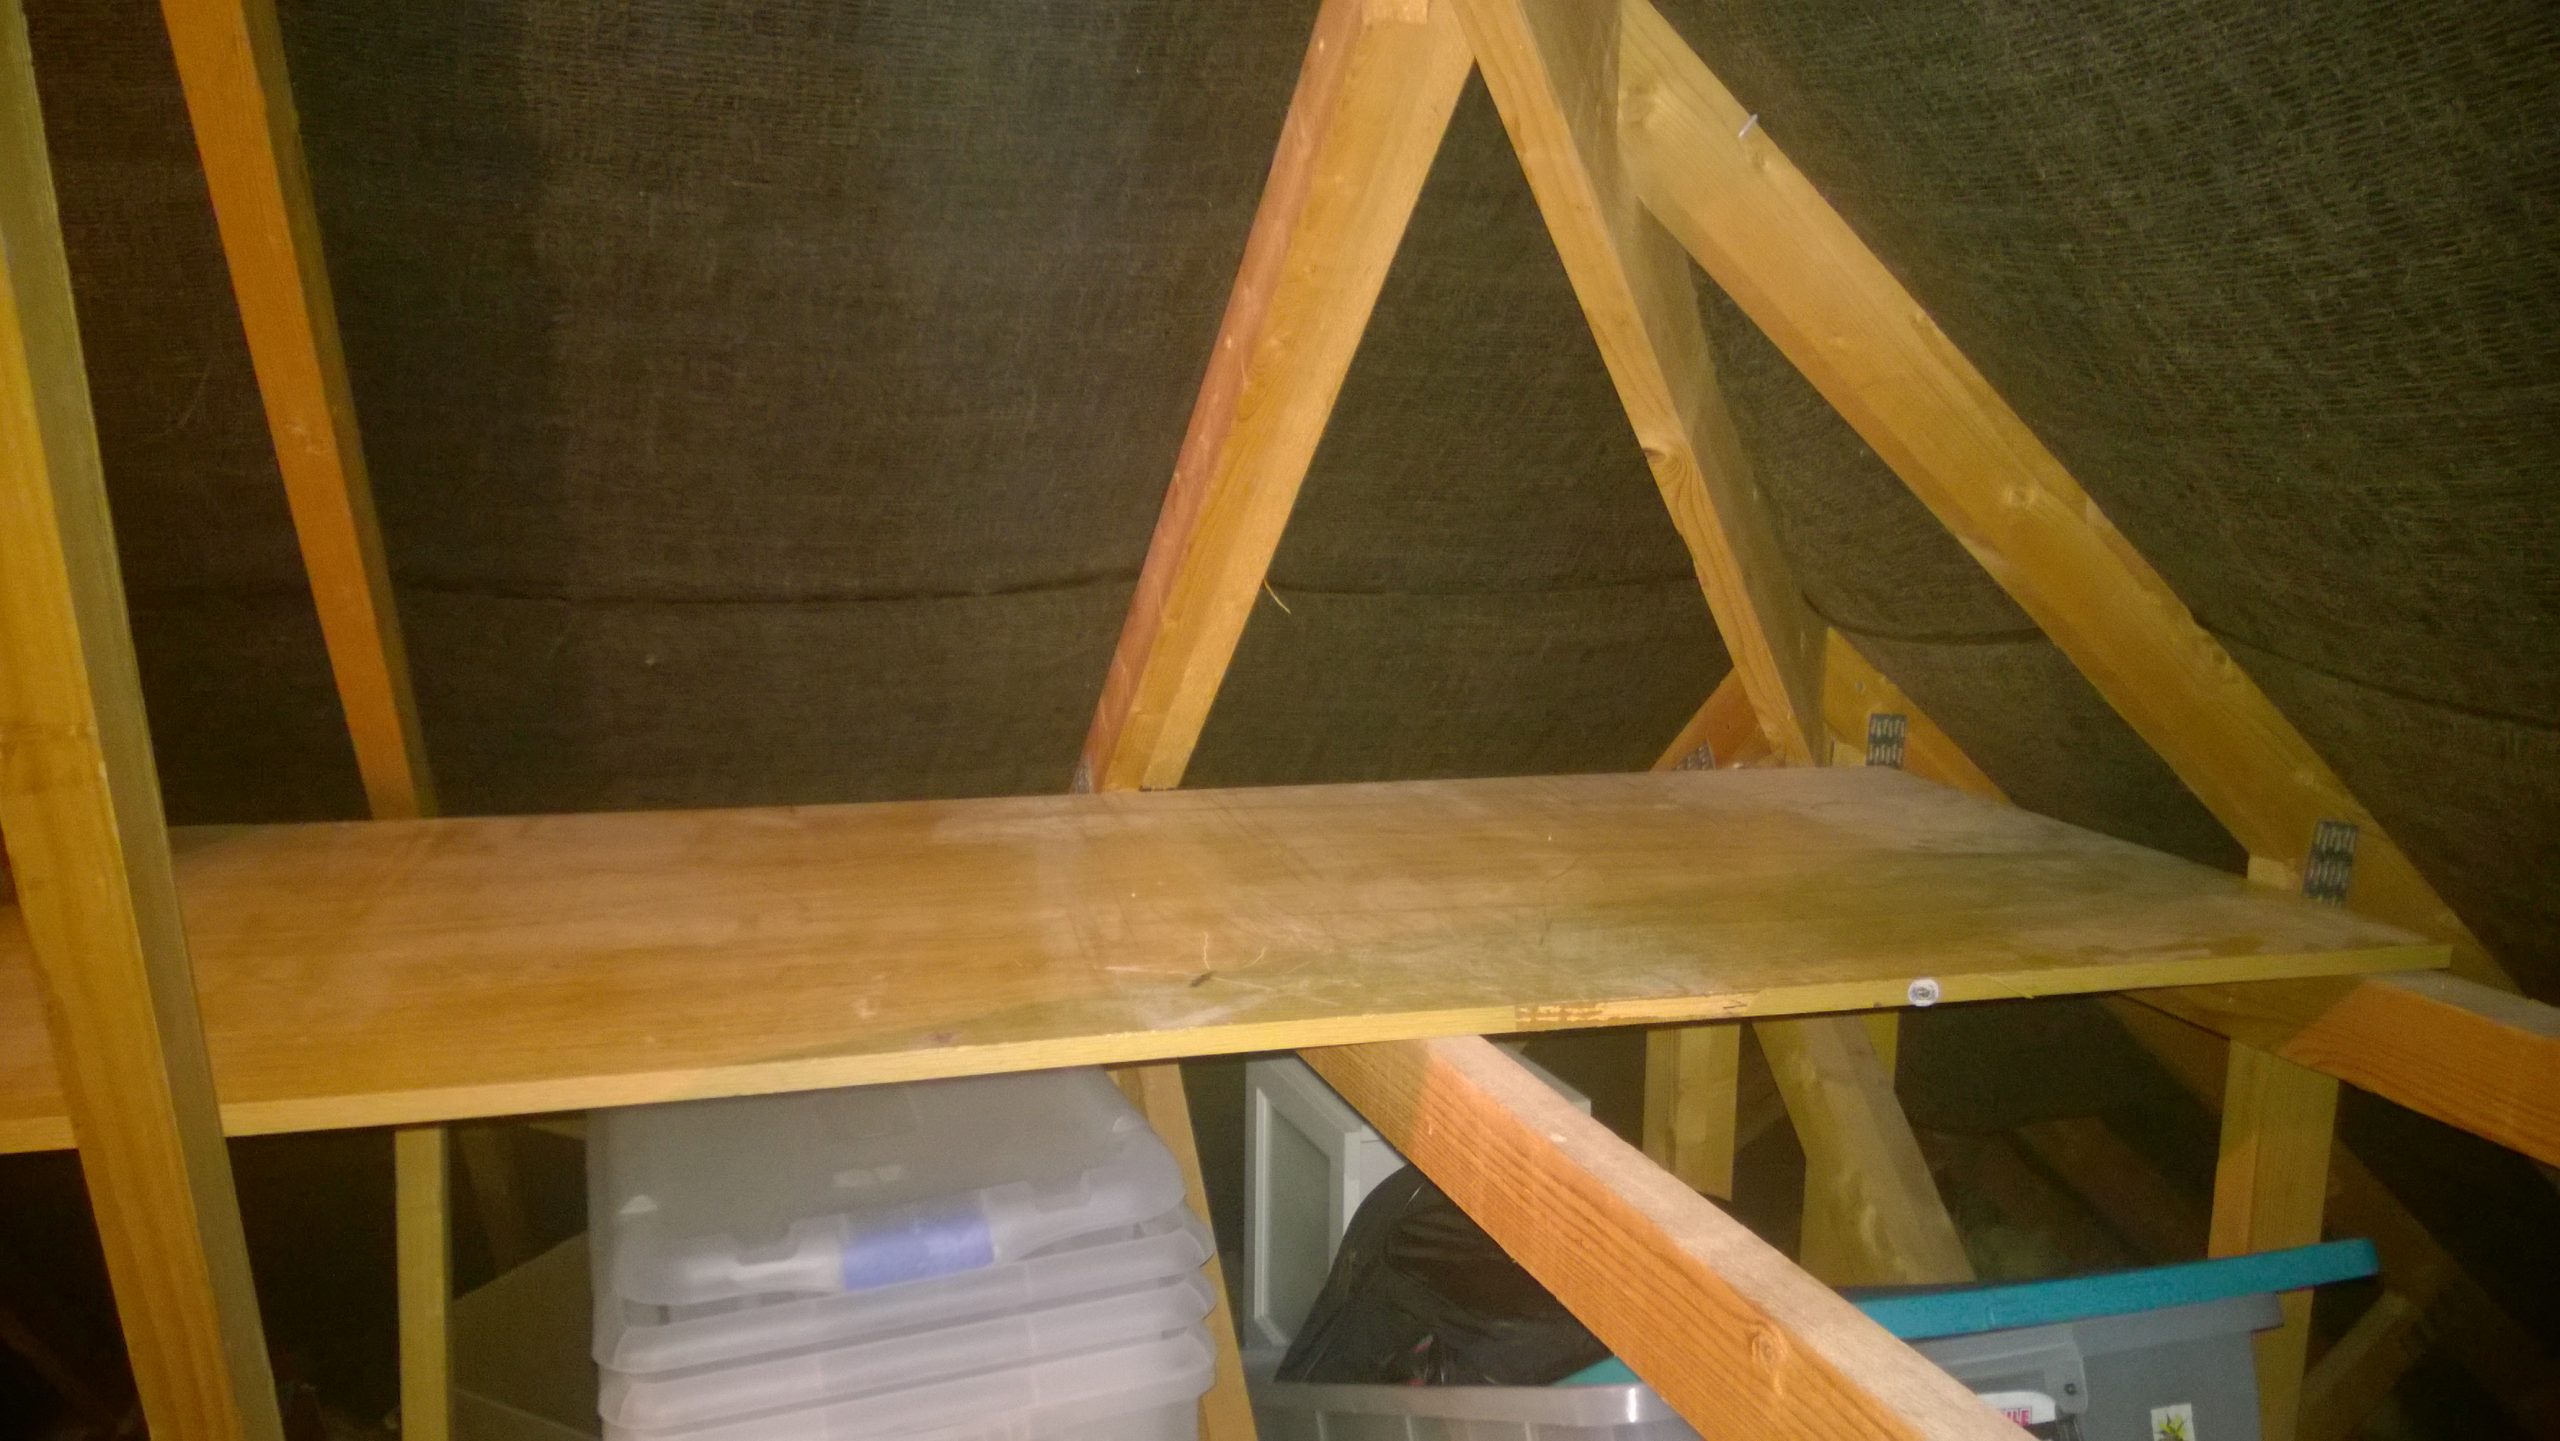
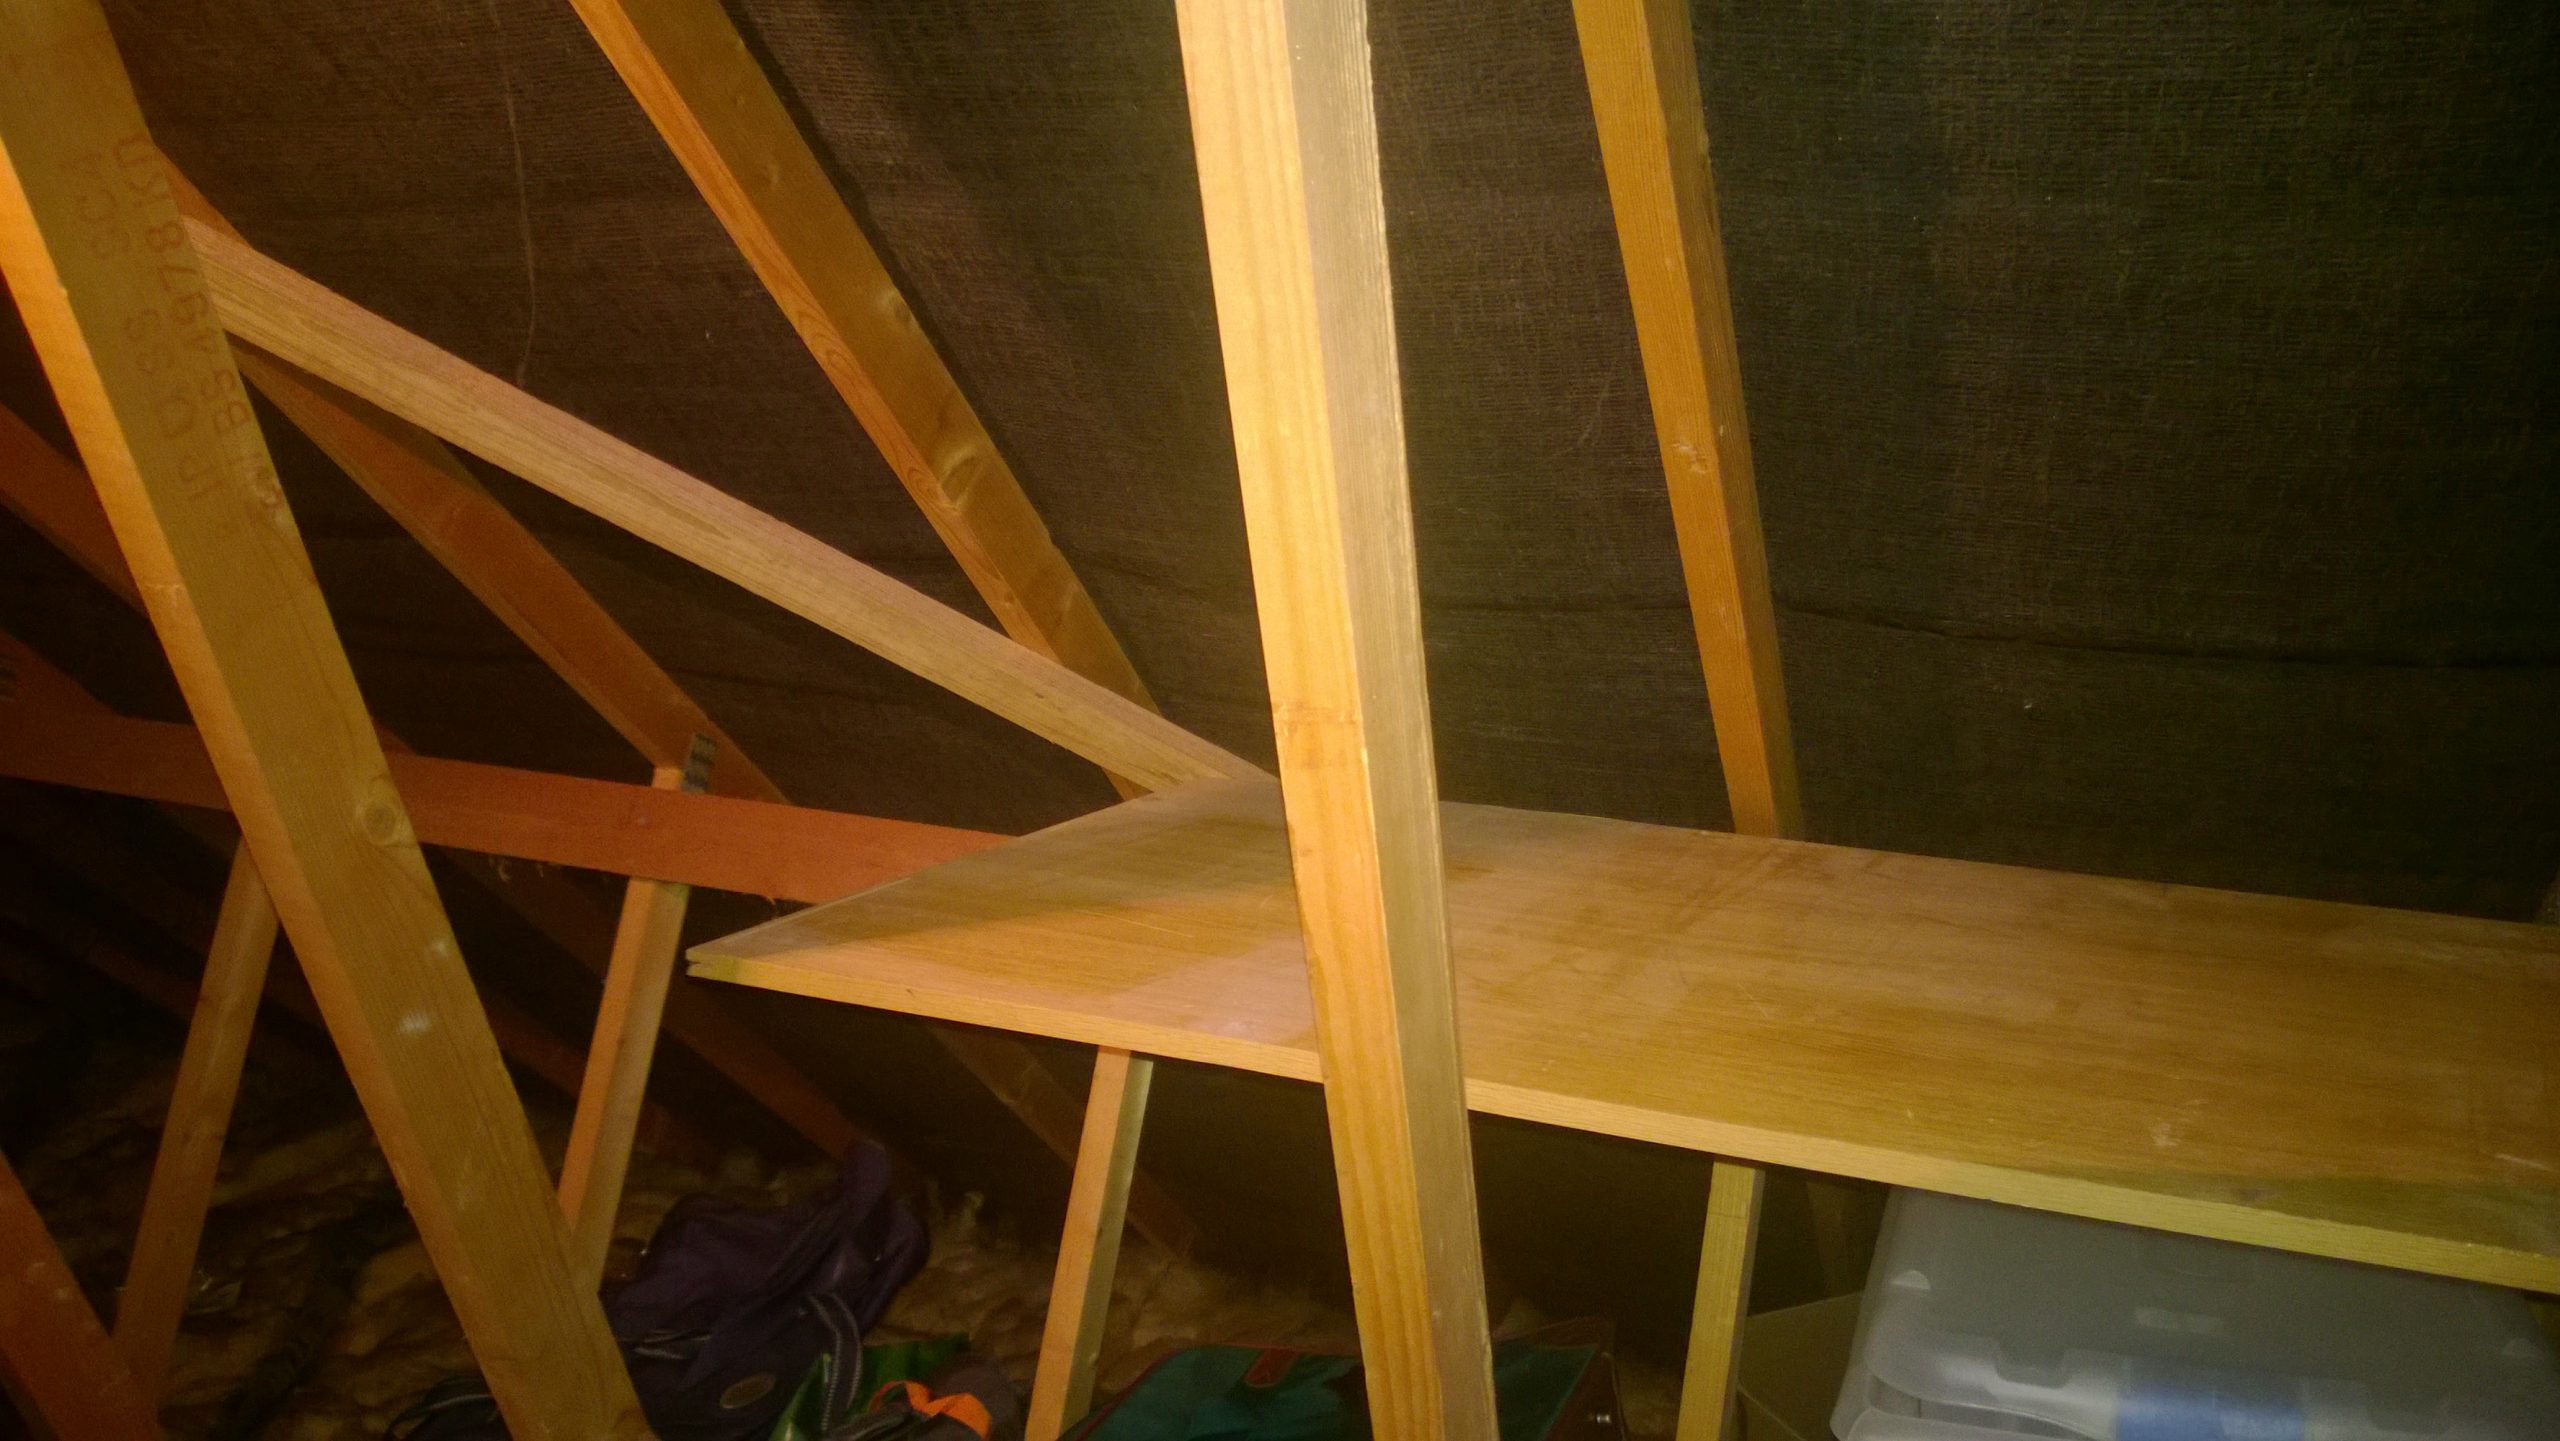
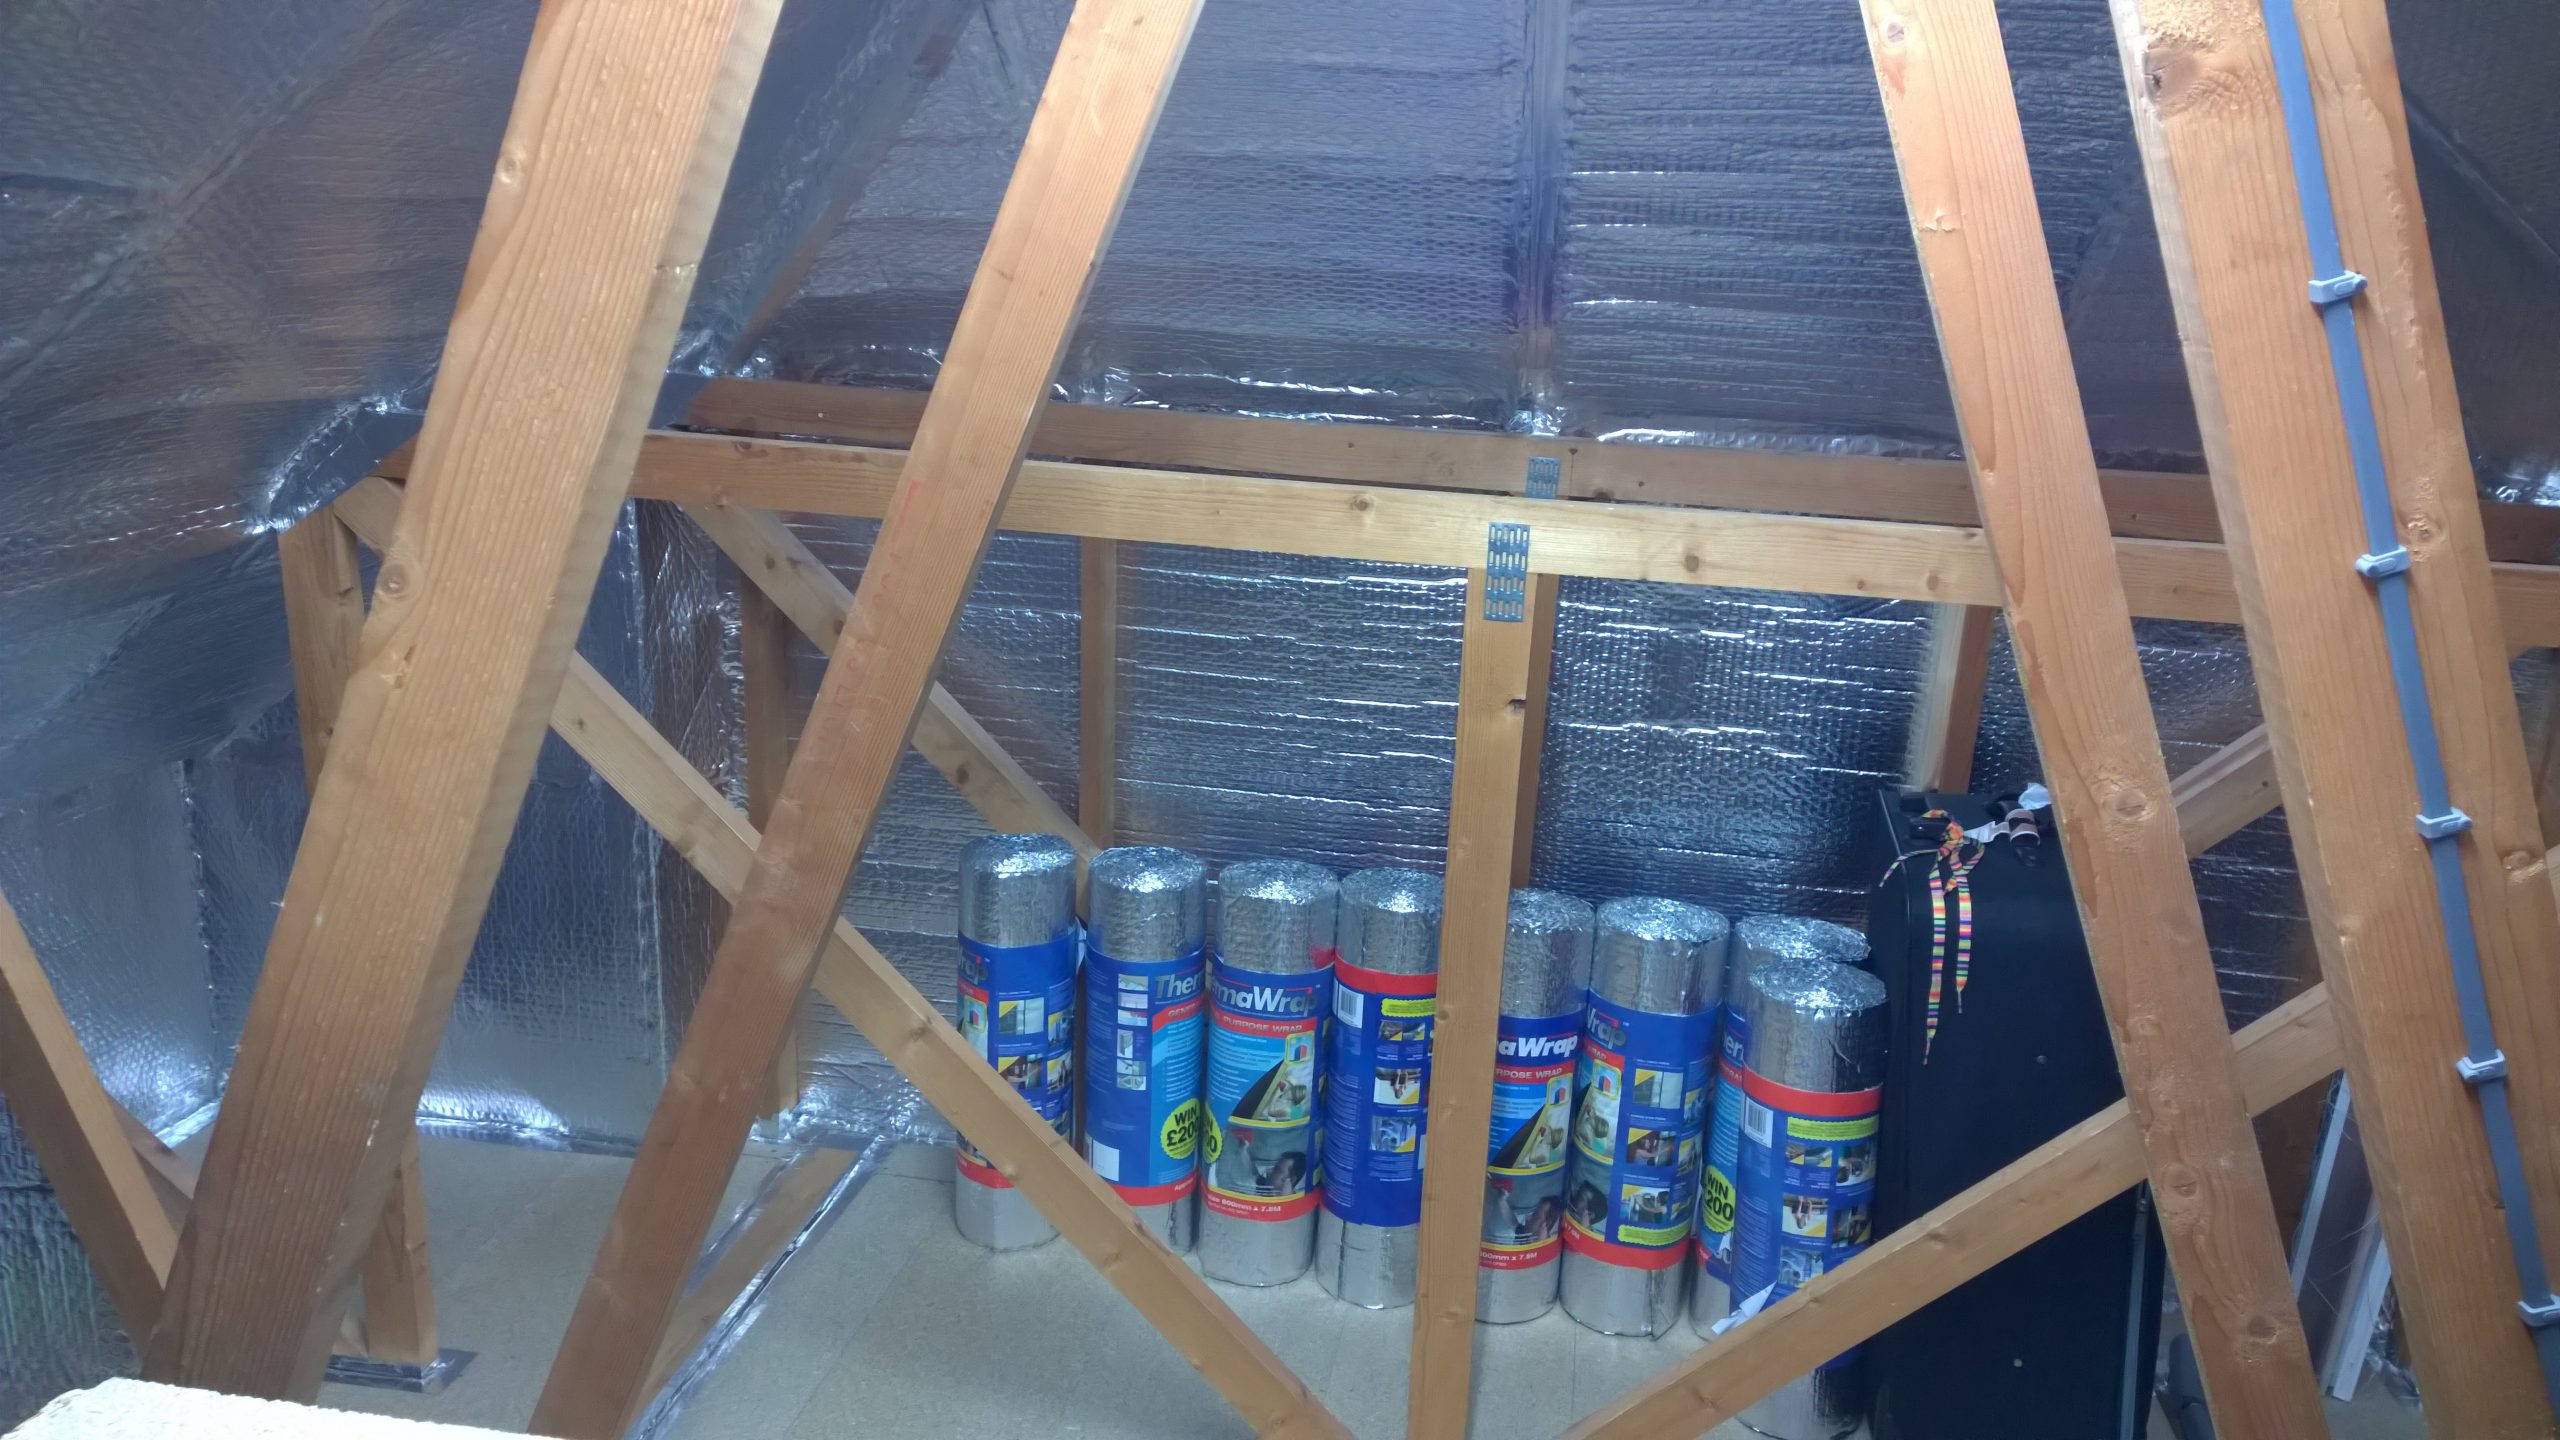
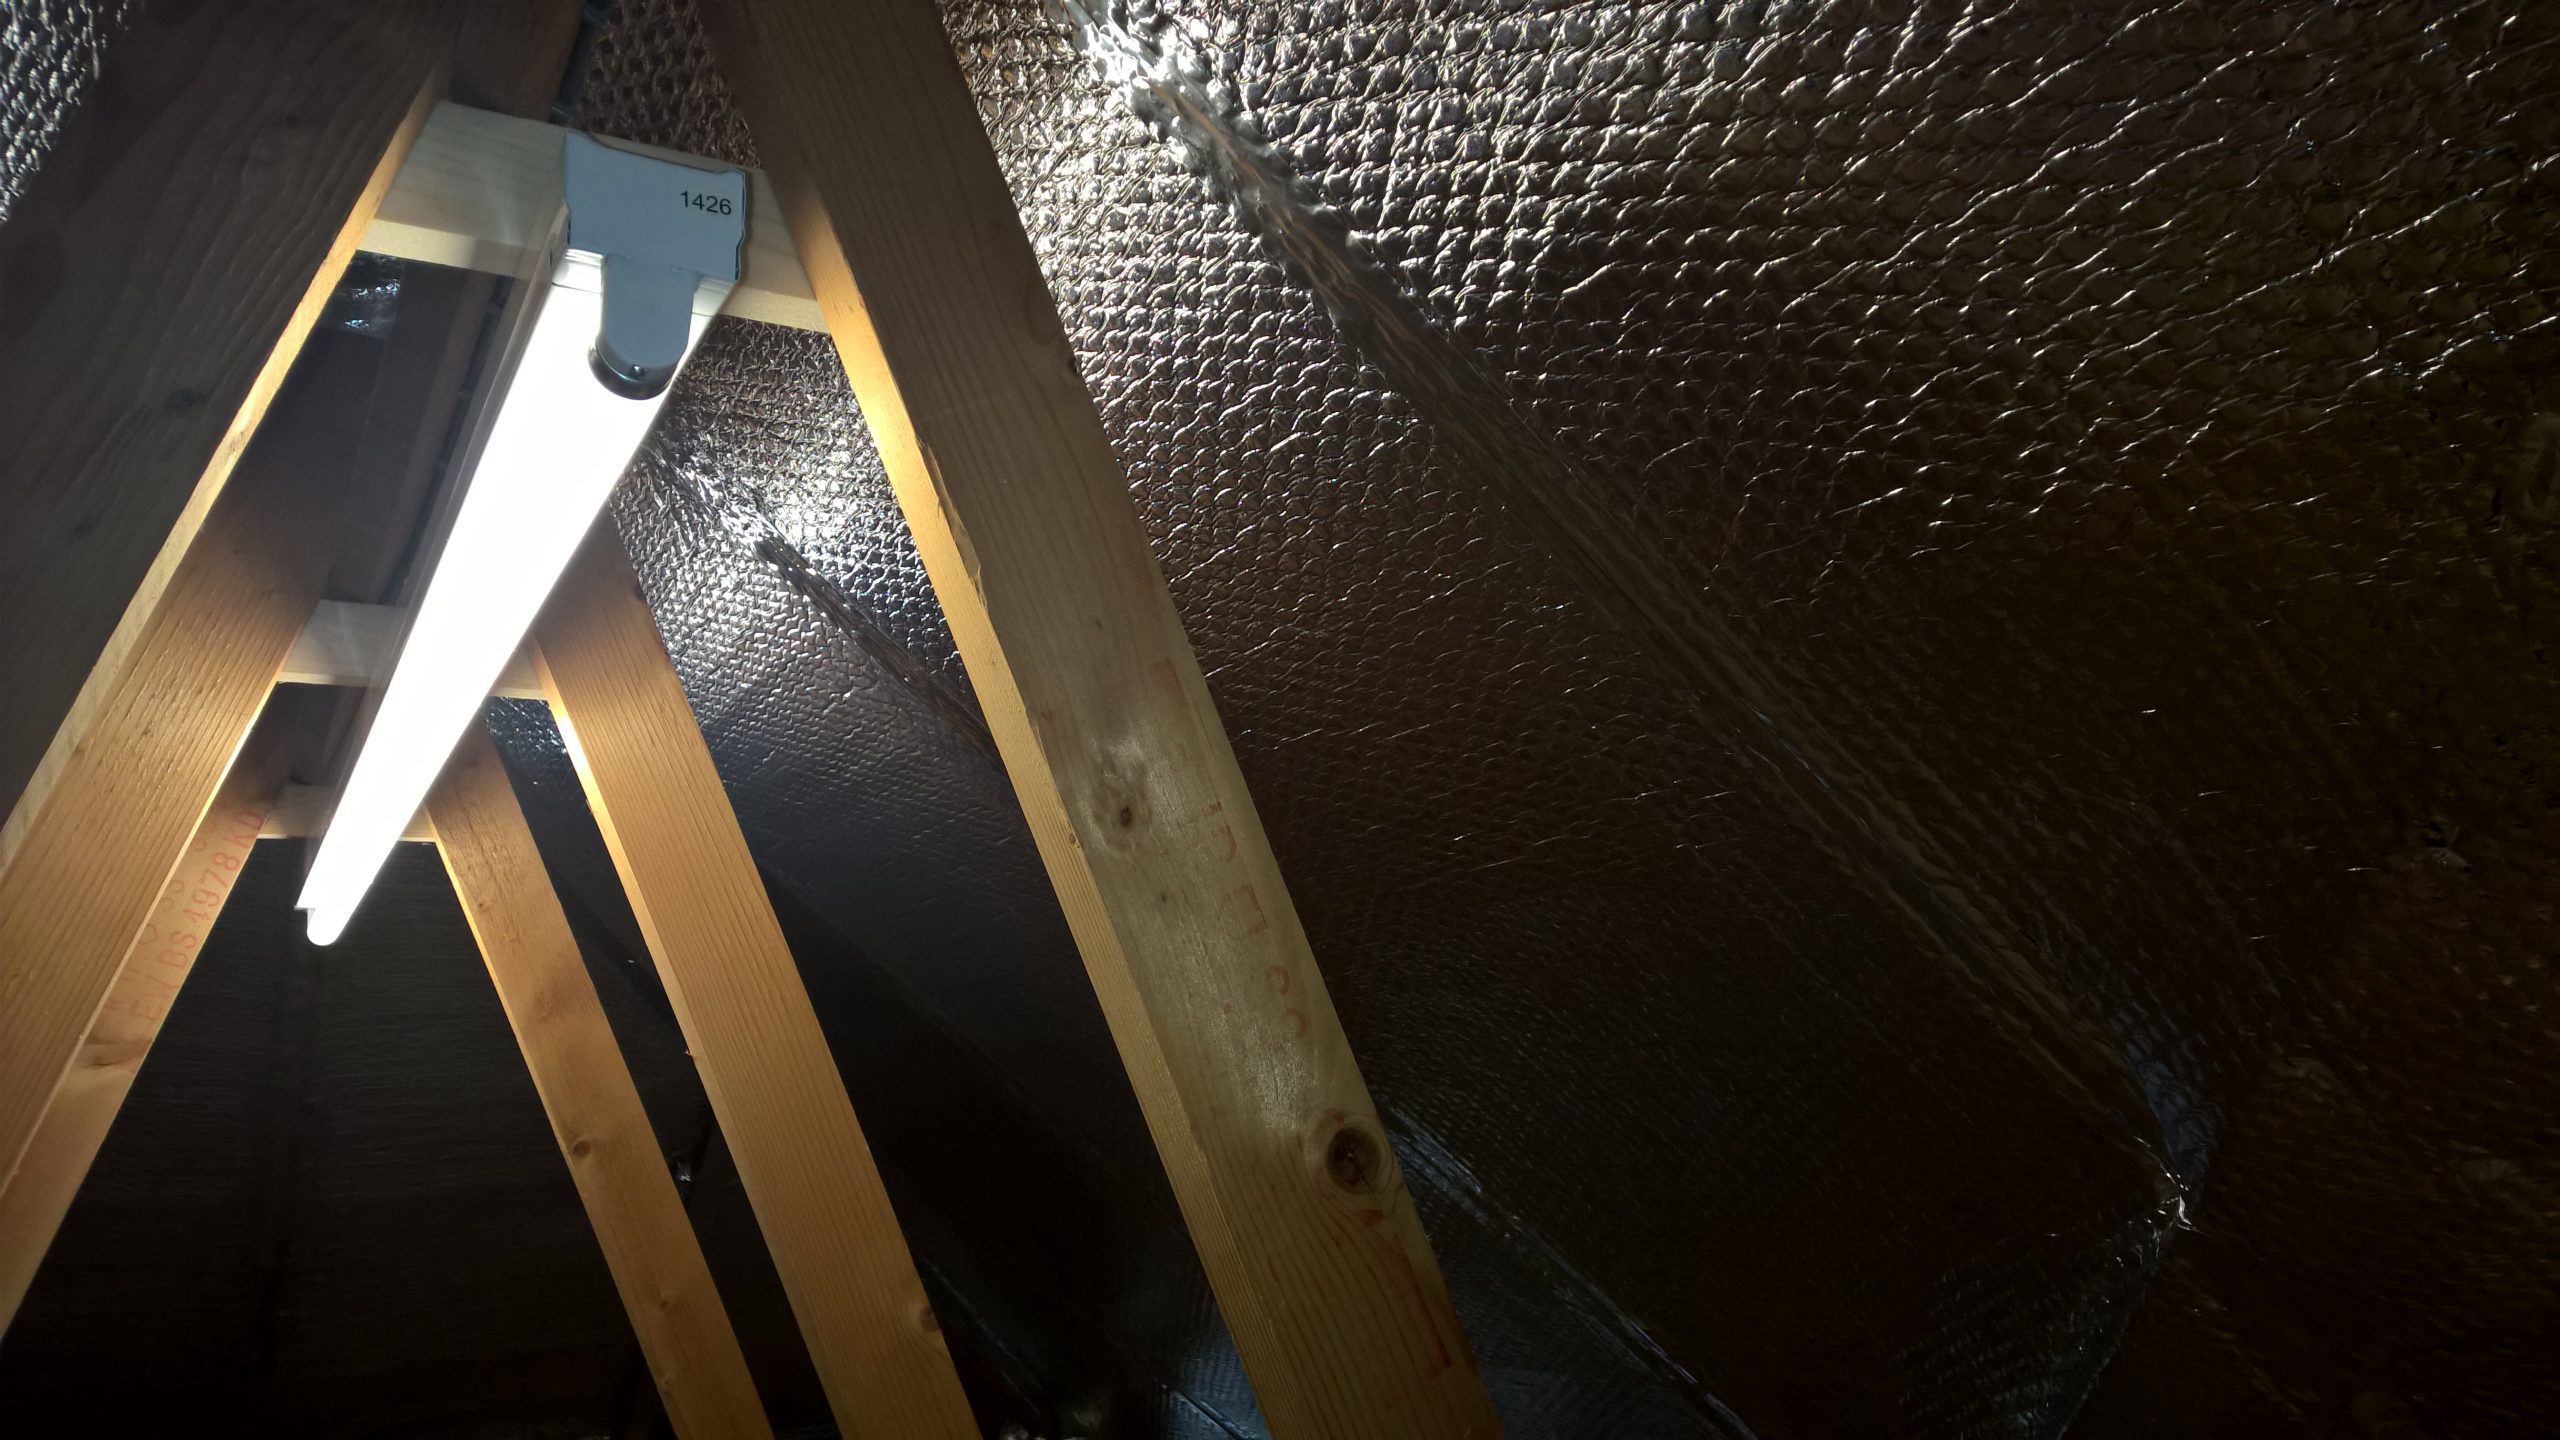
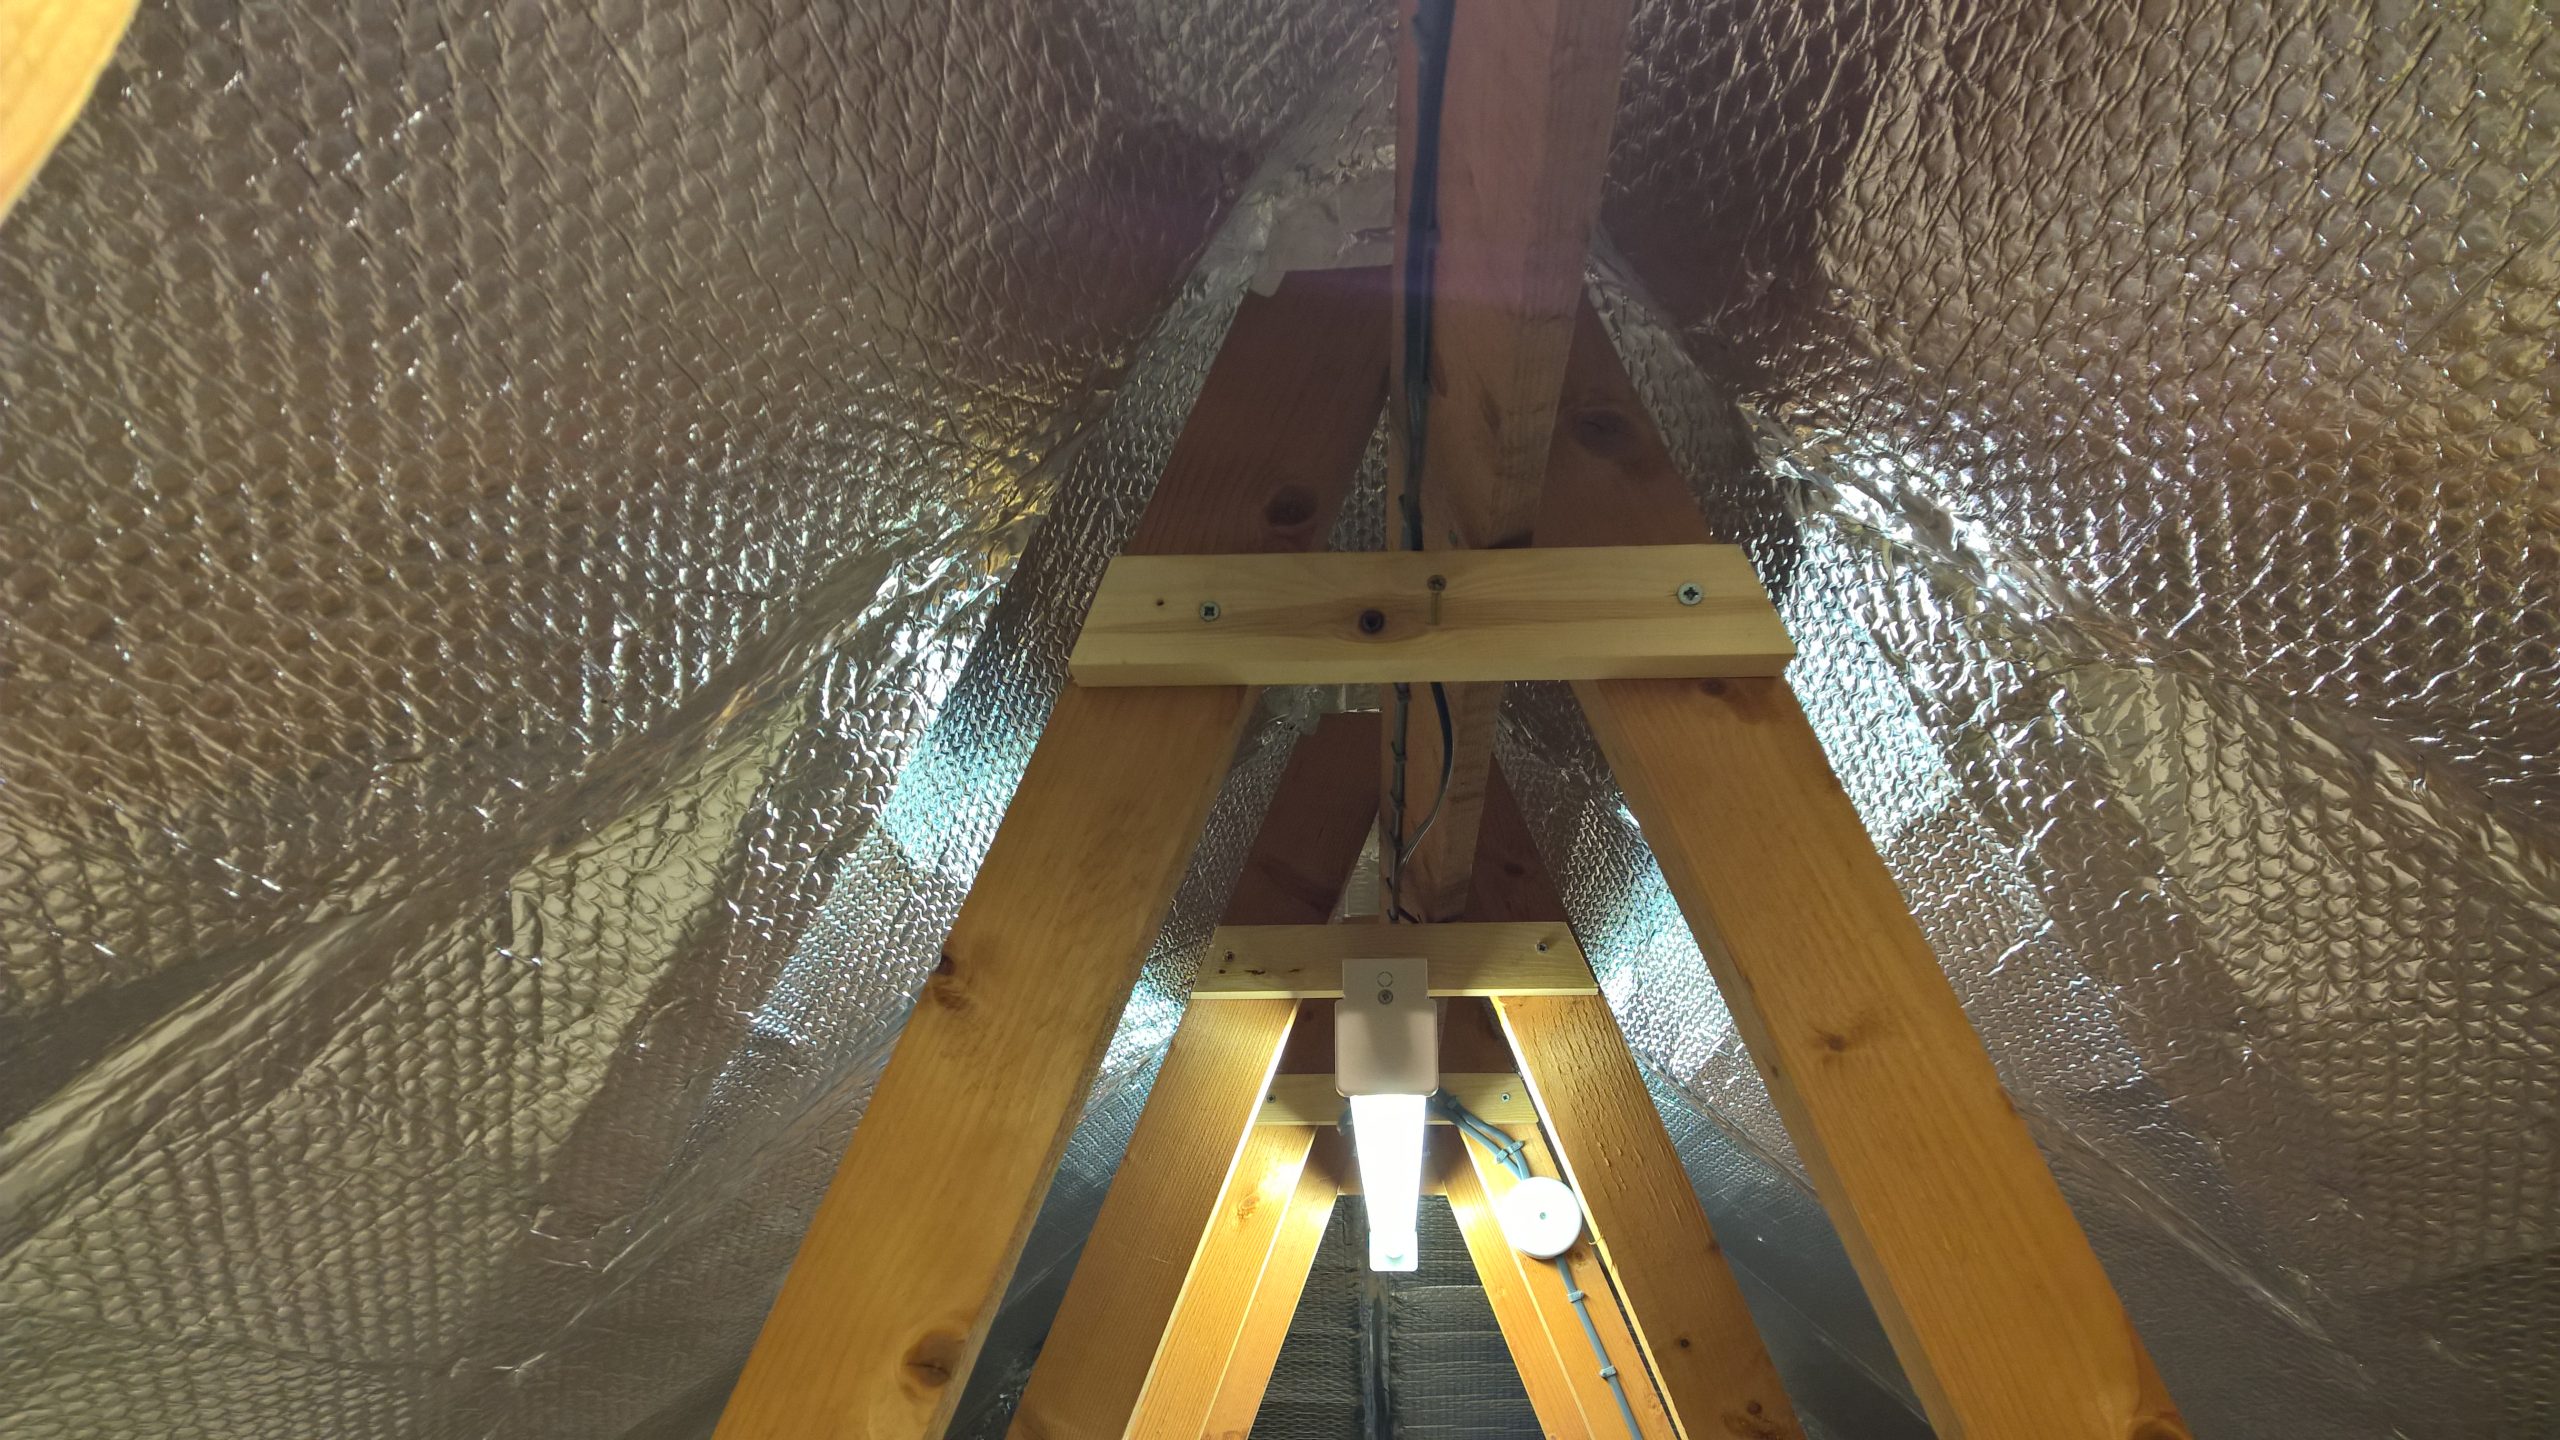
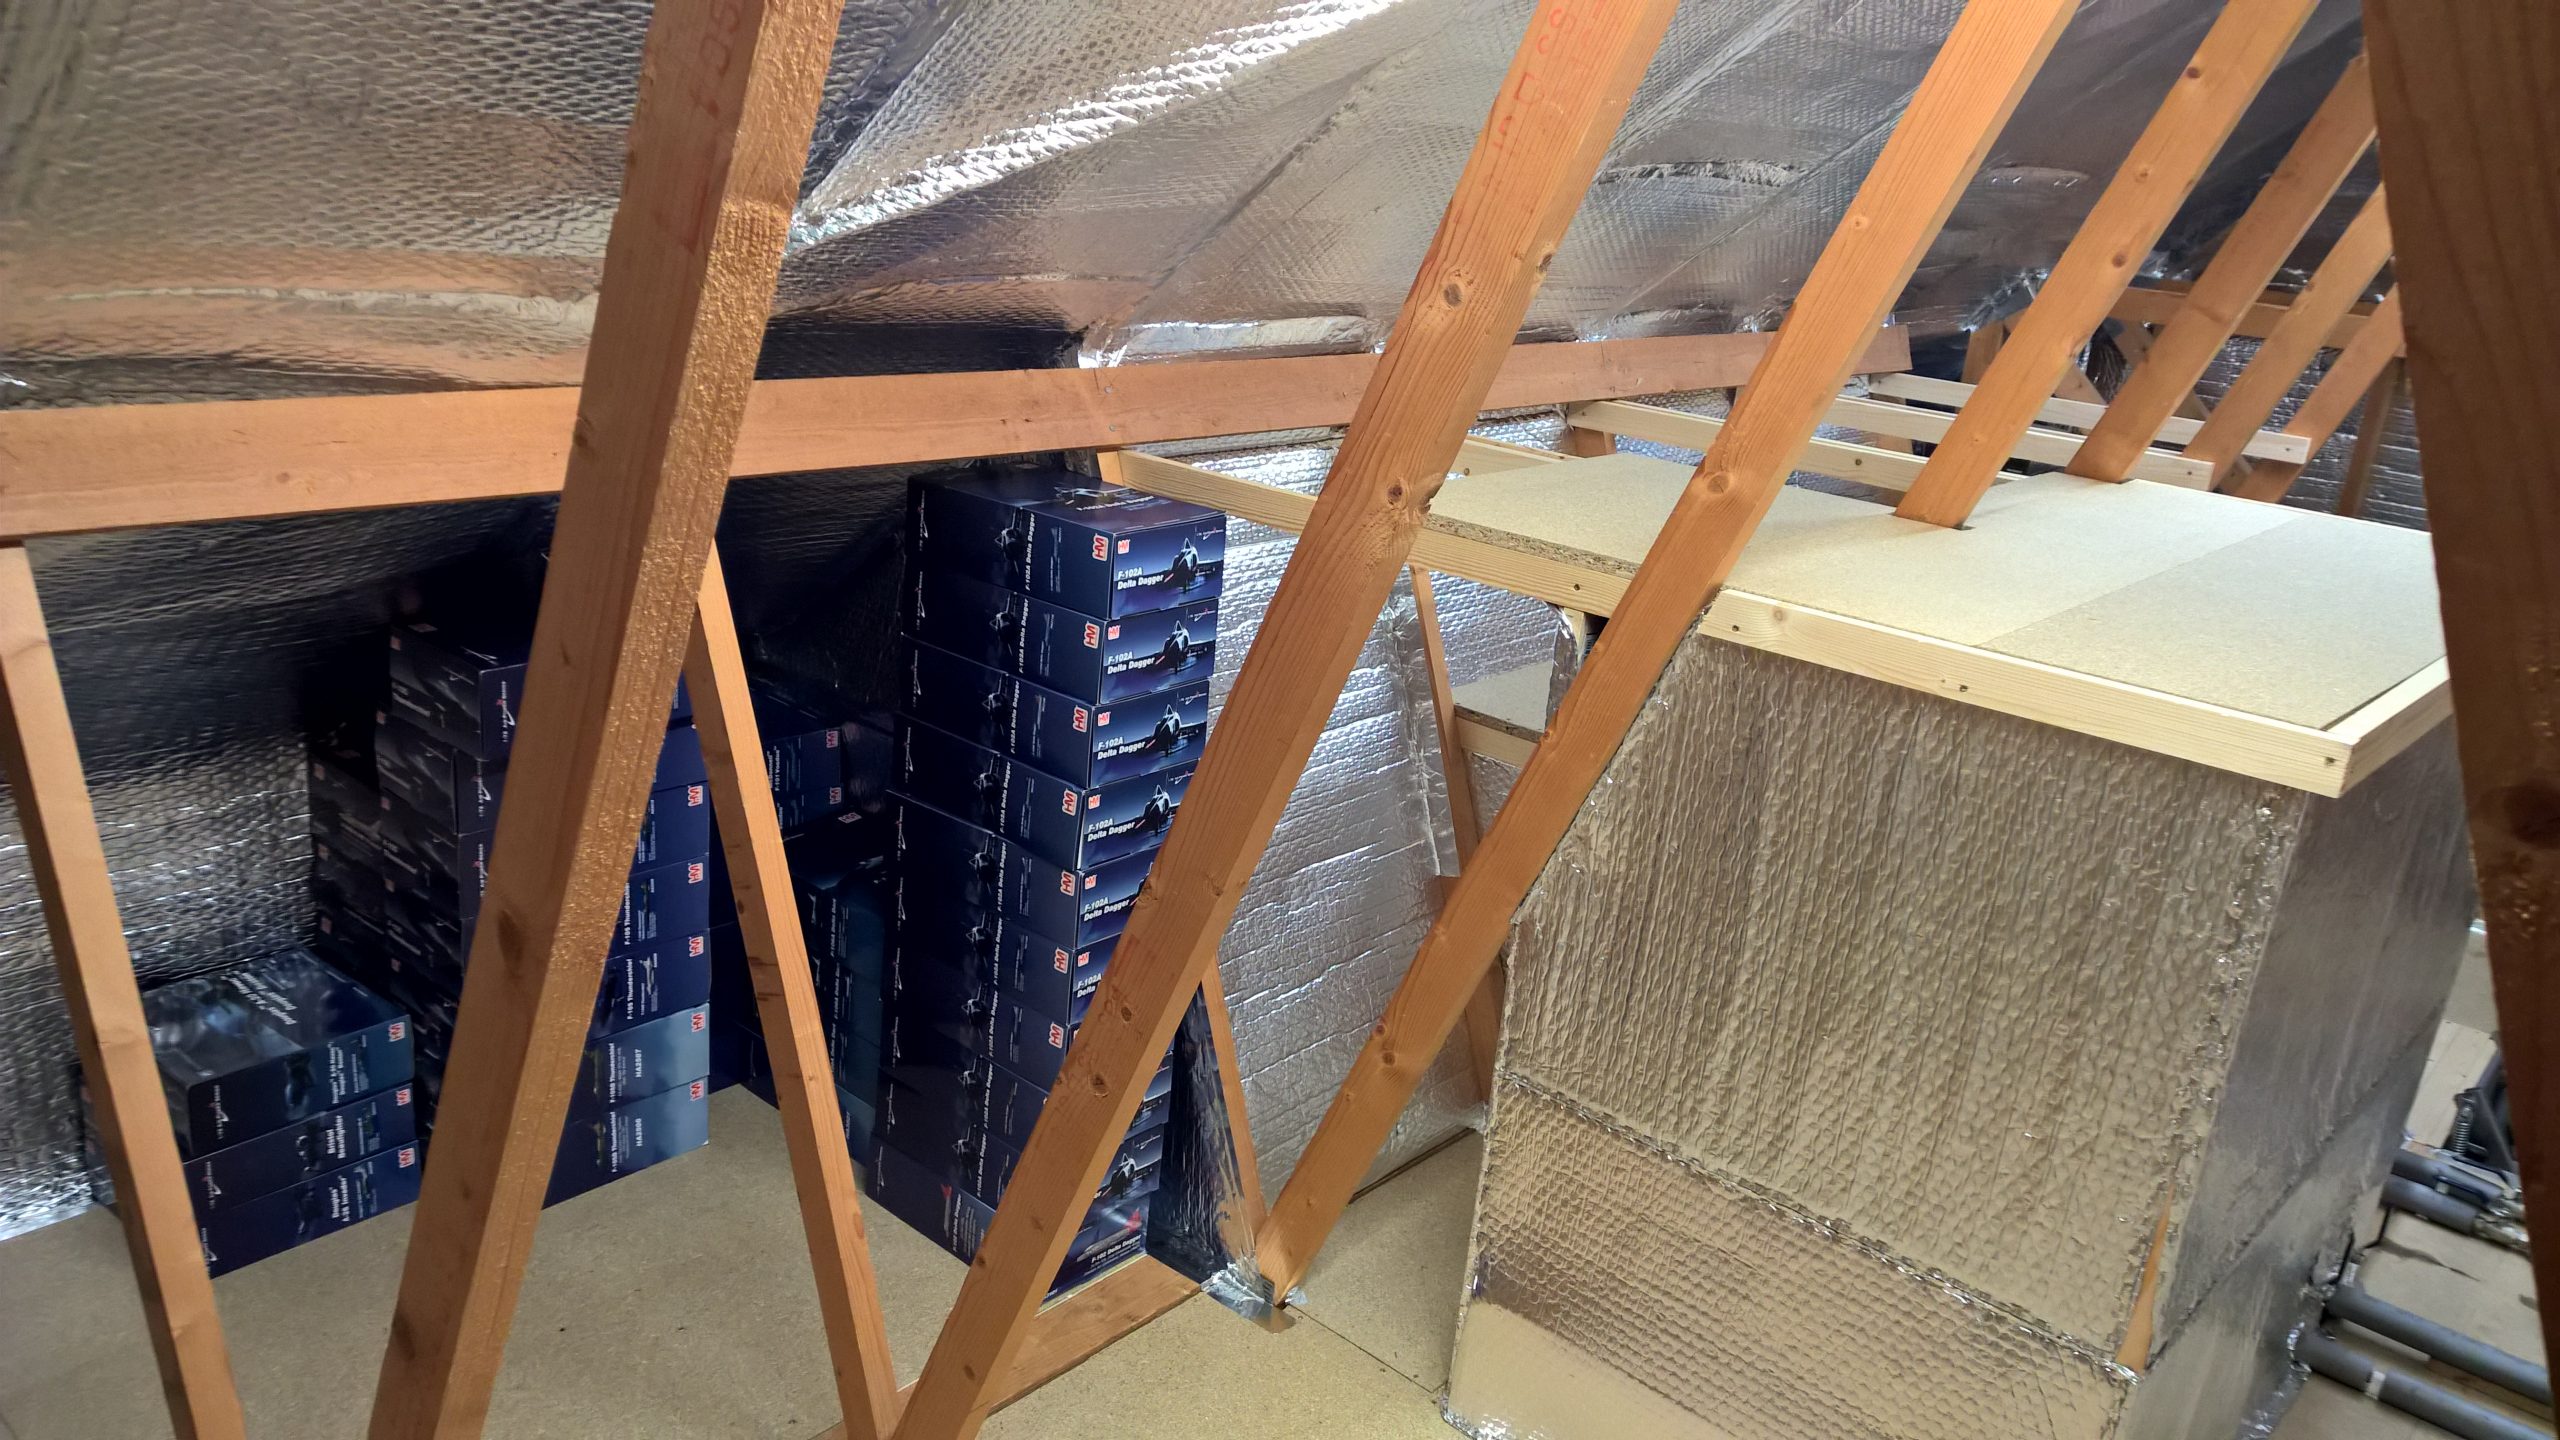
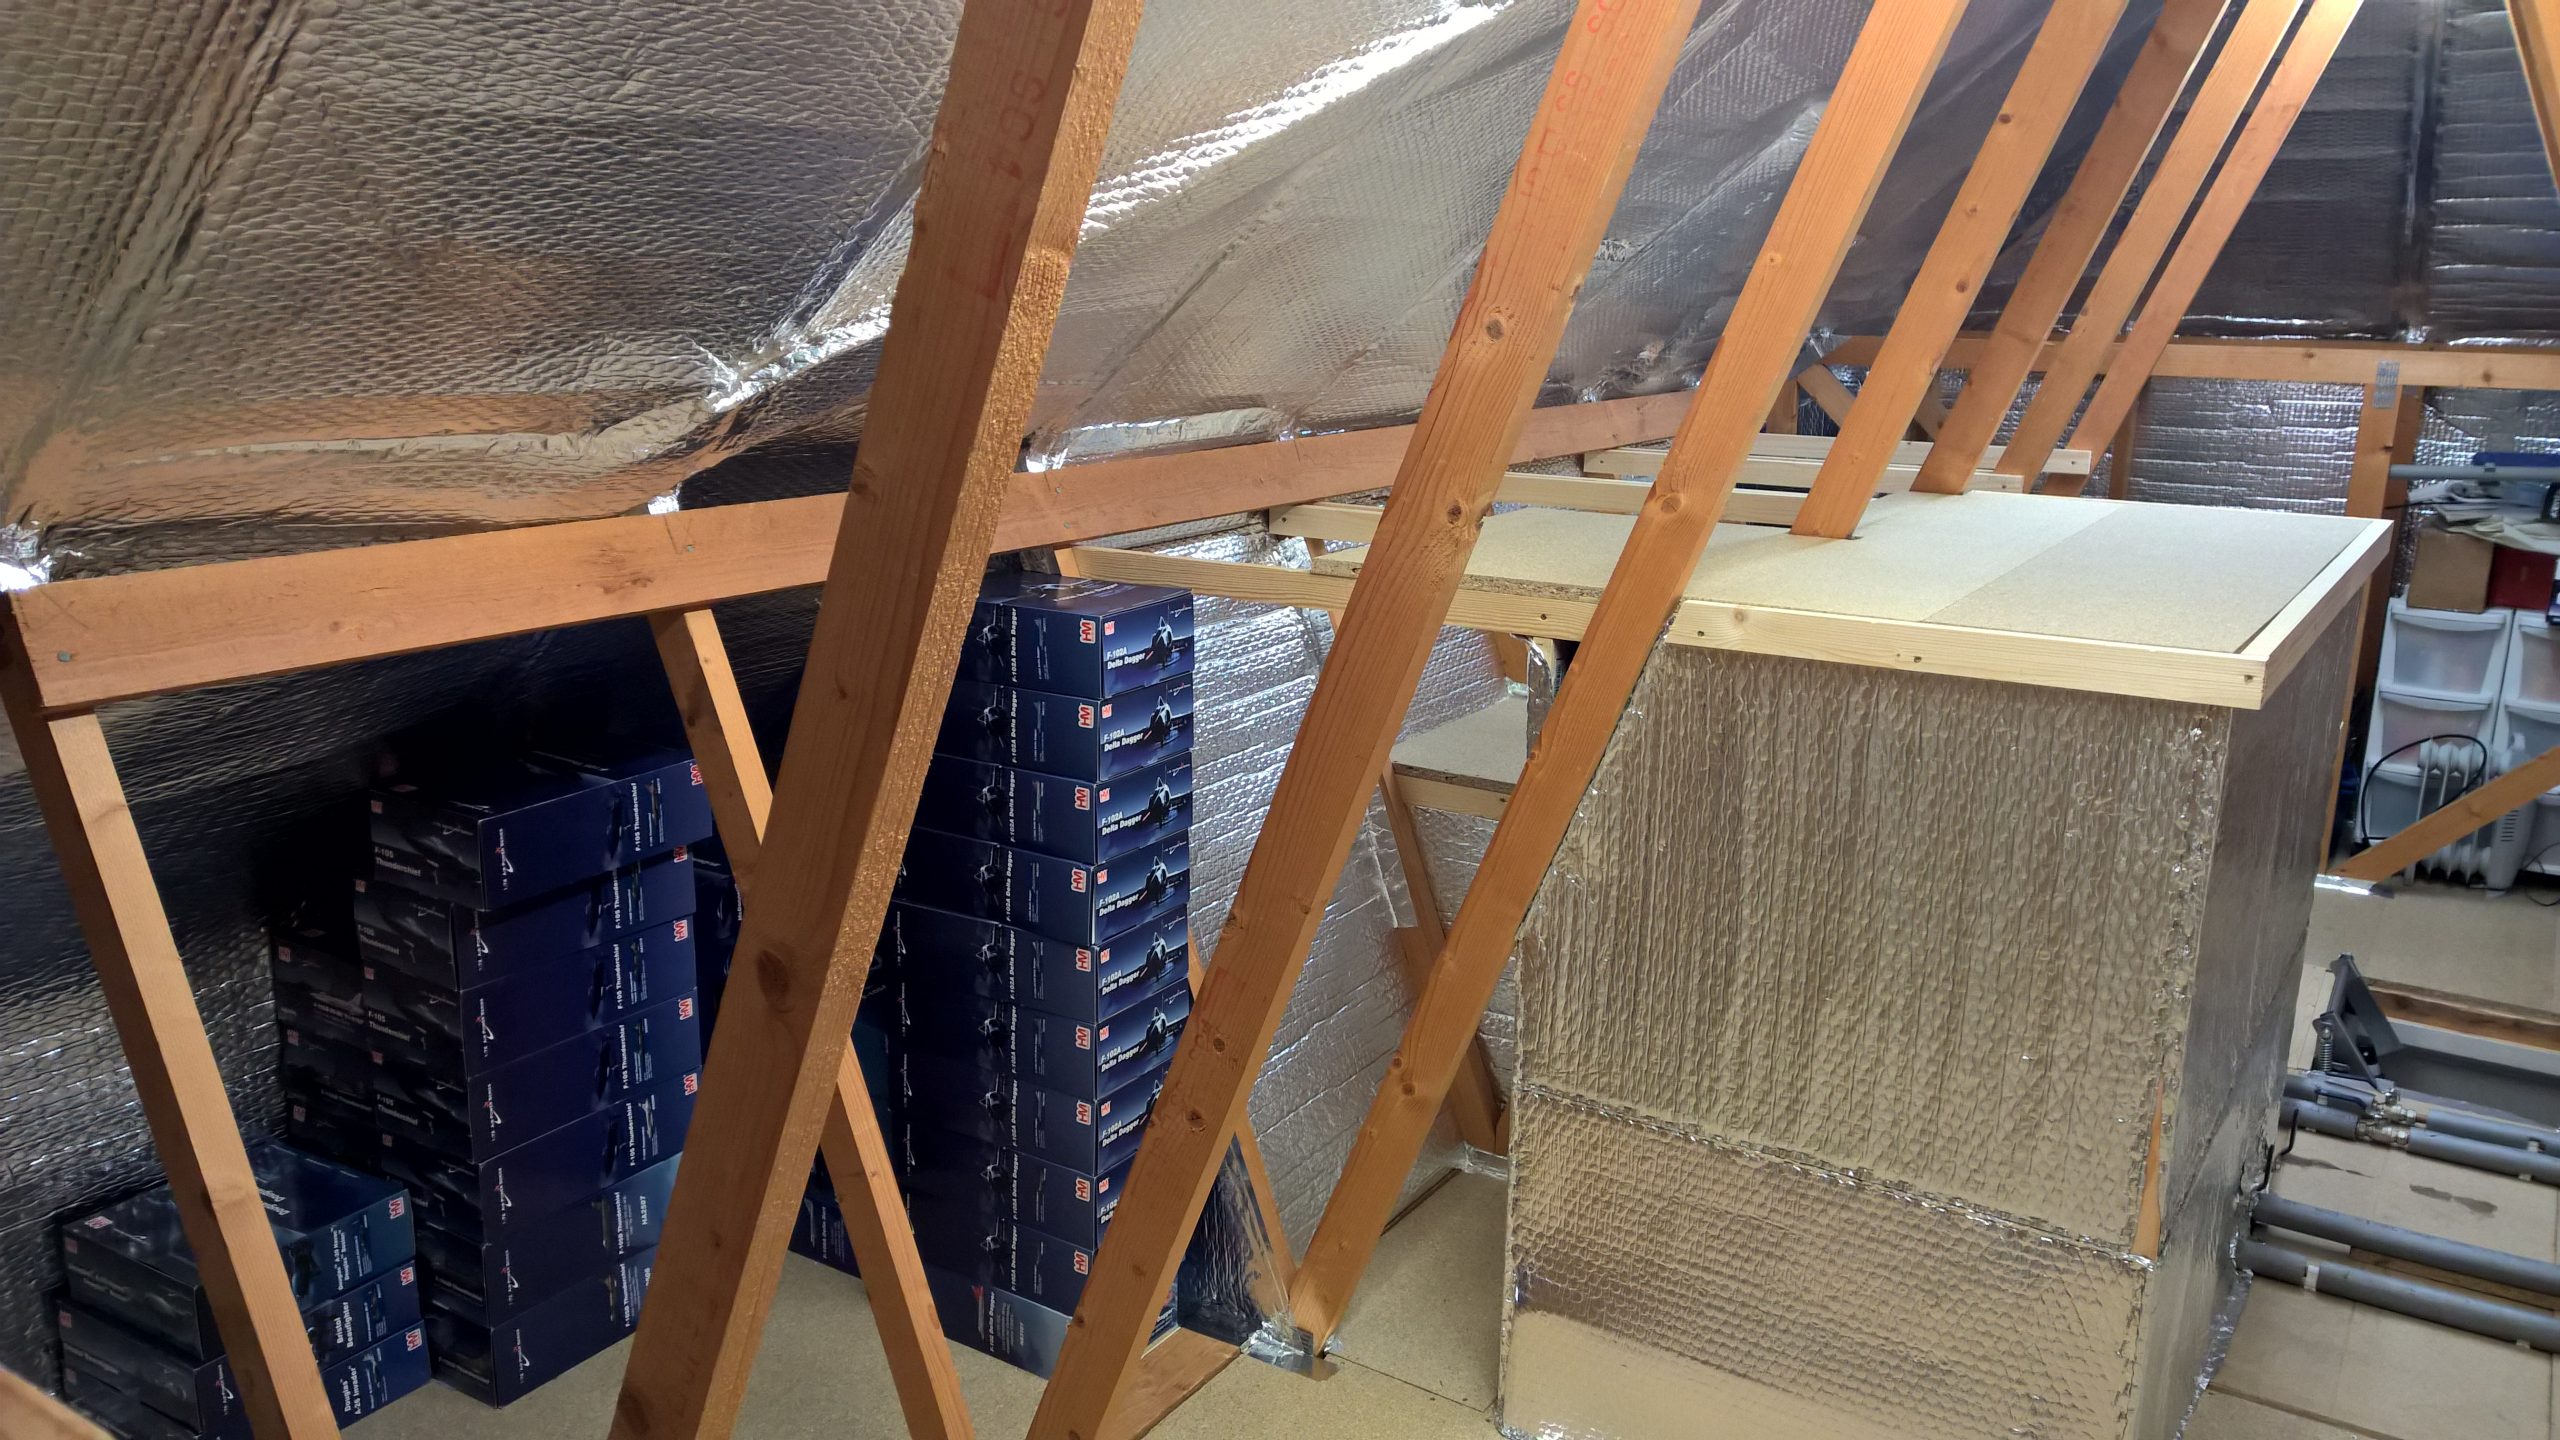
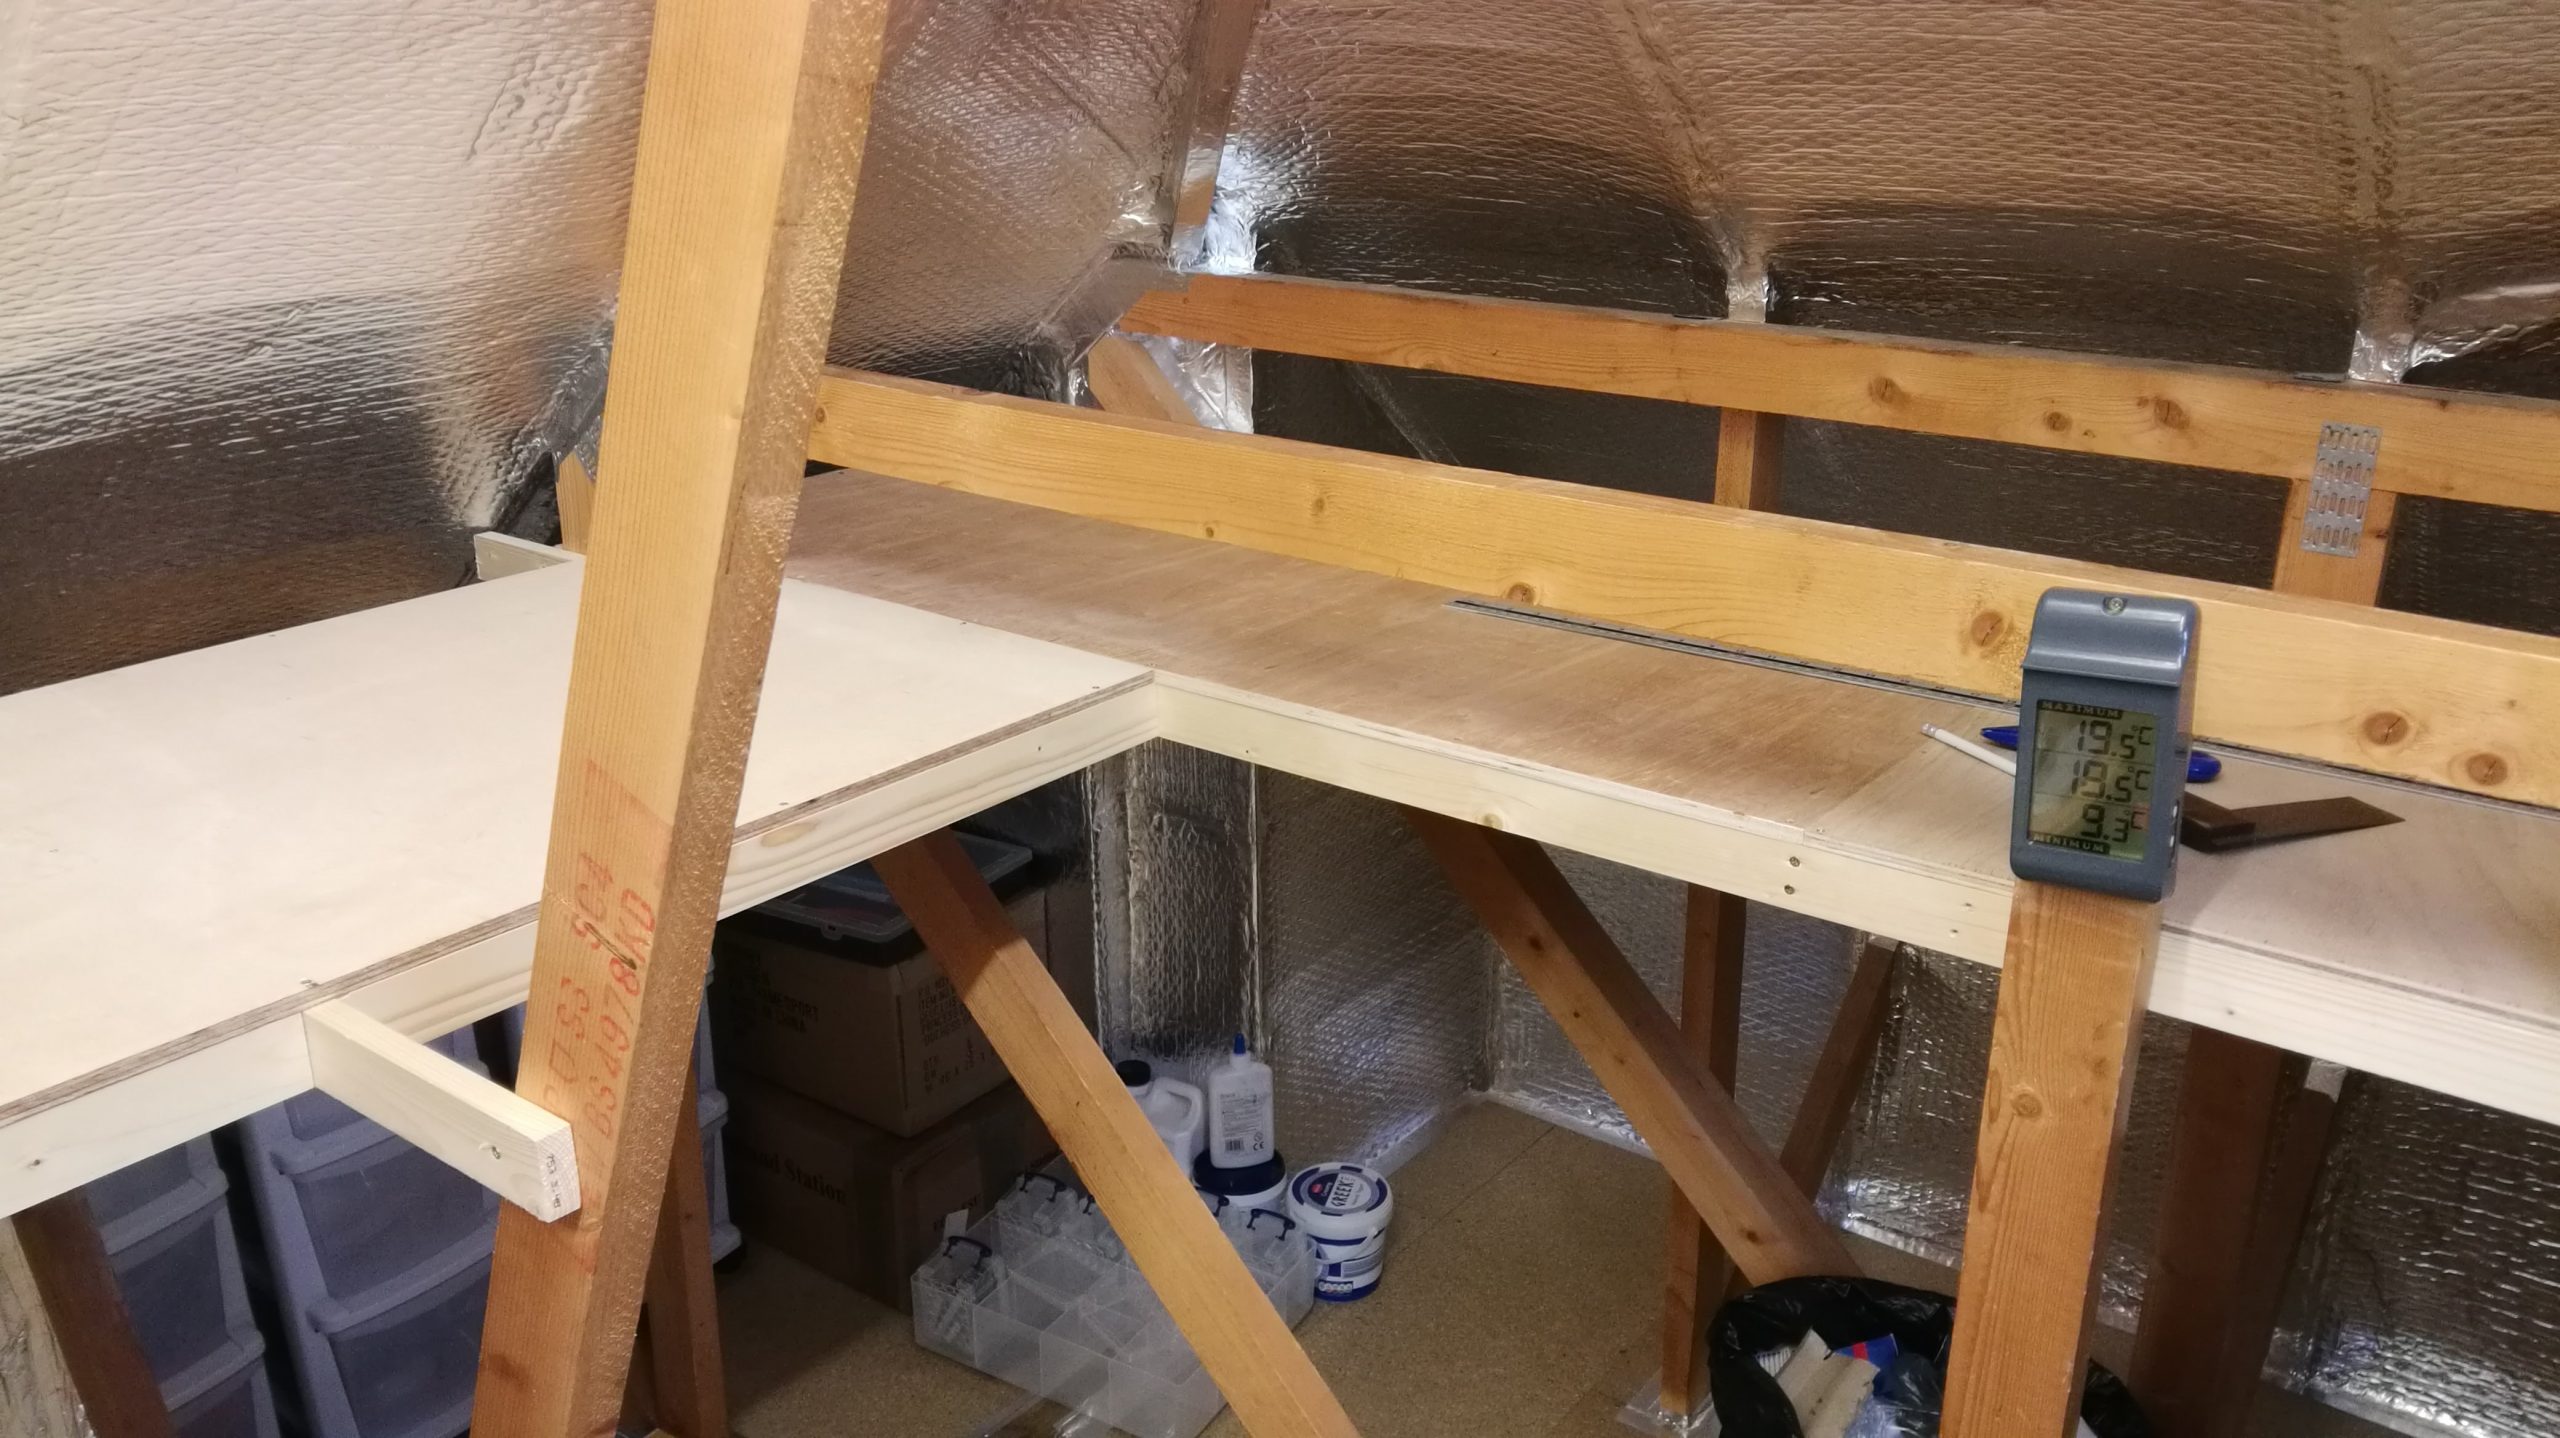
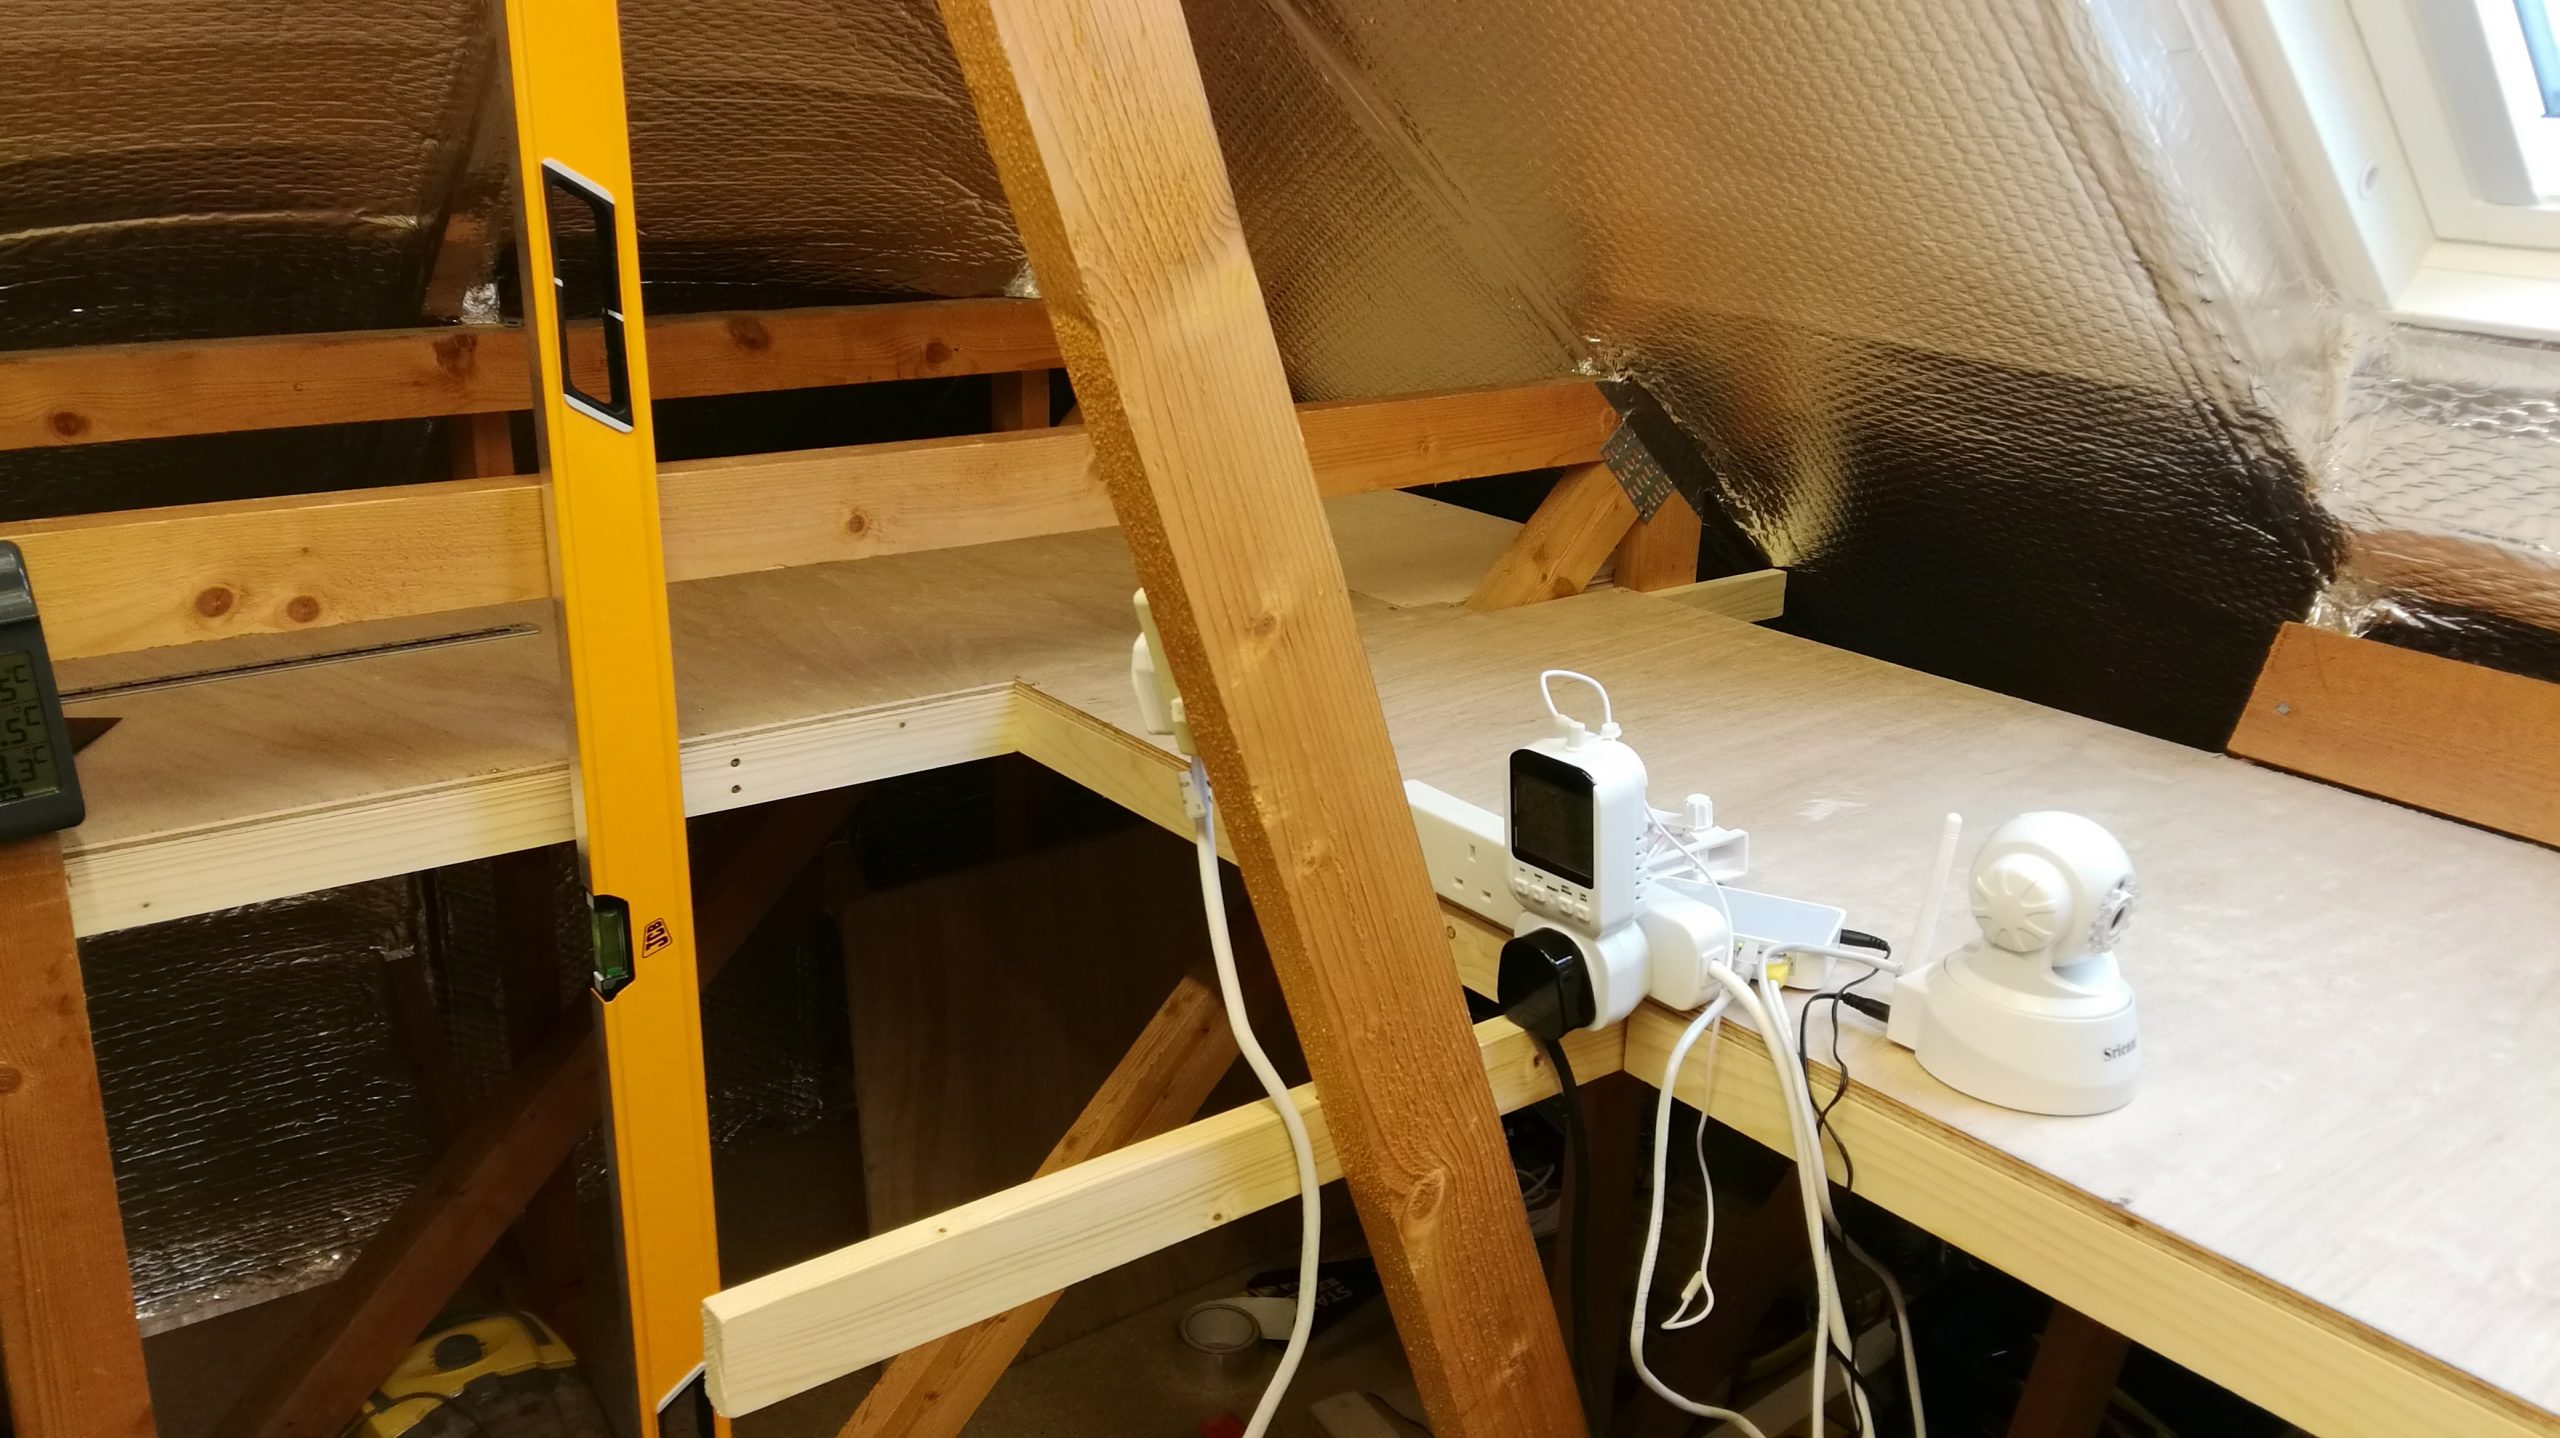
I put two fluorescent tube lights in and added a mains spur from downstairs to a double plug socket. I also ran an extension cable from a bedroom below through the ceiling up into the loft. Here are some pictures of the finished loft –
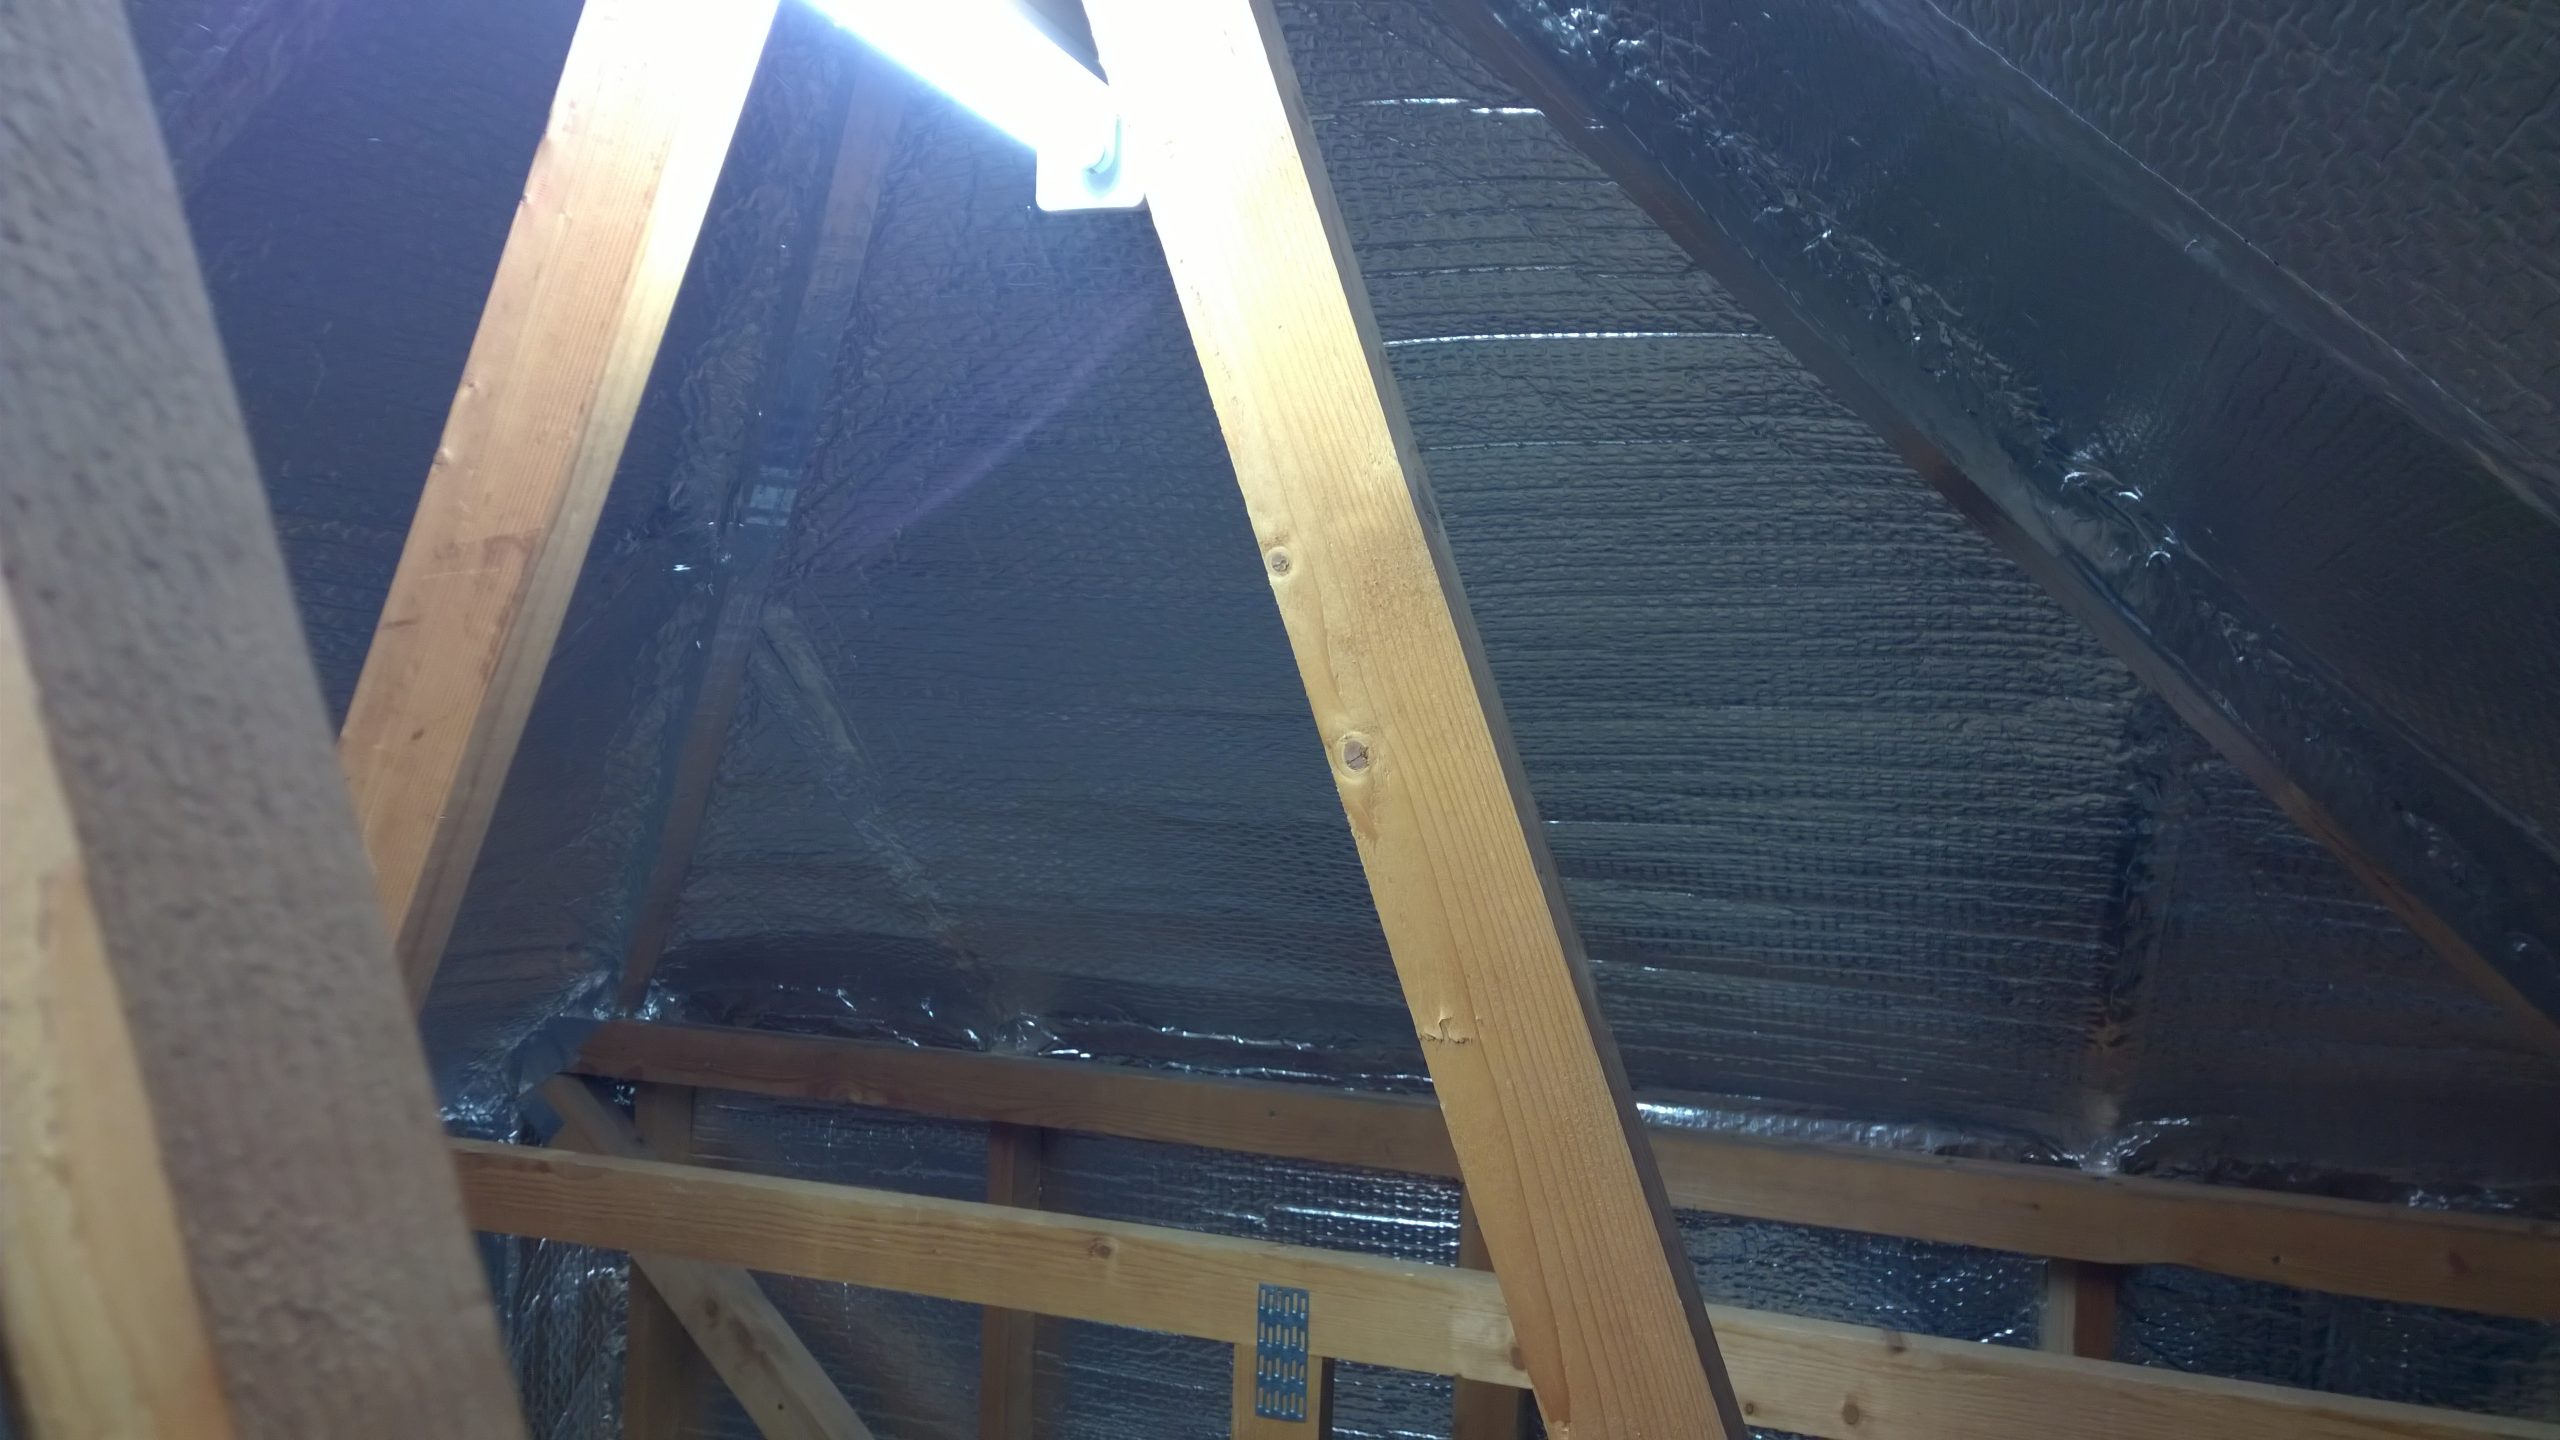


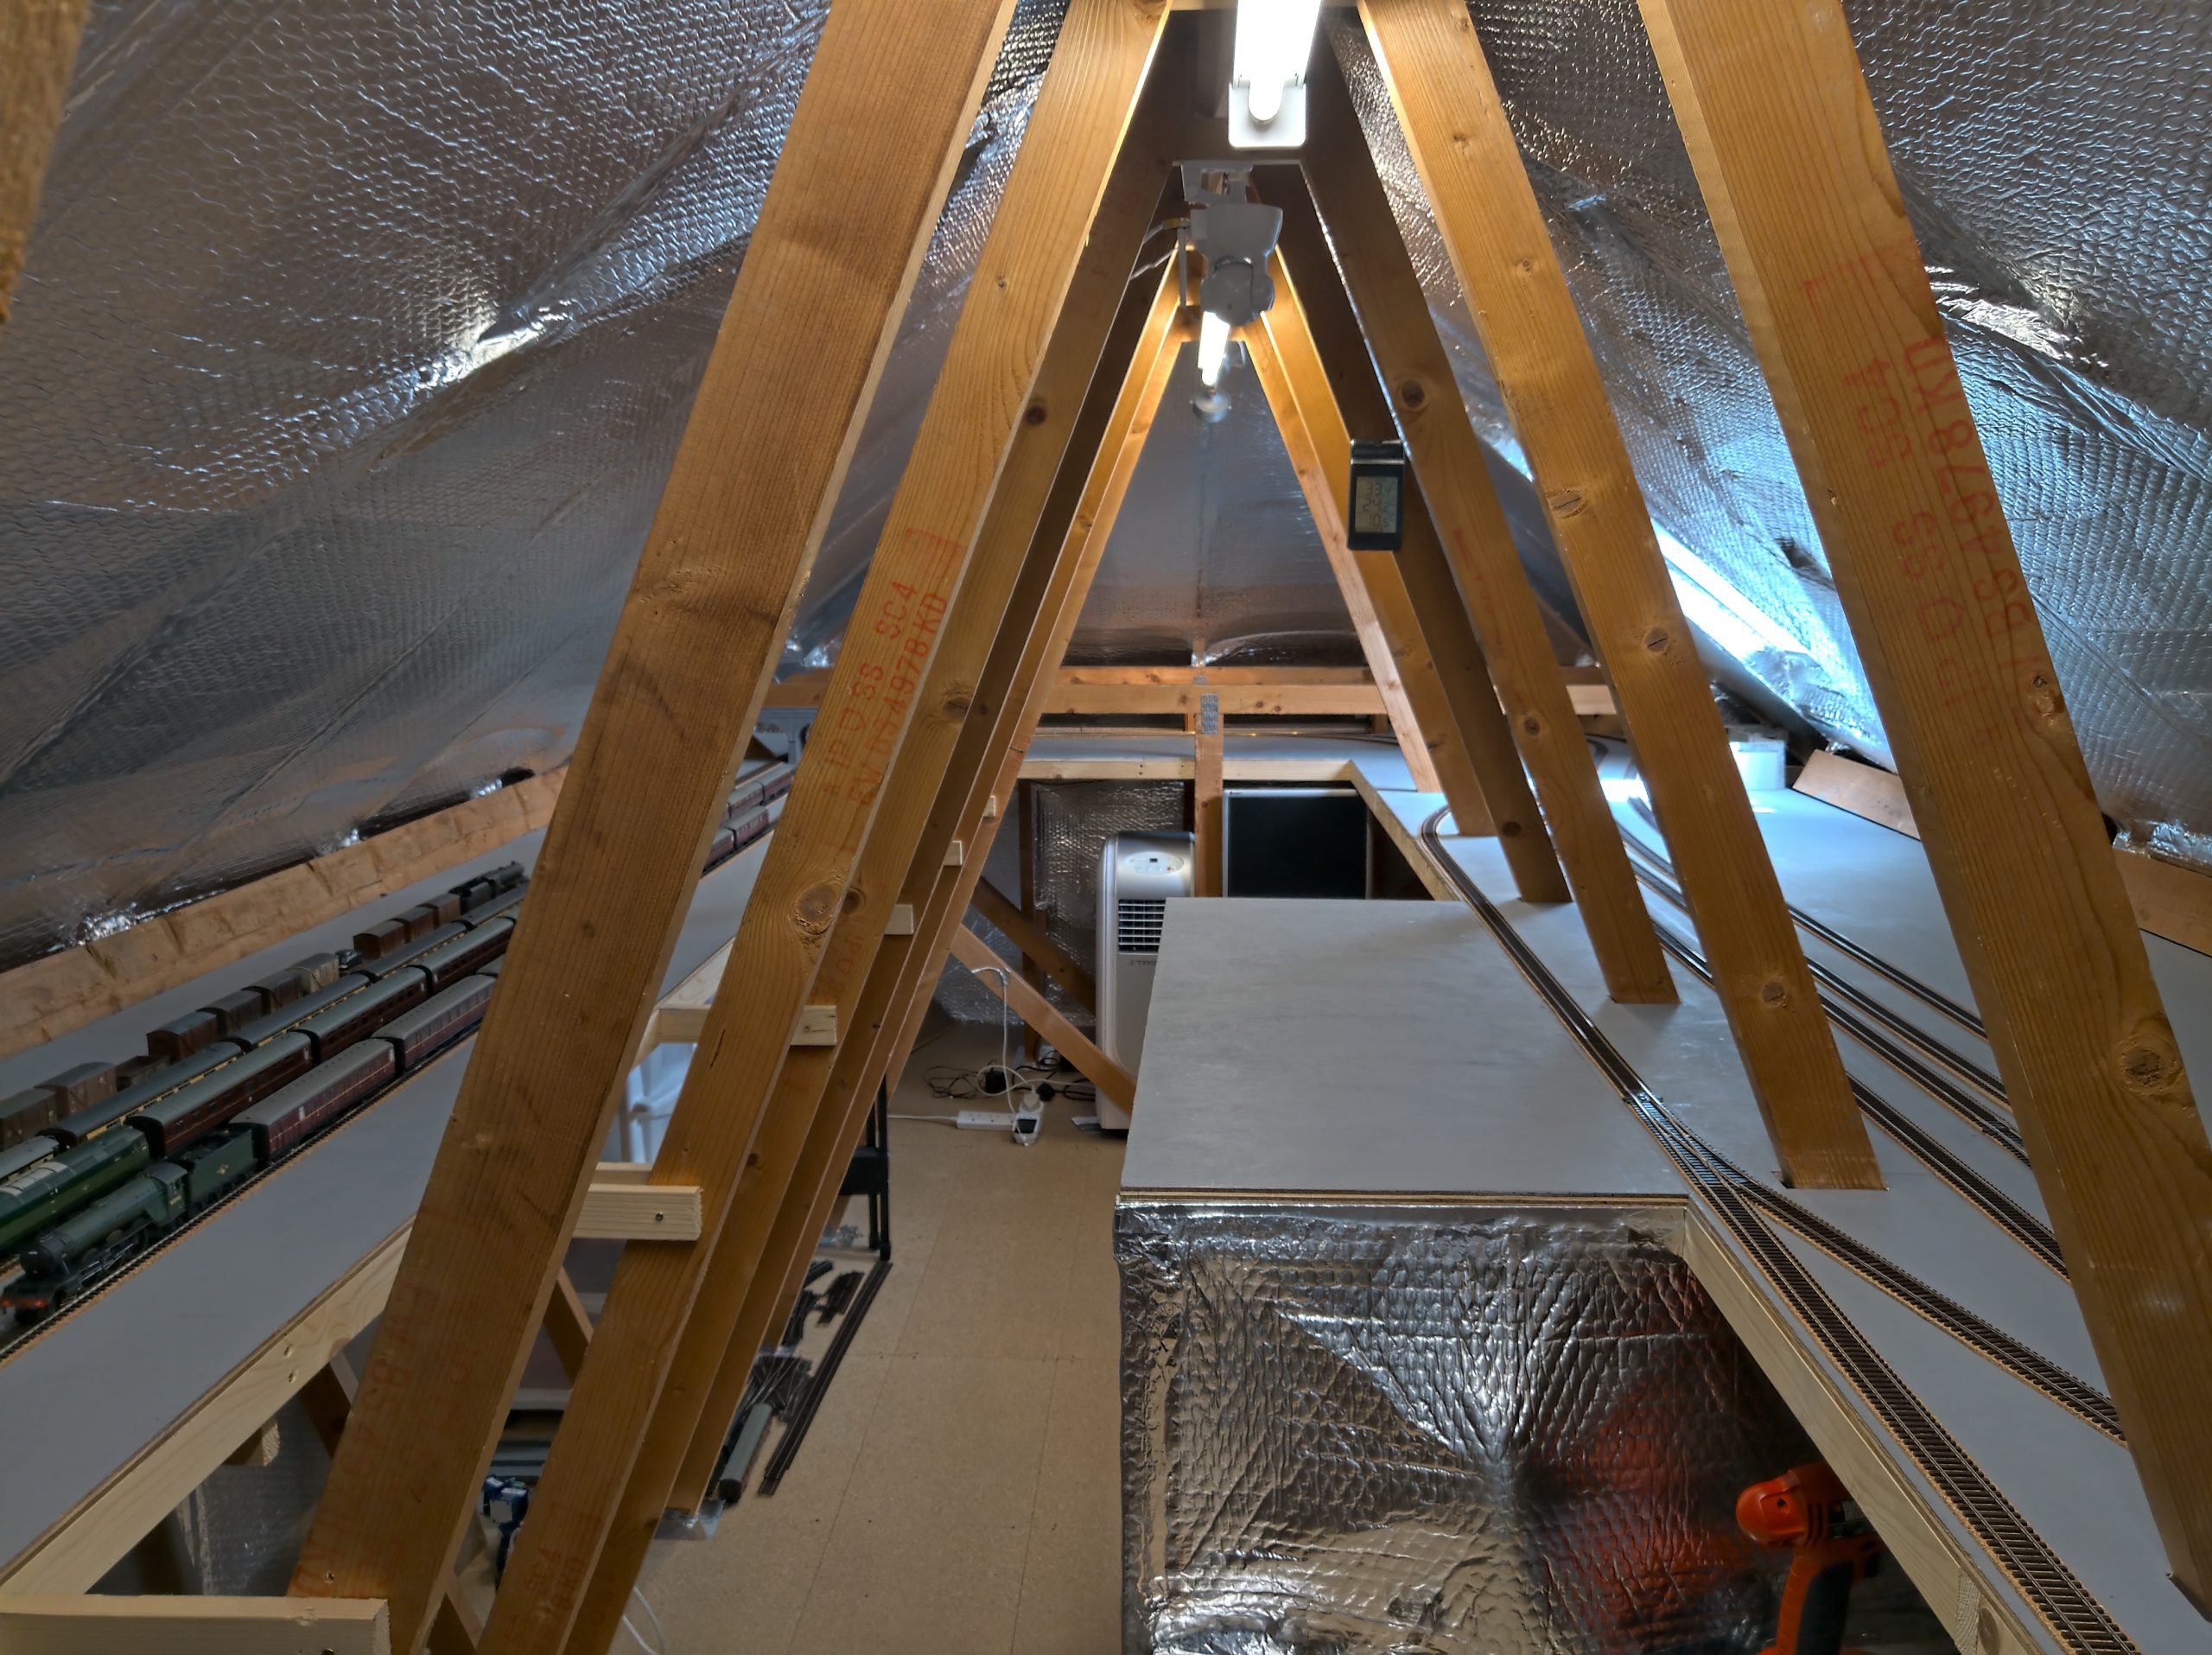
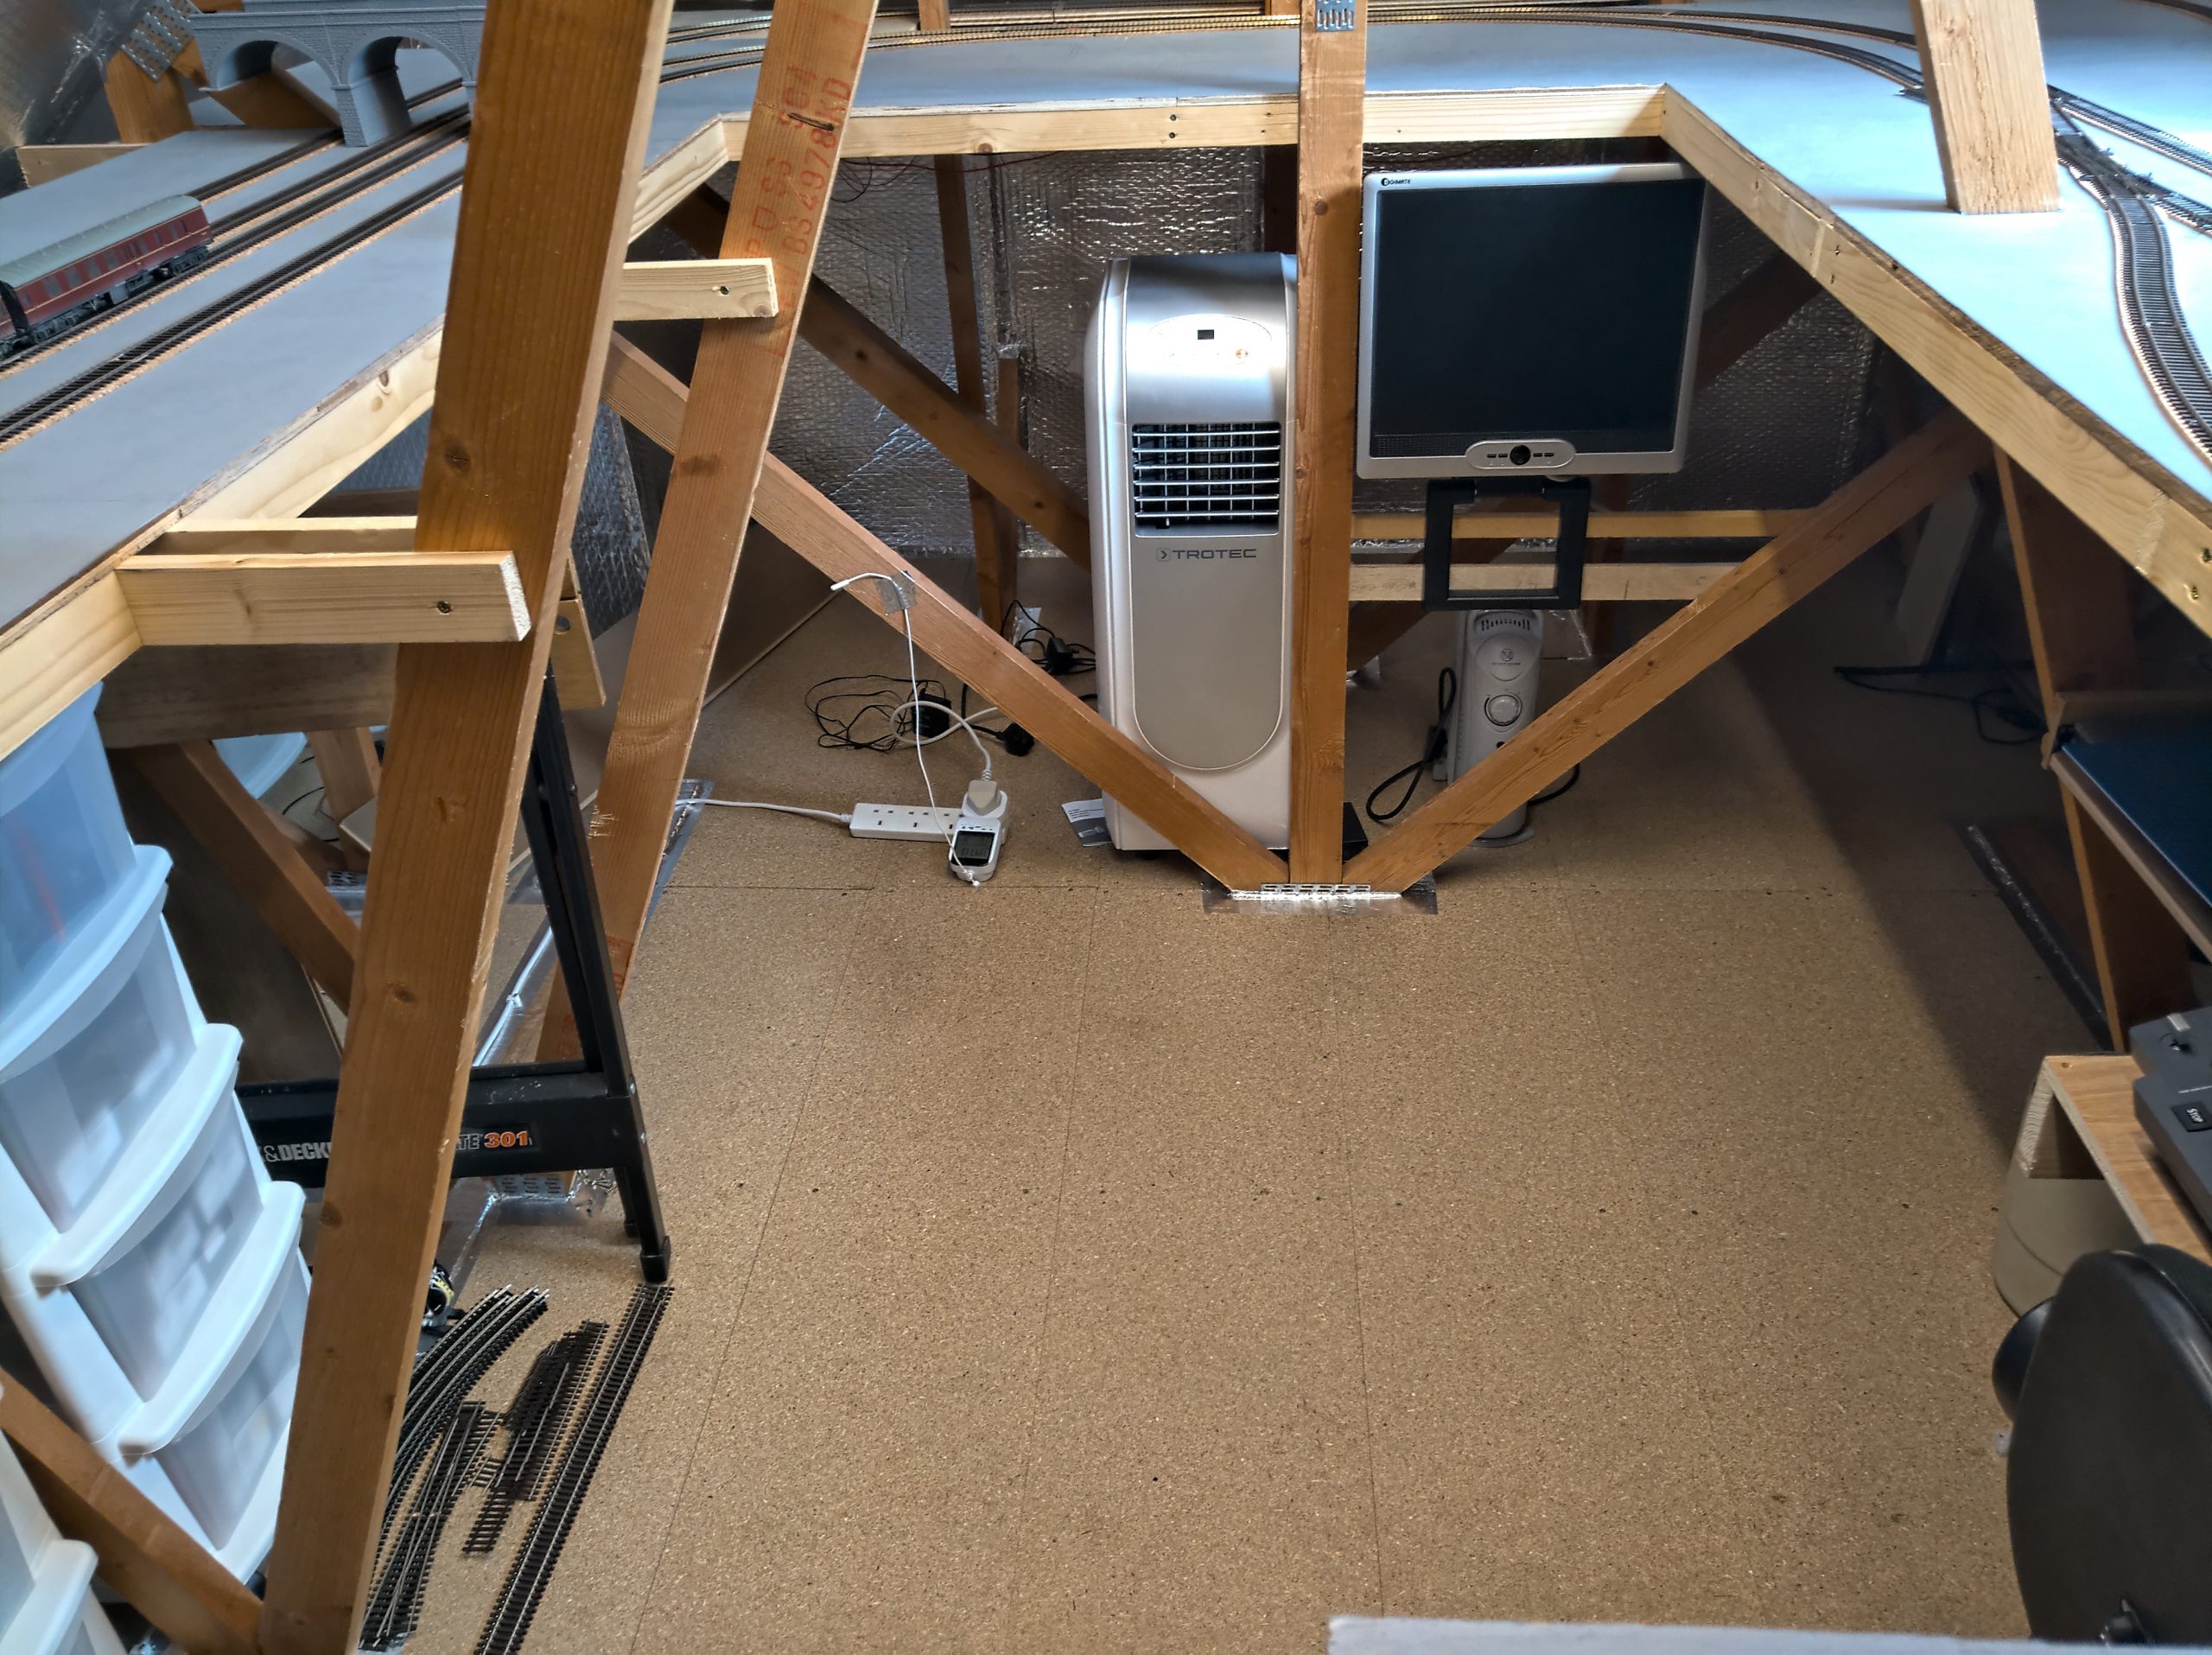
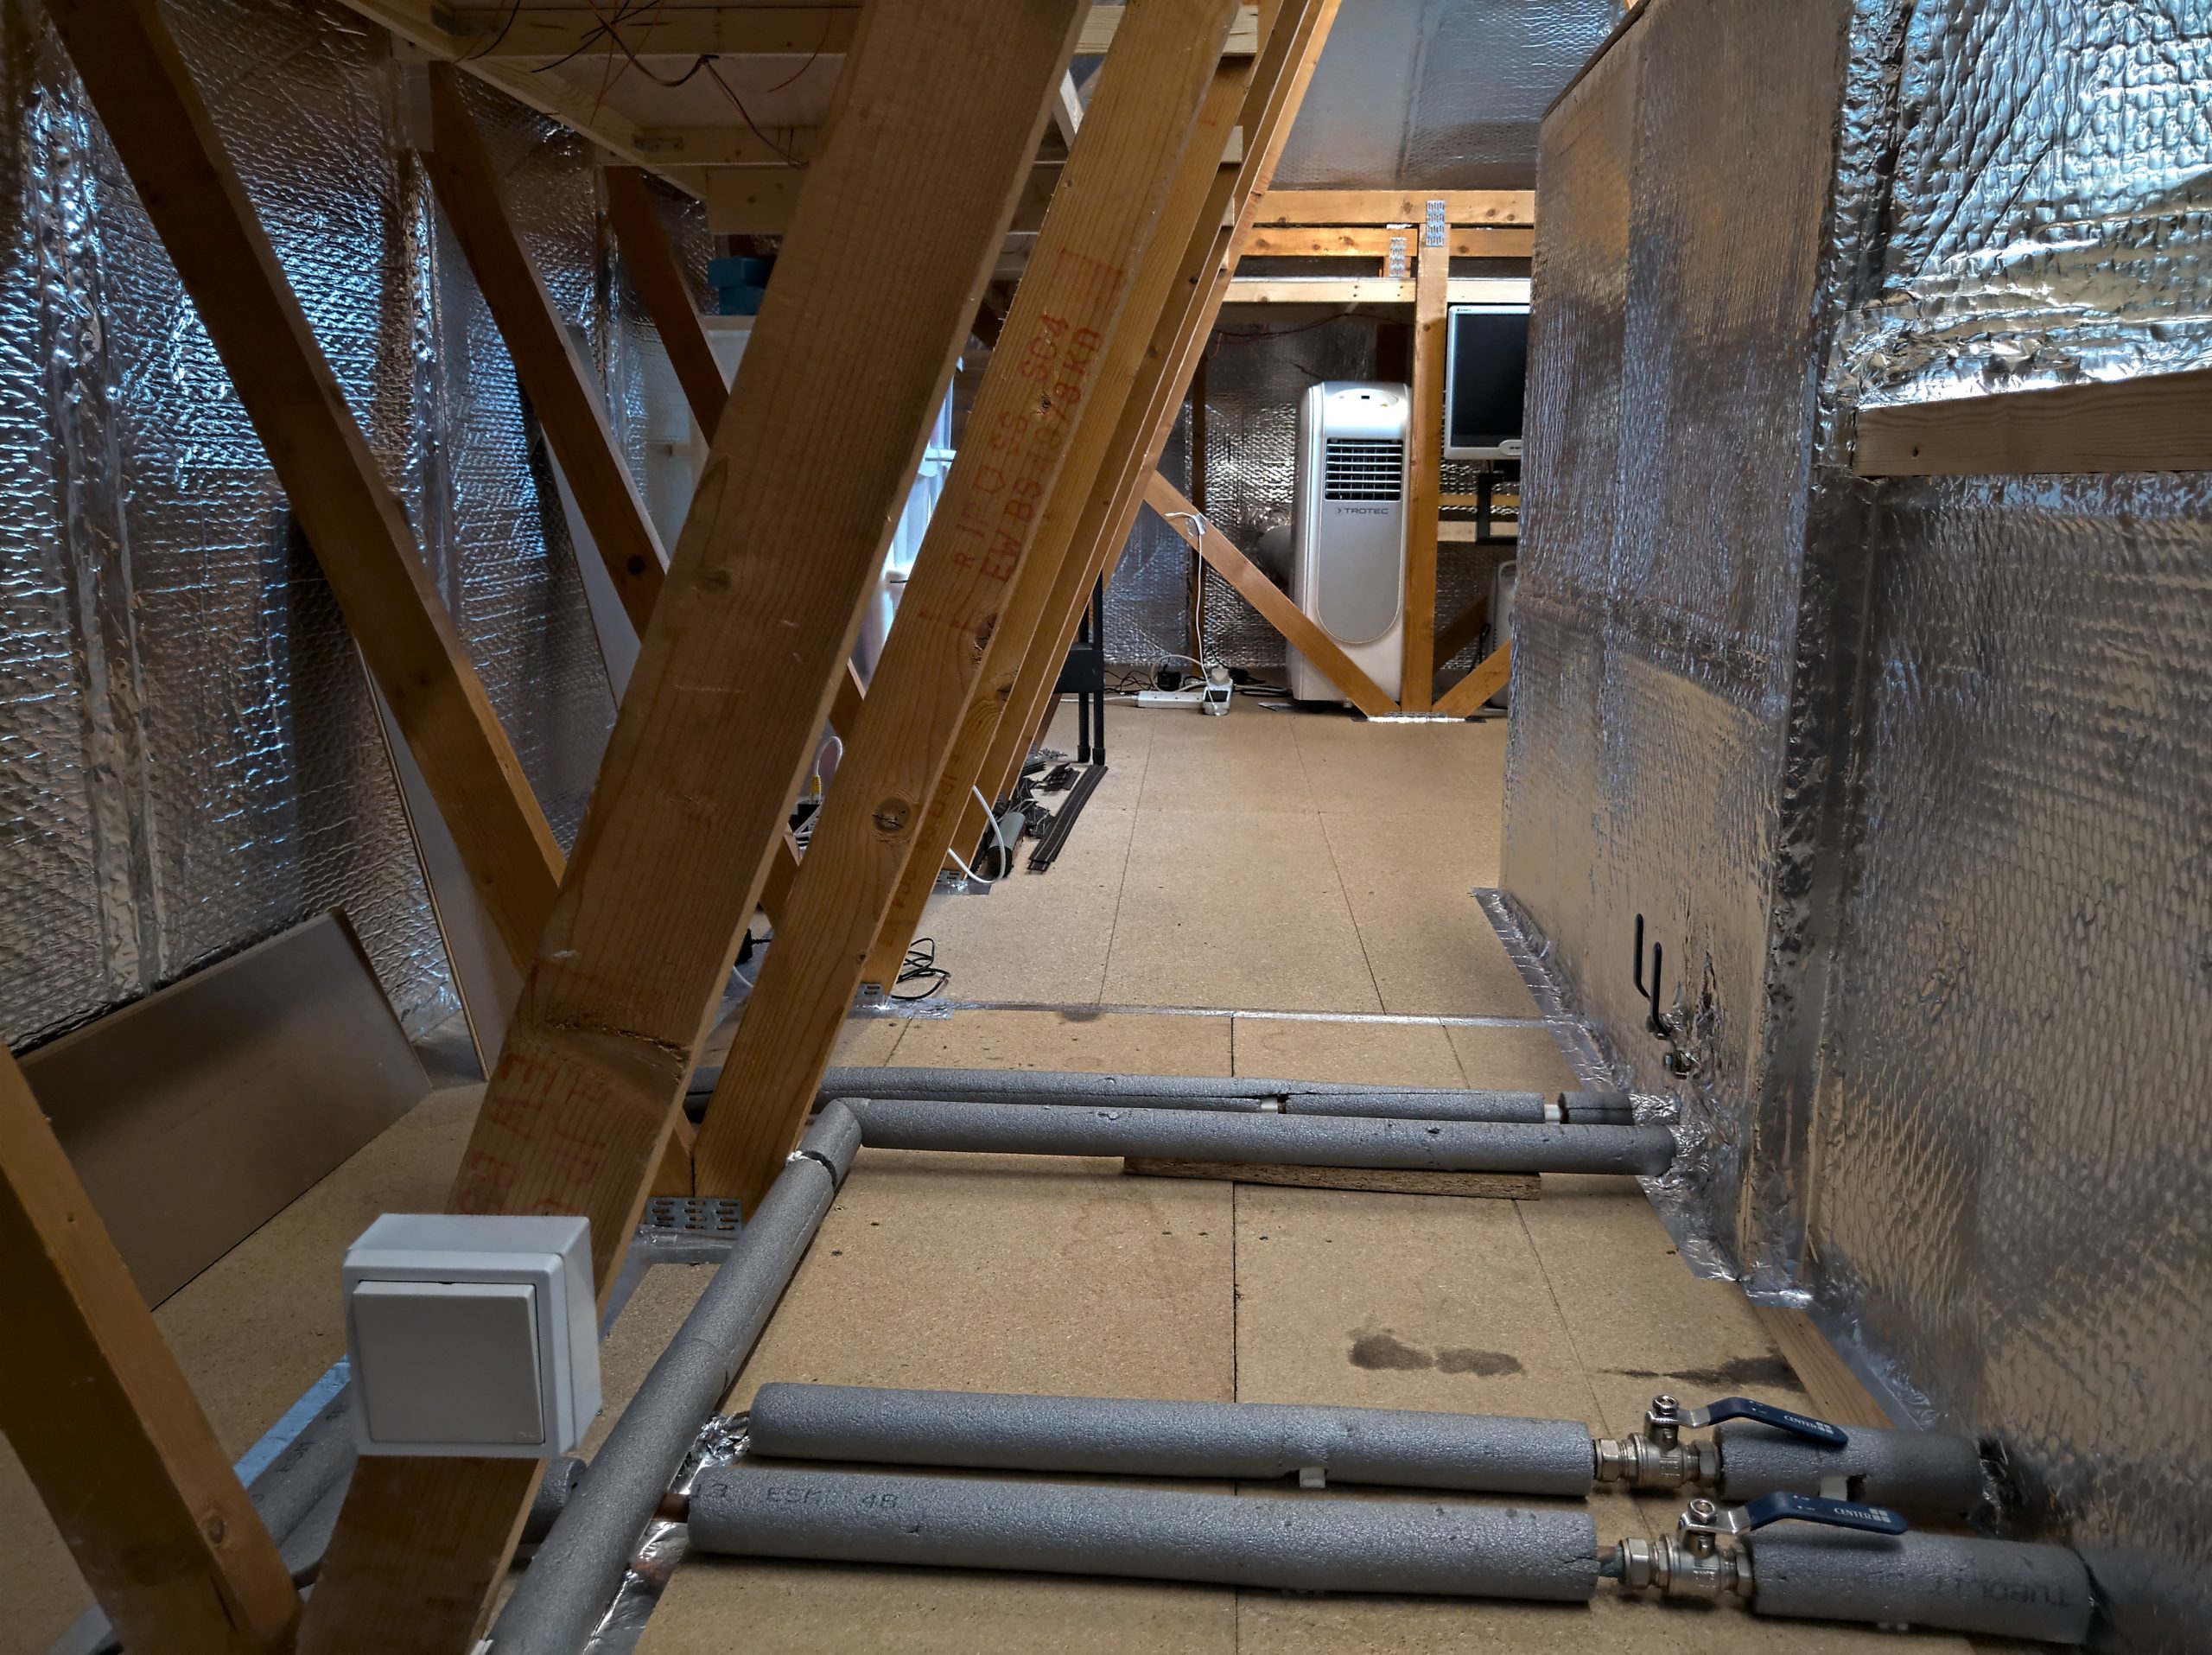
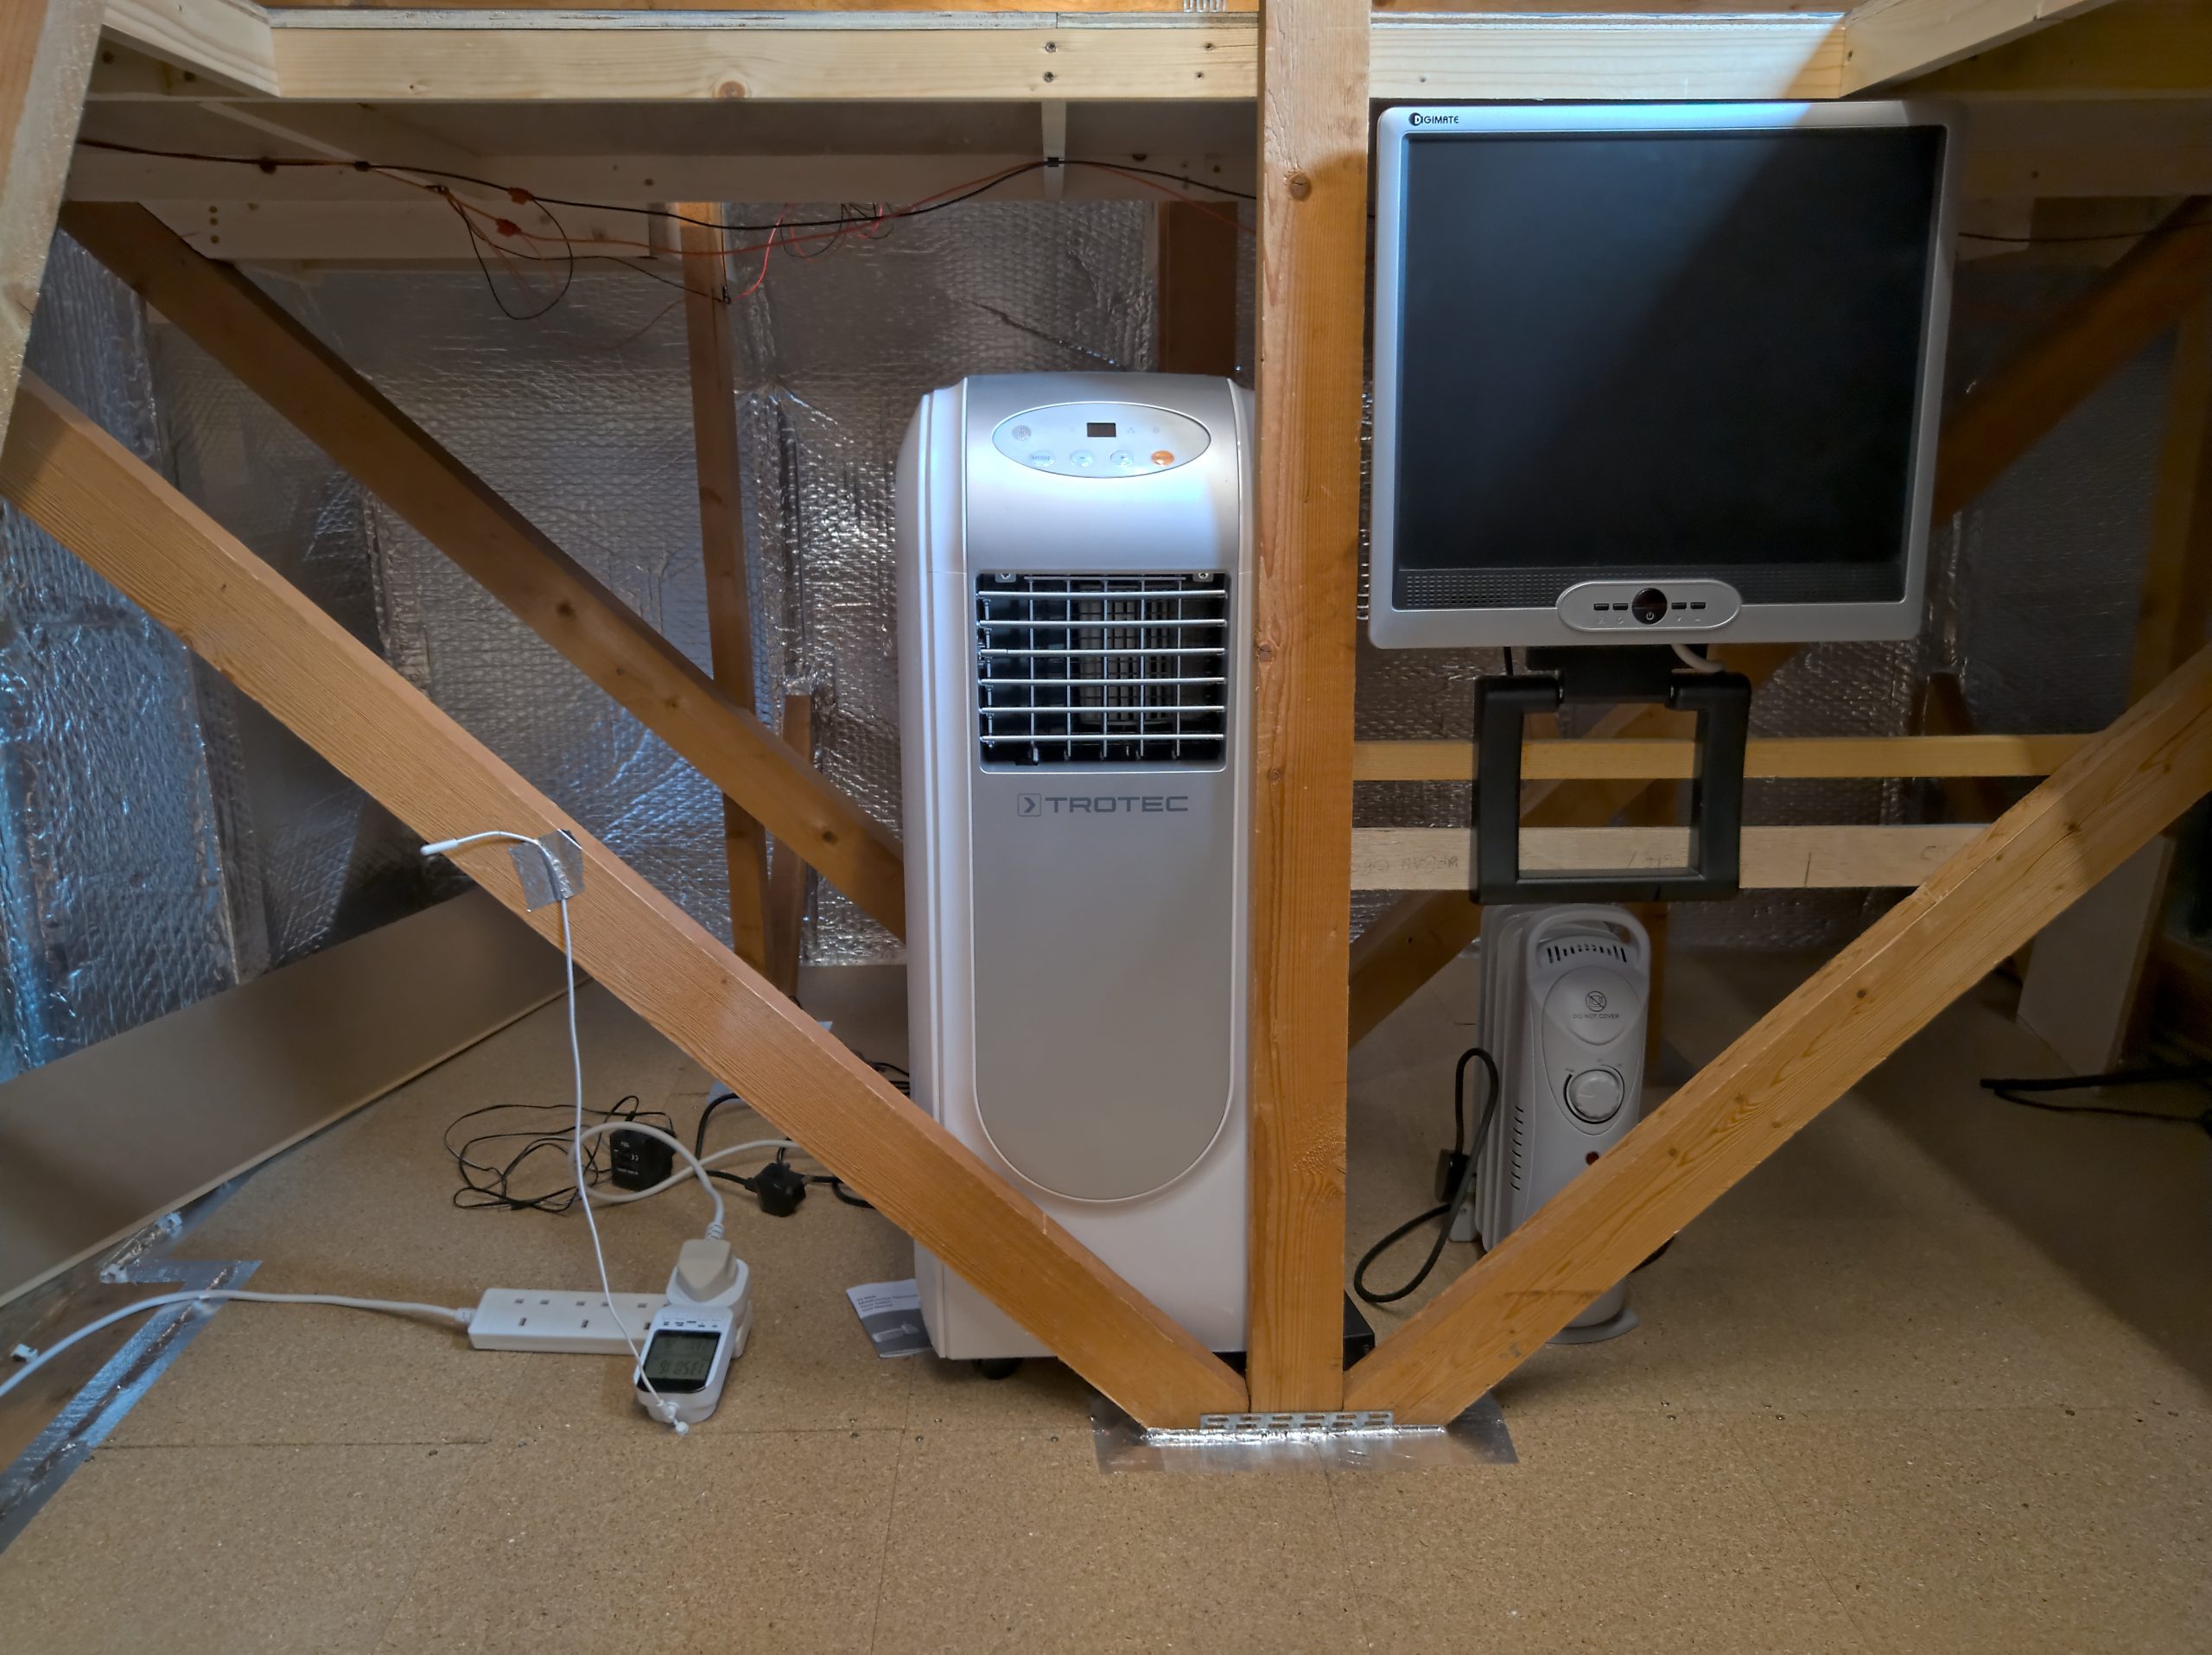
I later had a Velux style window fitted to help with ventilation and cooling. I installed an IP webcam in the loft (via a ‘homeplug’ network device) and had it pointed at a digital min/max thermometer in order to monitor the temperature. This revealed the huge extremes up there which greatly exceeded the recommended operating temperature of my ESU controller (10C to 30C). So, I purchased a switch with a temperature sensor that has a heating mode and a cooling mode. In winter I put it into heating mode a plug a small cheap oil filled radiator into it. I have also installed a portable air-conditioning unit that vents into the loft outside of my insulated silver foil cocoon. In summer I plug this into the switch in cooling mode. This just about keeps it within the temperature range most of the time but on very hot and sunny days it can creep up over 30C.
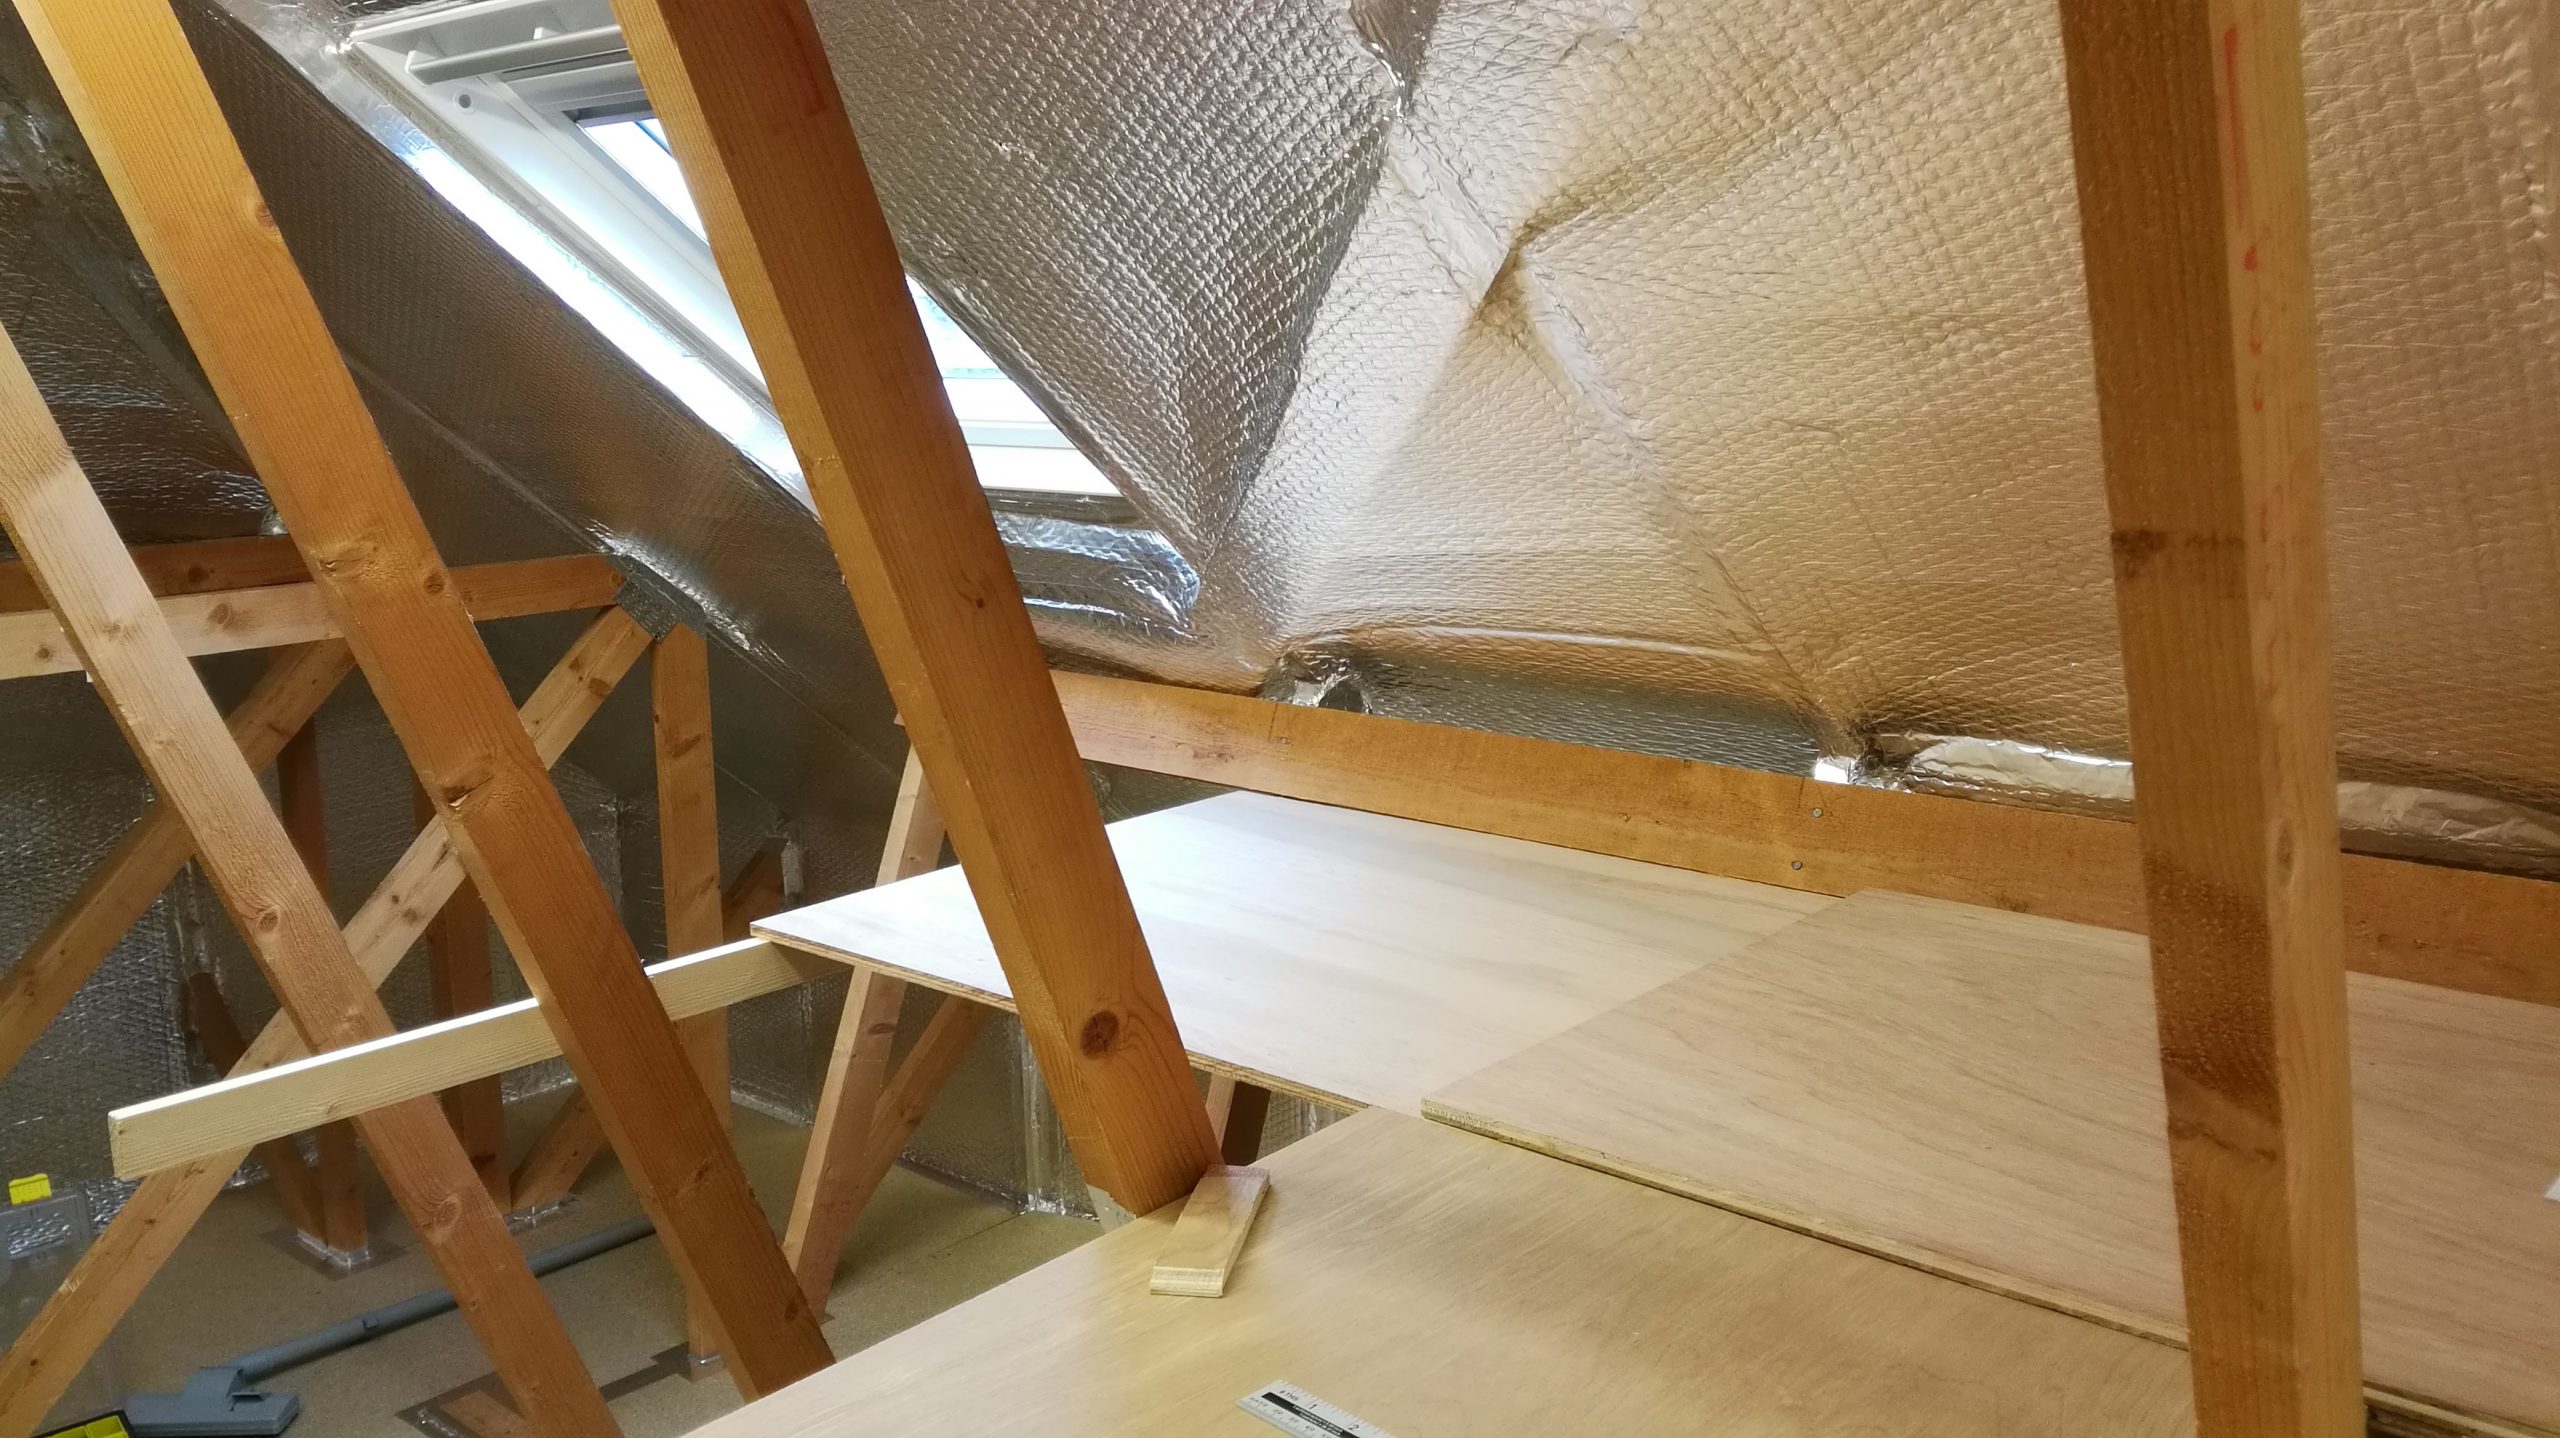
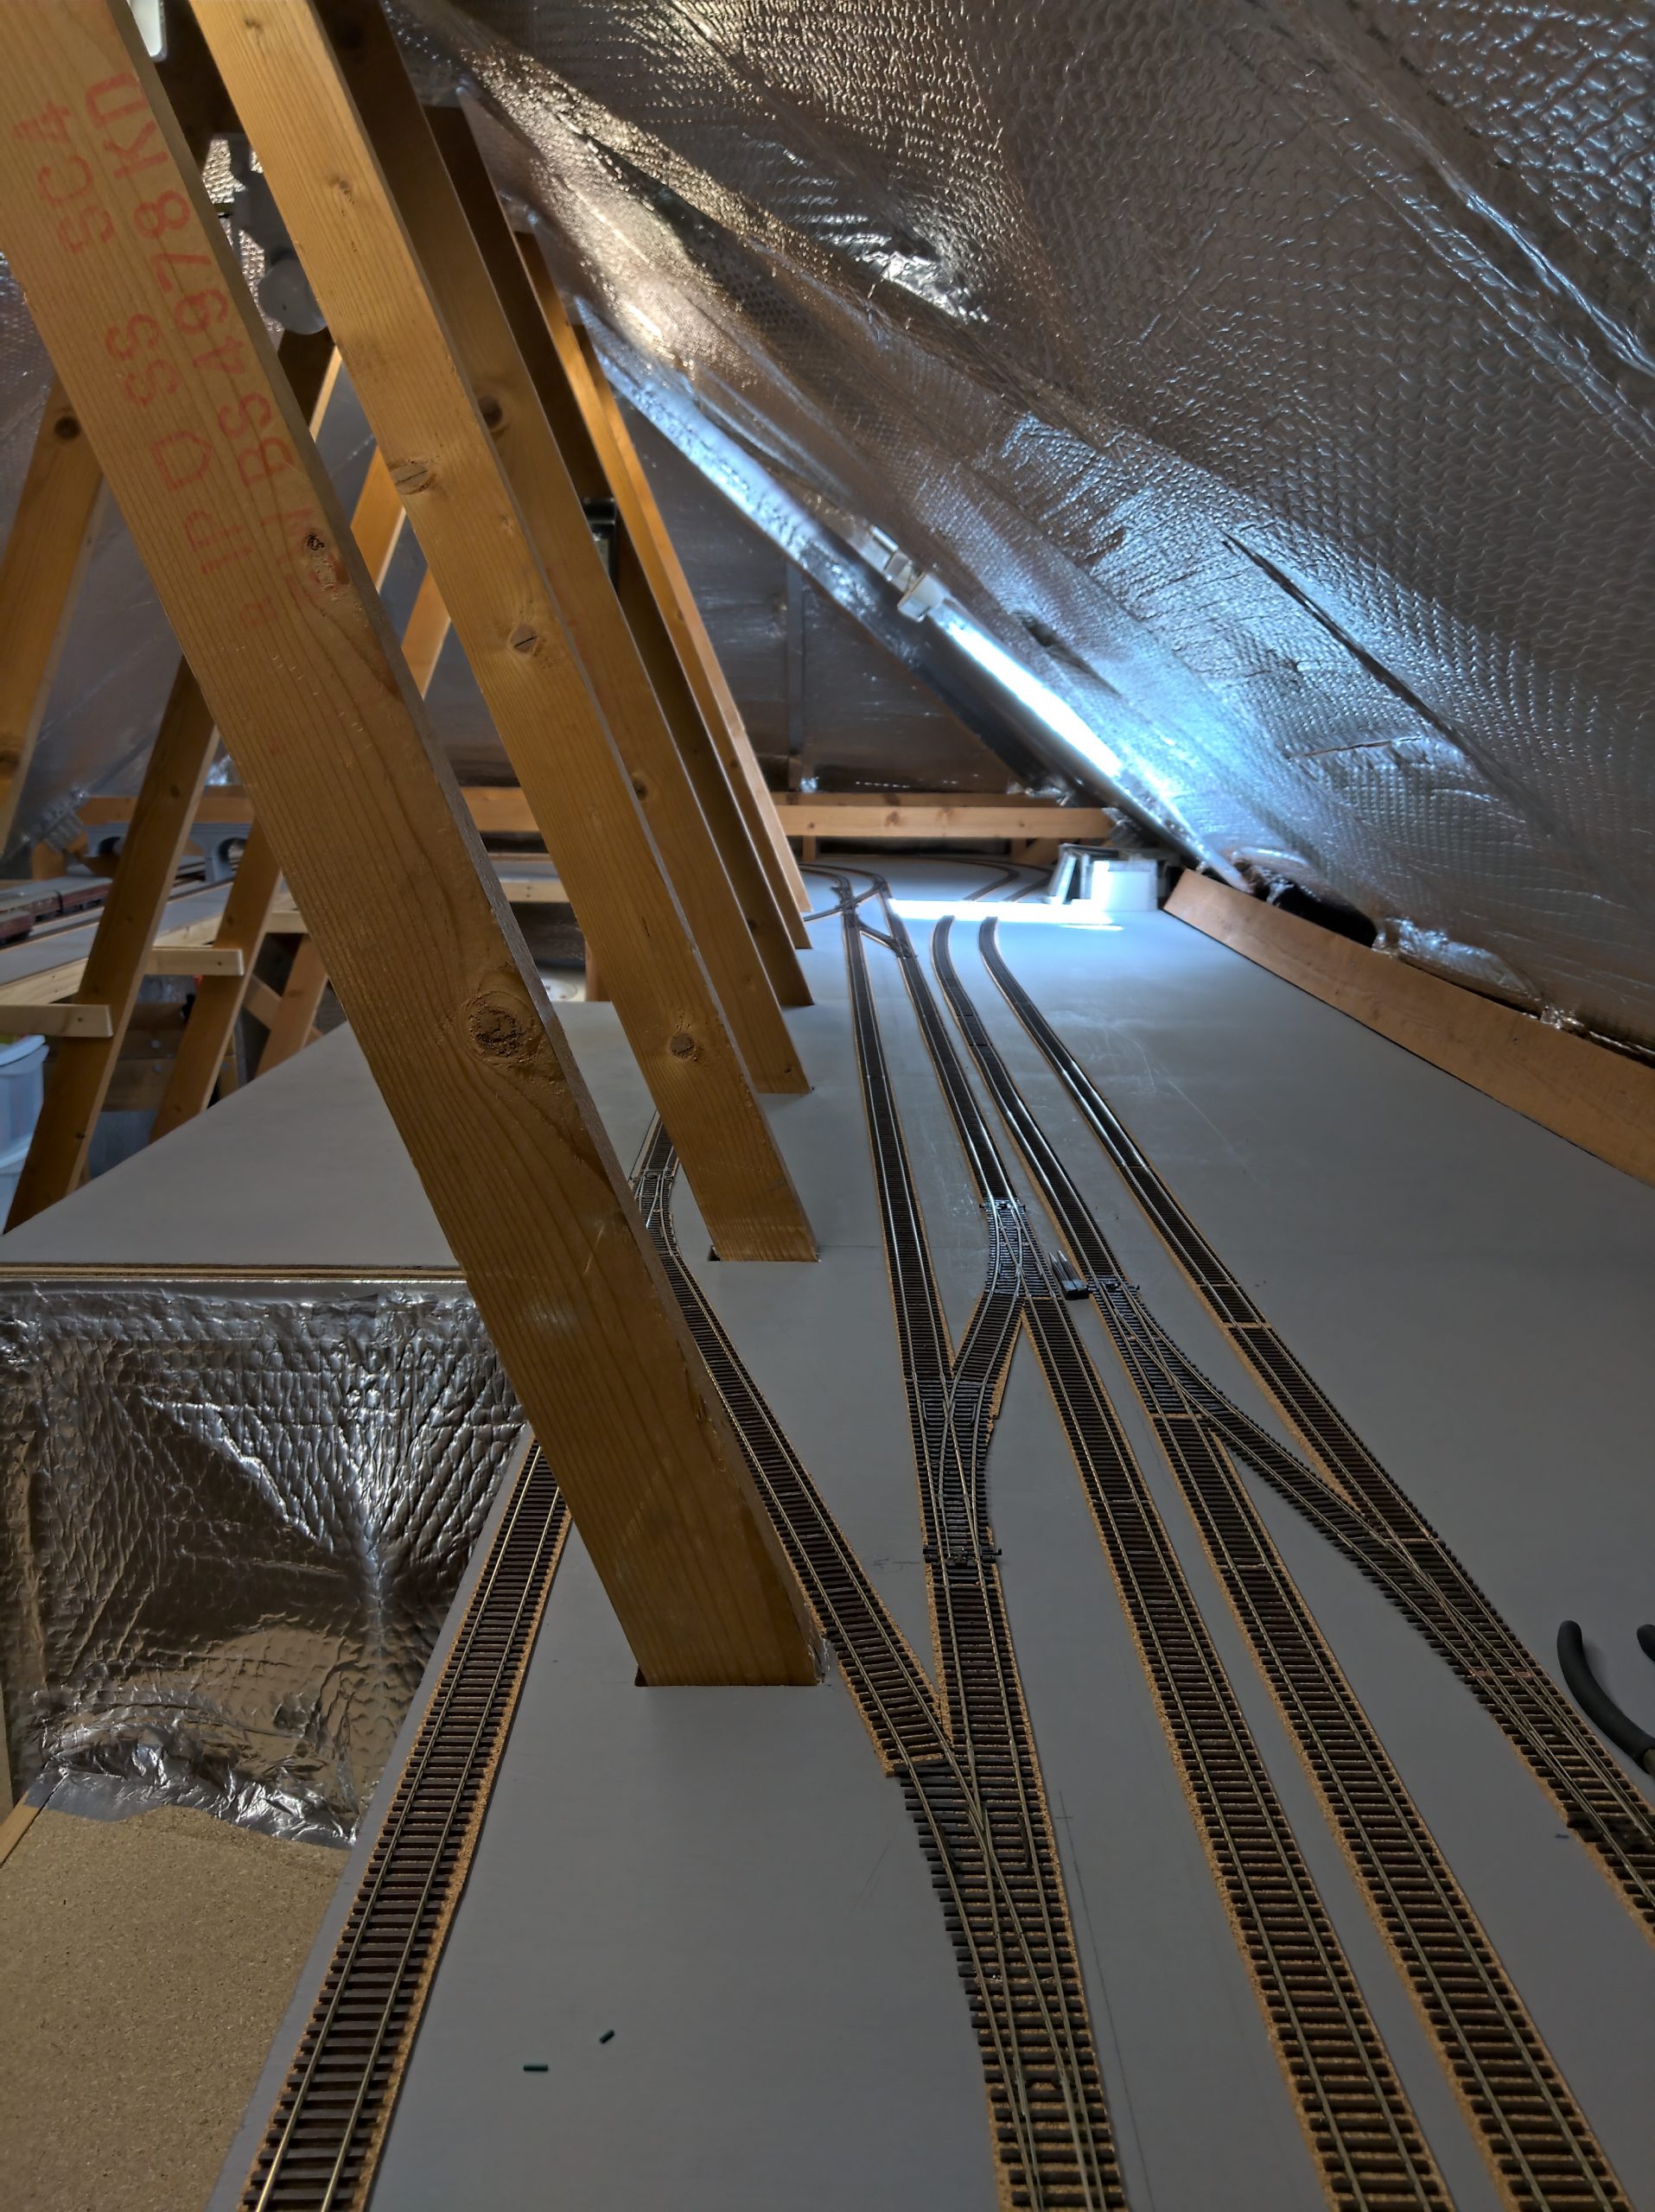
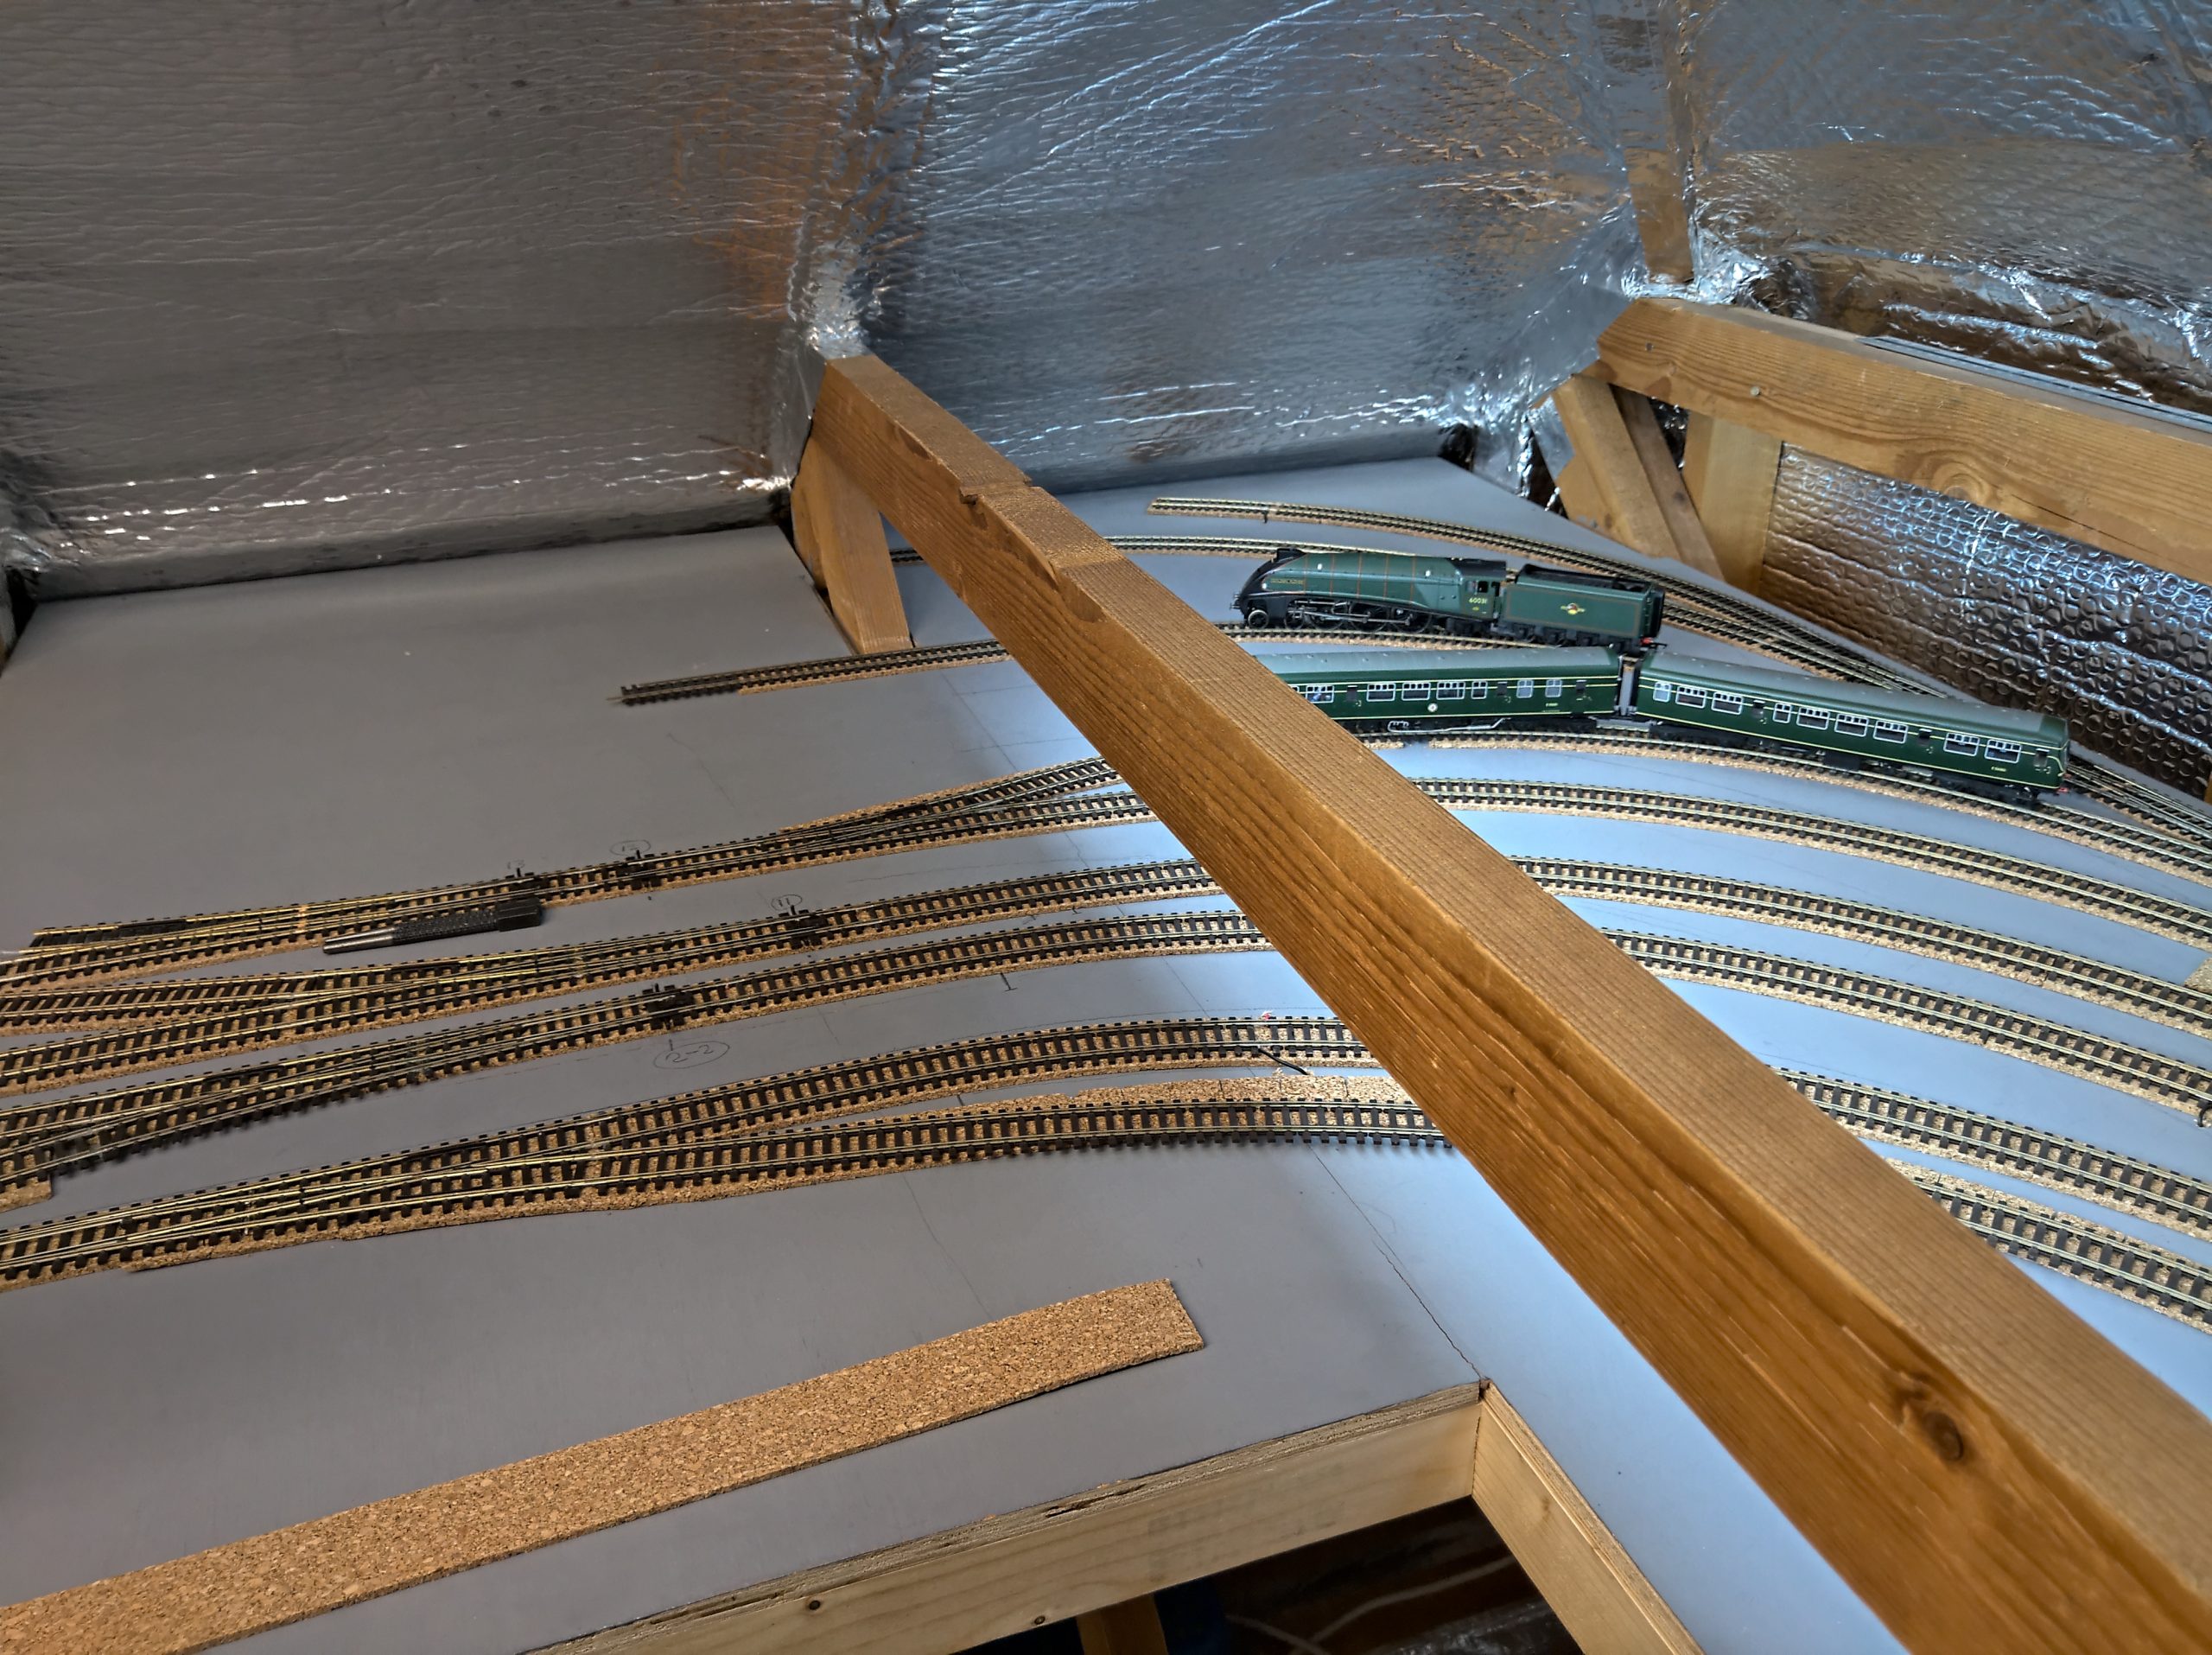
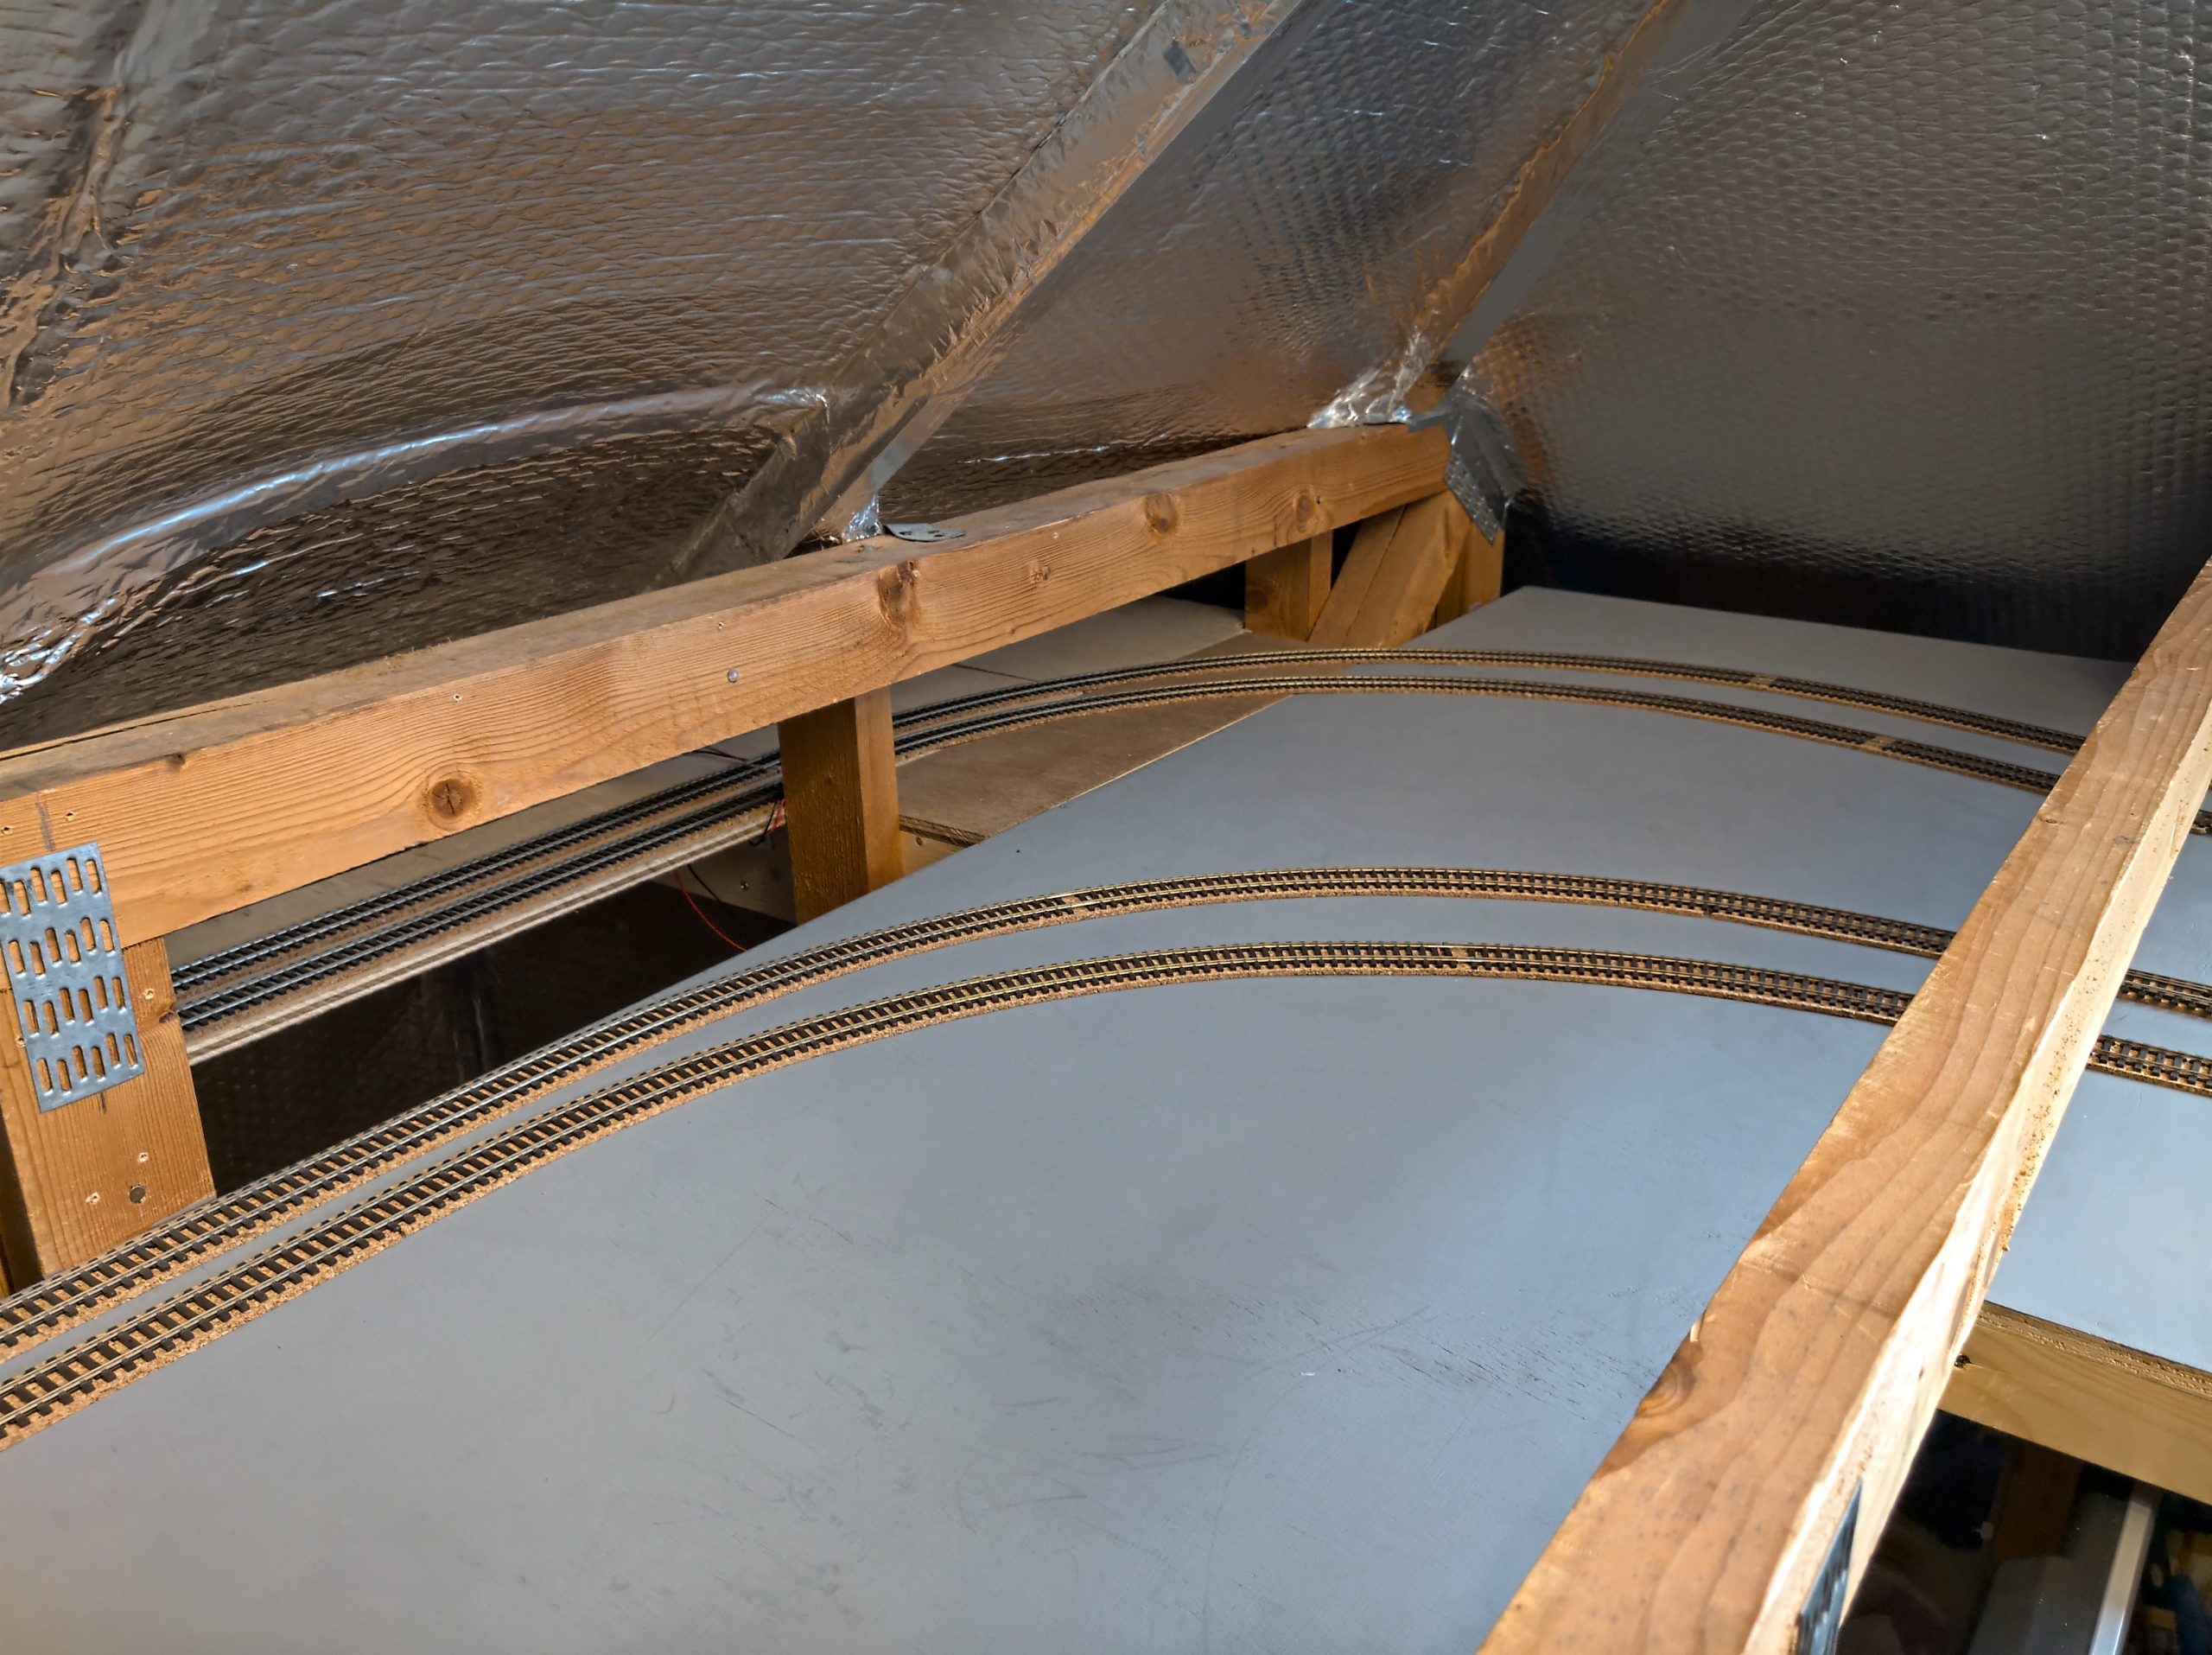
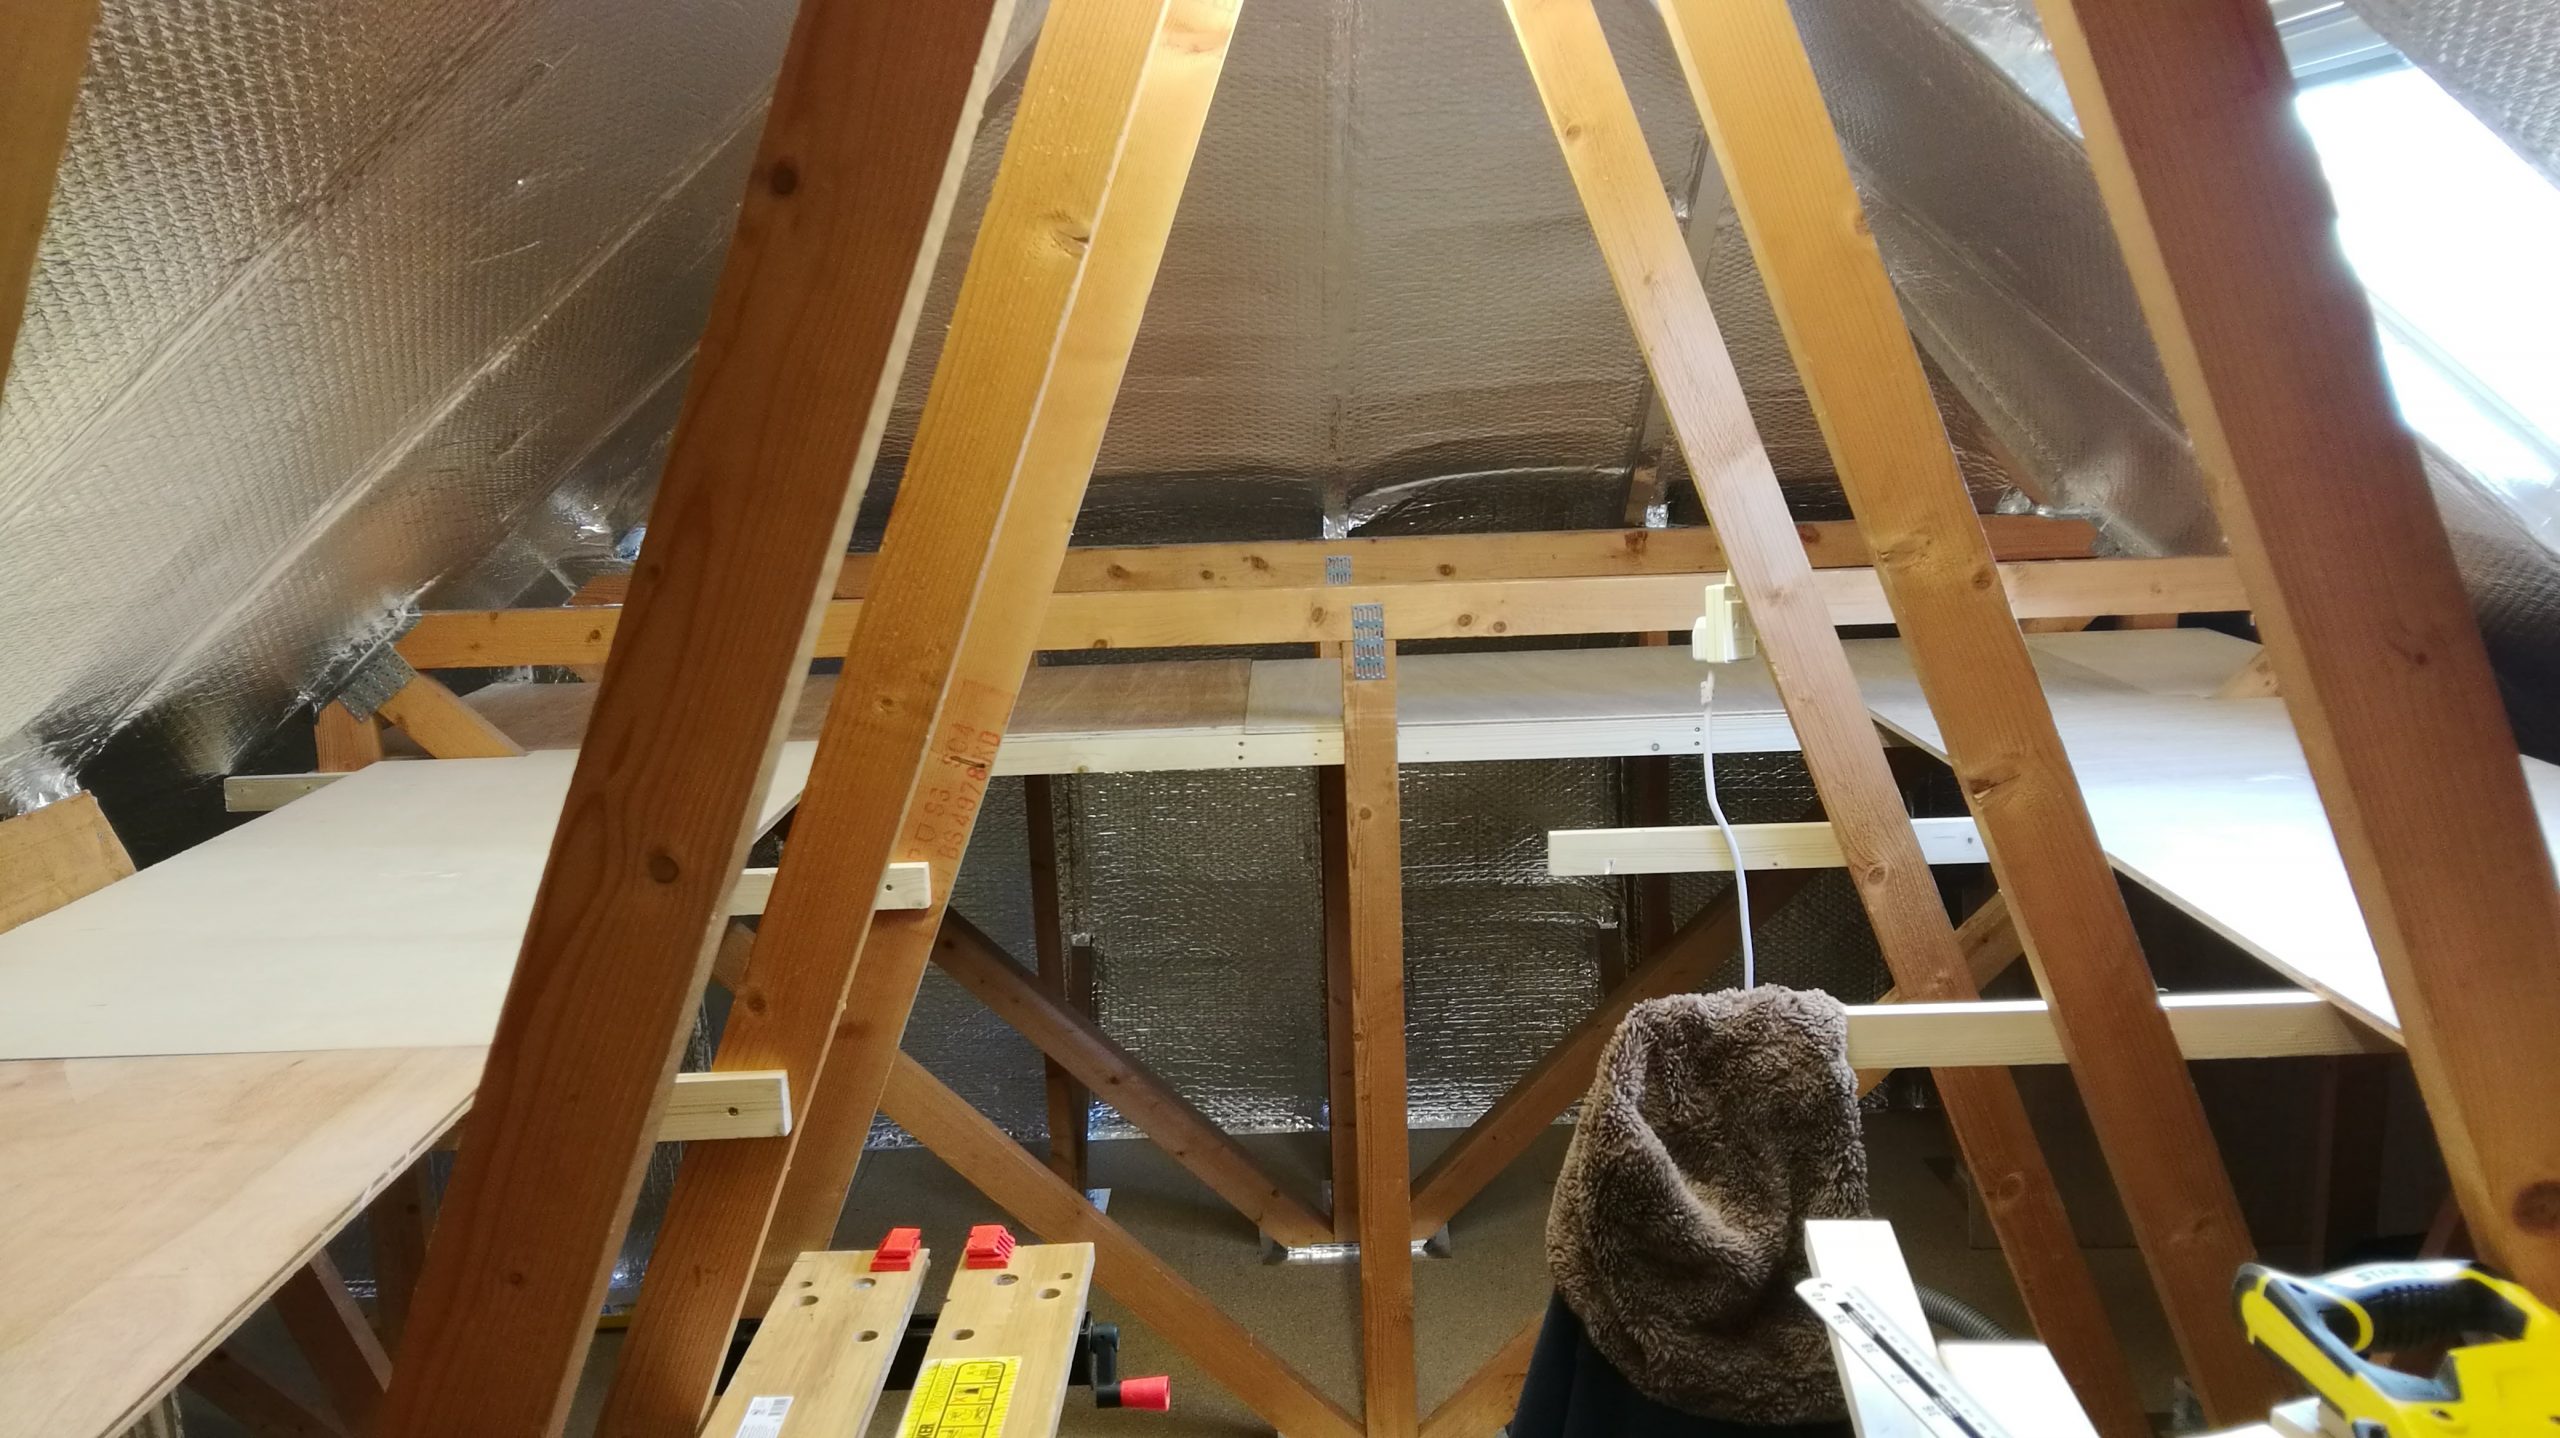
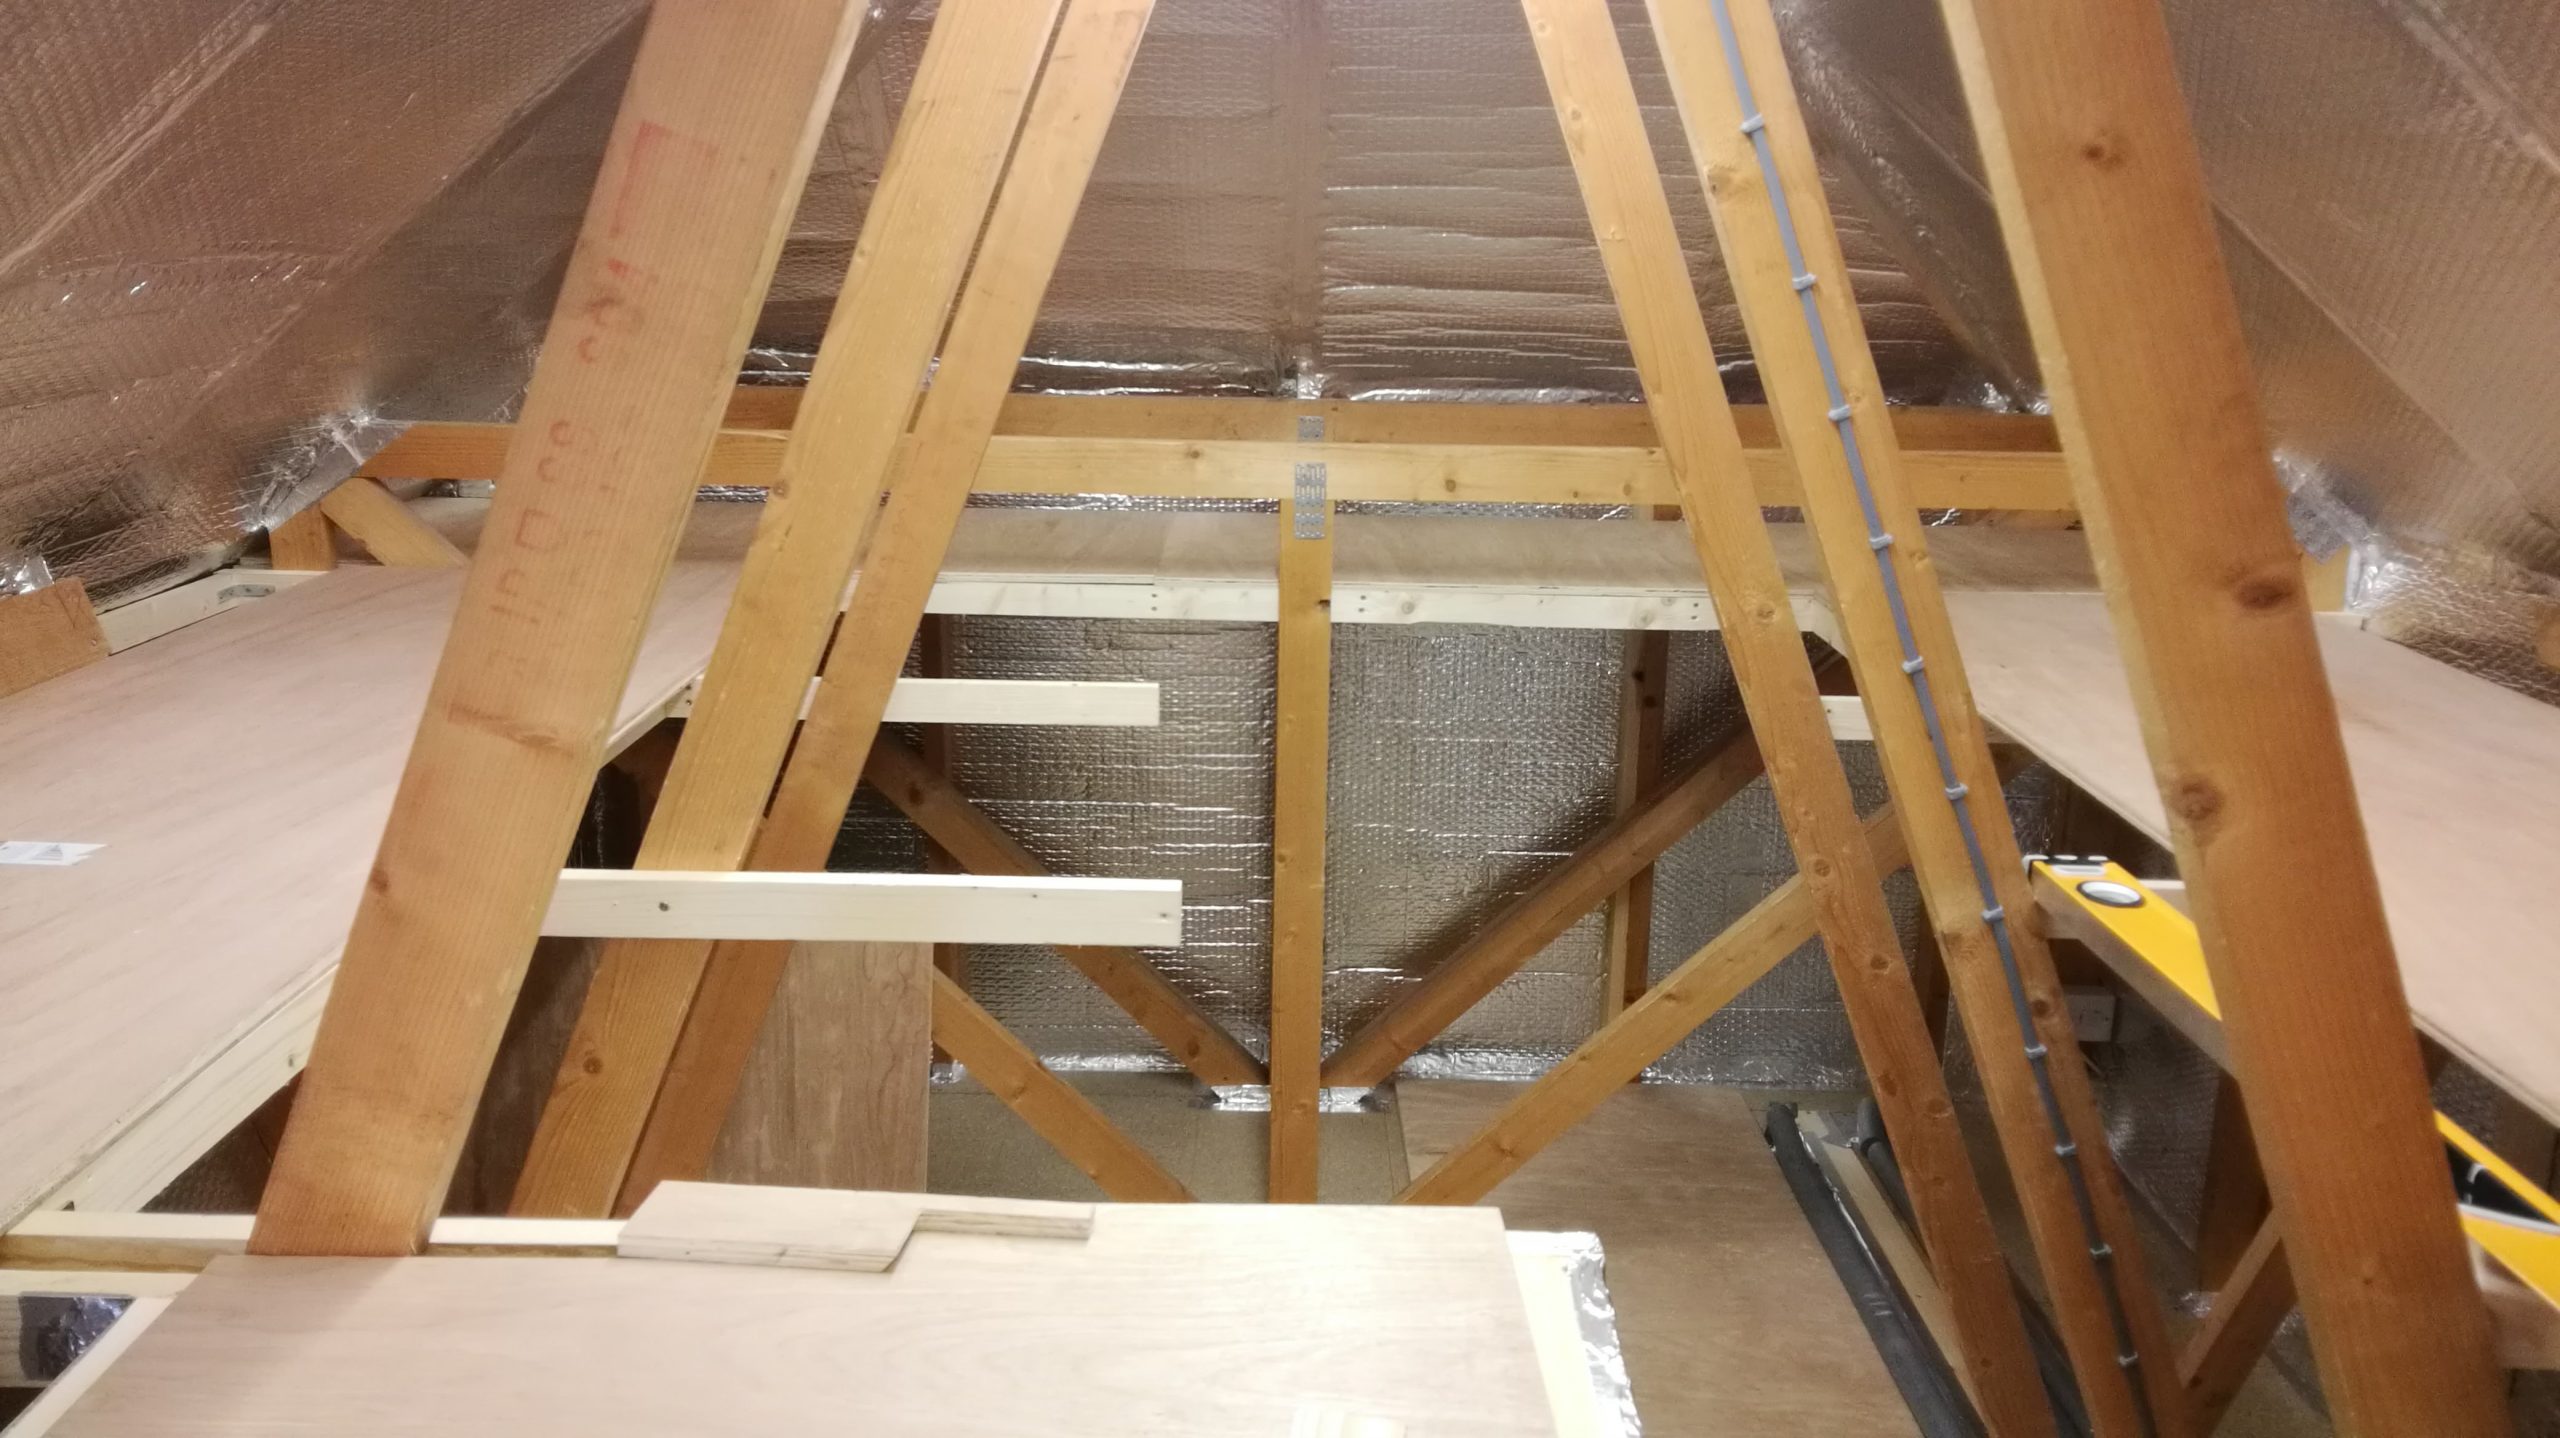
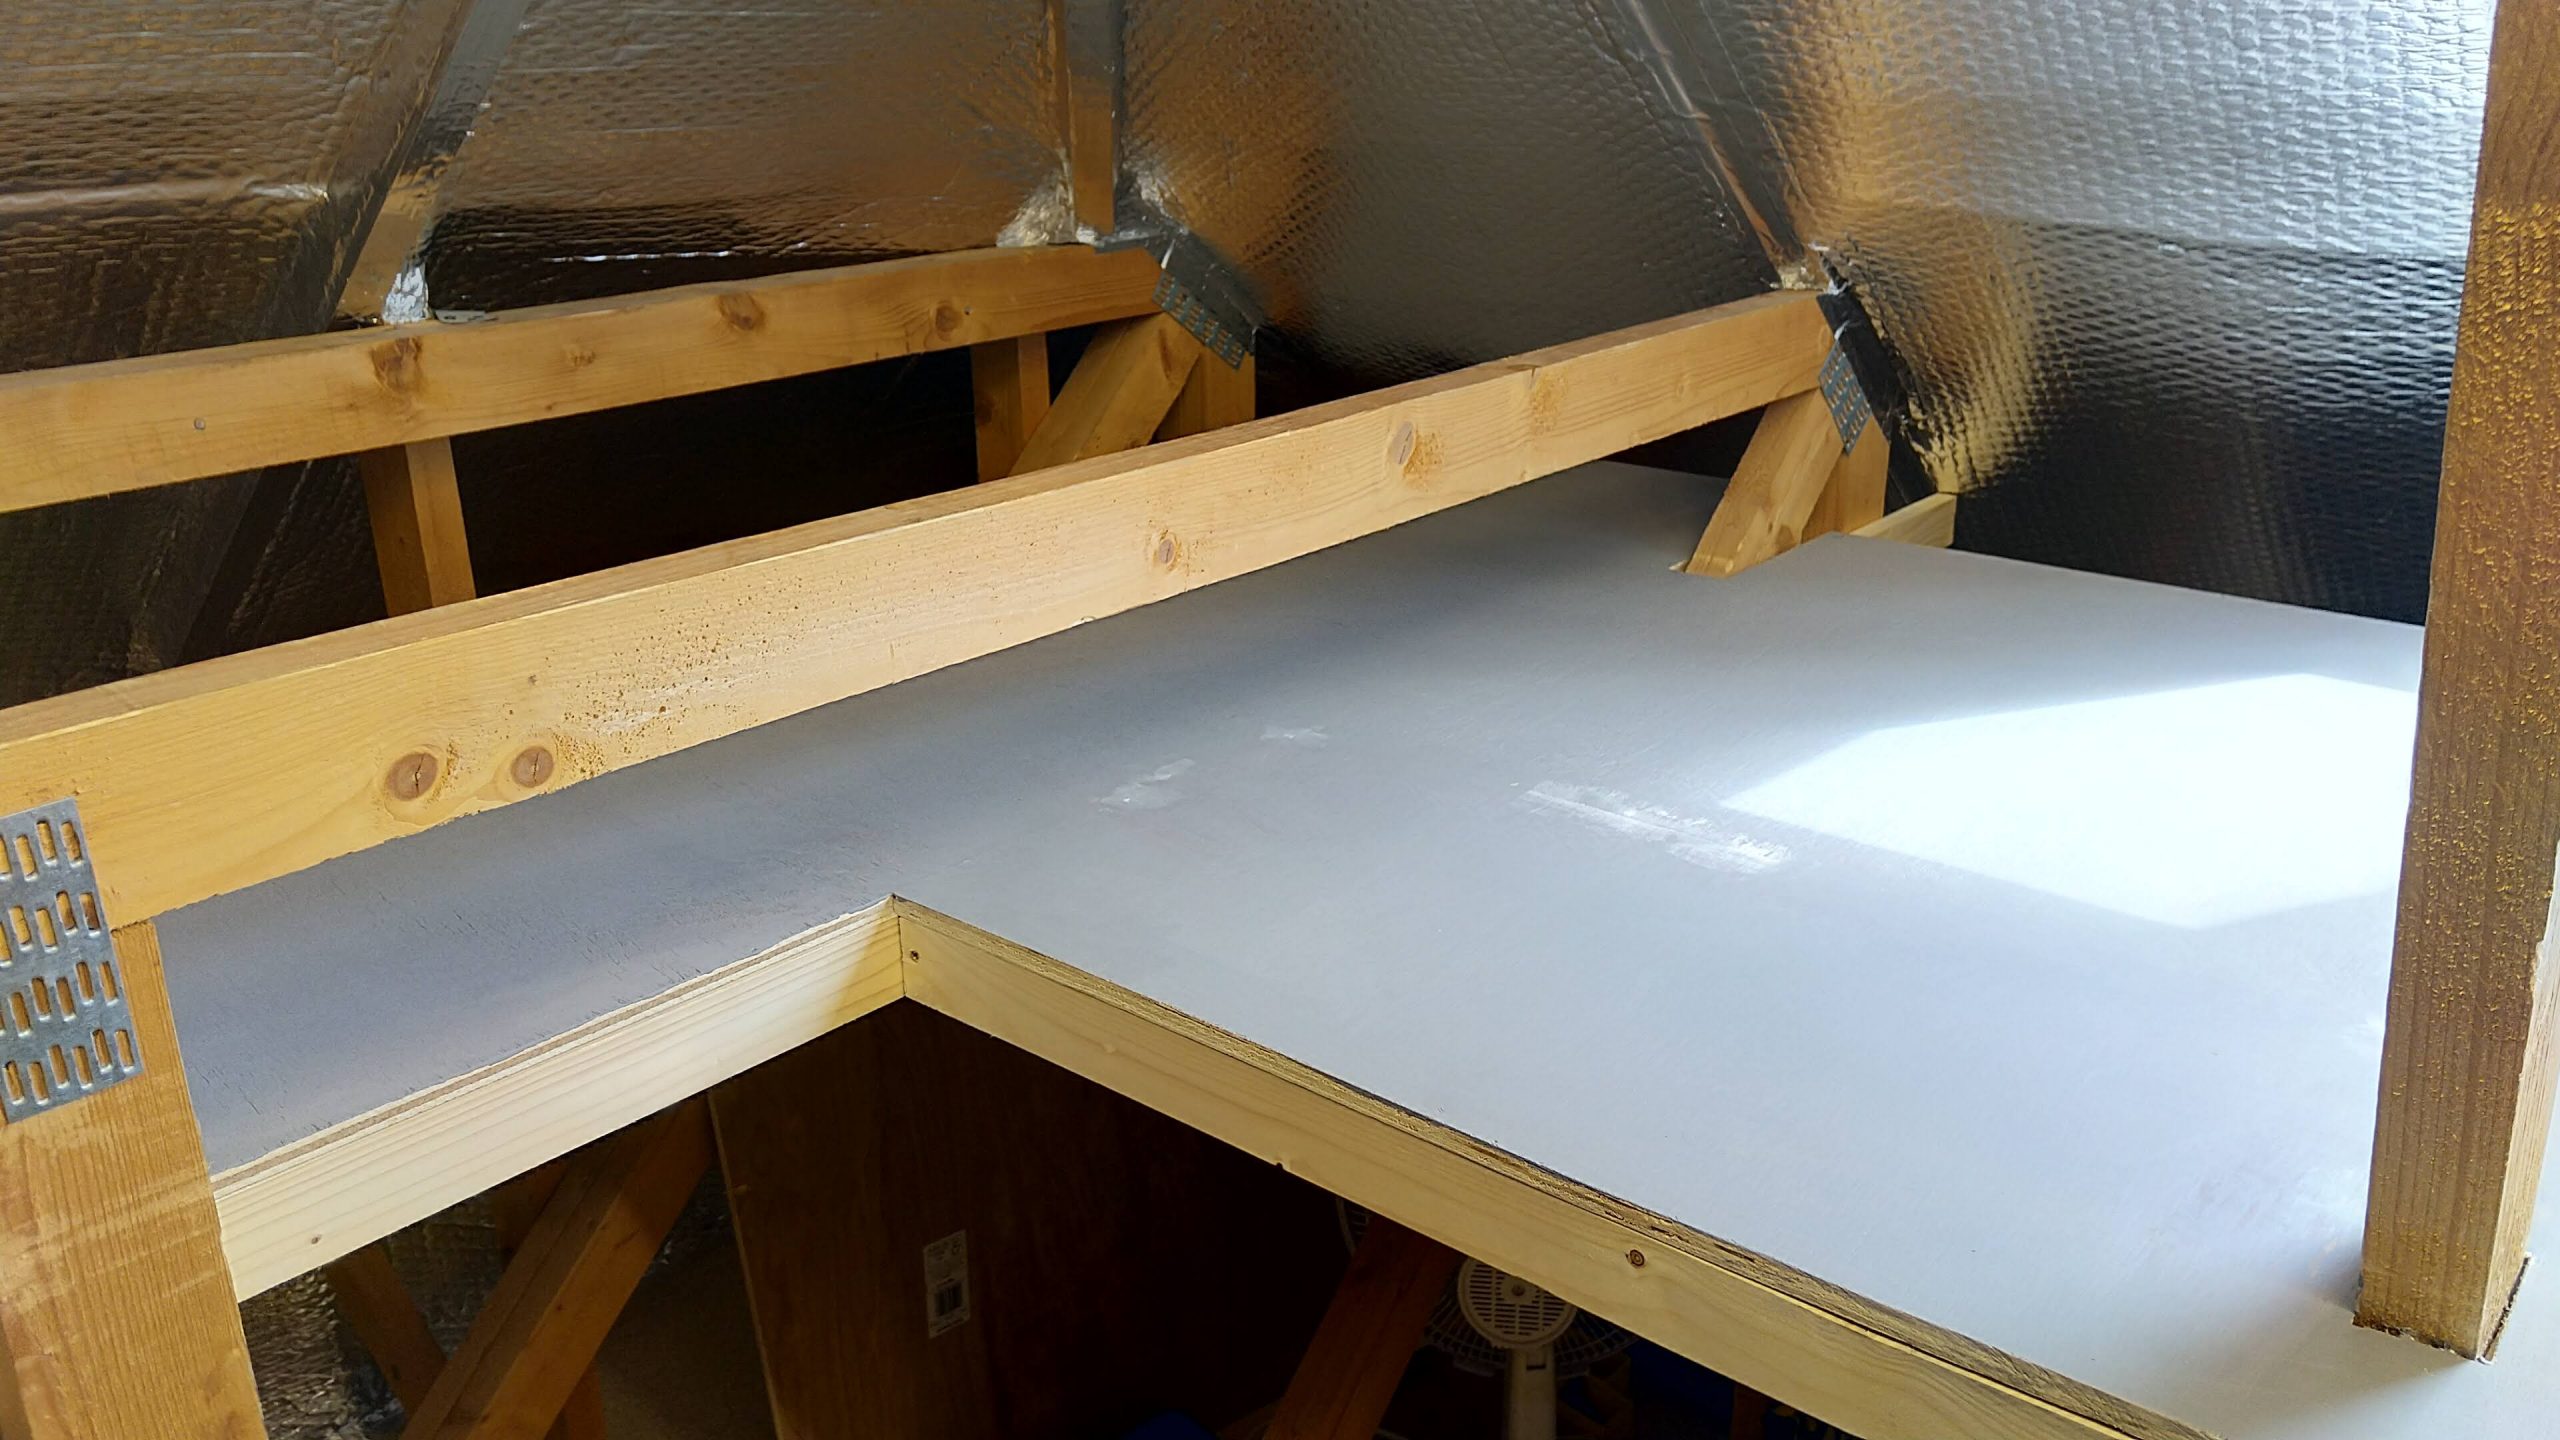
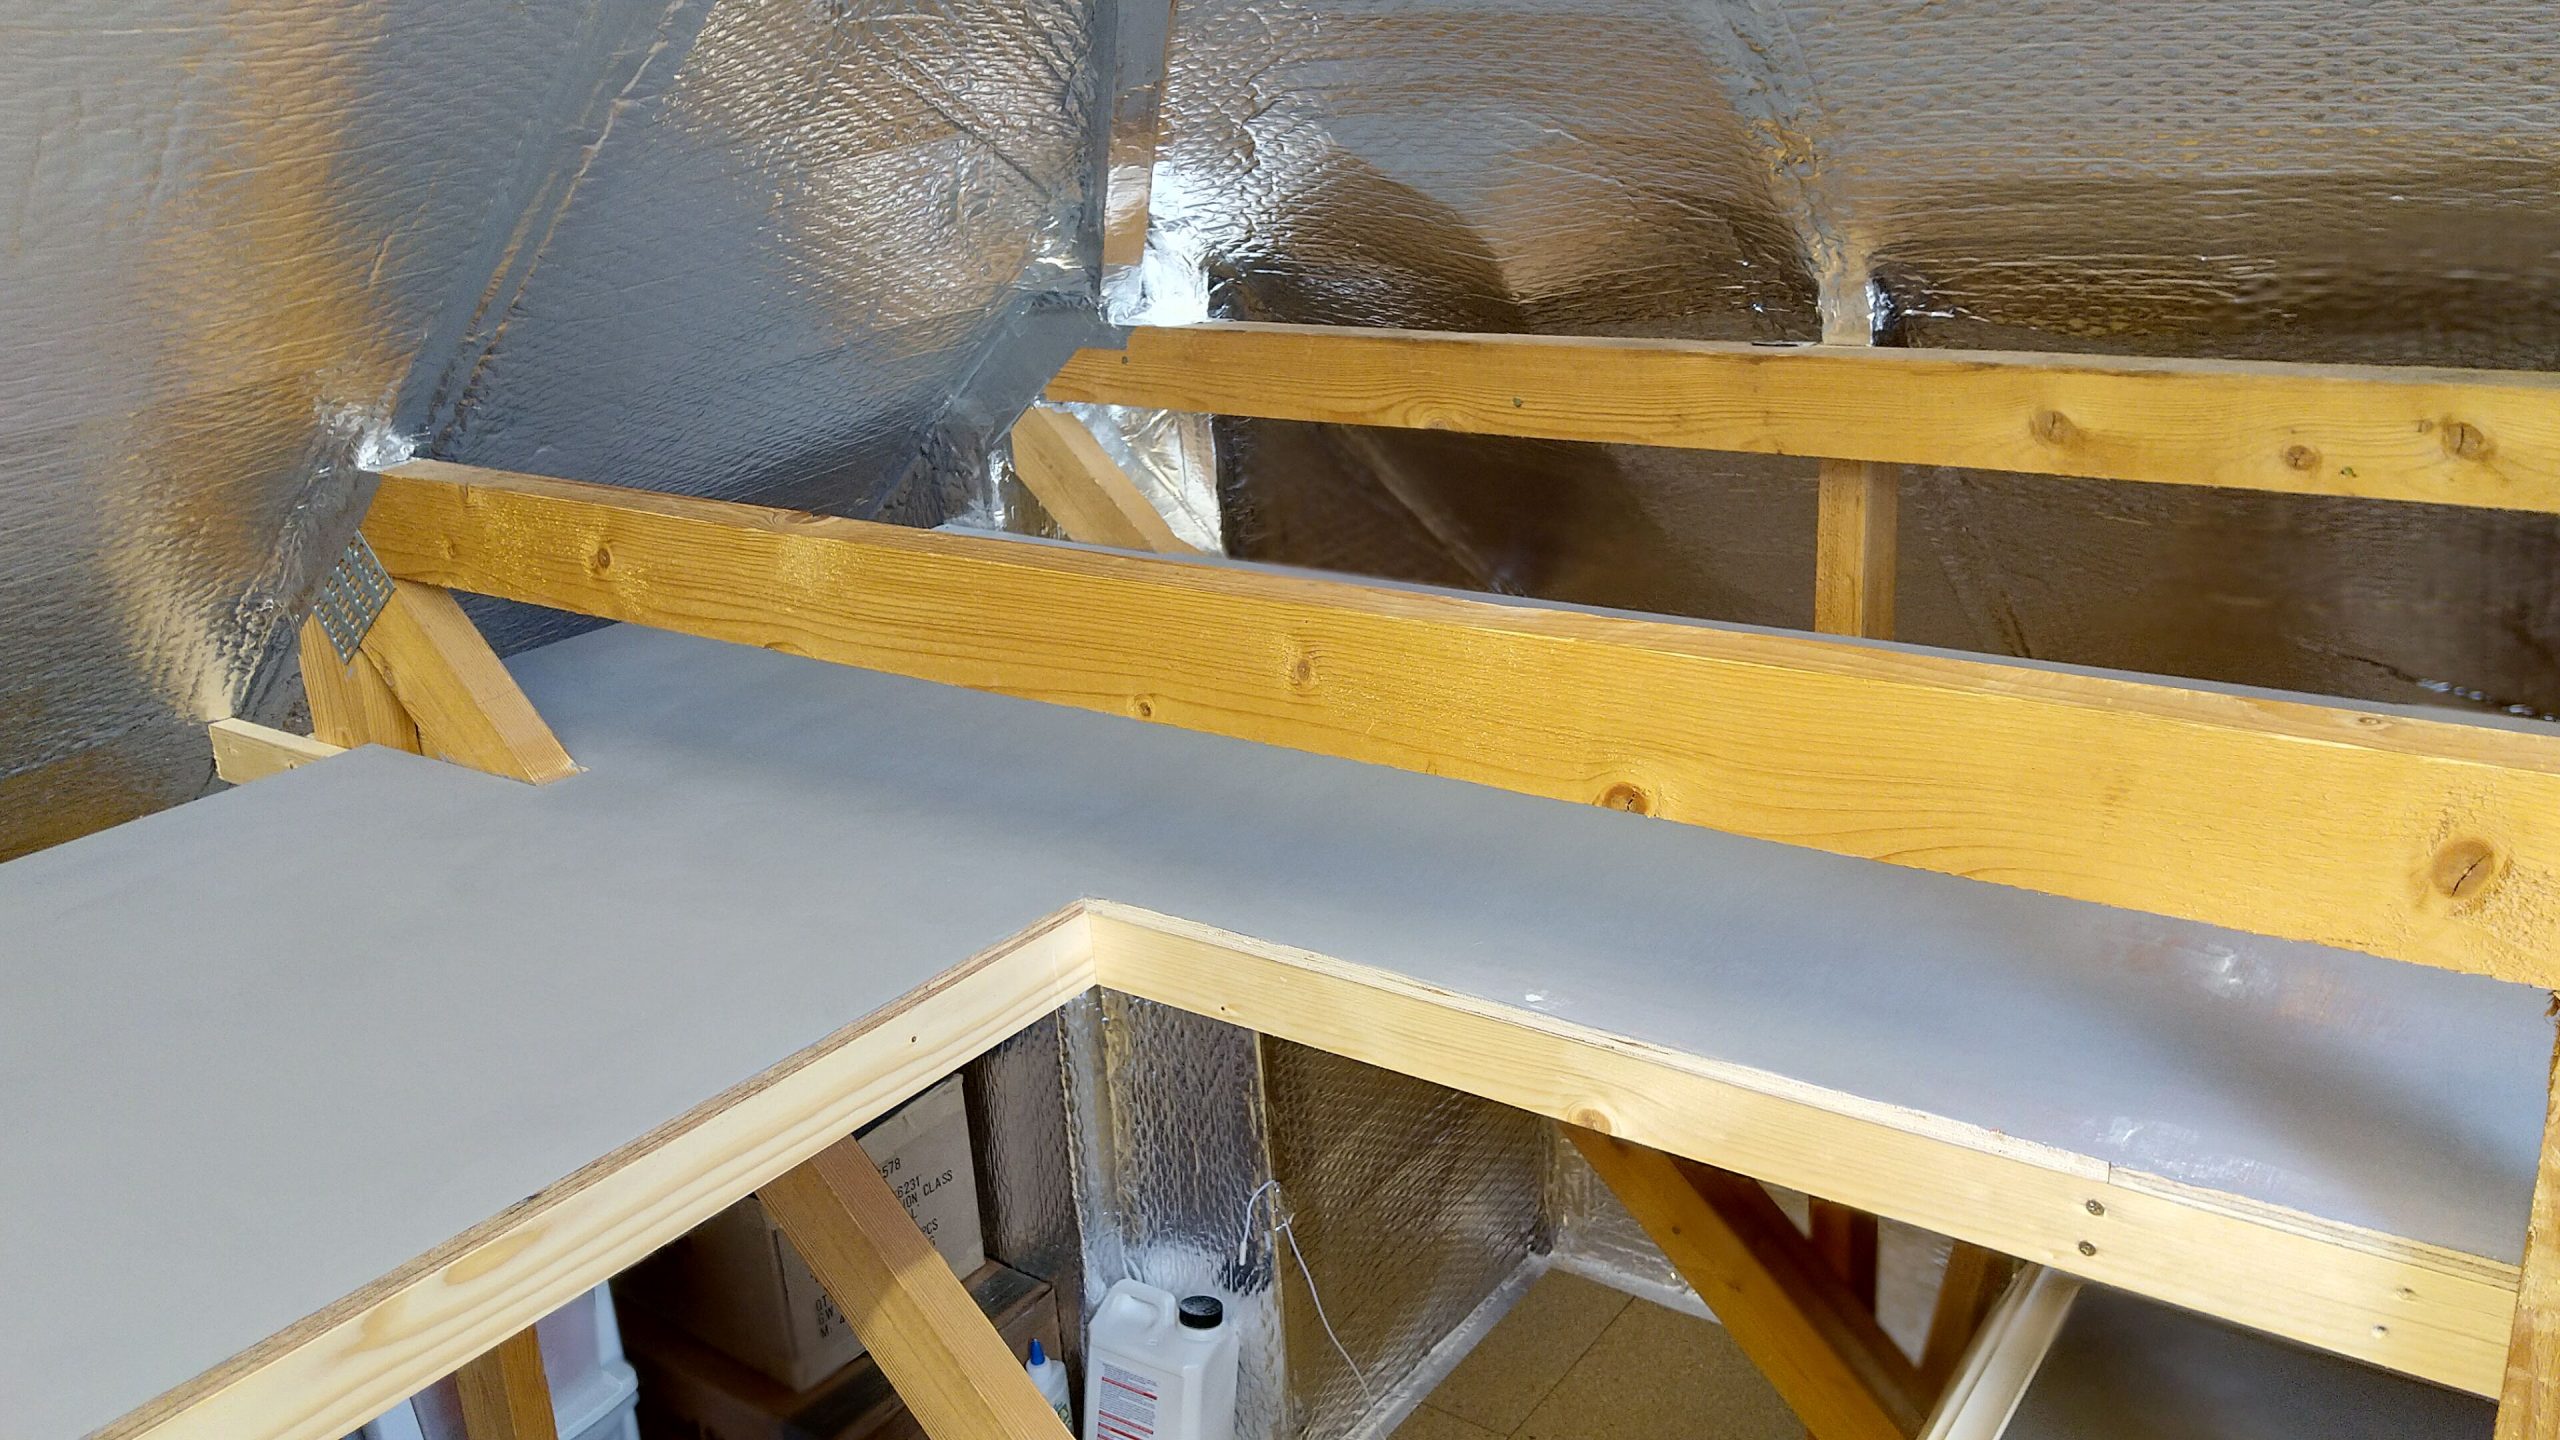
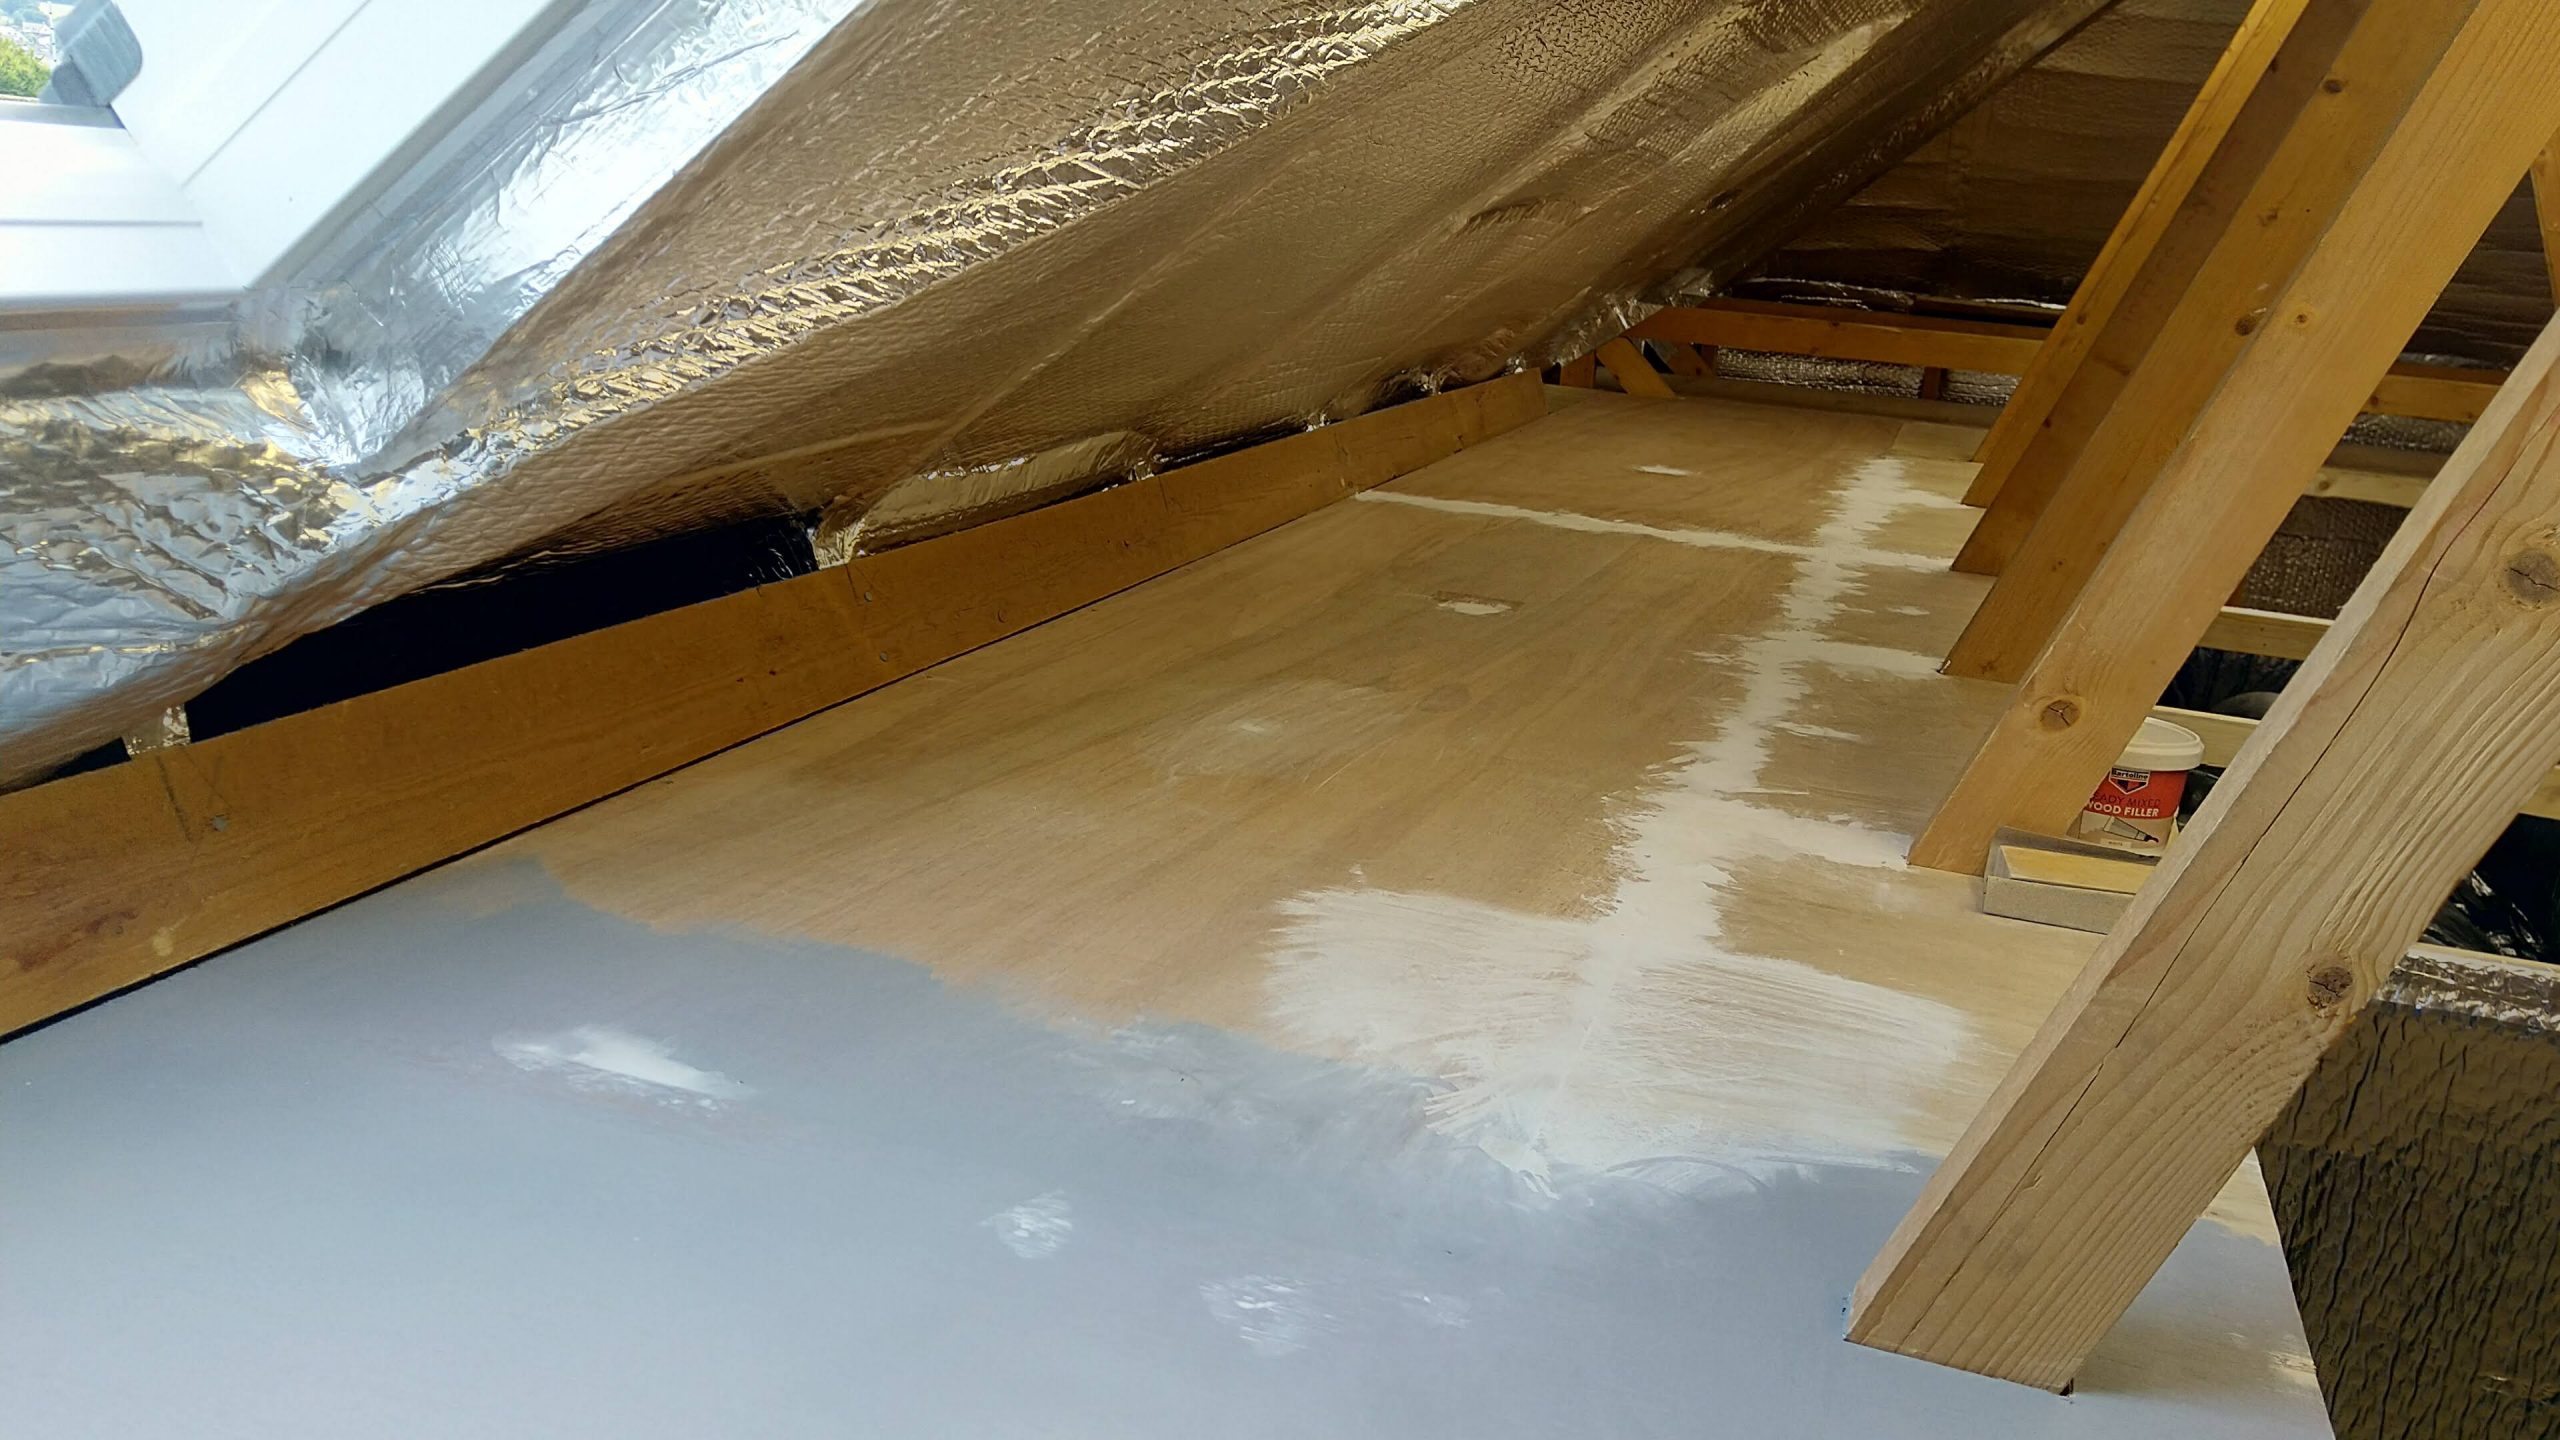
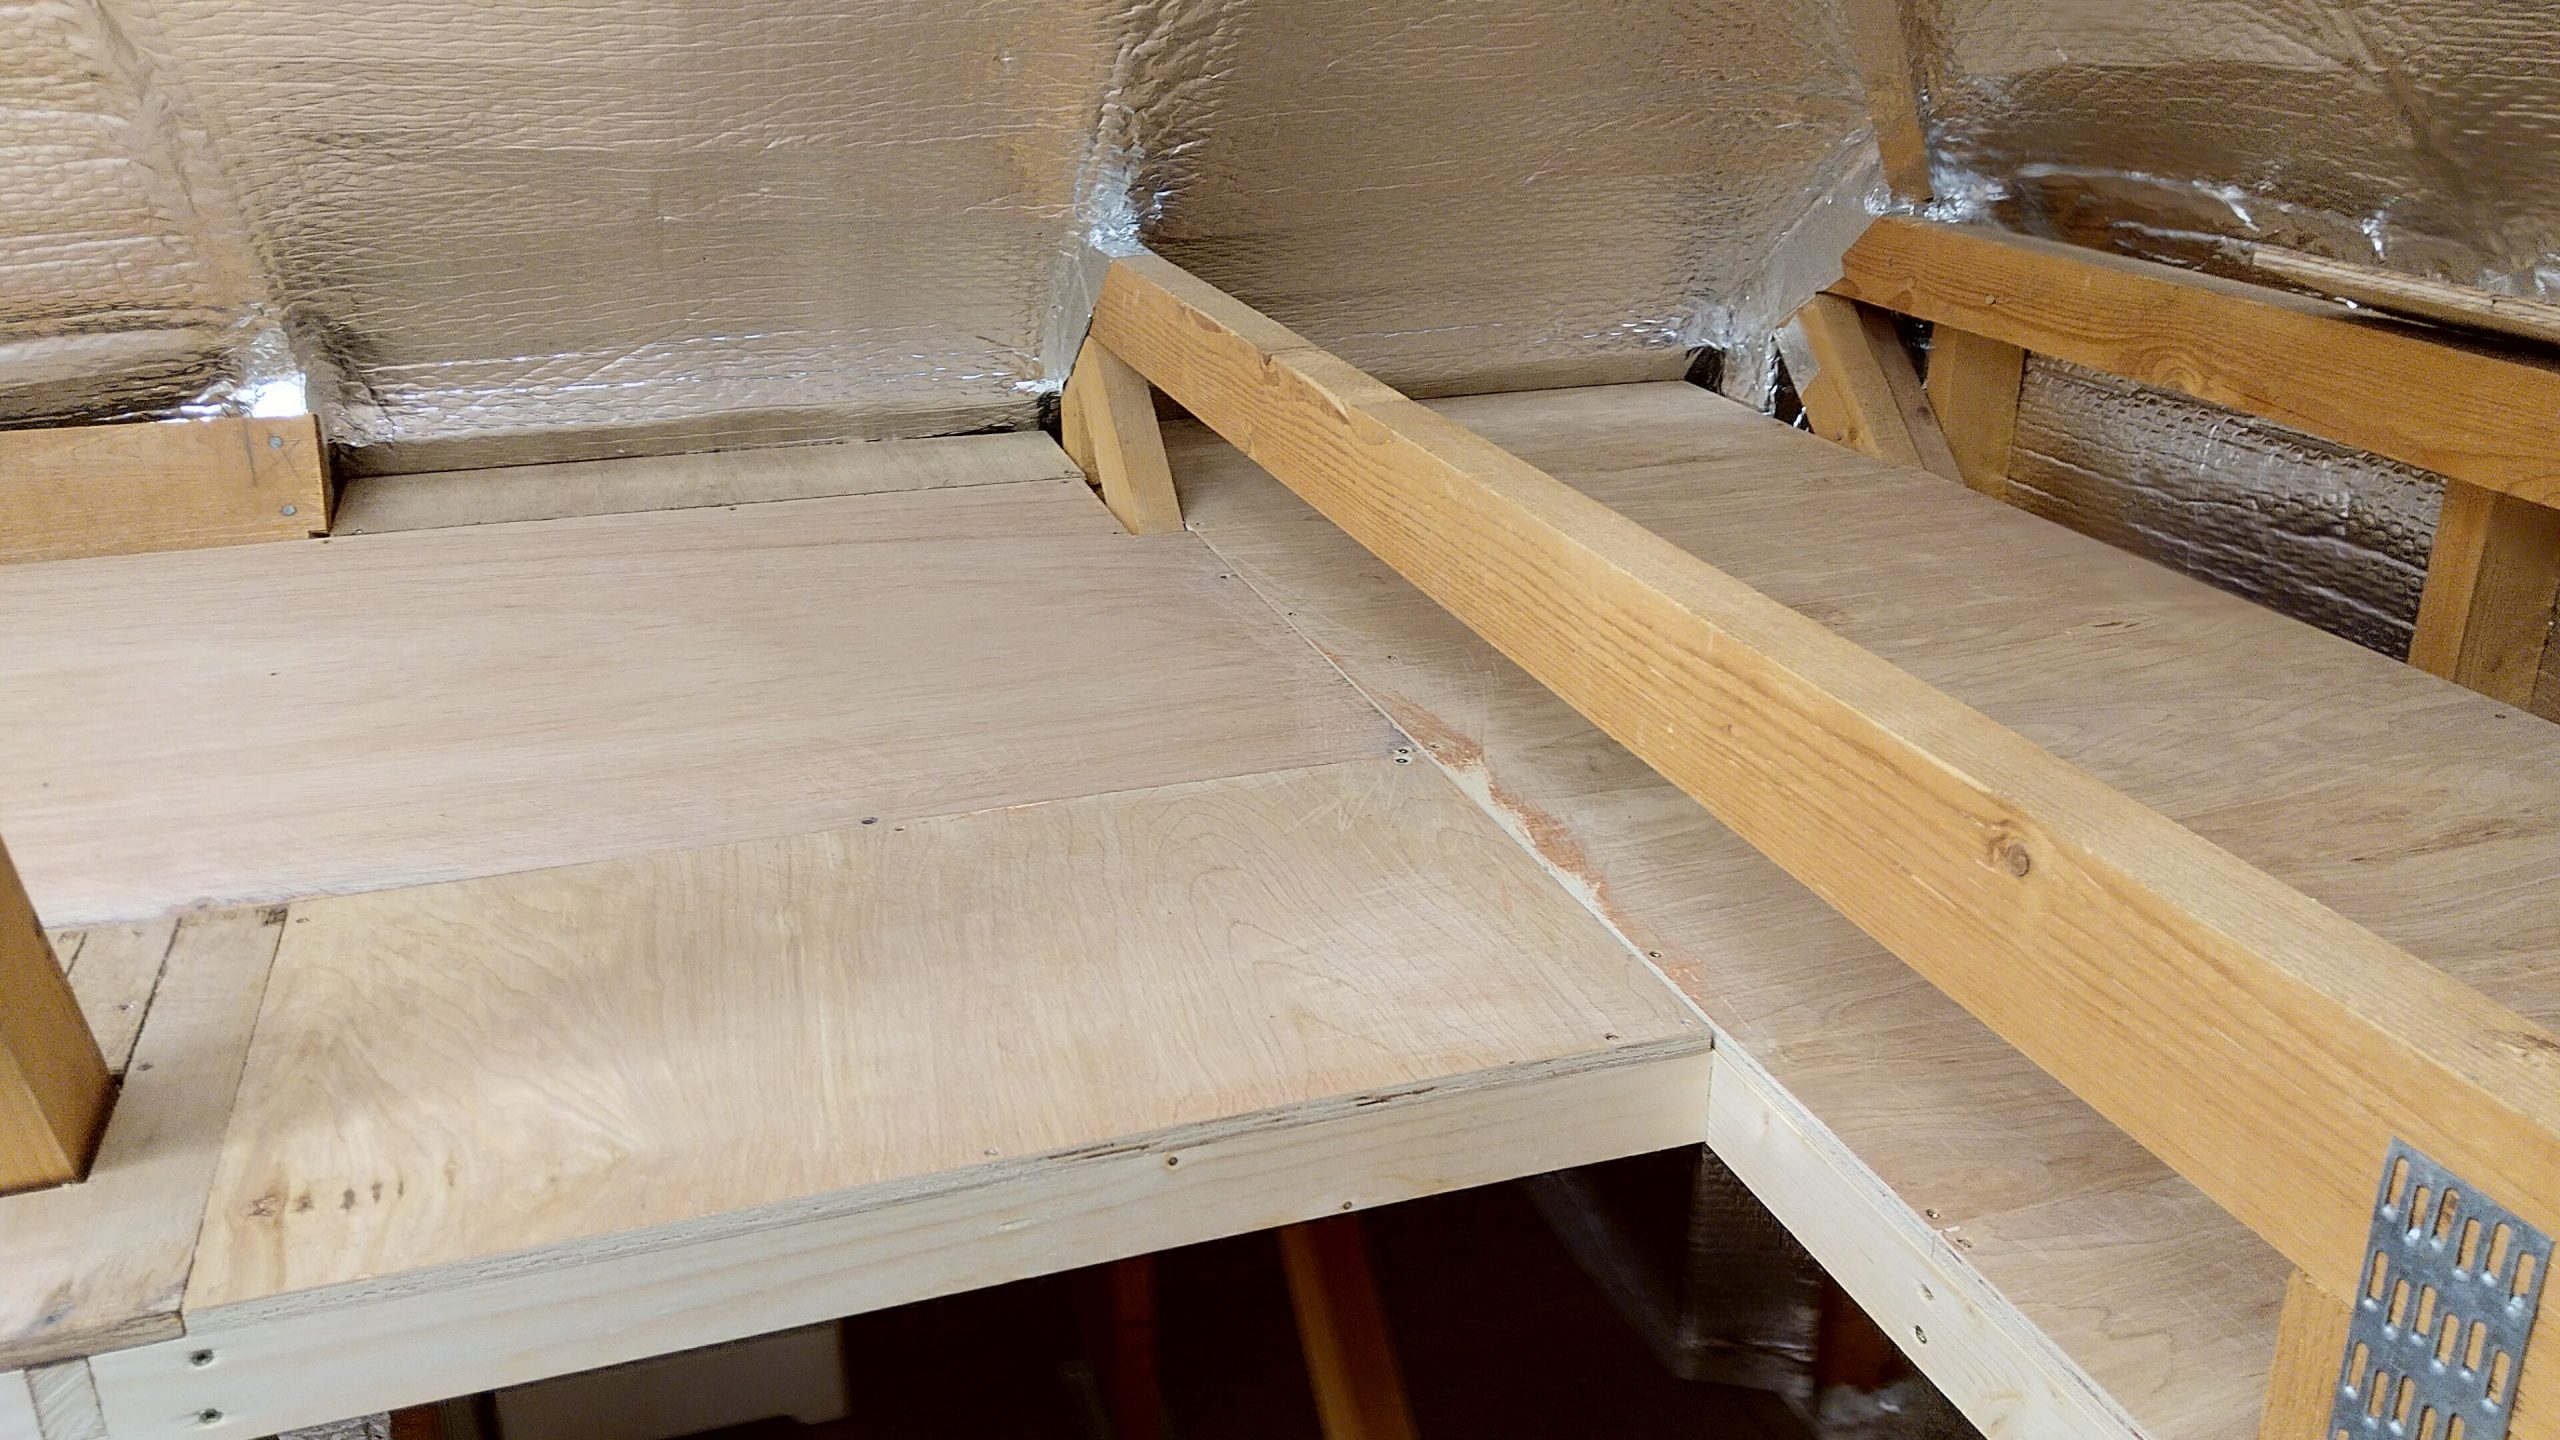
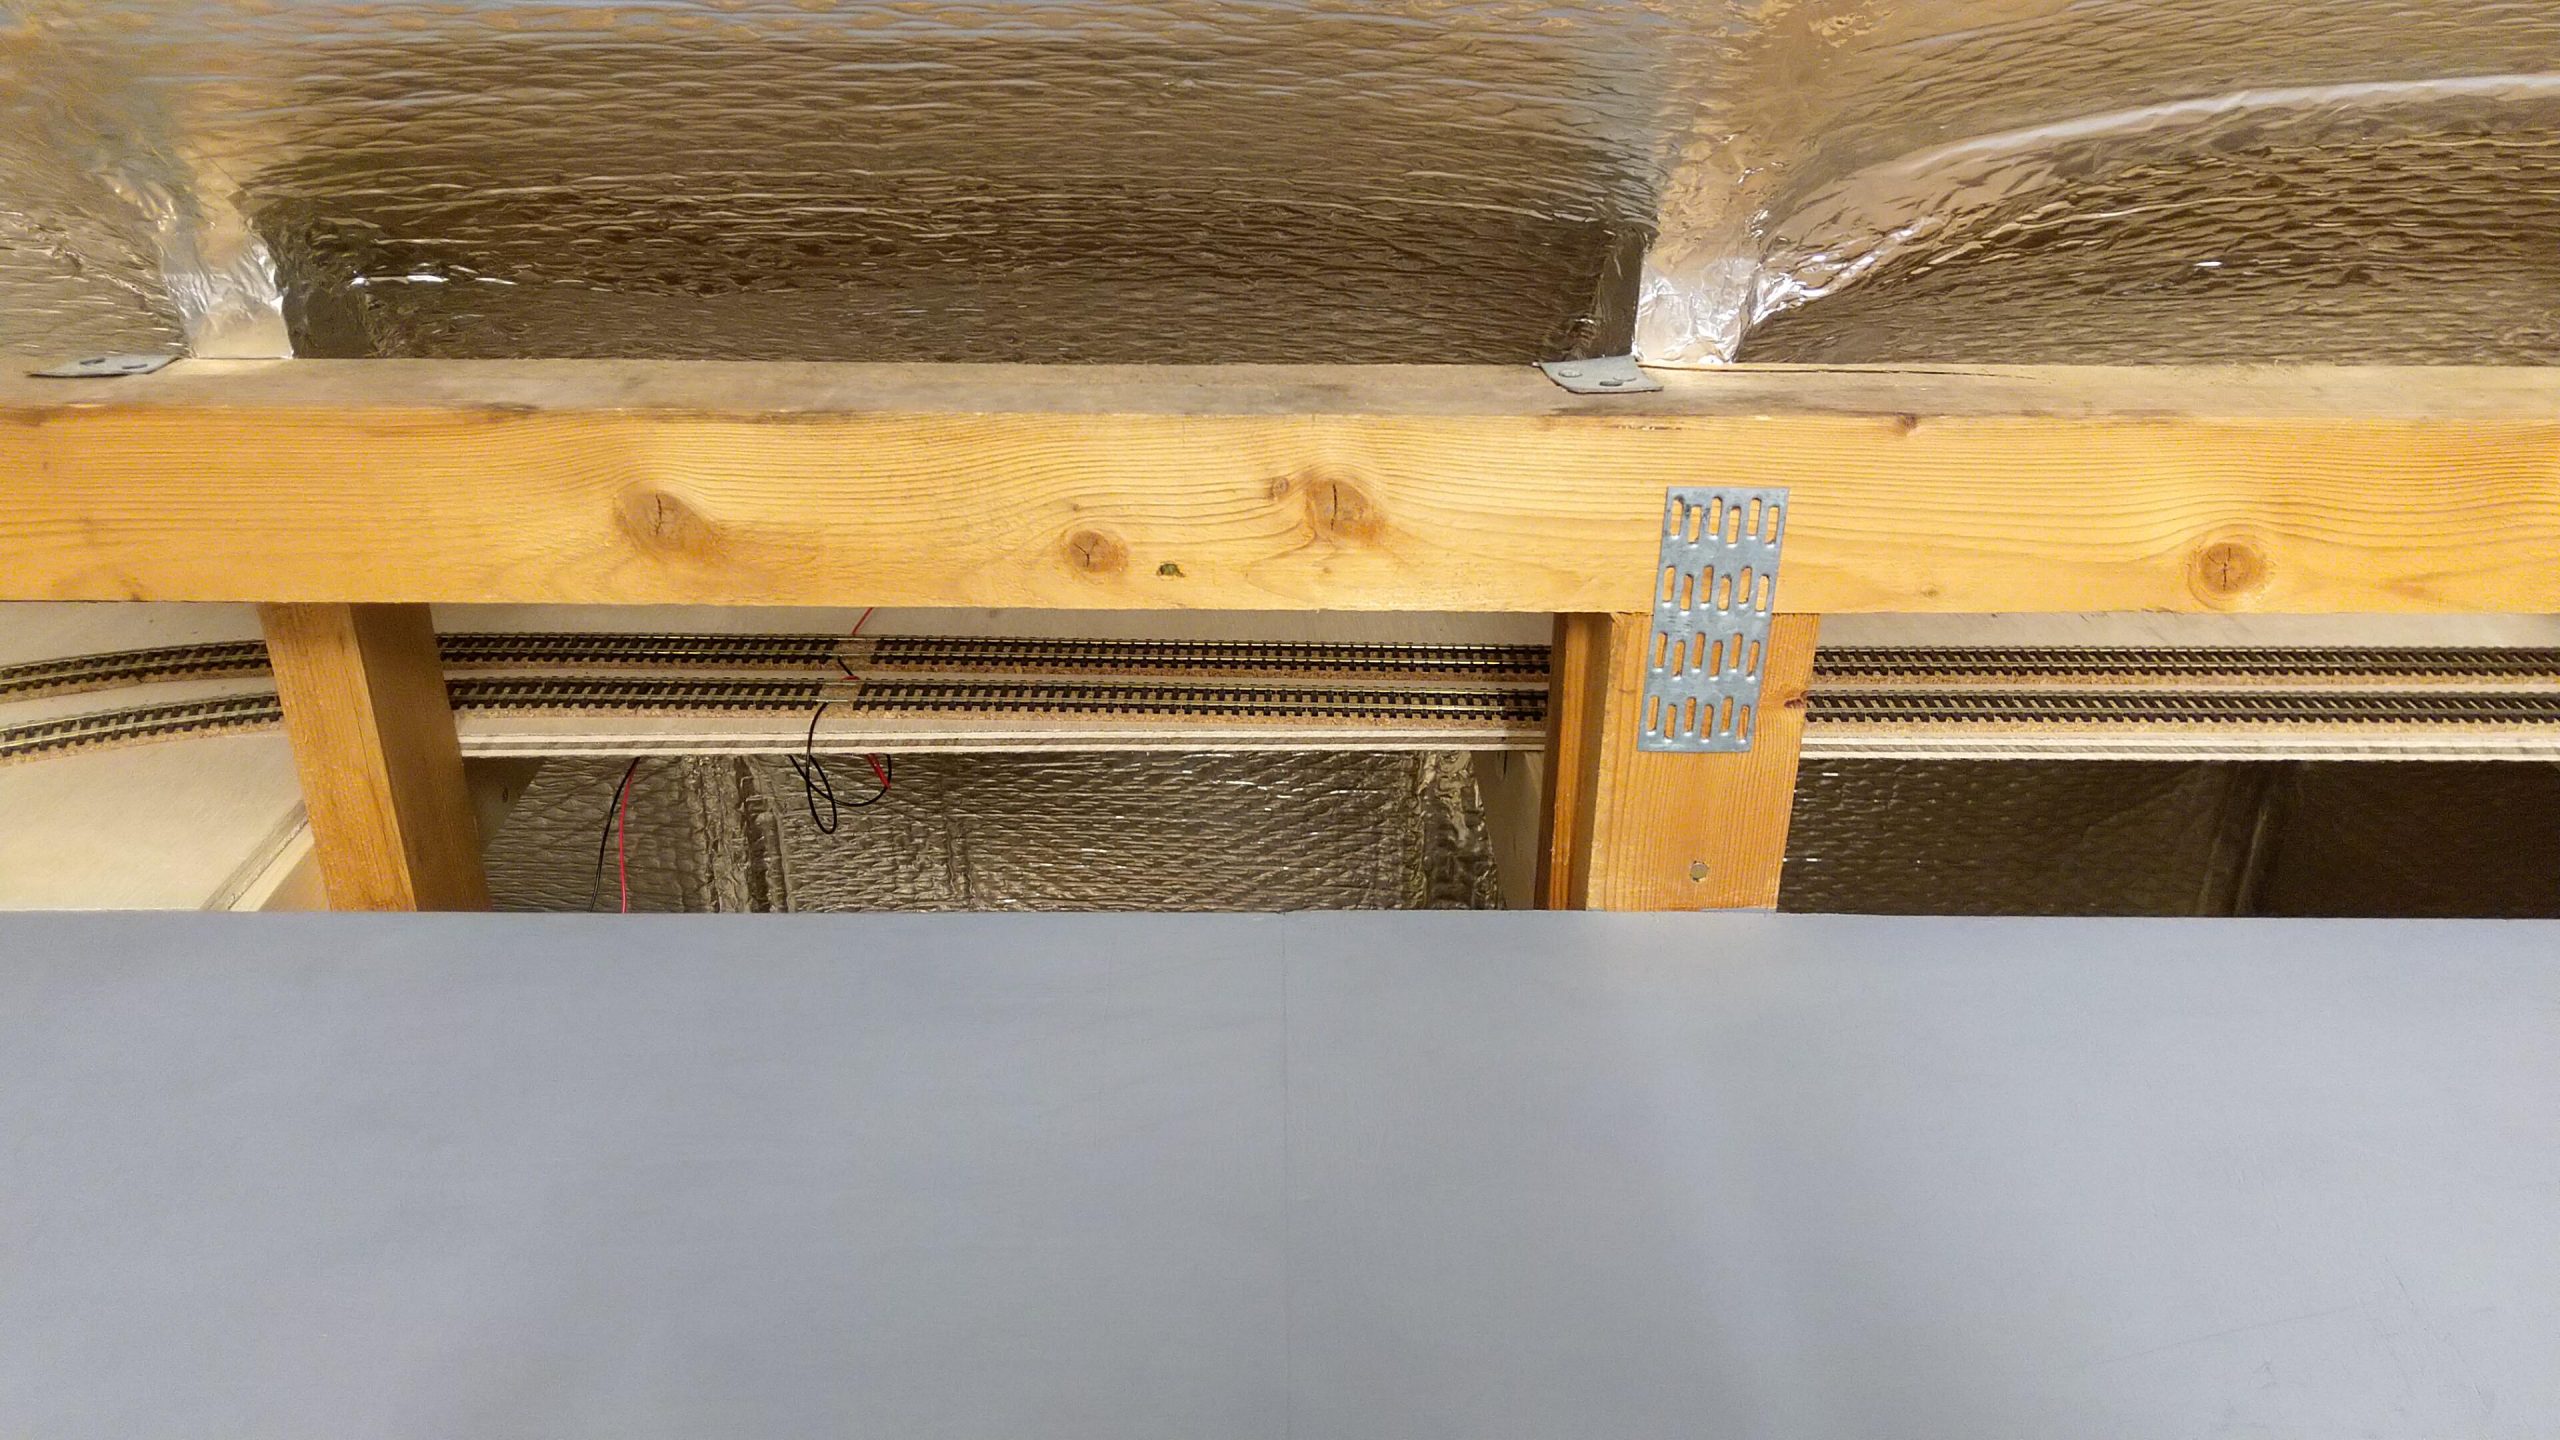
I then put lengths of 18mm x 45mm PSE timber between the joists and laid 12mm hardwood plywood on top to form the baseboards. I filled the gaps in between the boards and sanded it all down. I then finished them off with a coat of grey paint.

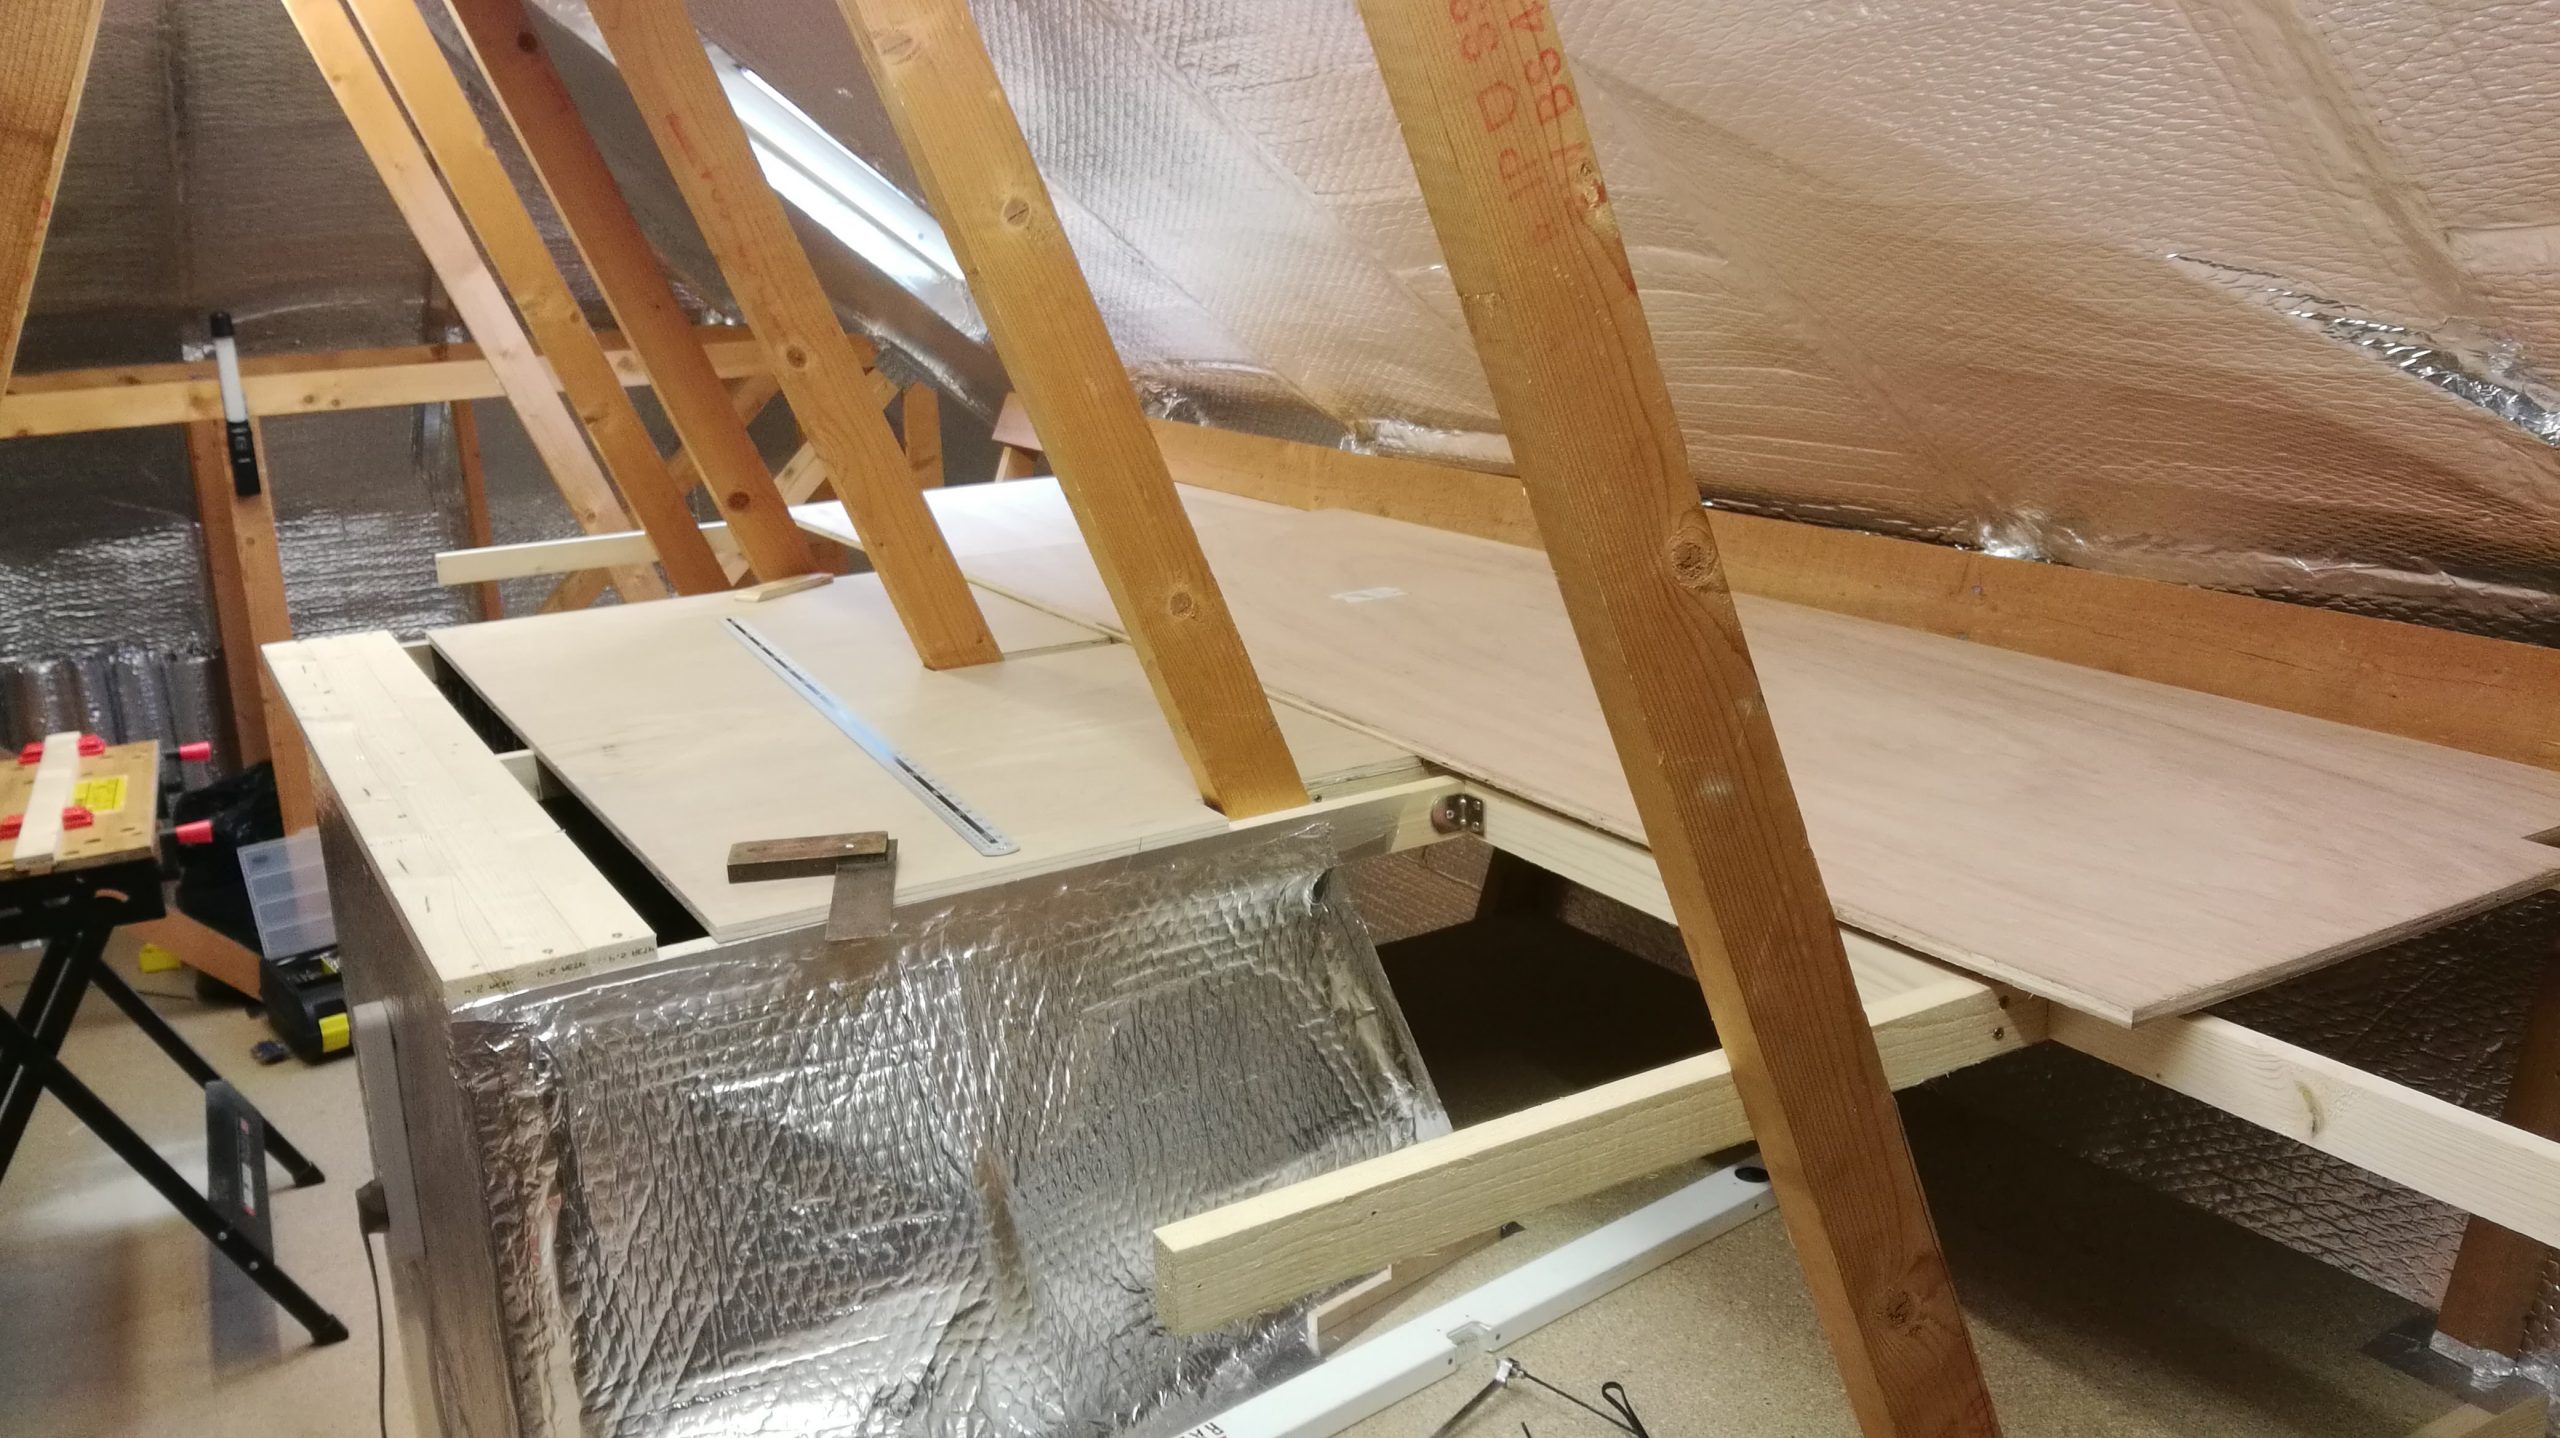
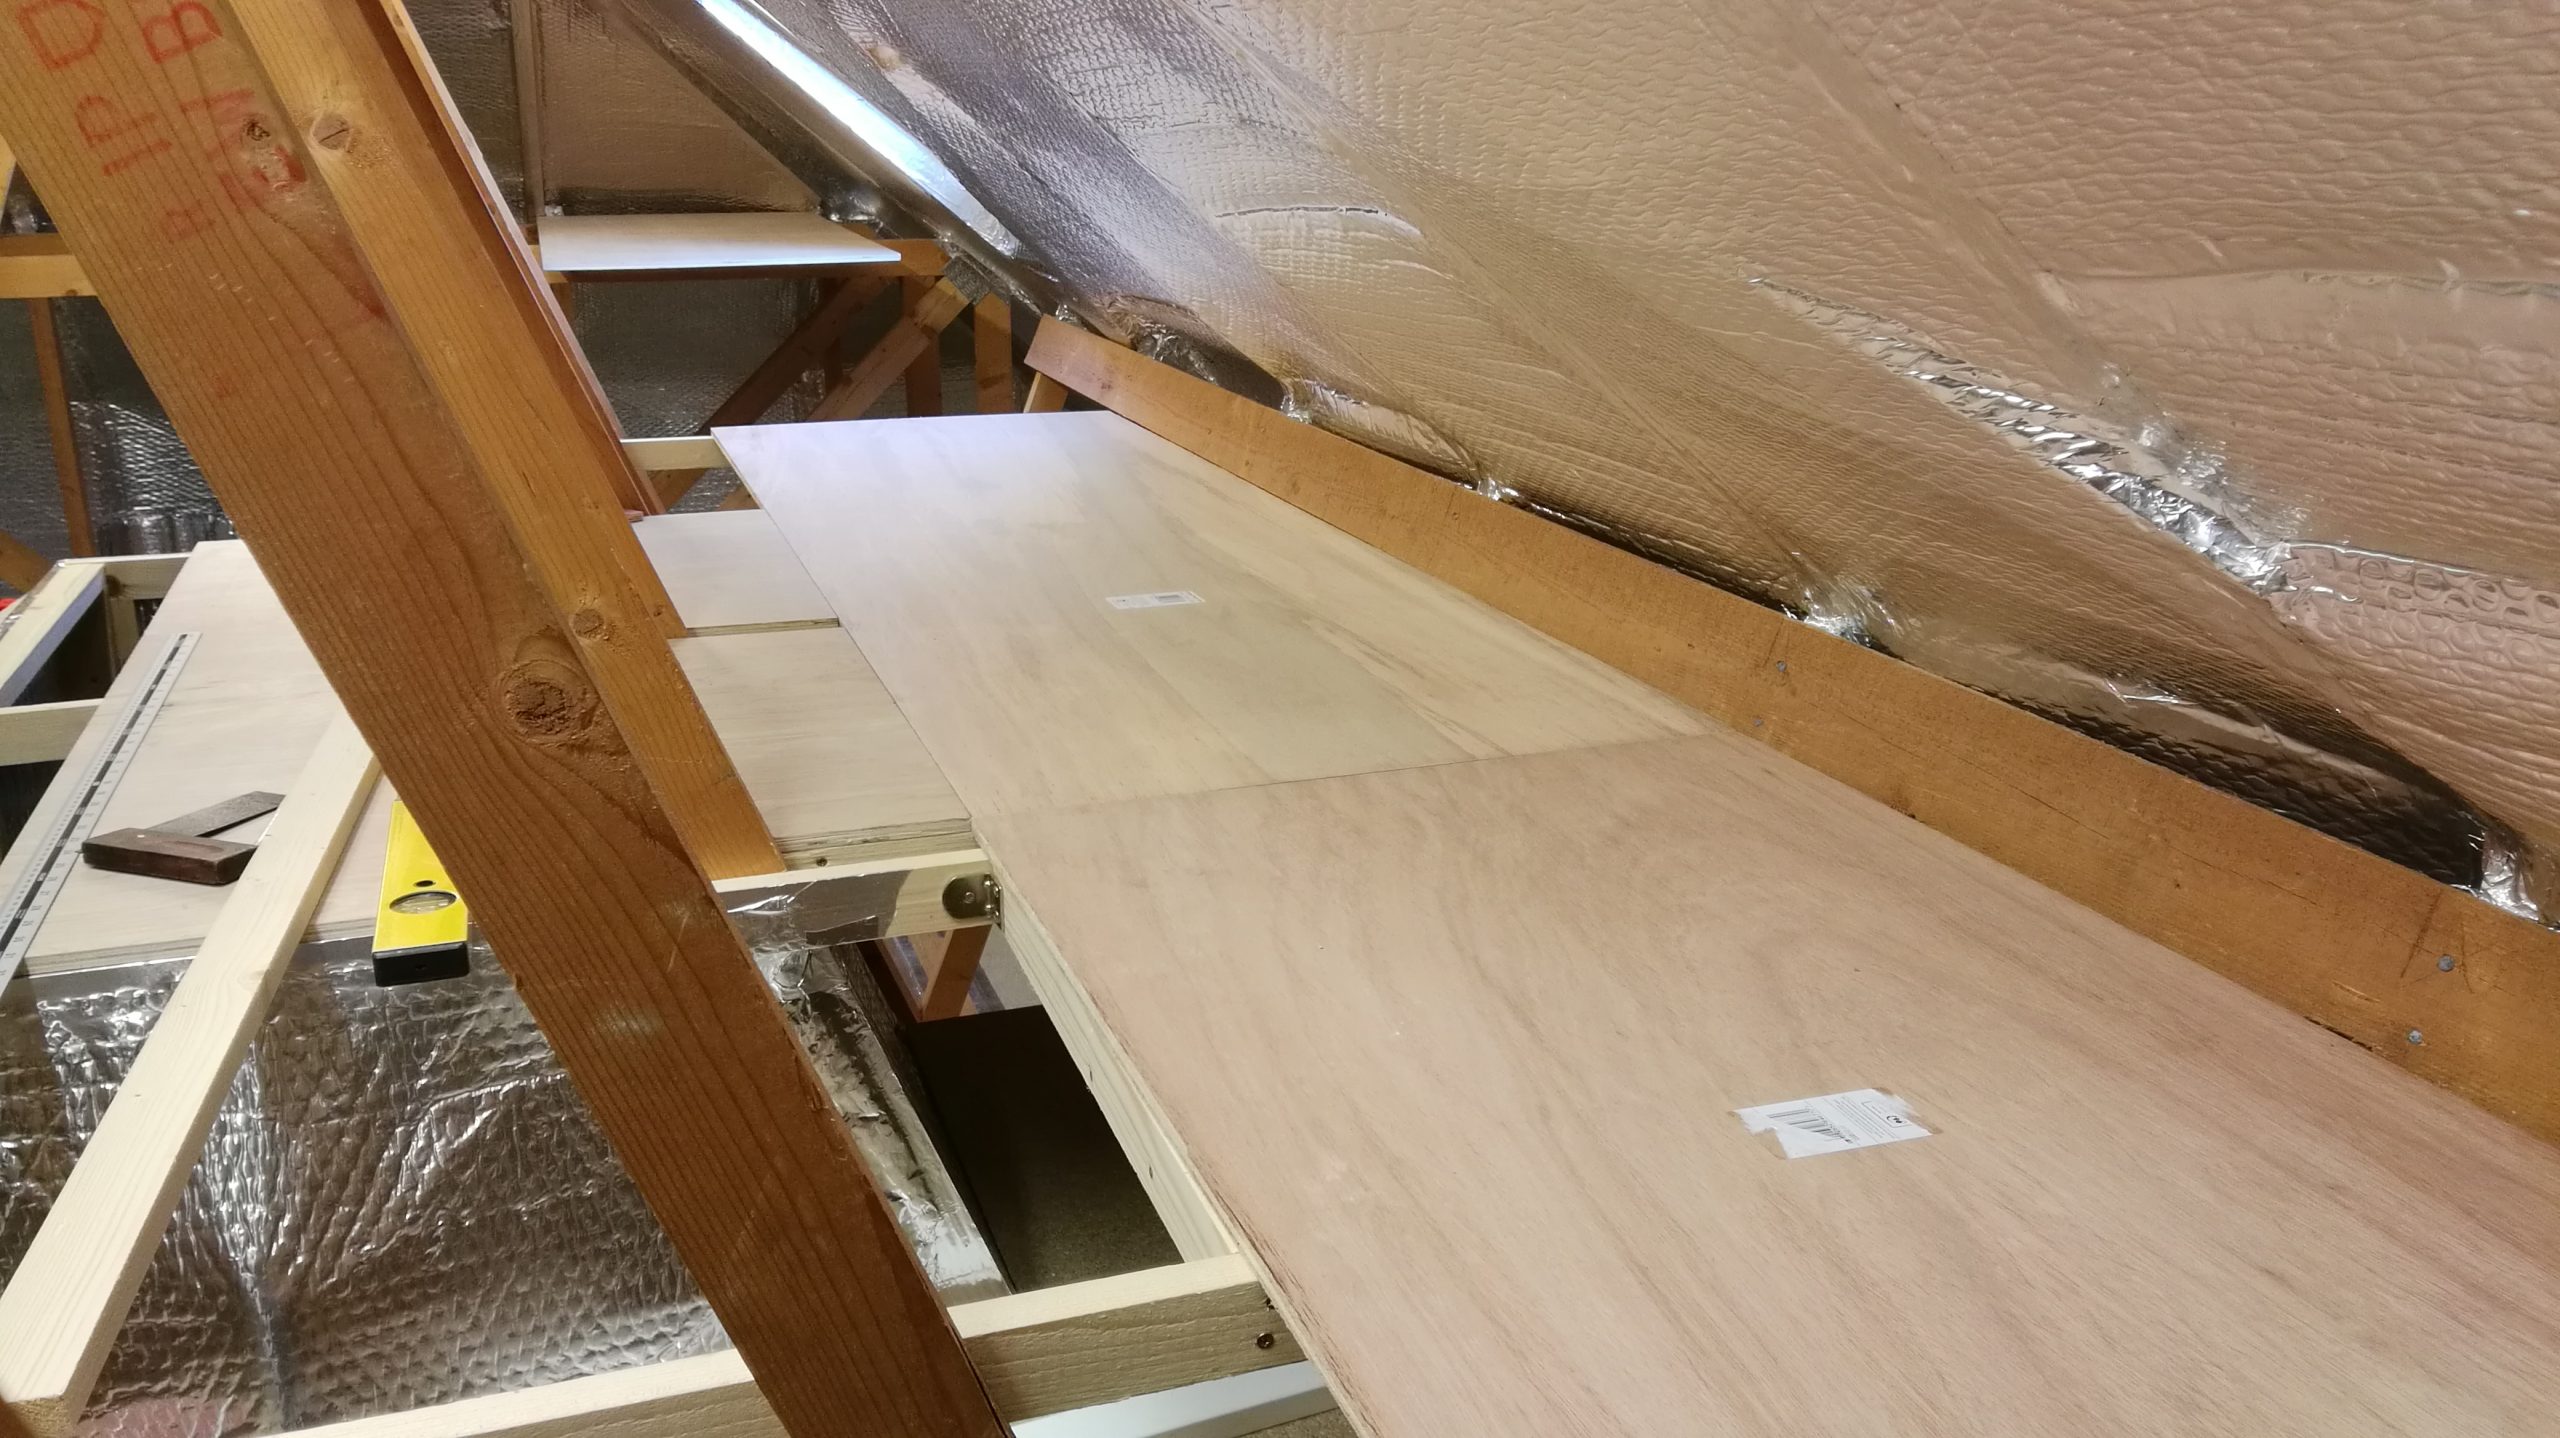

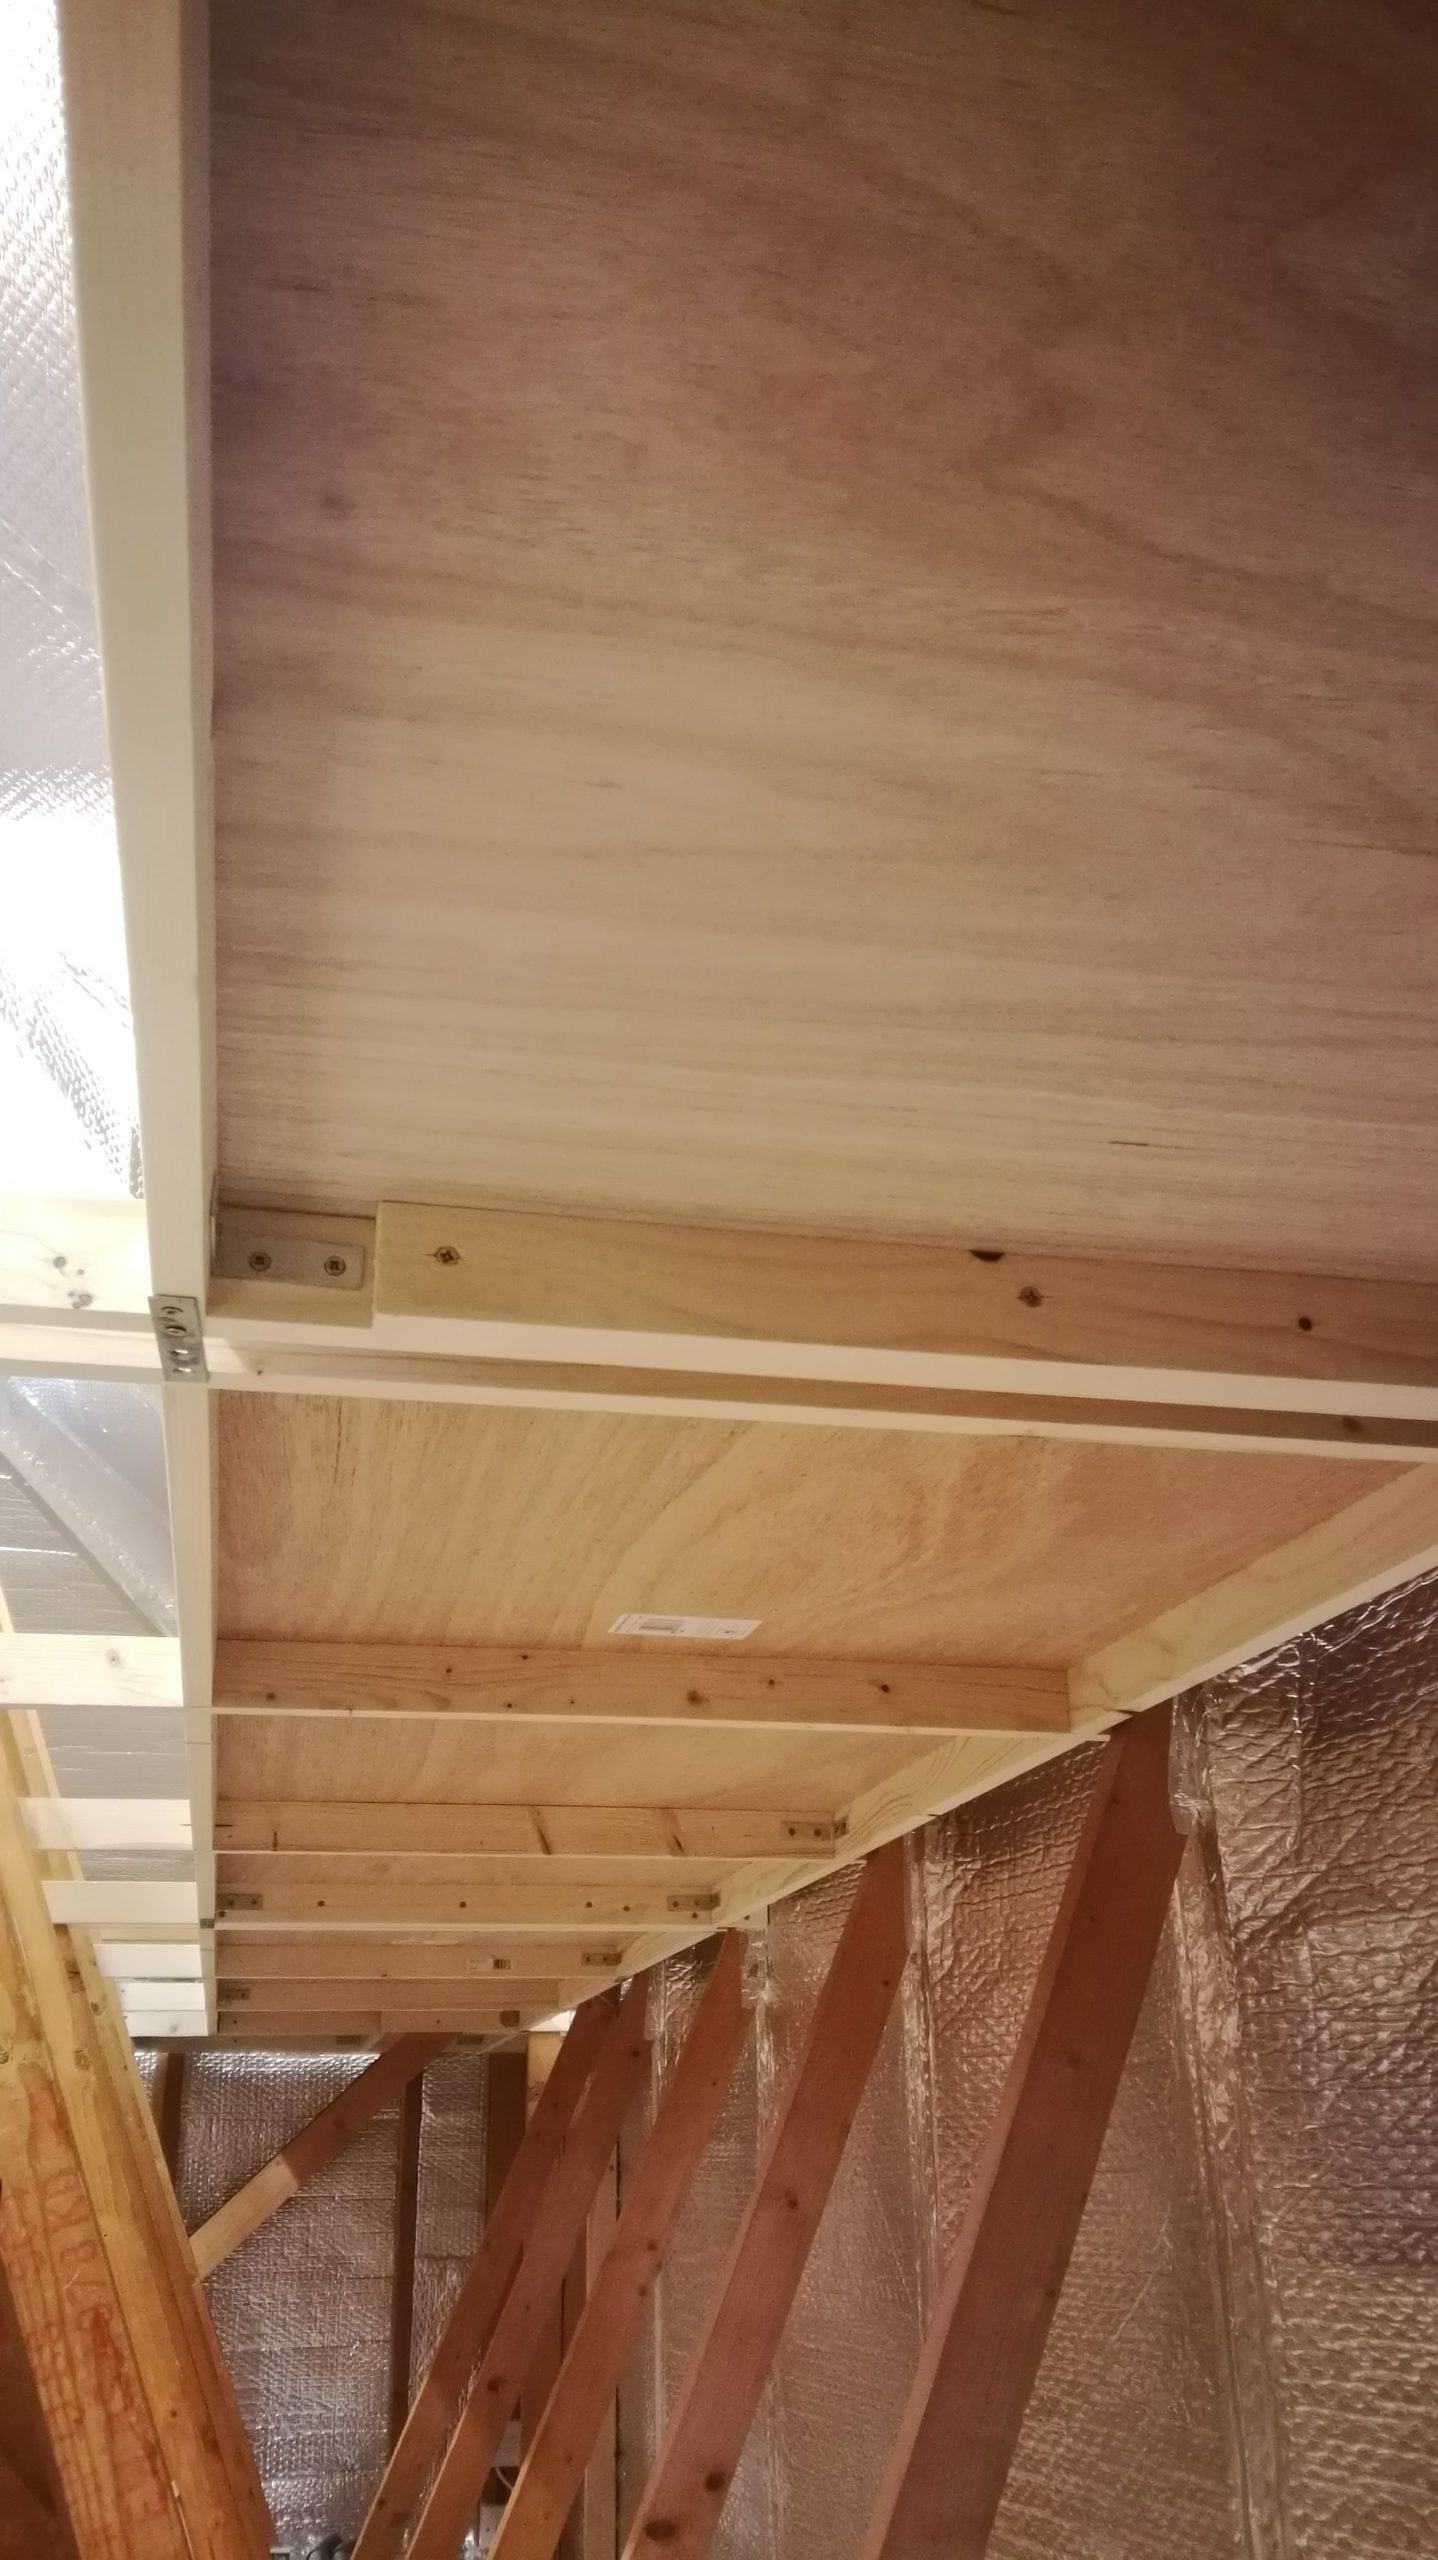
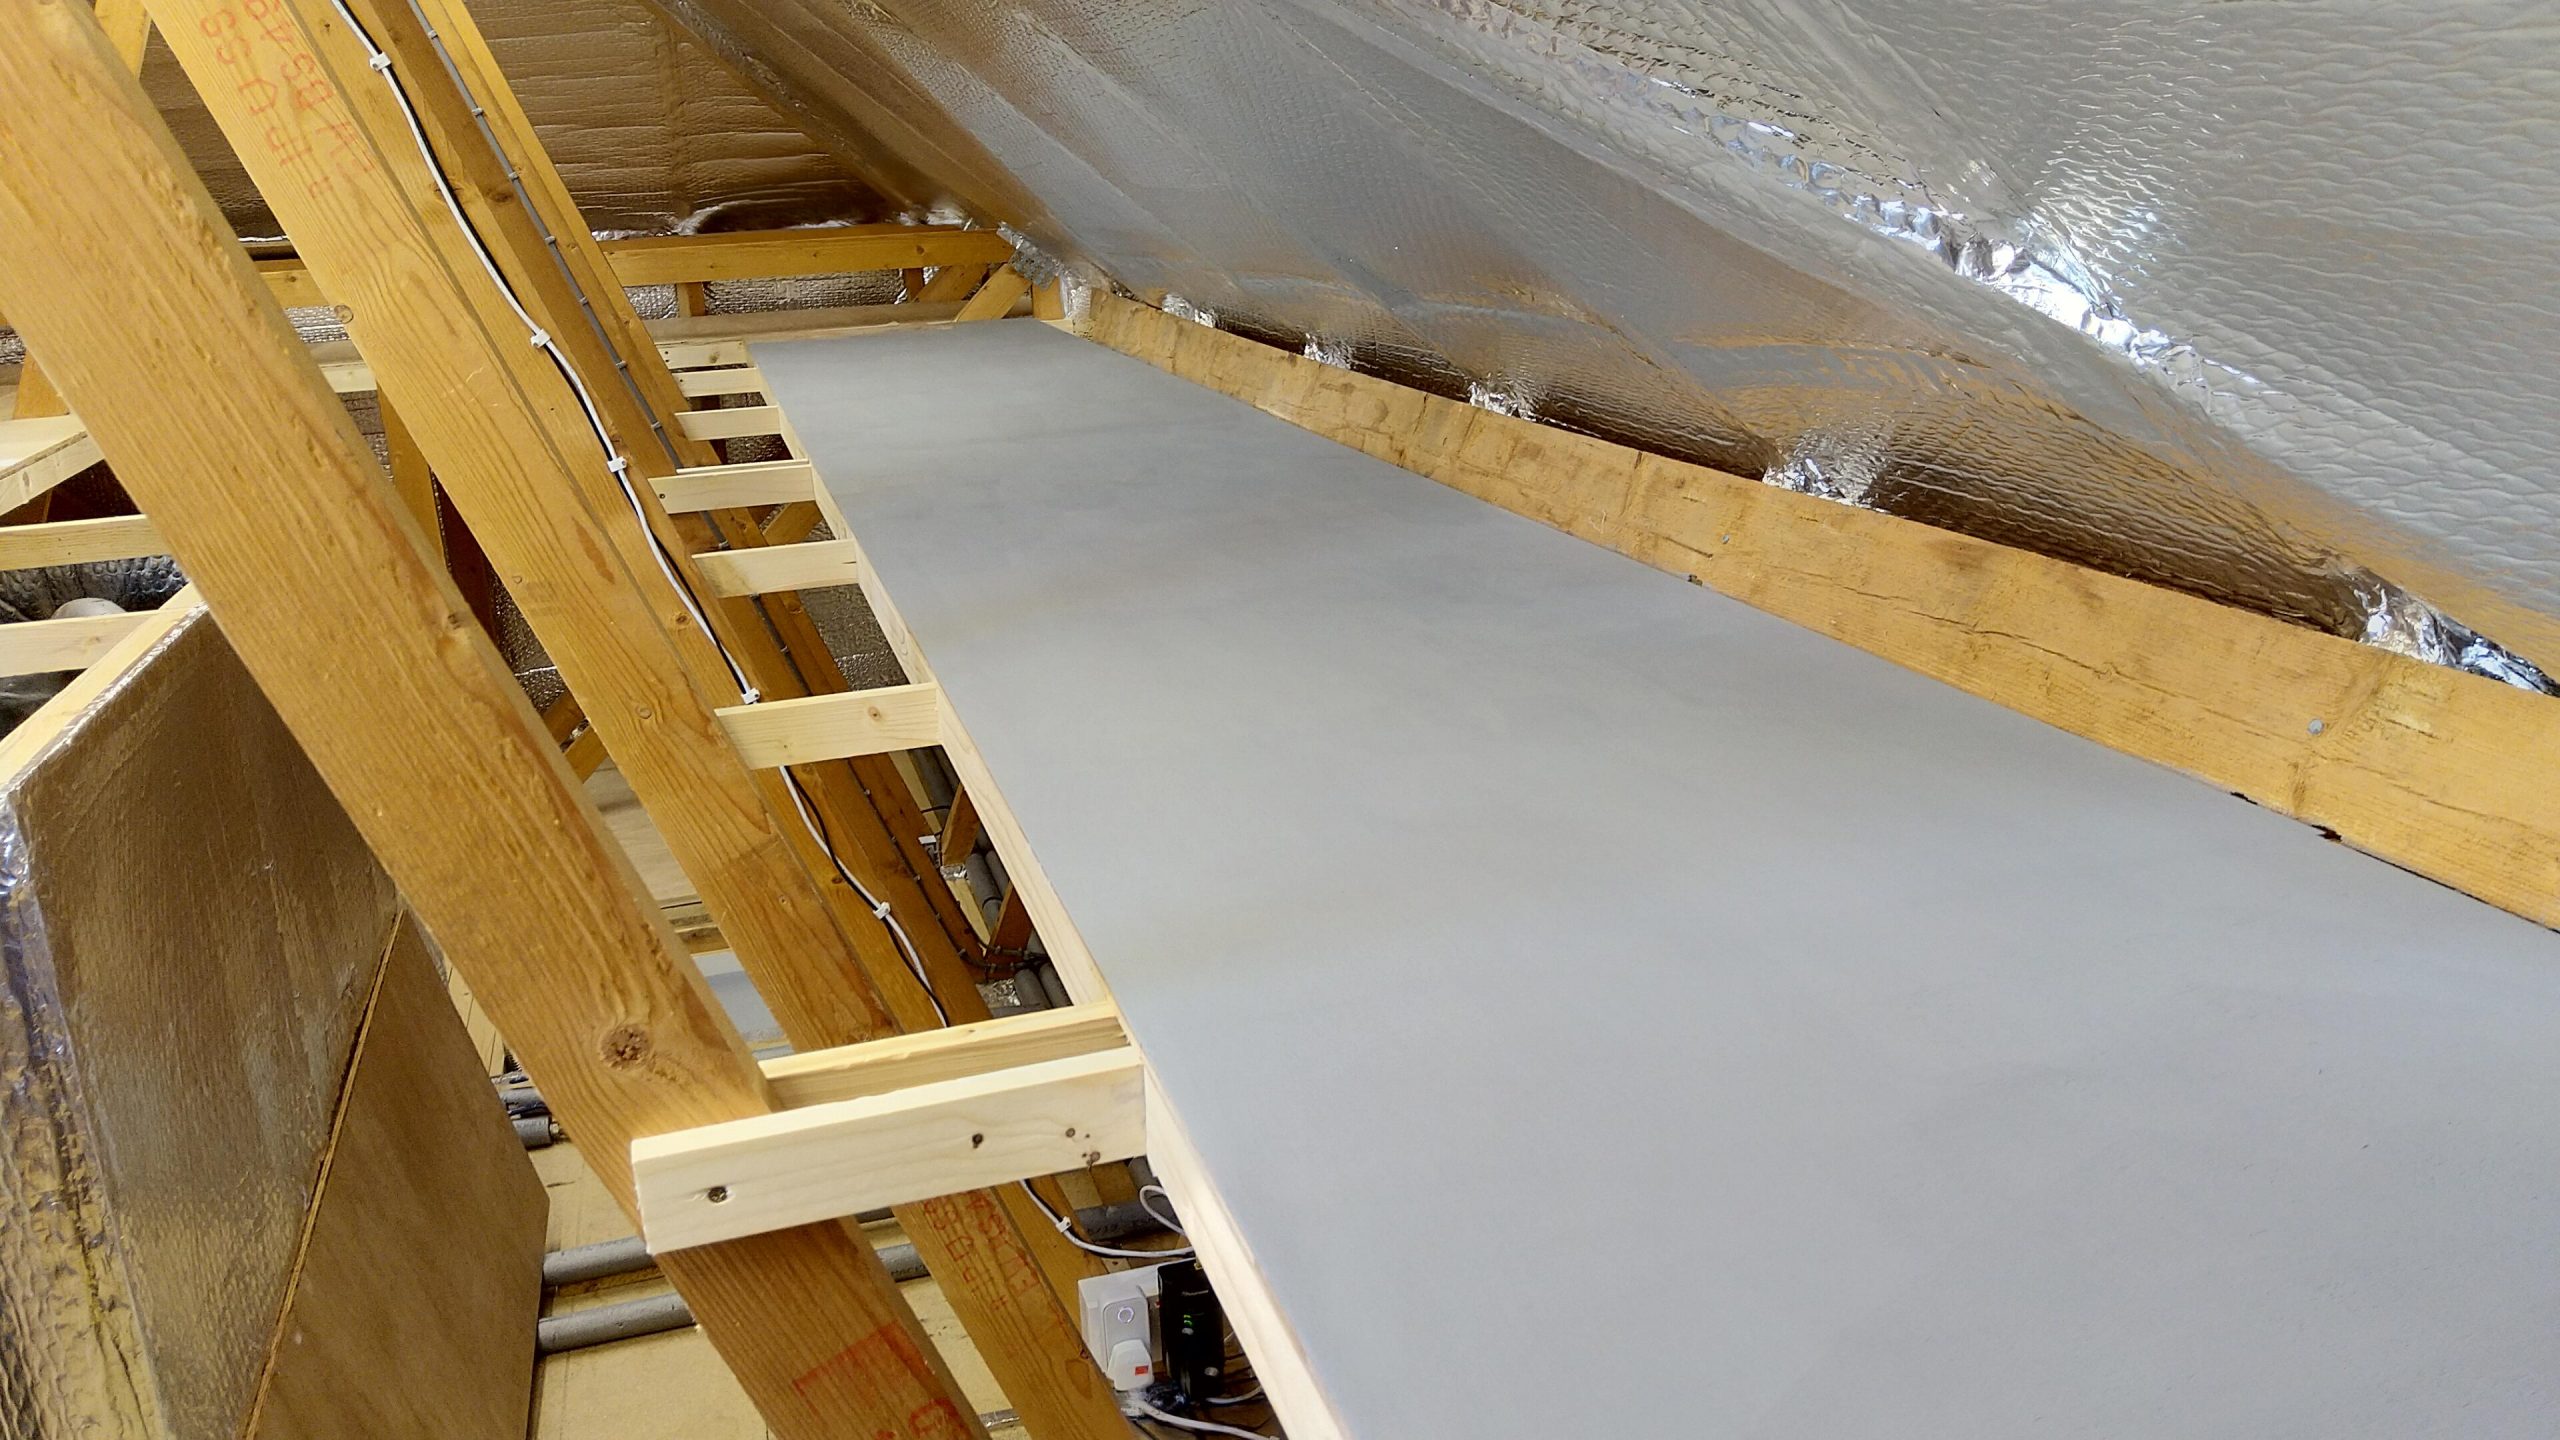
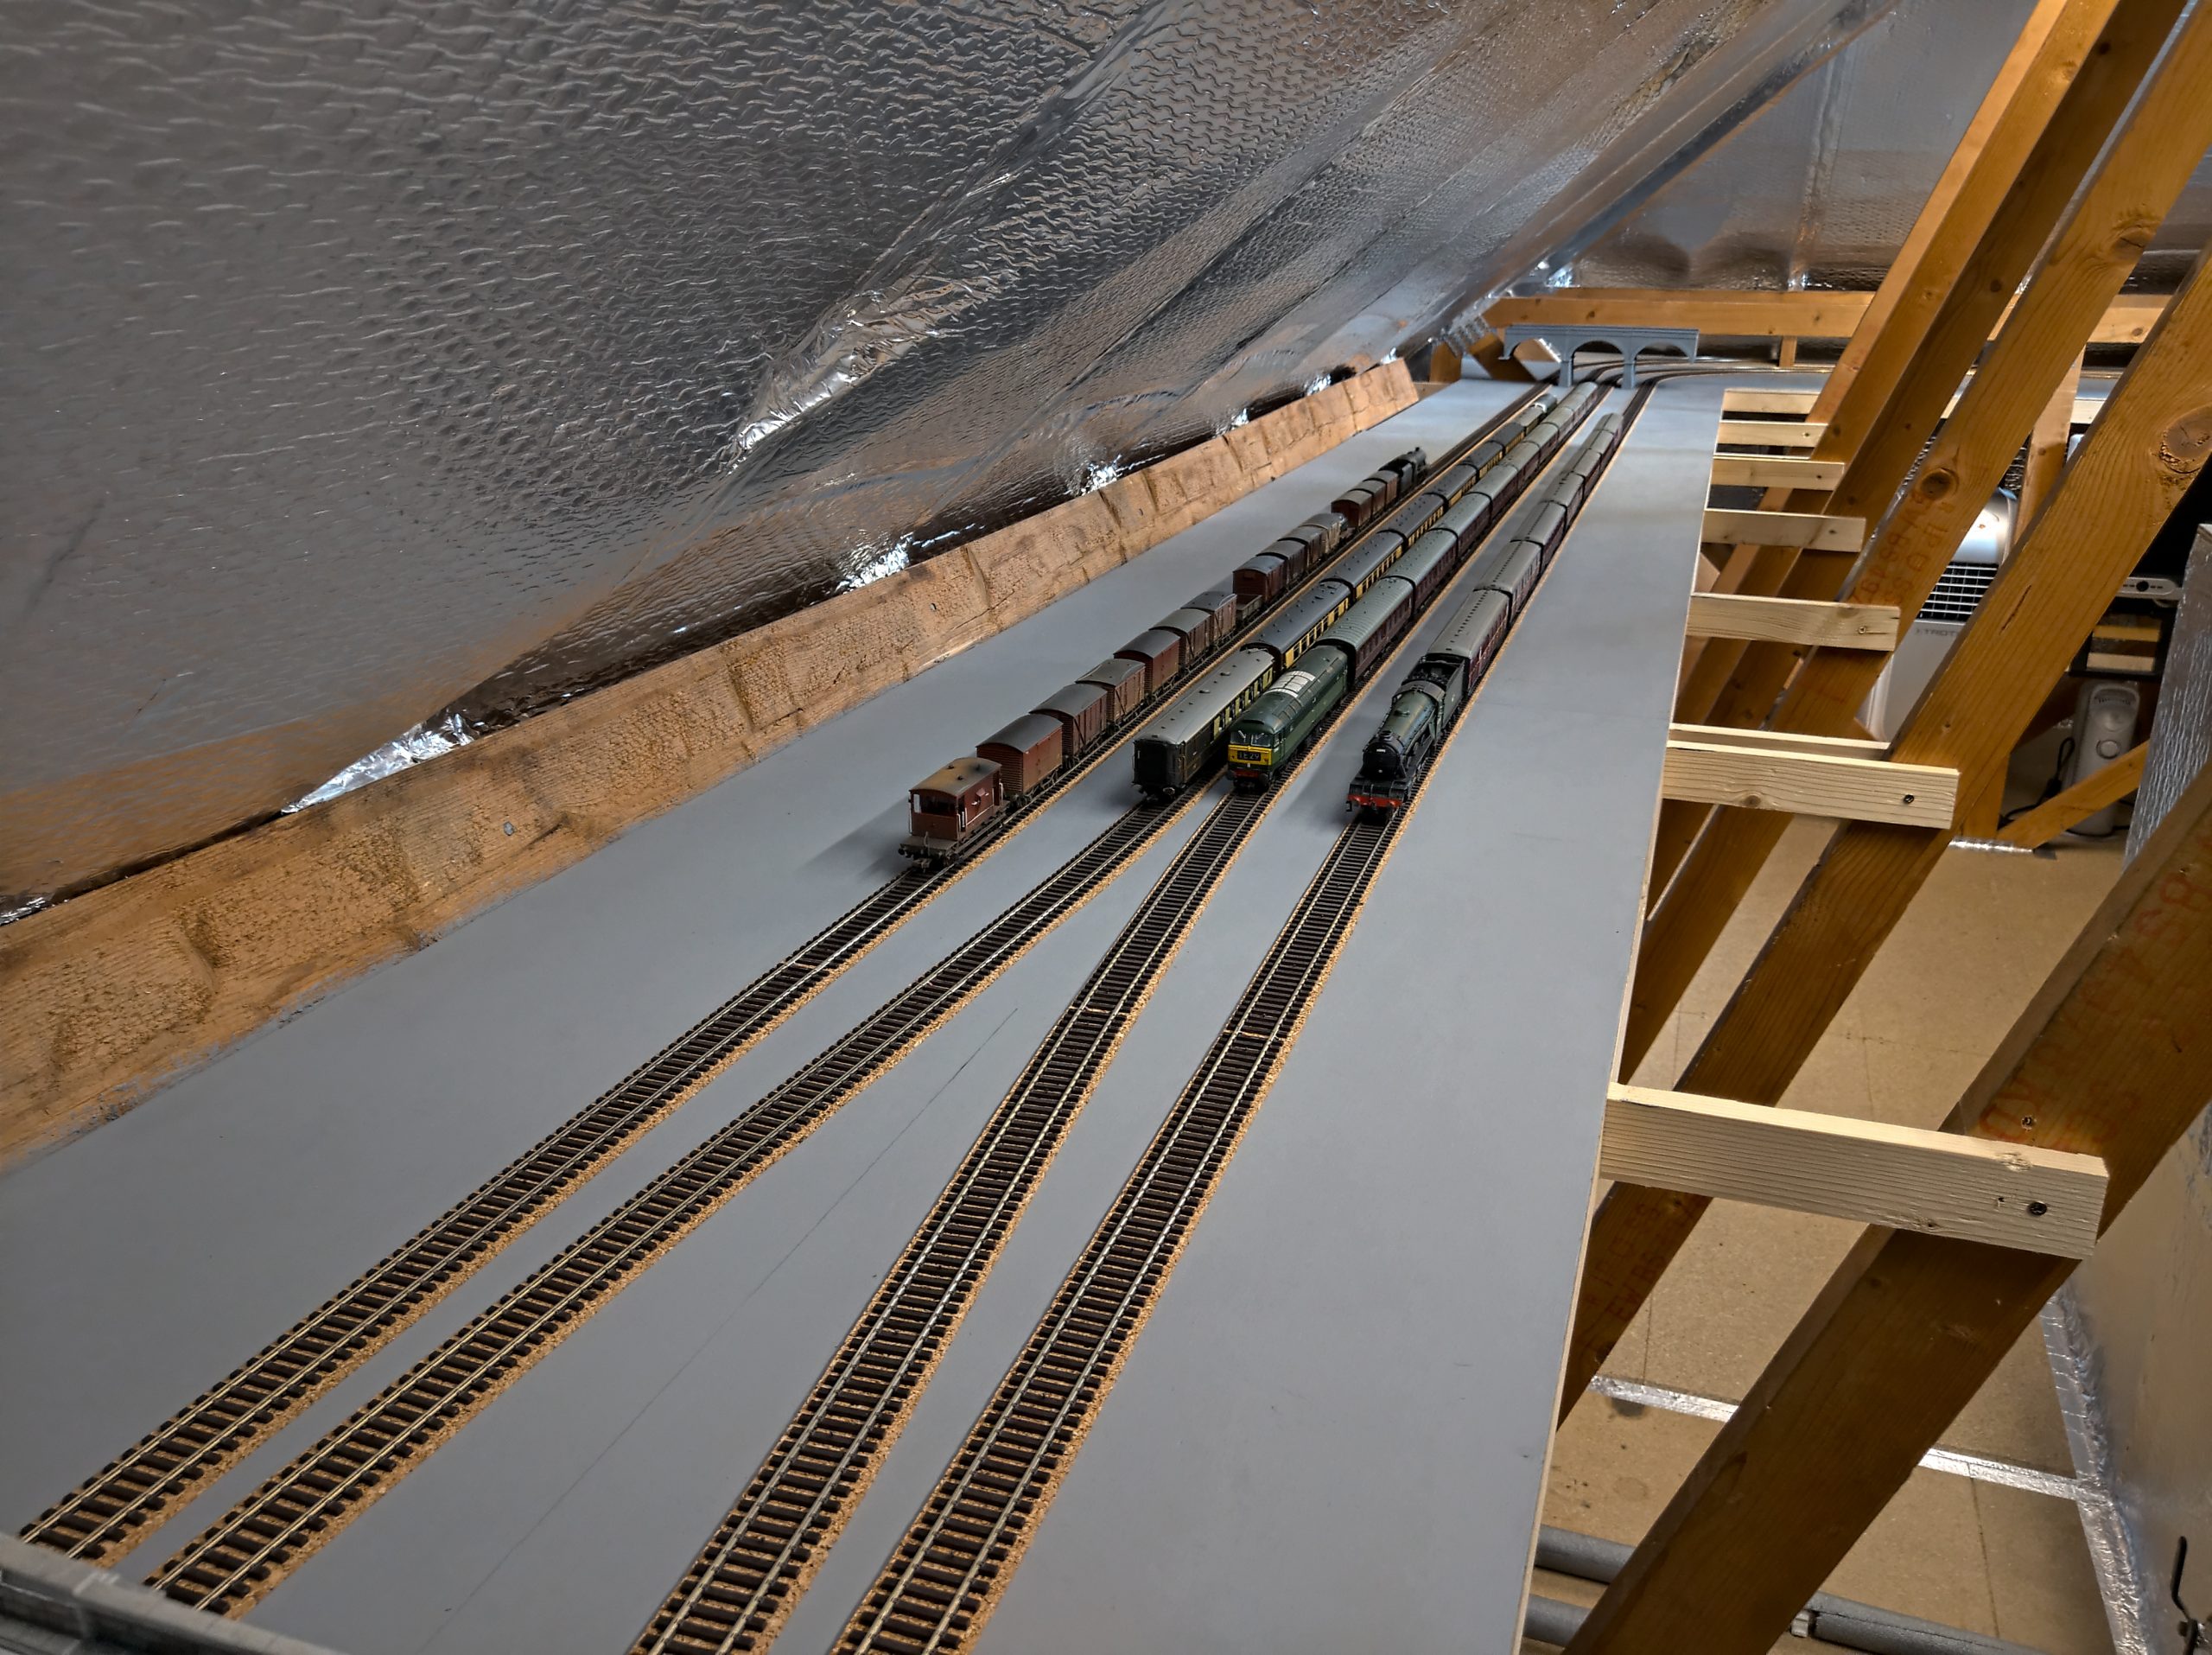
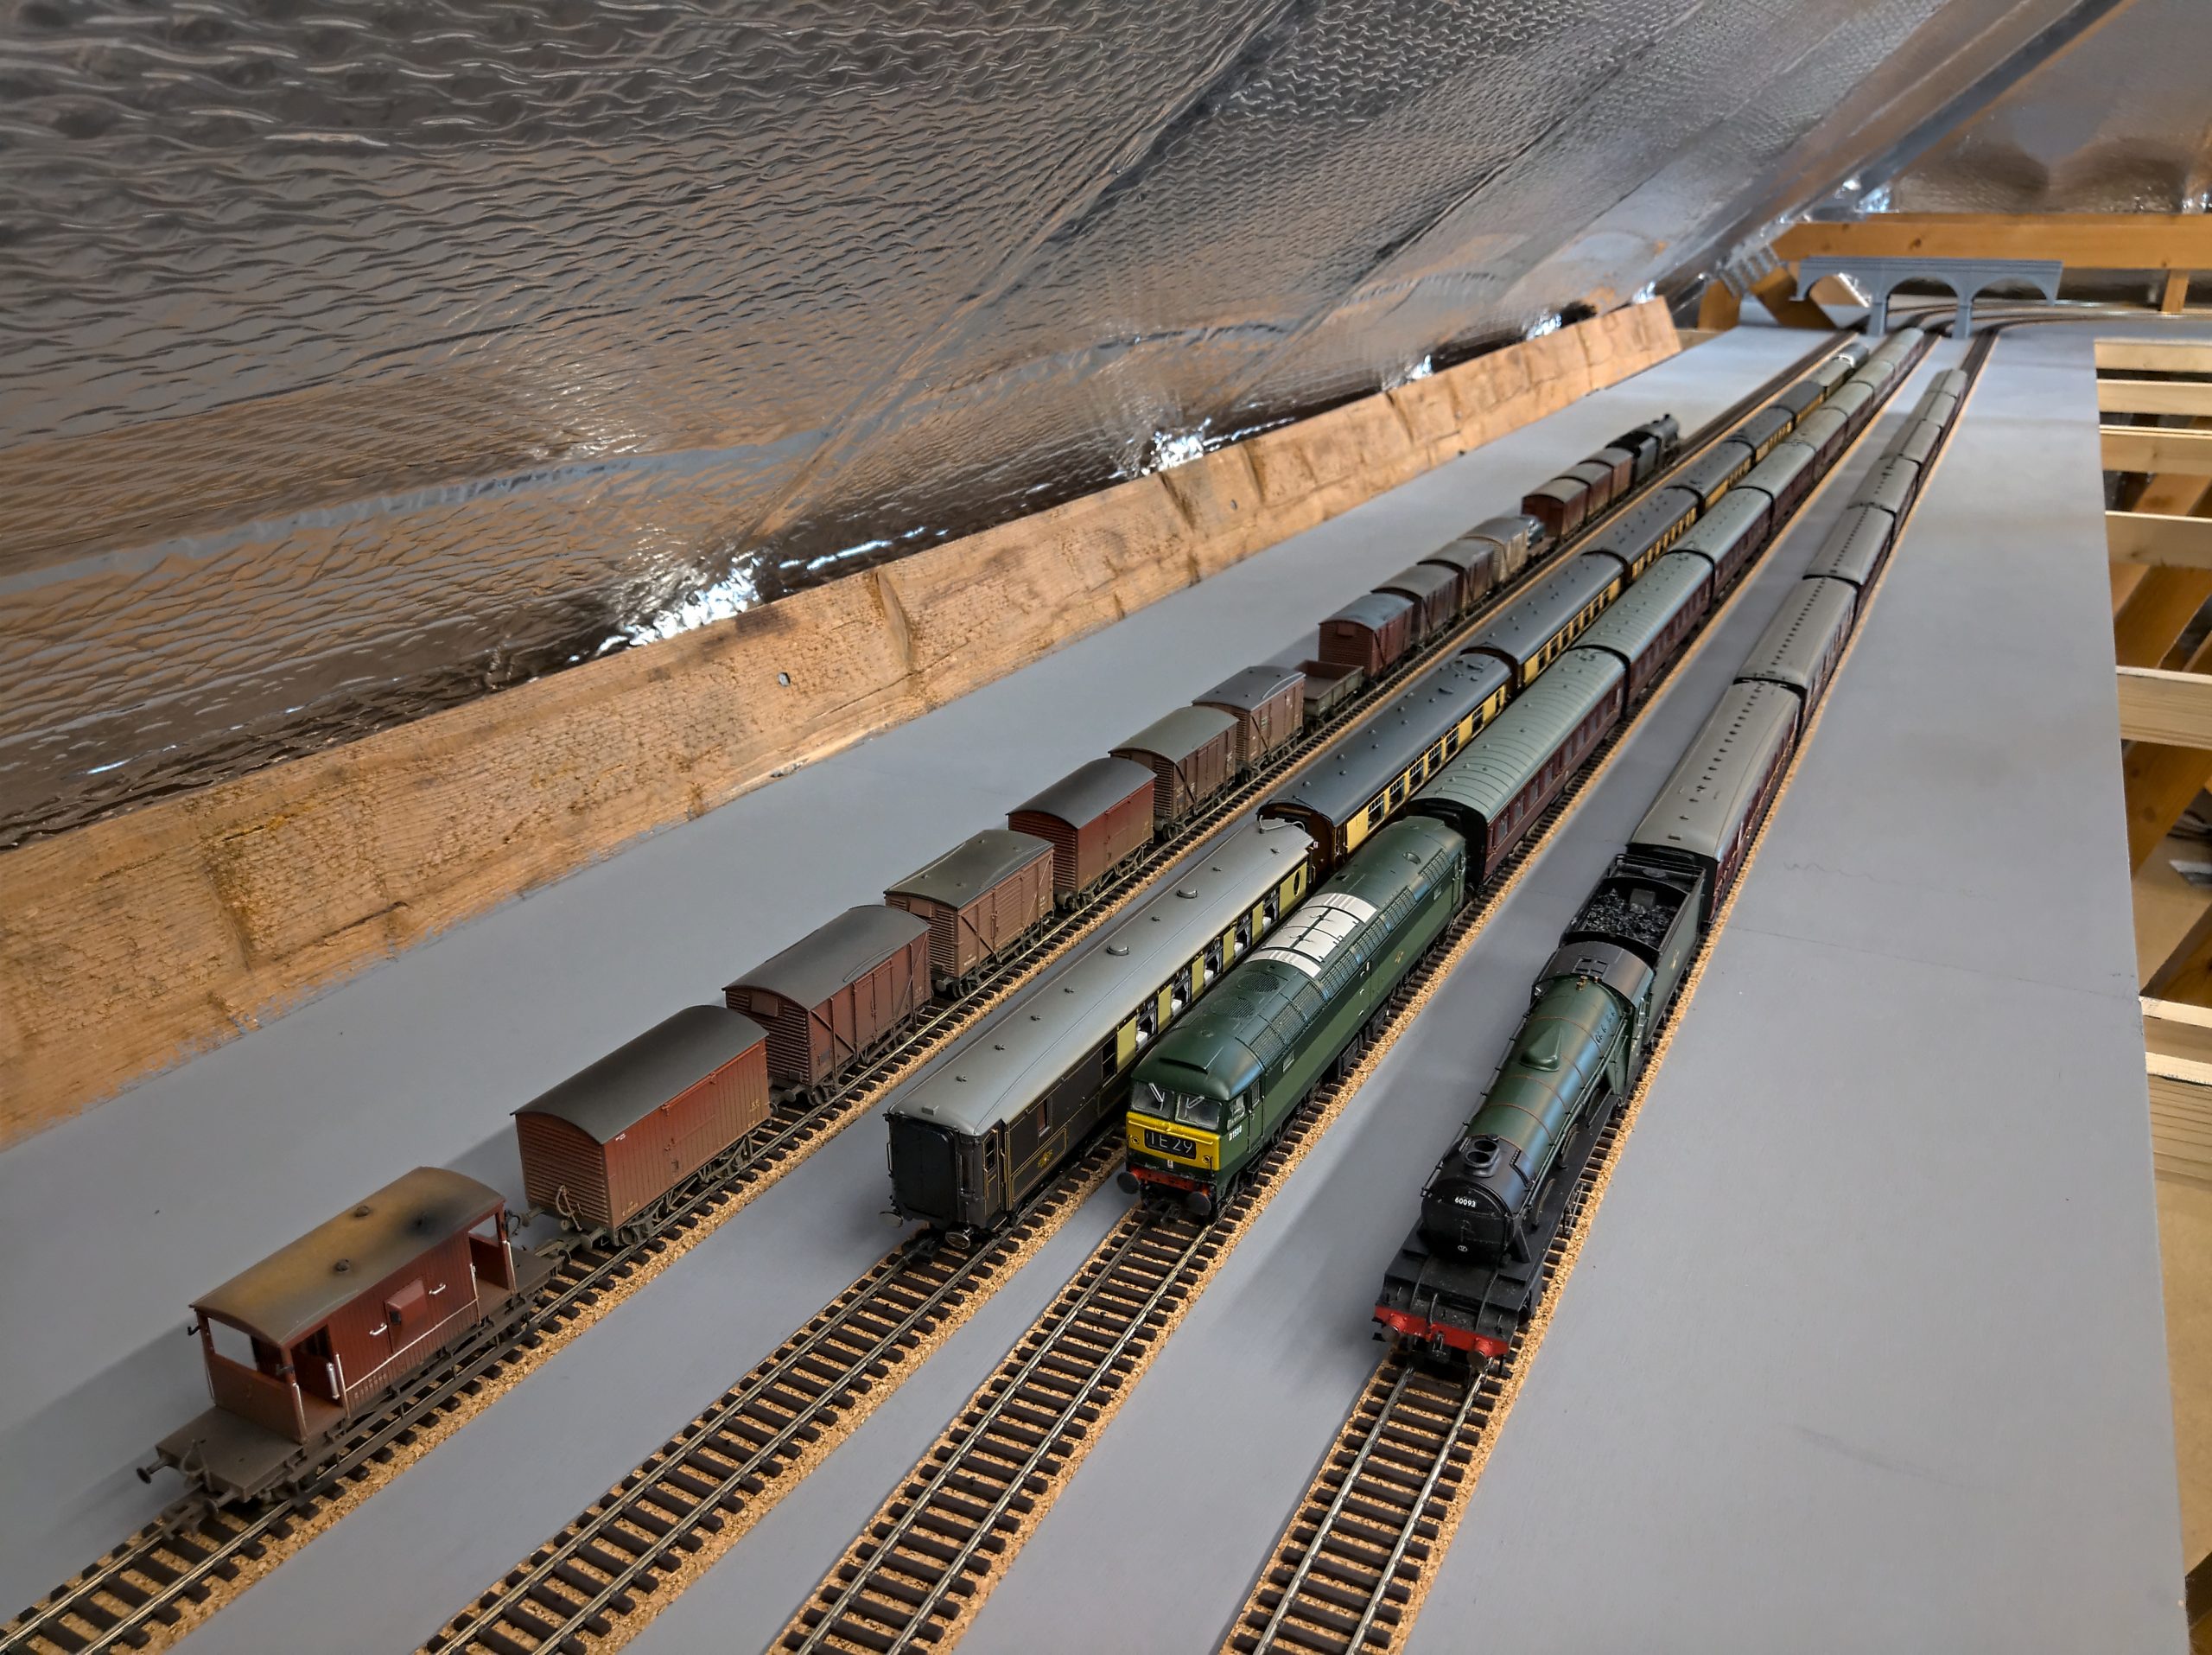
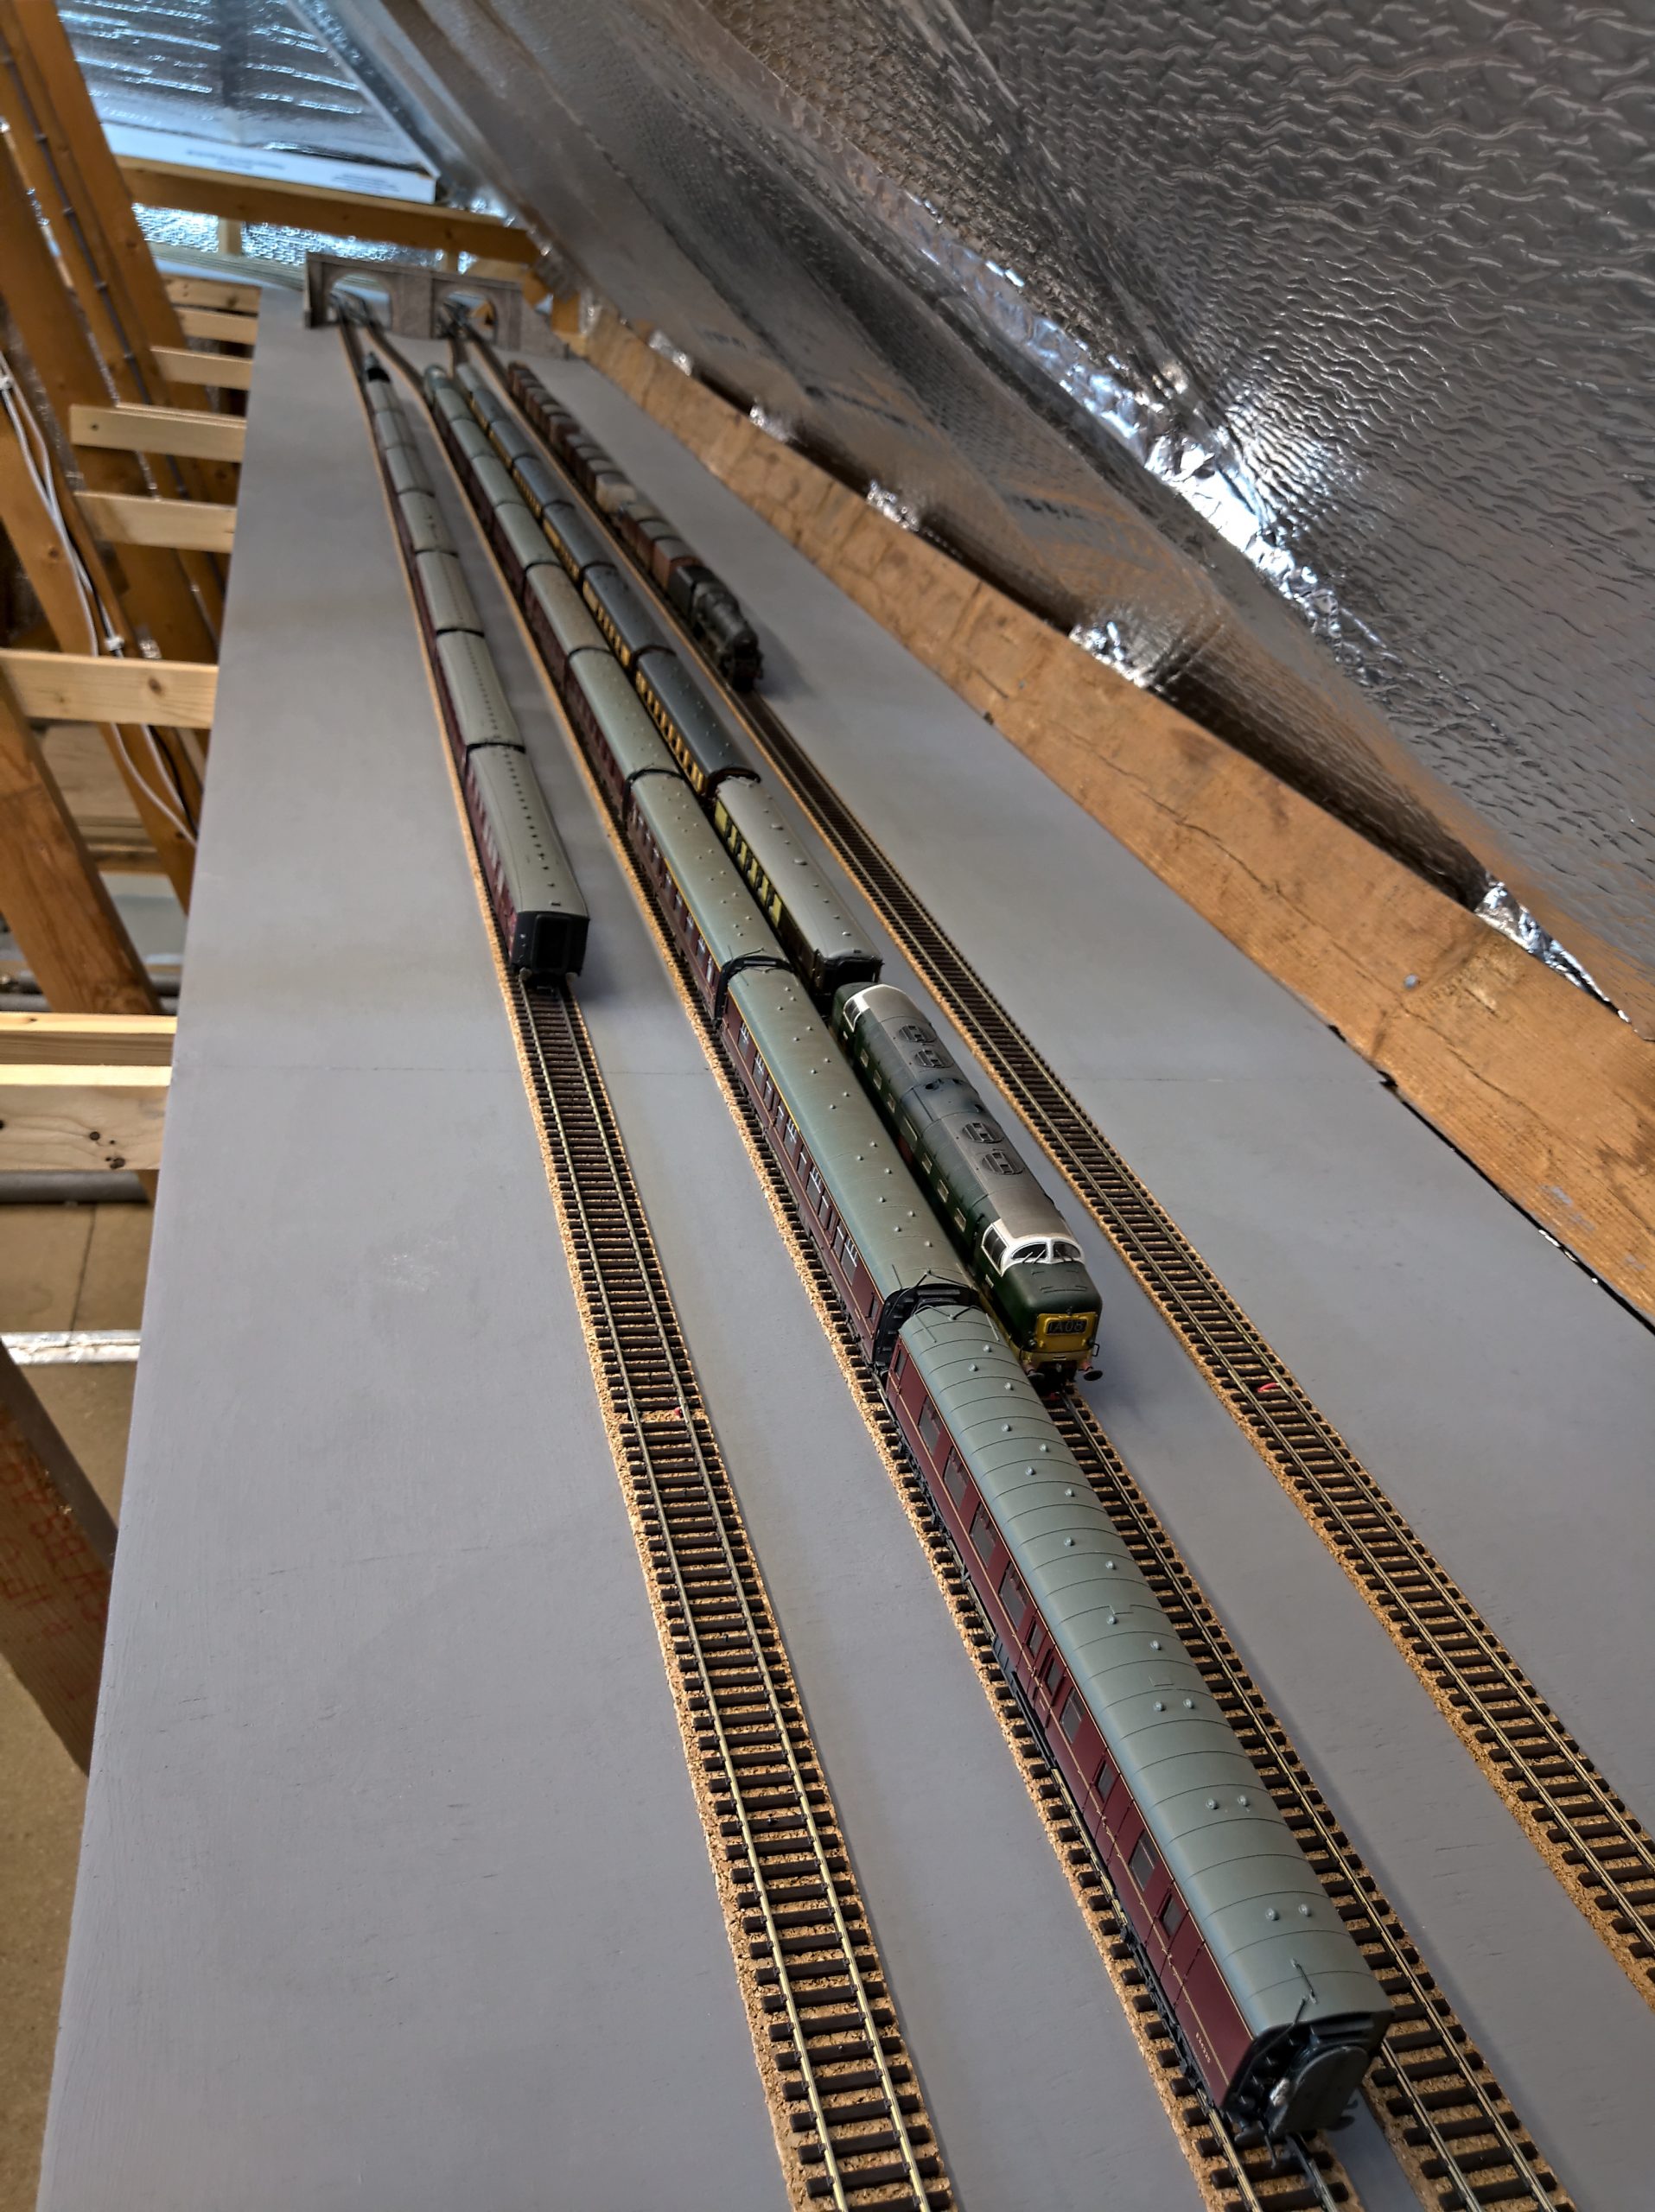
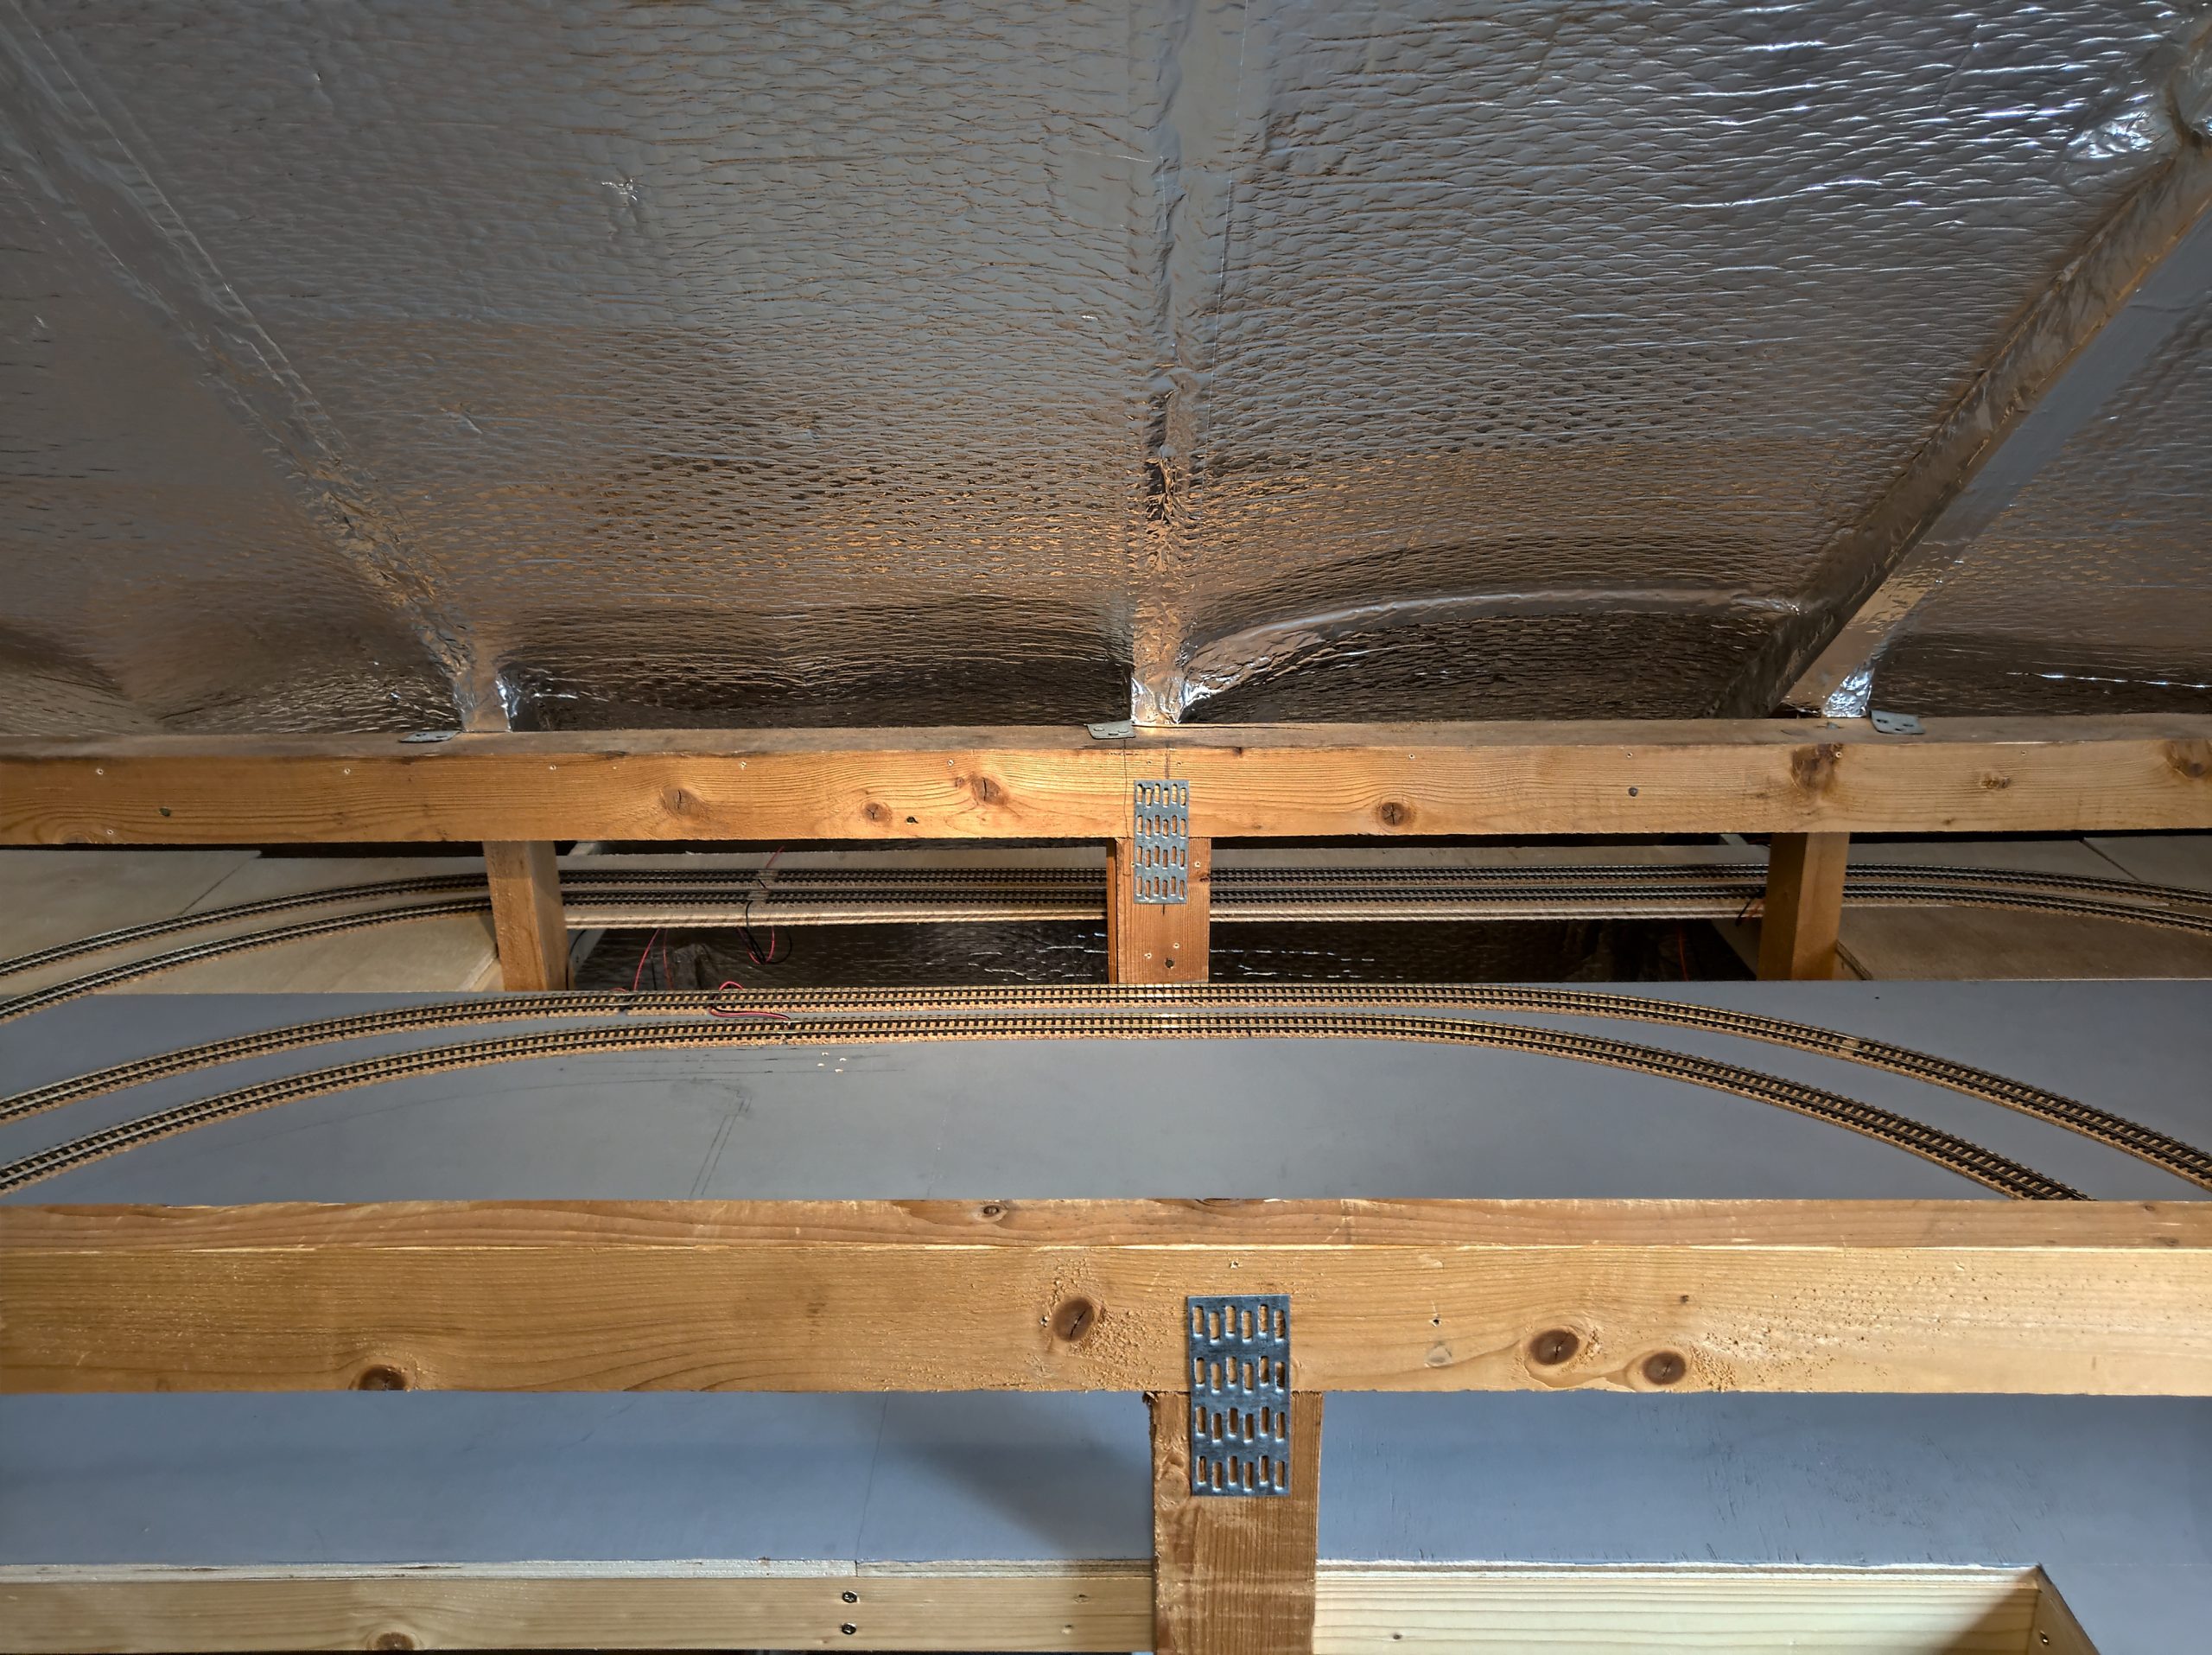
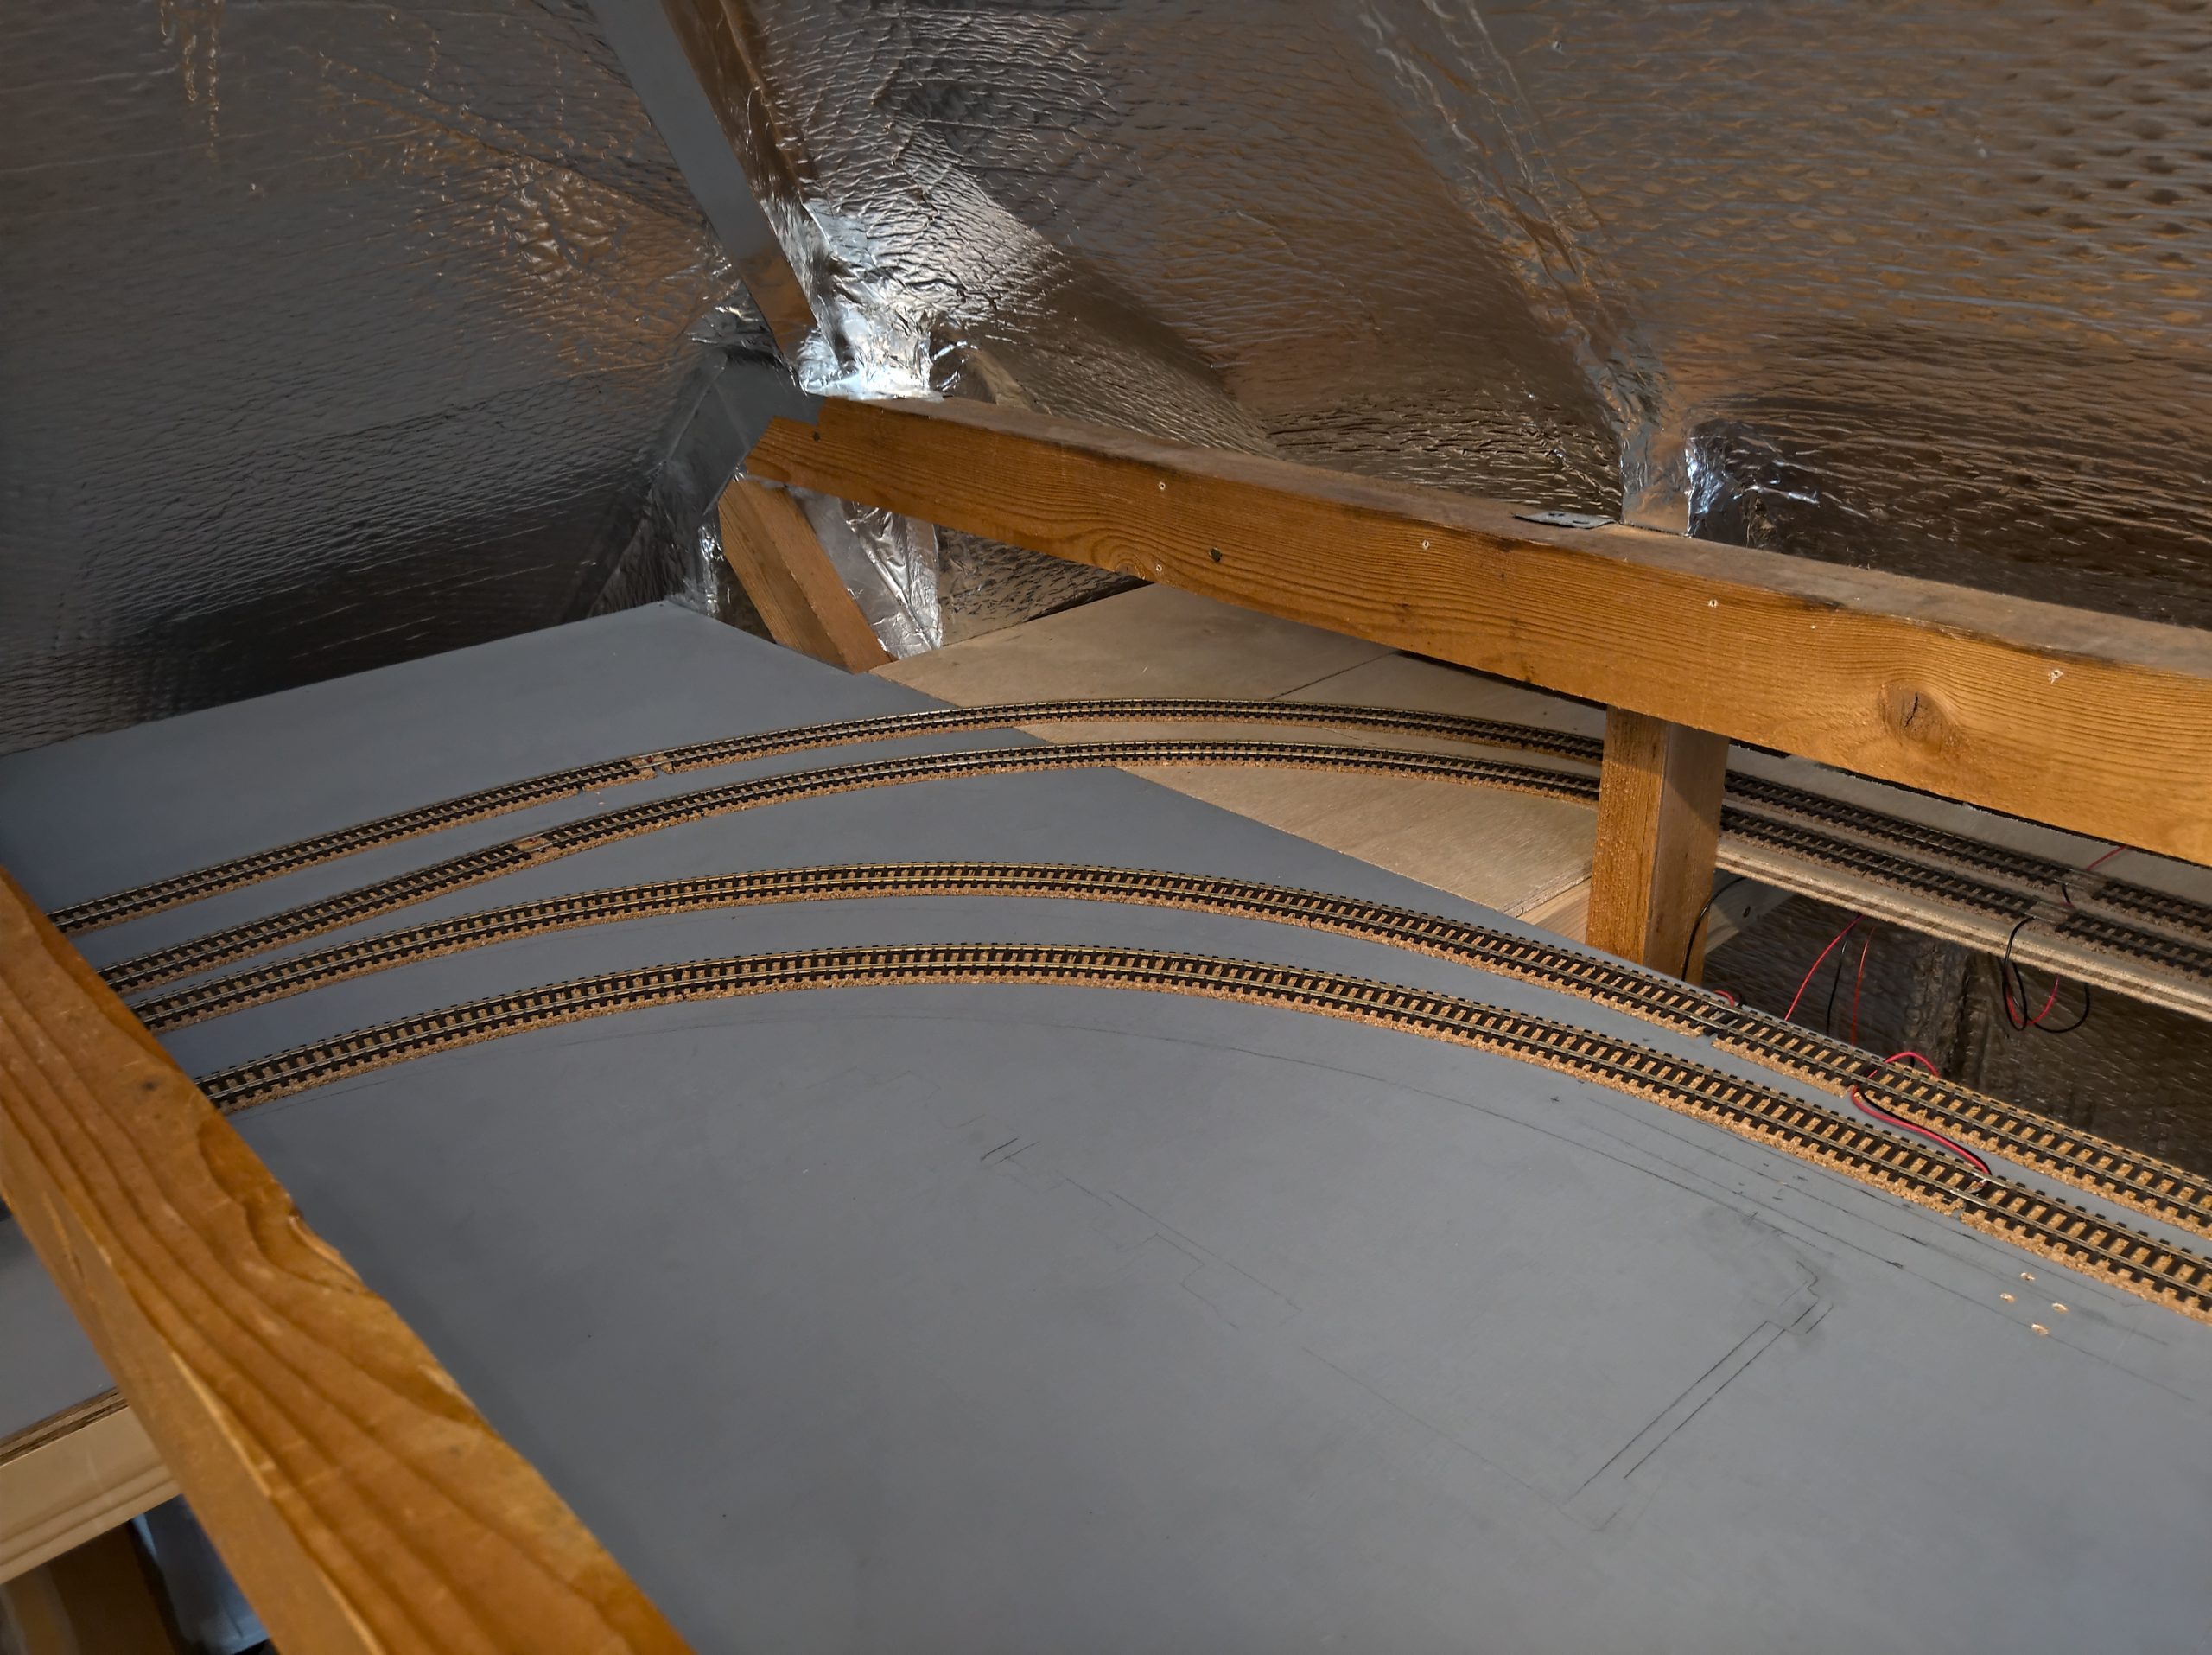
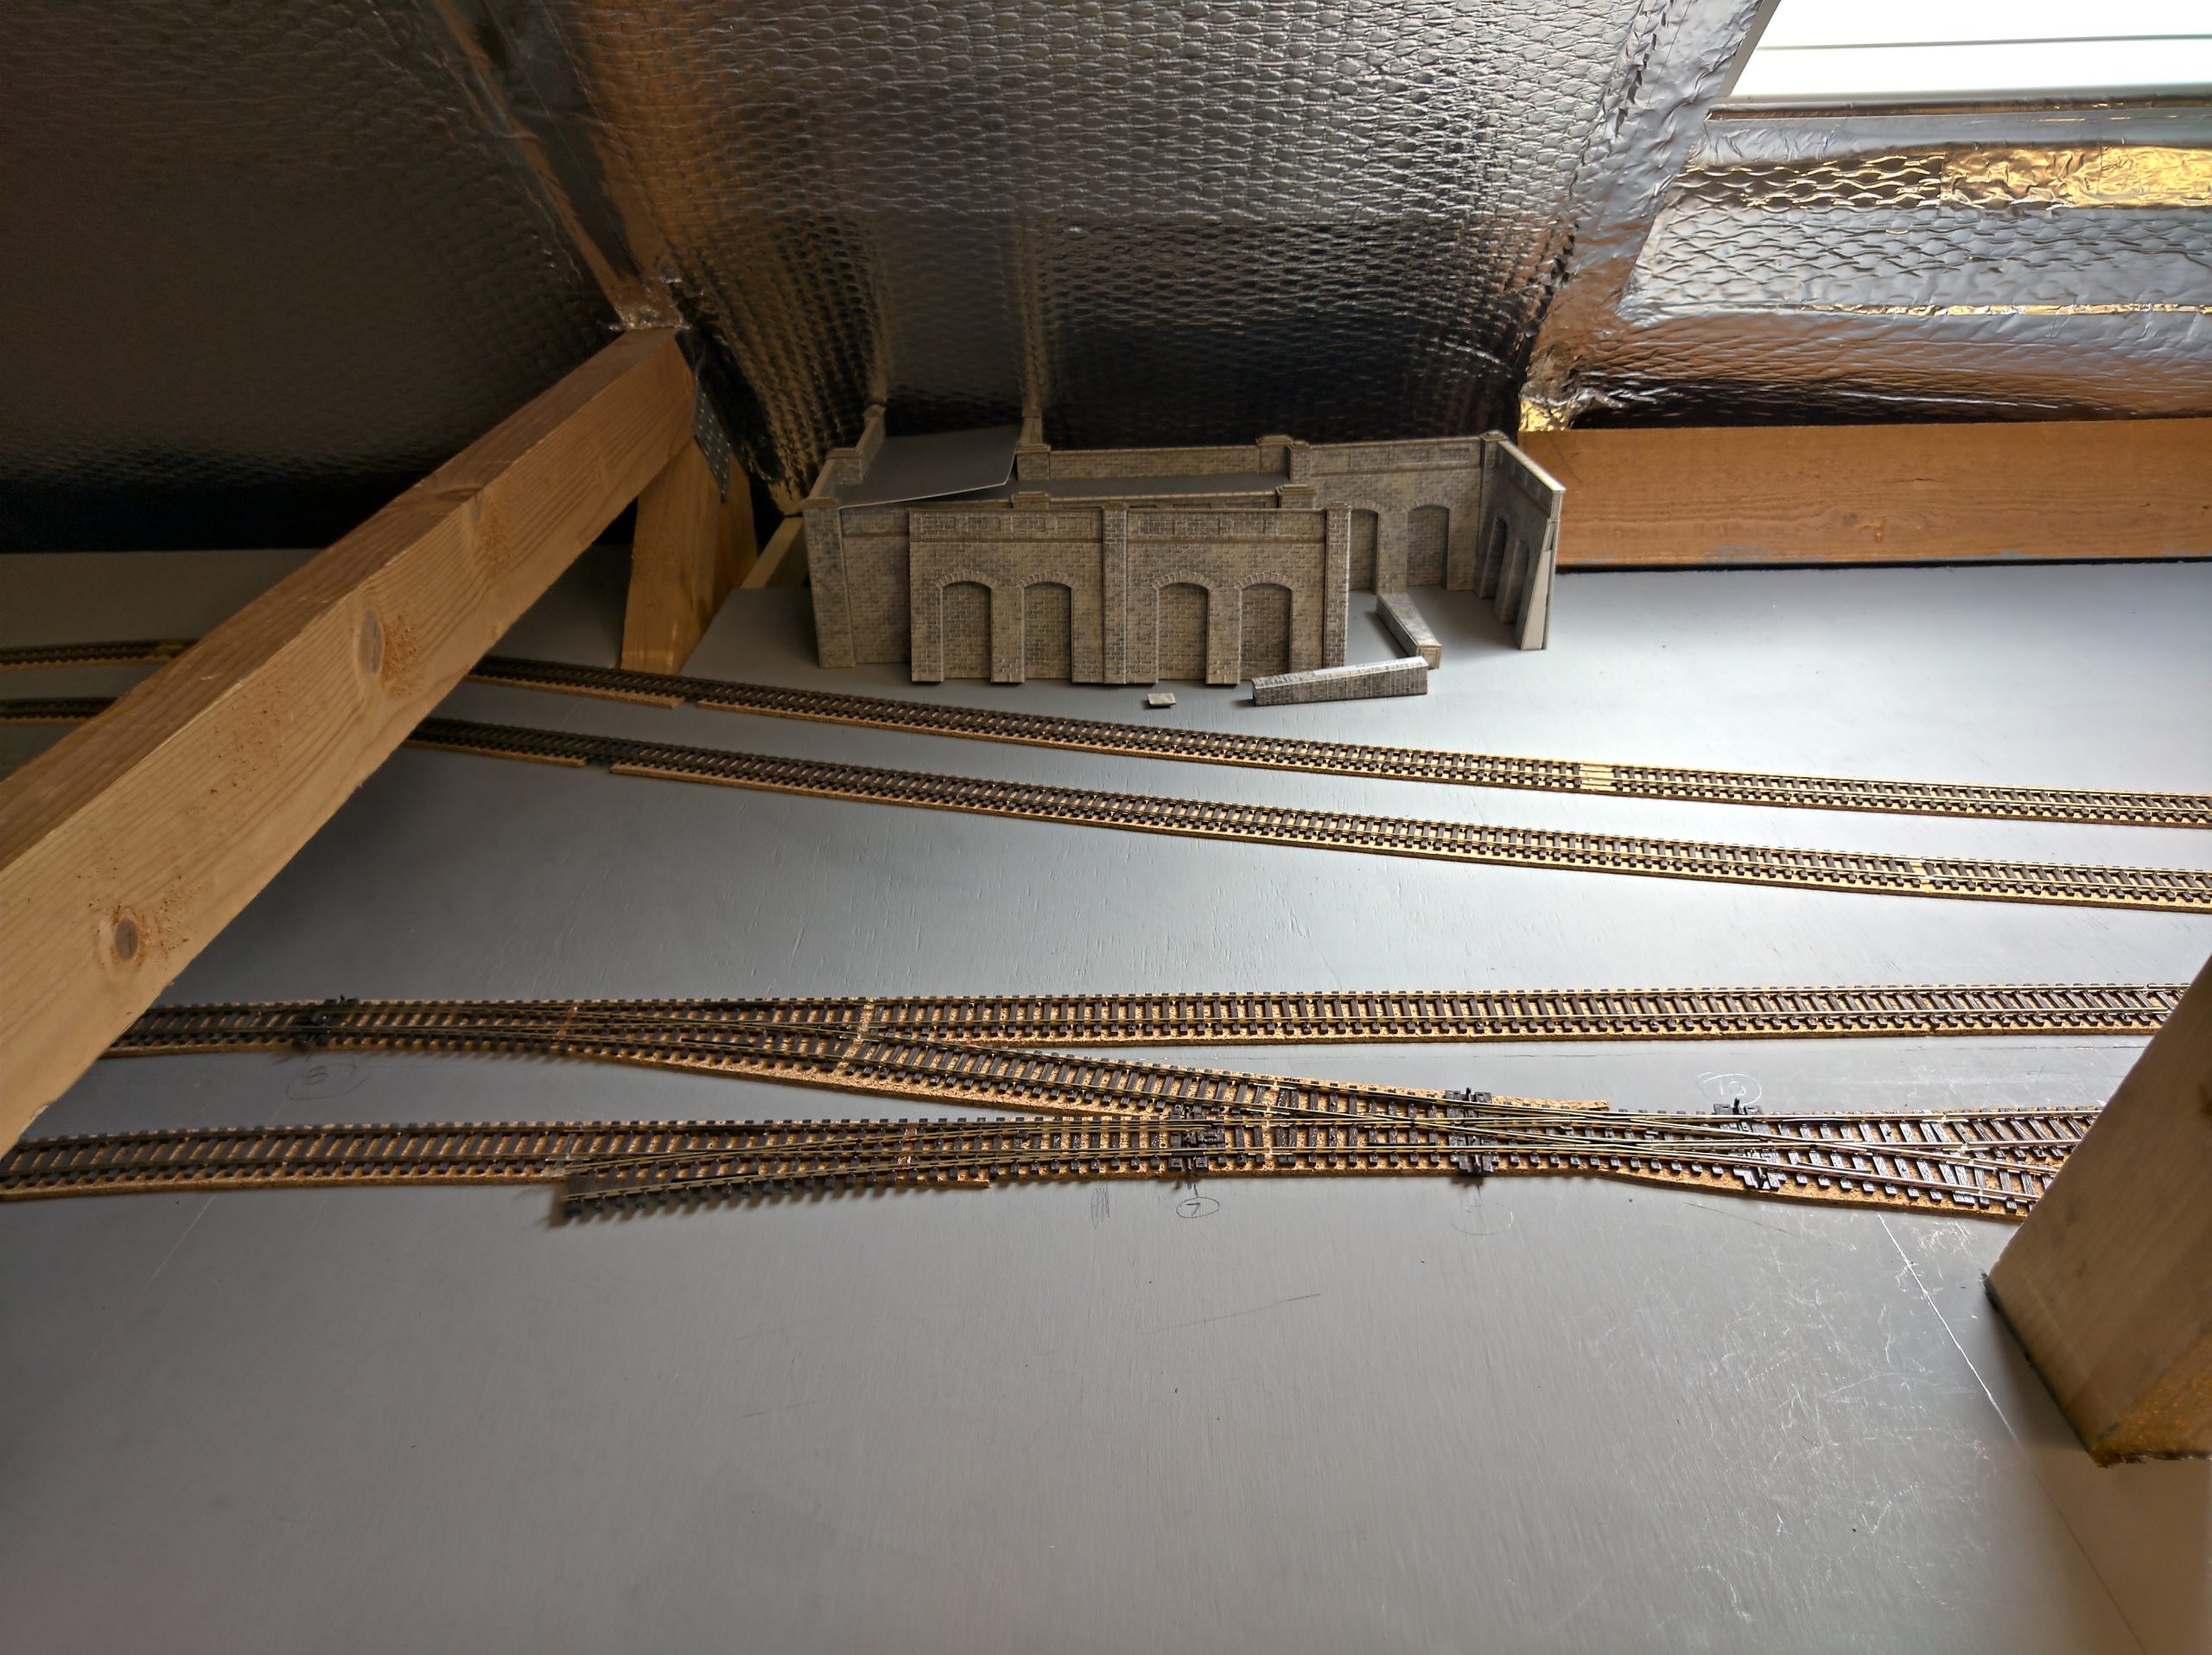
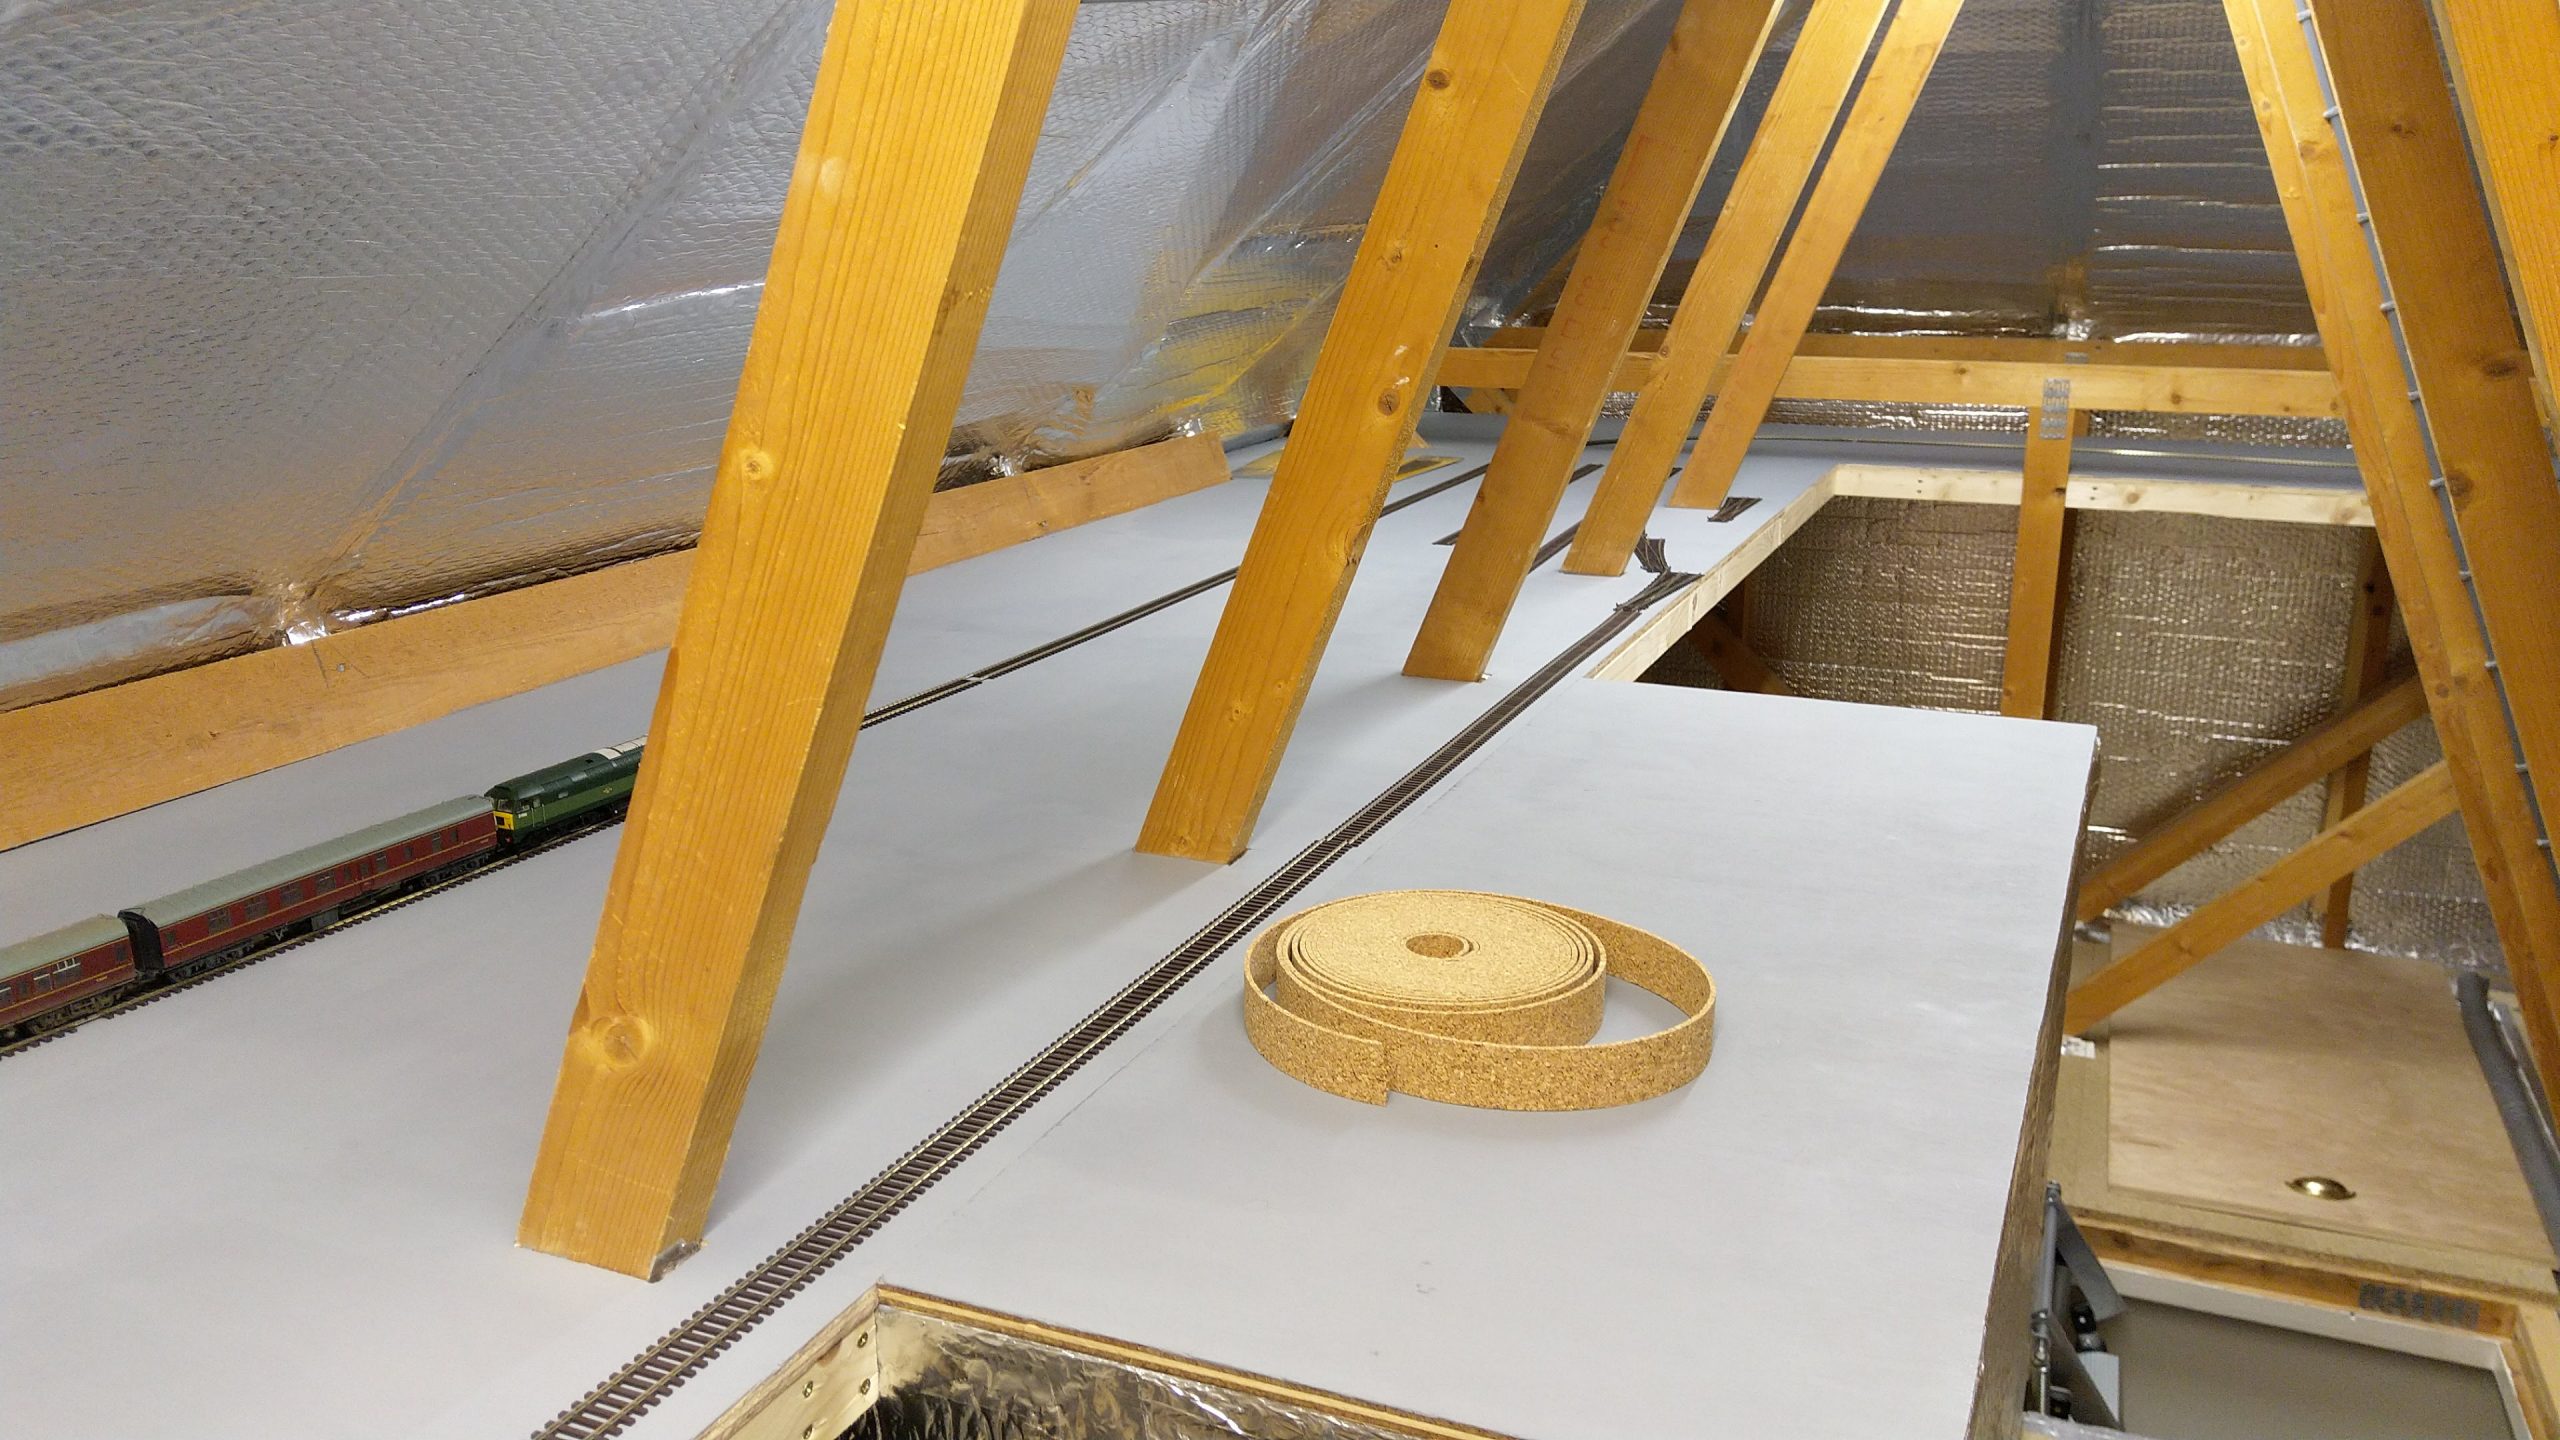
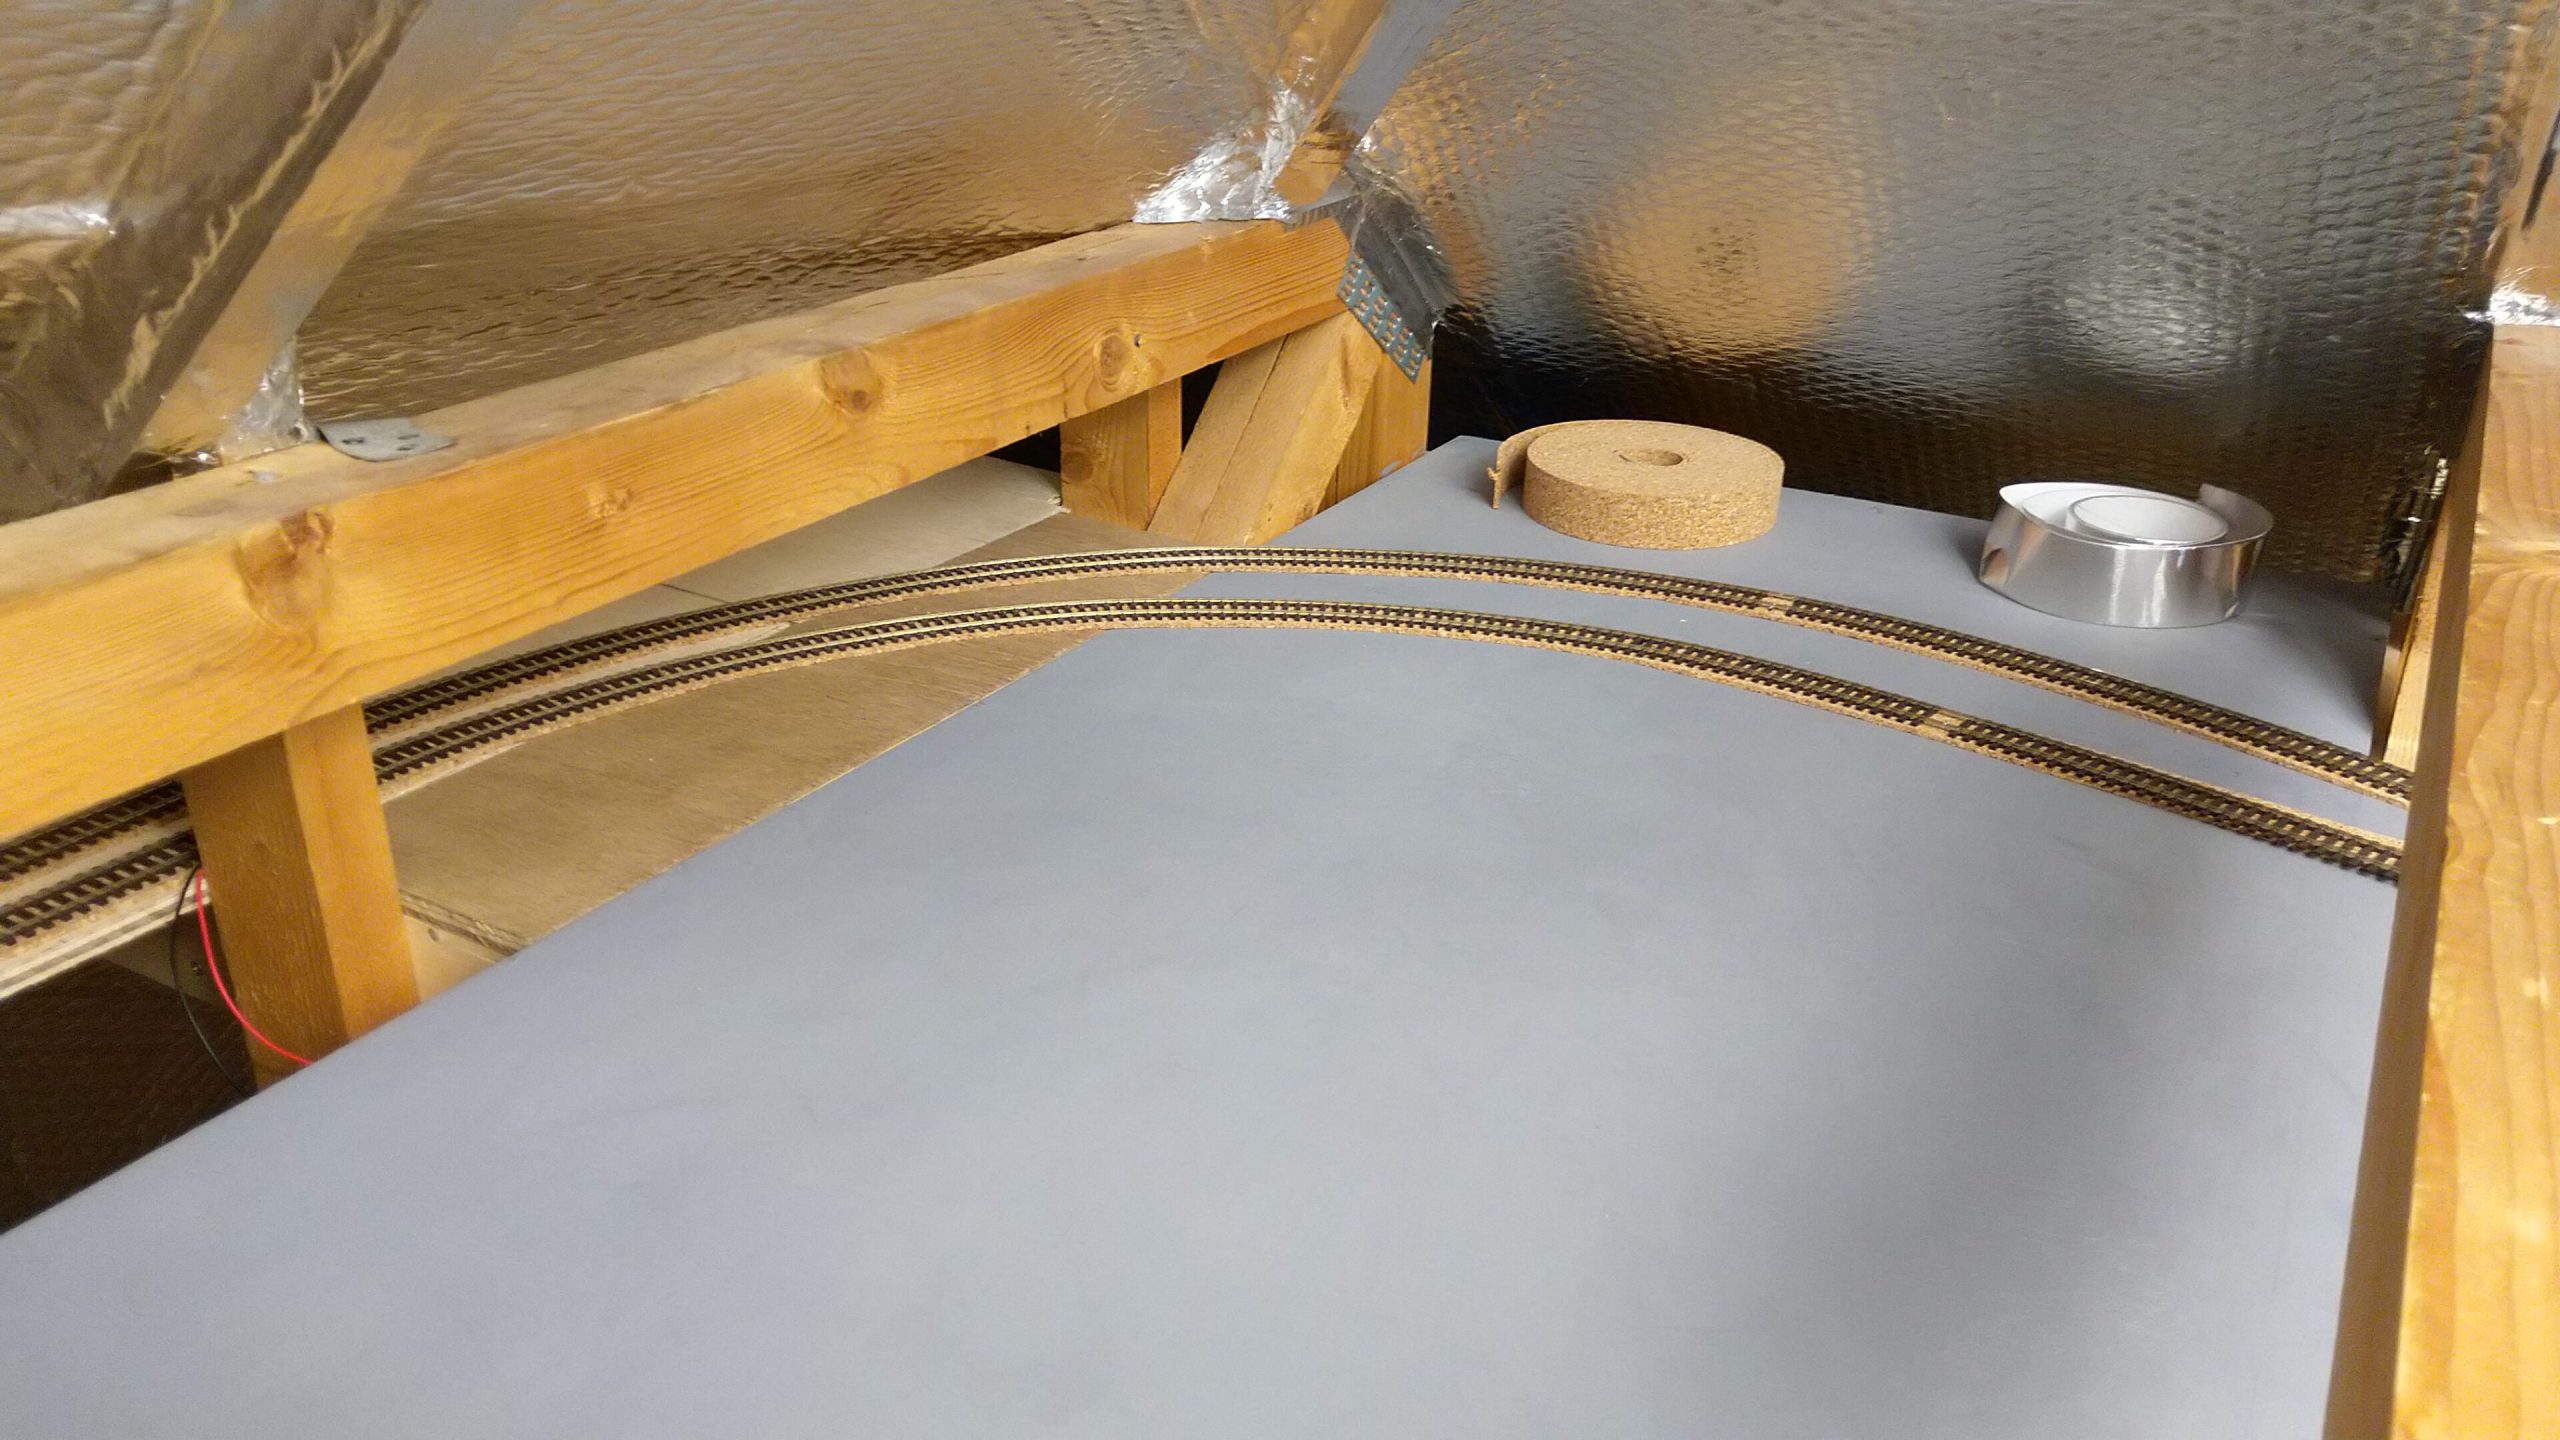
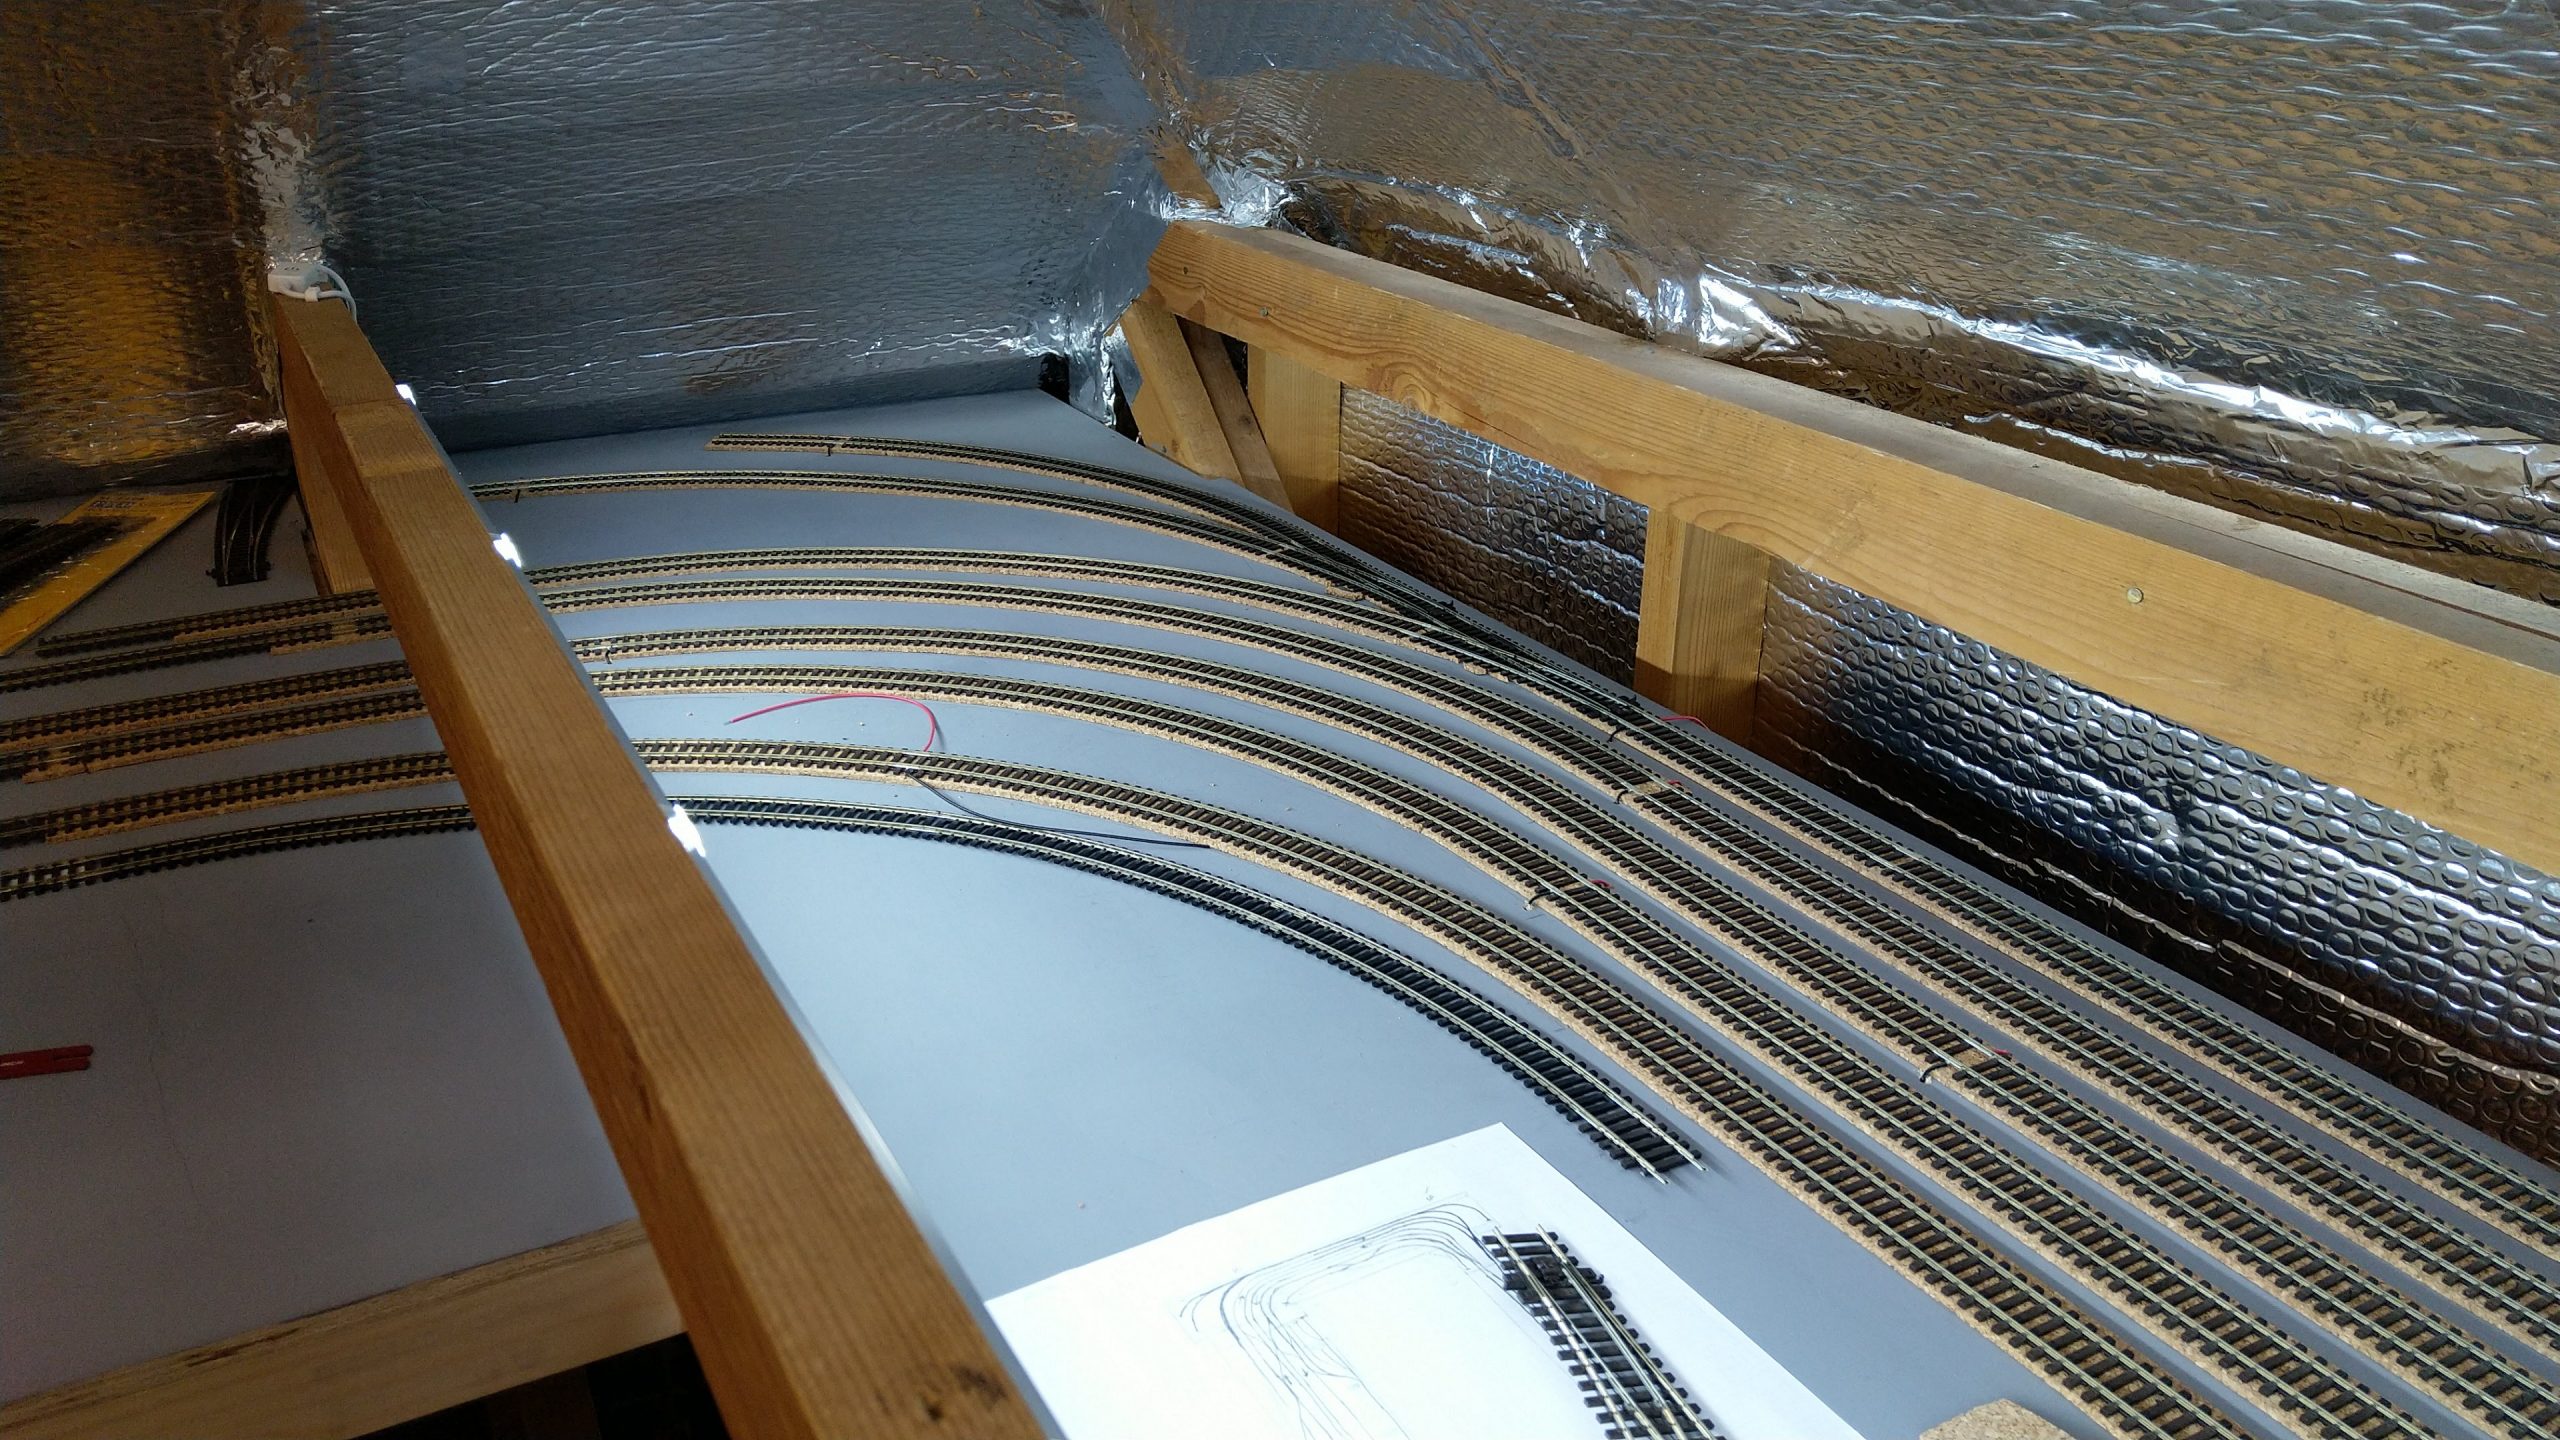
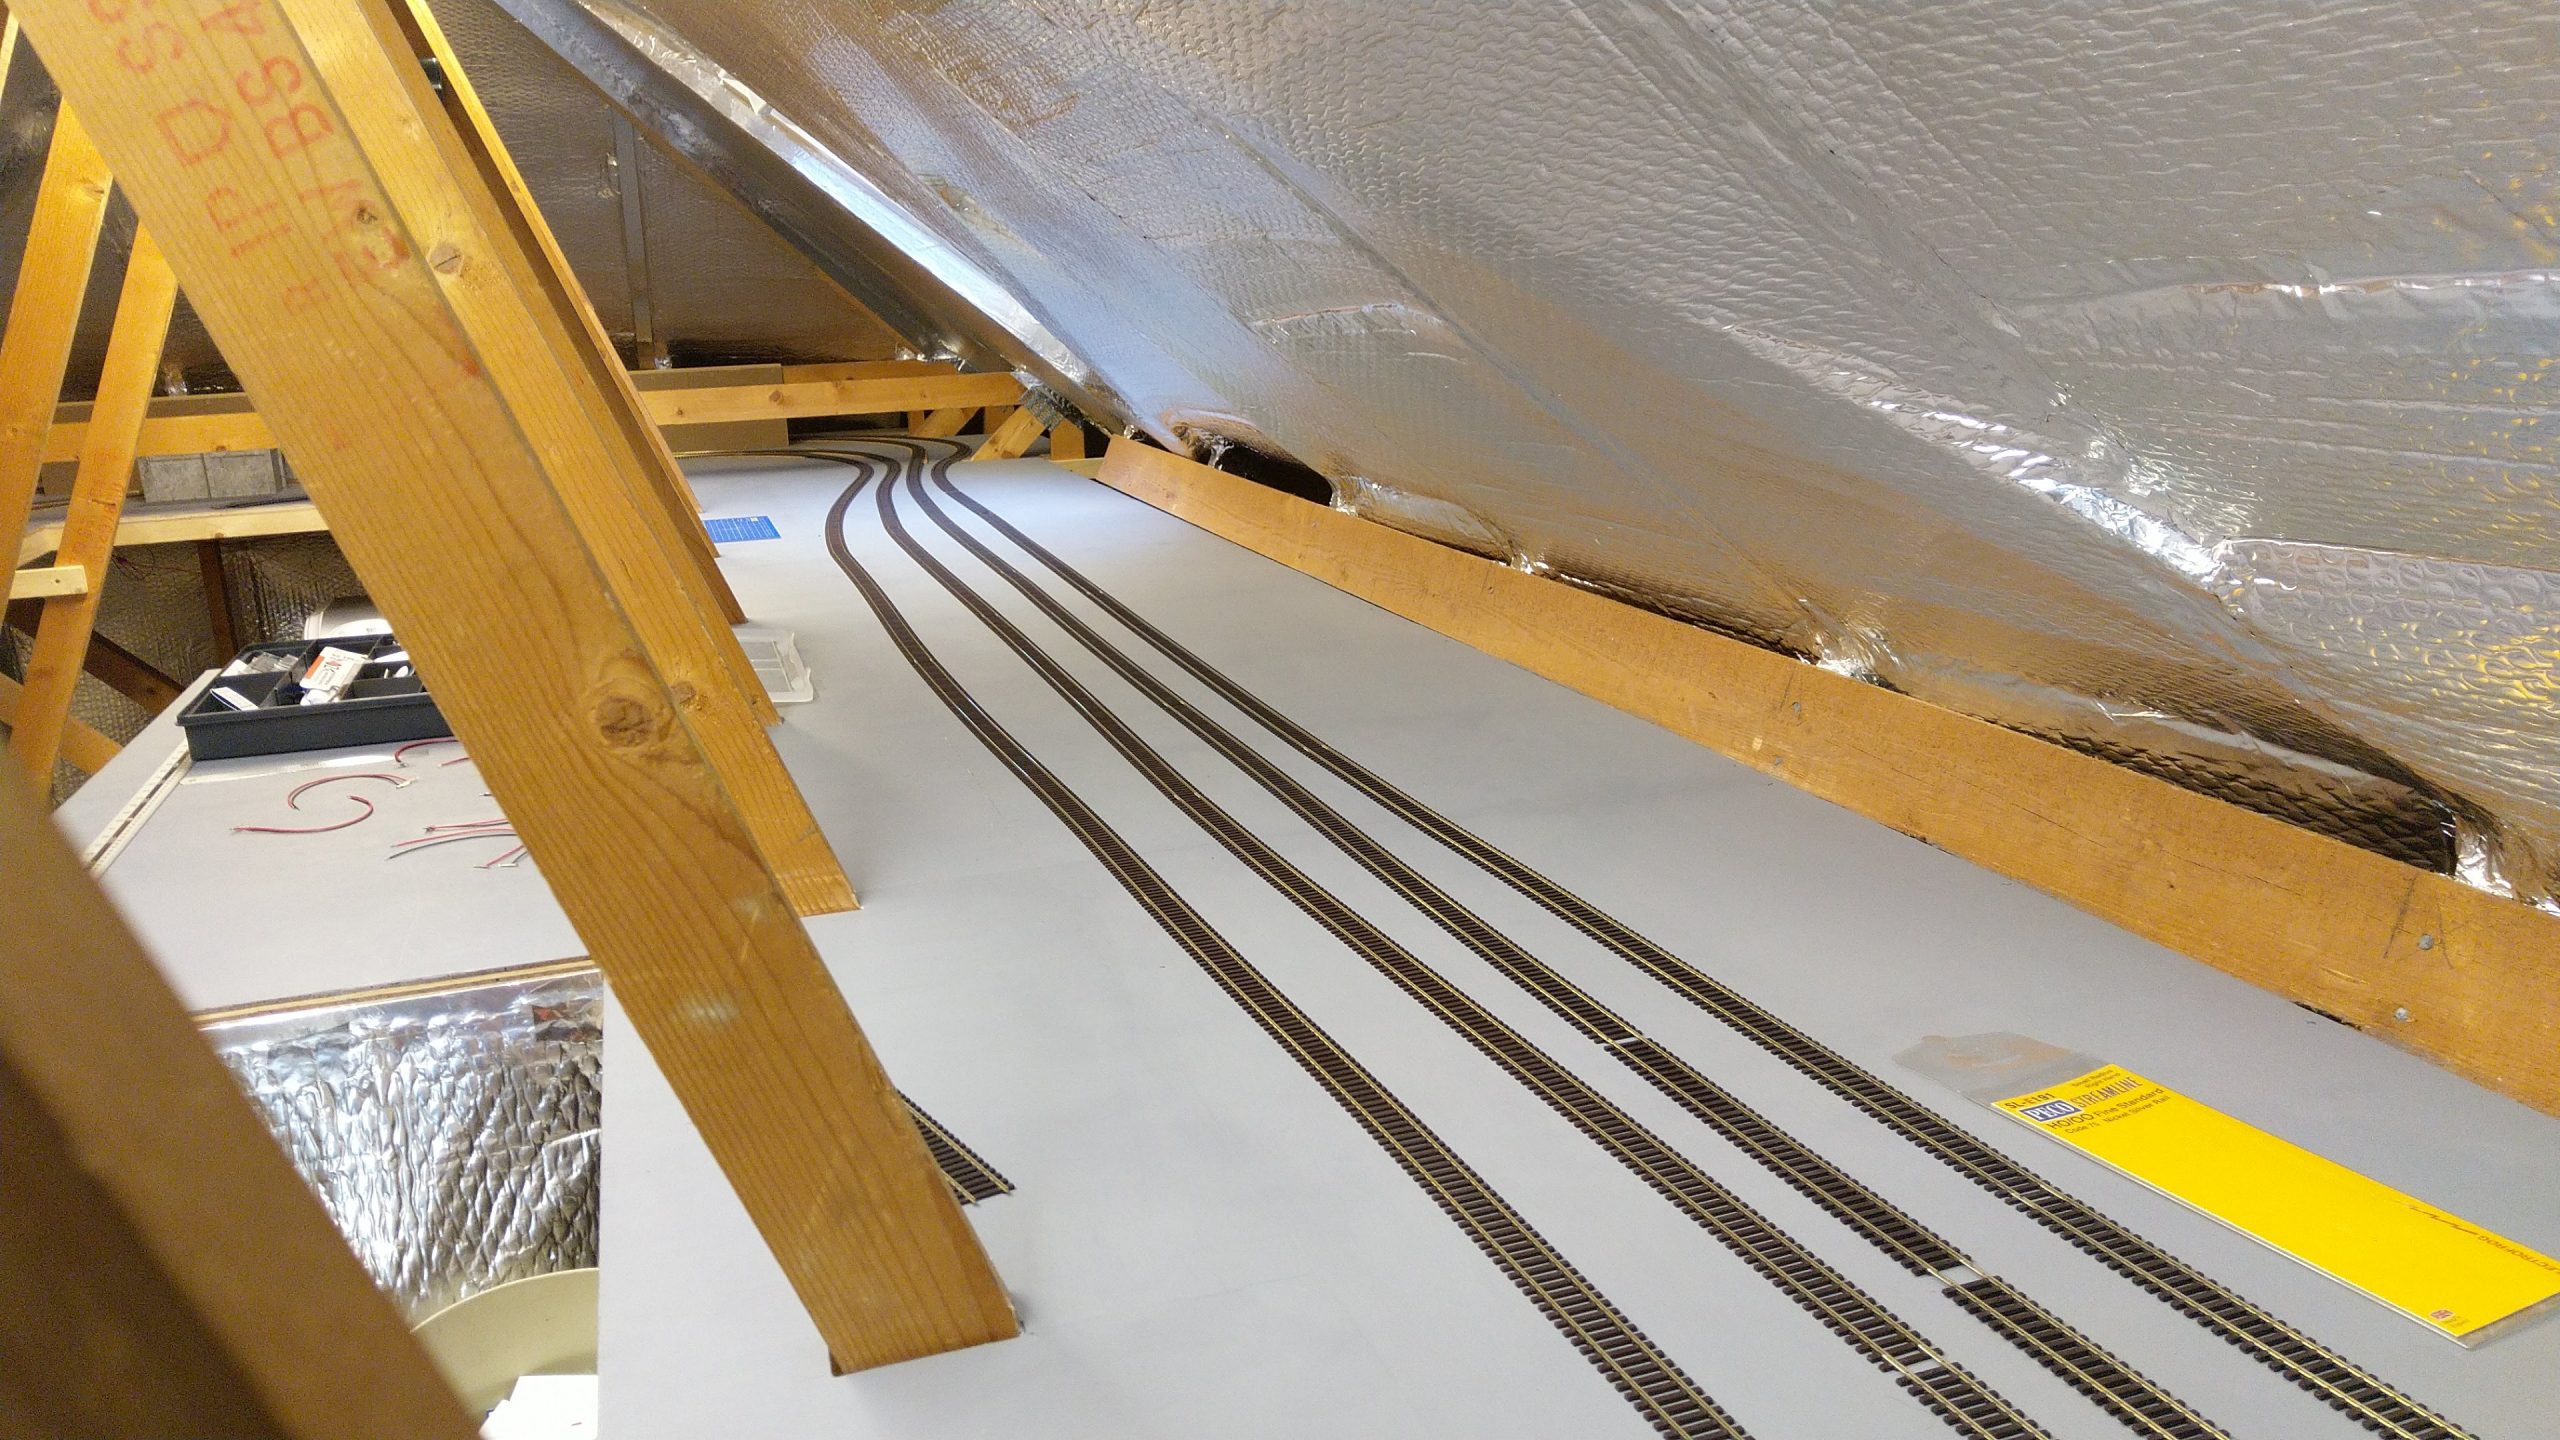
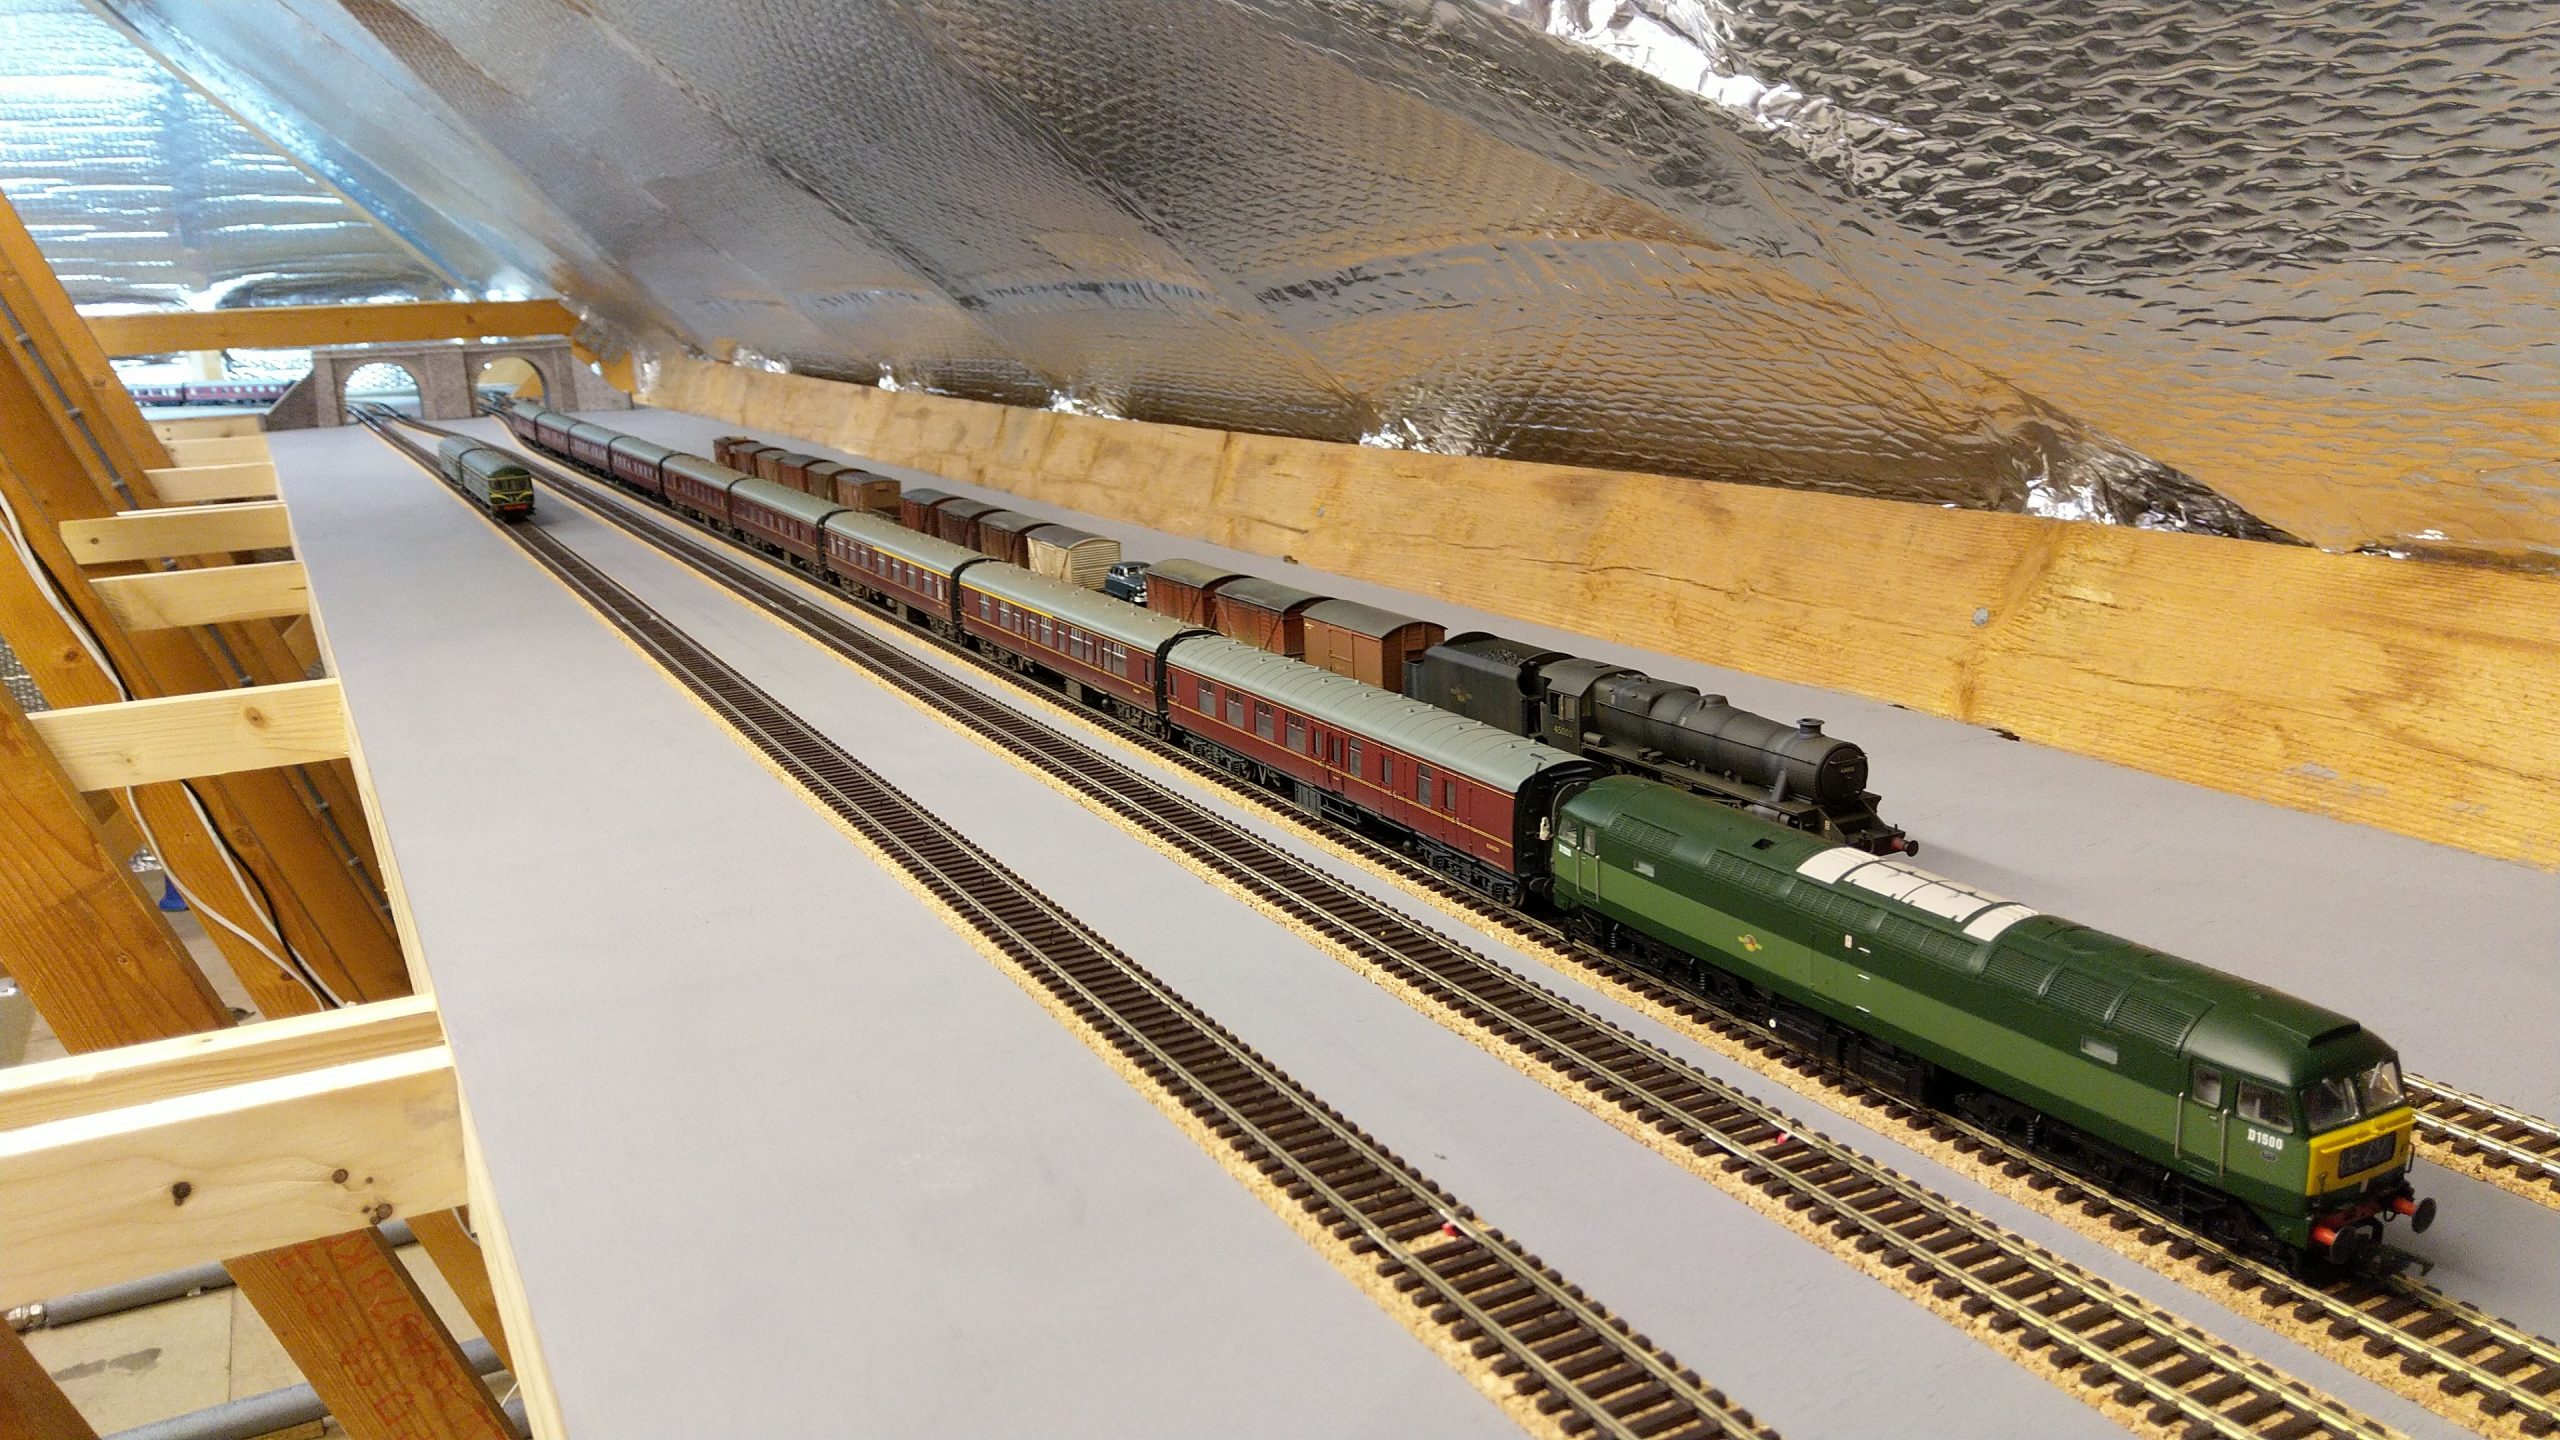
I then started laying the track. I used Peco Code 75 Flexi track with electrofrog points laid on 3mm cork strips that came in a roll. I will be using the same on my new layout. I laid one end behind the main baseboards in an unsuccessful effort to create enough space for an MPD (engine shed & yard). This meant I was finally able to get trains running!
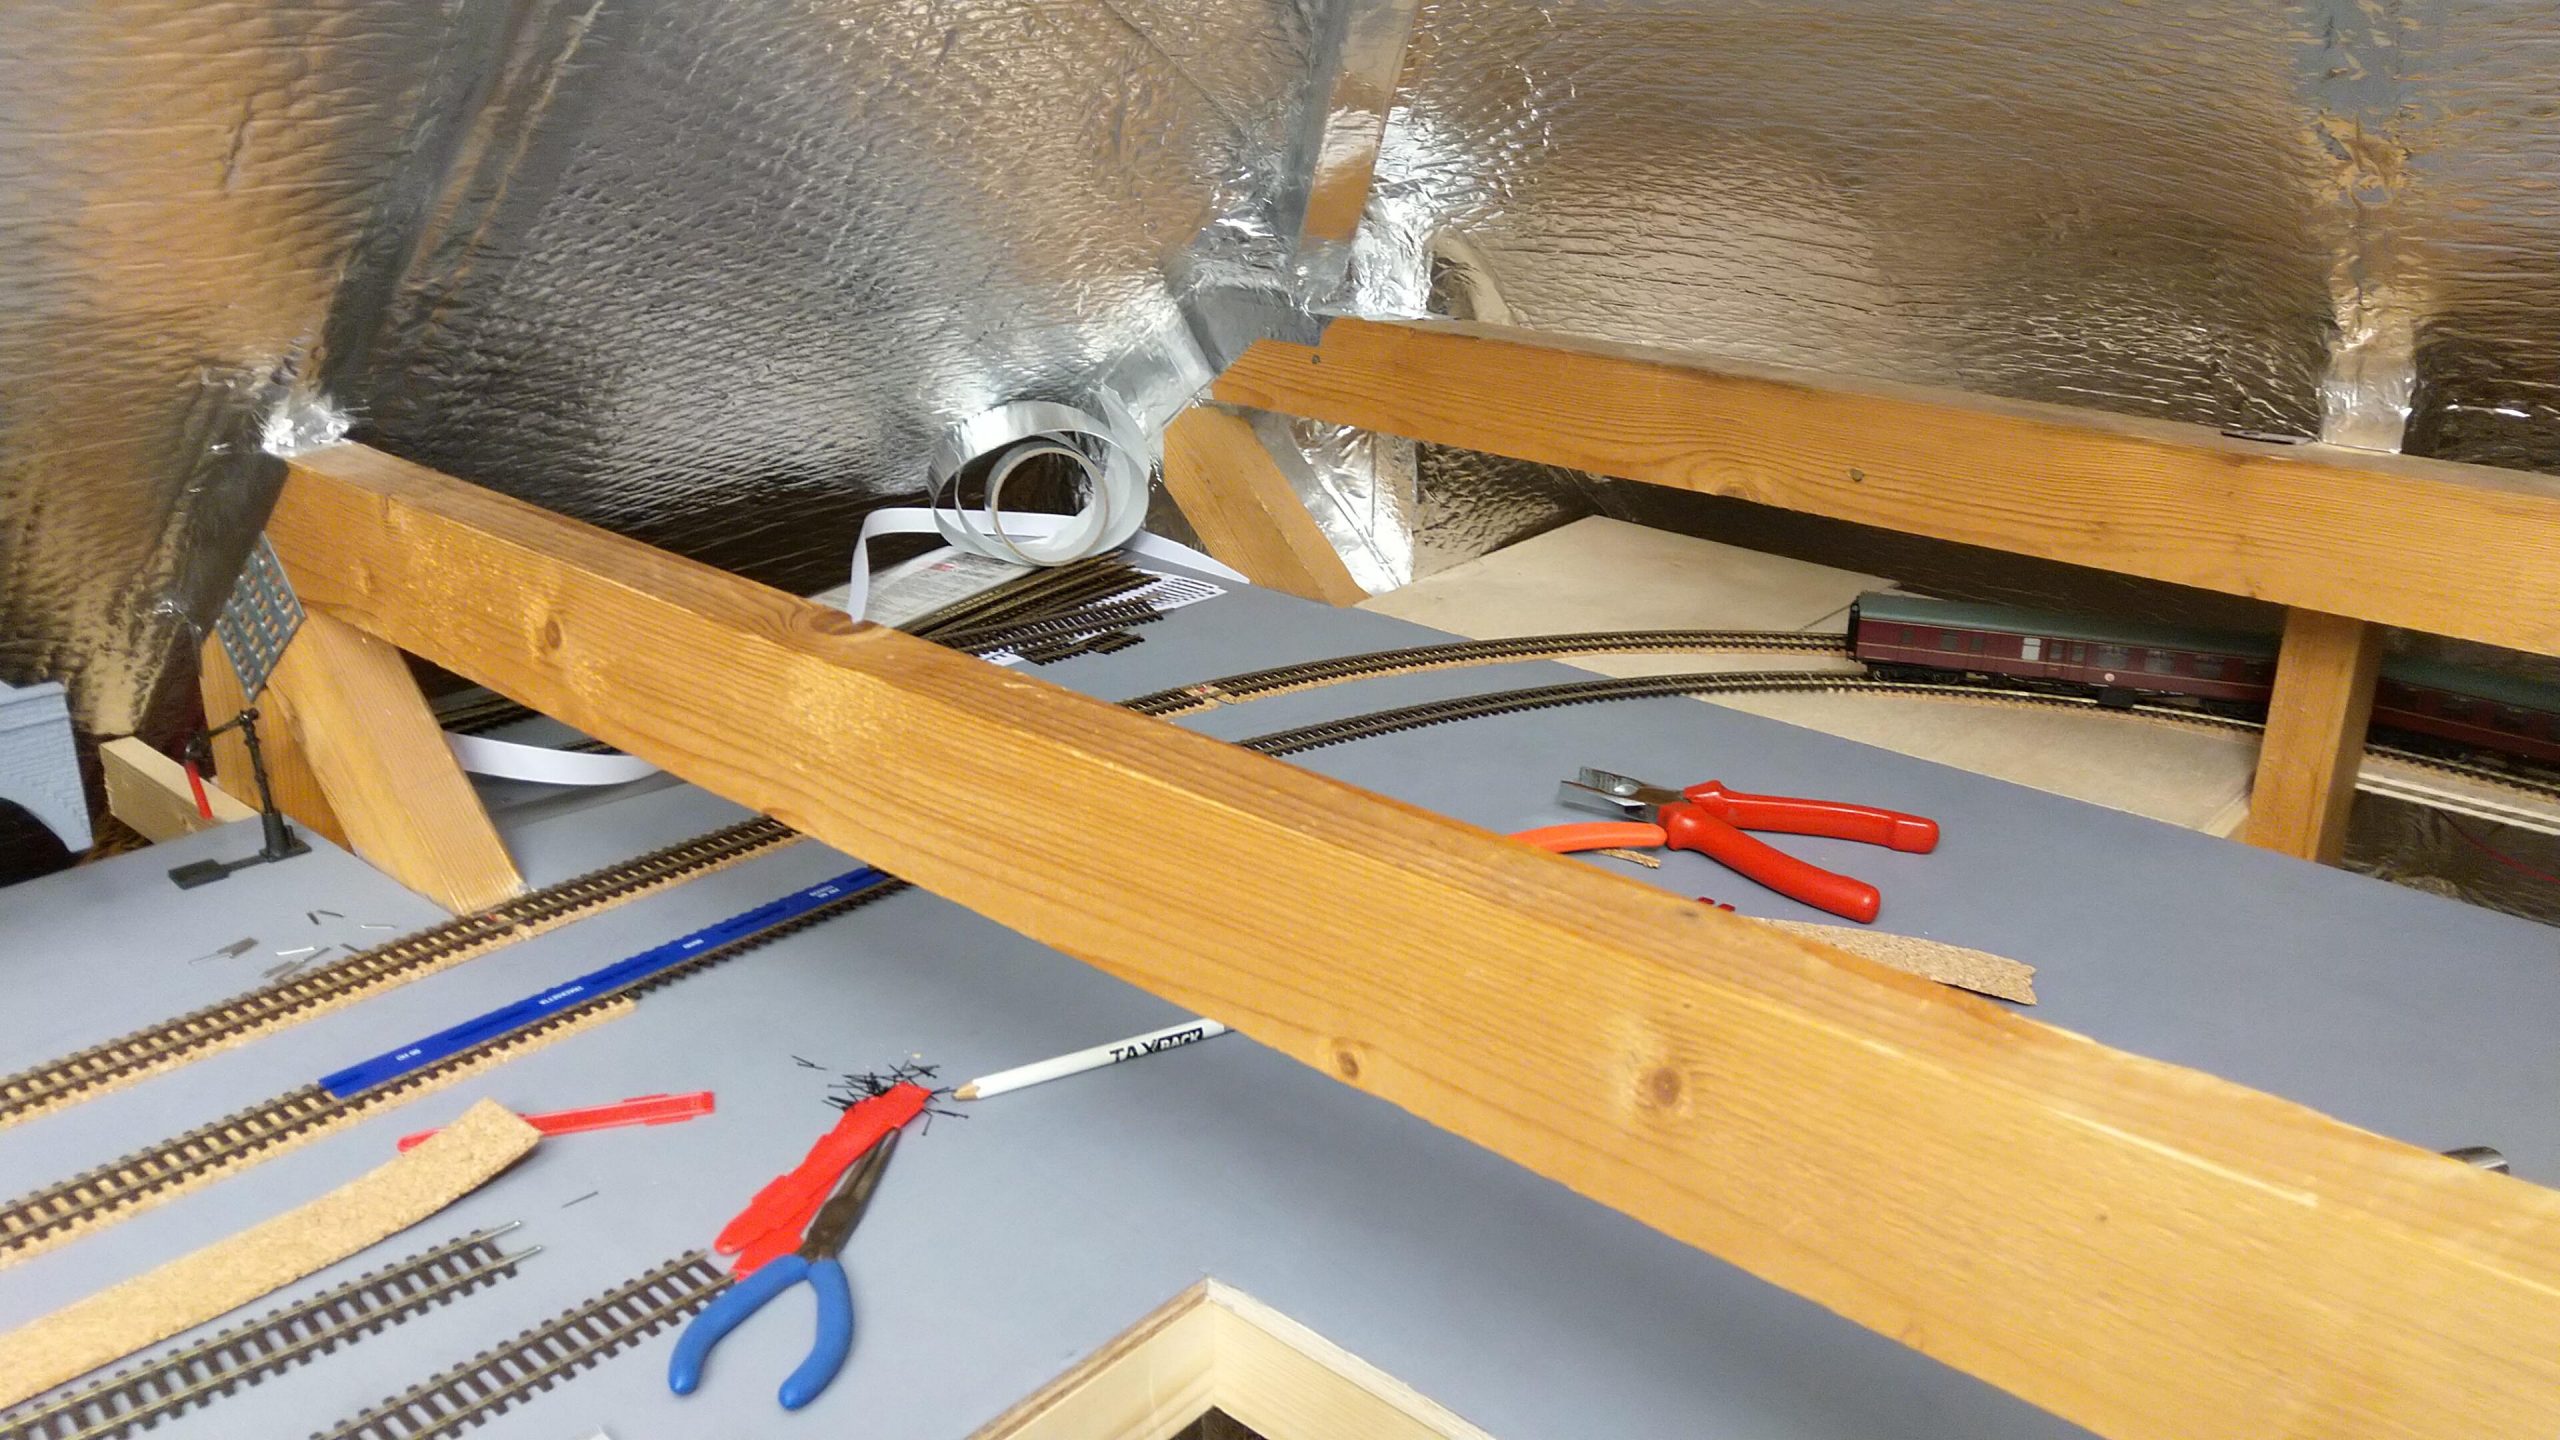

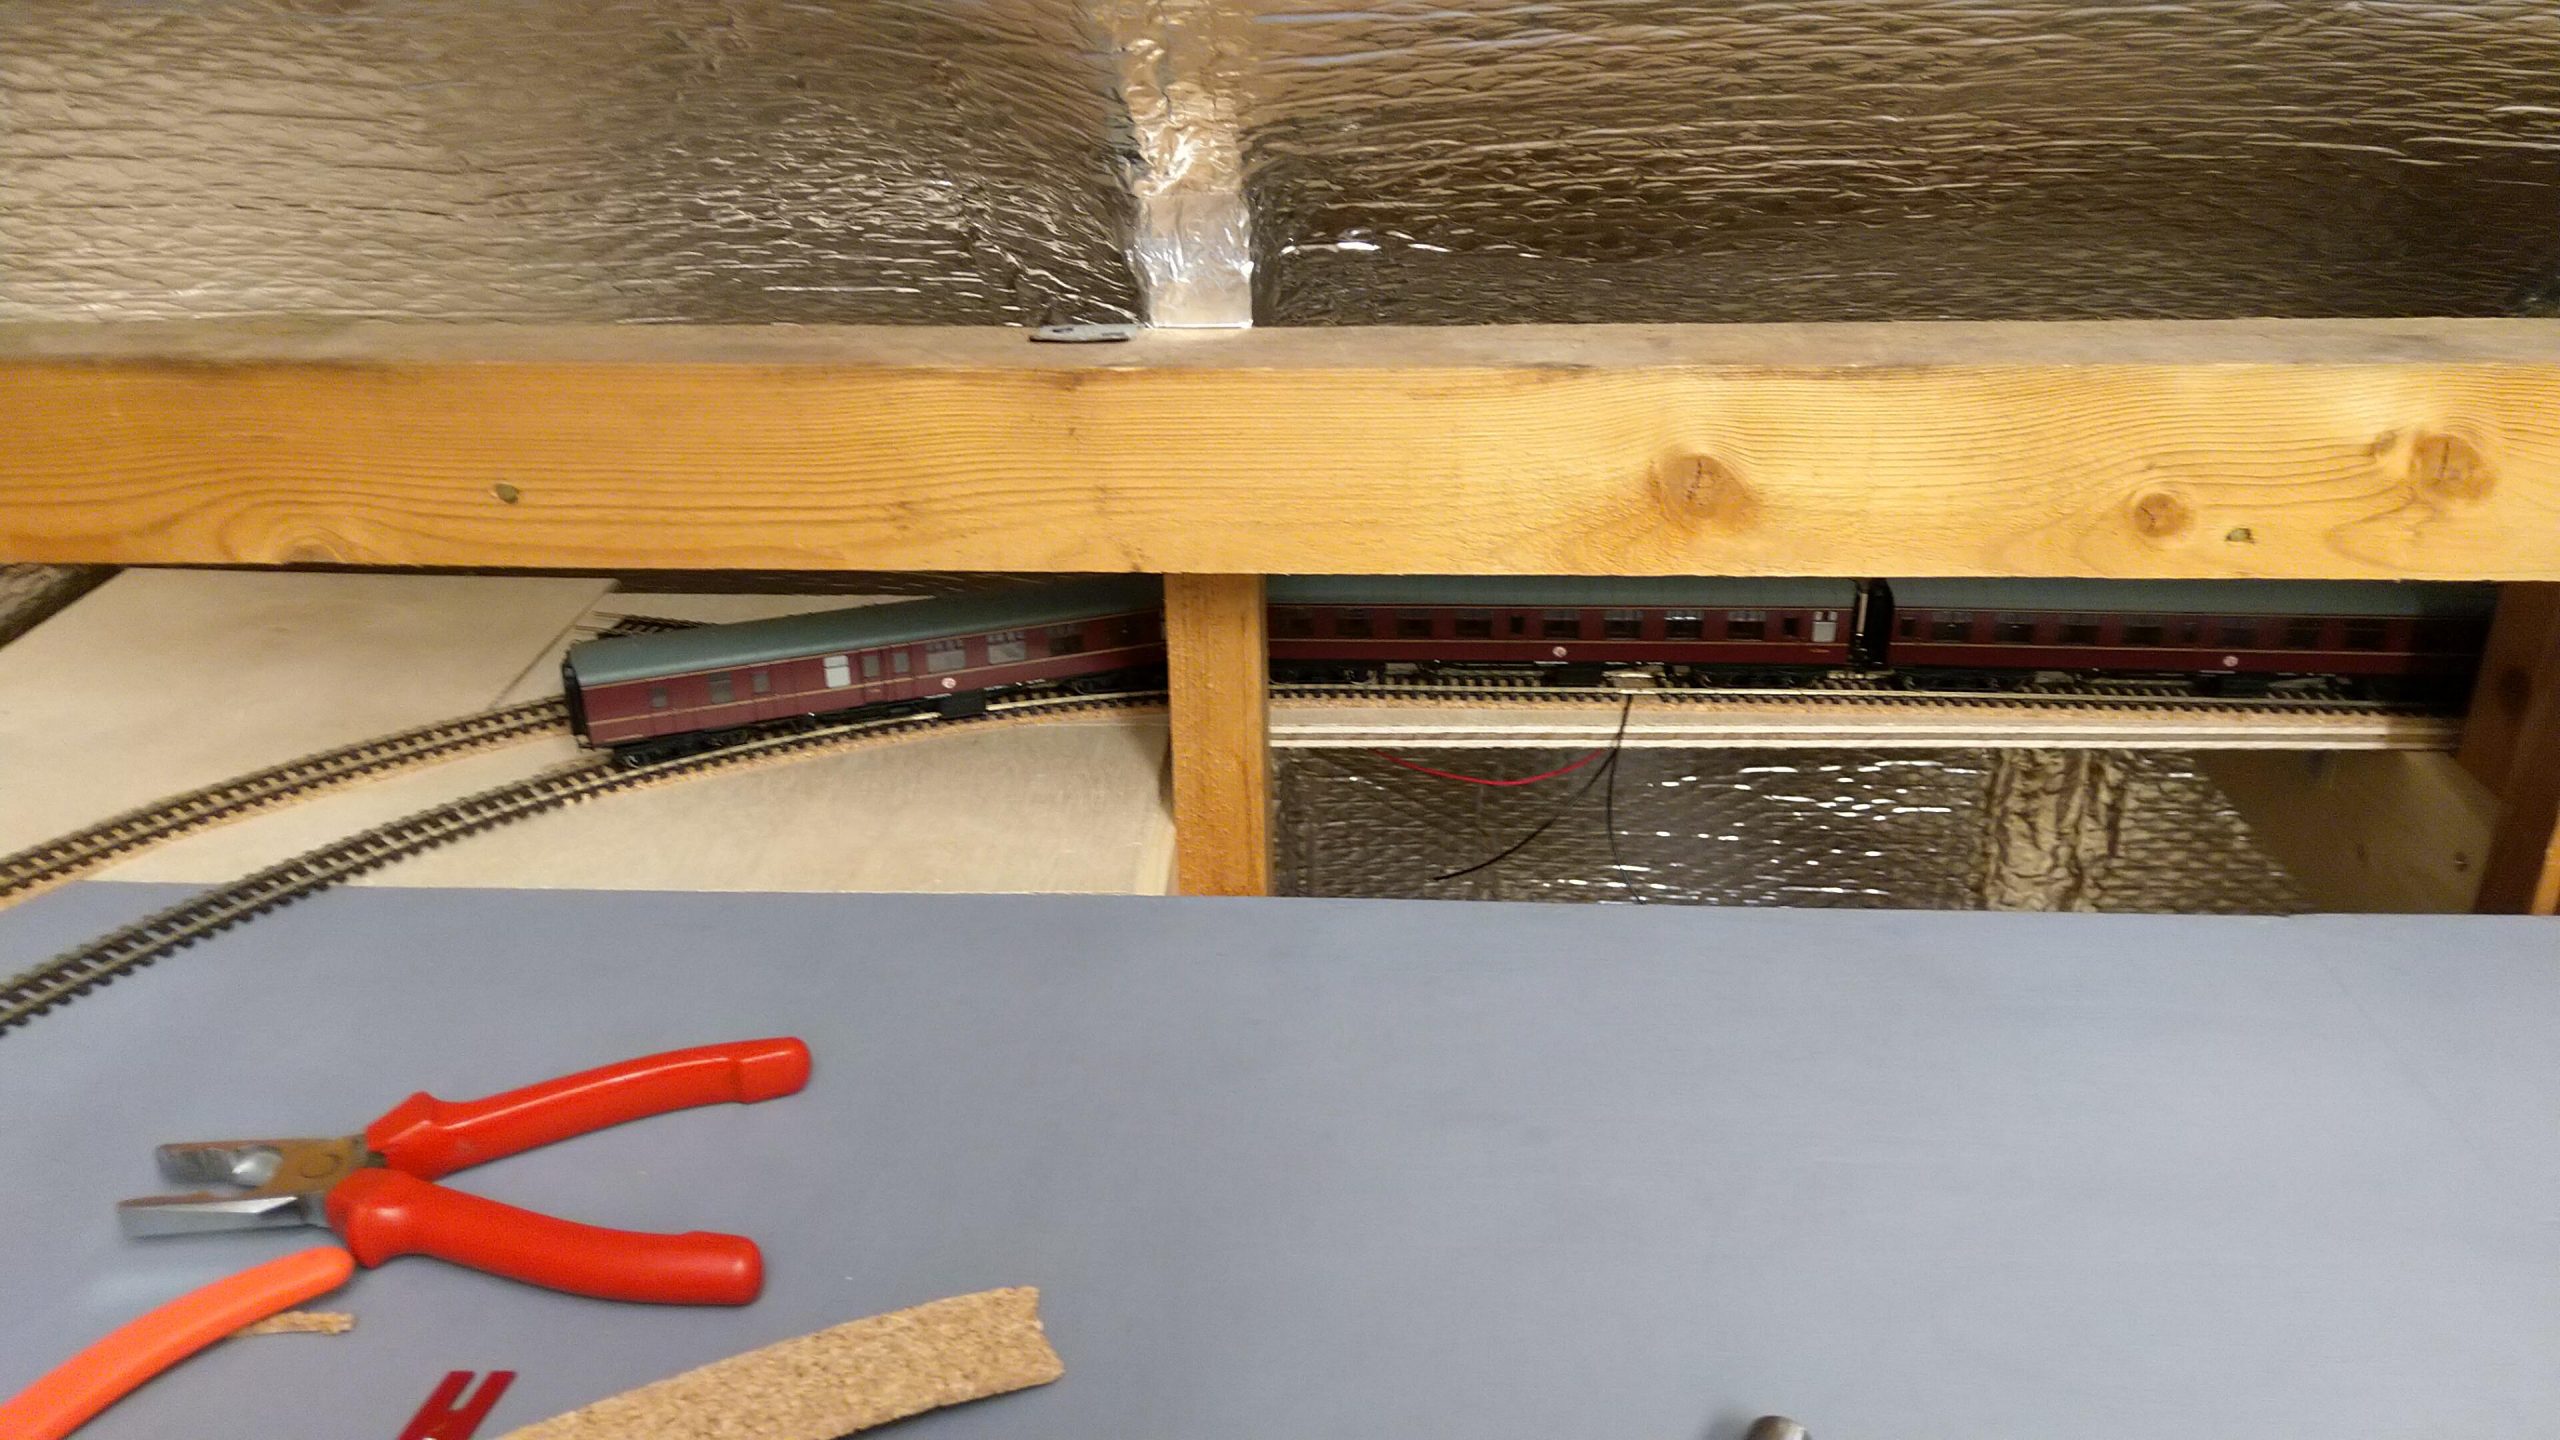
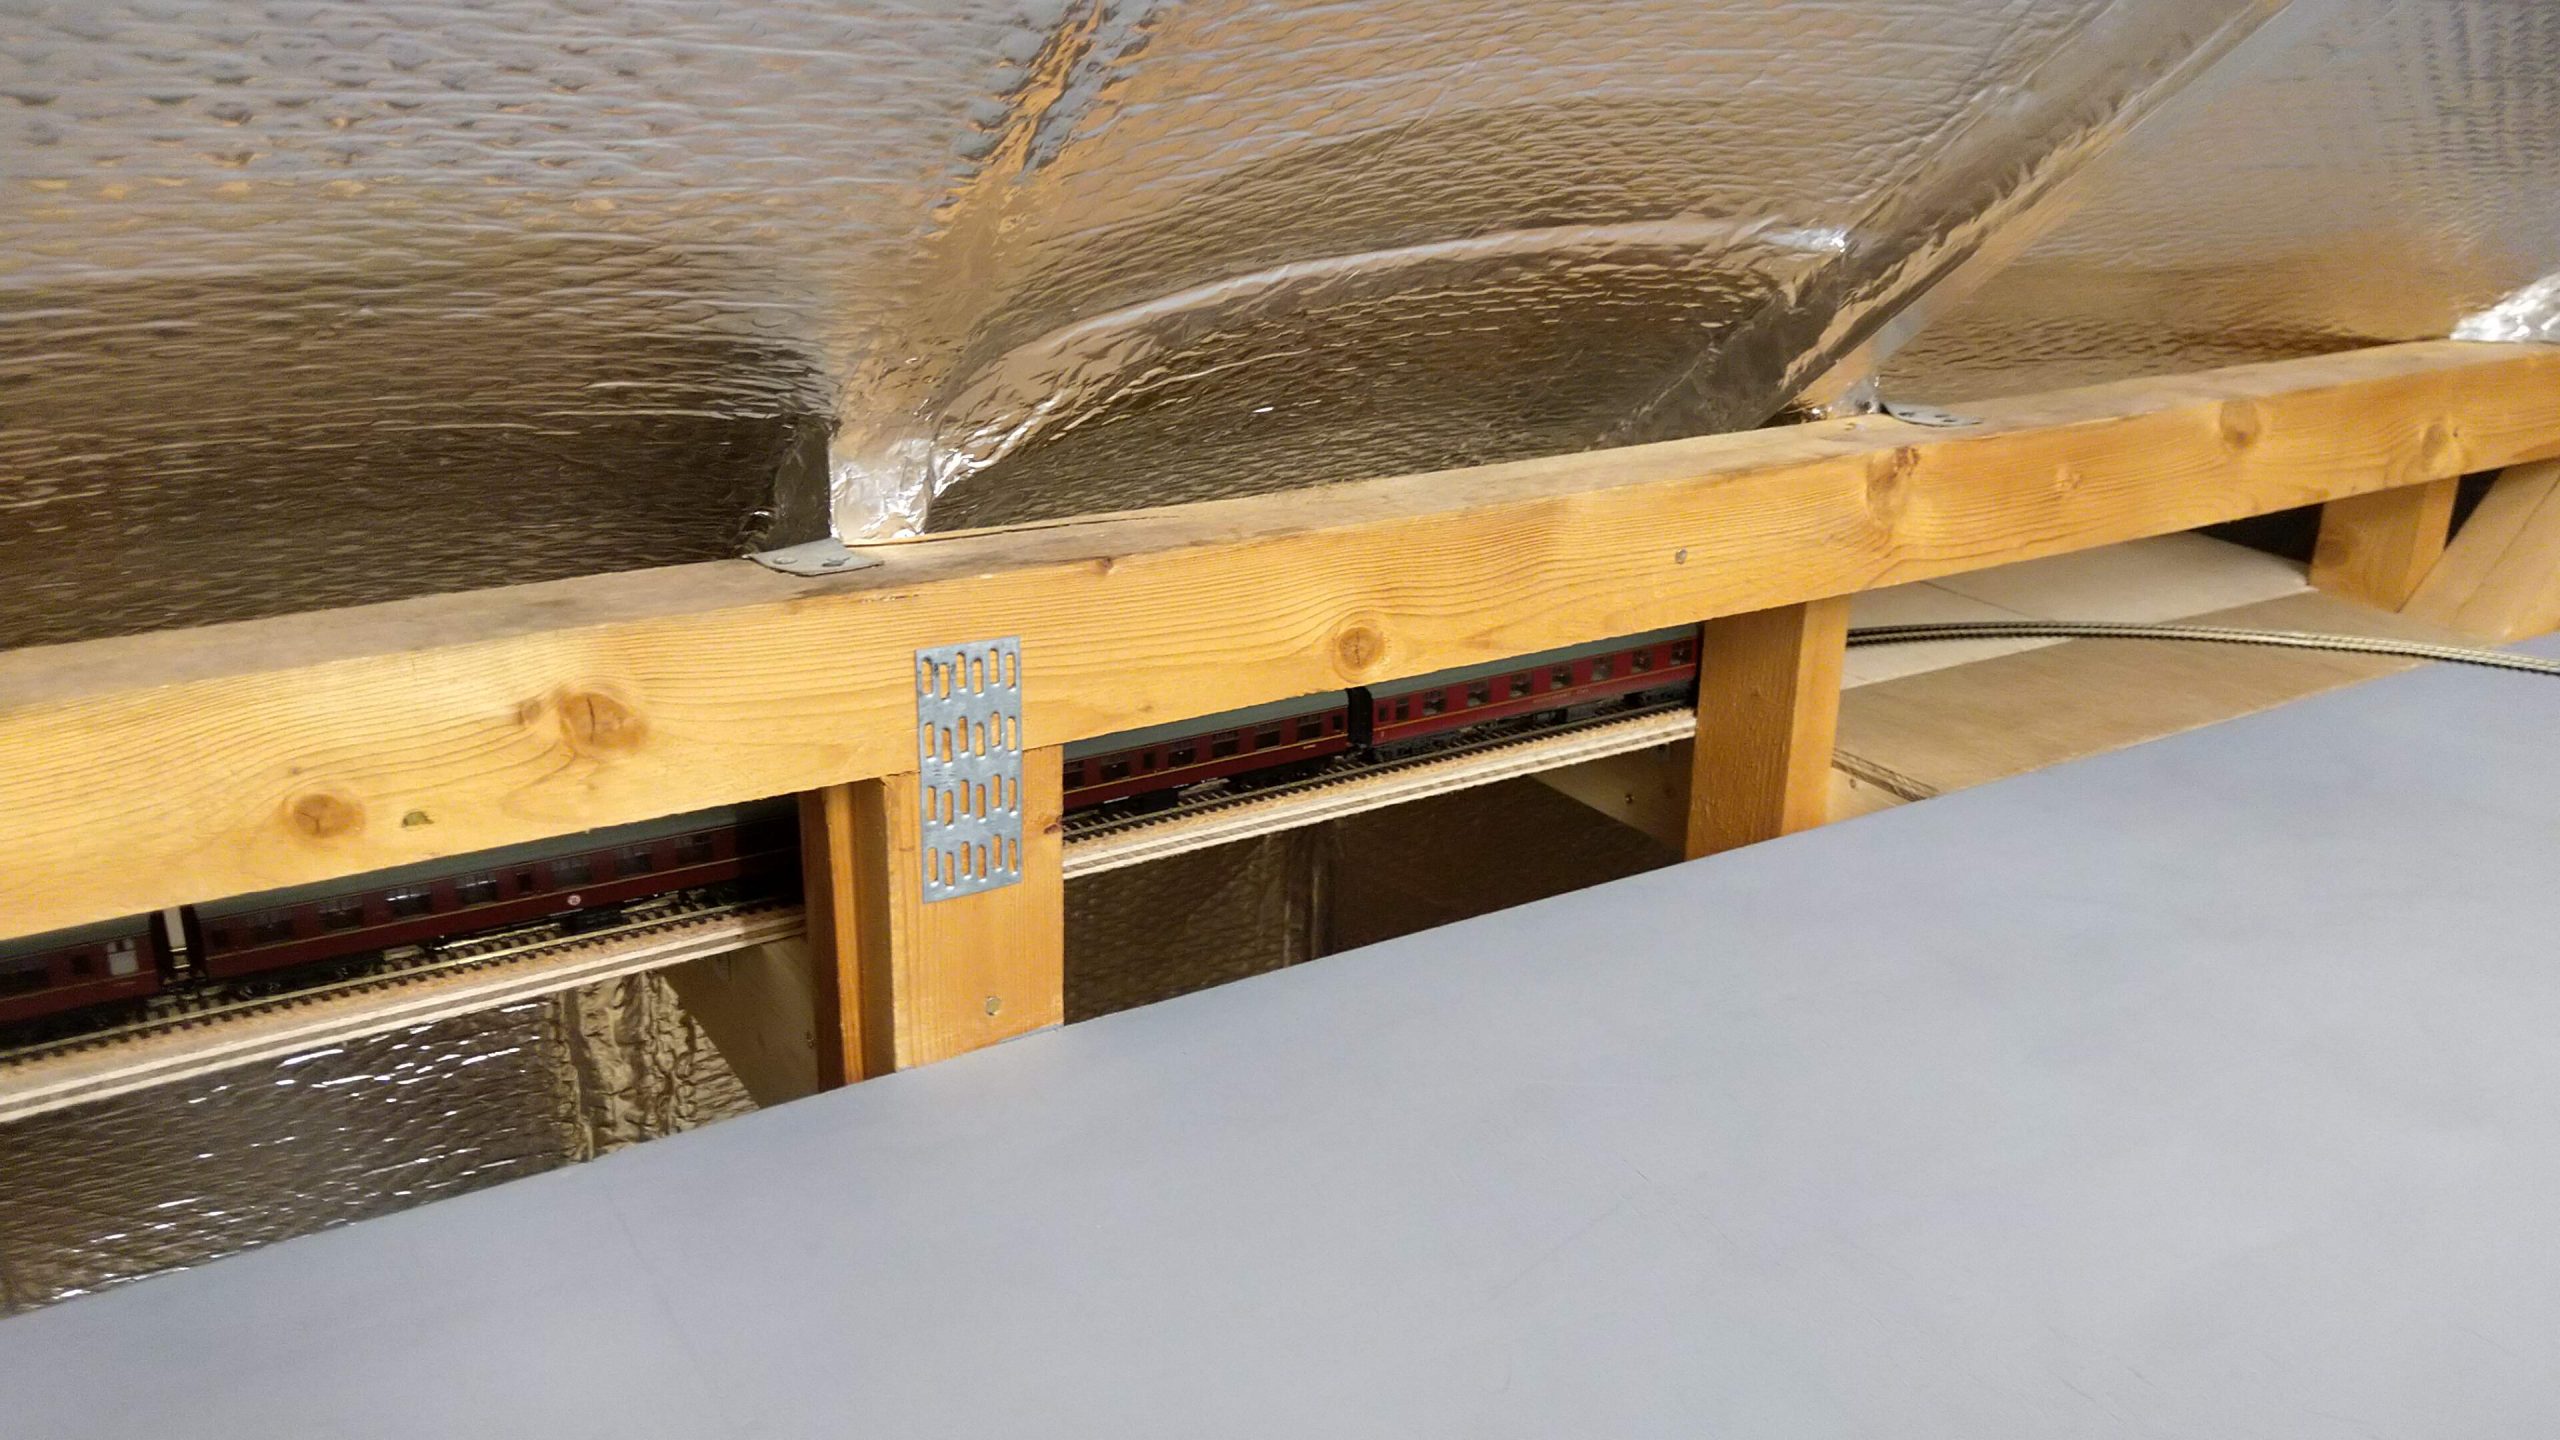
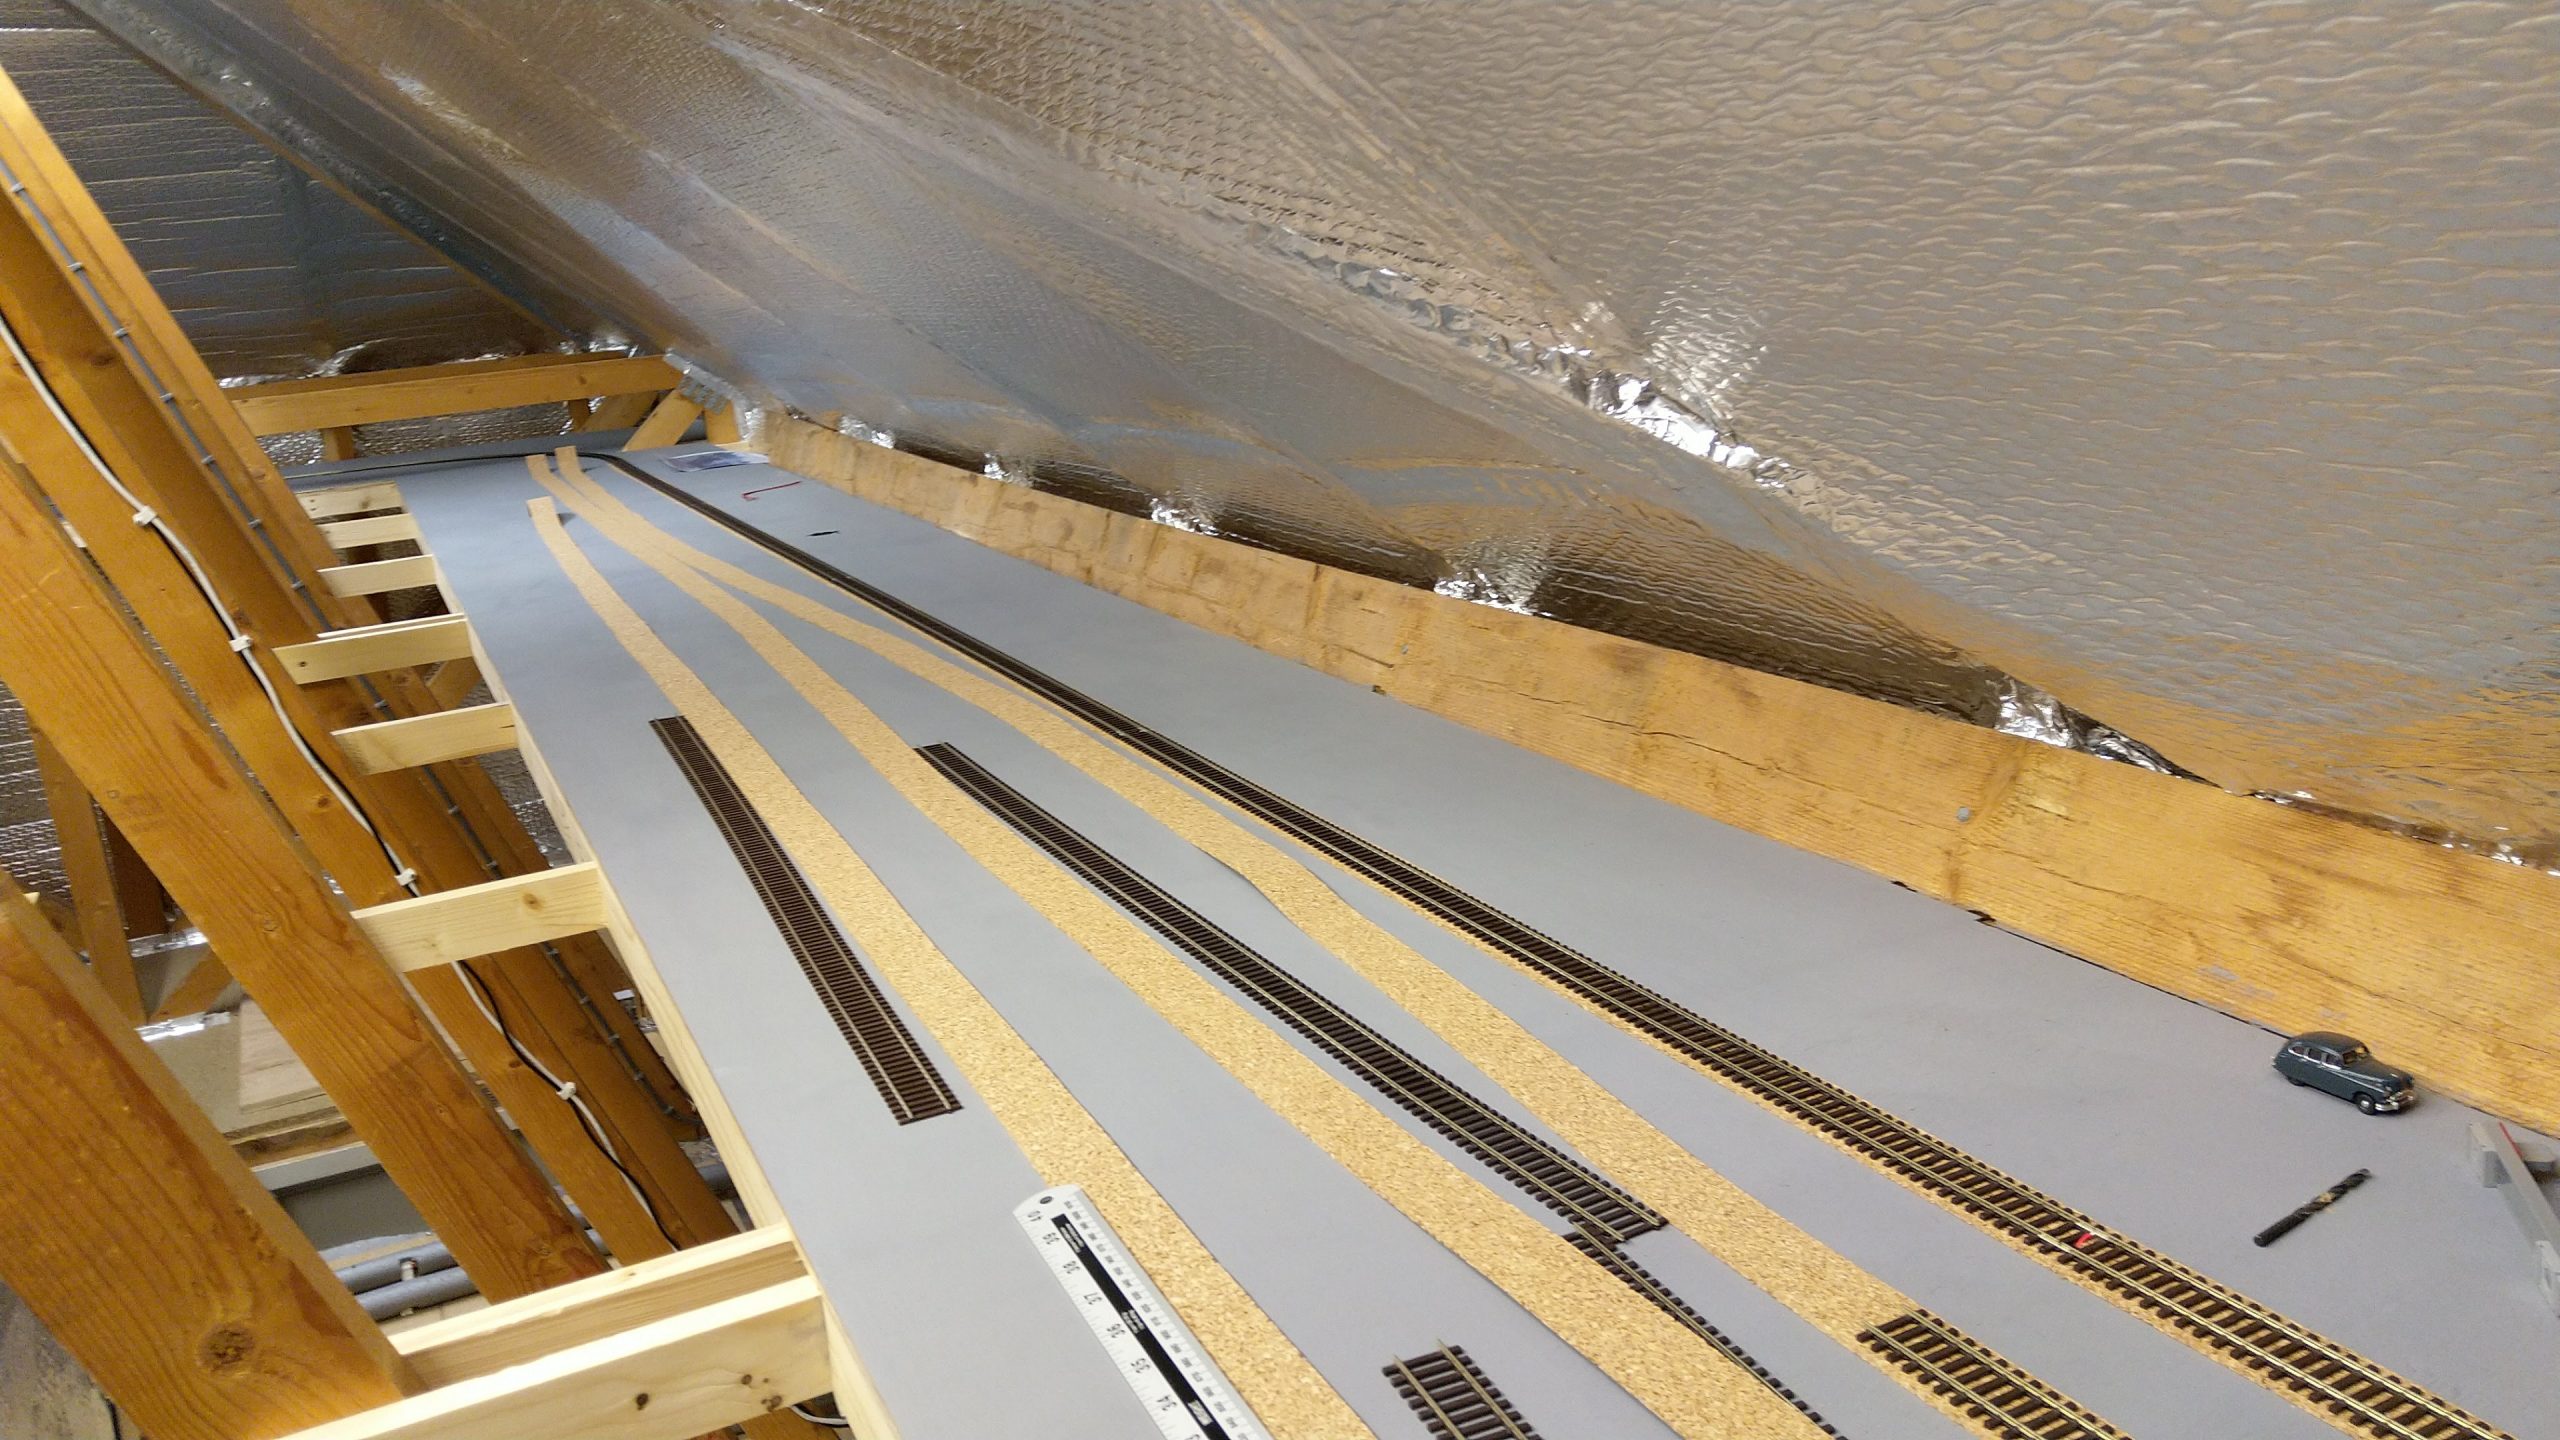
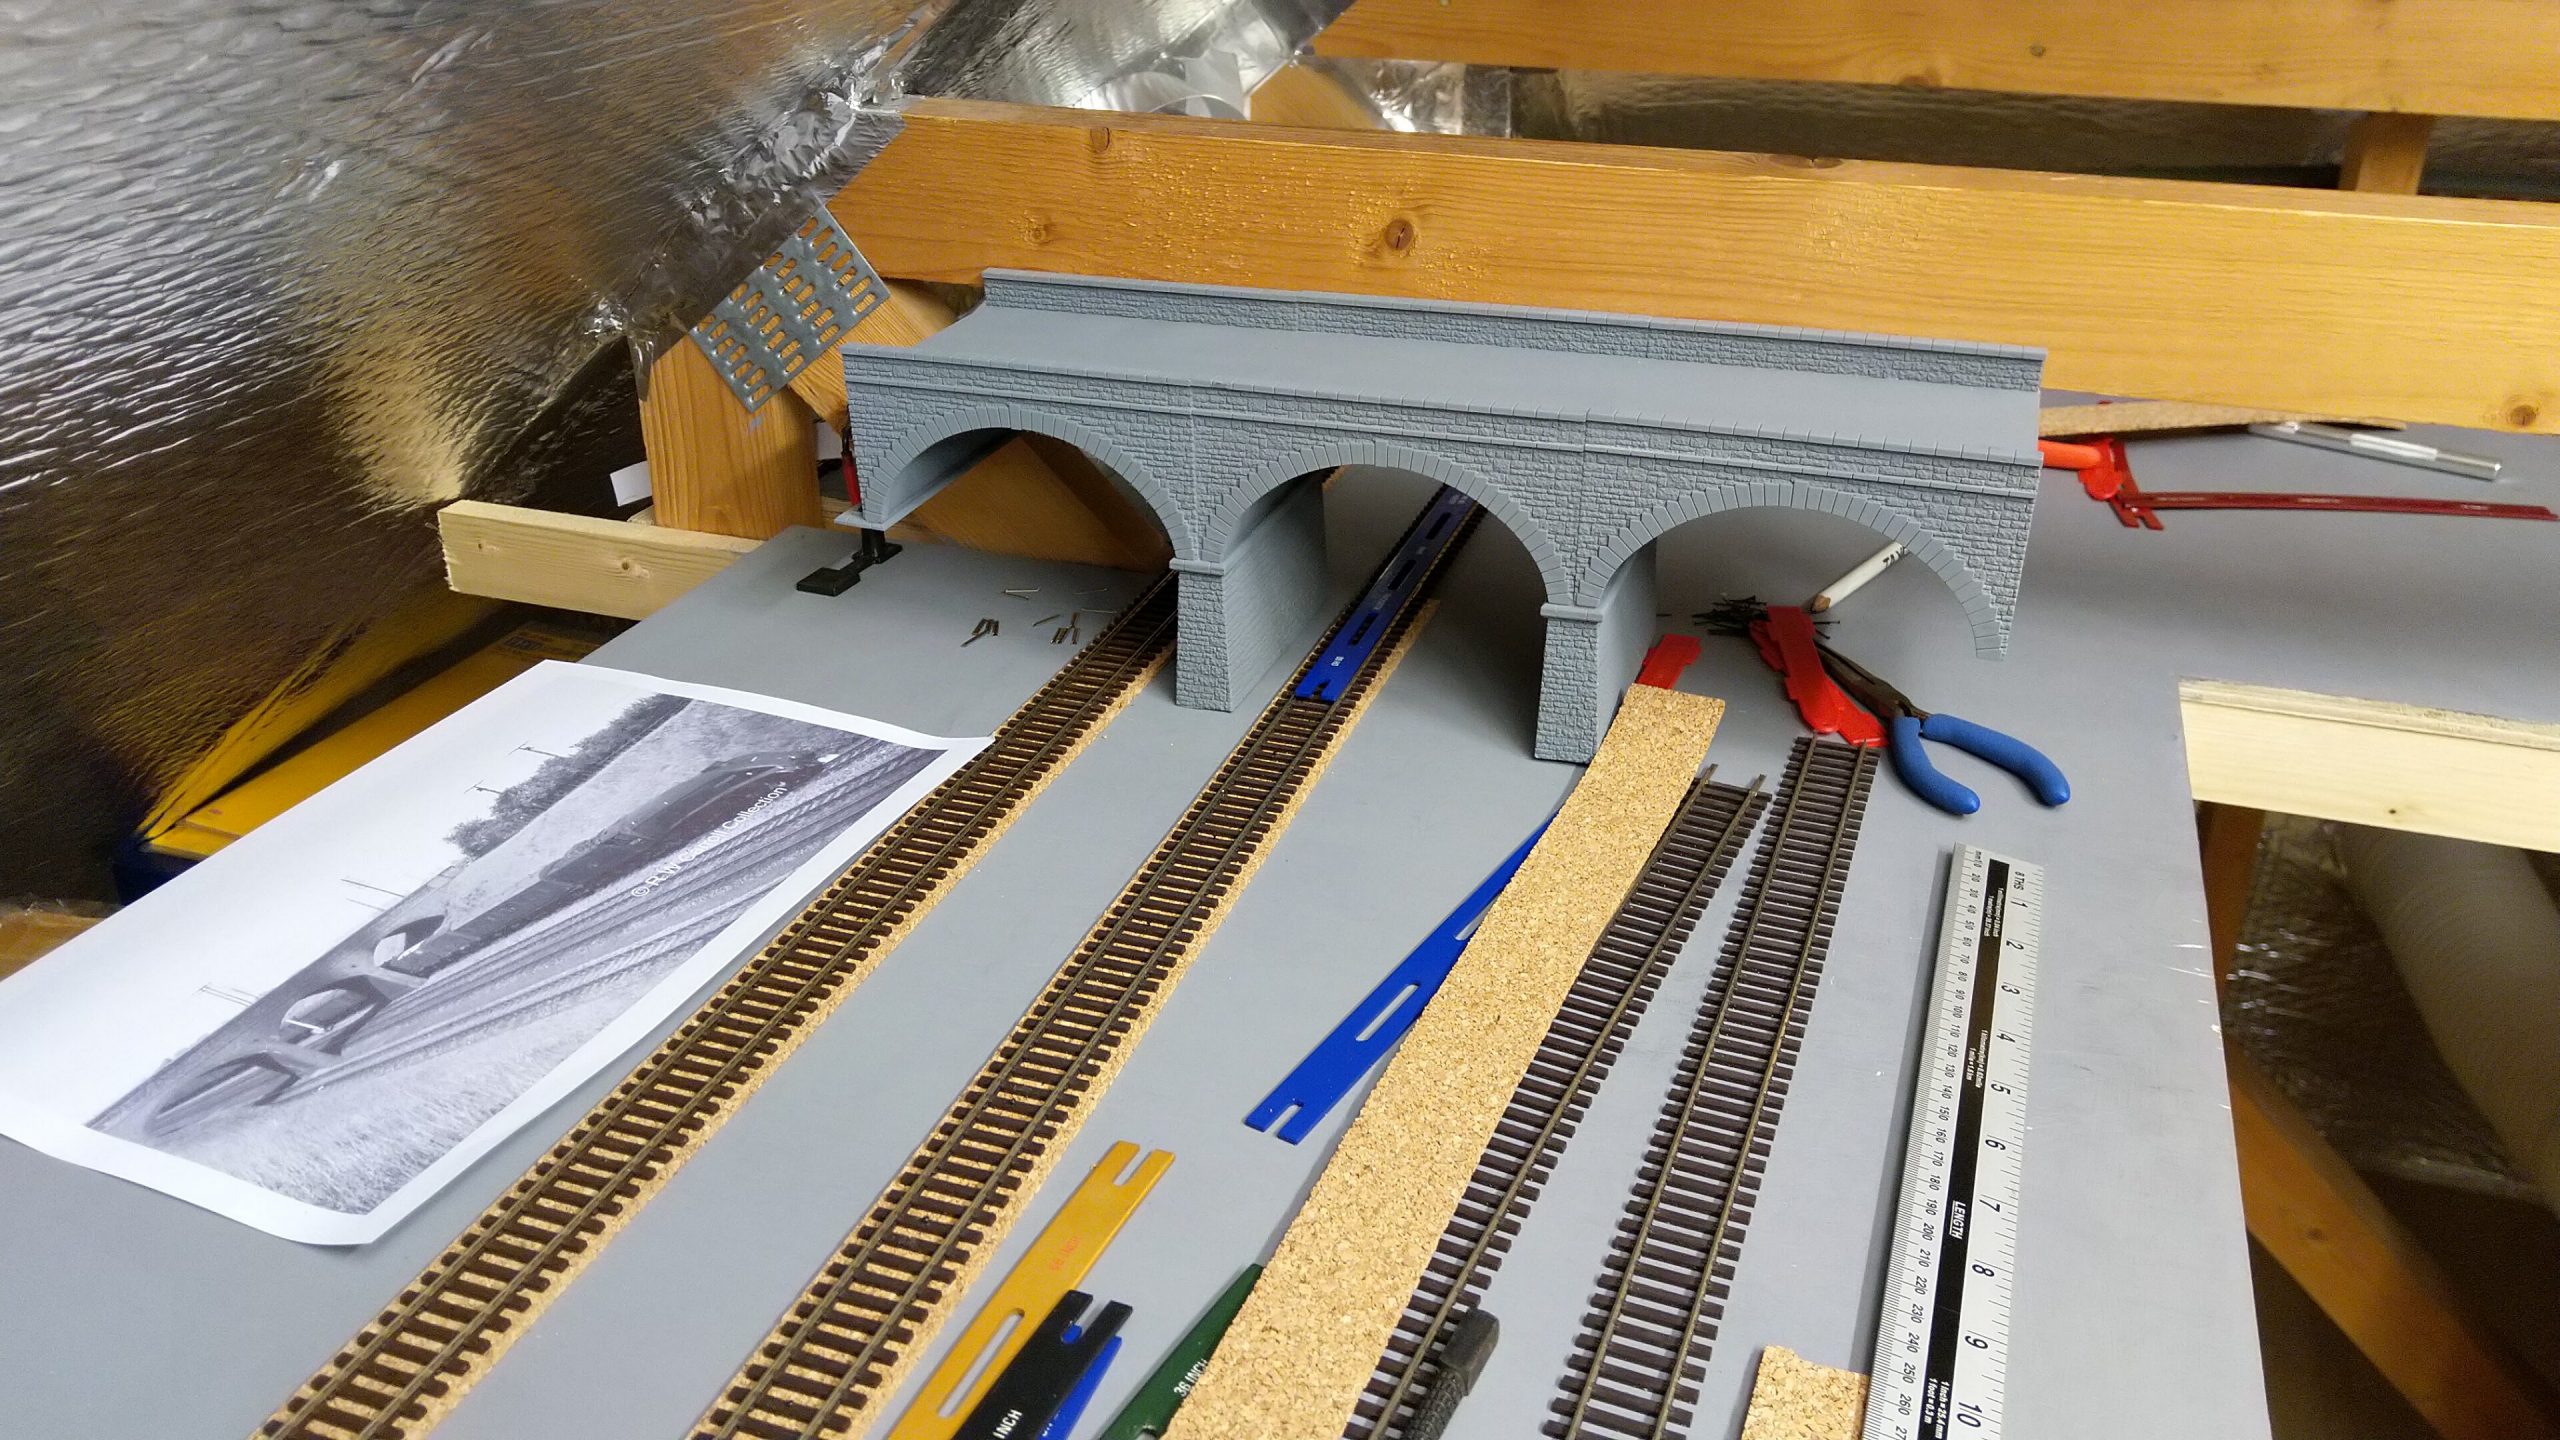
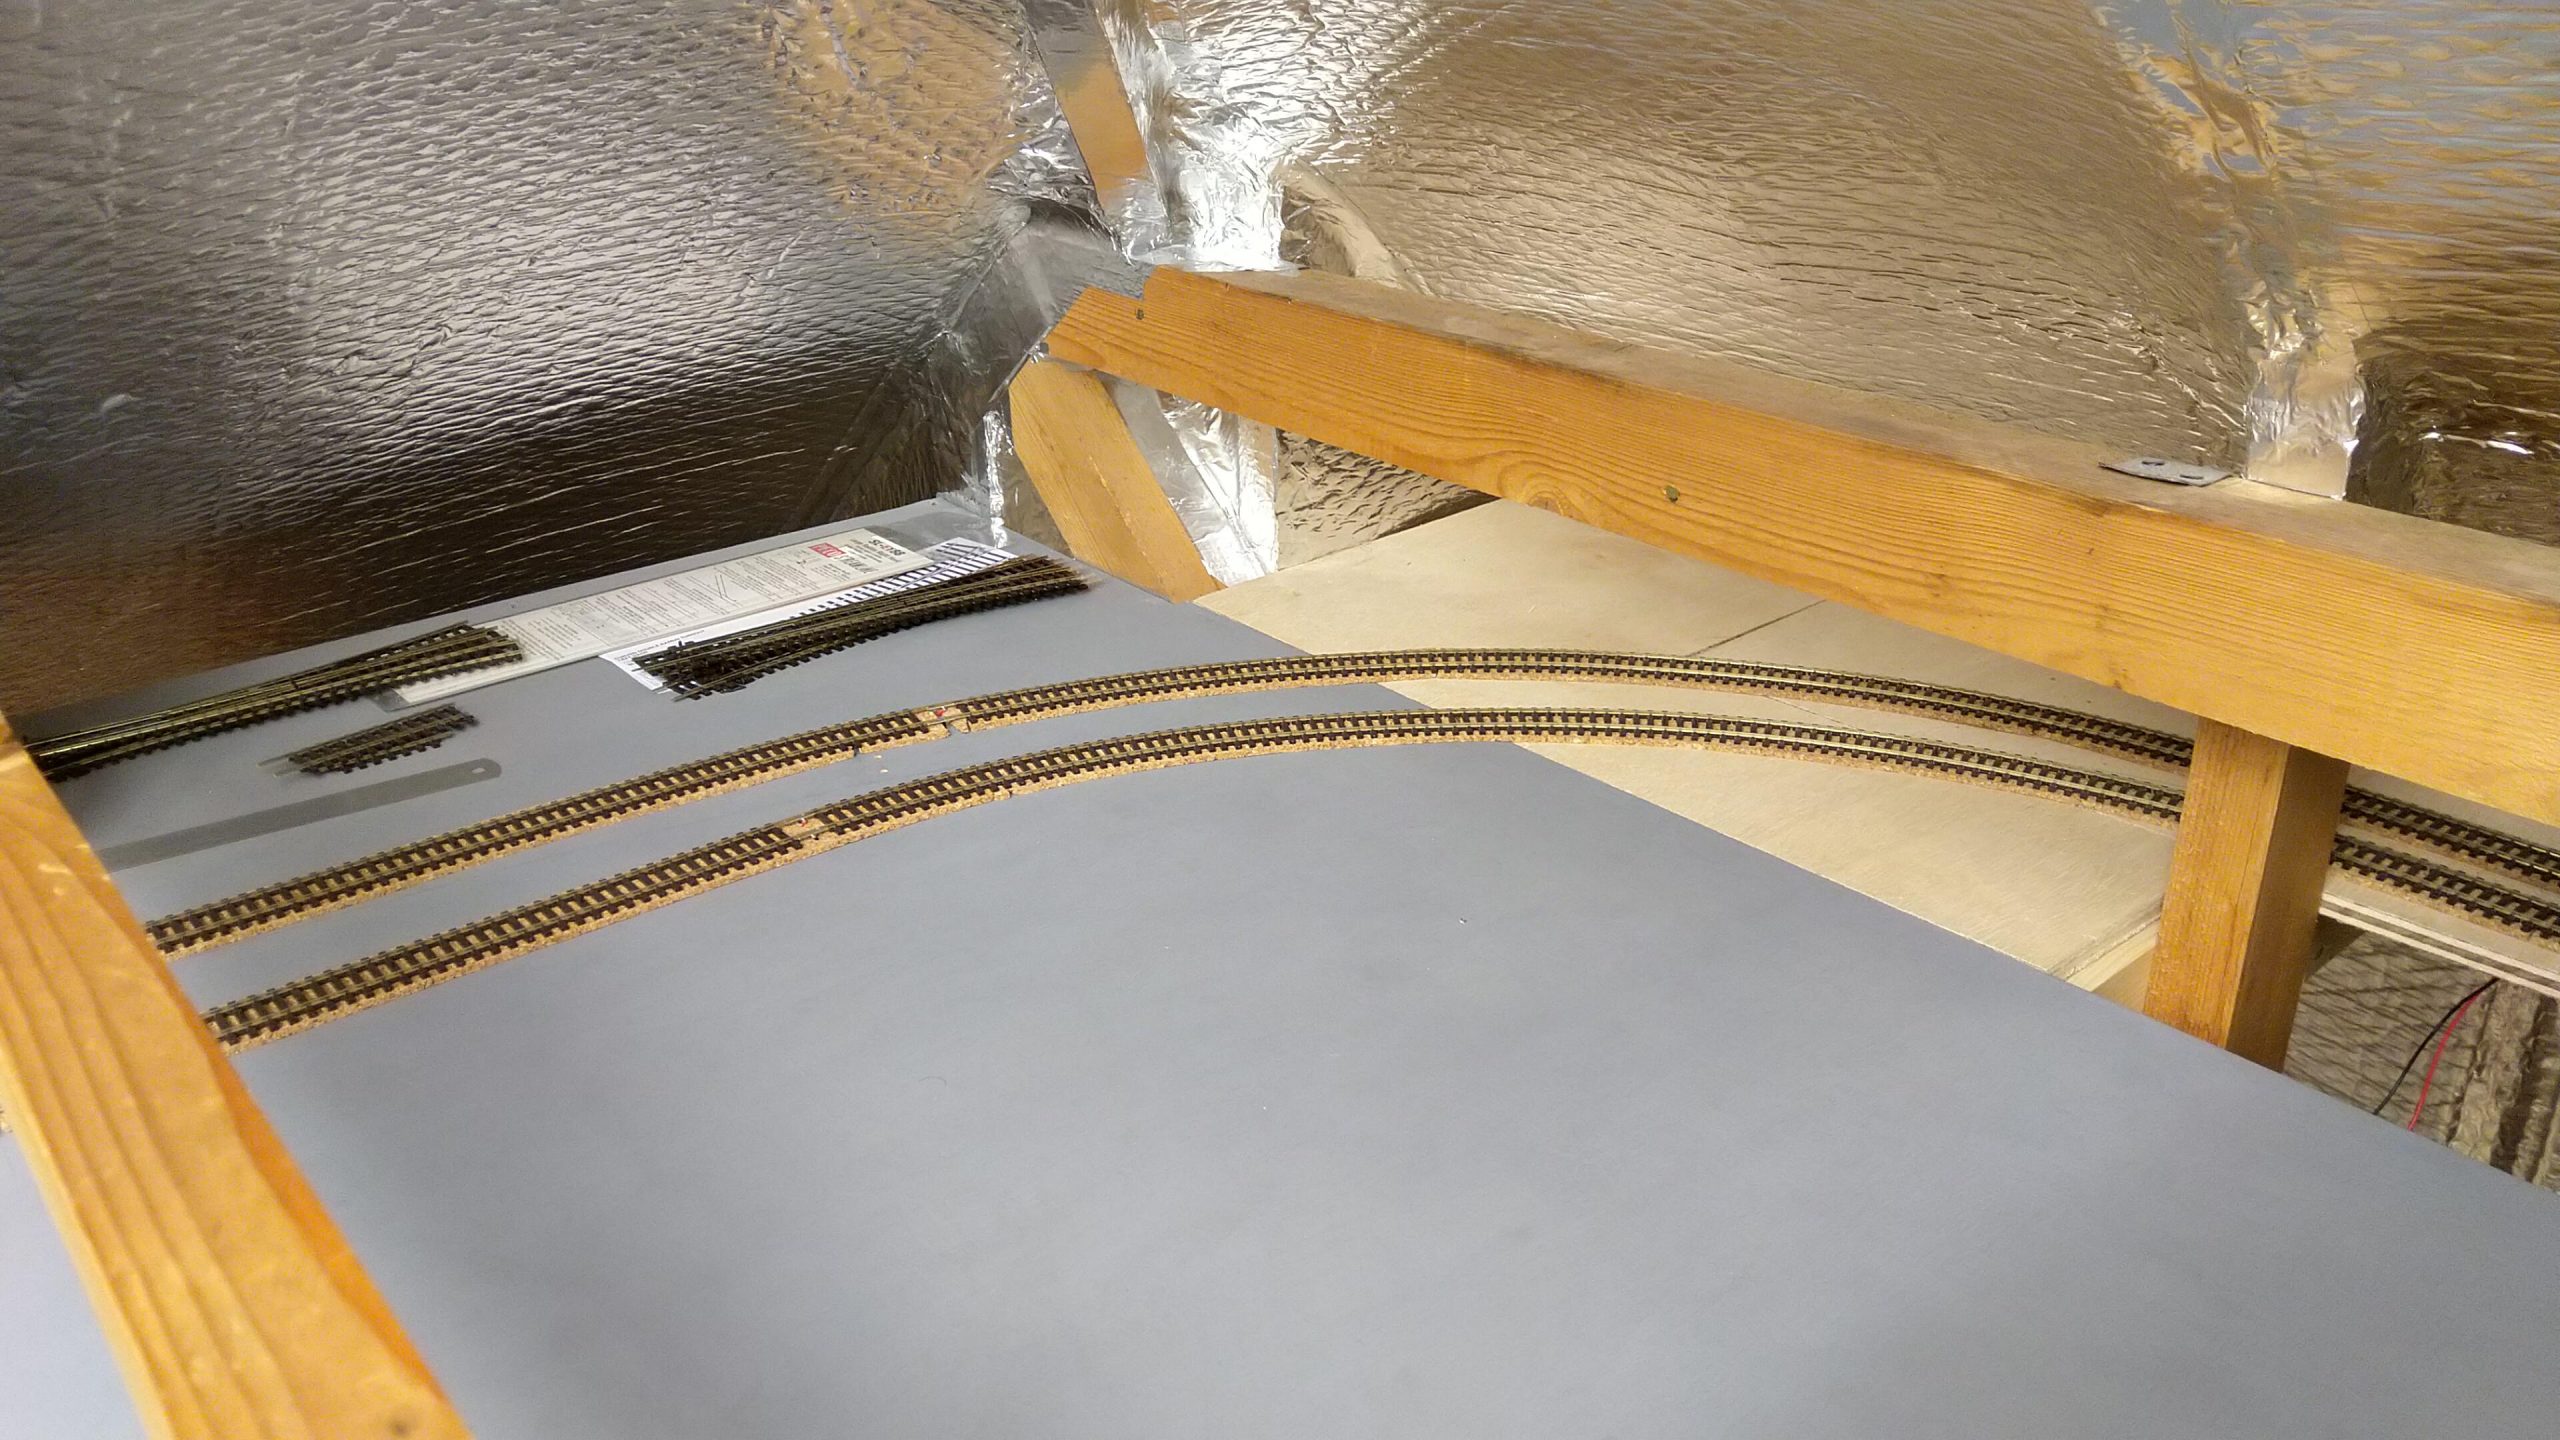
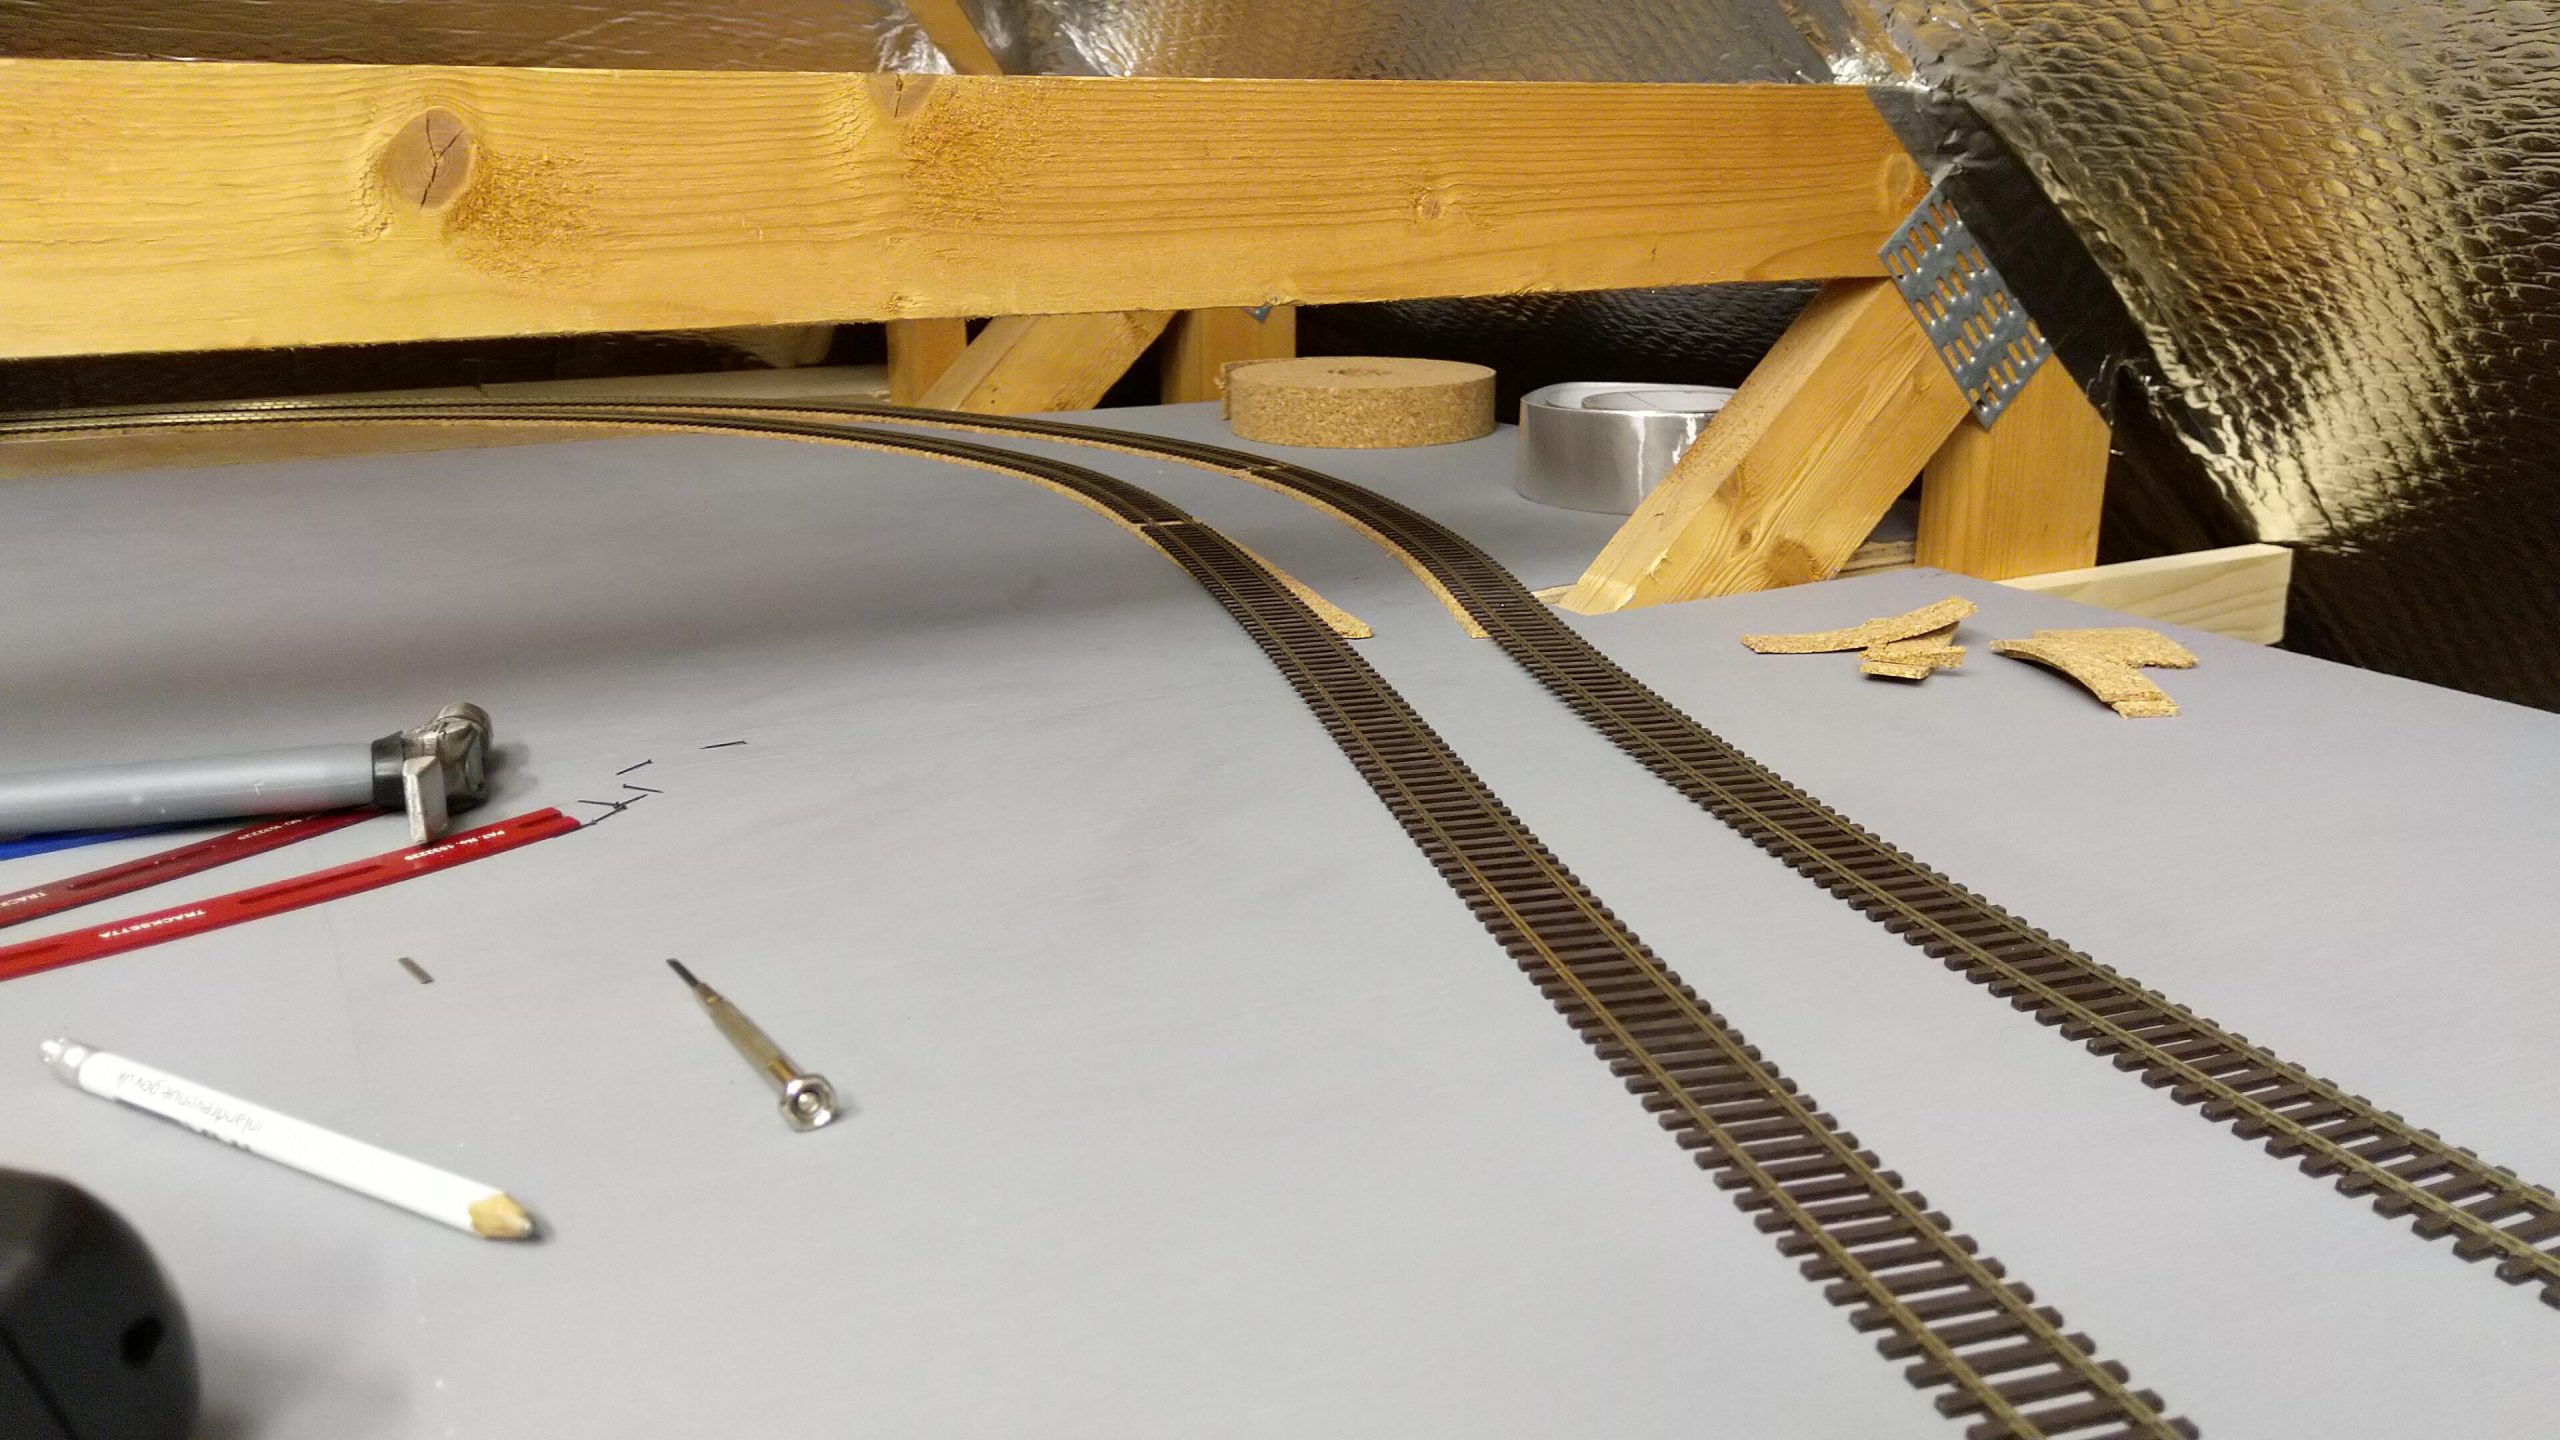
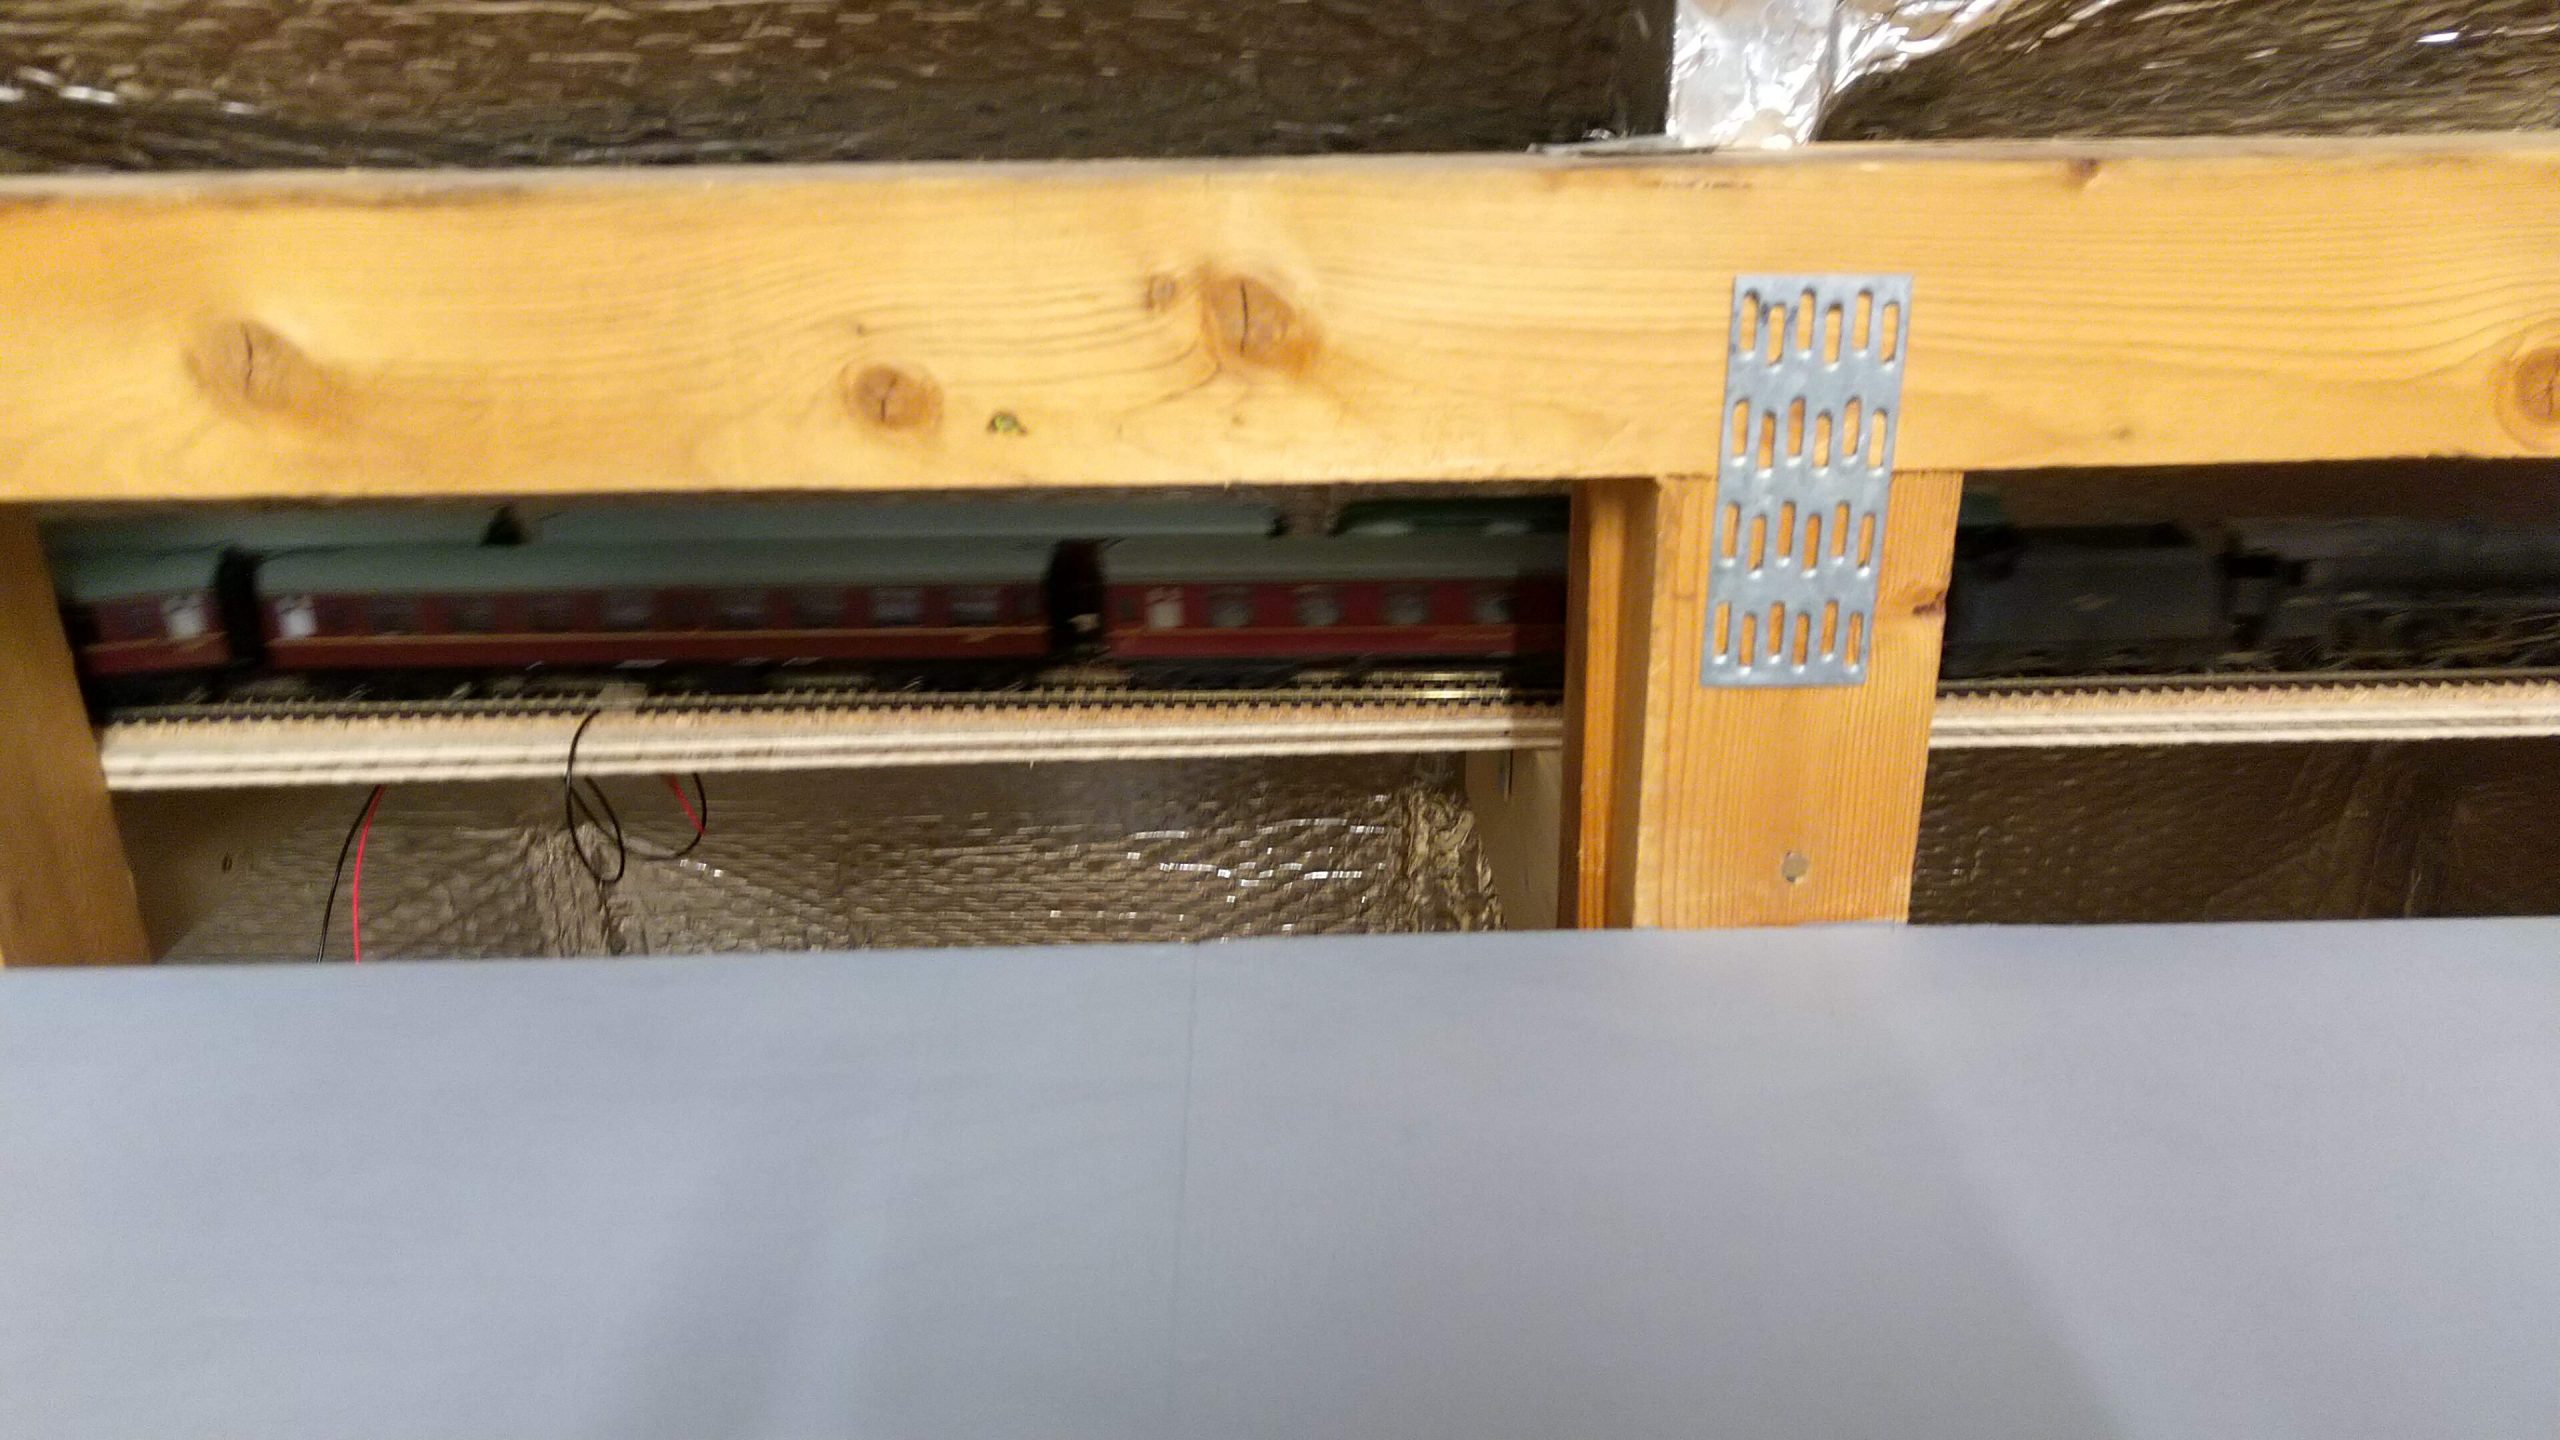

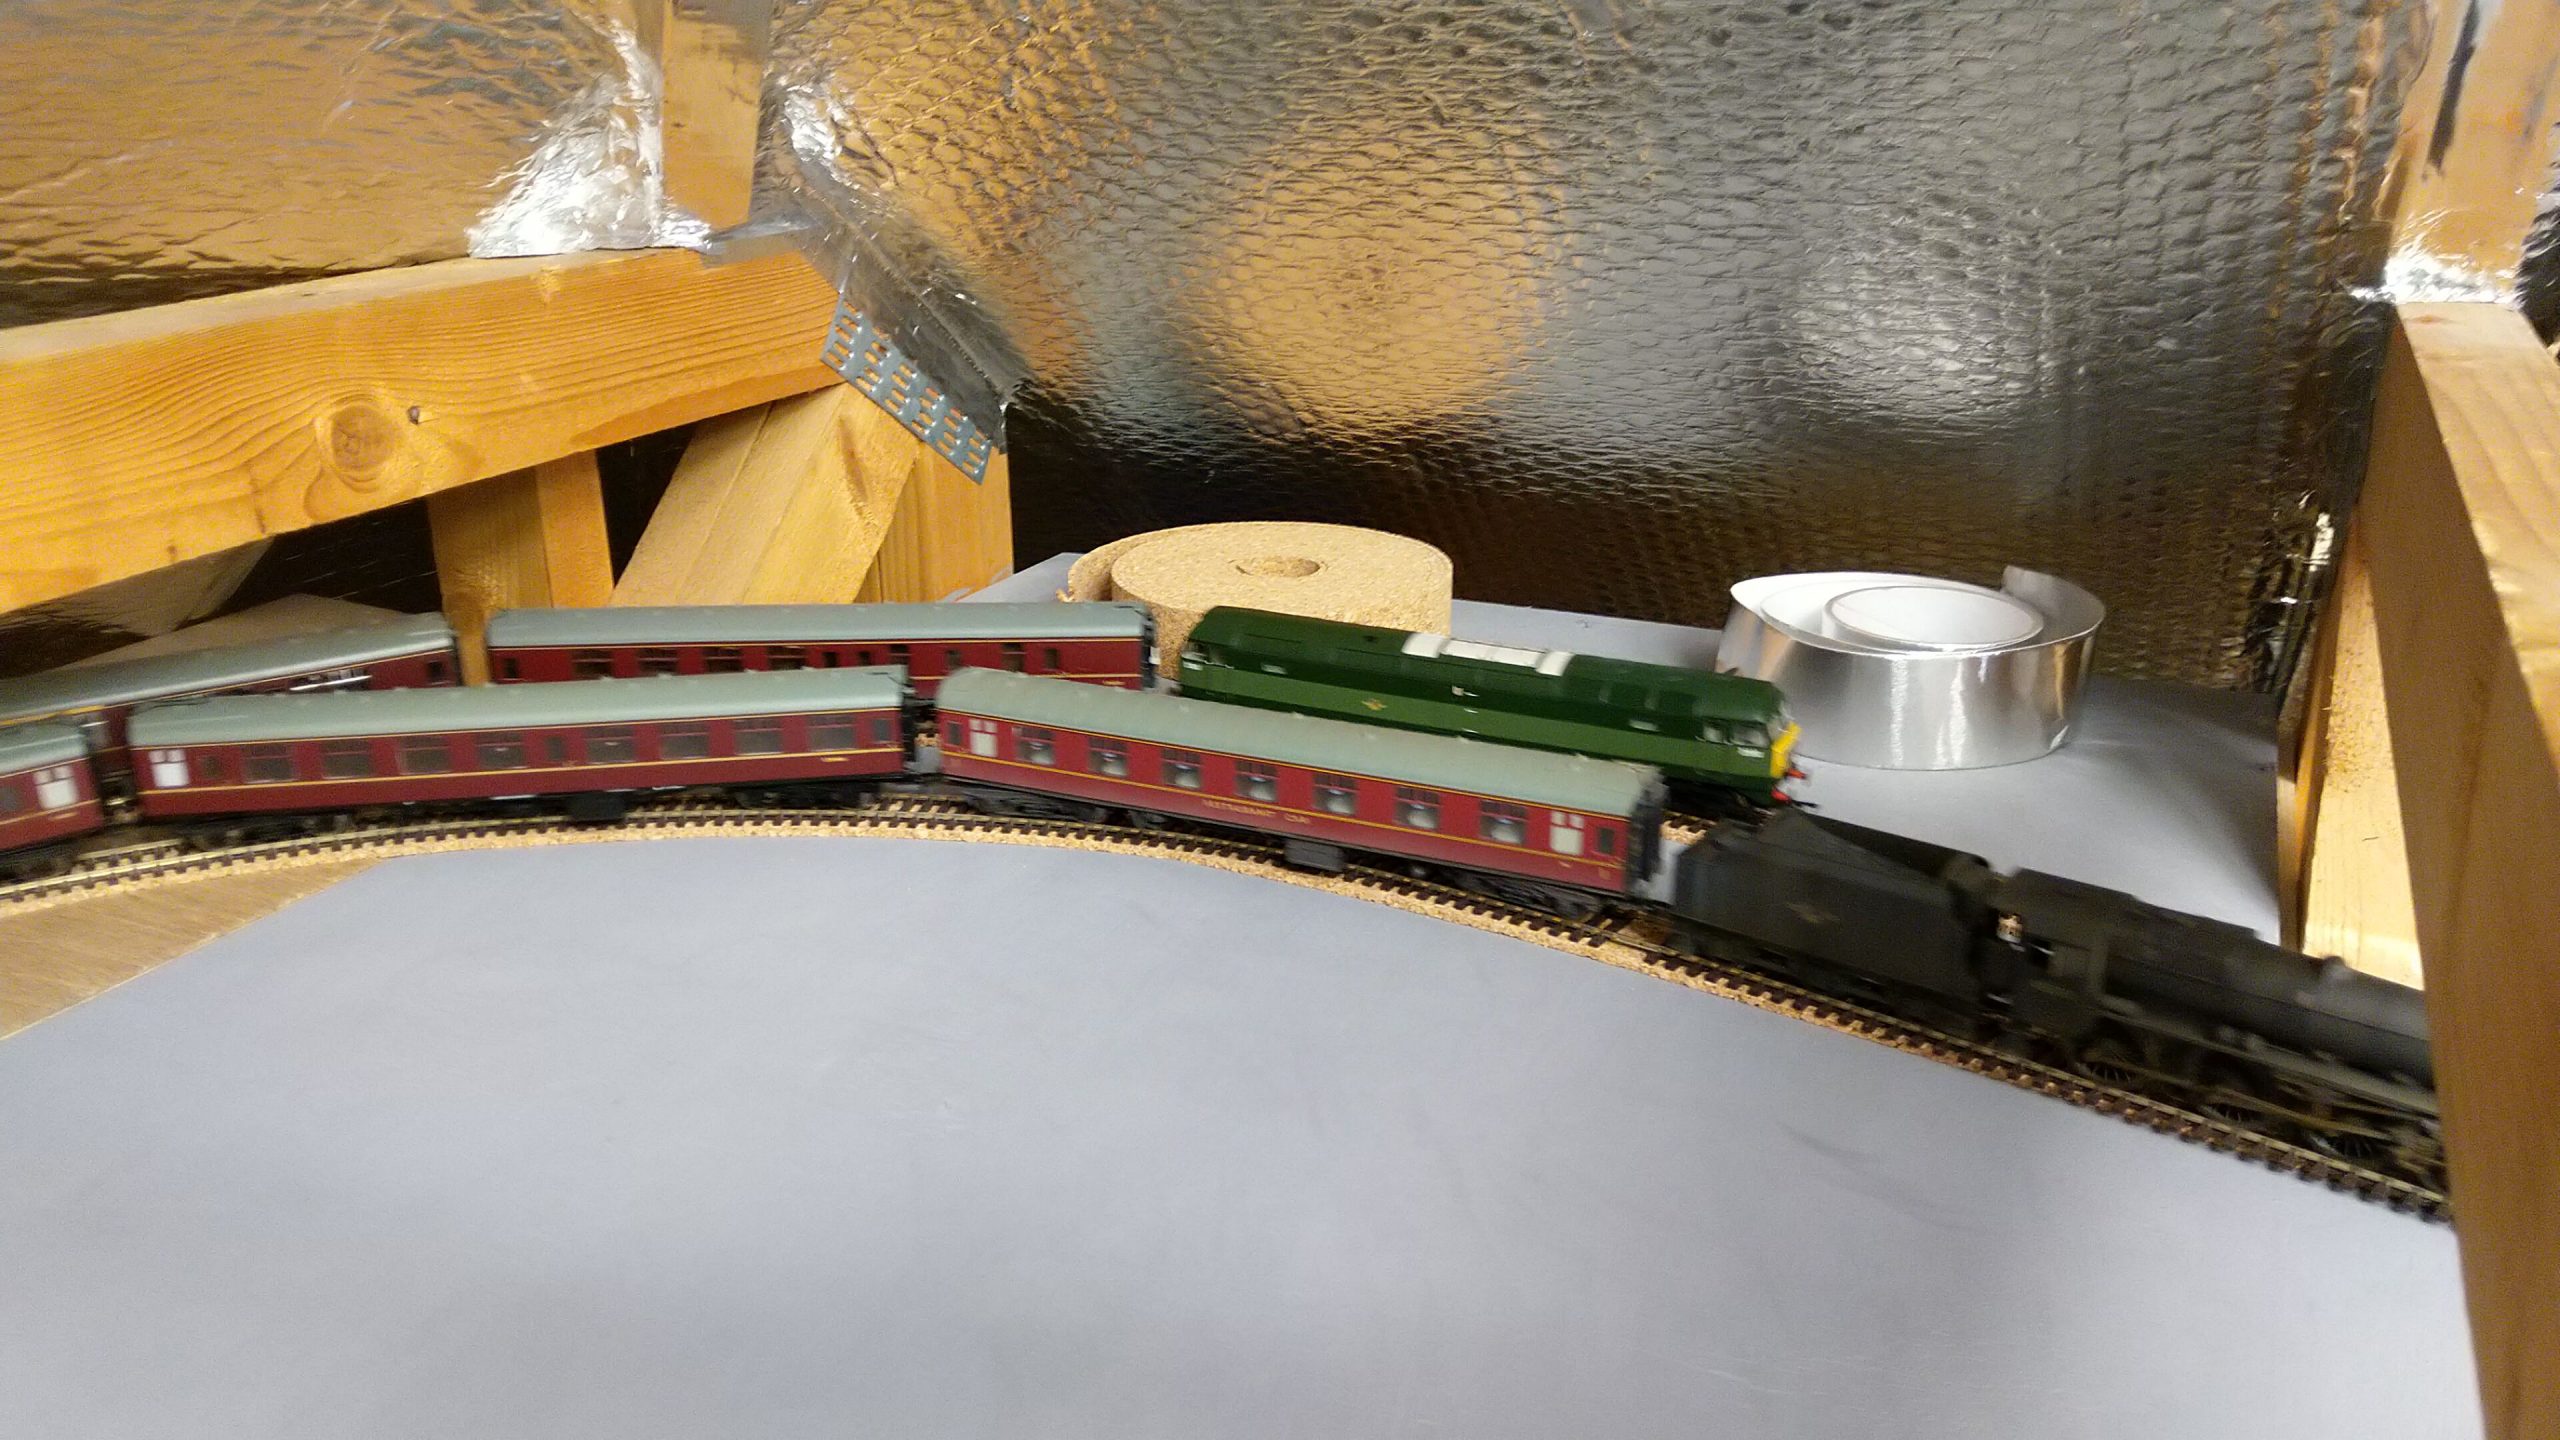

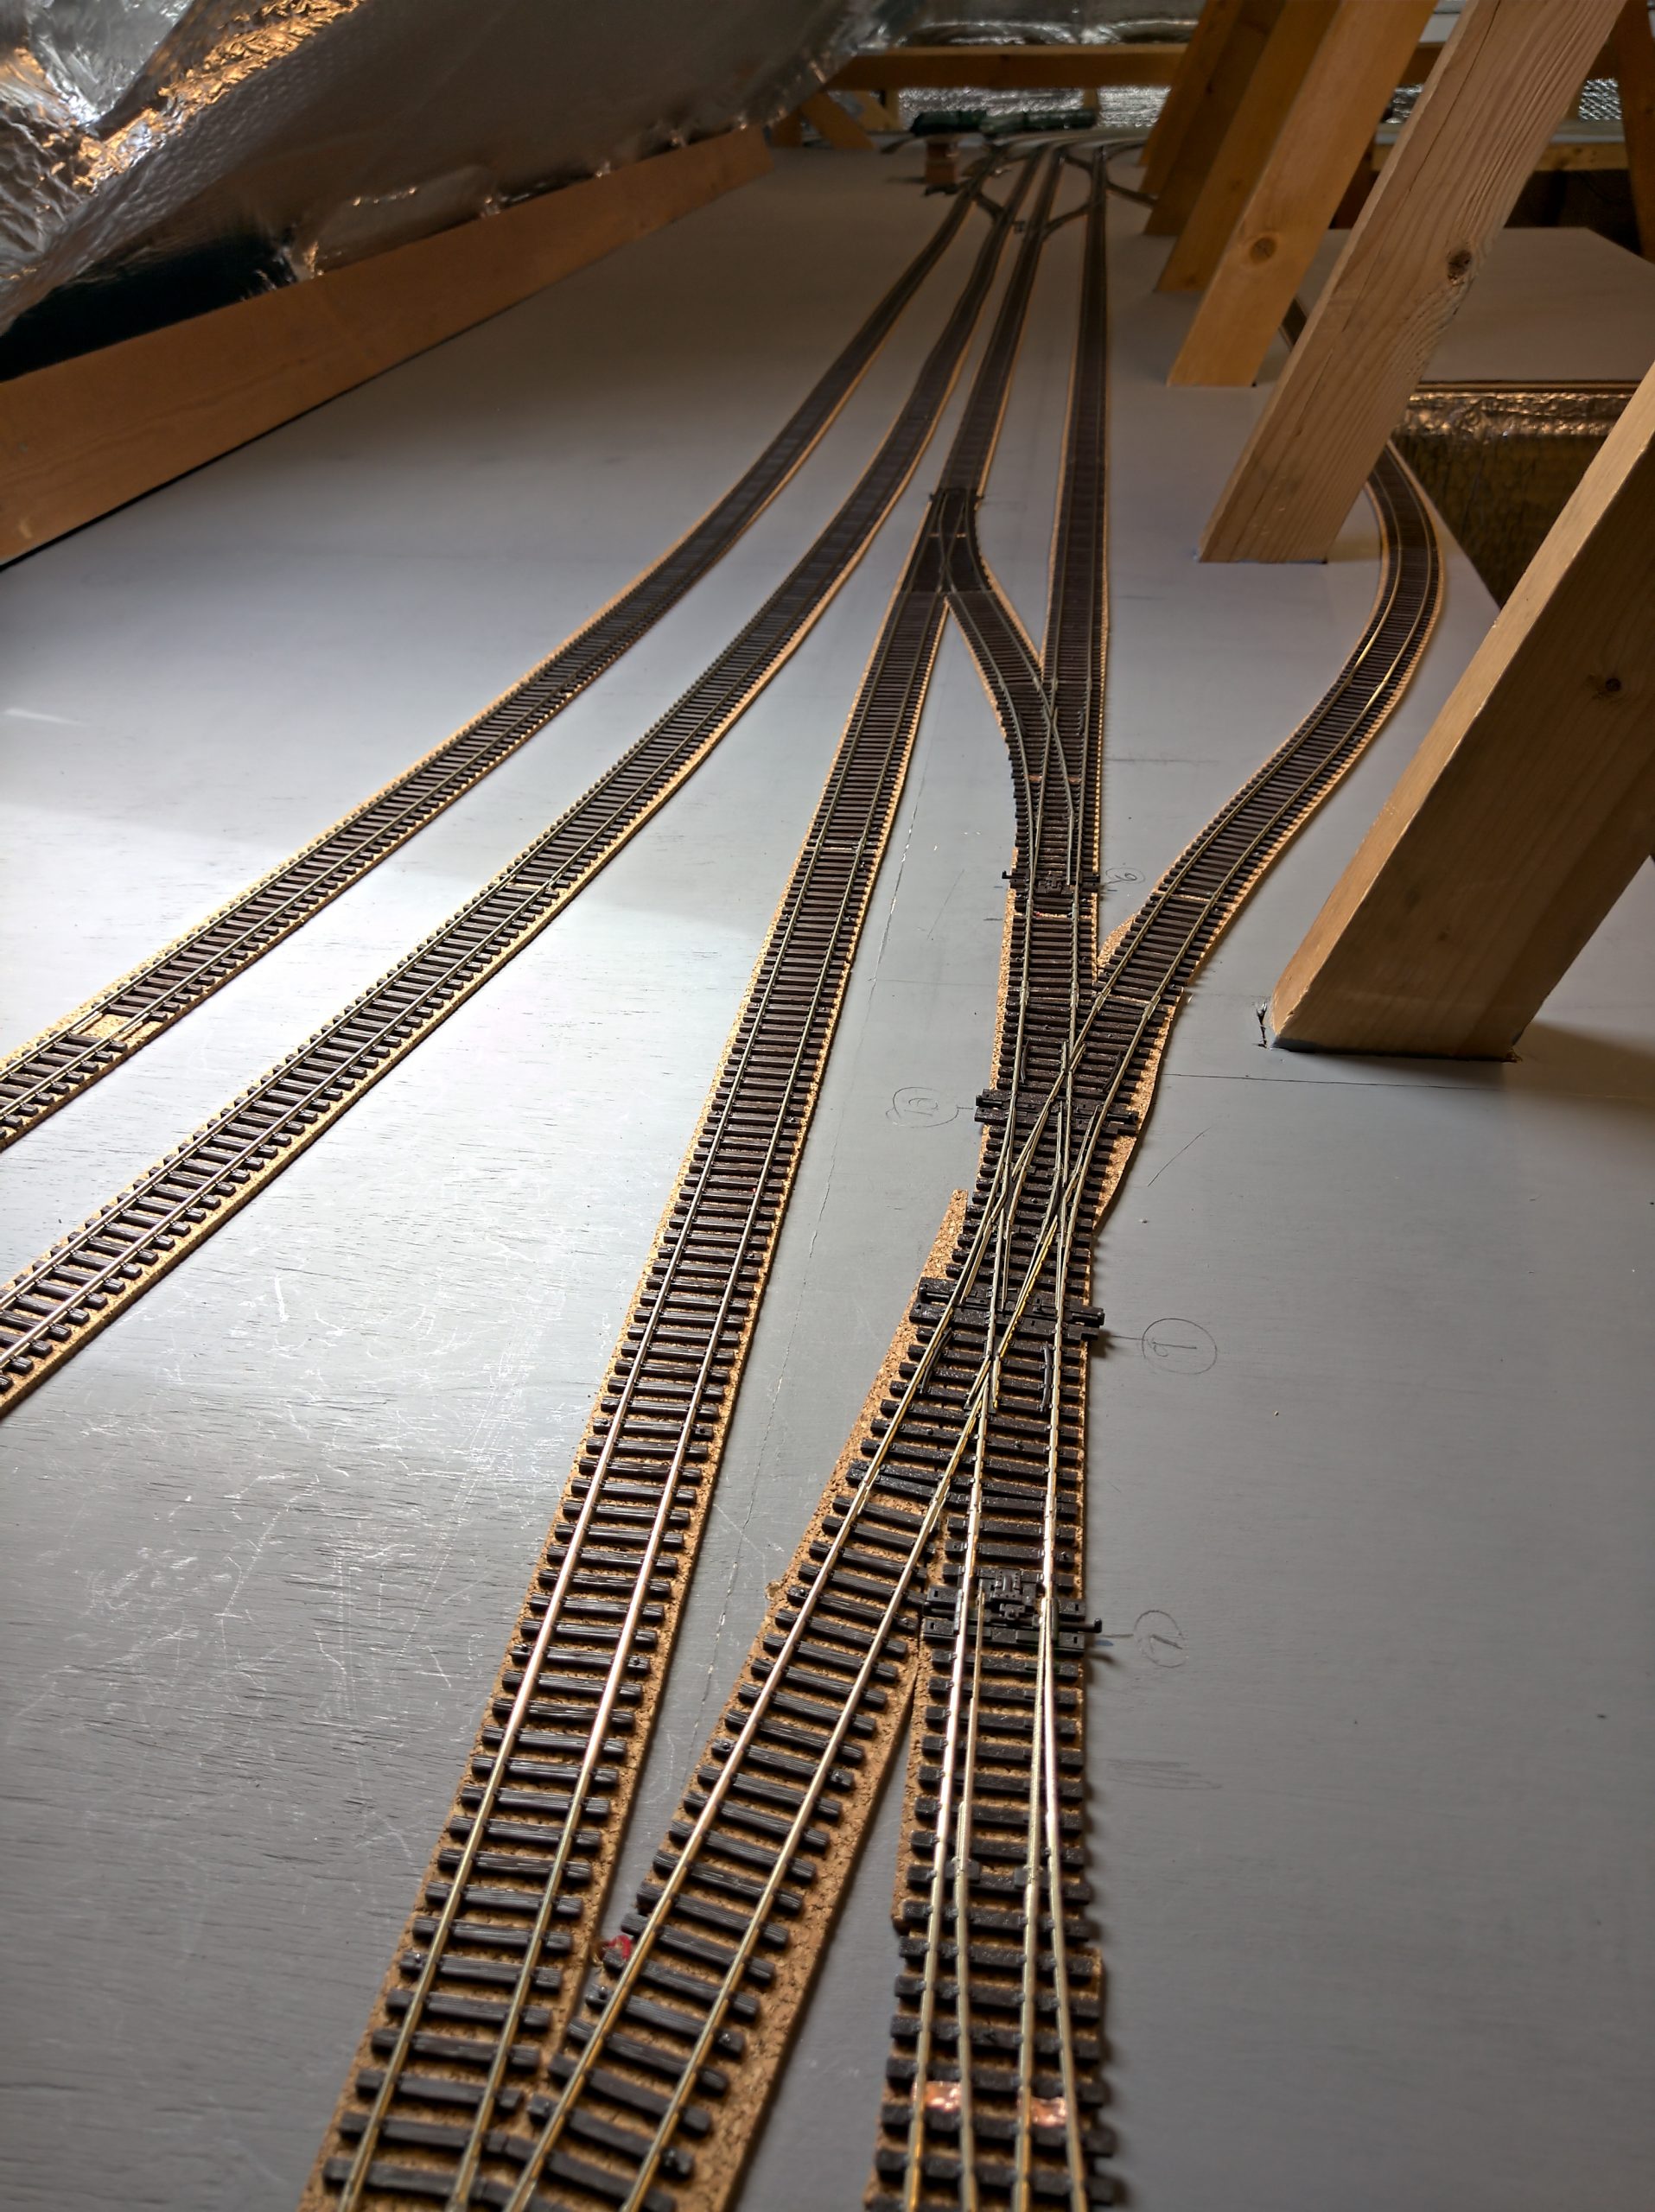
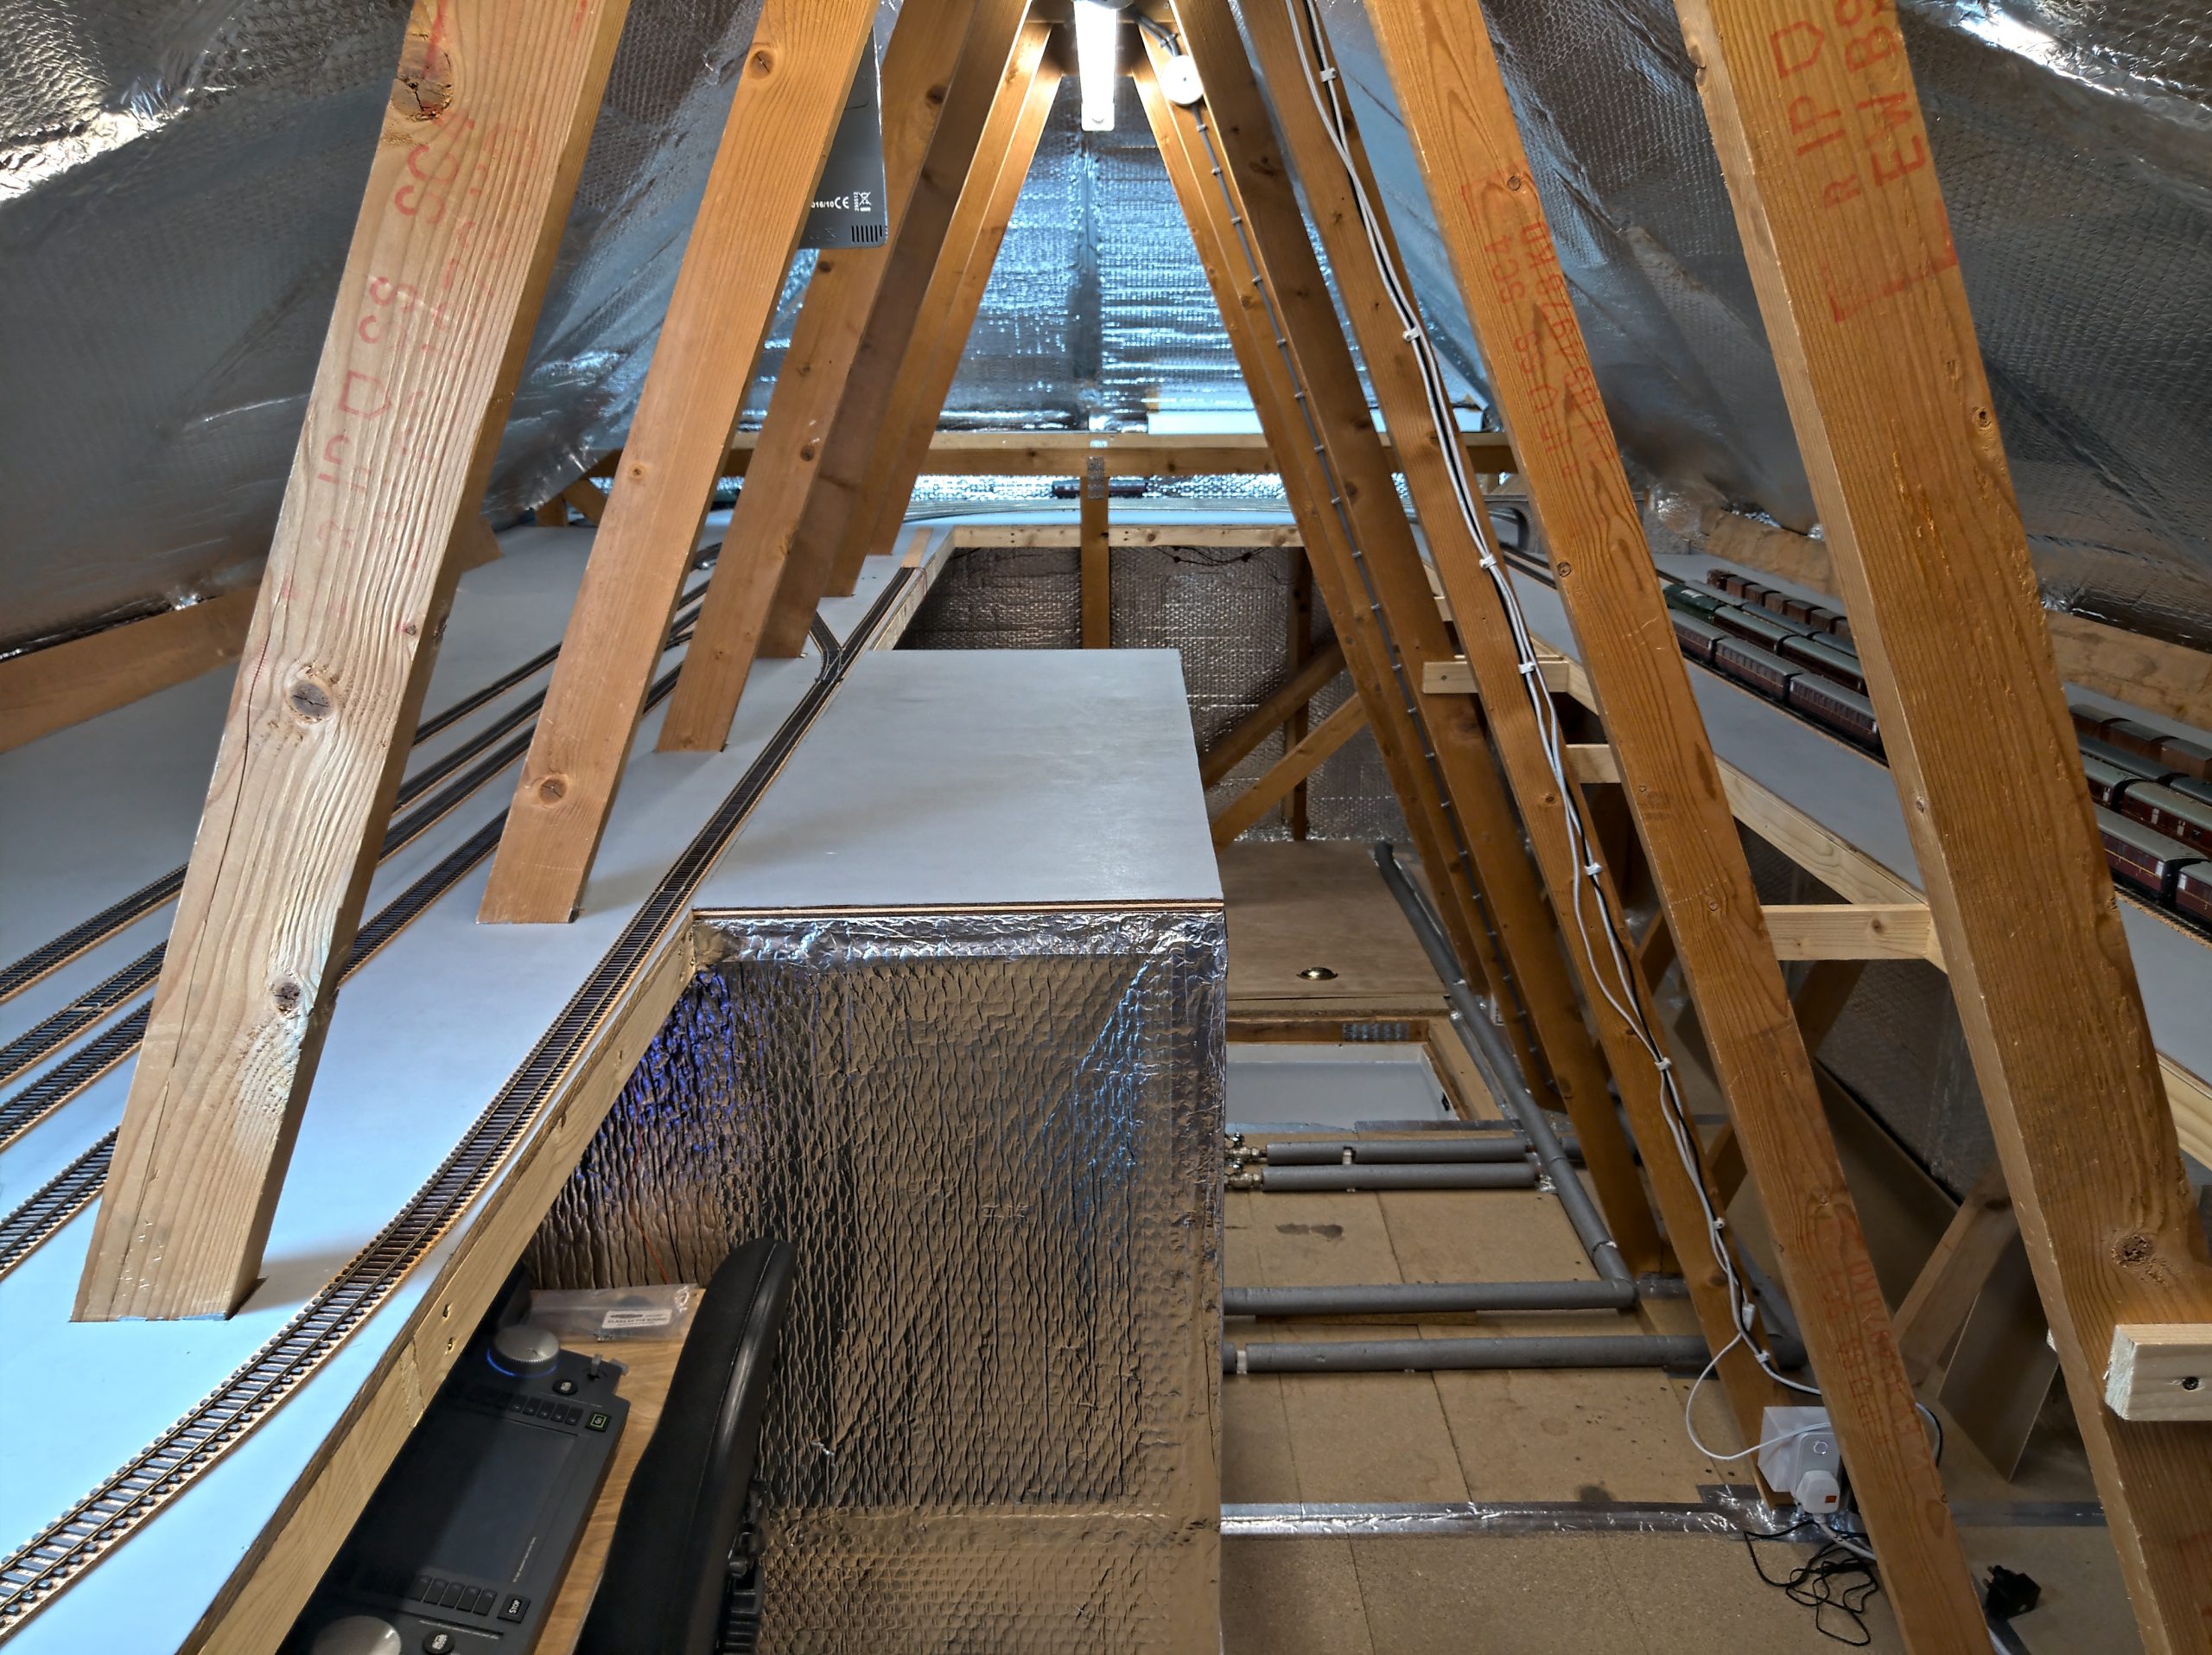
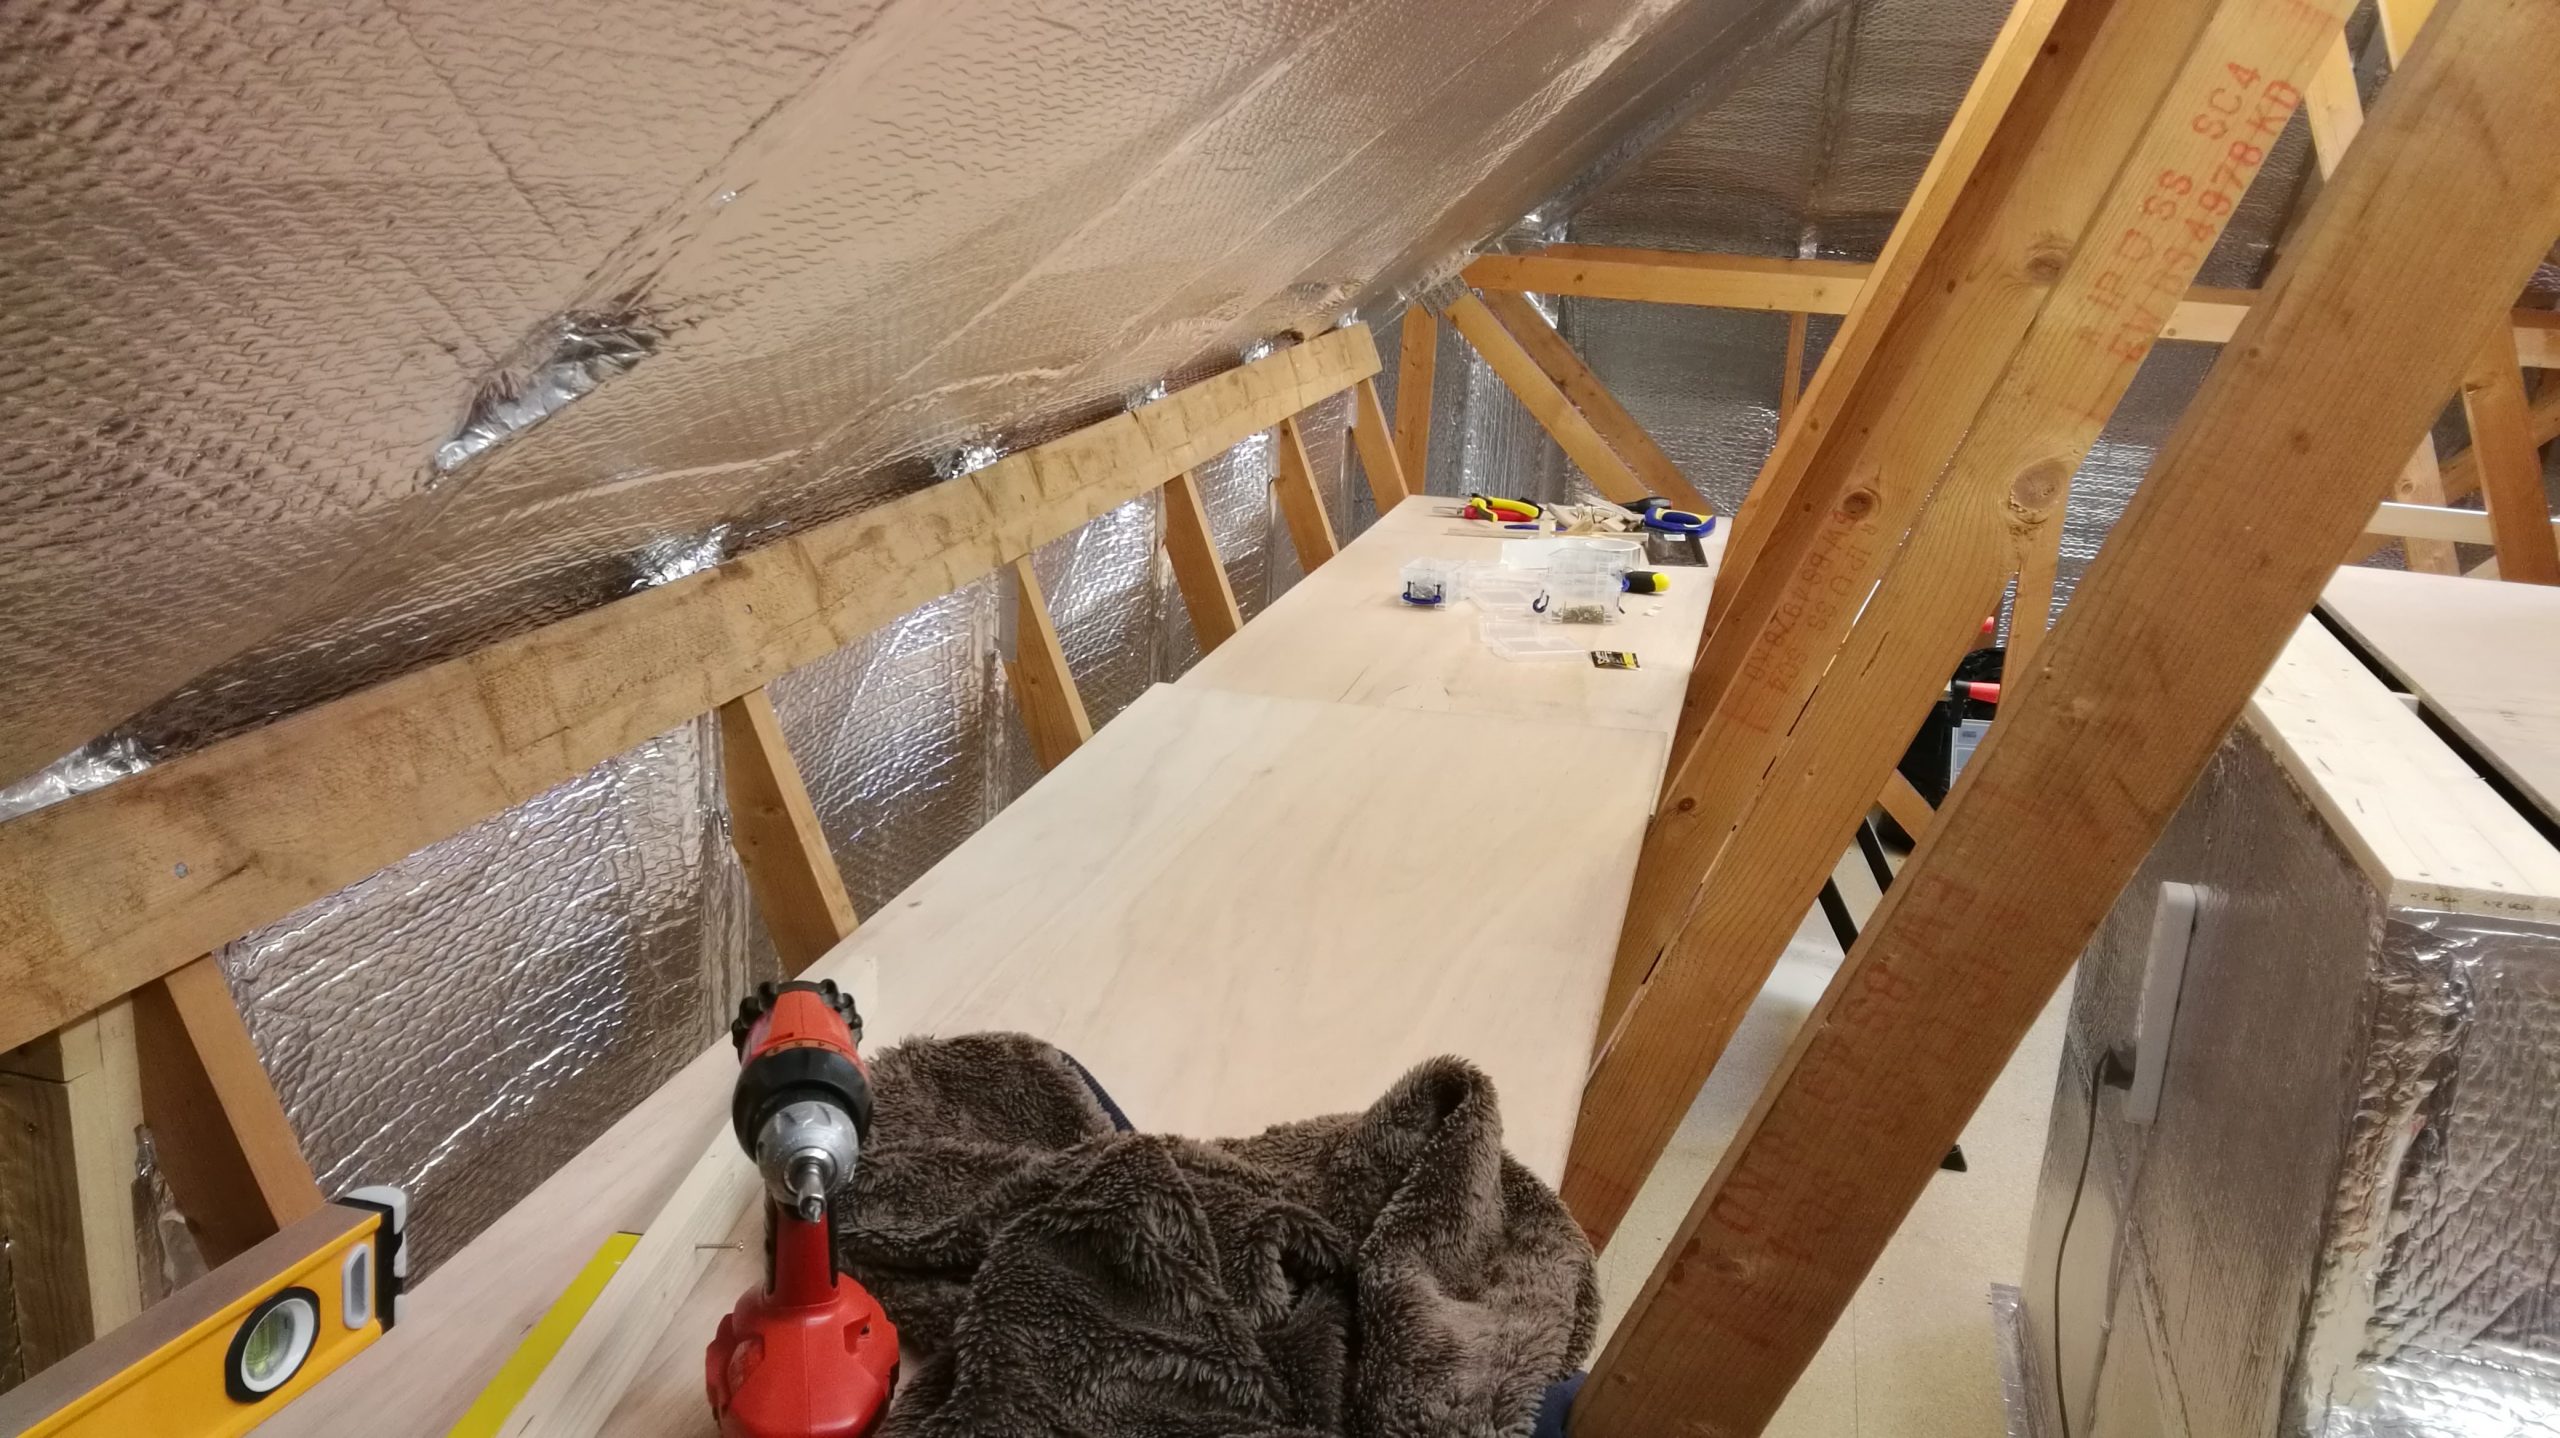
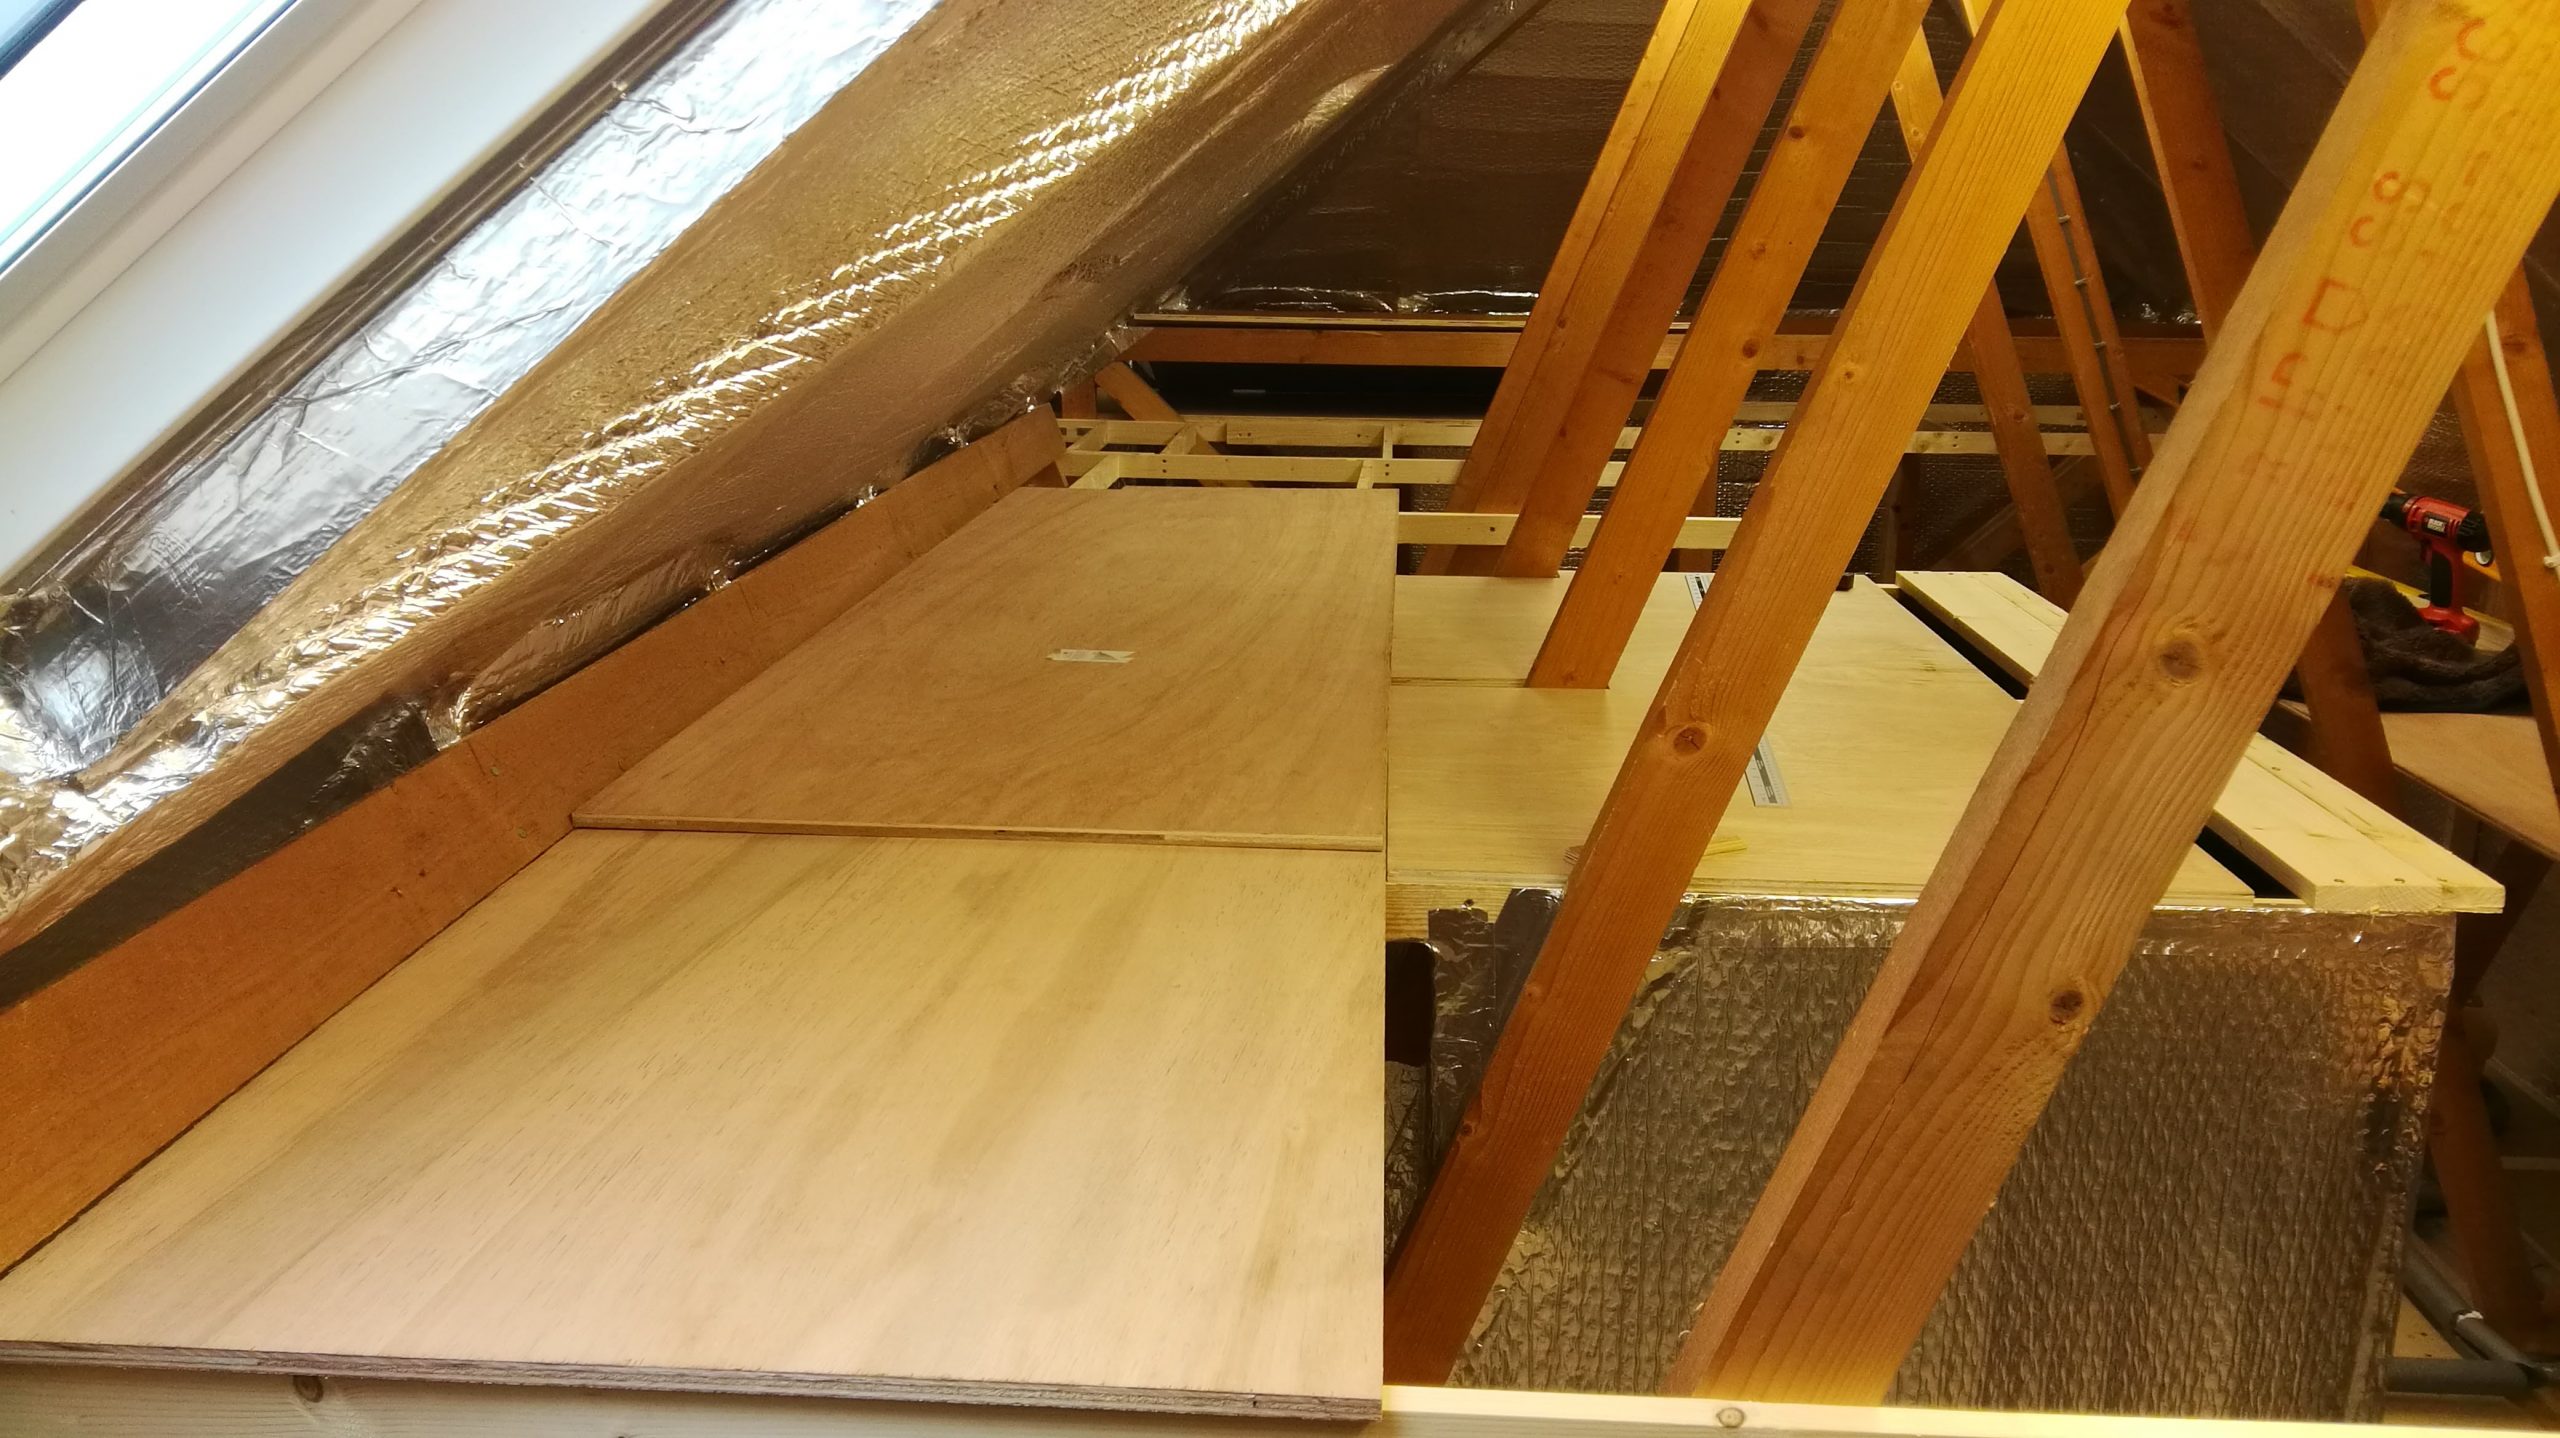
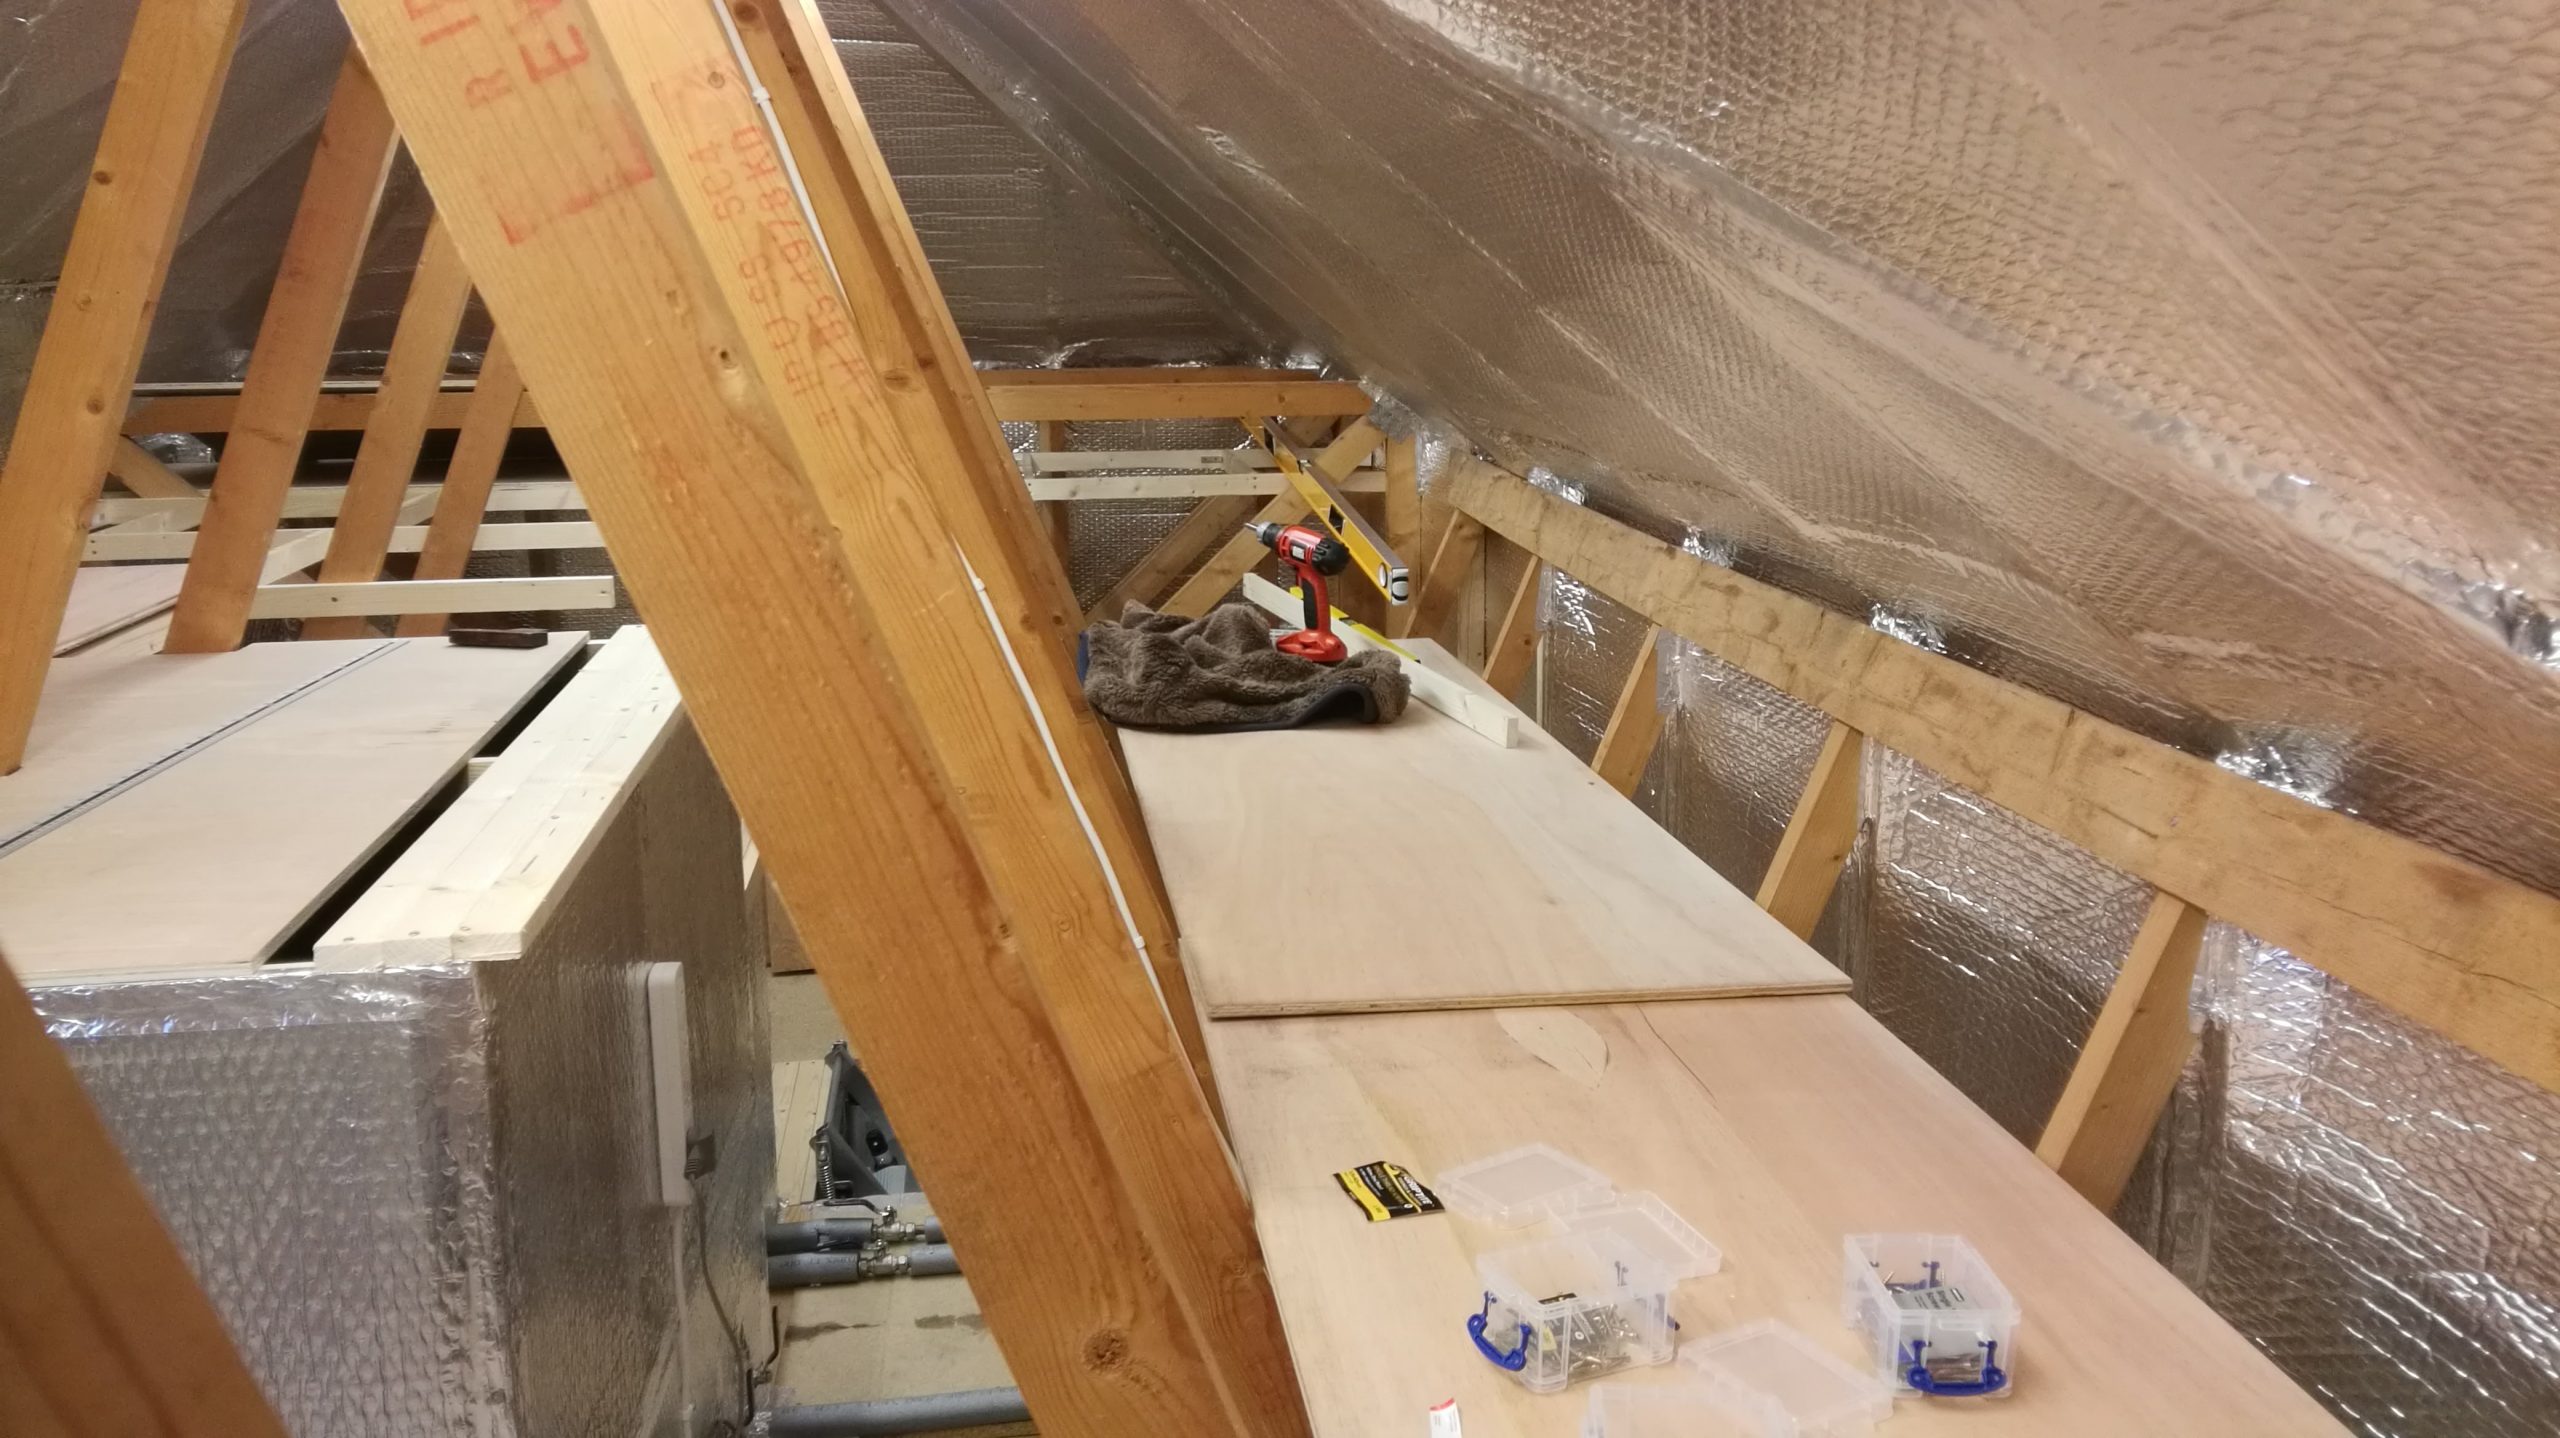
Here are some pictures showing progress after I laid some more track and how I tried to fit the fiddle yard in.
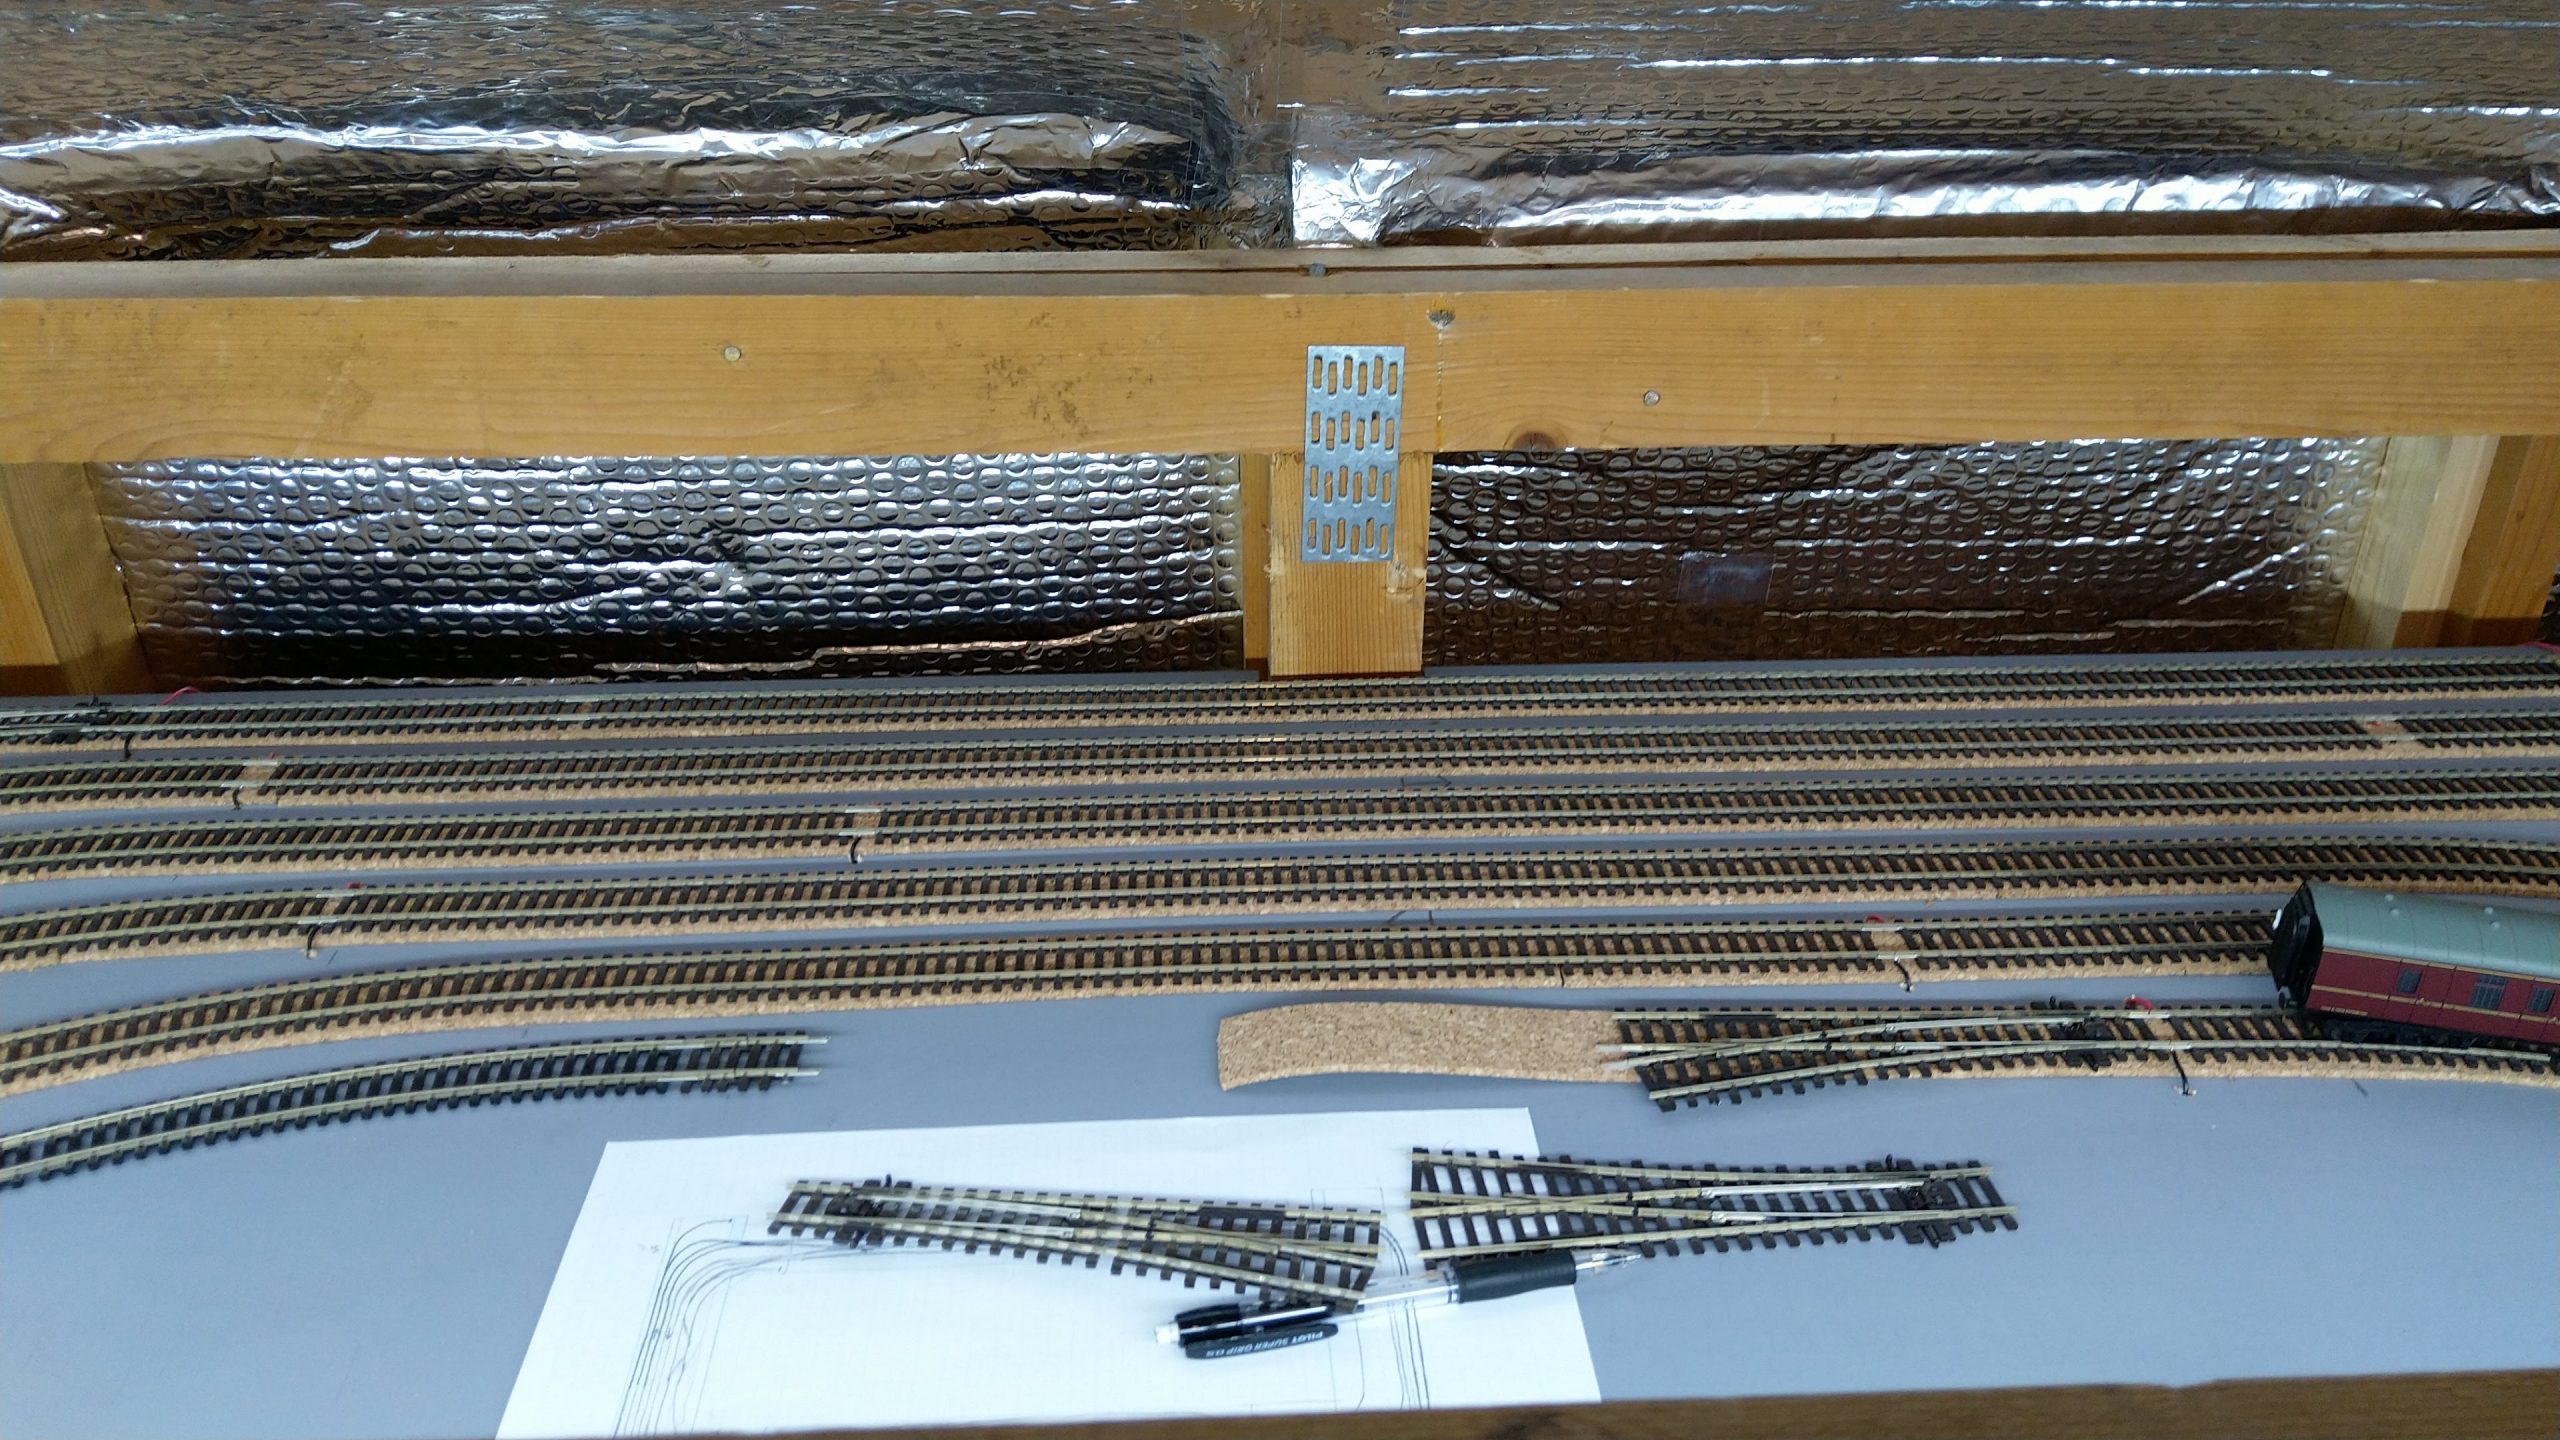
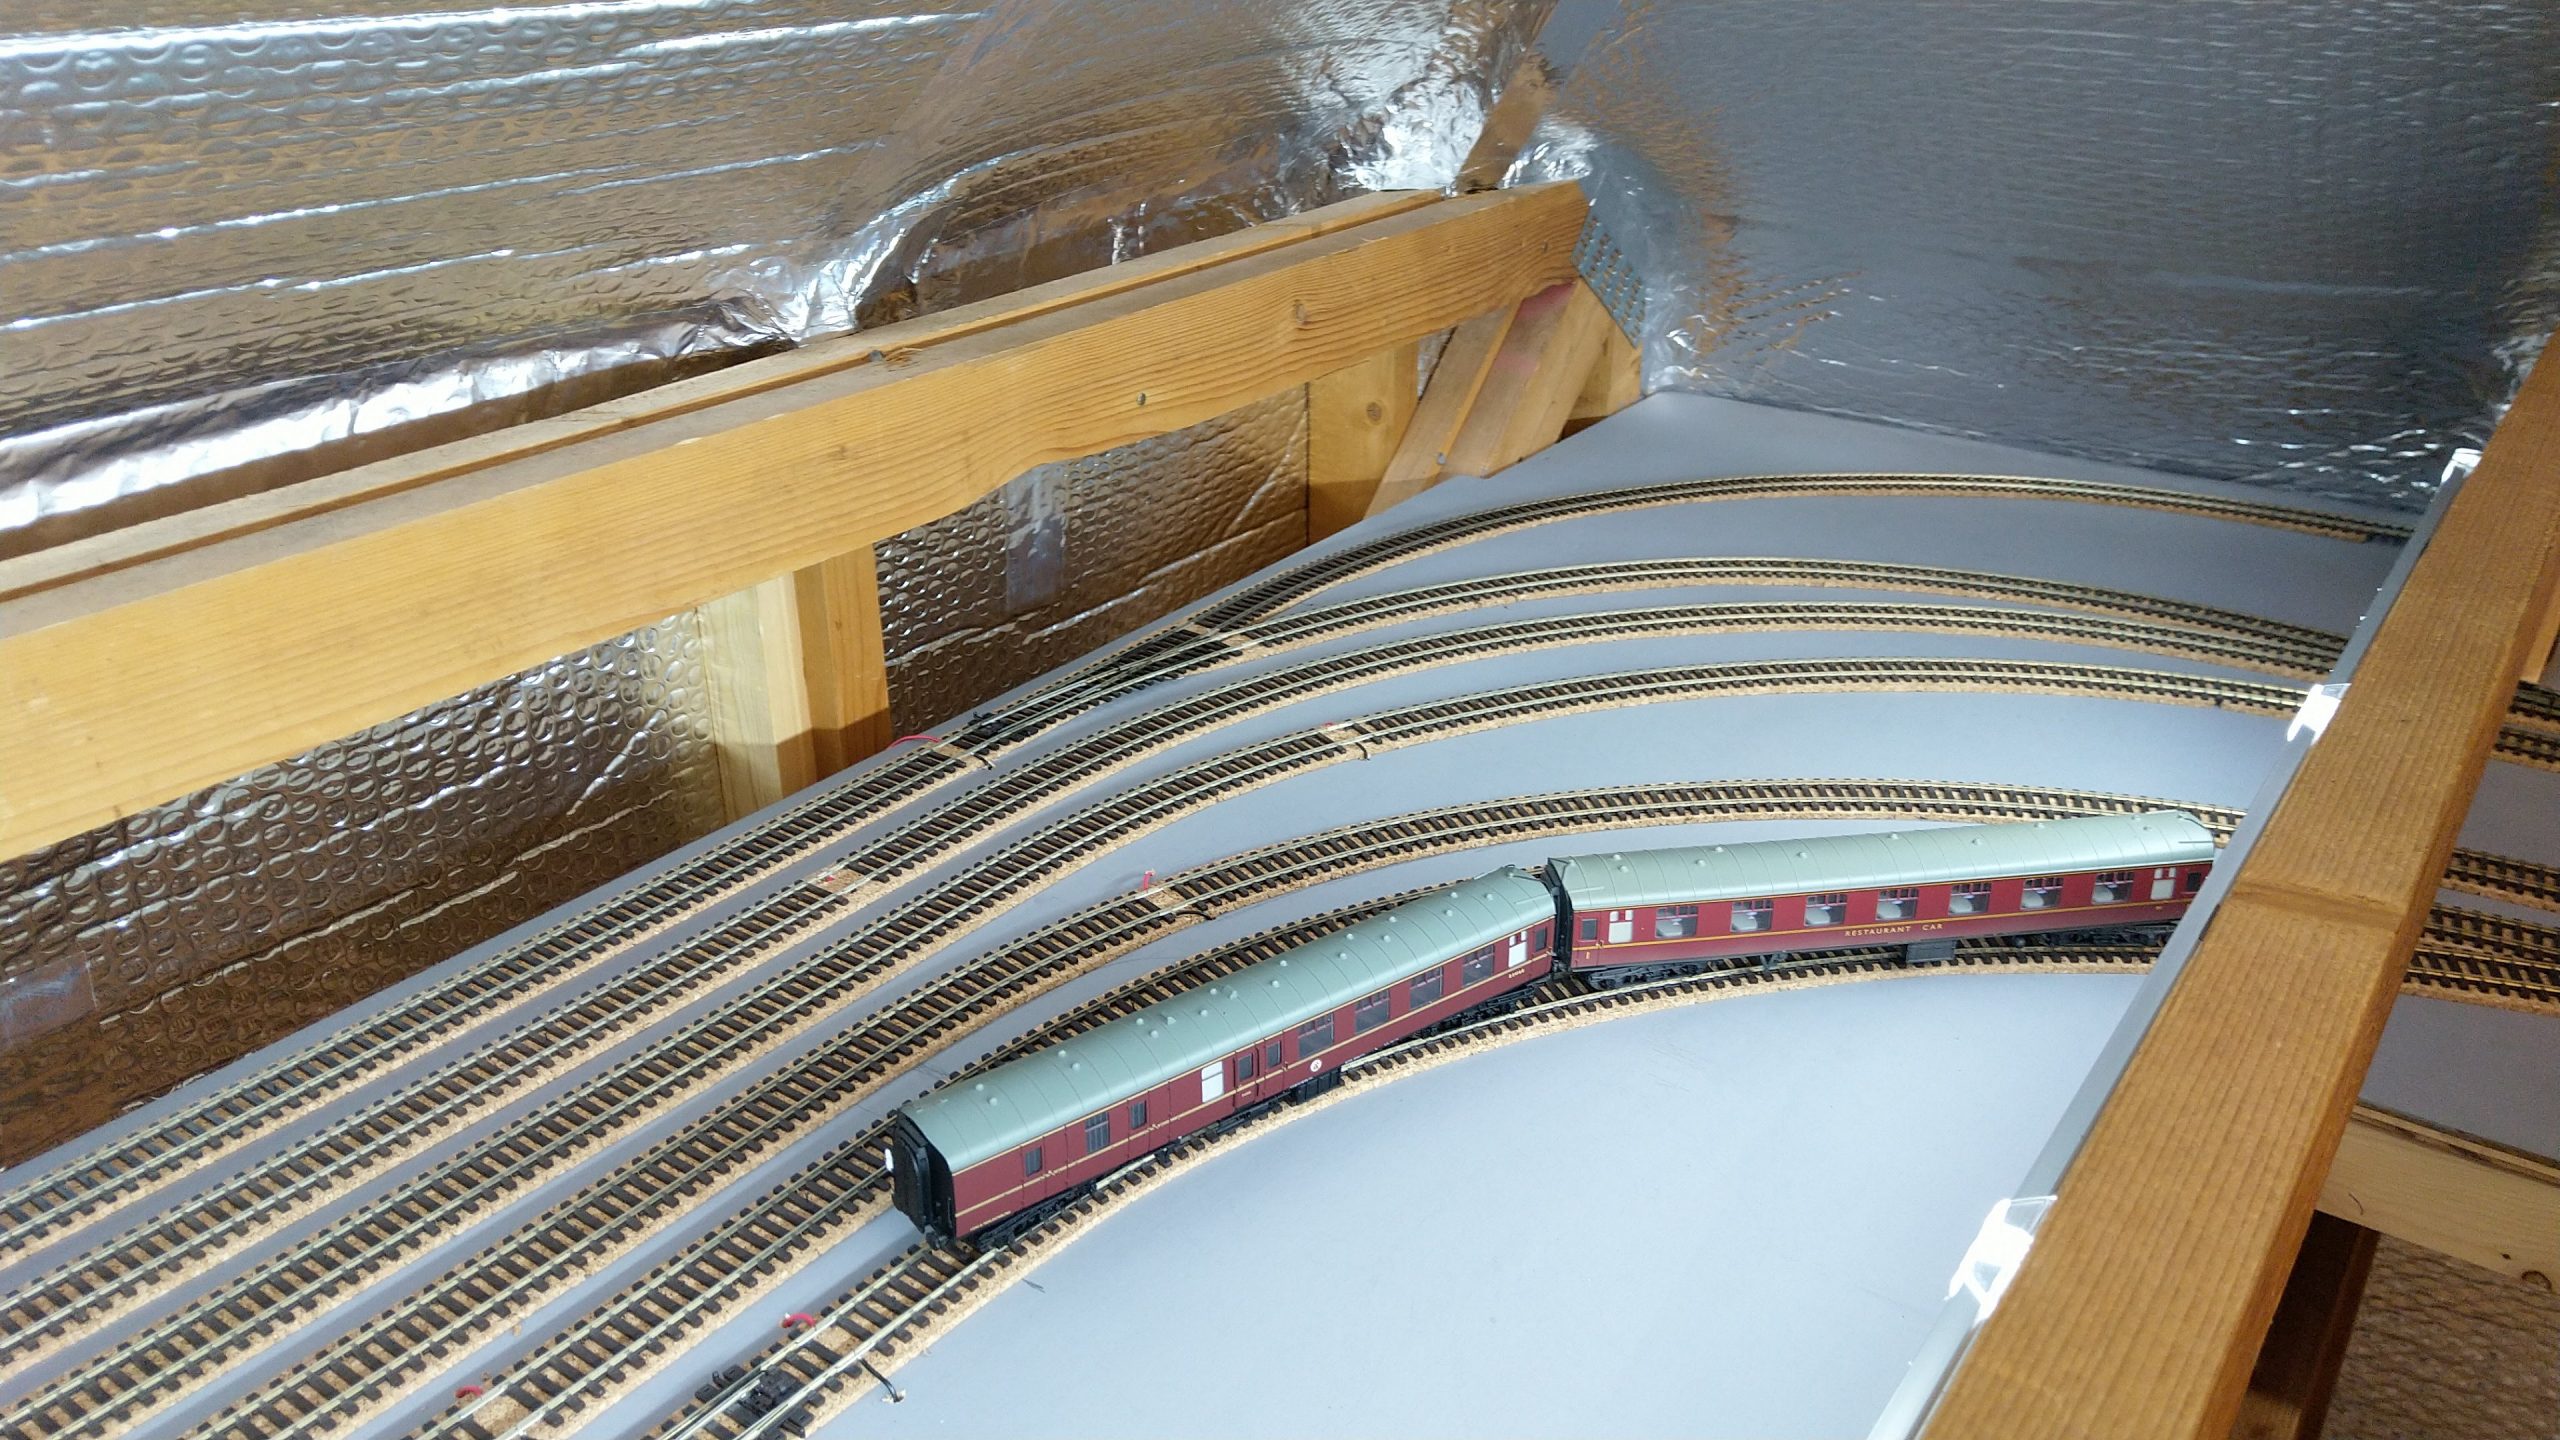
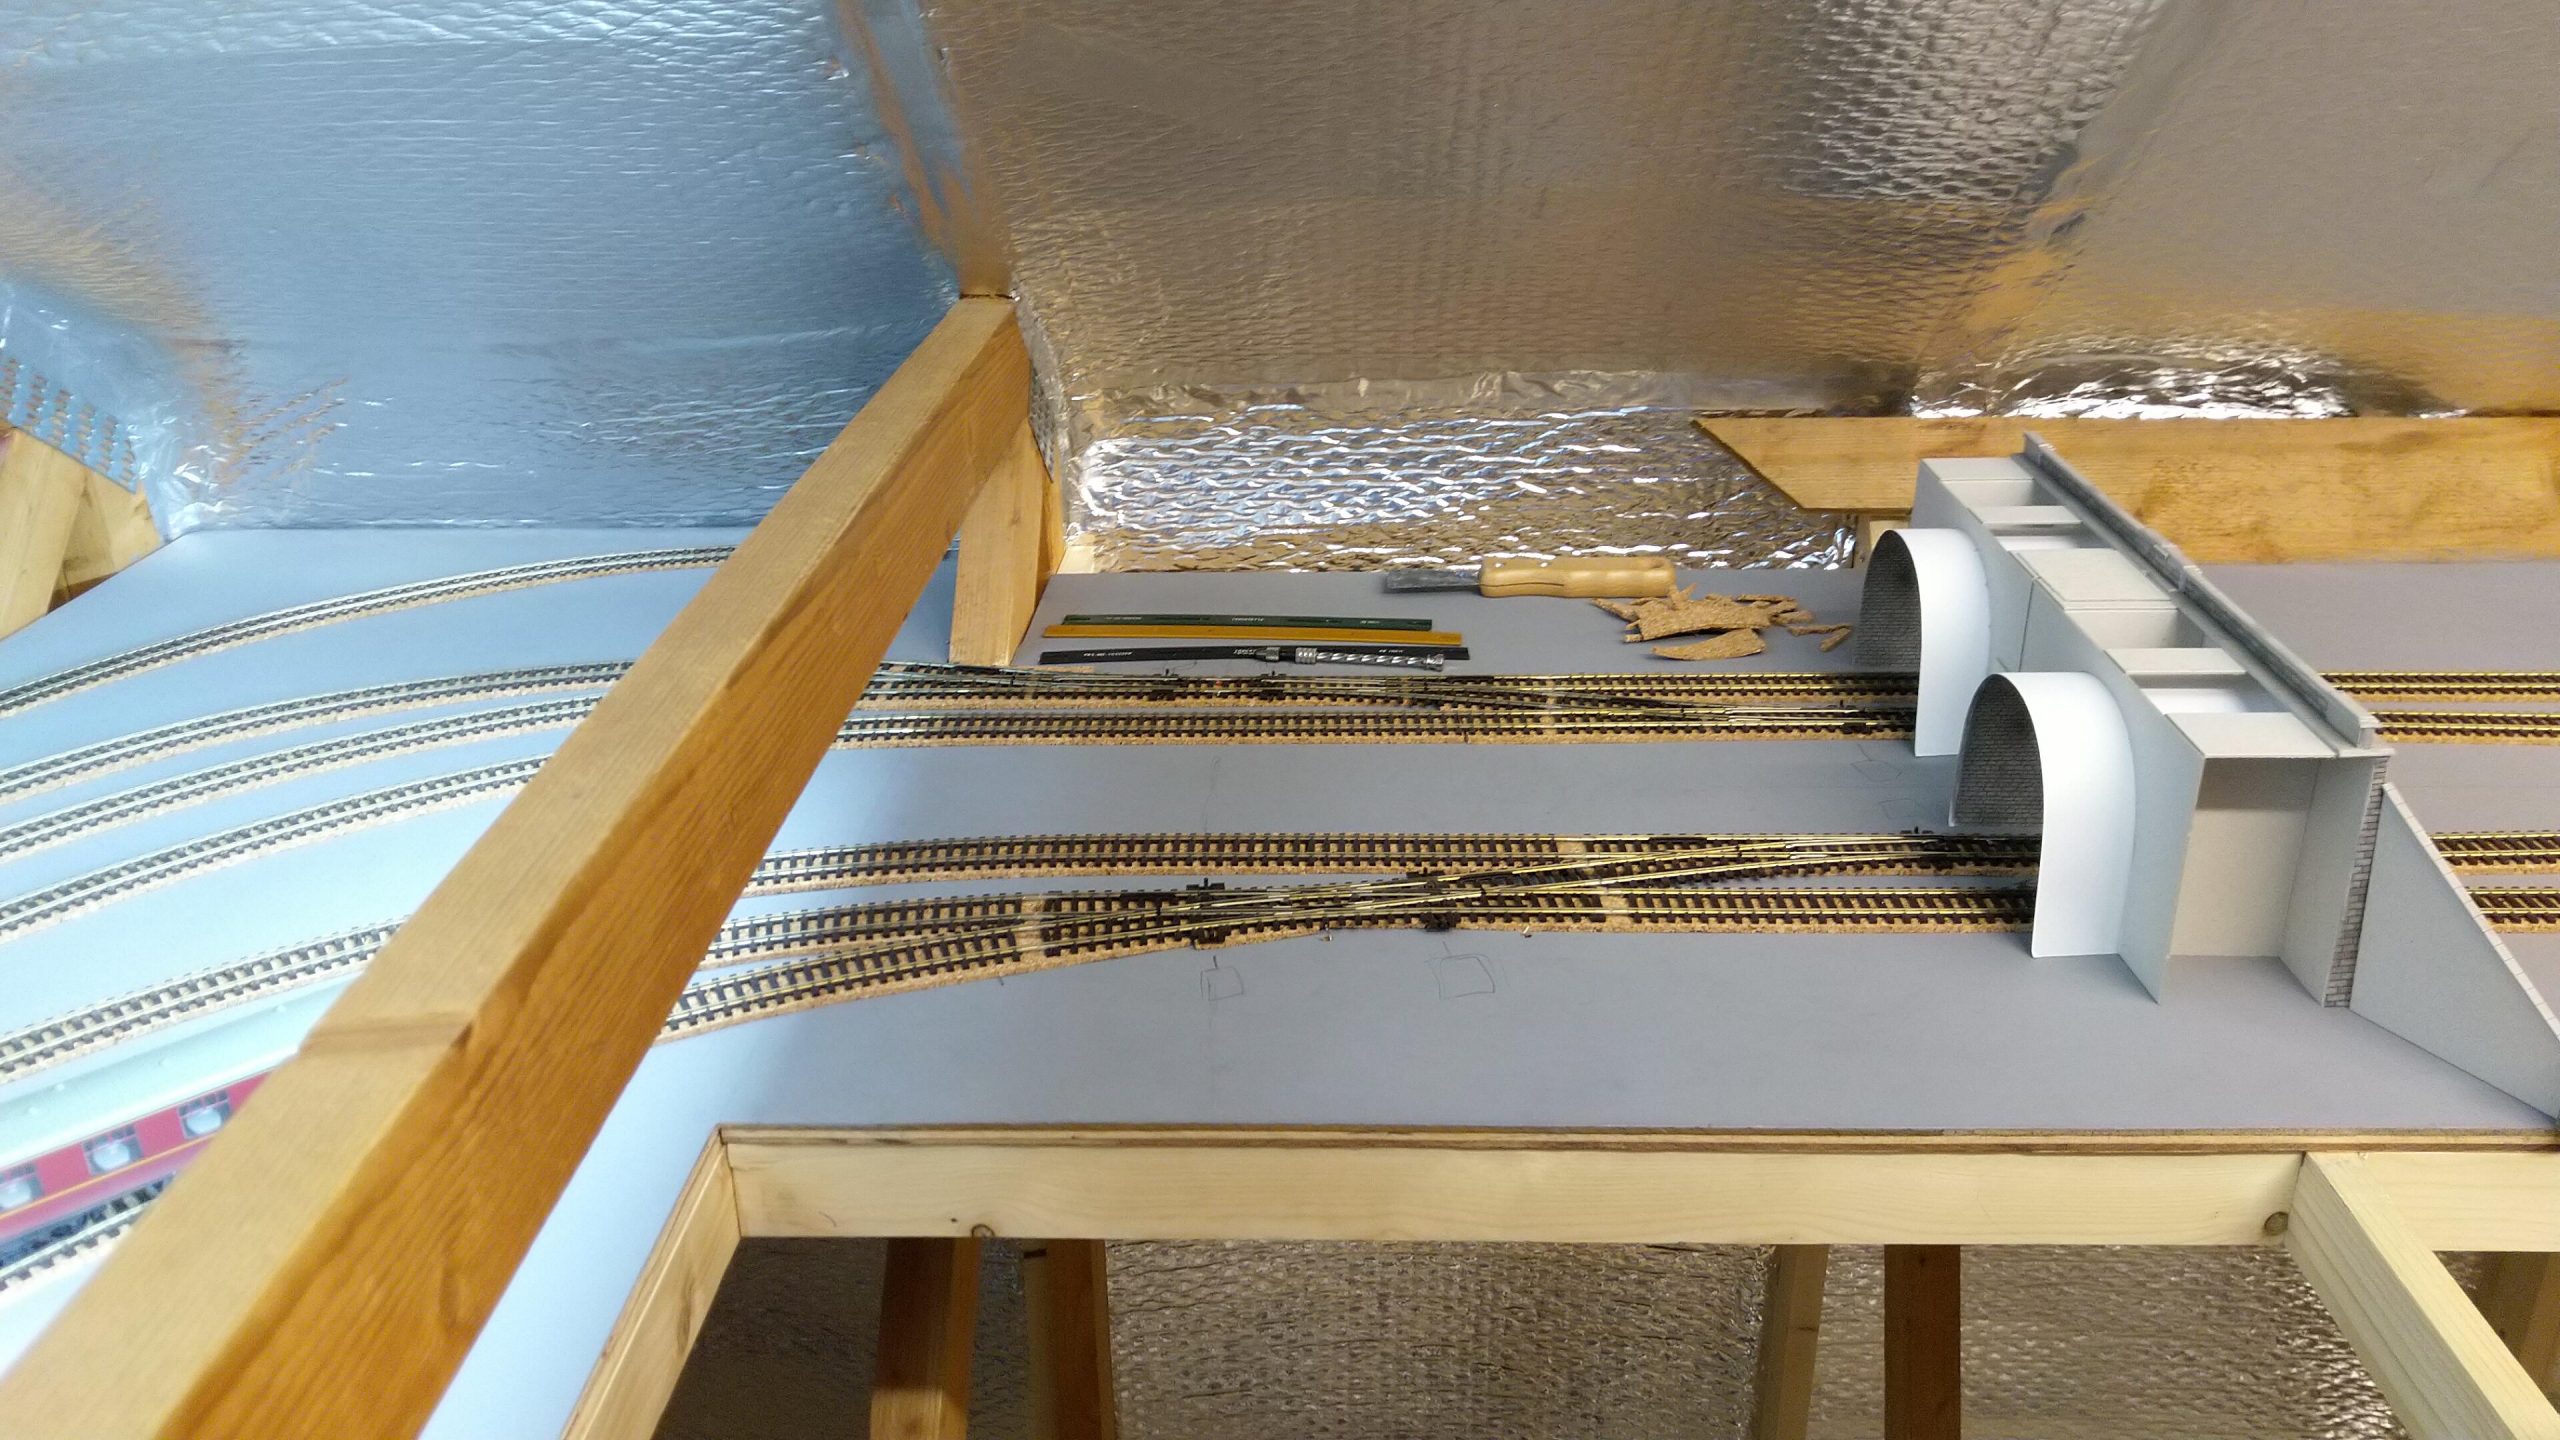

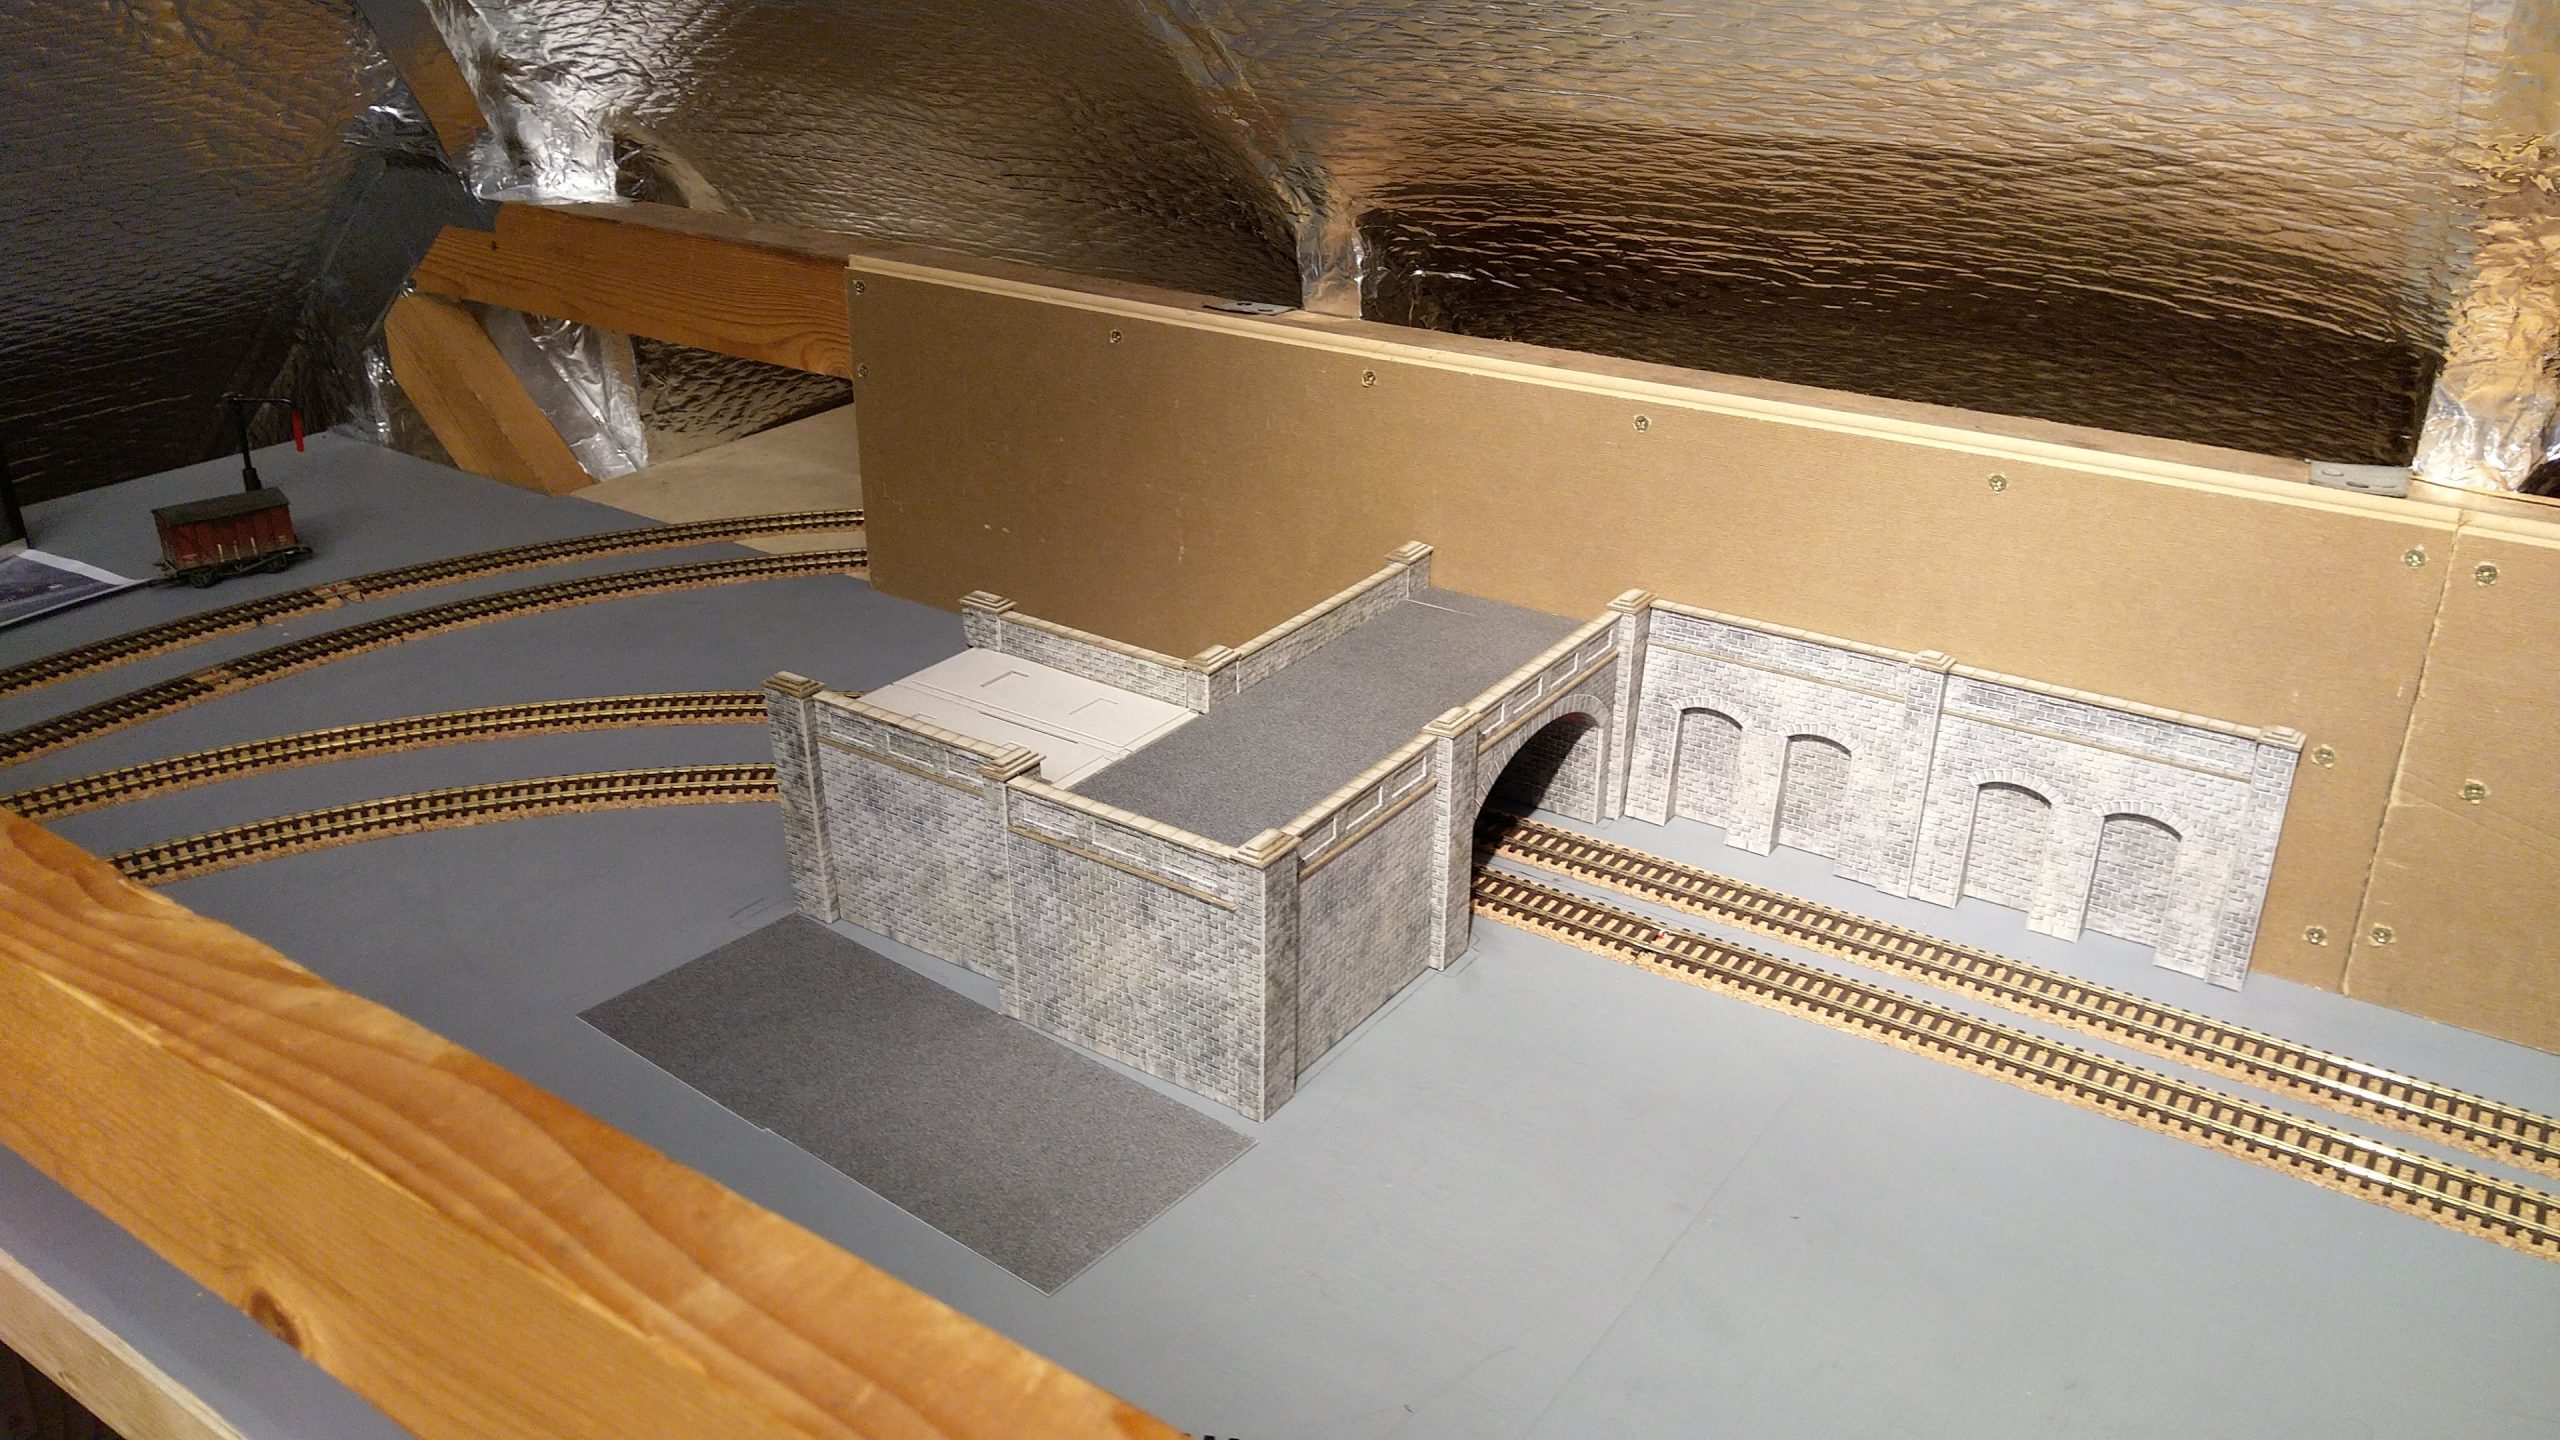
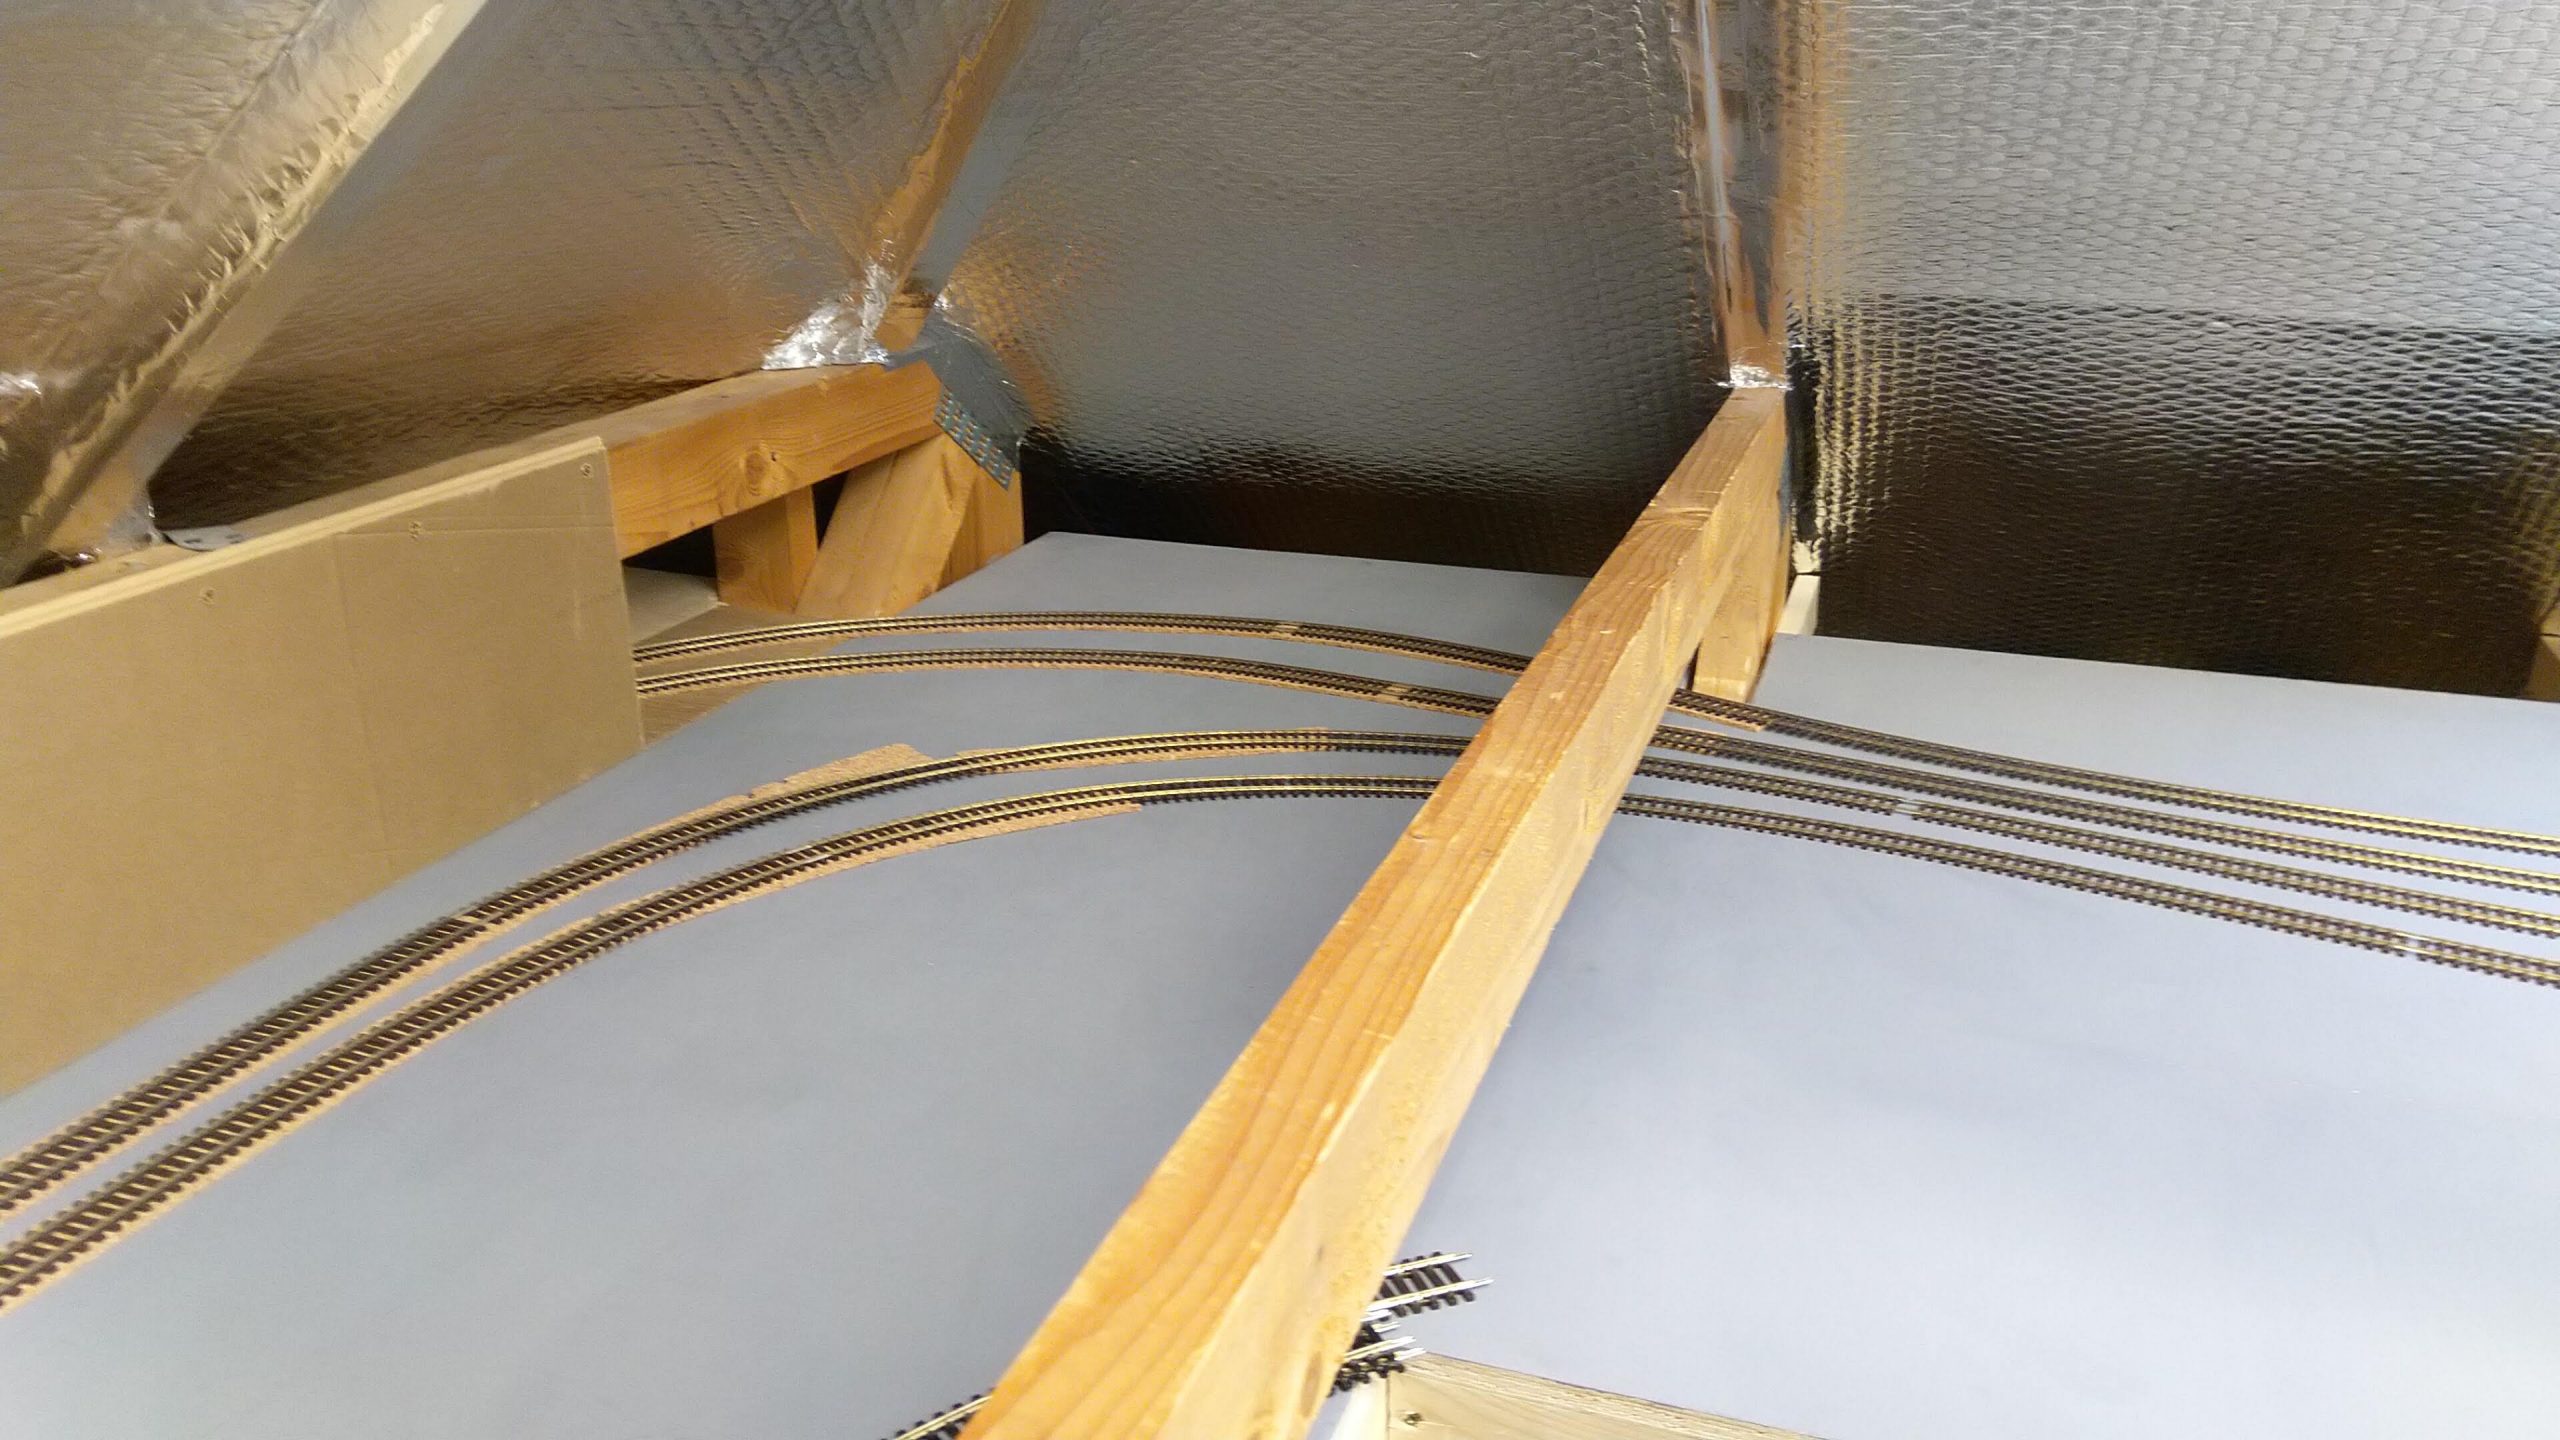

So, I ended up with a long thin layout that gave me room for some nice long straights but meant some tight curves at each end. This
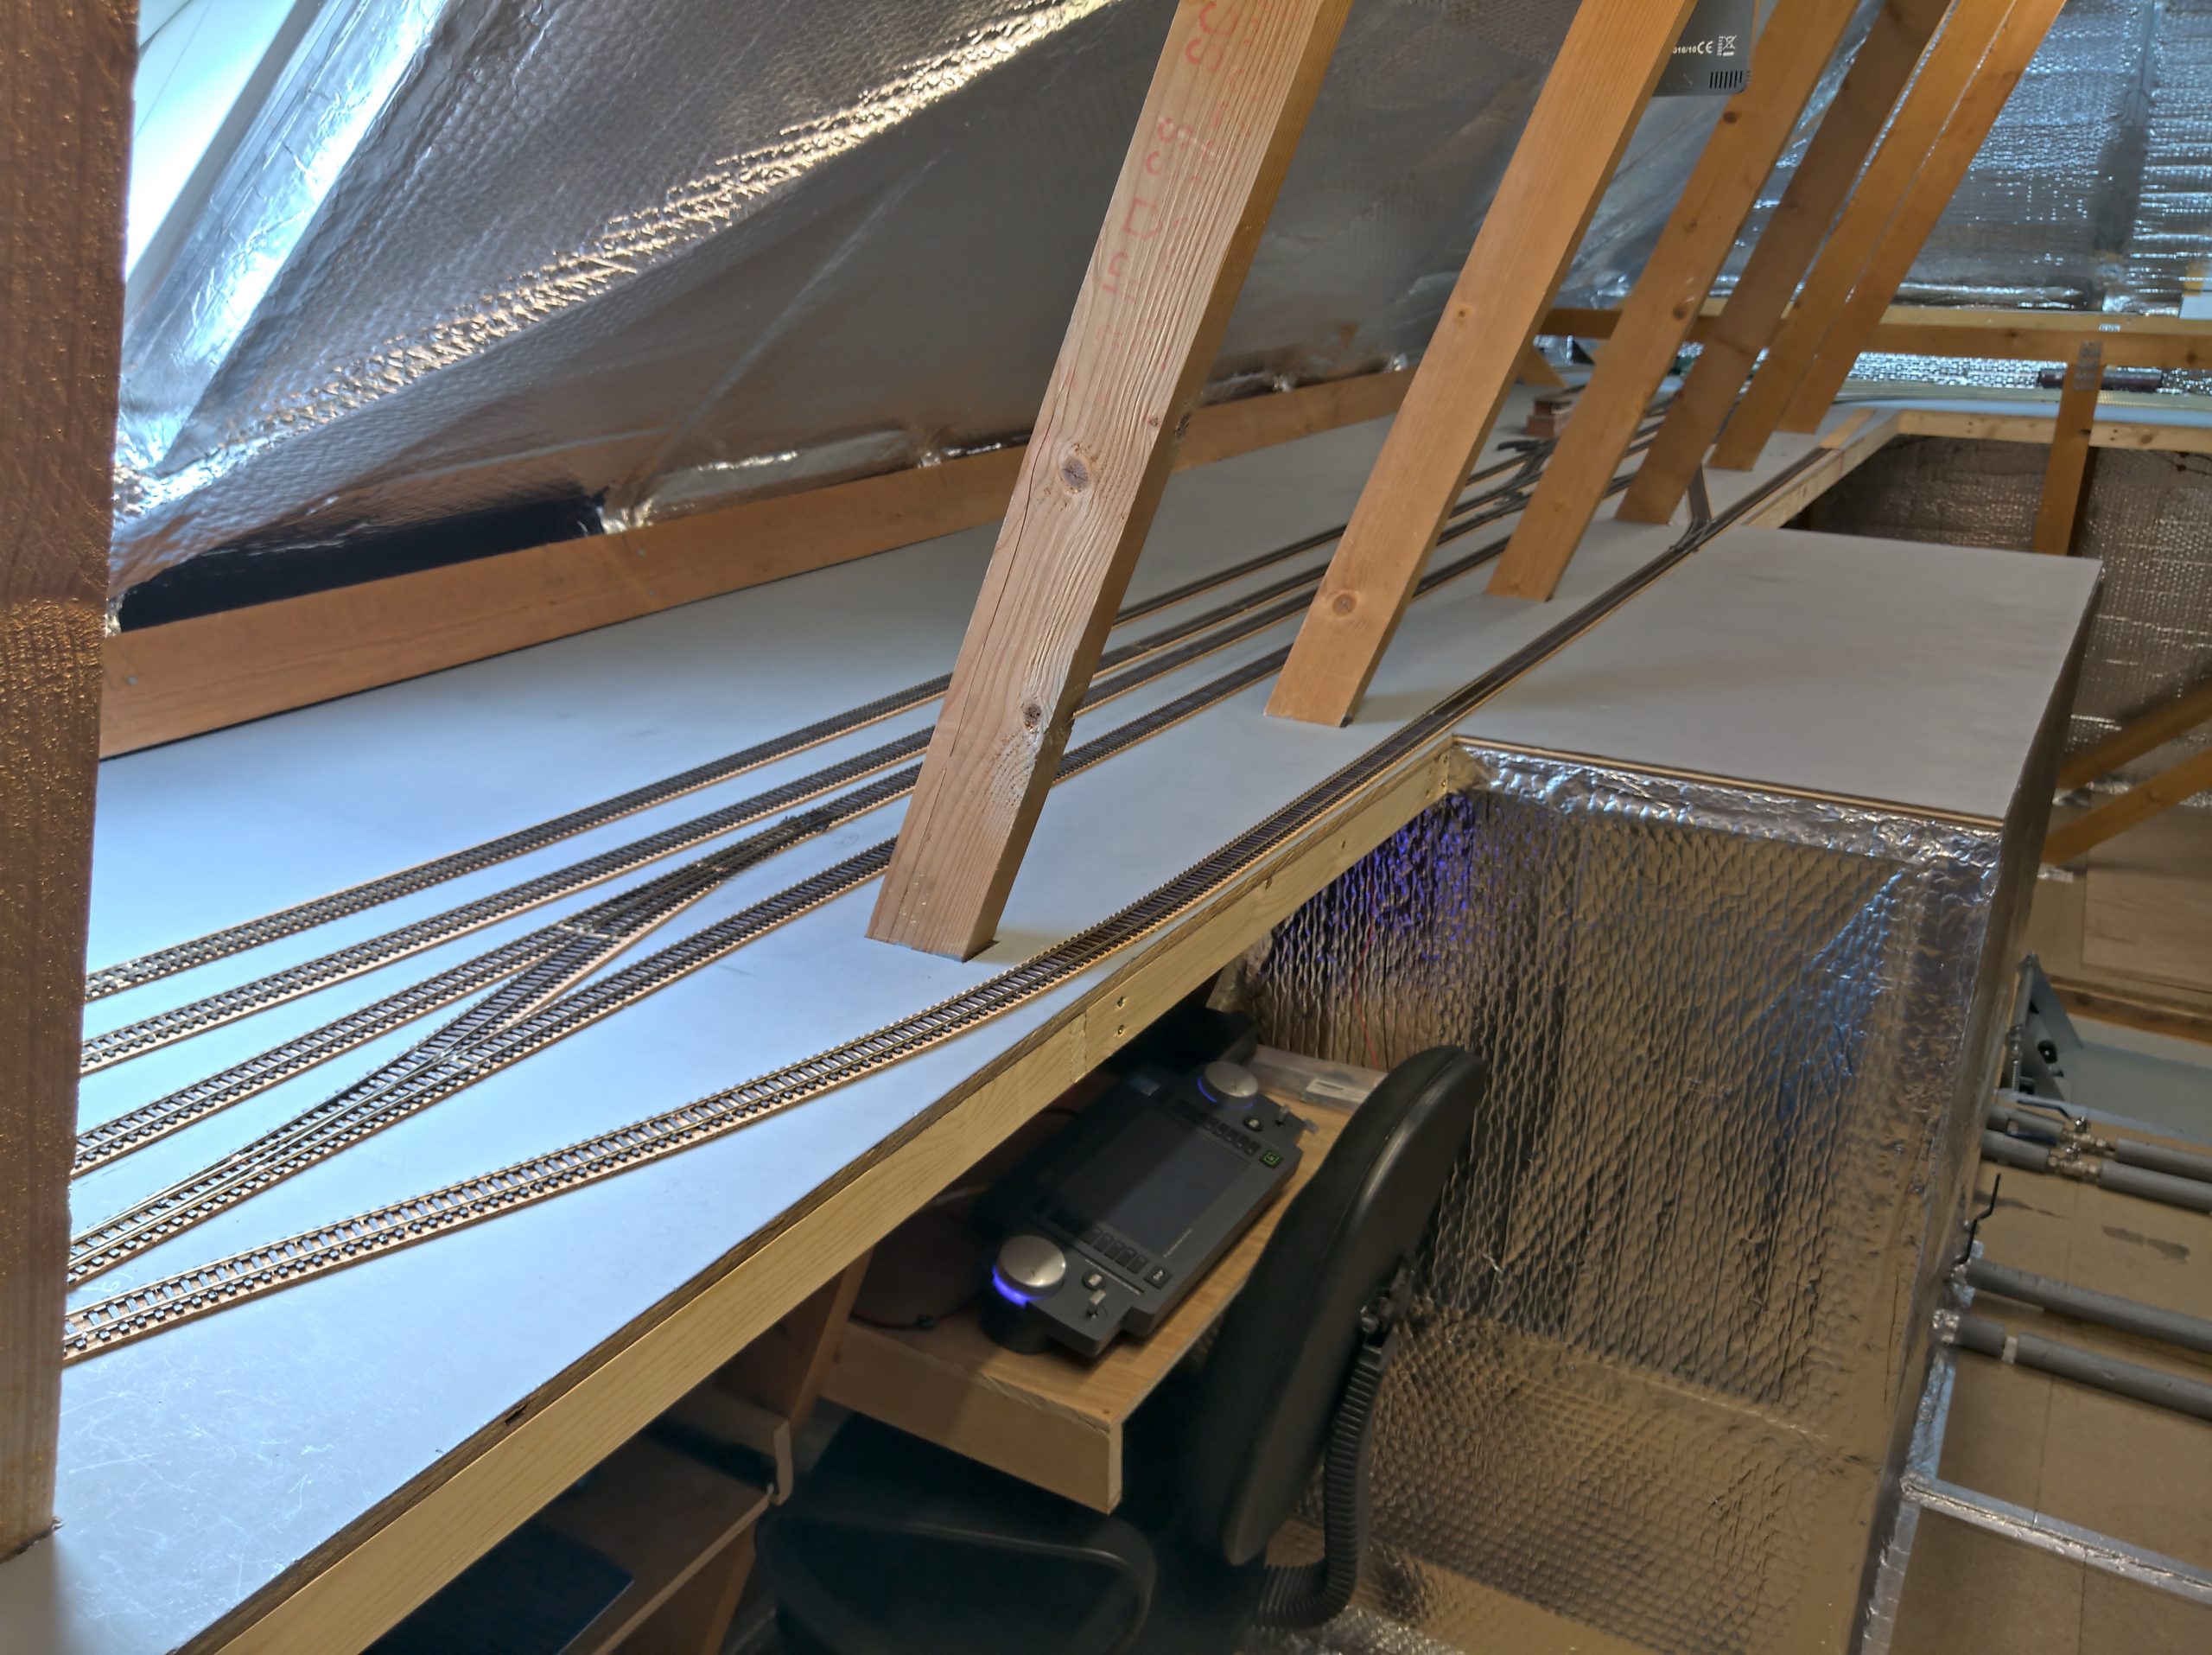
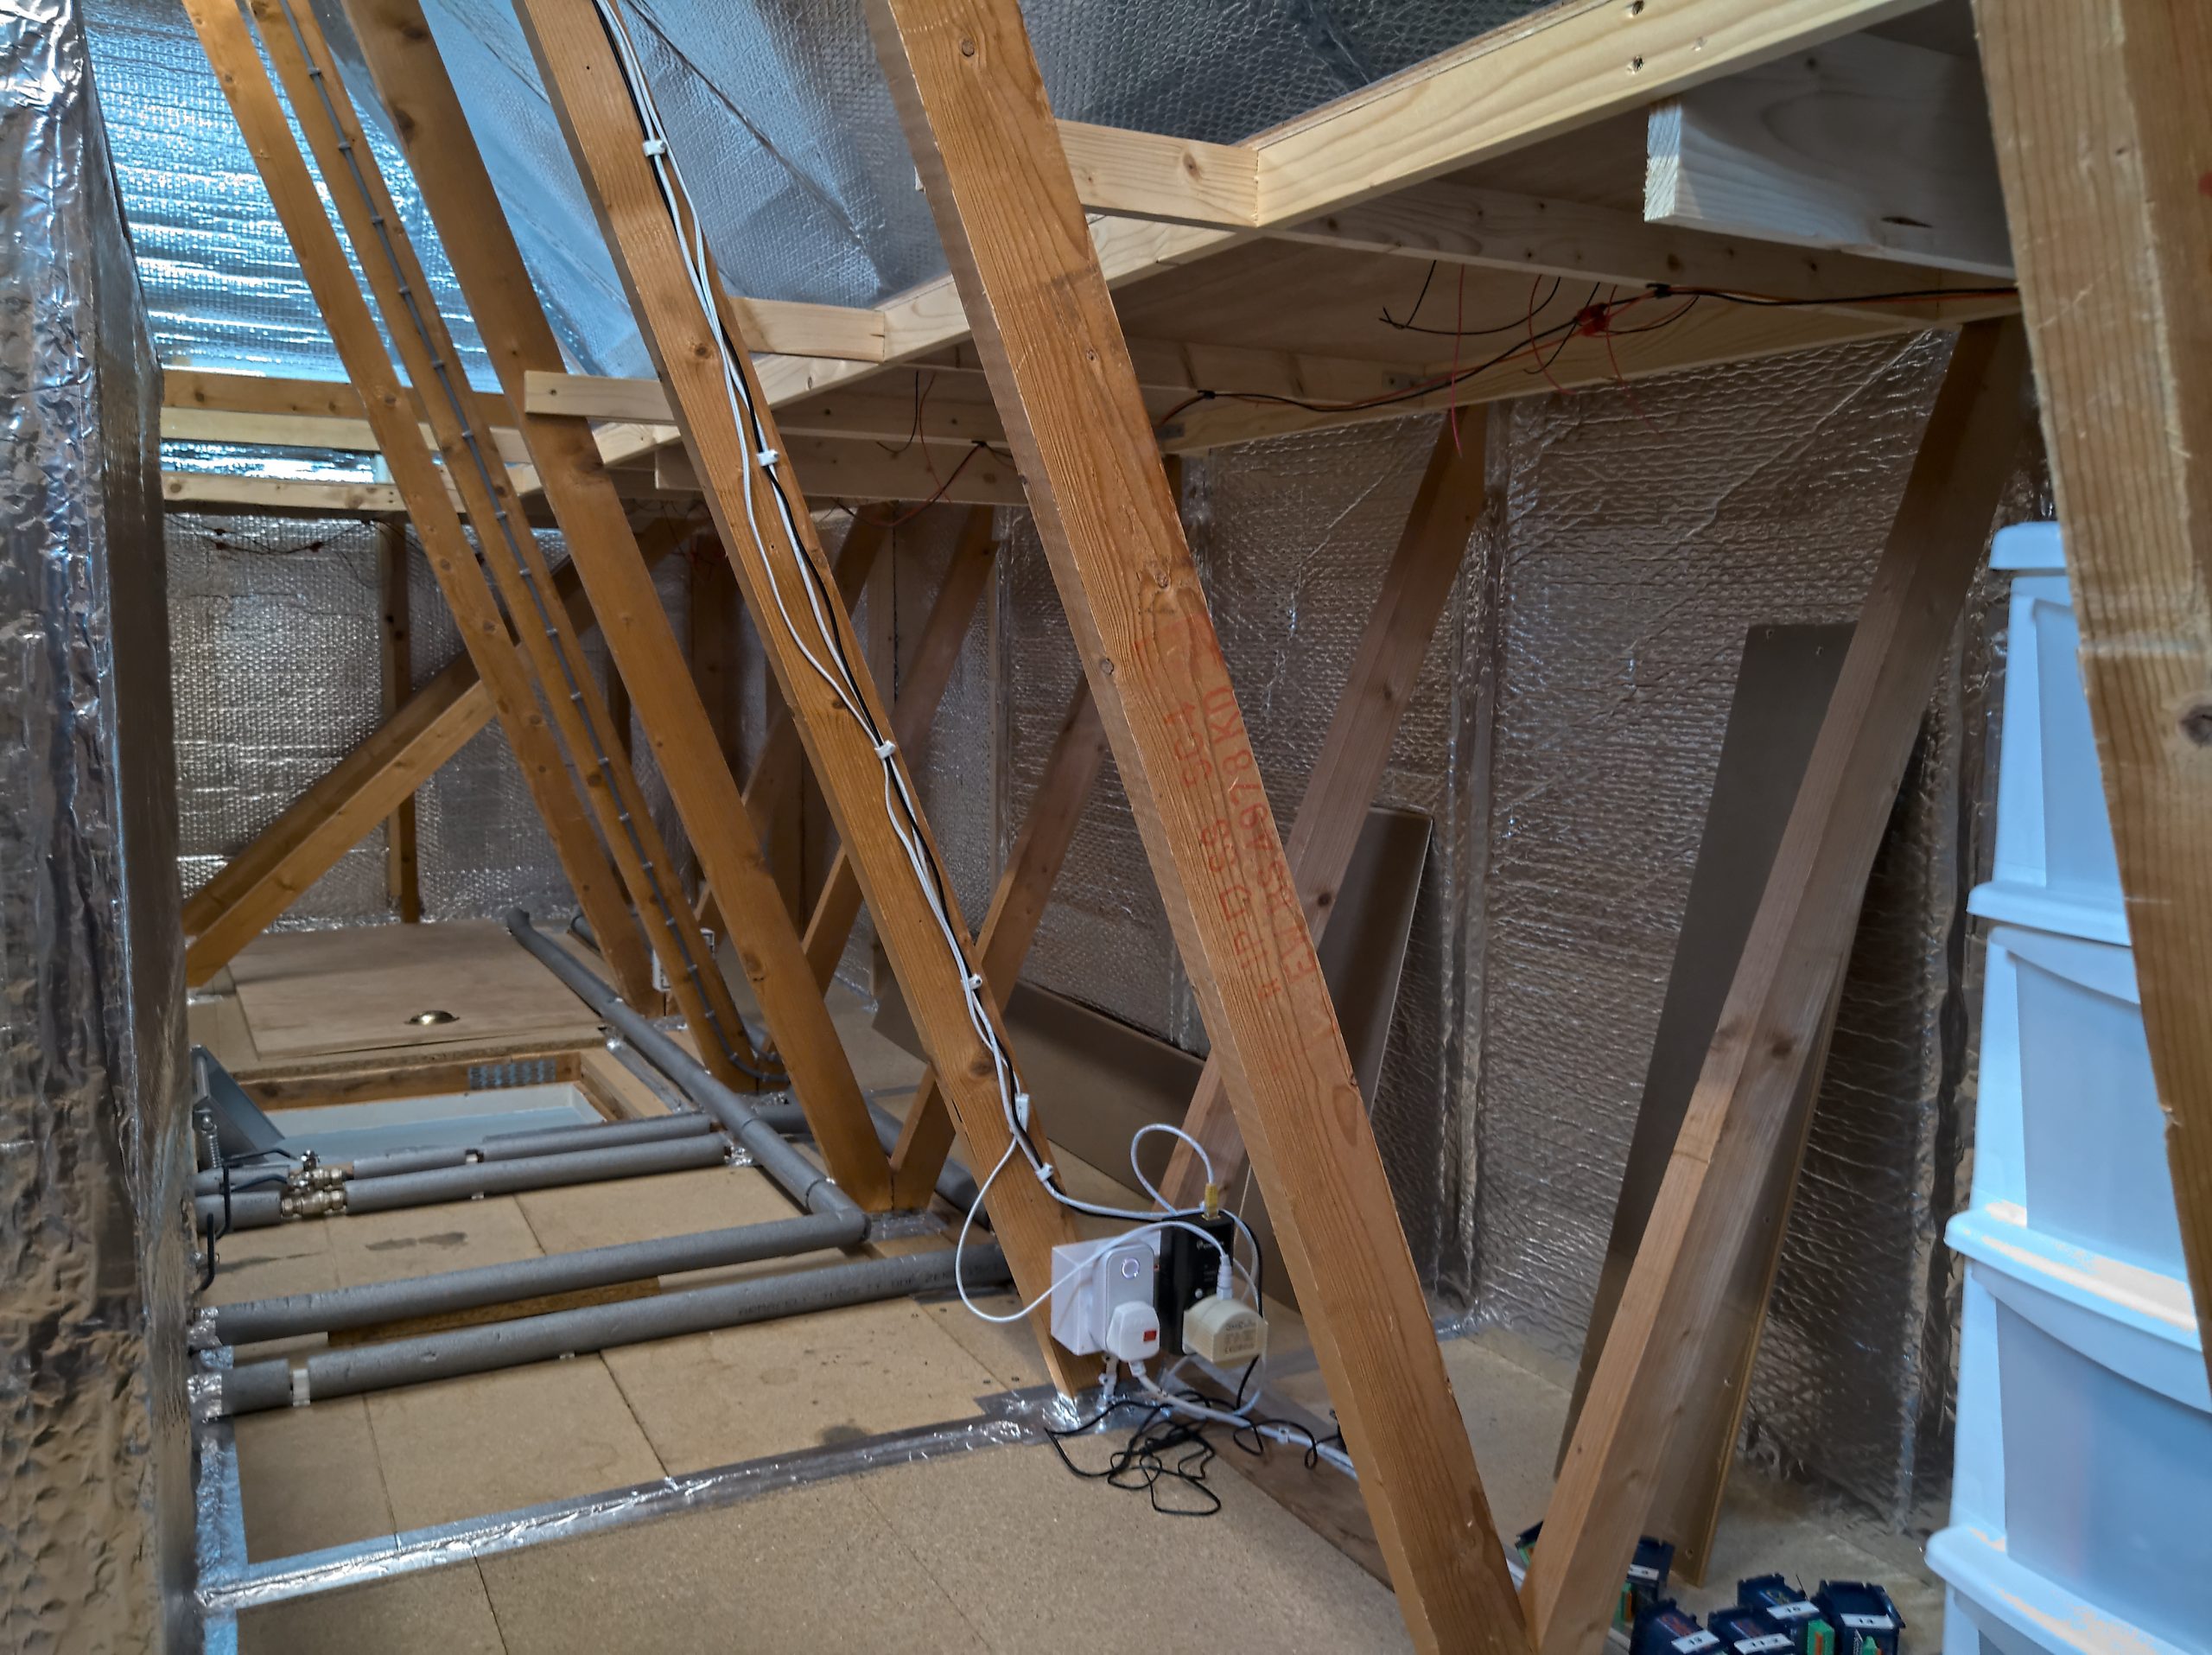
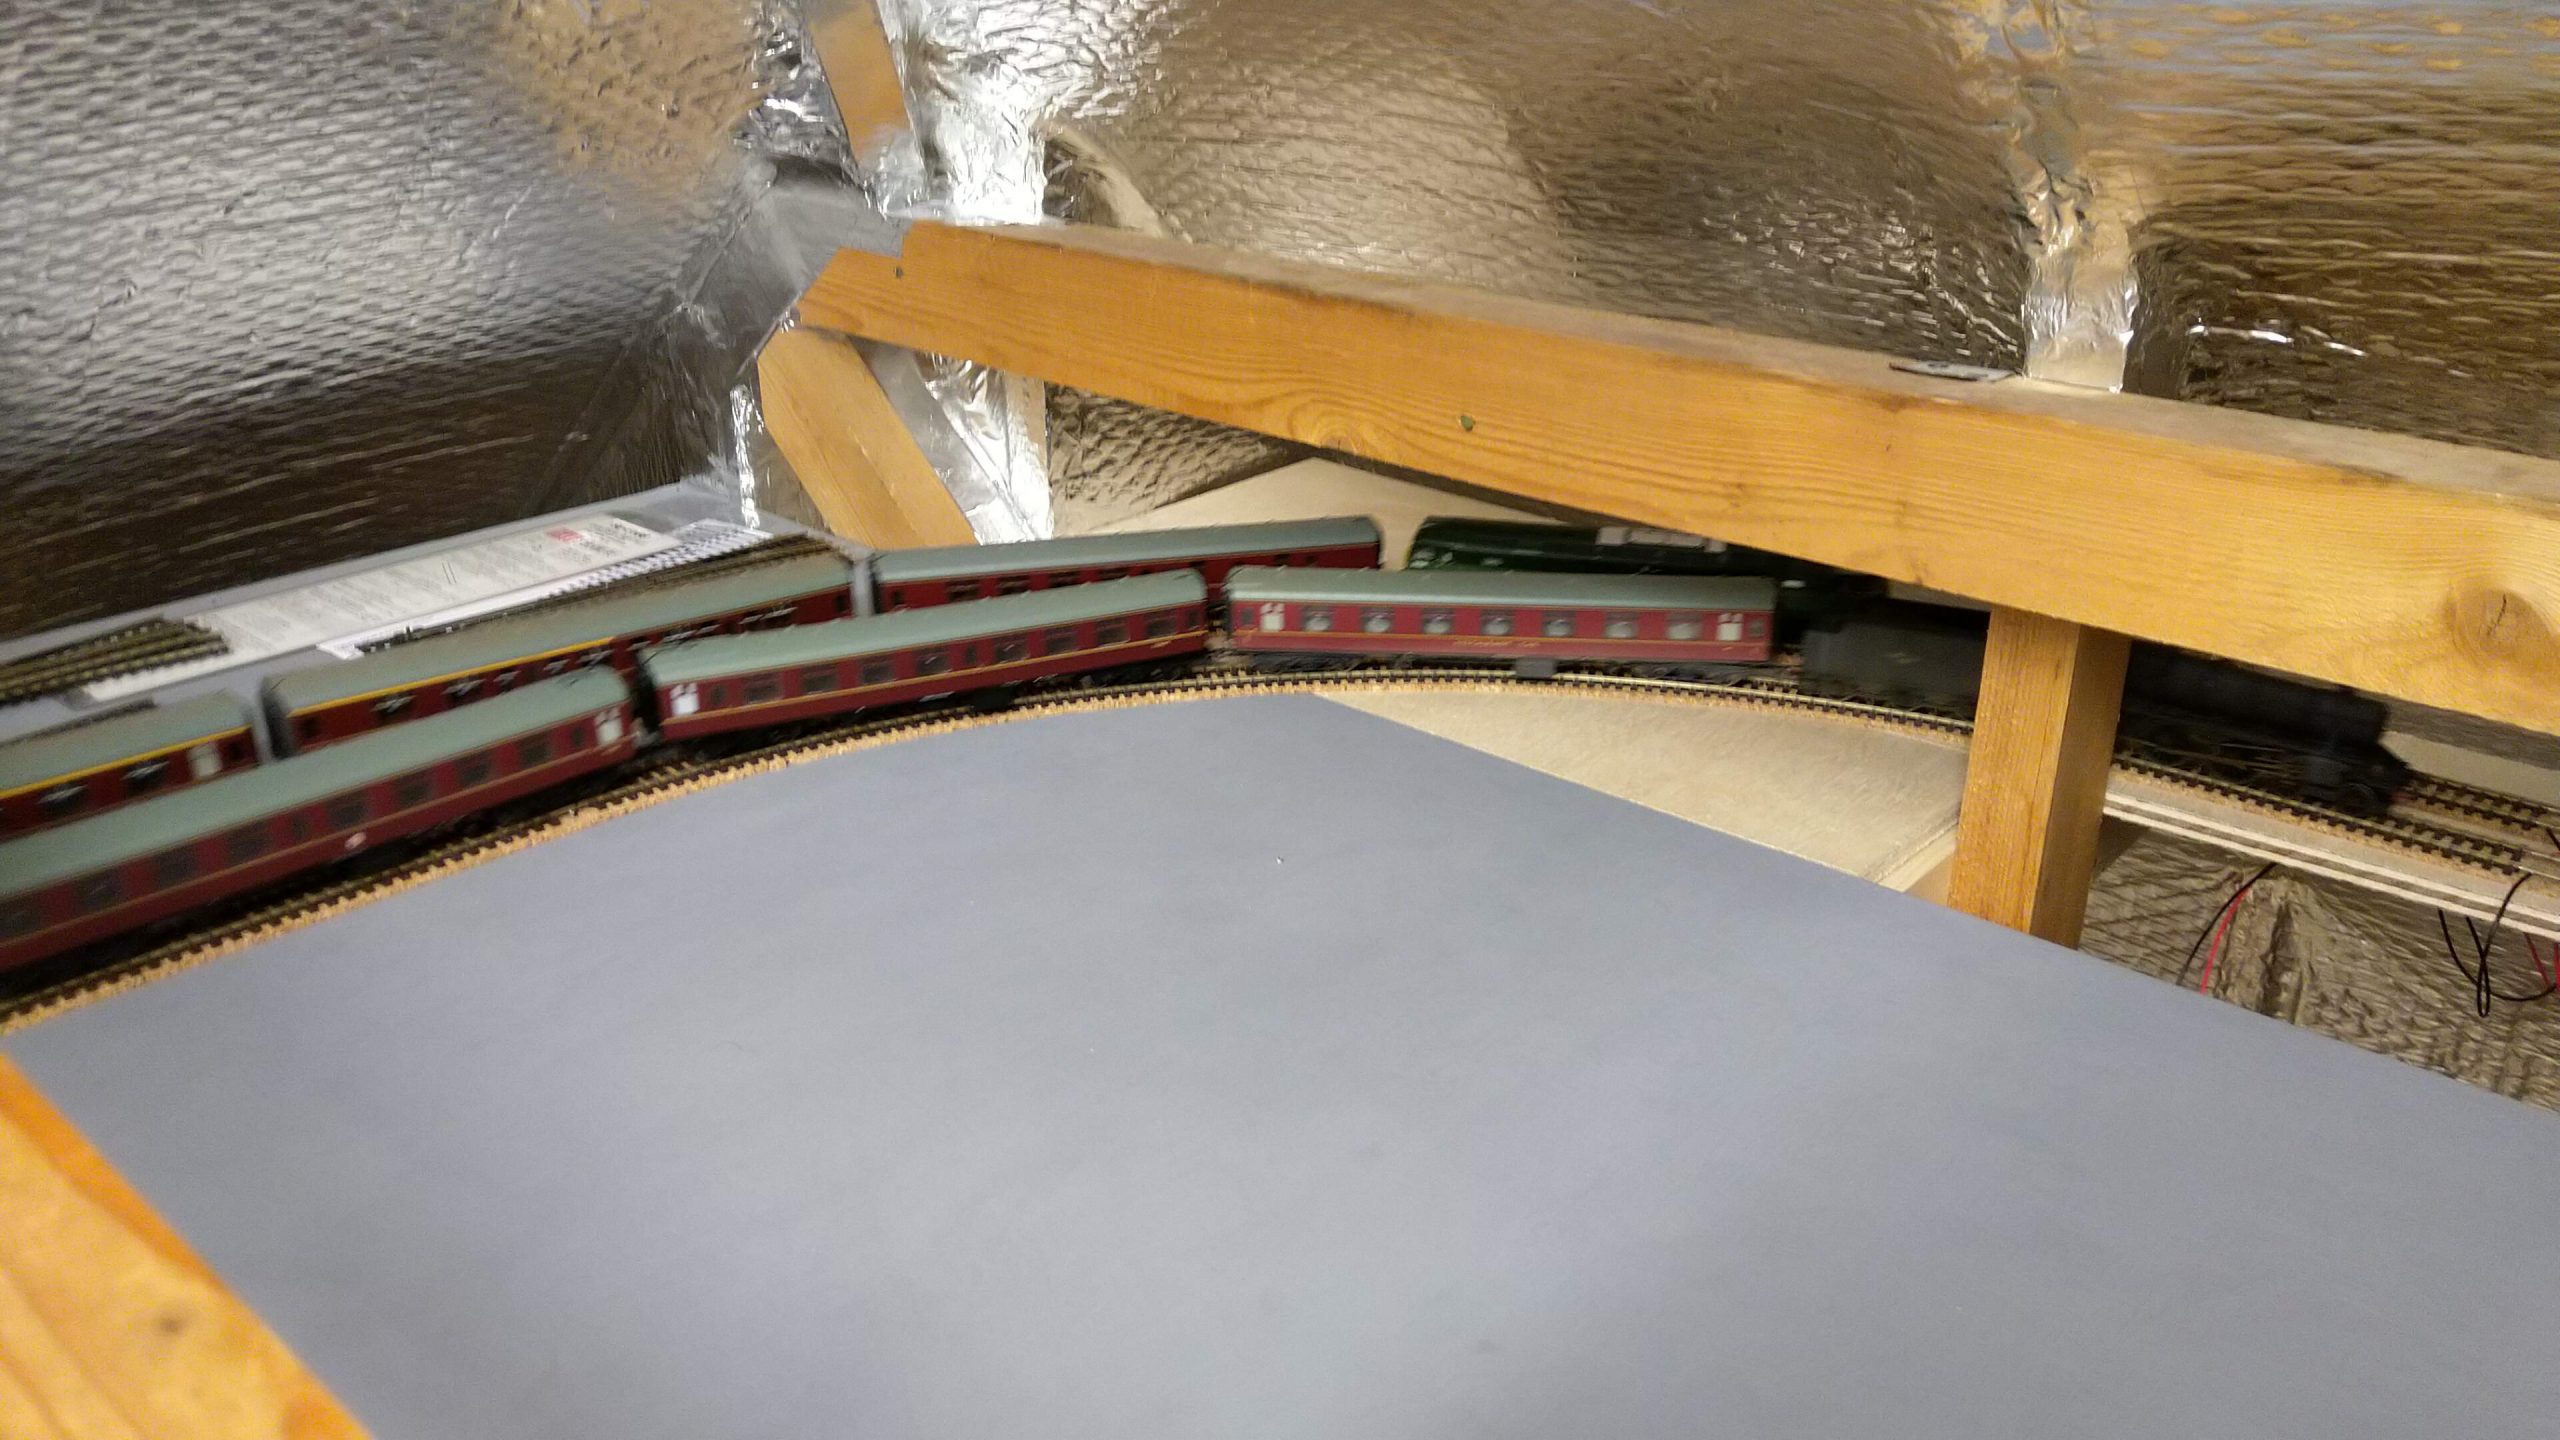
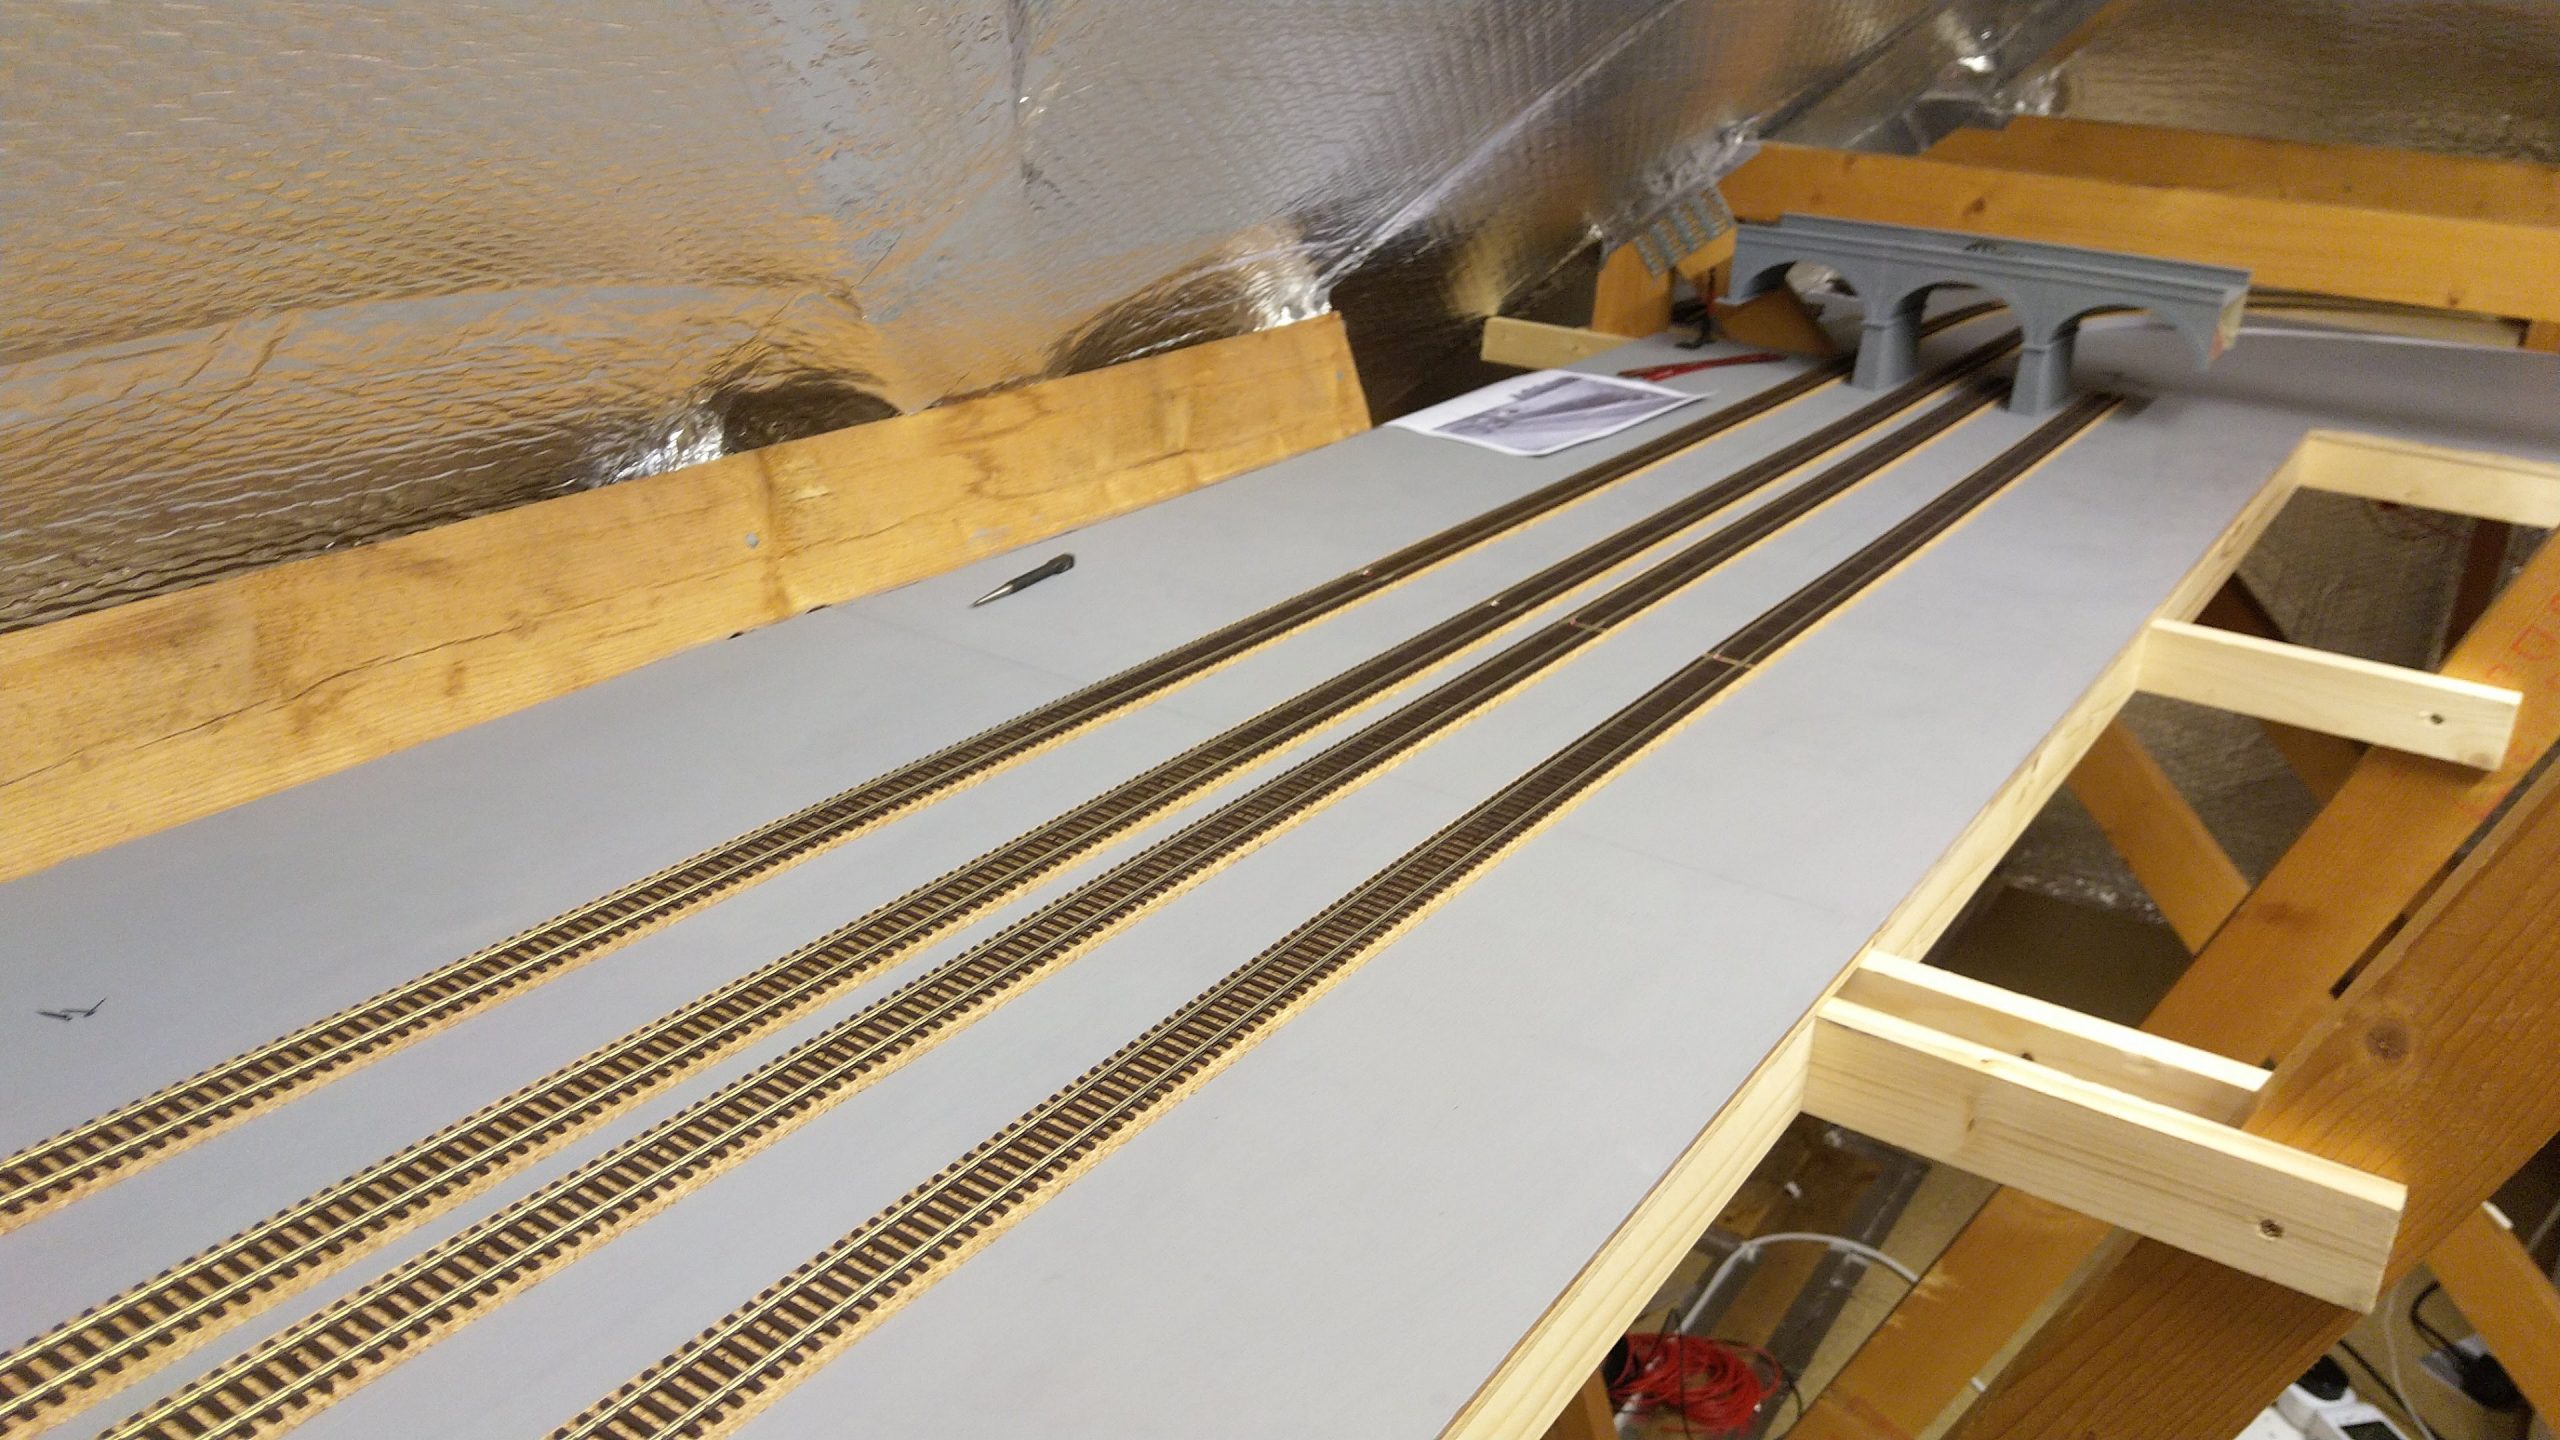
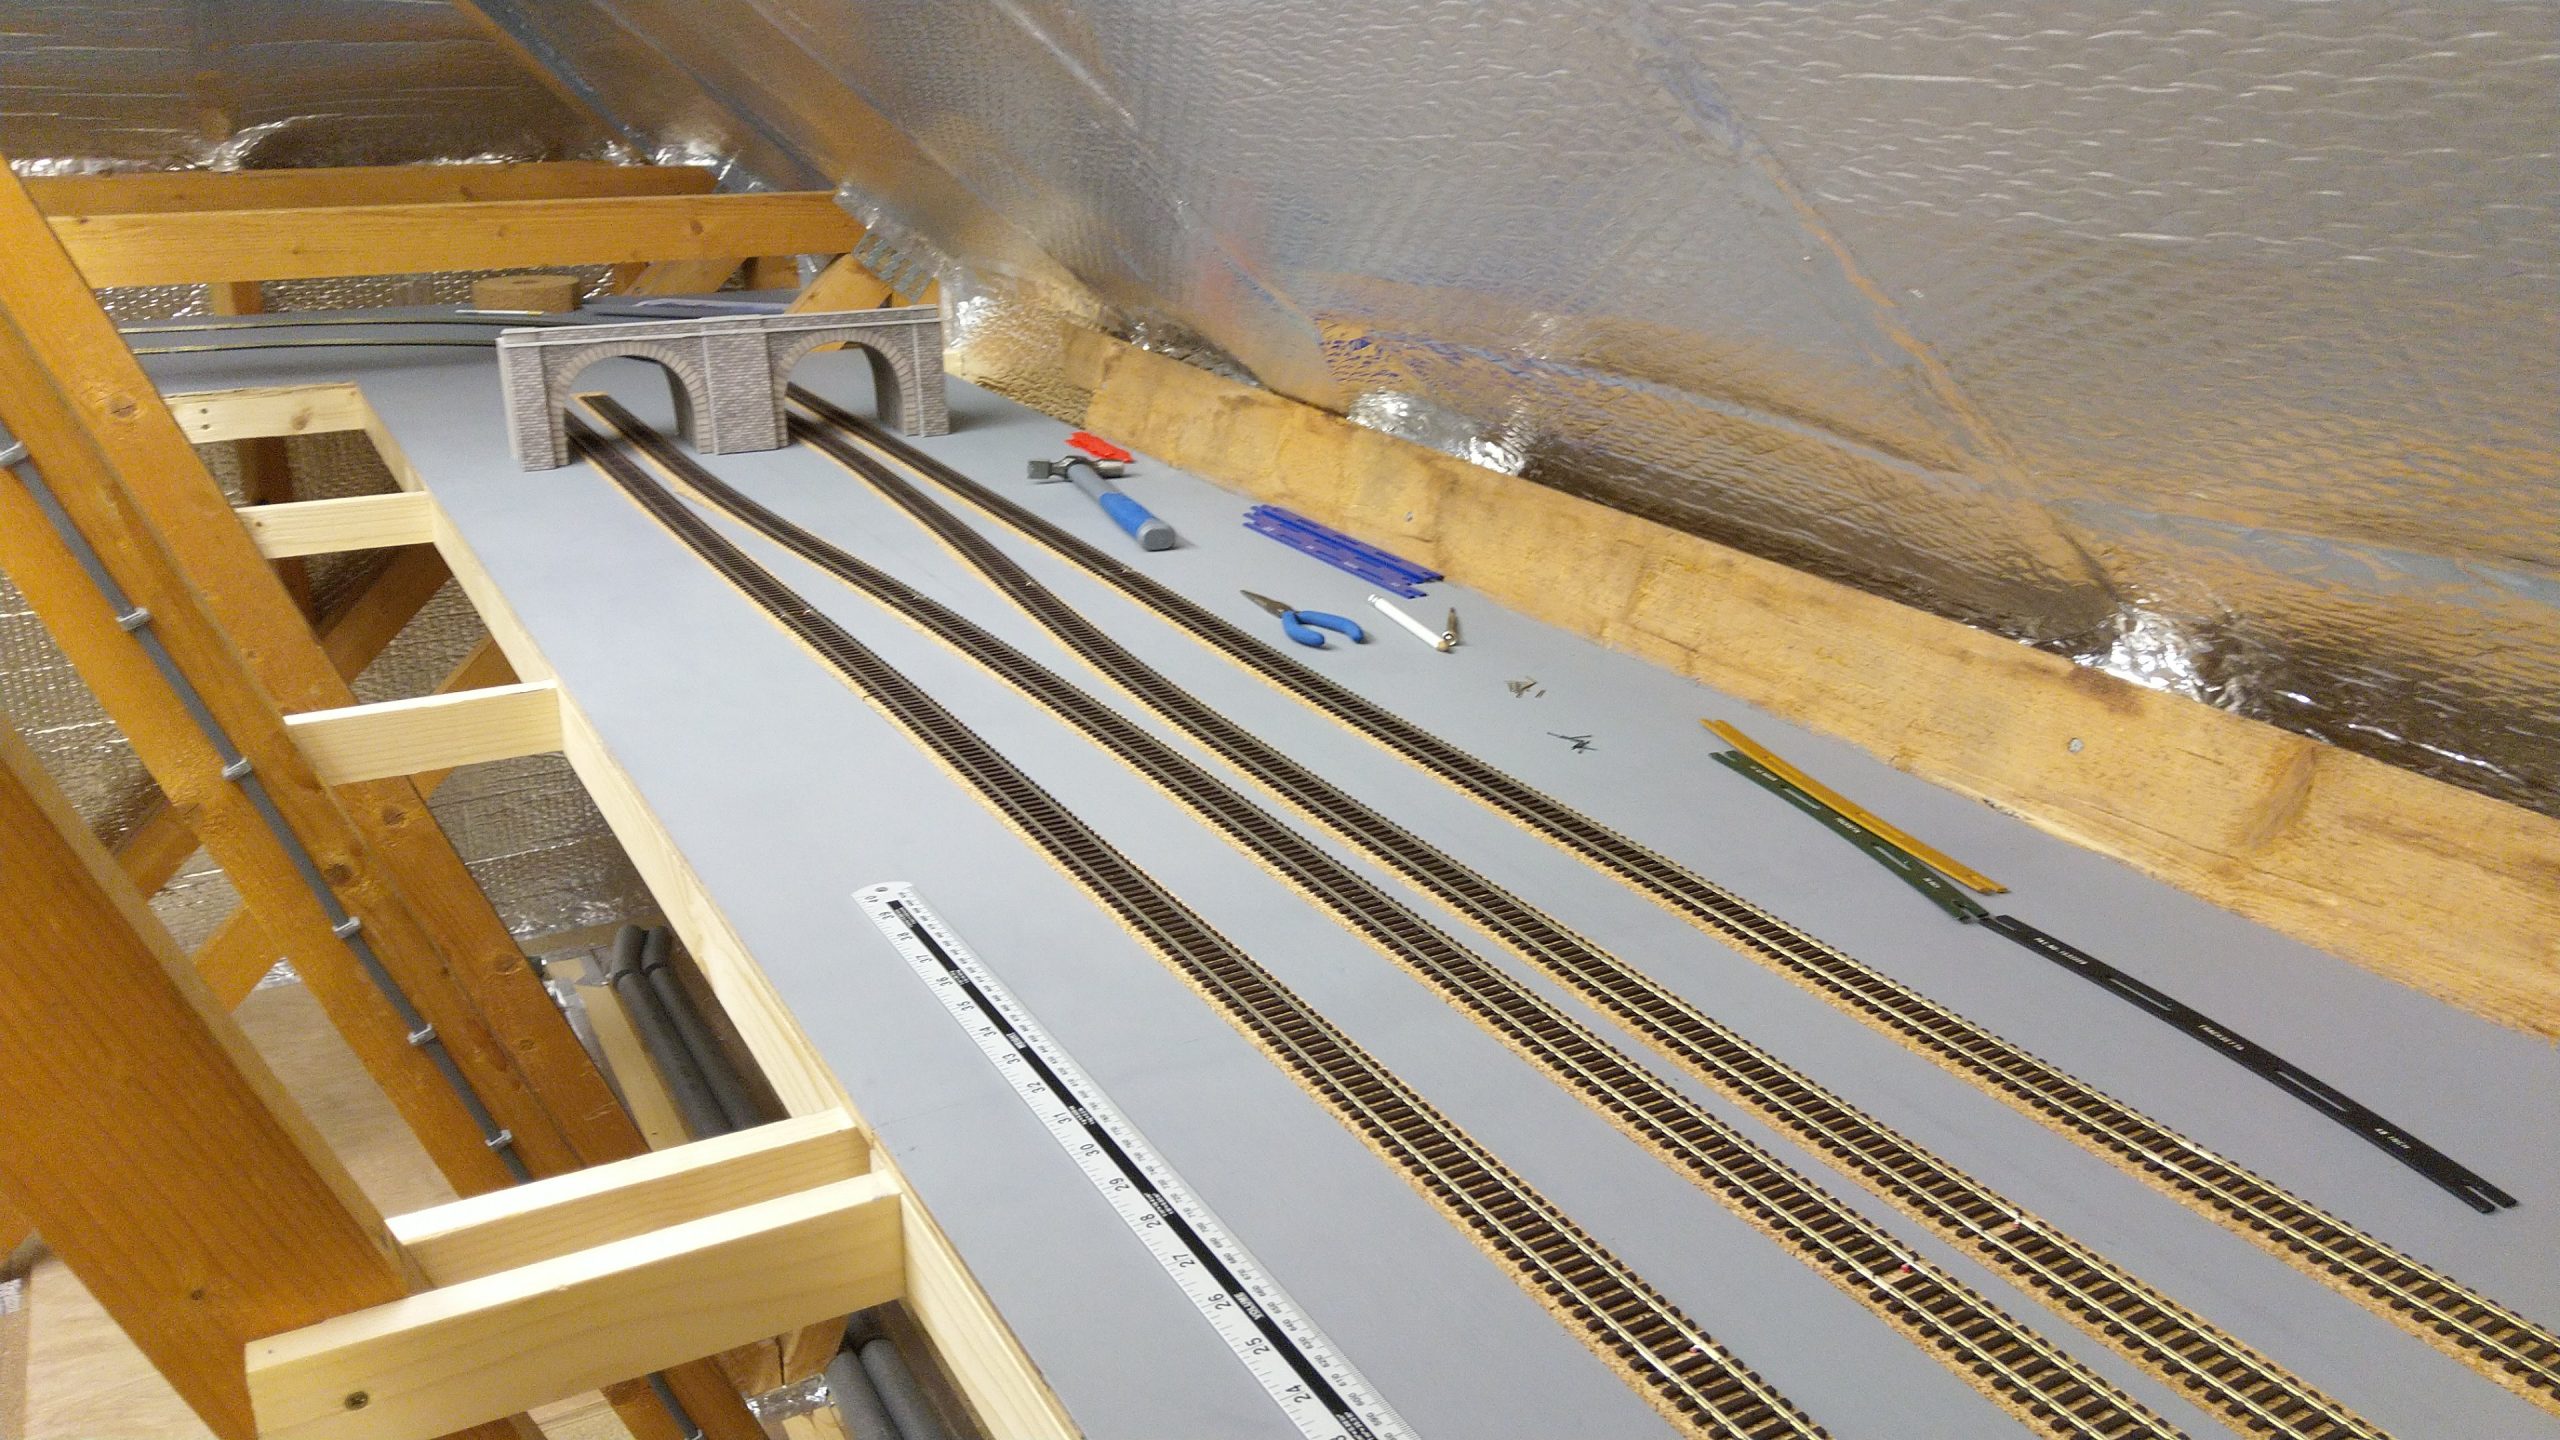
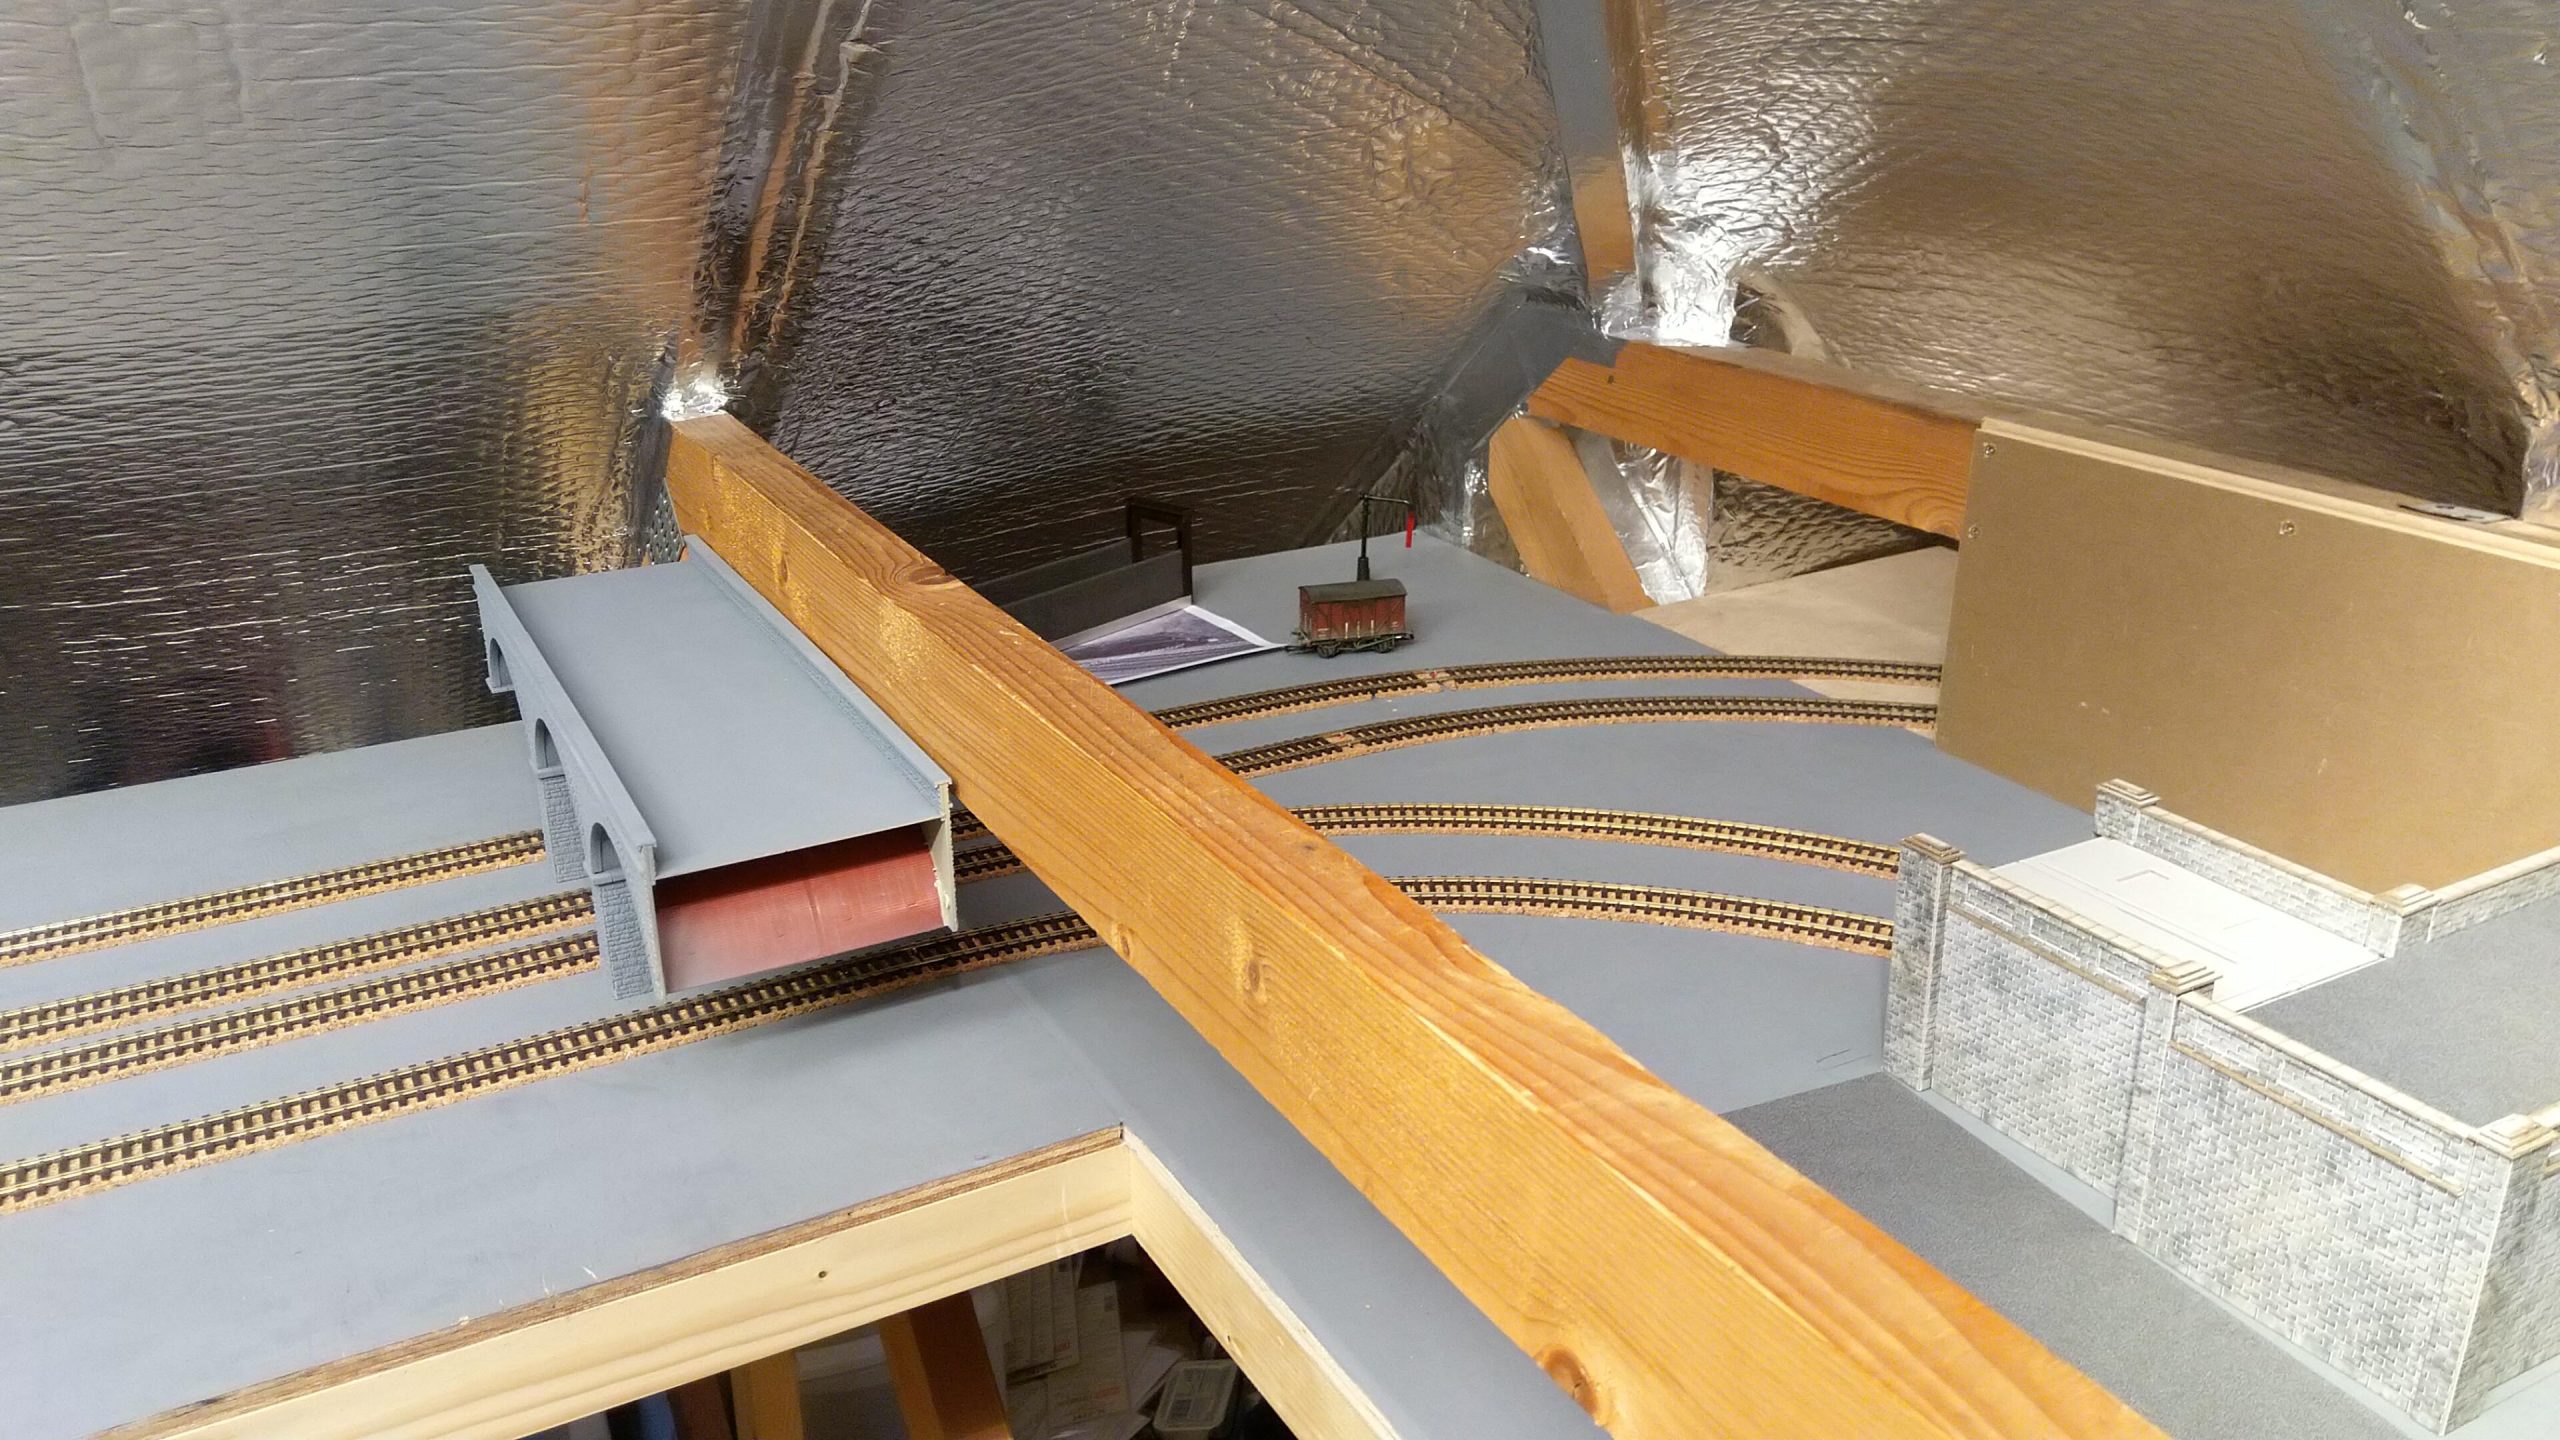
Finally, here are some pictures I took just before I started dismantling it and packing it away ready for our move. I intend to try and reuse as much as possible of the track/cork/wiring etc. as possible.