For a long time I didn’t really know where to start with the construction or how to go about the build. In the end I decided to try starting with the lower level where the fiddle yard / storage sidings will be going to be but I was still making it up as I was going along.
The build was influenced by watching YouTube videos from Vintage 80s Loft Model Railway, particularly in the construction of the layout. I have decided to try using cheap but substantial stud work timber attached to the joists to form the baseboard frame with 12mm hardwood plywood to form the surface.
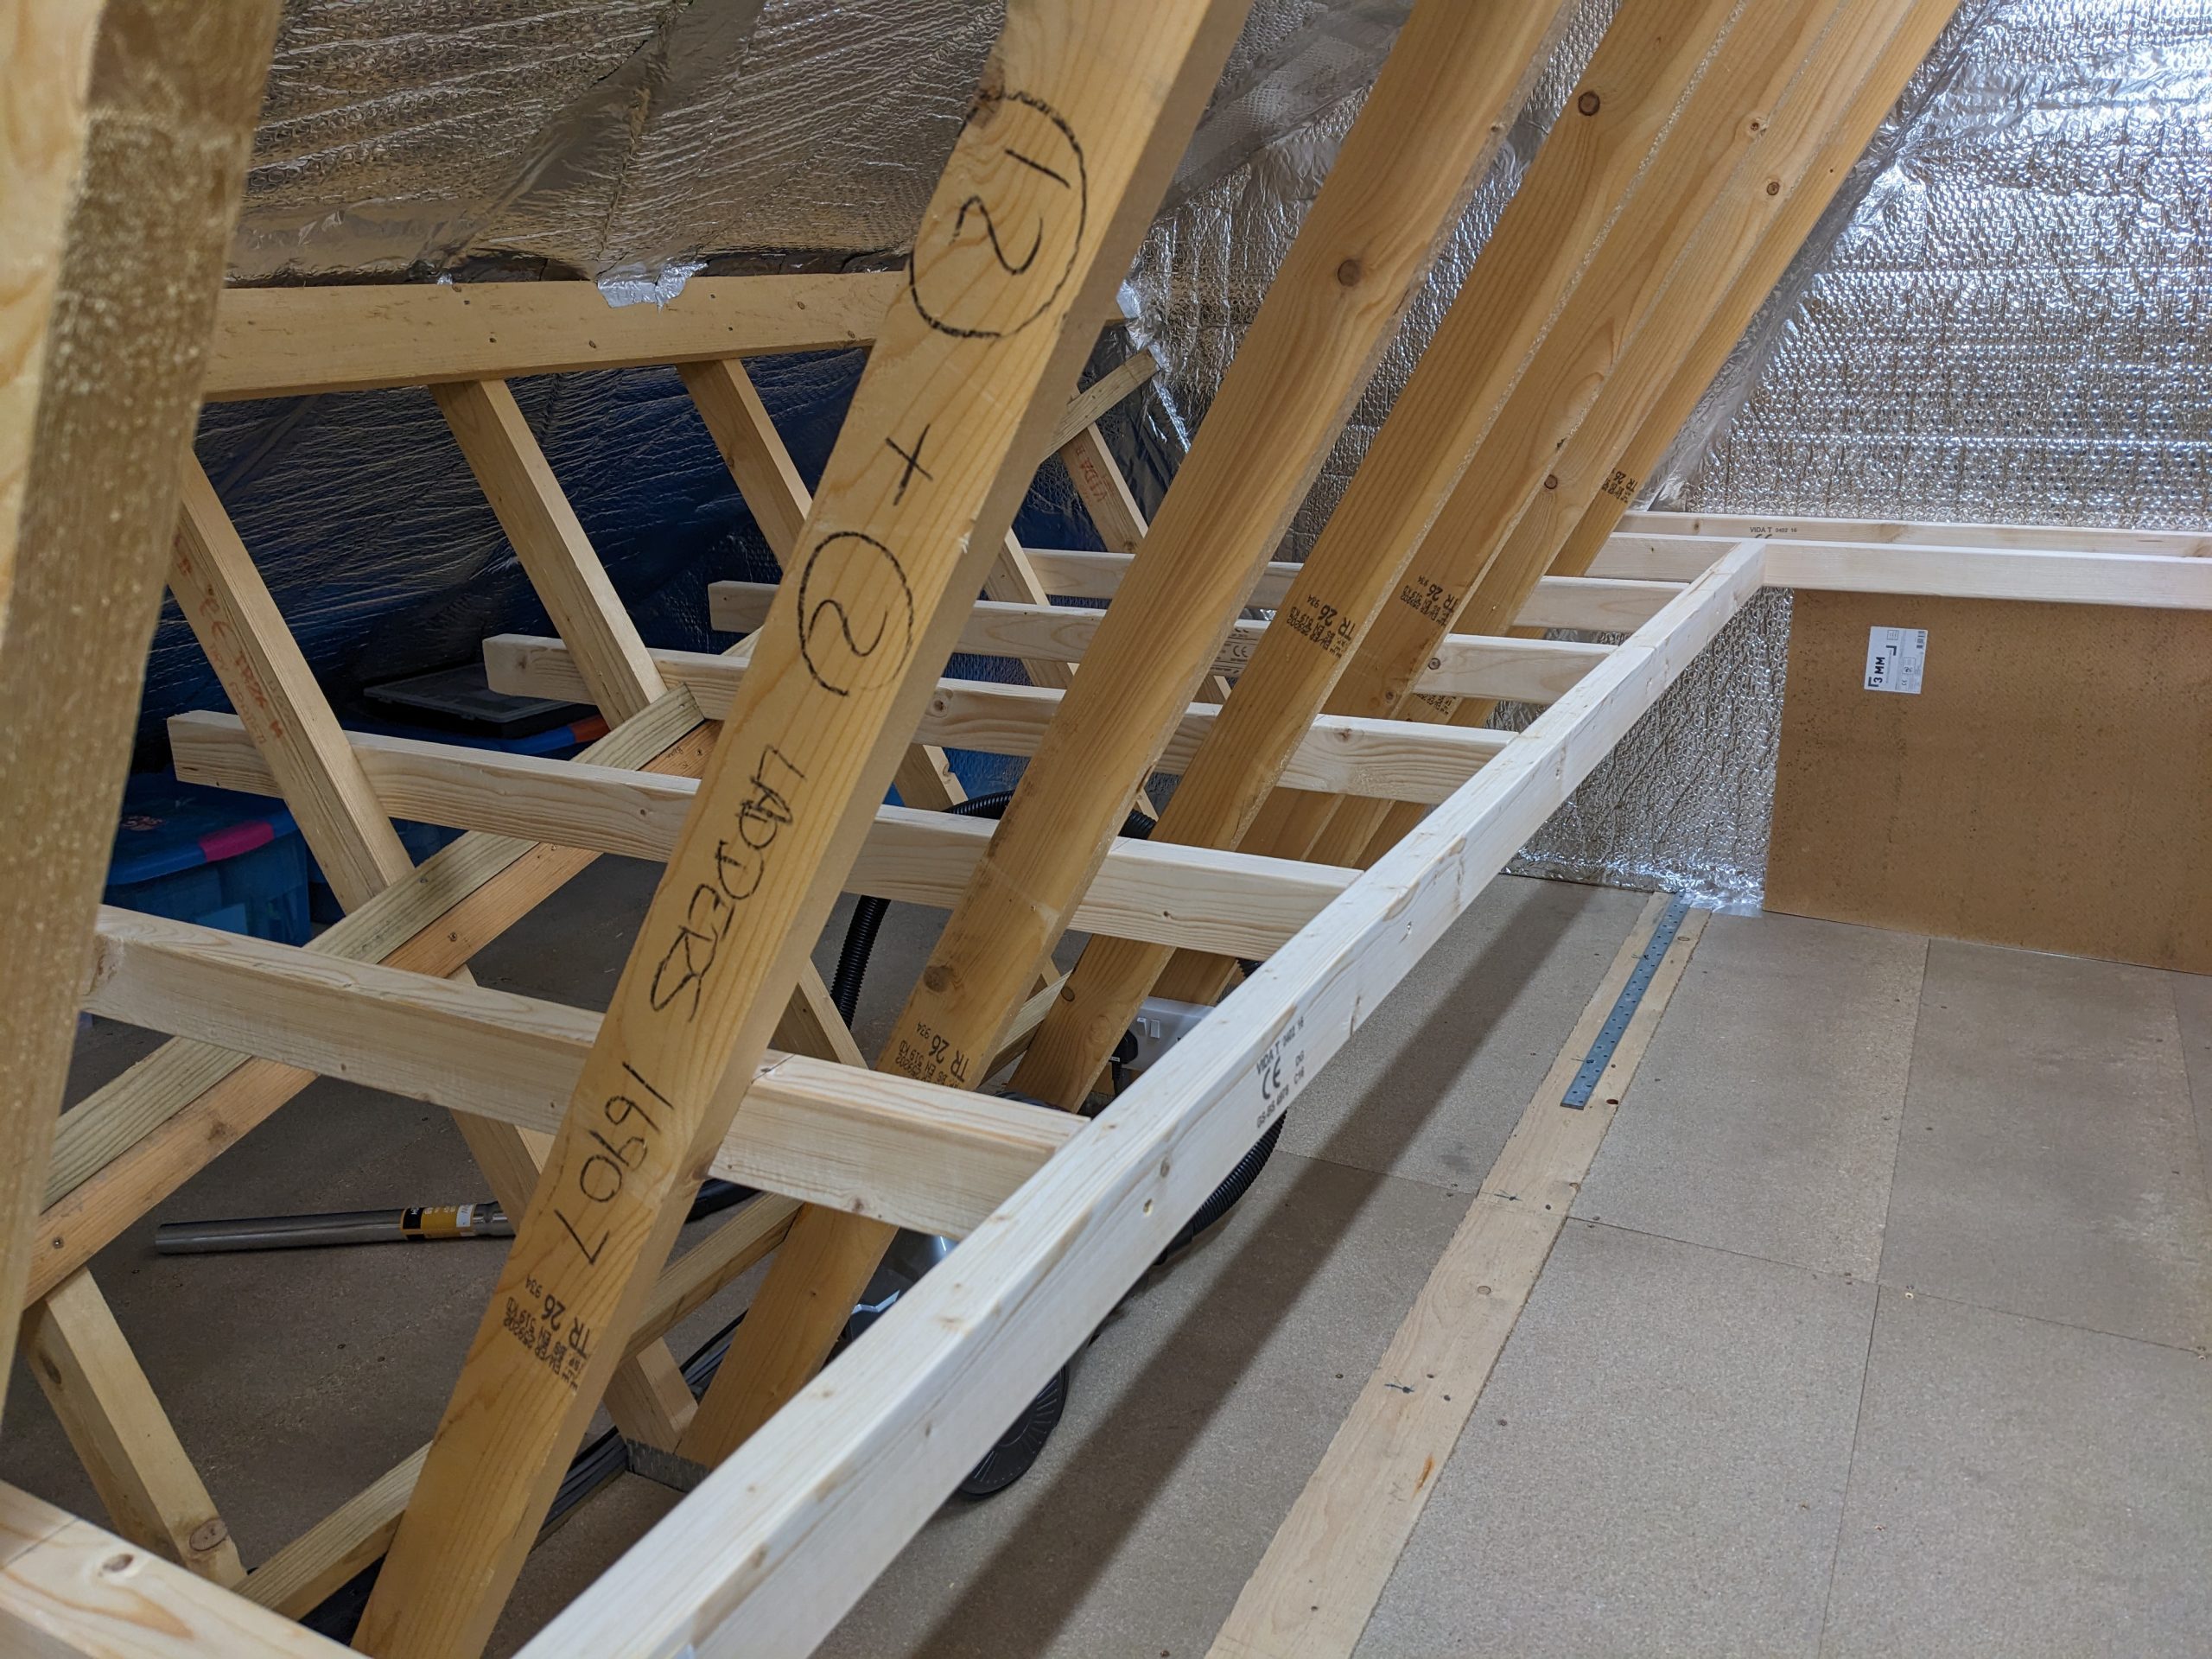
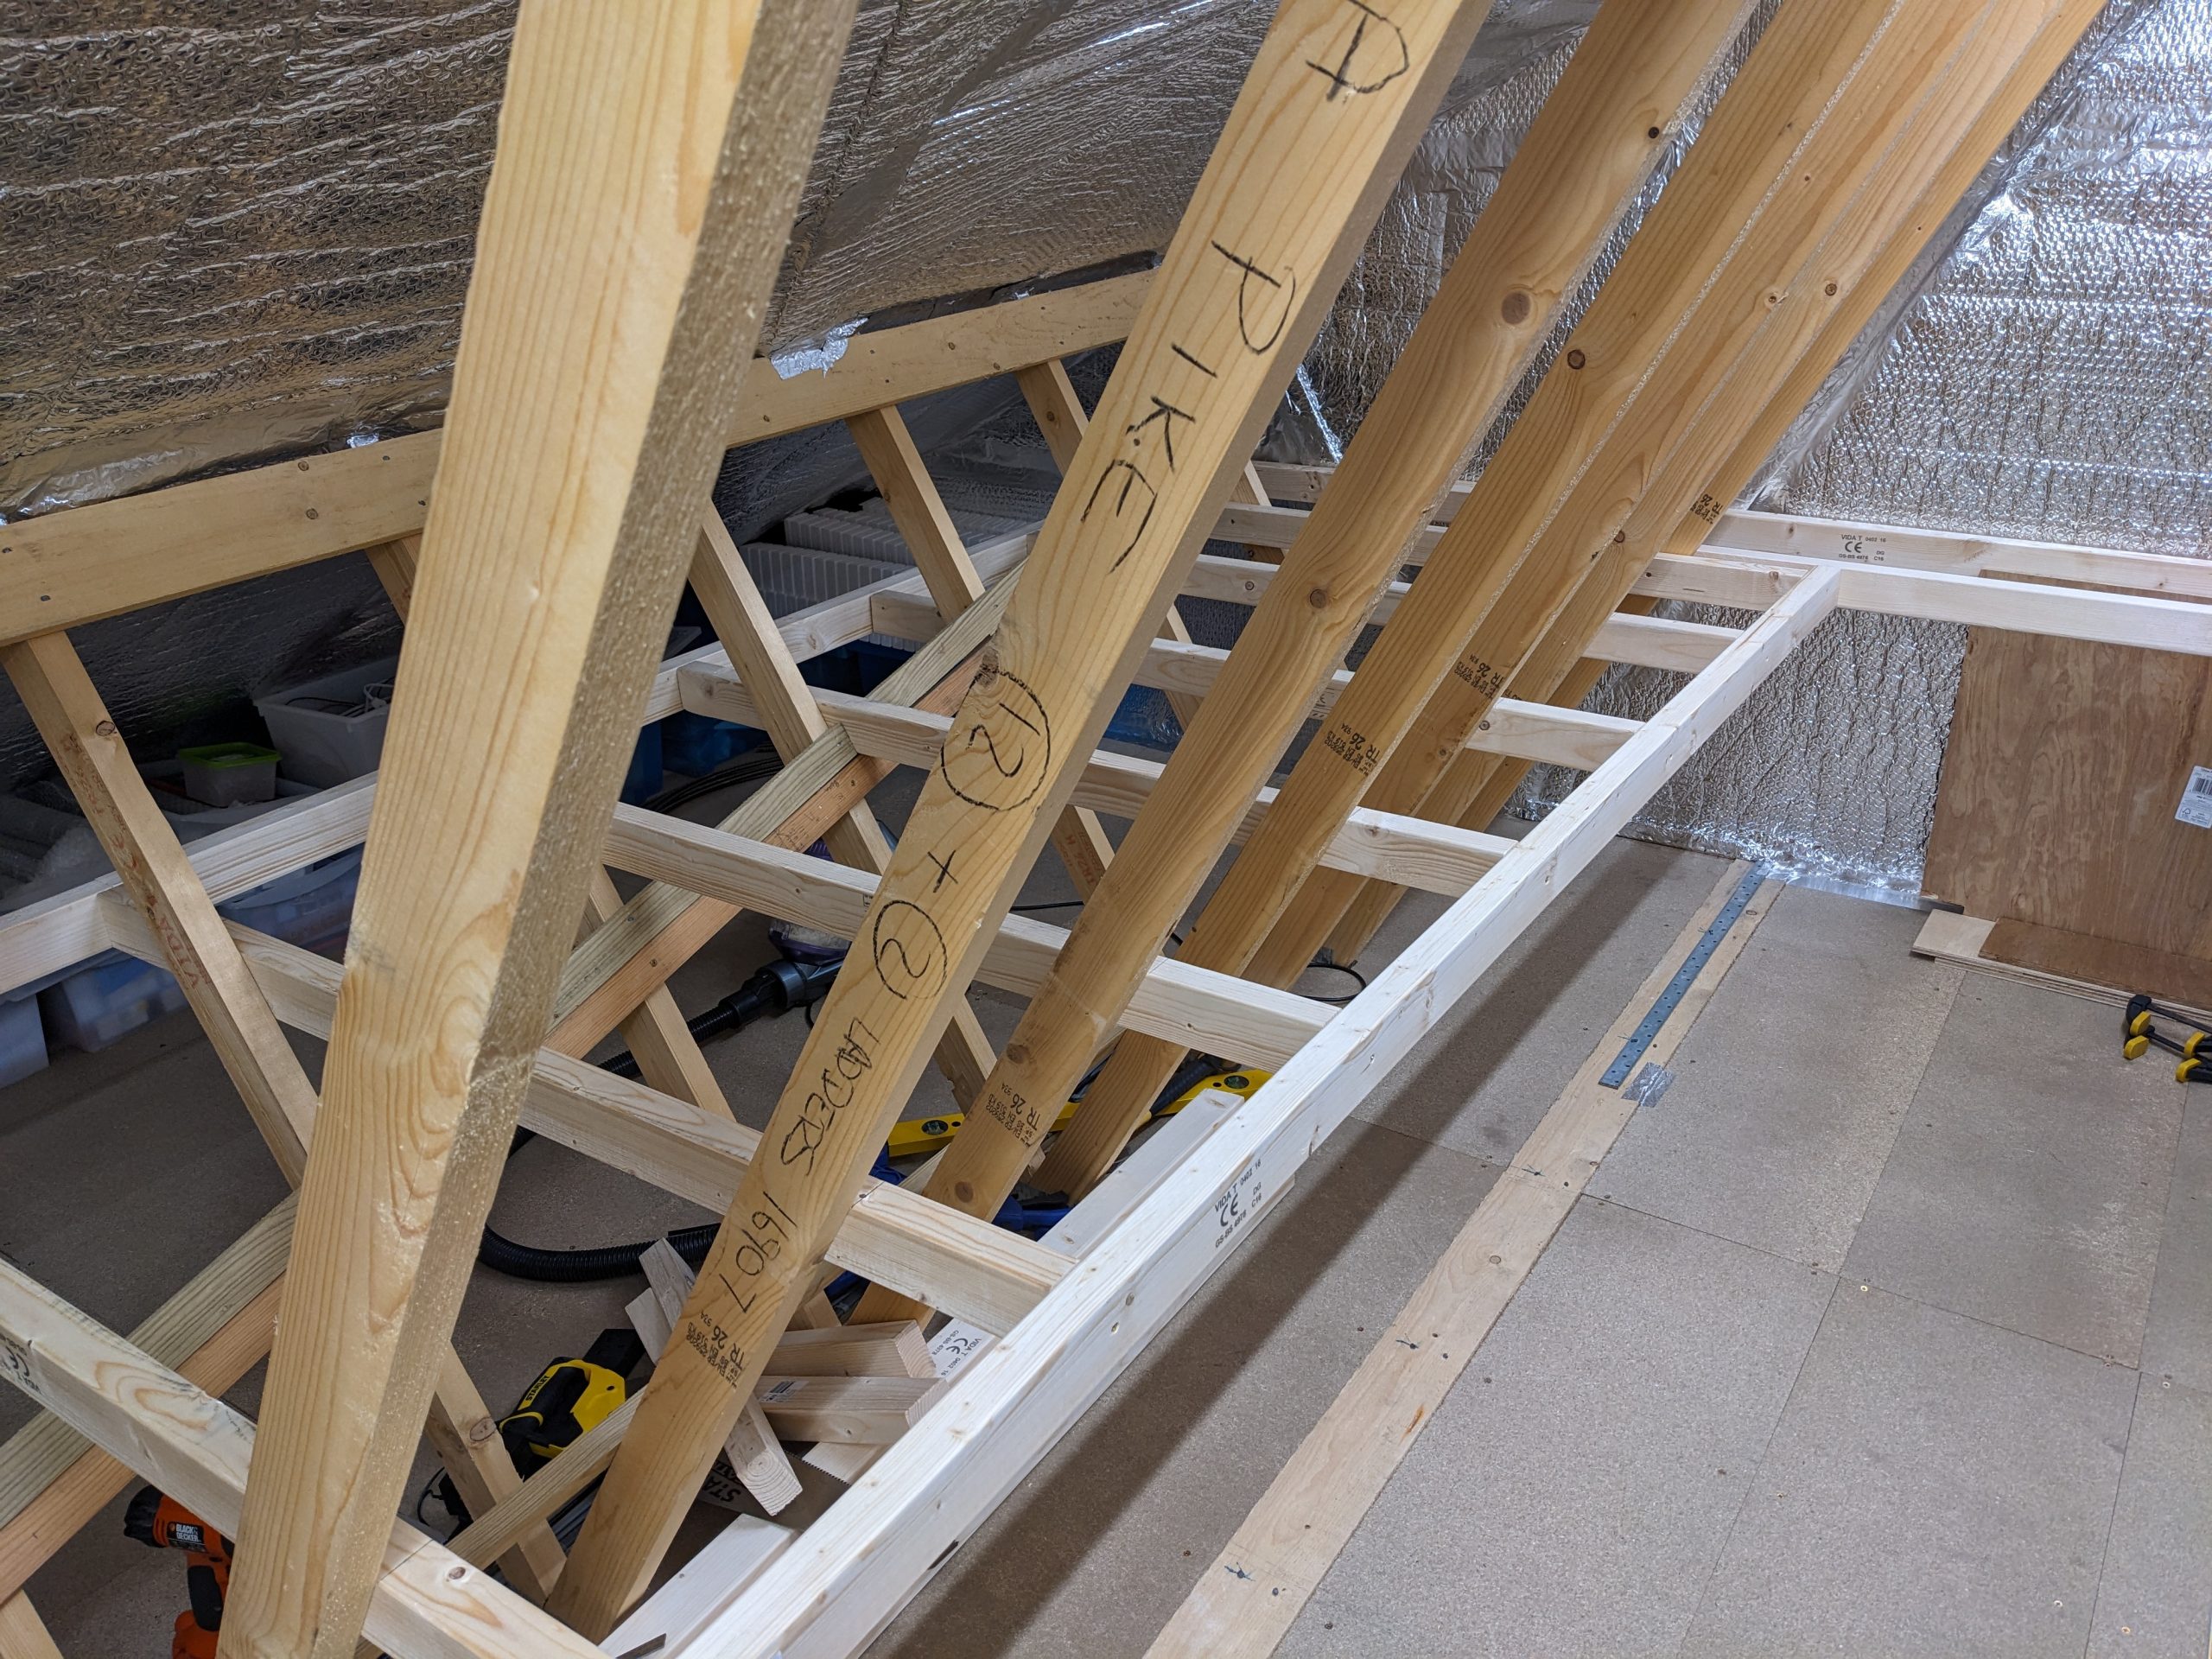
I cut the lengths of stud work timber in half (1.2m lengths) and screwed them evenly across the joists at what I judged to be an appropriate height for the lower level (leaving room for the upper level). The main problem was that all three of my spirit levels seemed to read differently! After doing the first half dozen or so I came back the next time and they all seemed to be on a slope so I had to redo them. I think part of the problem is that the timber is so warped/bowed/twisted that it’s almost impossible to judge how level it is. Screwing it to the joists straightens it out in a vertical plane but it still is like a roller coaster horizontally. Where can you get dead straight timber from?
March 2023
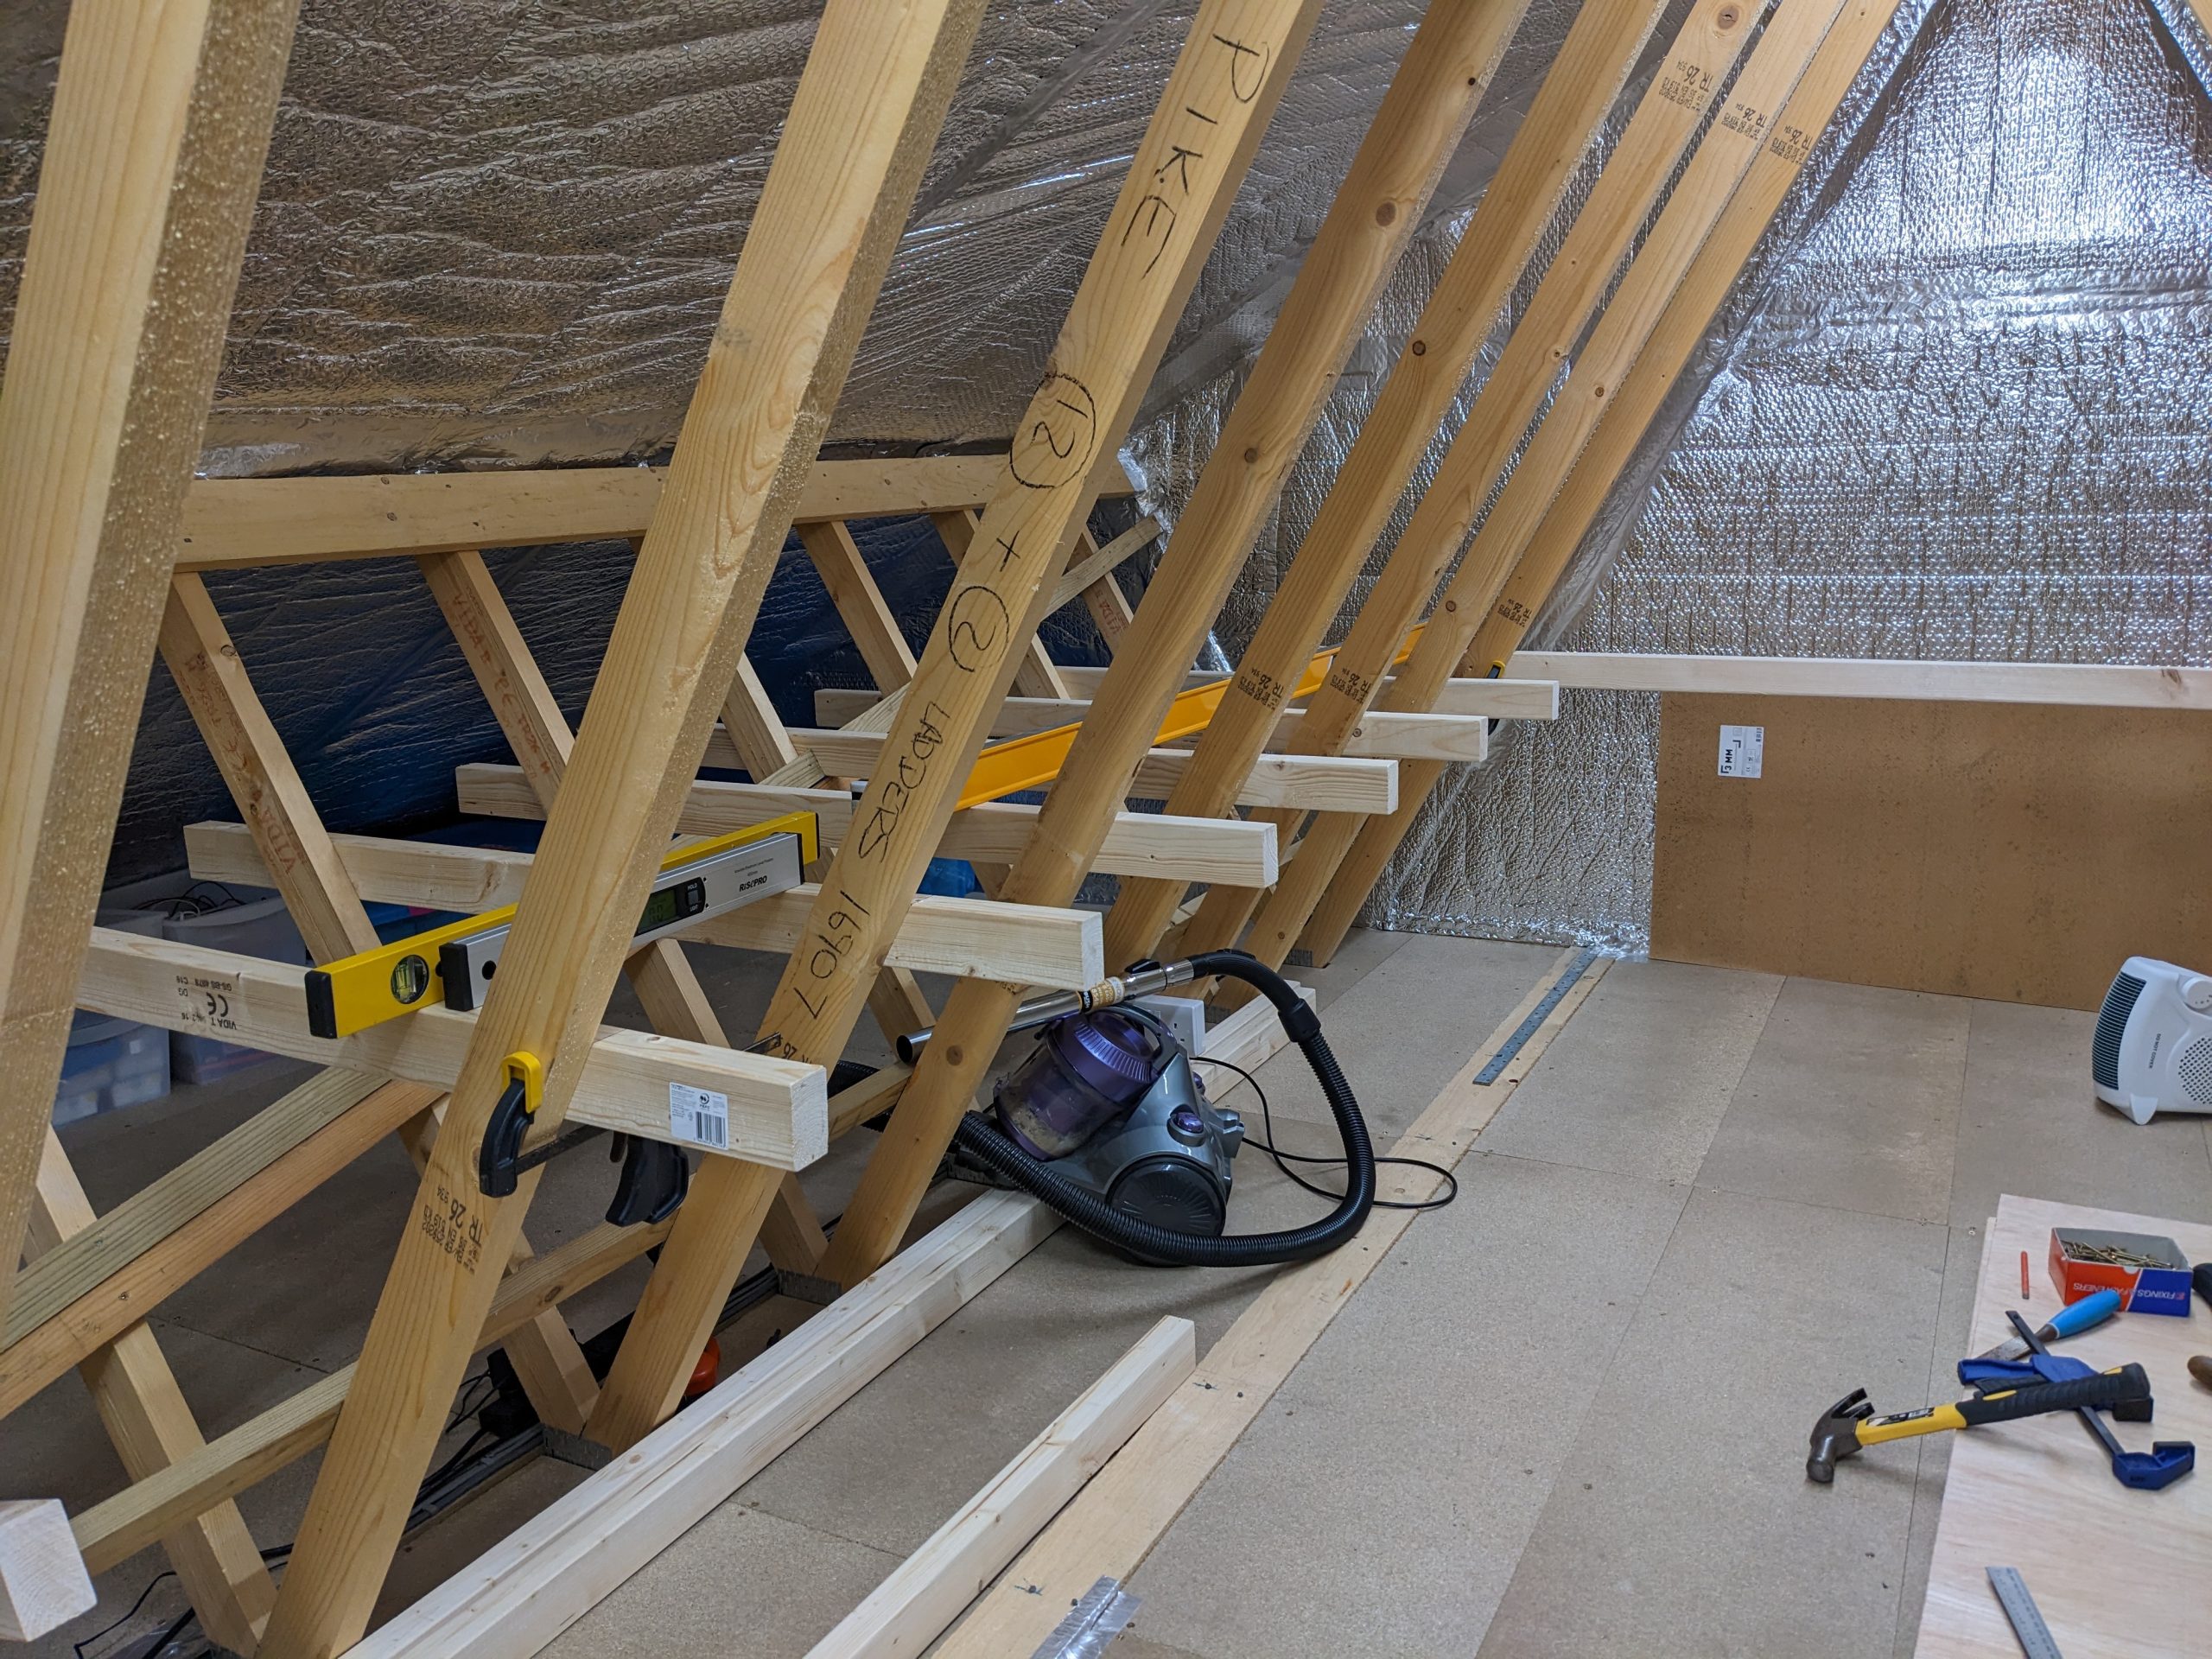
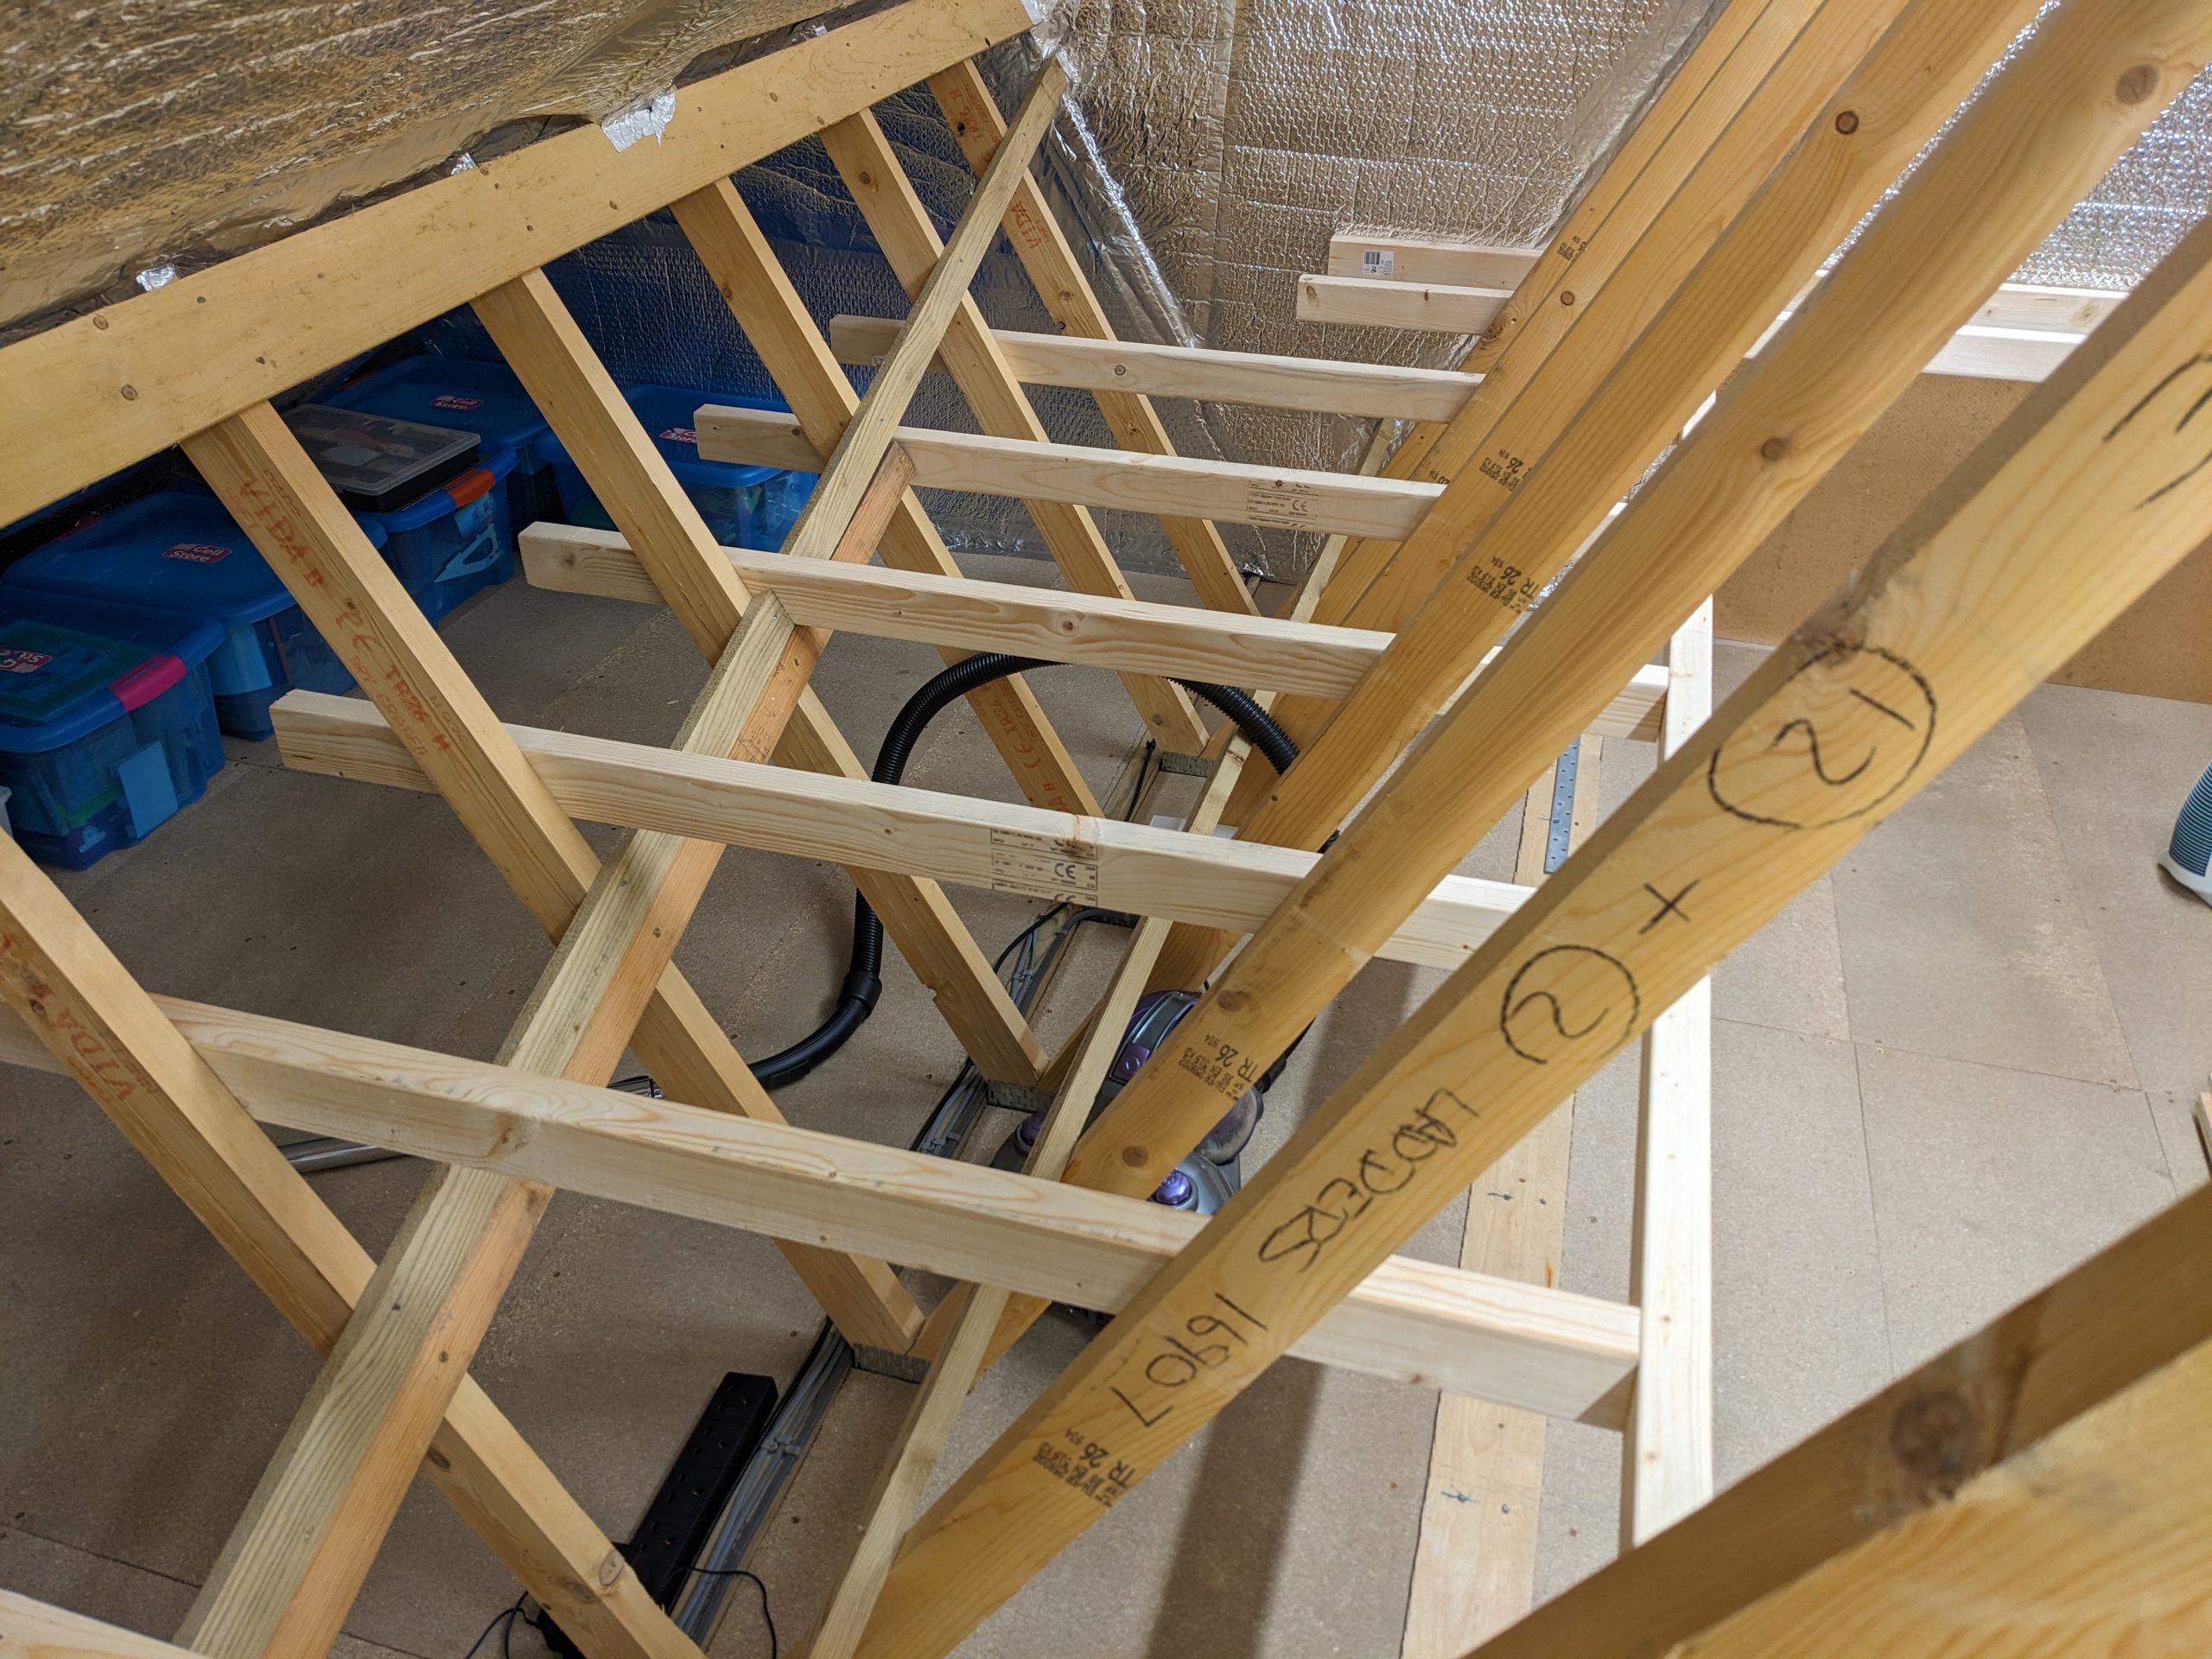
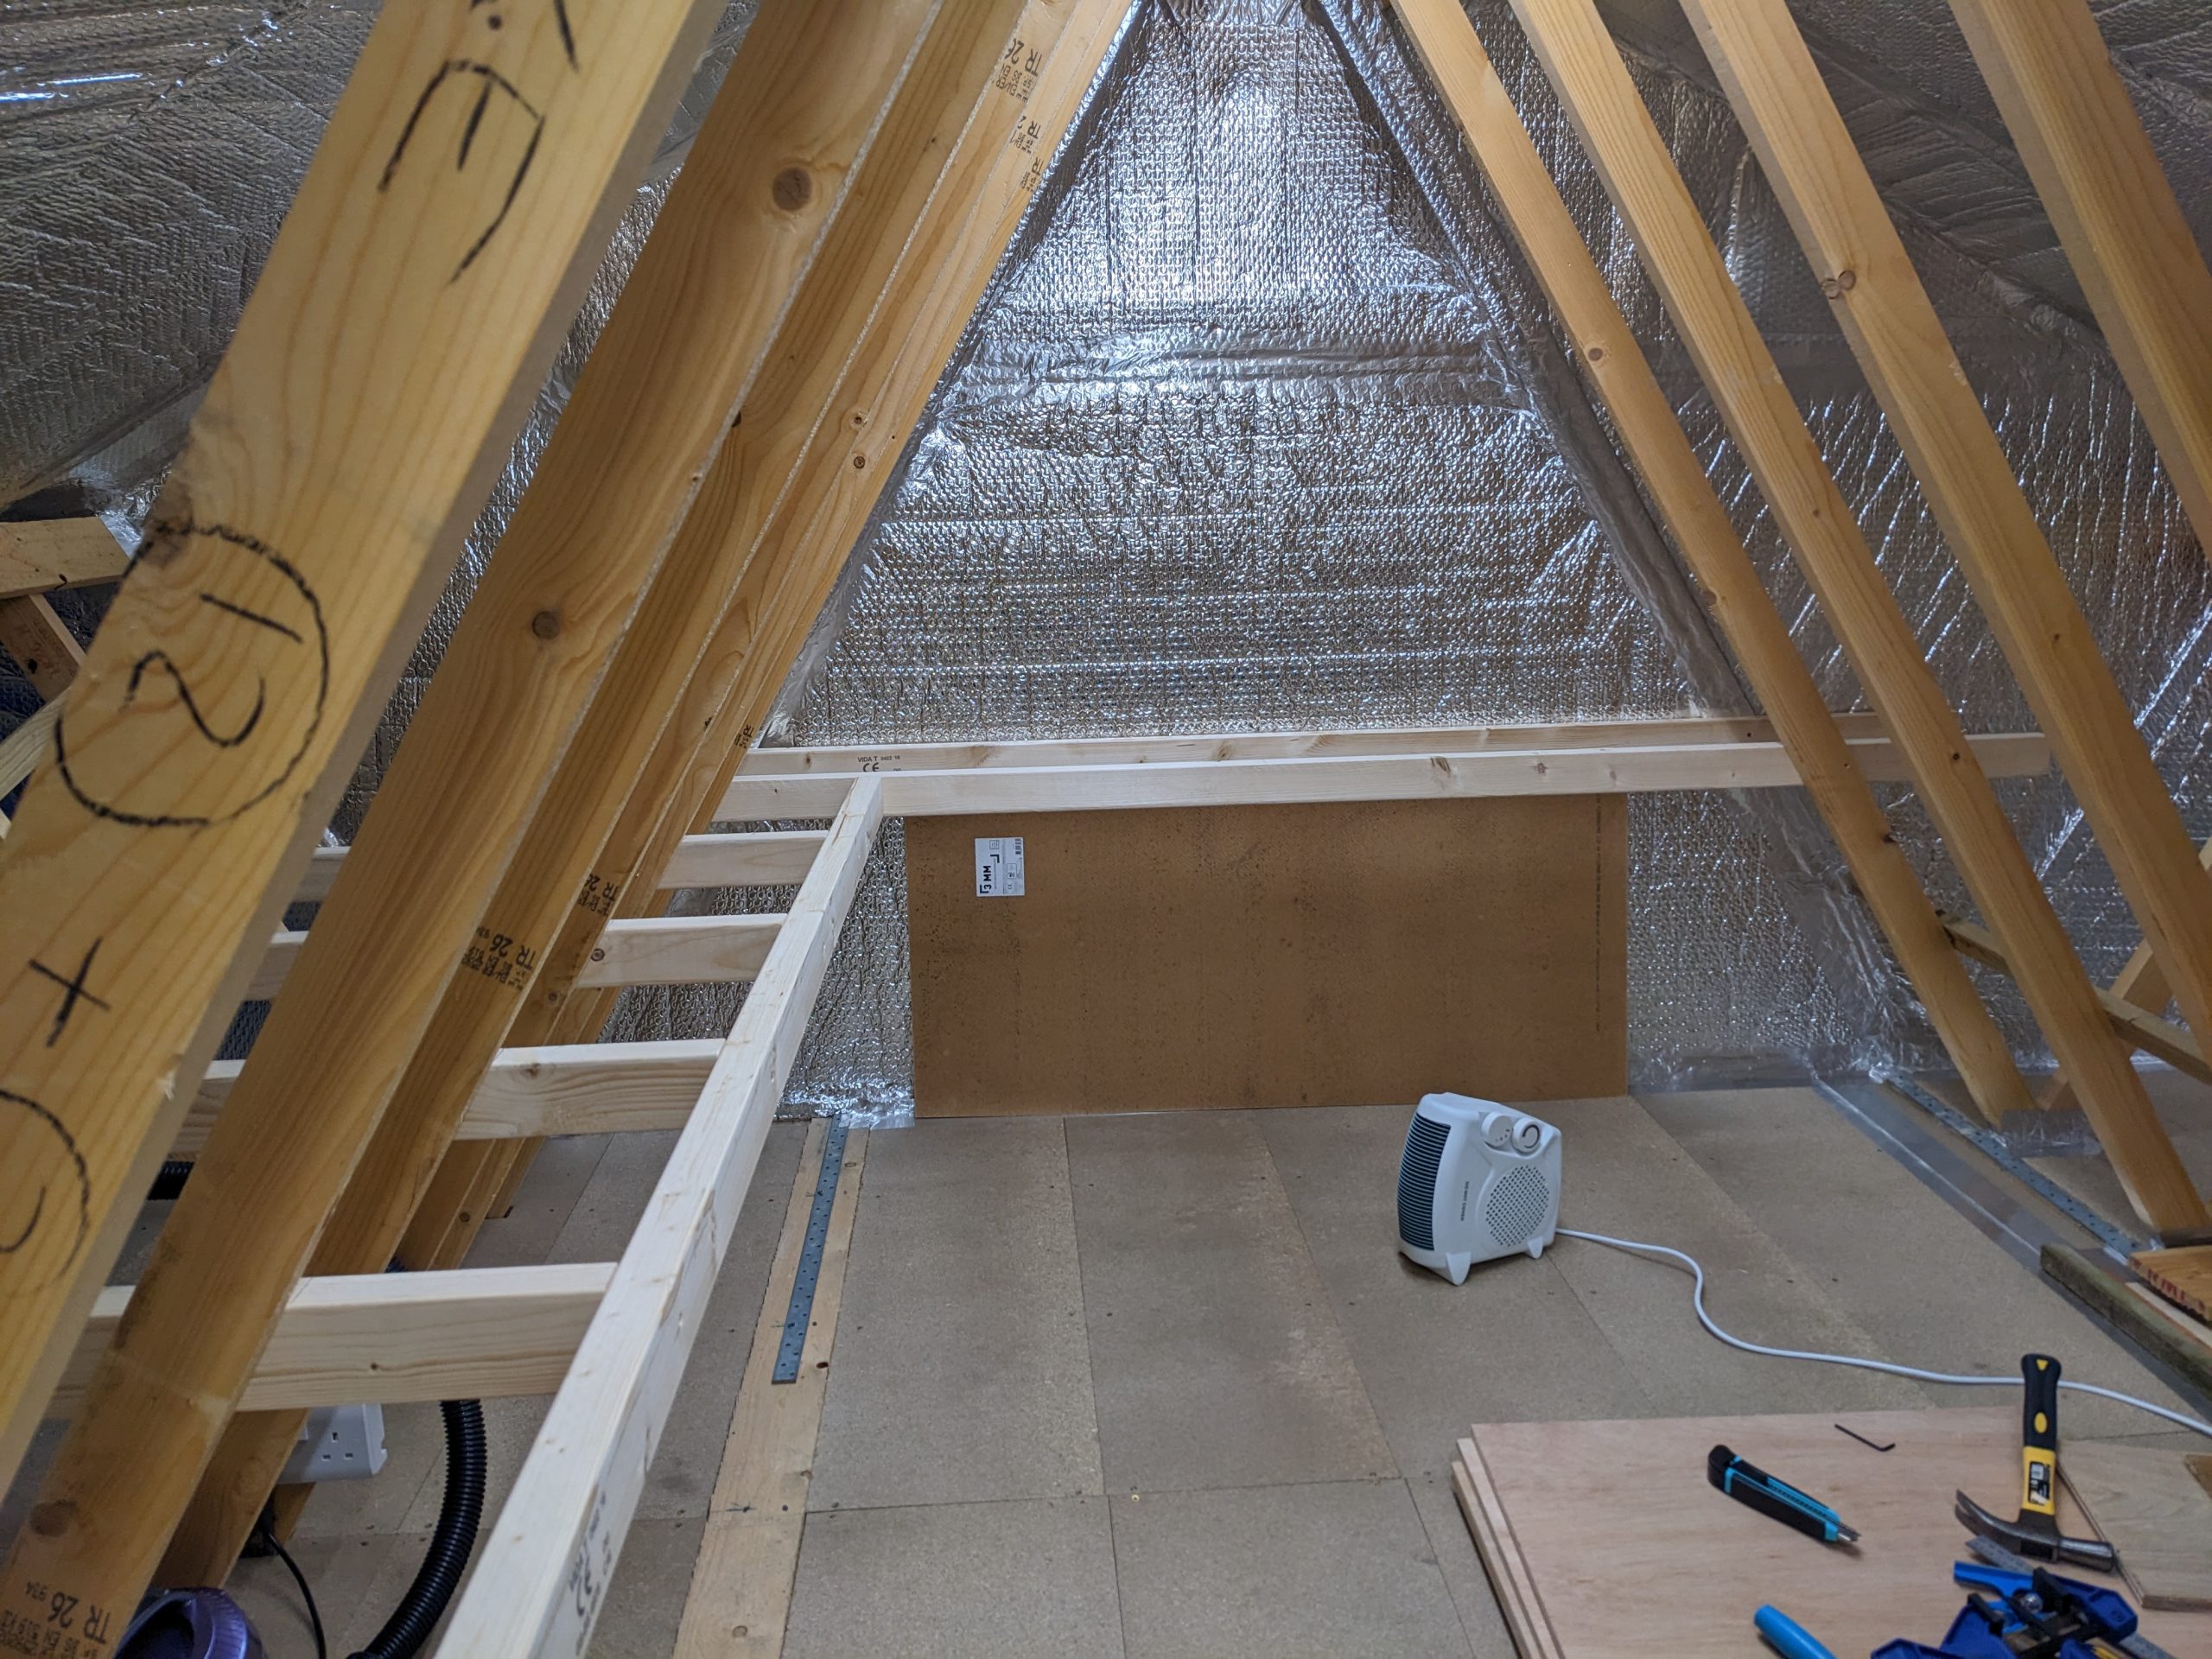
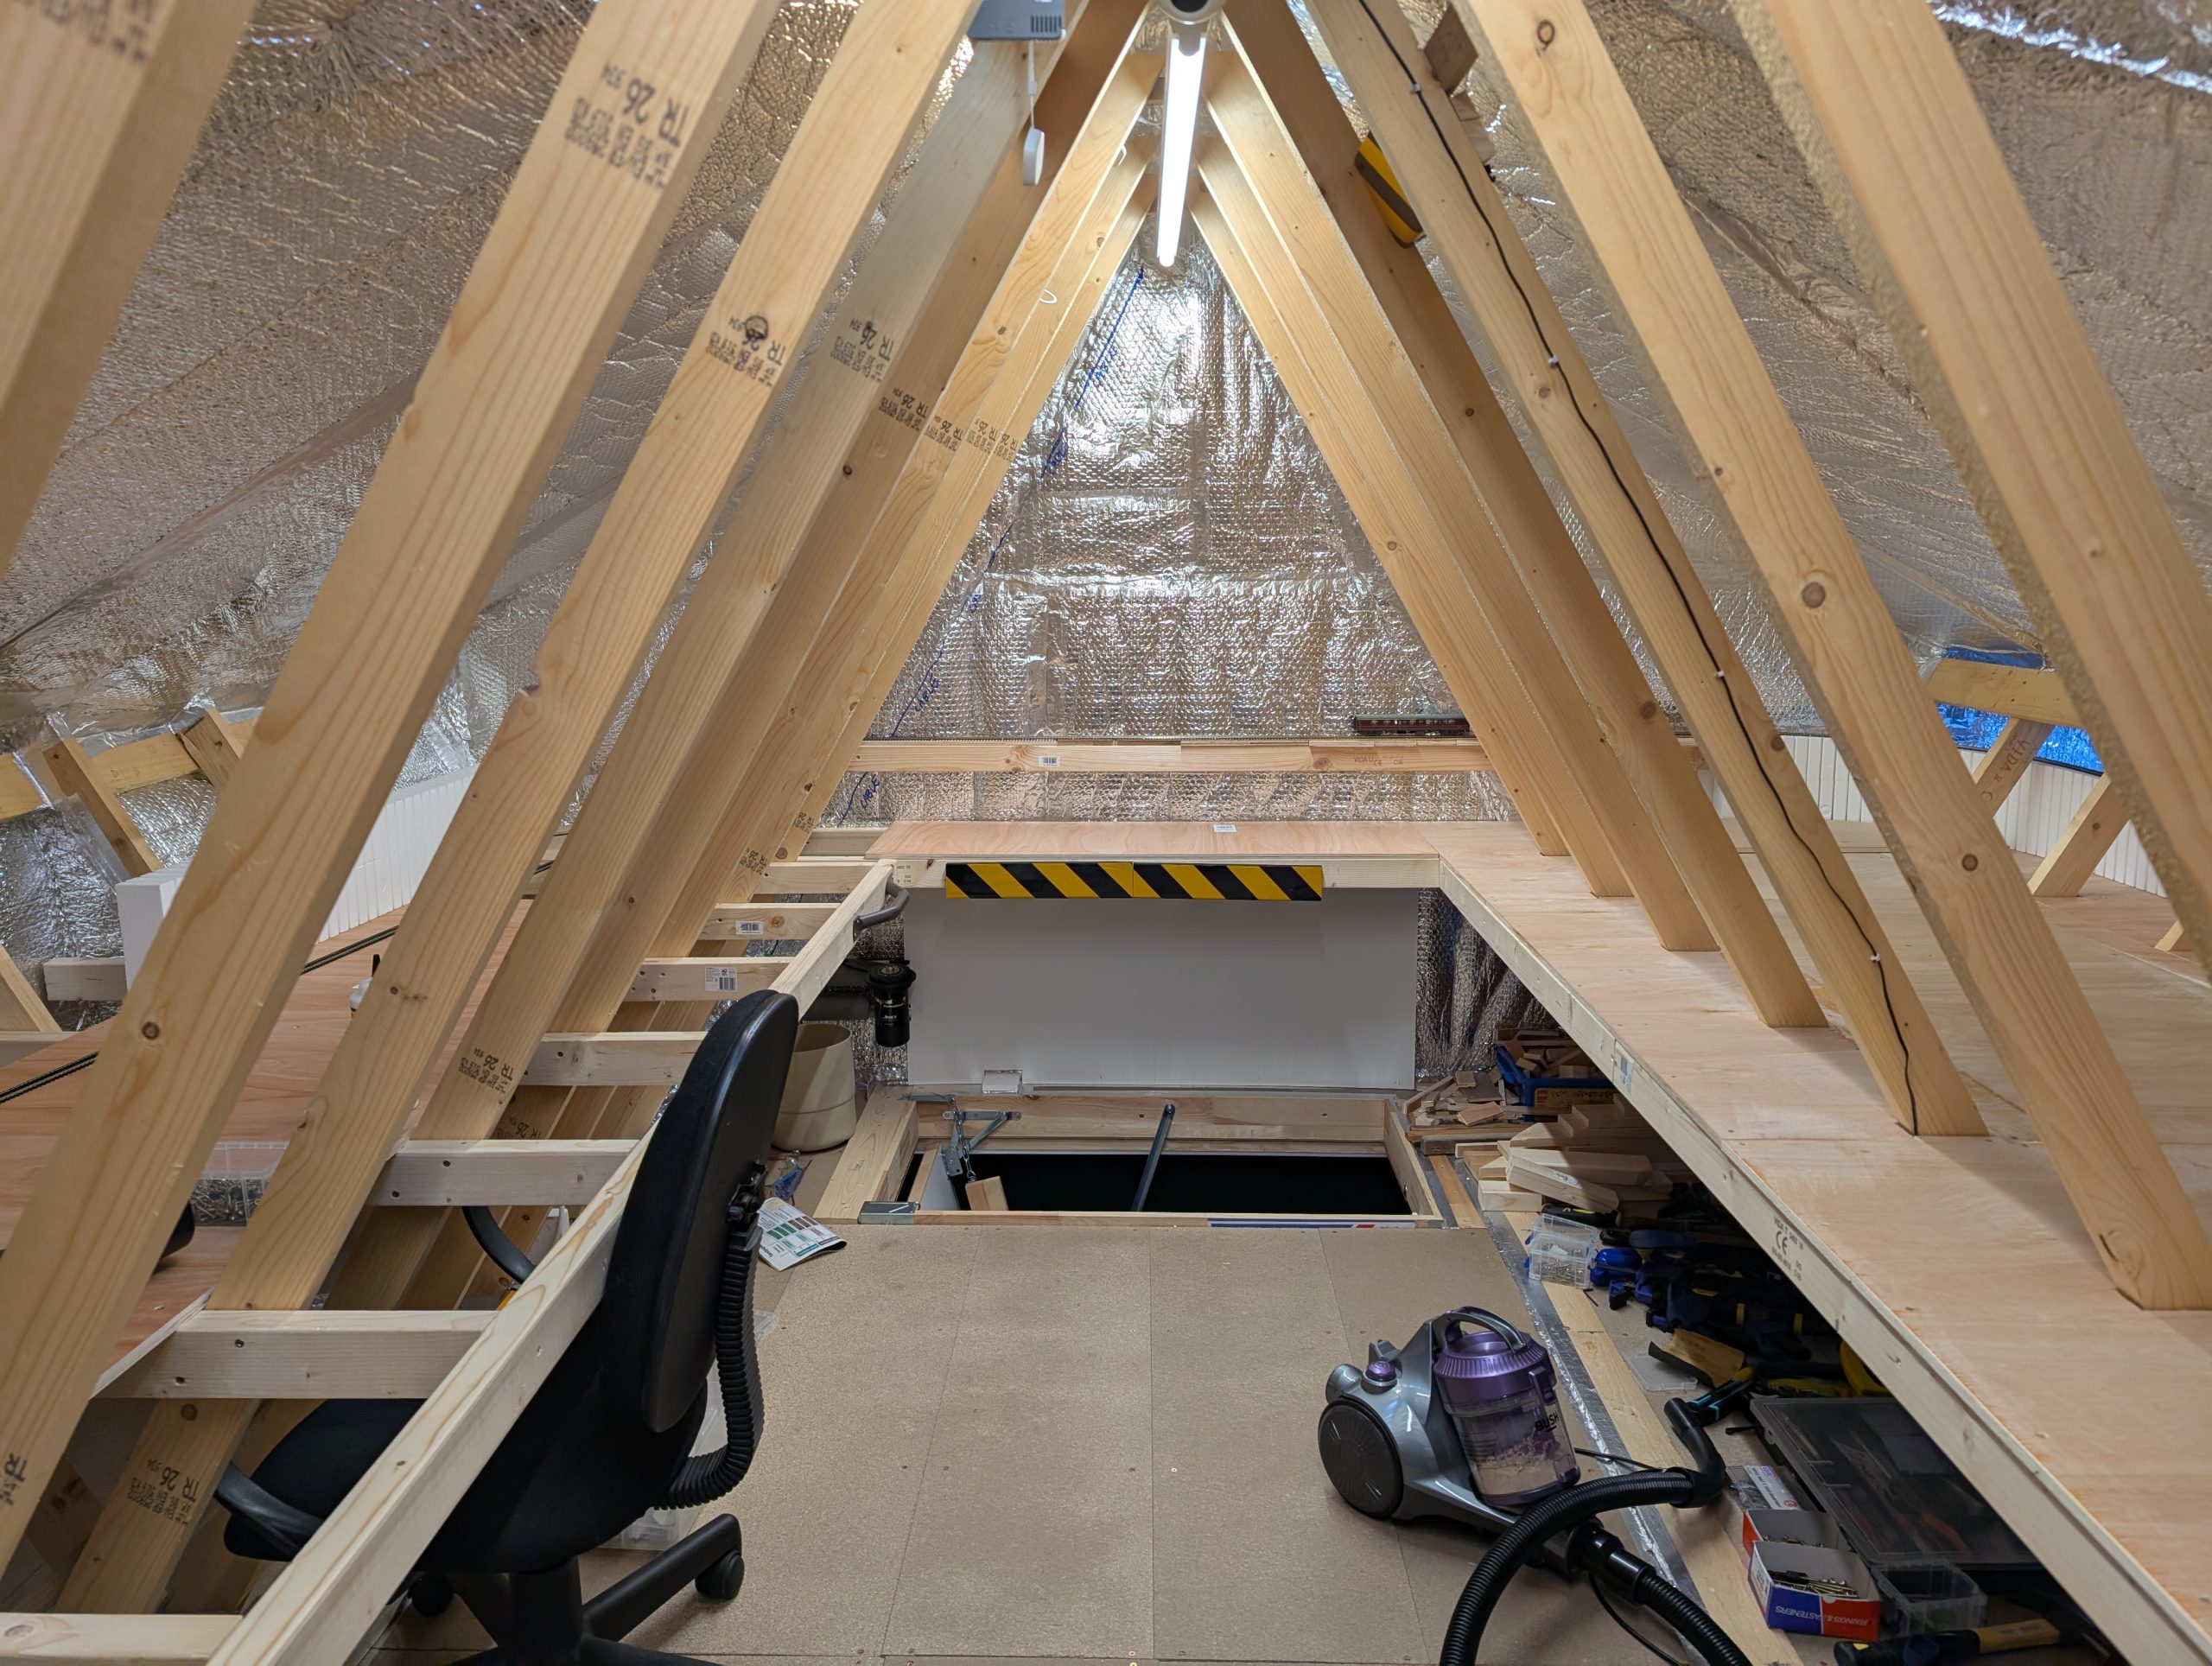
I built more of the frame which at some point crosses the diagonal bracing between the joists so I’ve had to cut through this after adding extra bracing at a lower level. I am a bit paranoid that I may have compromised the structural integrity of the roof by doing this and had a few doubts before eventually doing it. I also put in further timbers bridging the two sides of the loft at the hatch end and fixed a sheet of white faced hardboard to the wall by the hatch to see how it looked (leaving an air gap to the foil insulation).

March 2024
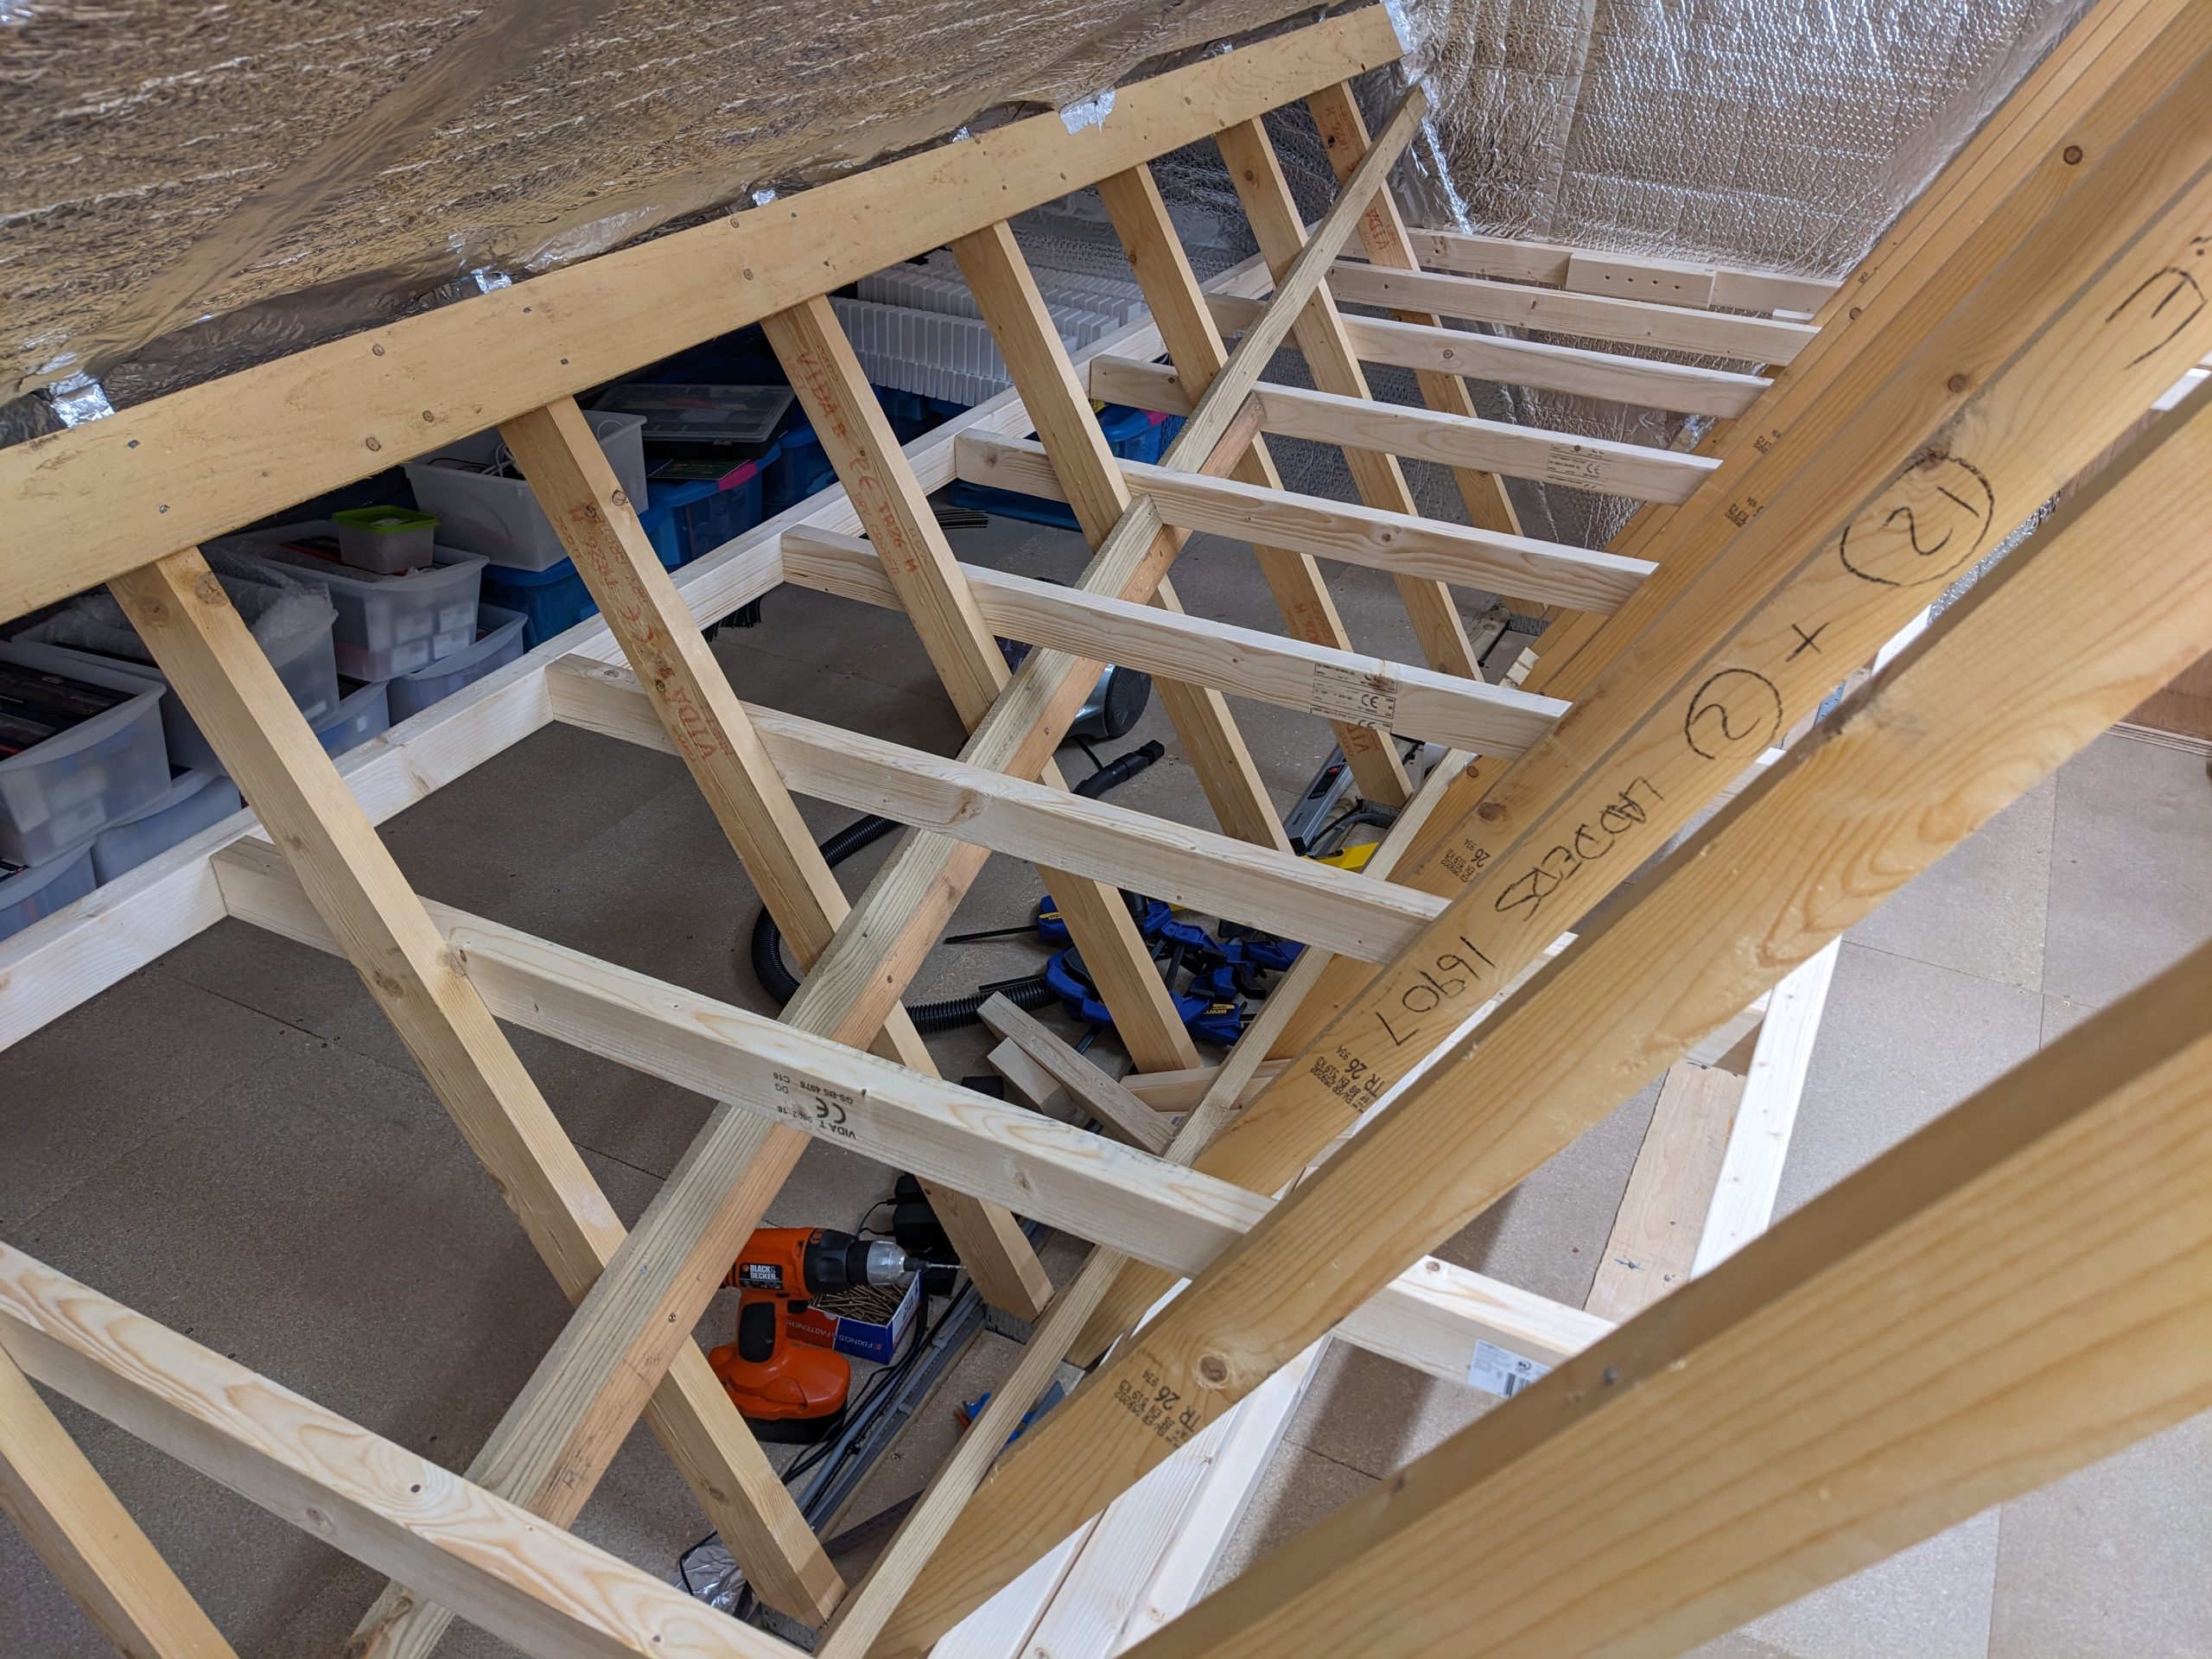
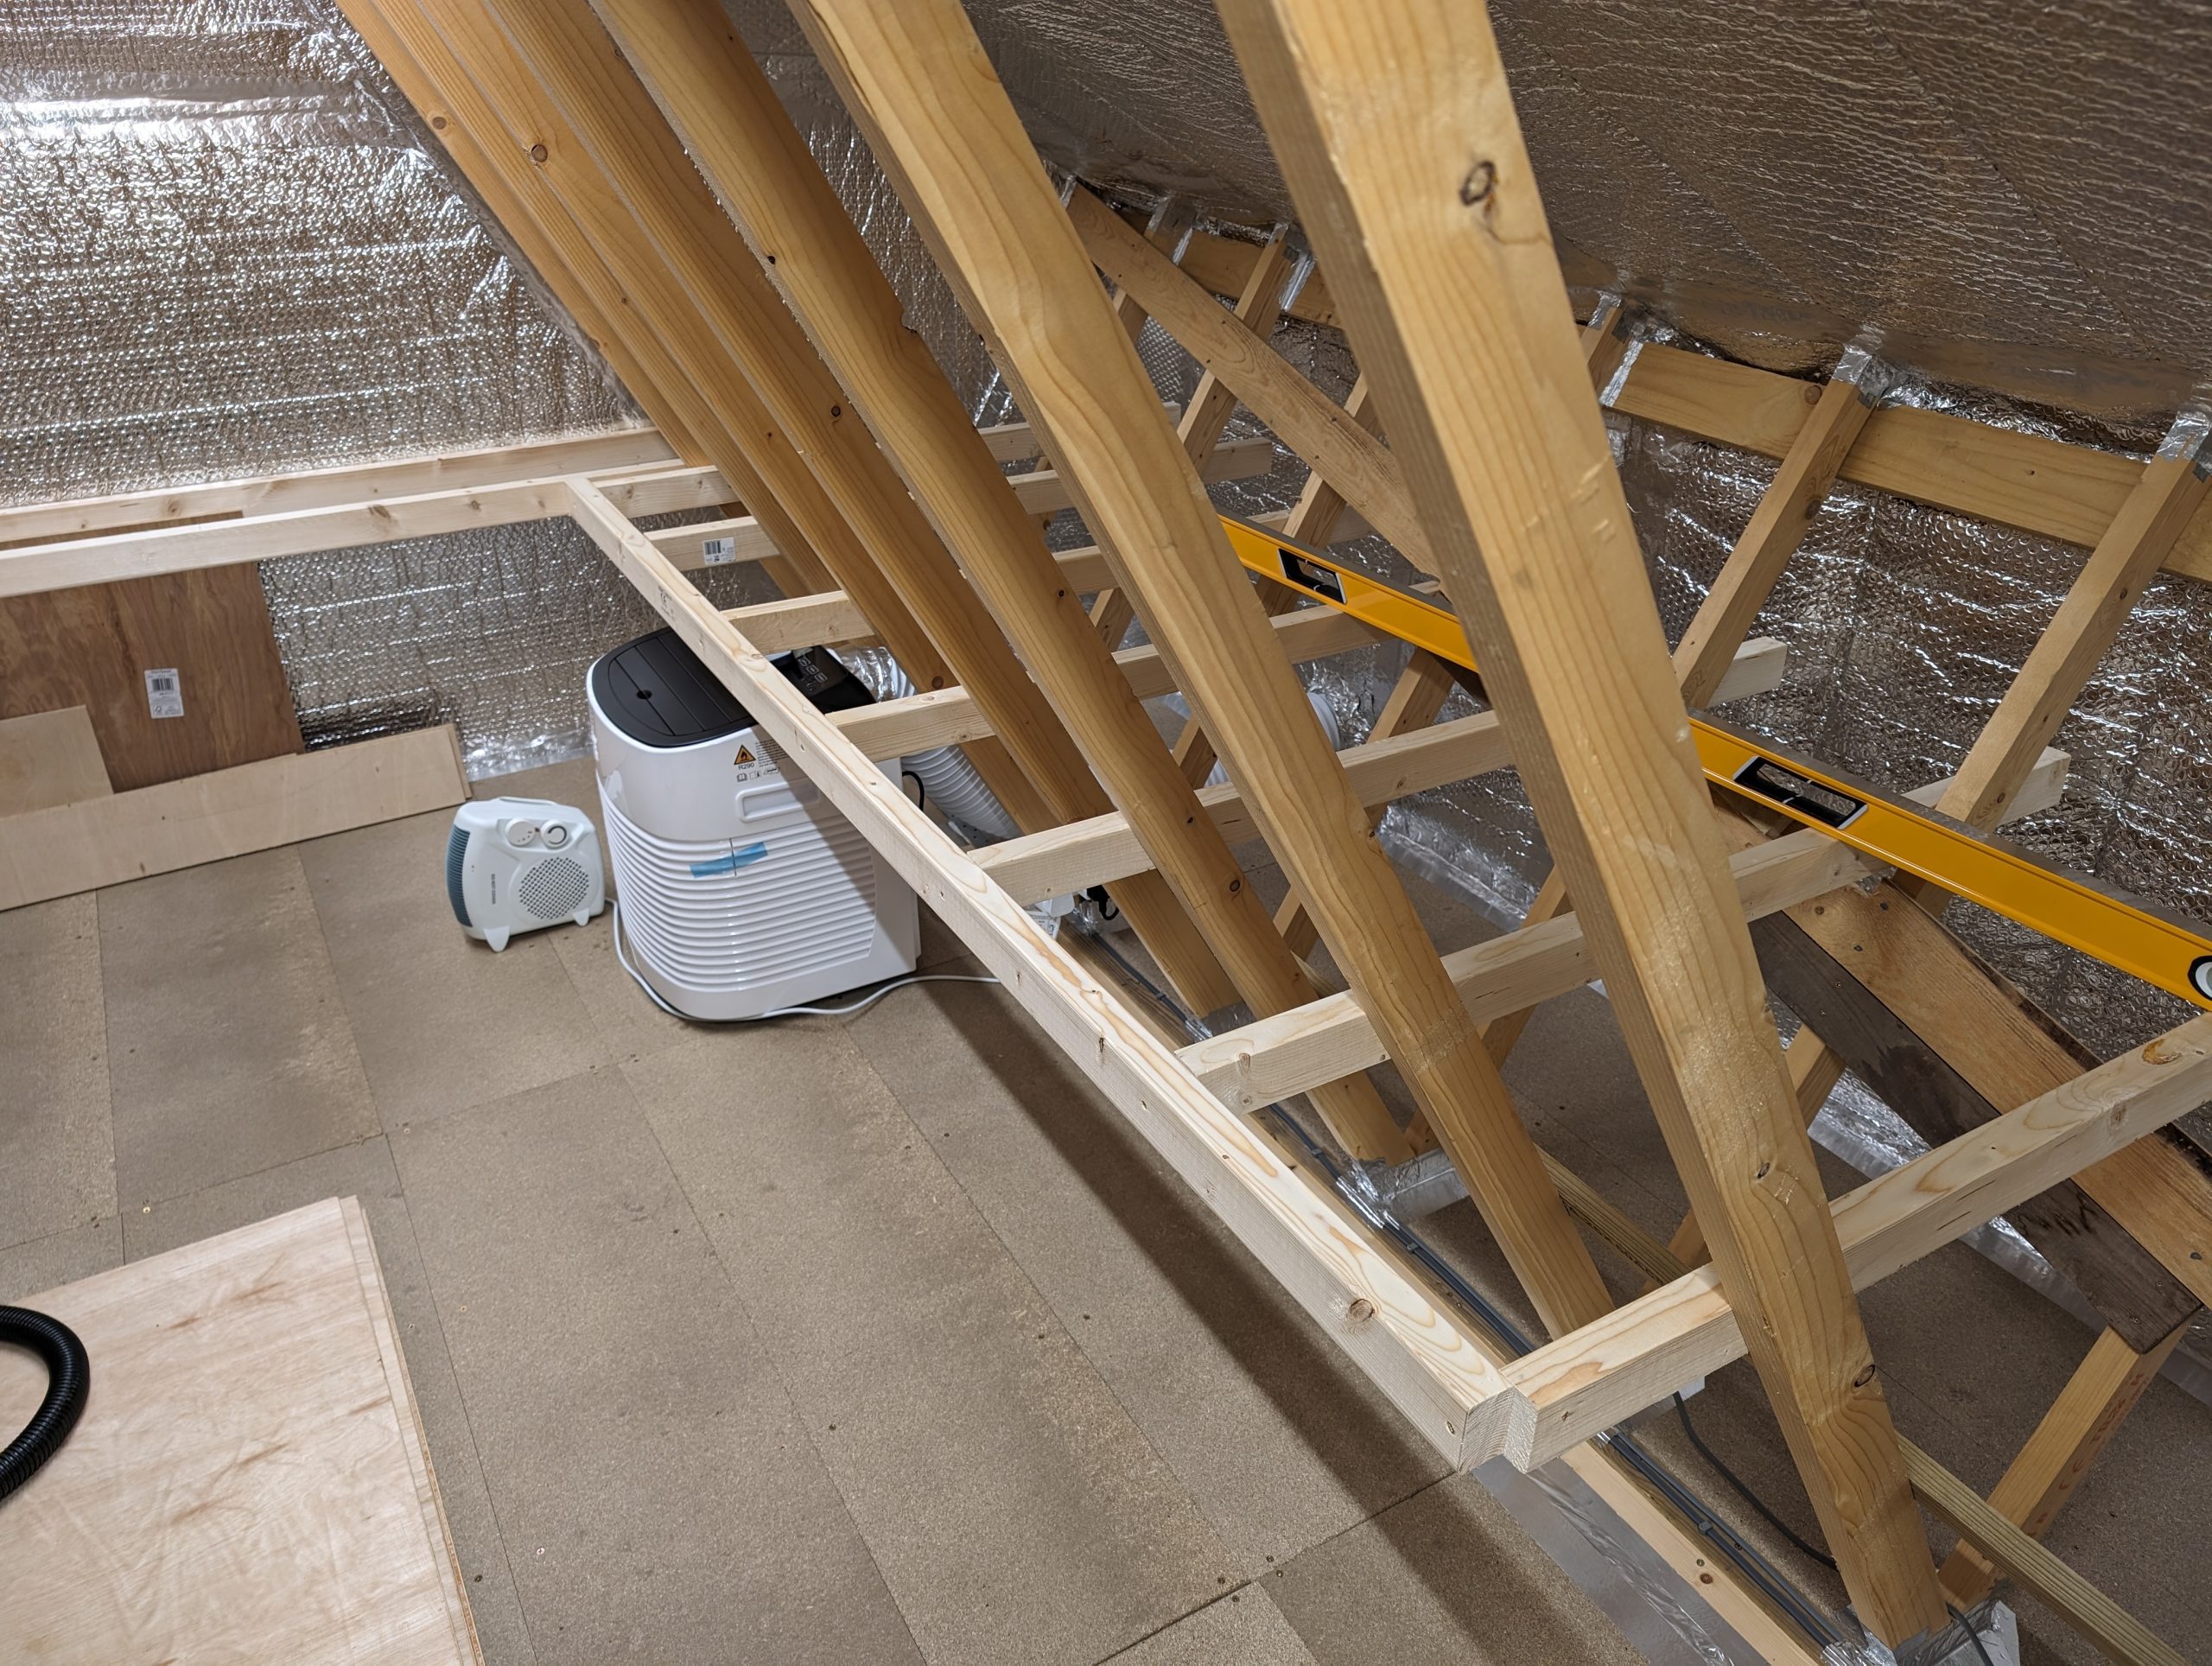
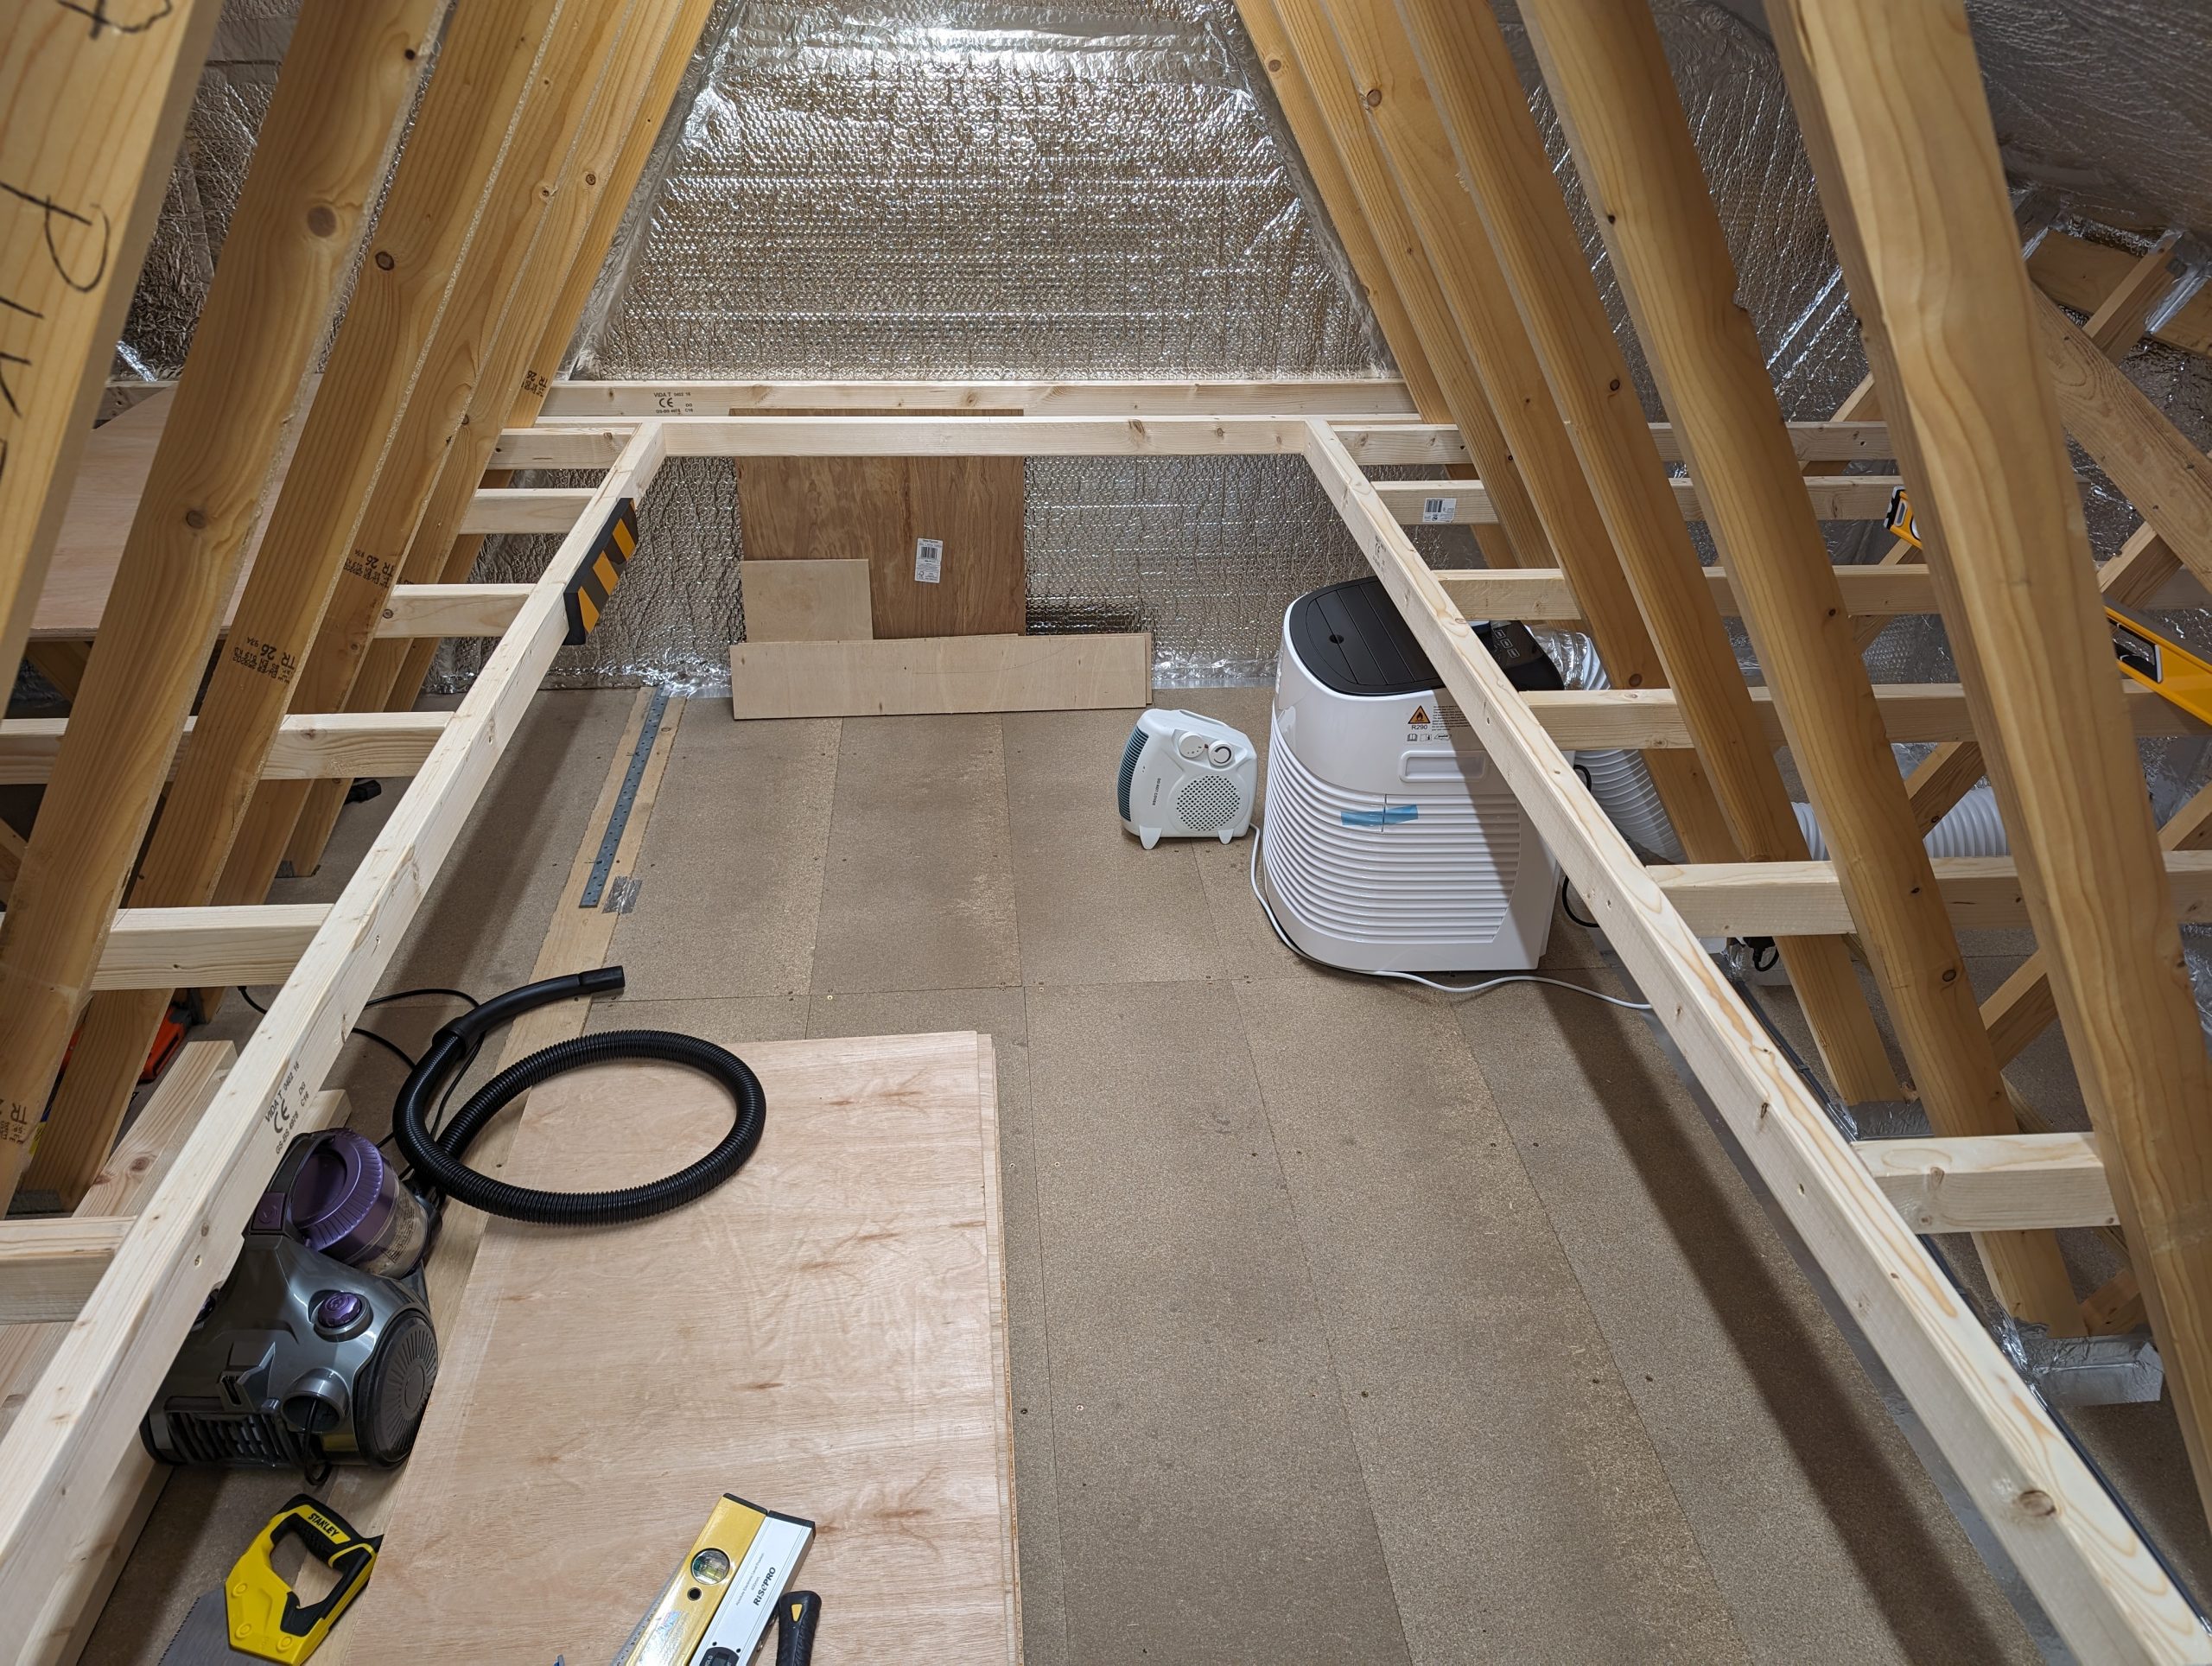
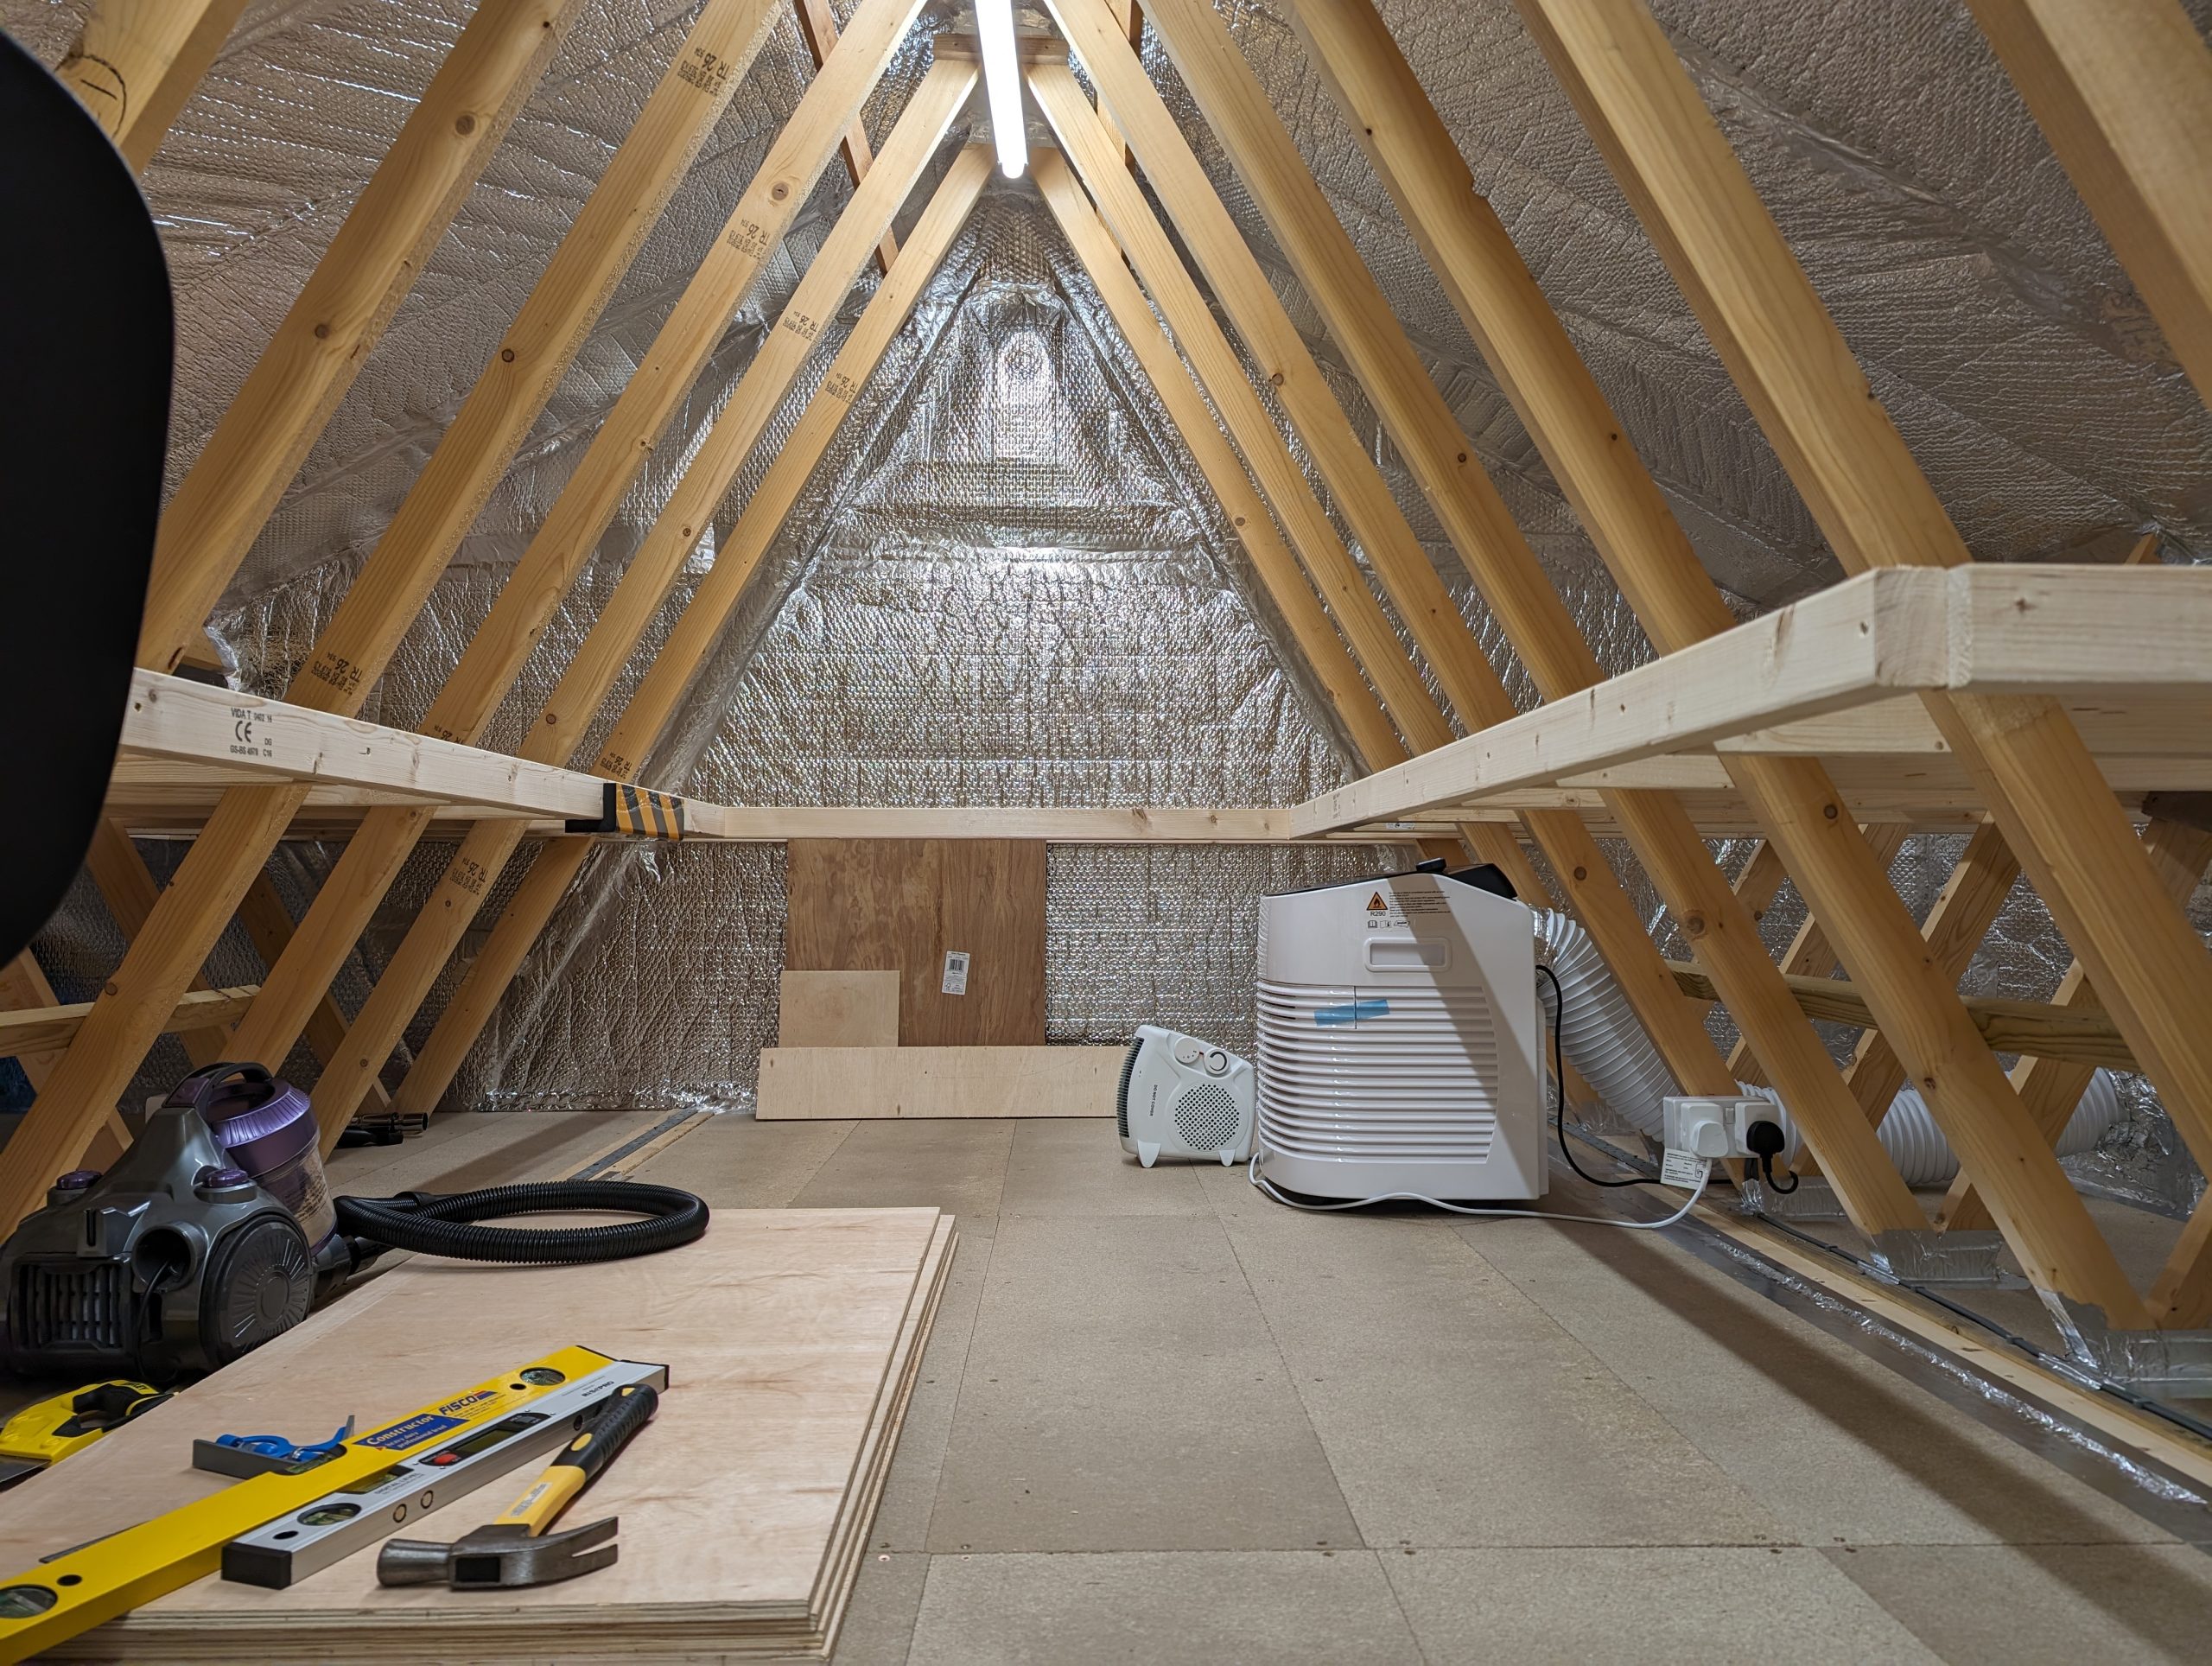
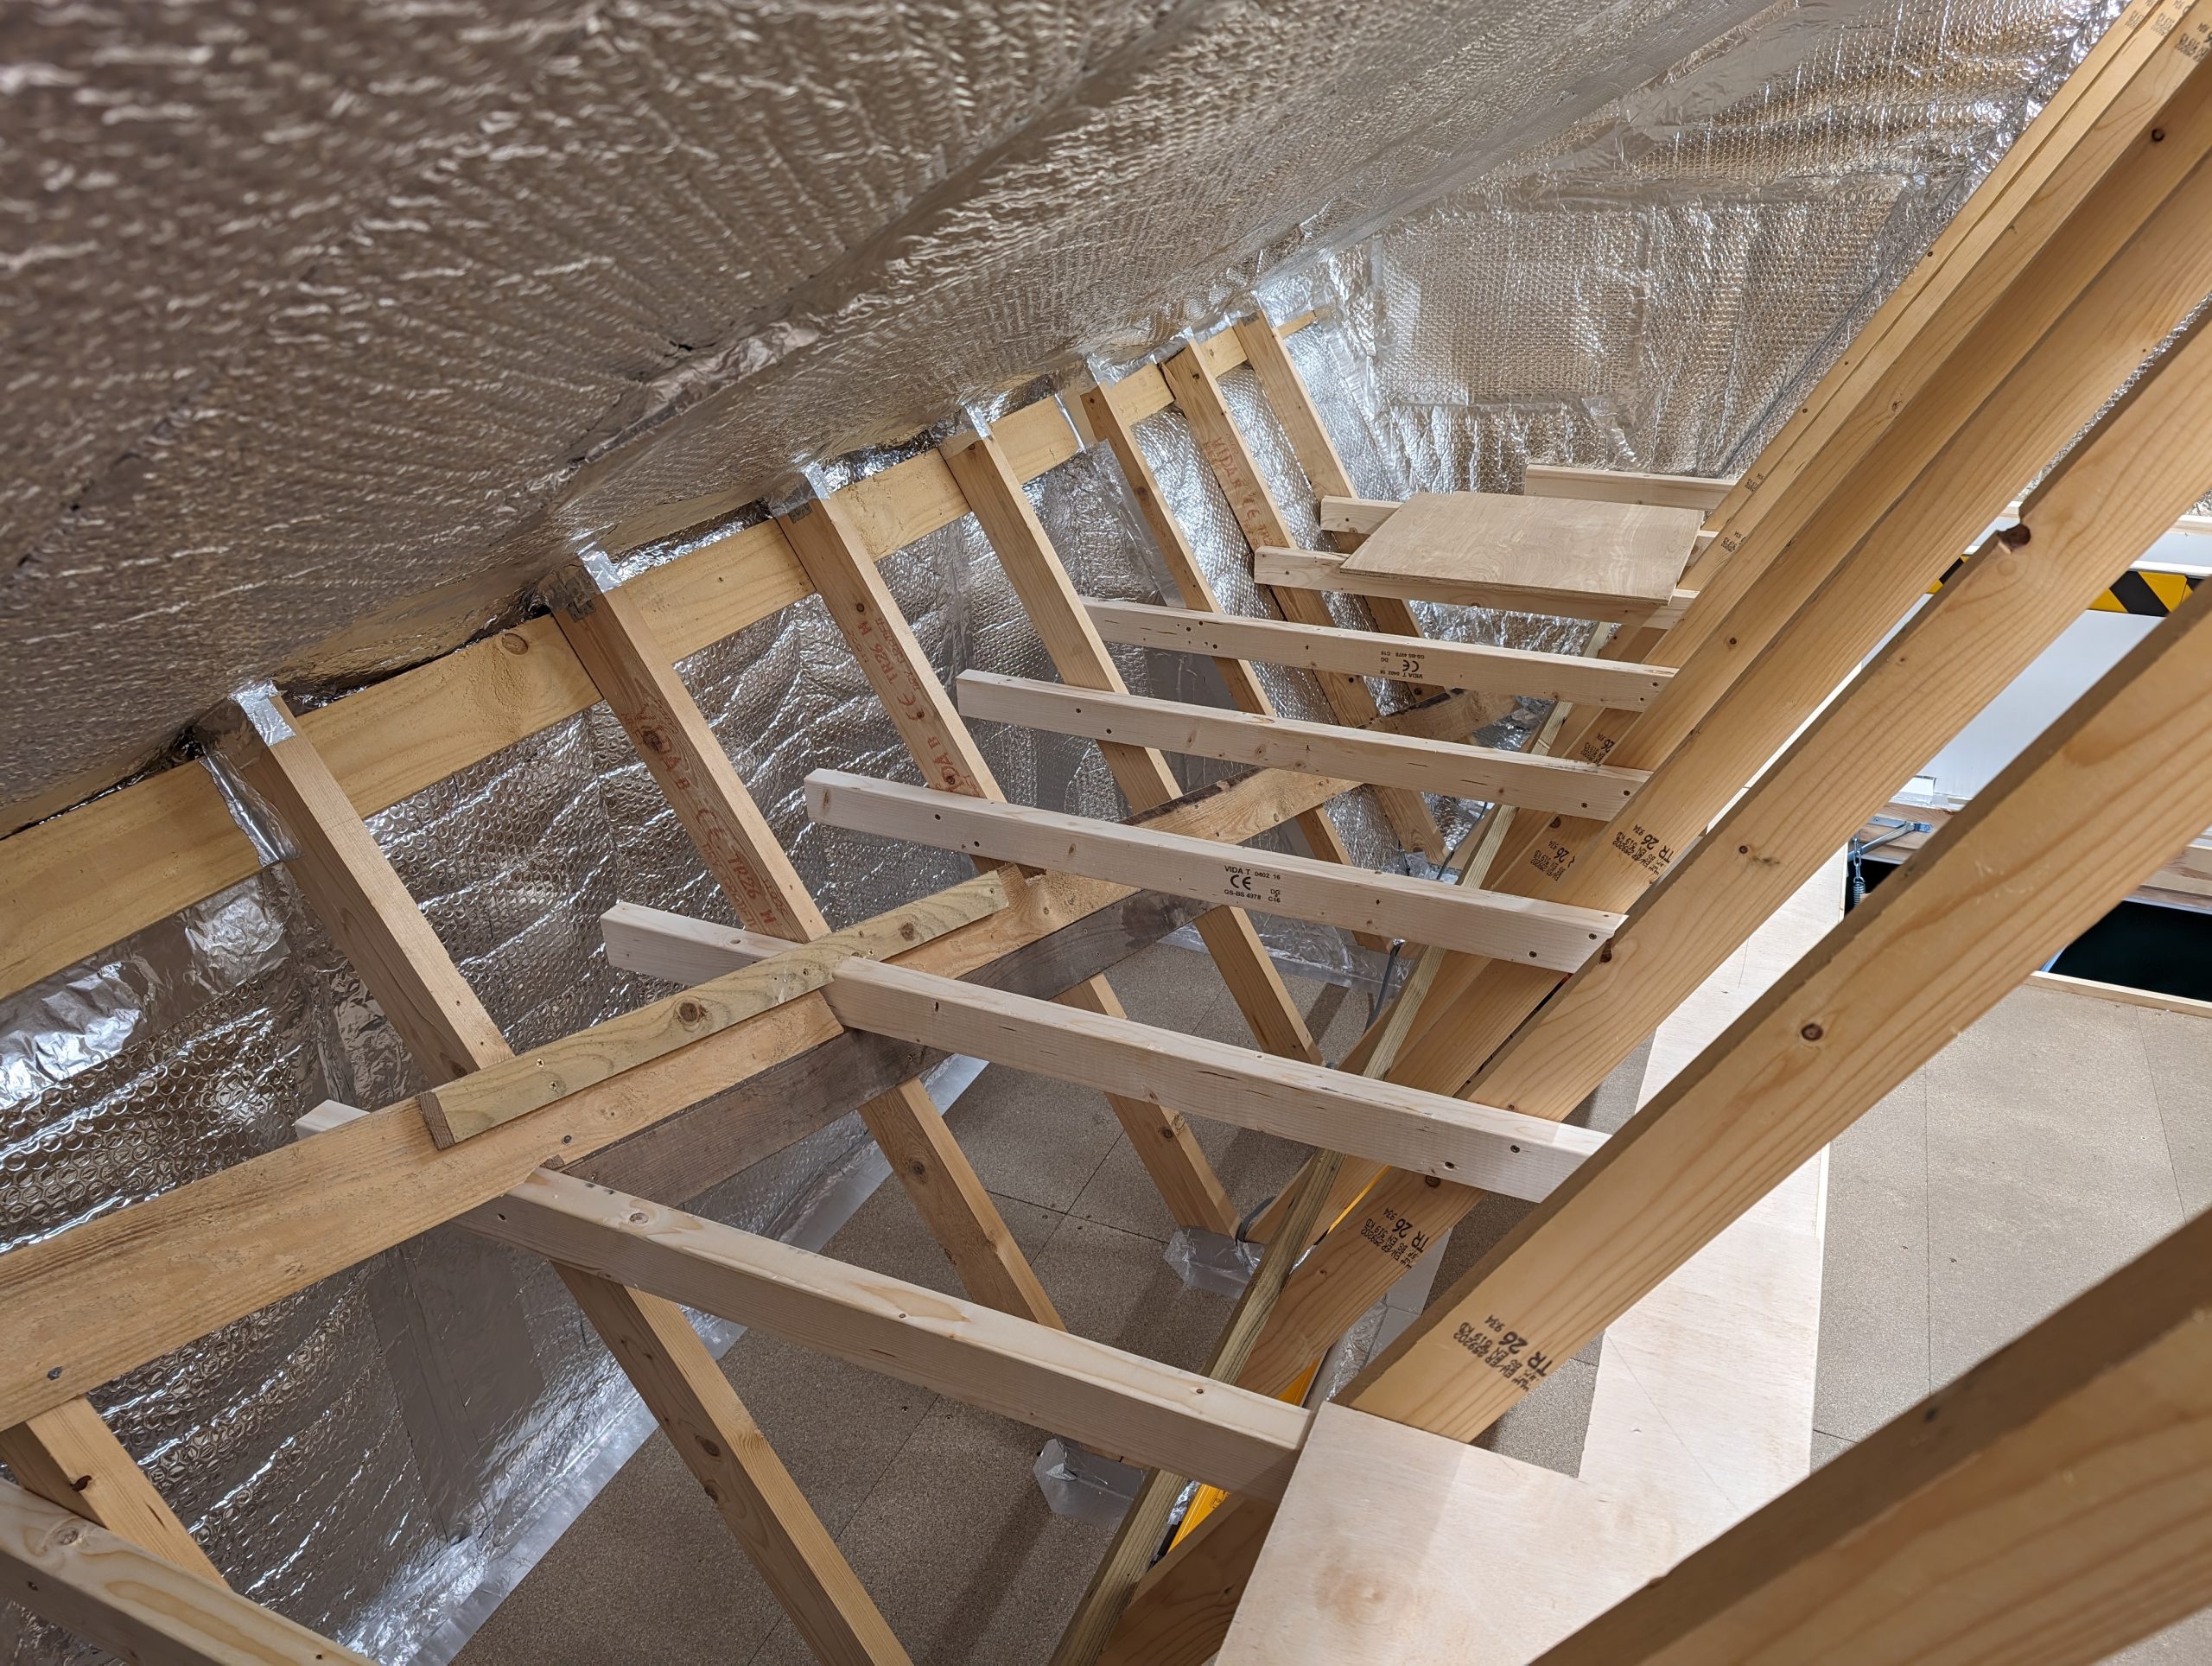
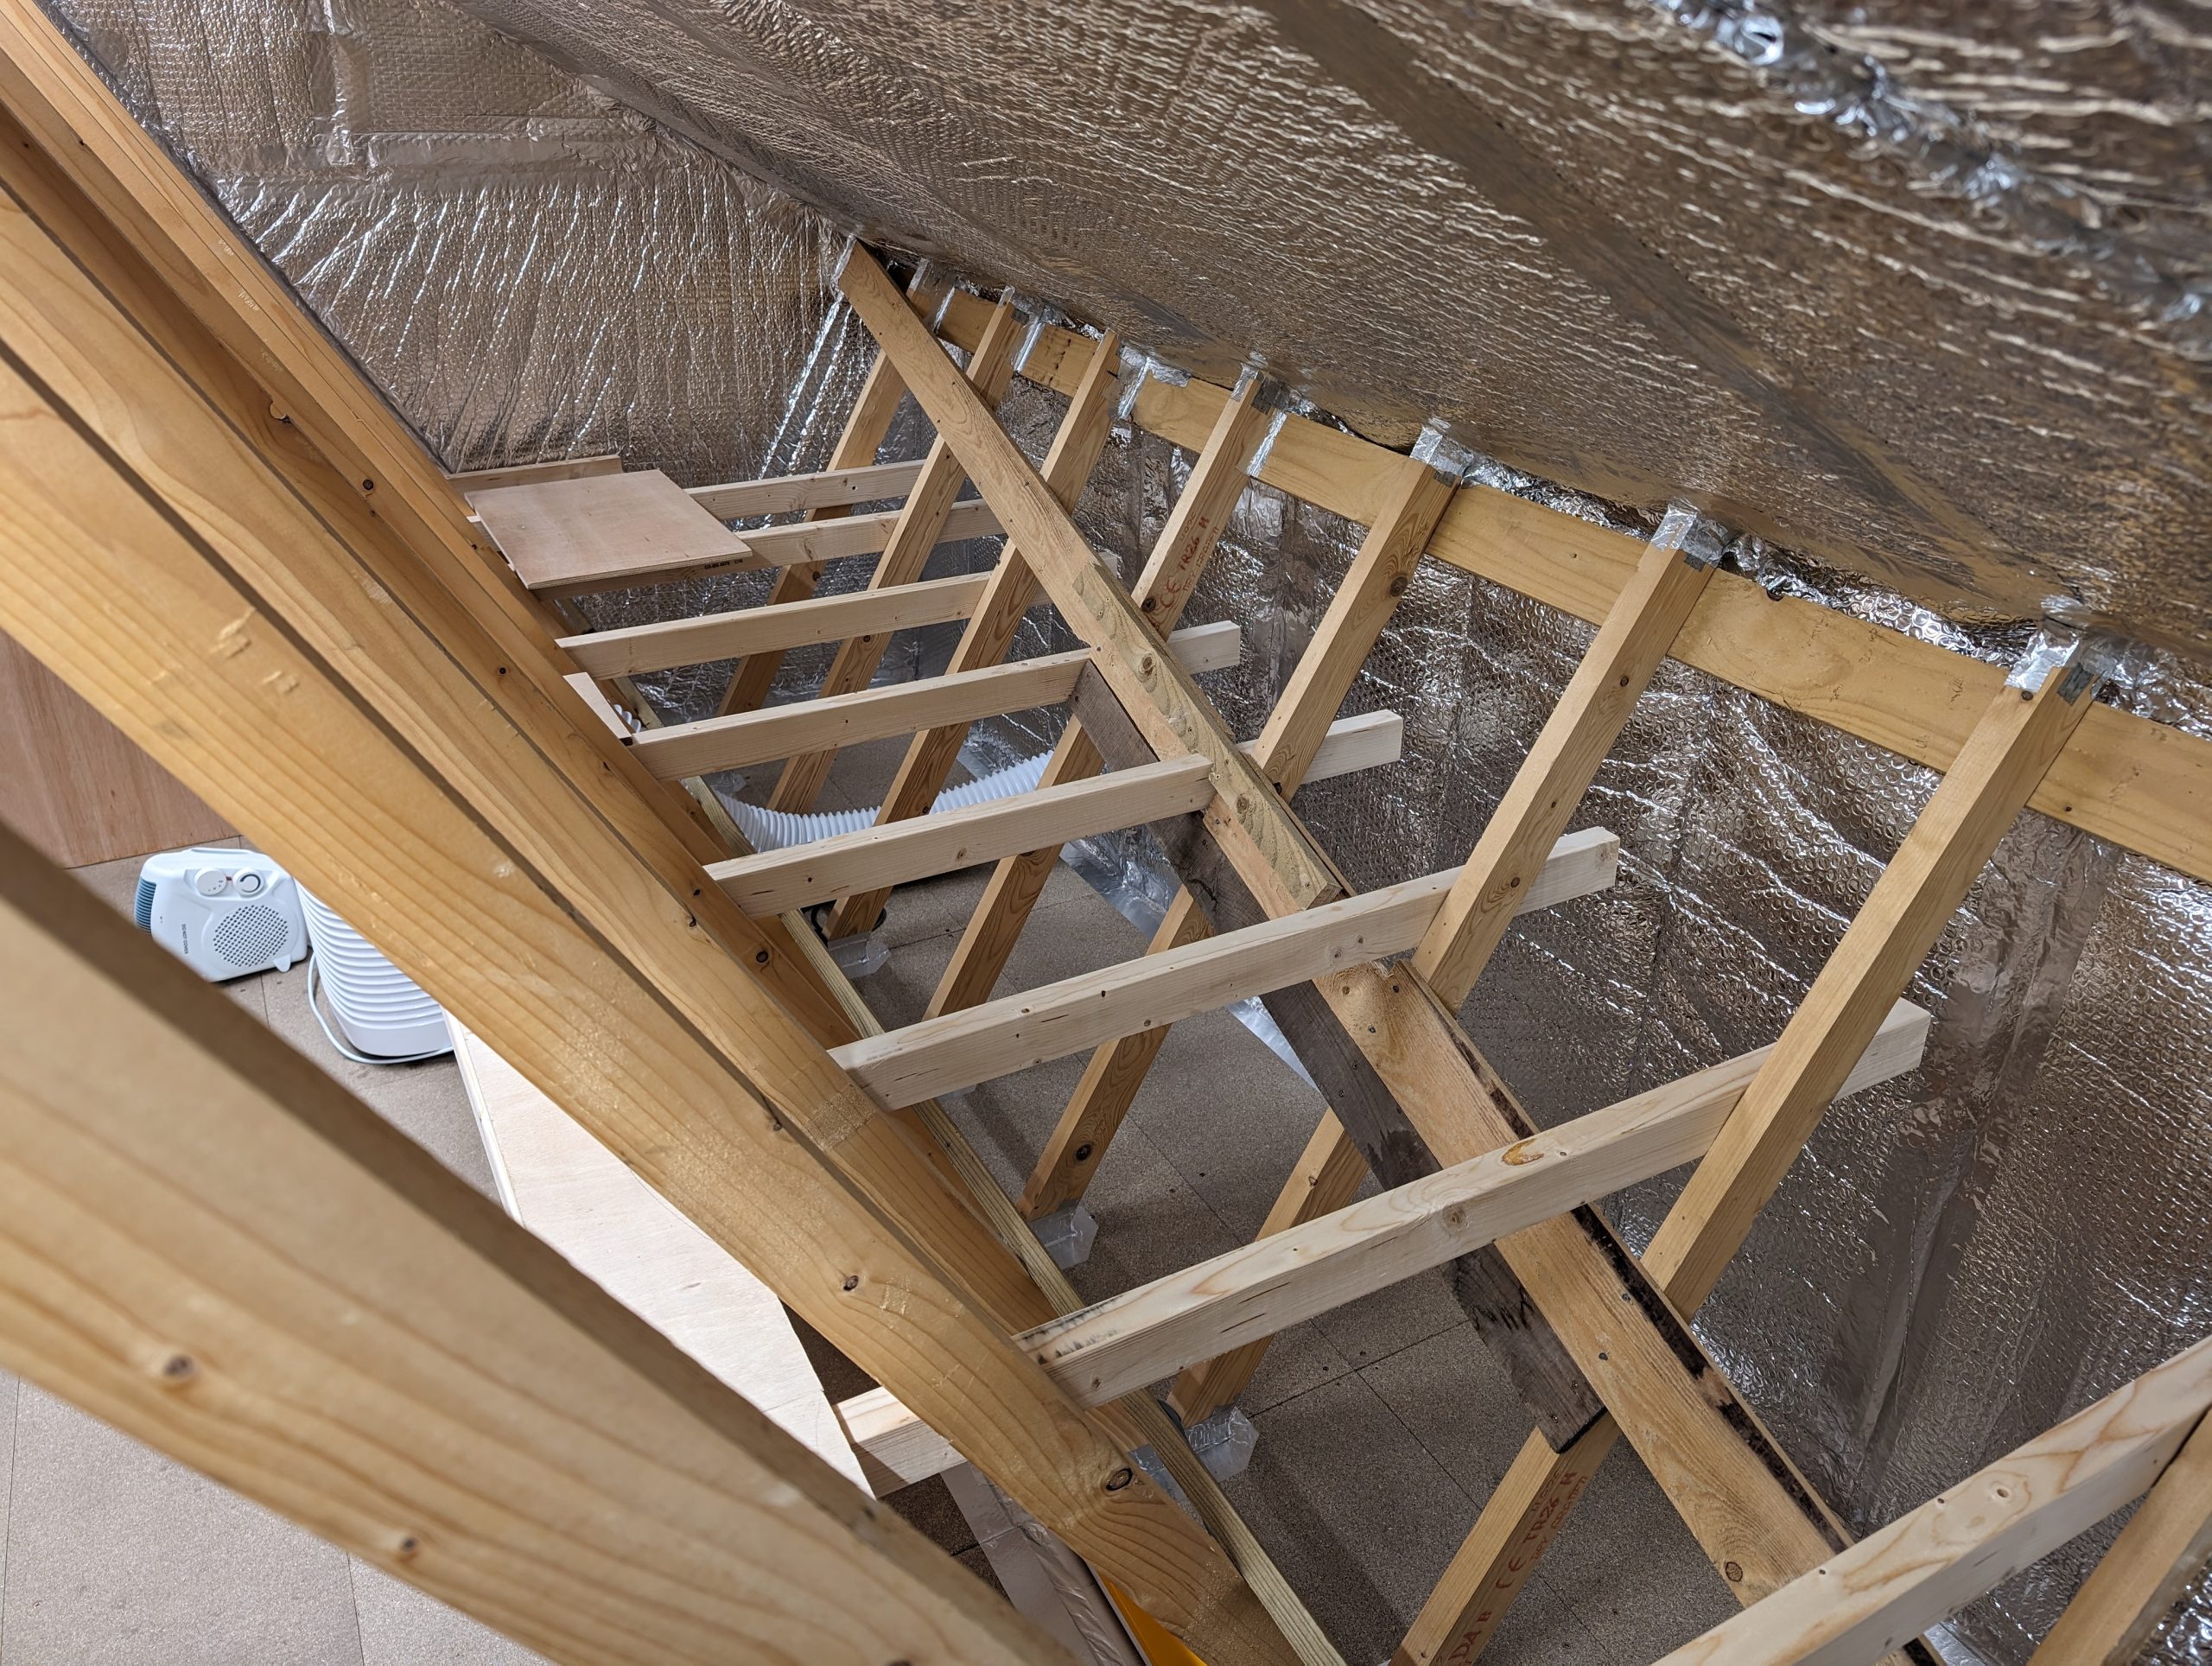
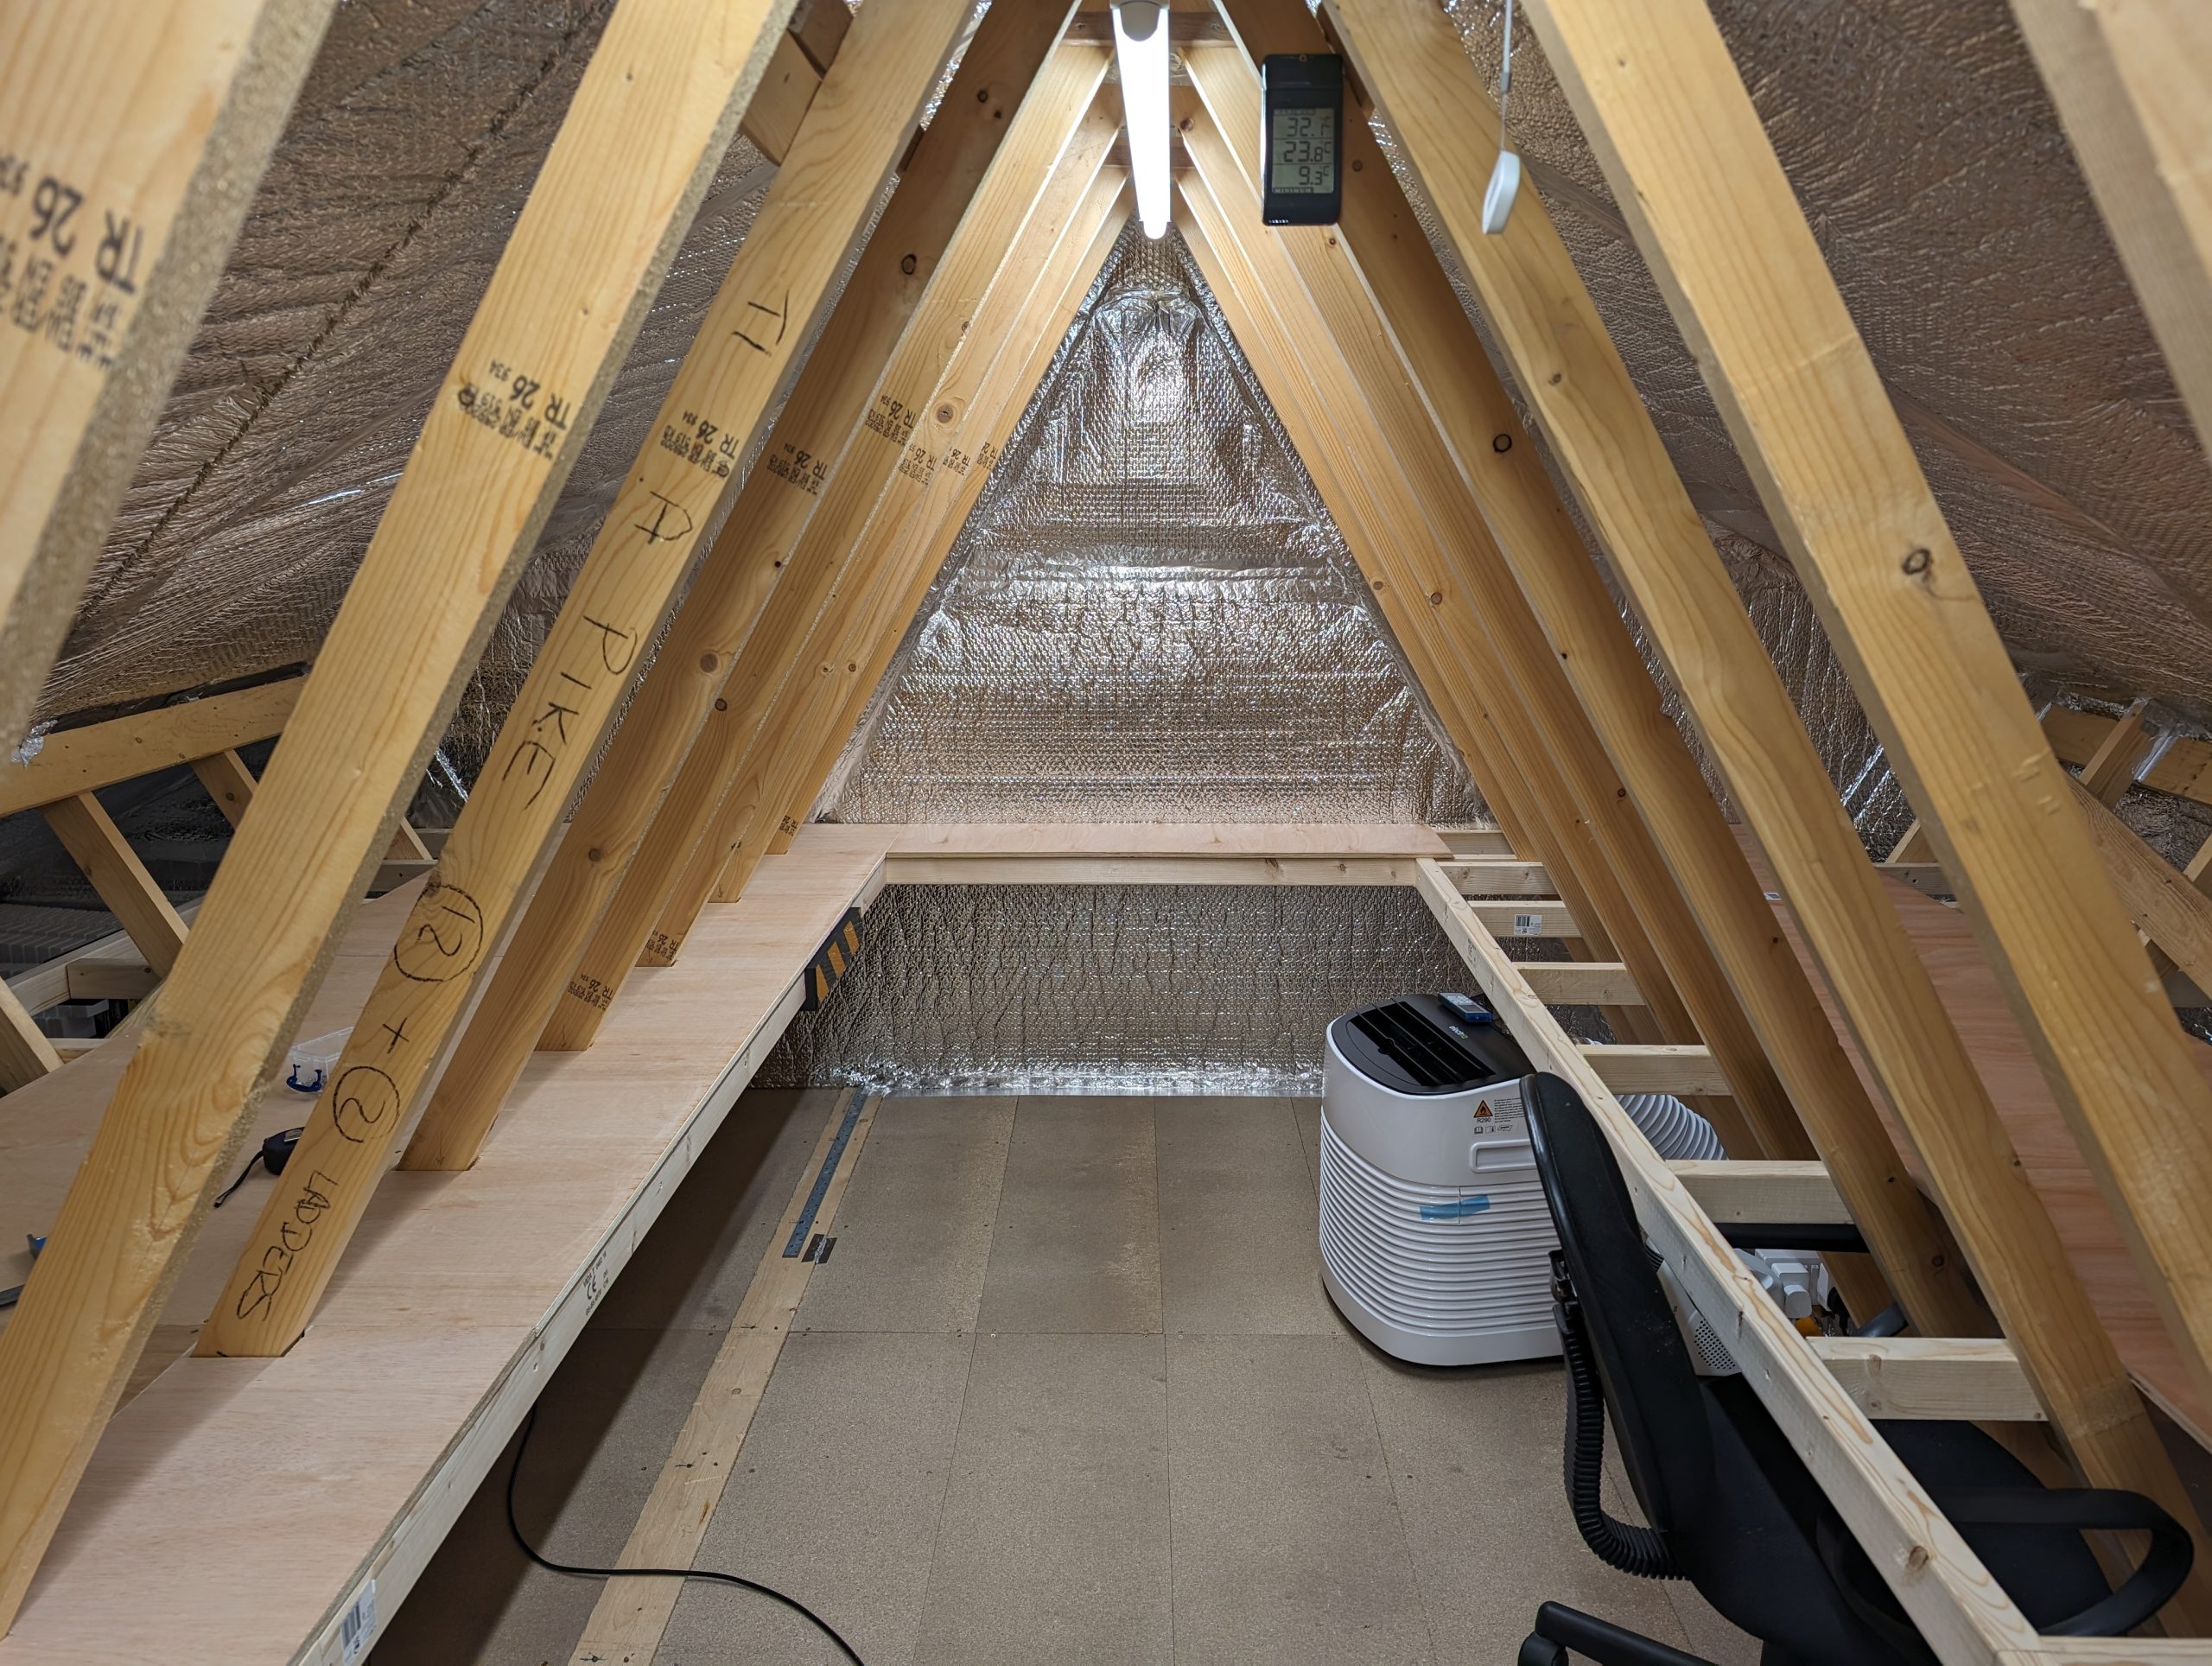
Built the framework on the other side with even worse issues of cutting the diagonal bracing. Also cut some of the horizontal bracing (as the frame should provide bracing in this direction) to allow me to crawl under and reach the storage at the back (not easy). I put some padded black and yellow striped foam on the underside of the frame at that point as I kept banging my head (may need more of that!). Starting to get an idea of how small the space left in the middle of the loft is going to be. The air-conditioning is also installed a working now after a few false starts and teething issues.
May 2024 – Part 1
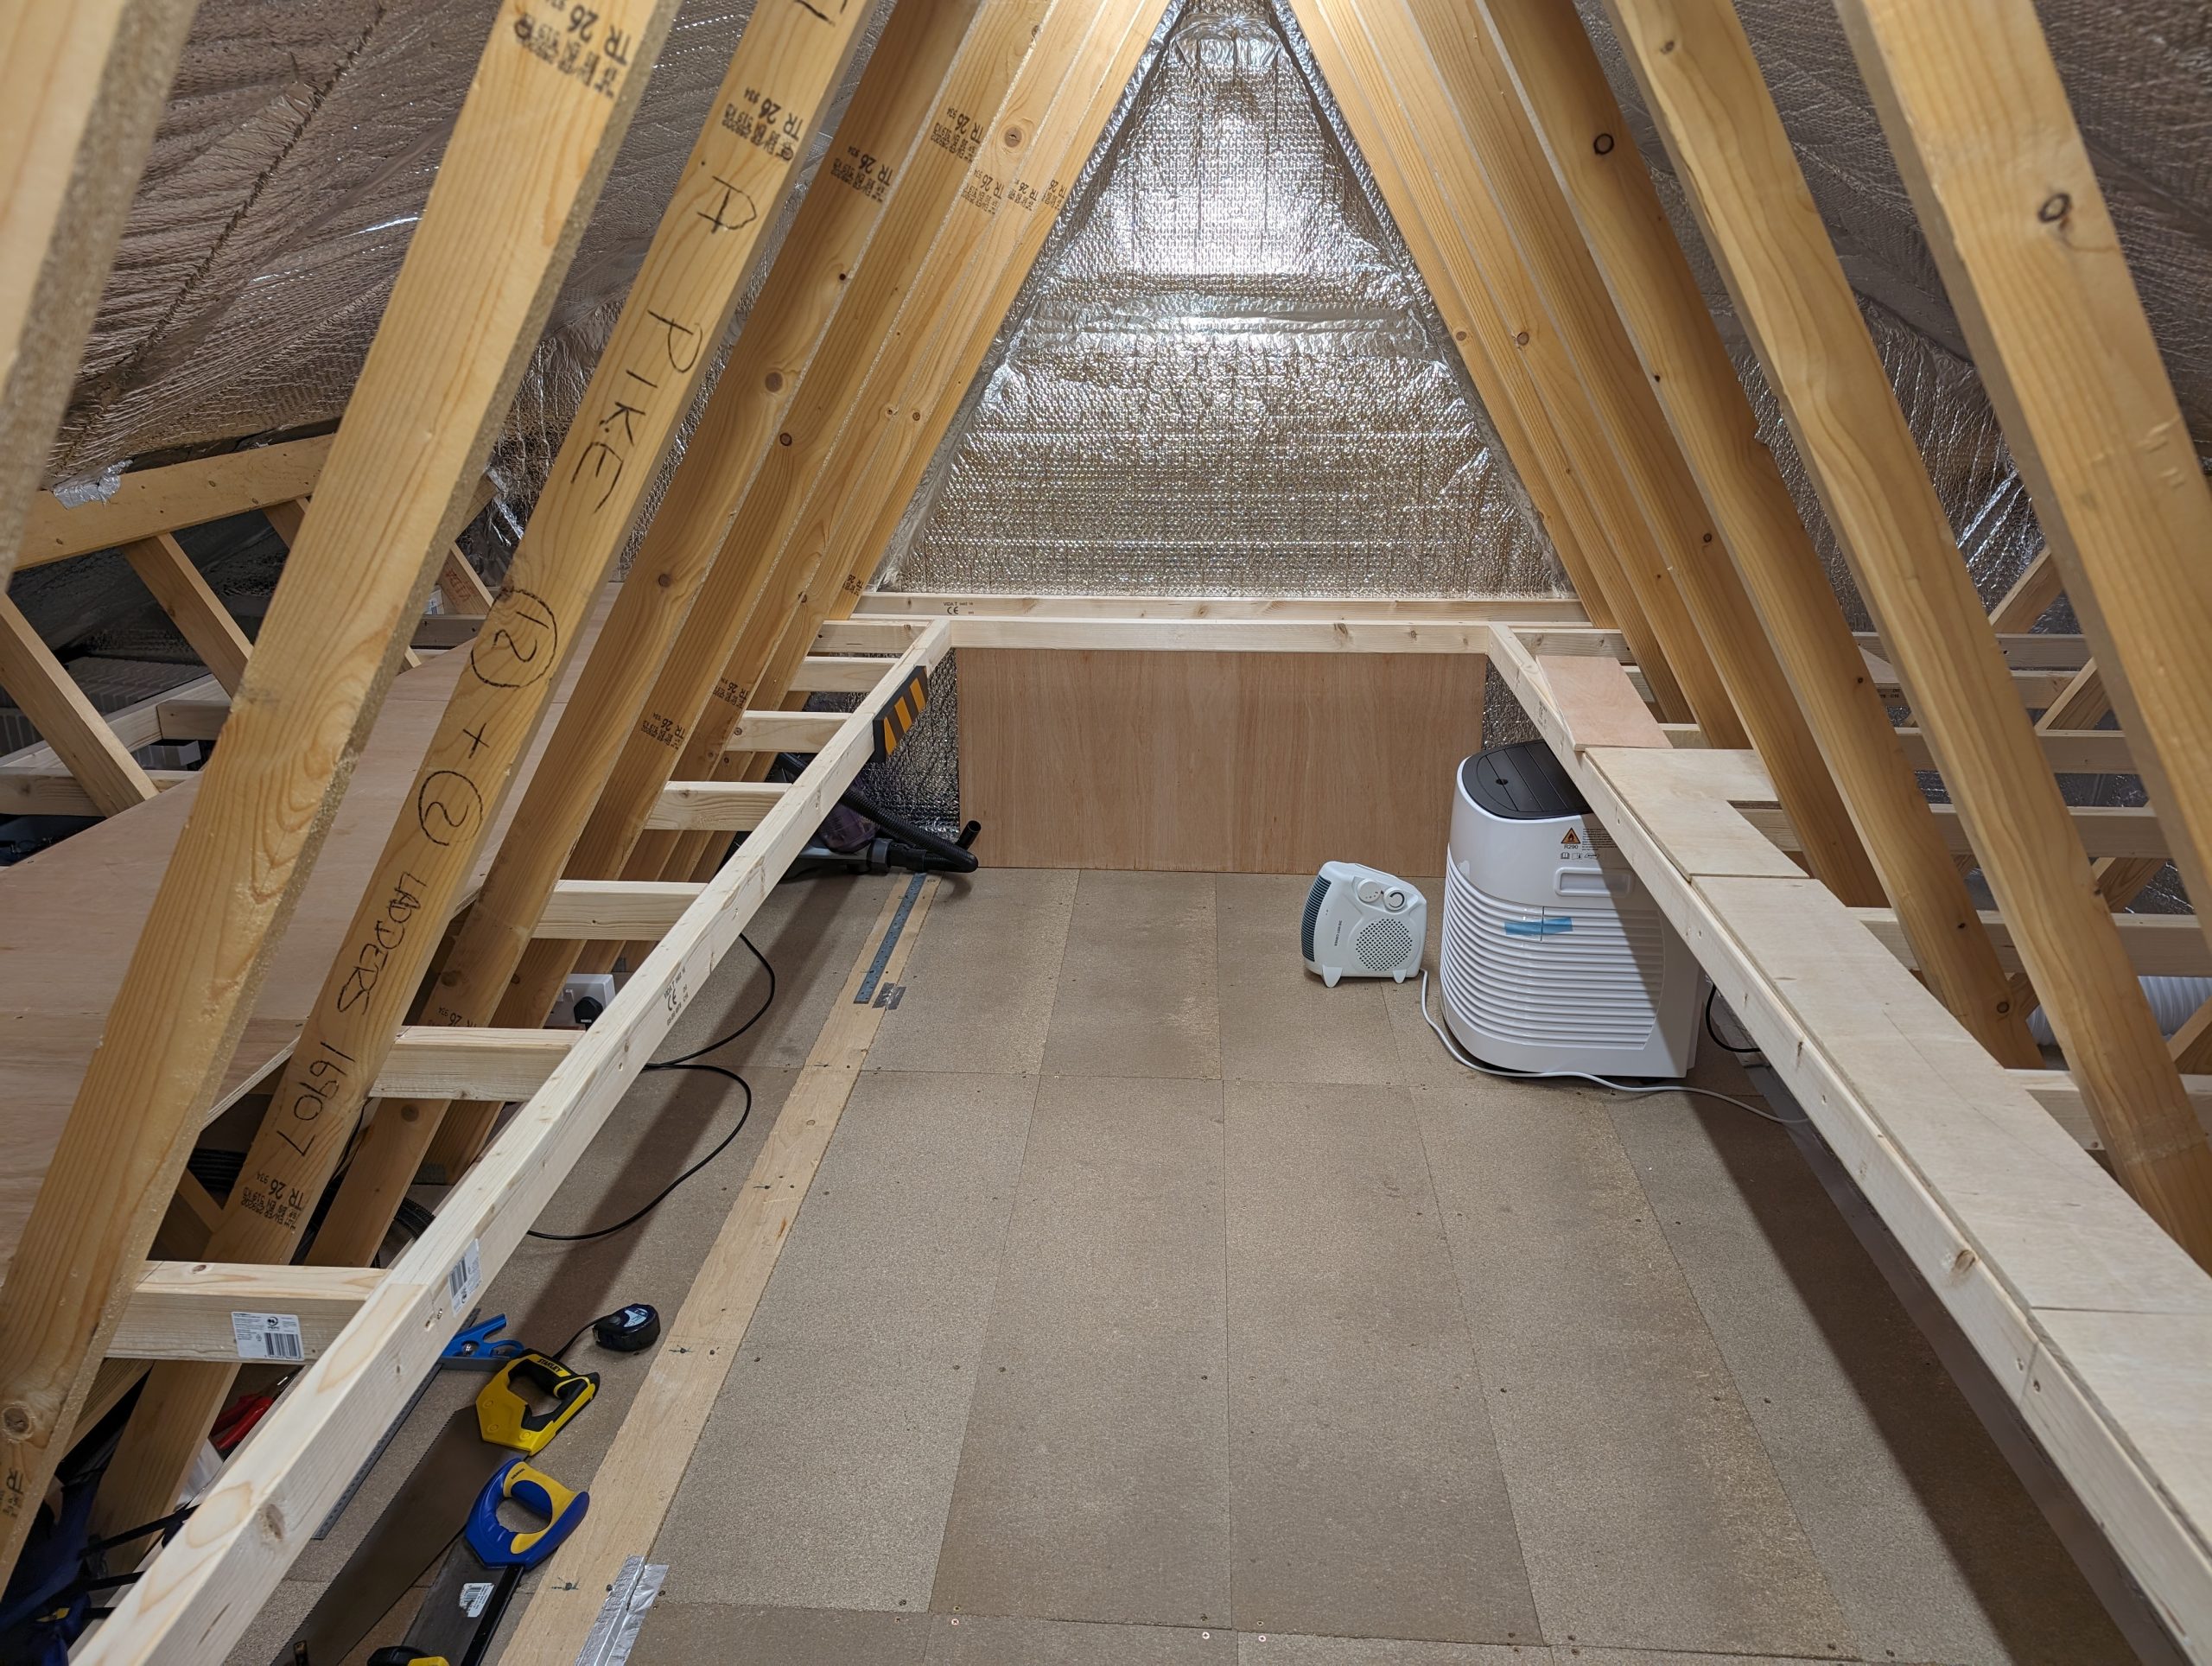
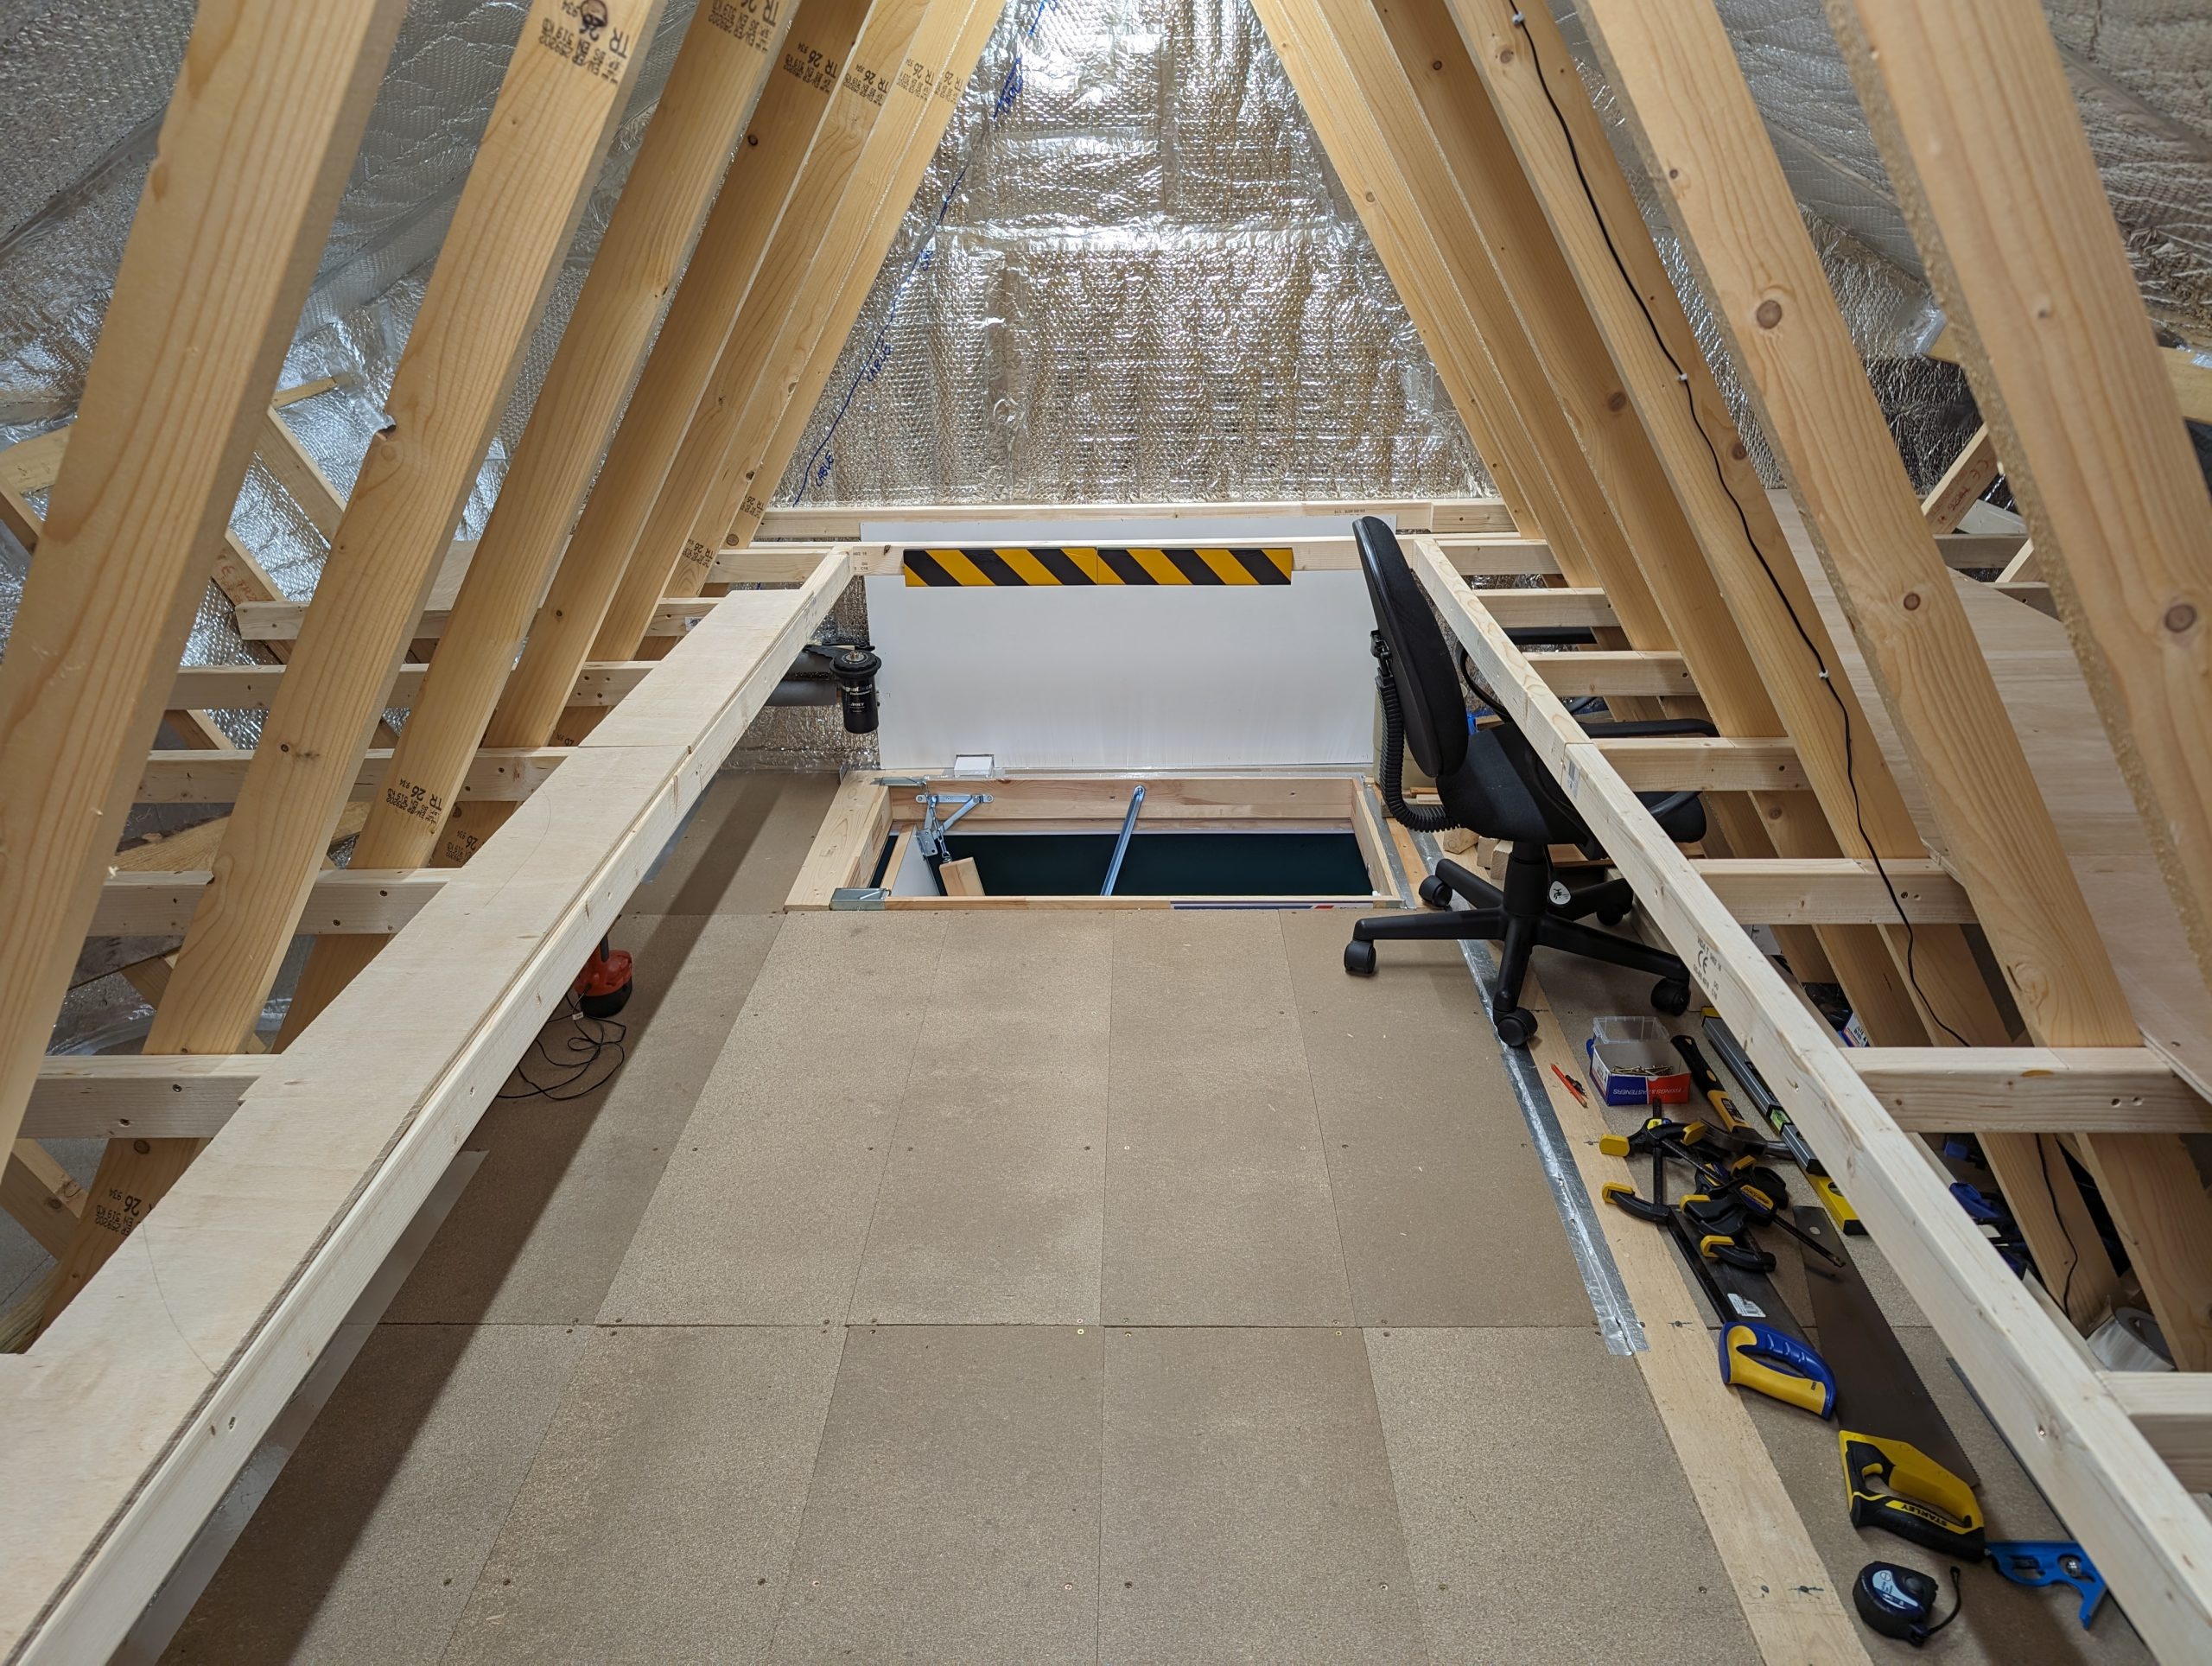
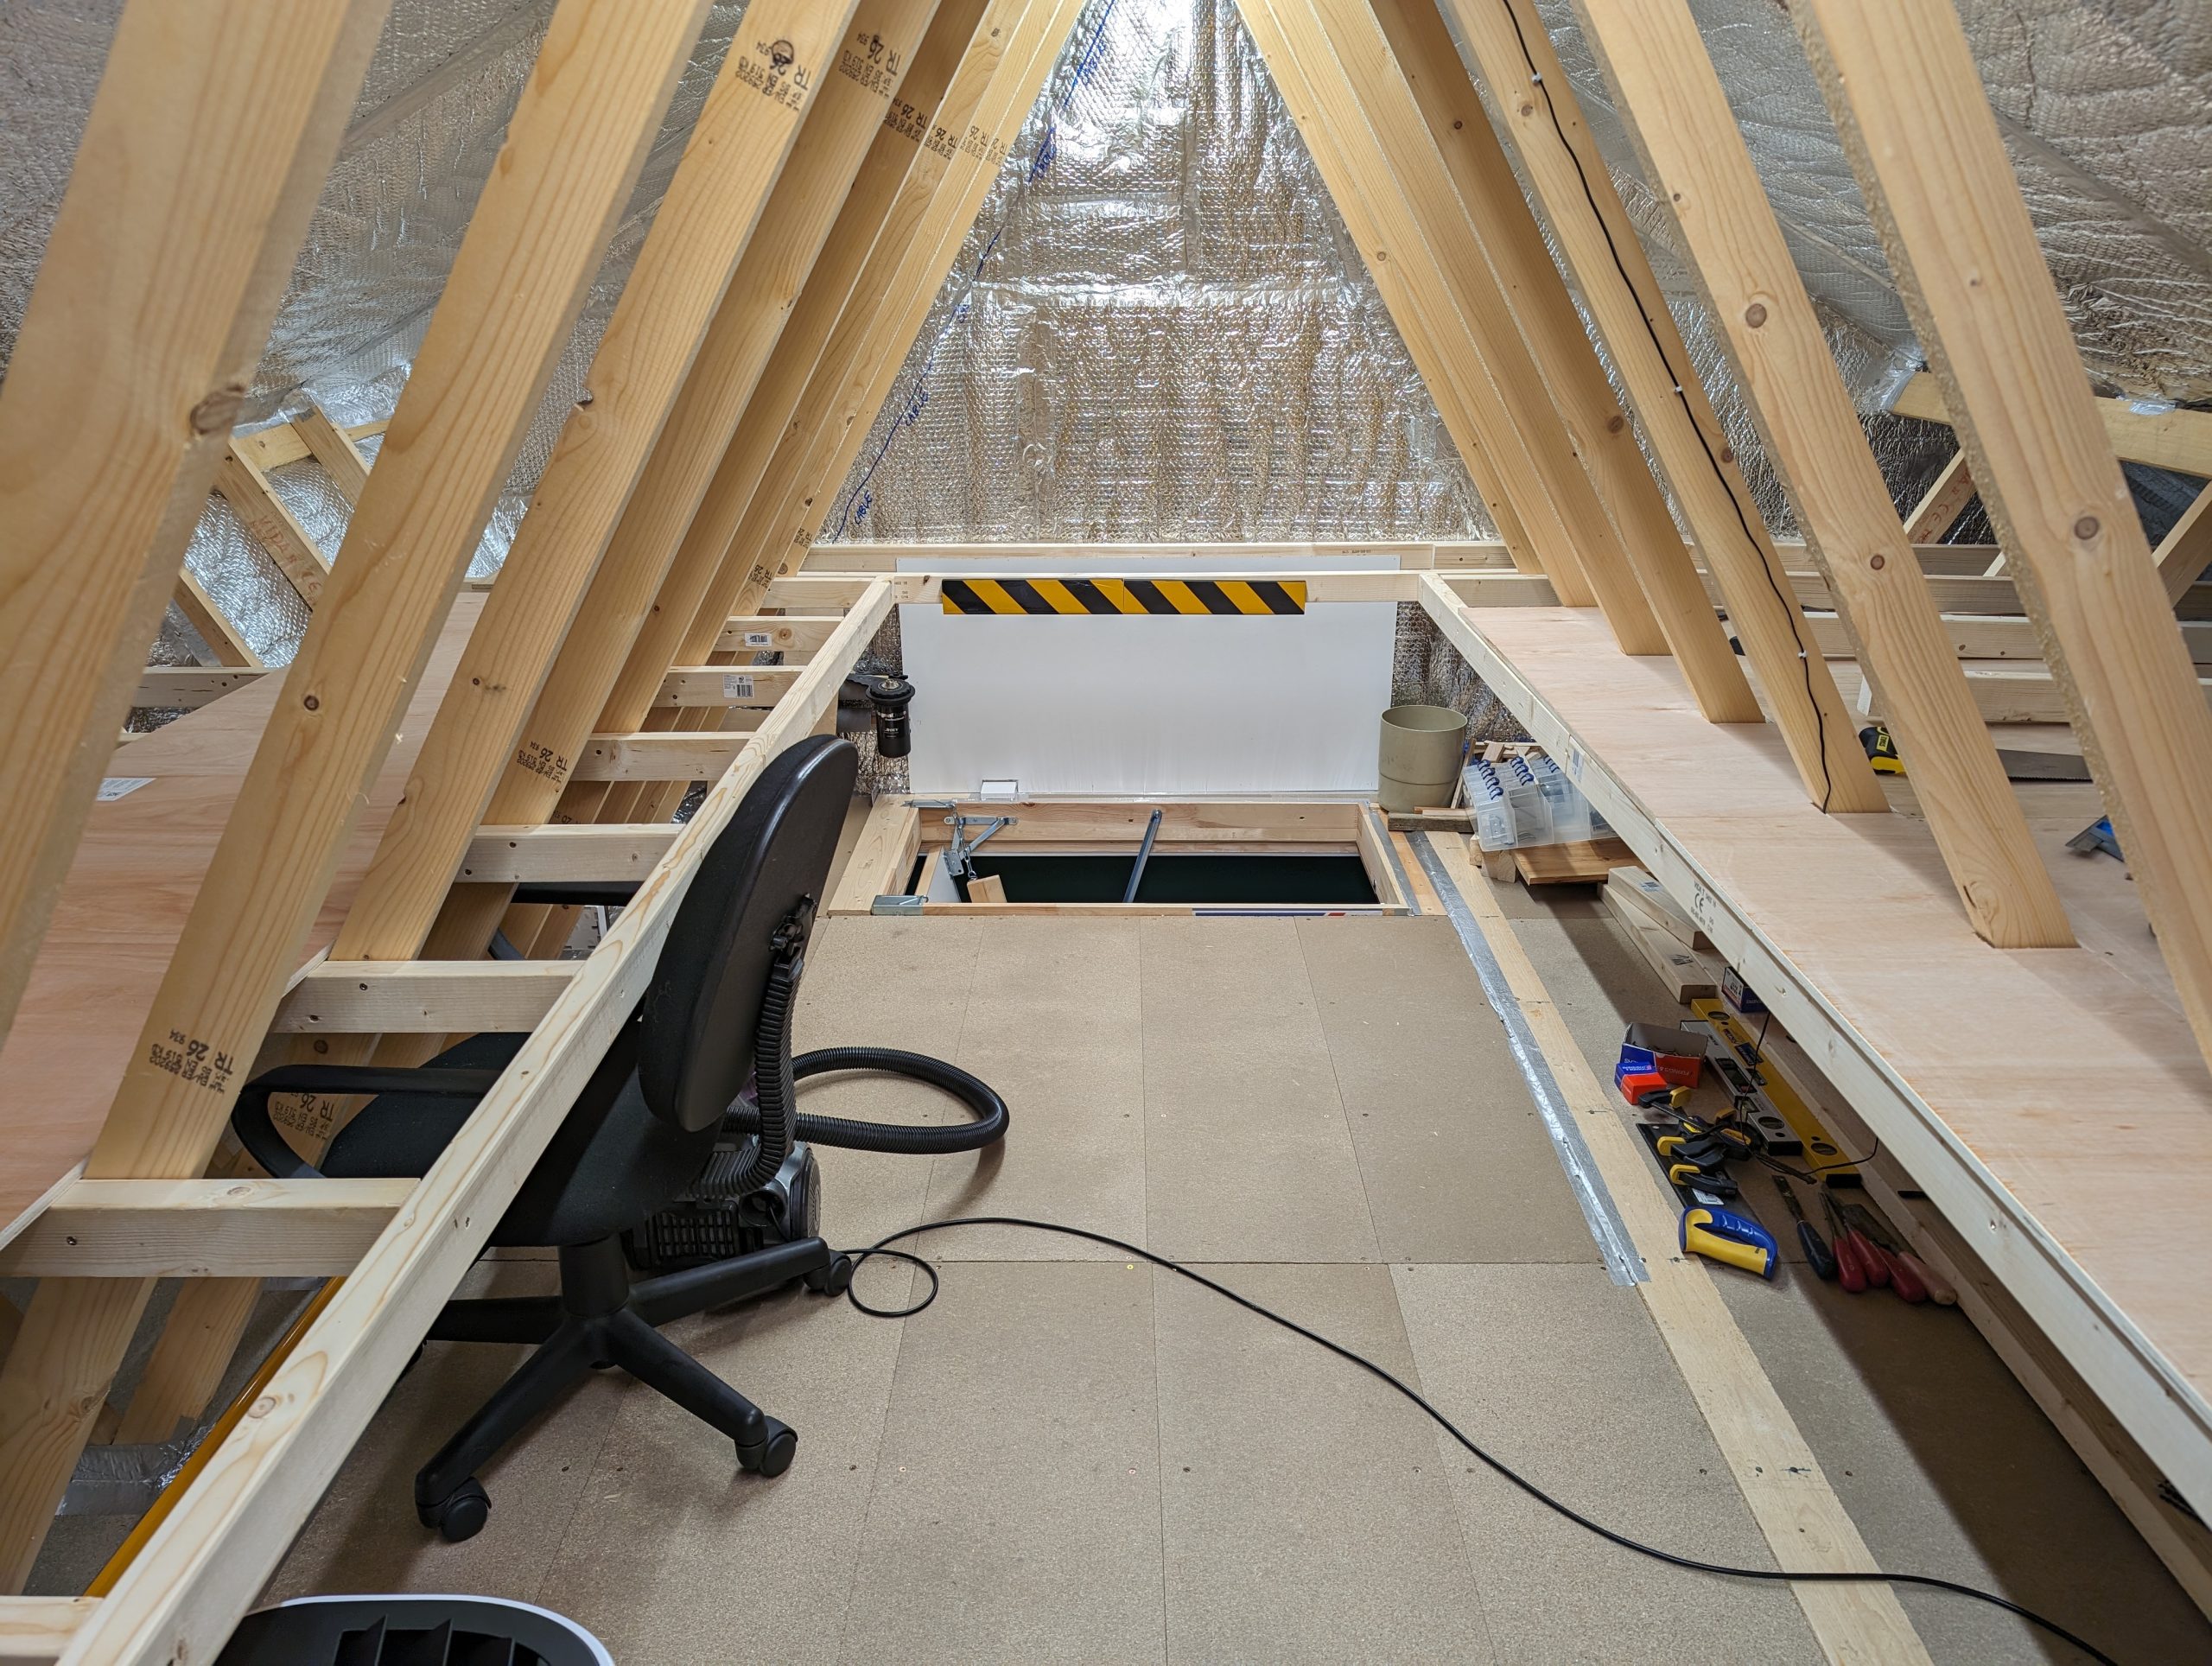
Screwed down plywood boards to framework all the way along one side. These were whole sheets that only needed a bit cut off the length to fit the spacing of the cross pieces. The frame on the other side is also just about complete now. I had some difficulty getting it all level where it met up with the first side but it’s just about there now. I’ve also added more black and yellow padded foam to the cross timbers over the hatch as I kept hitting my head on it.
May 2024 – Part 2
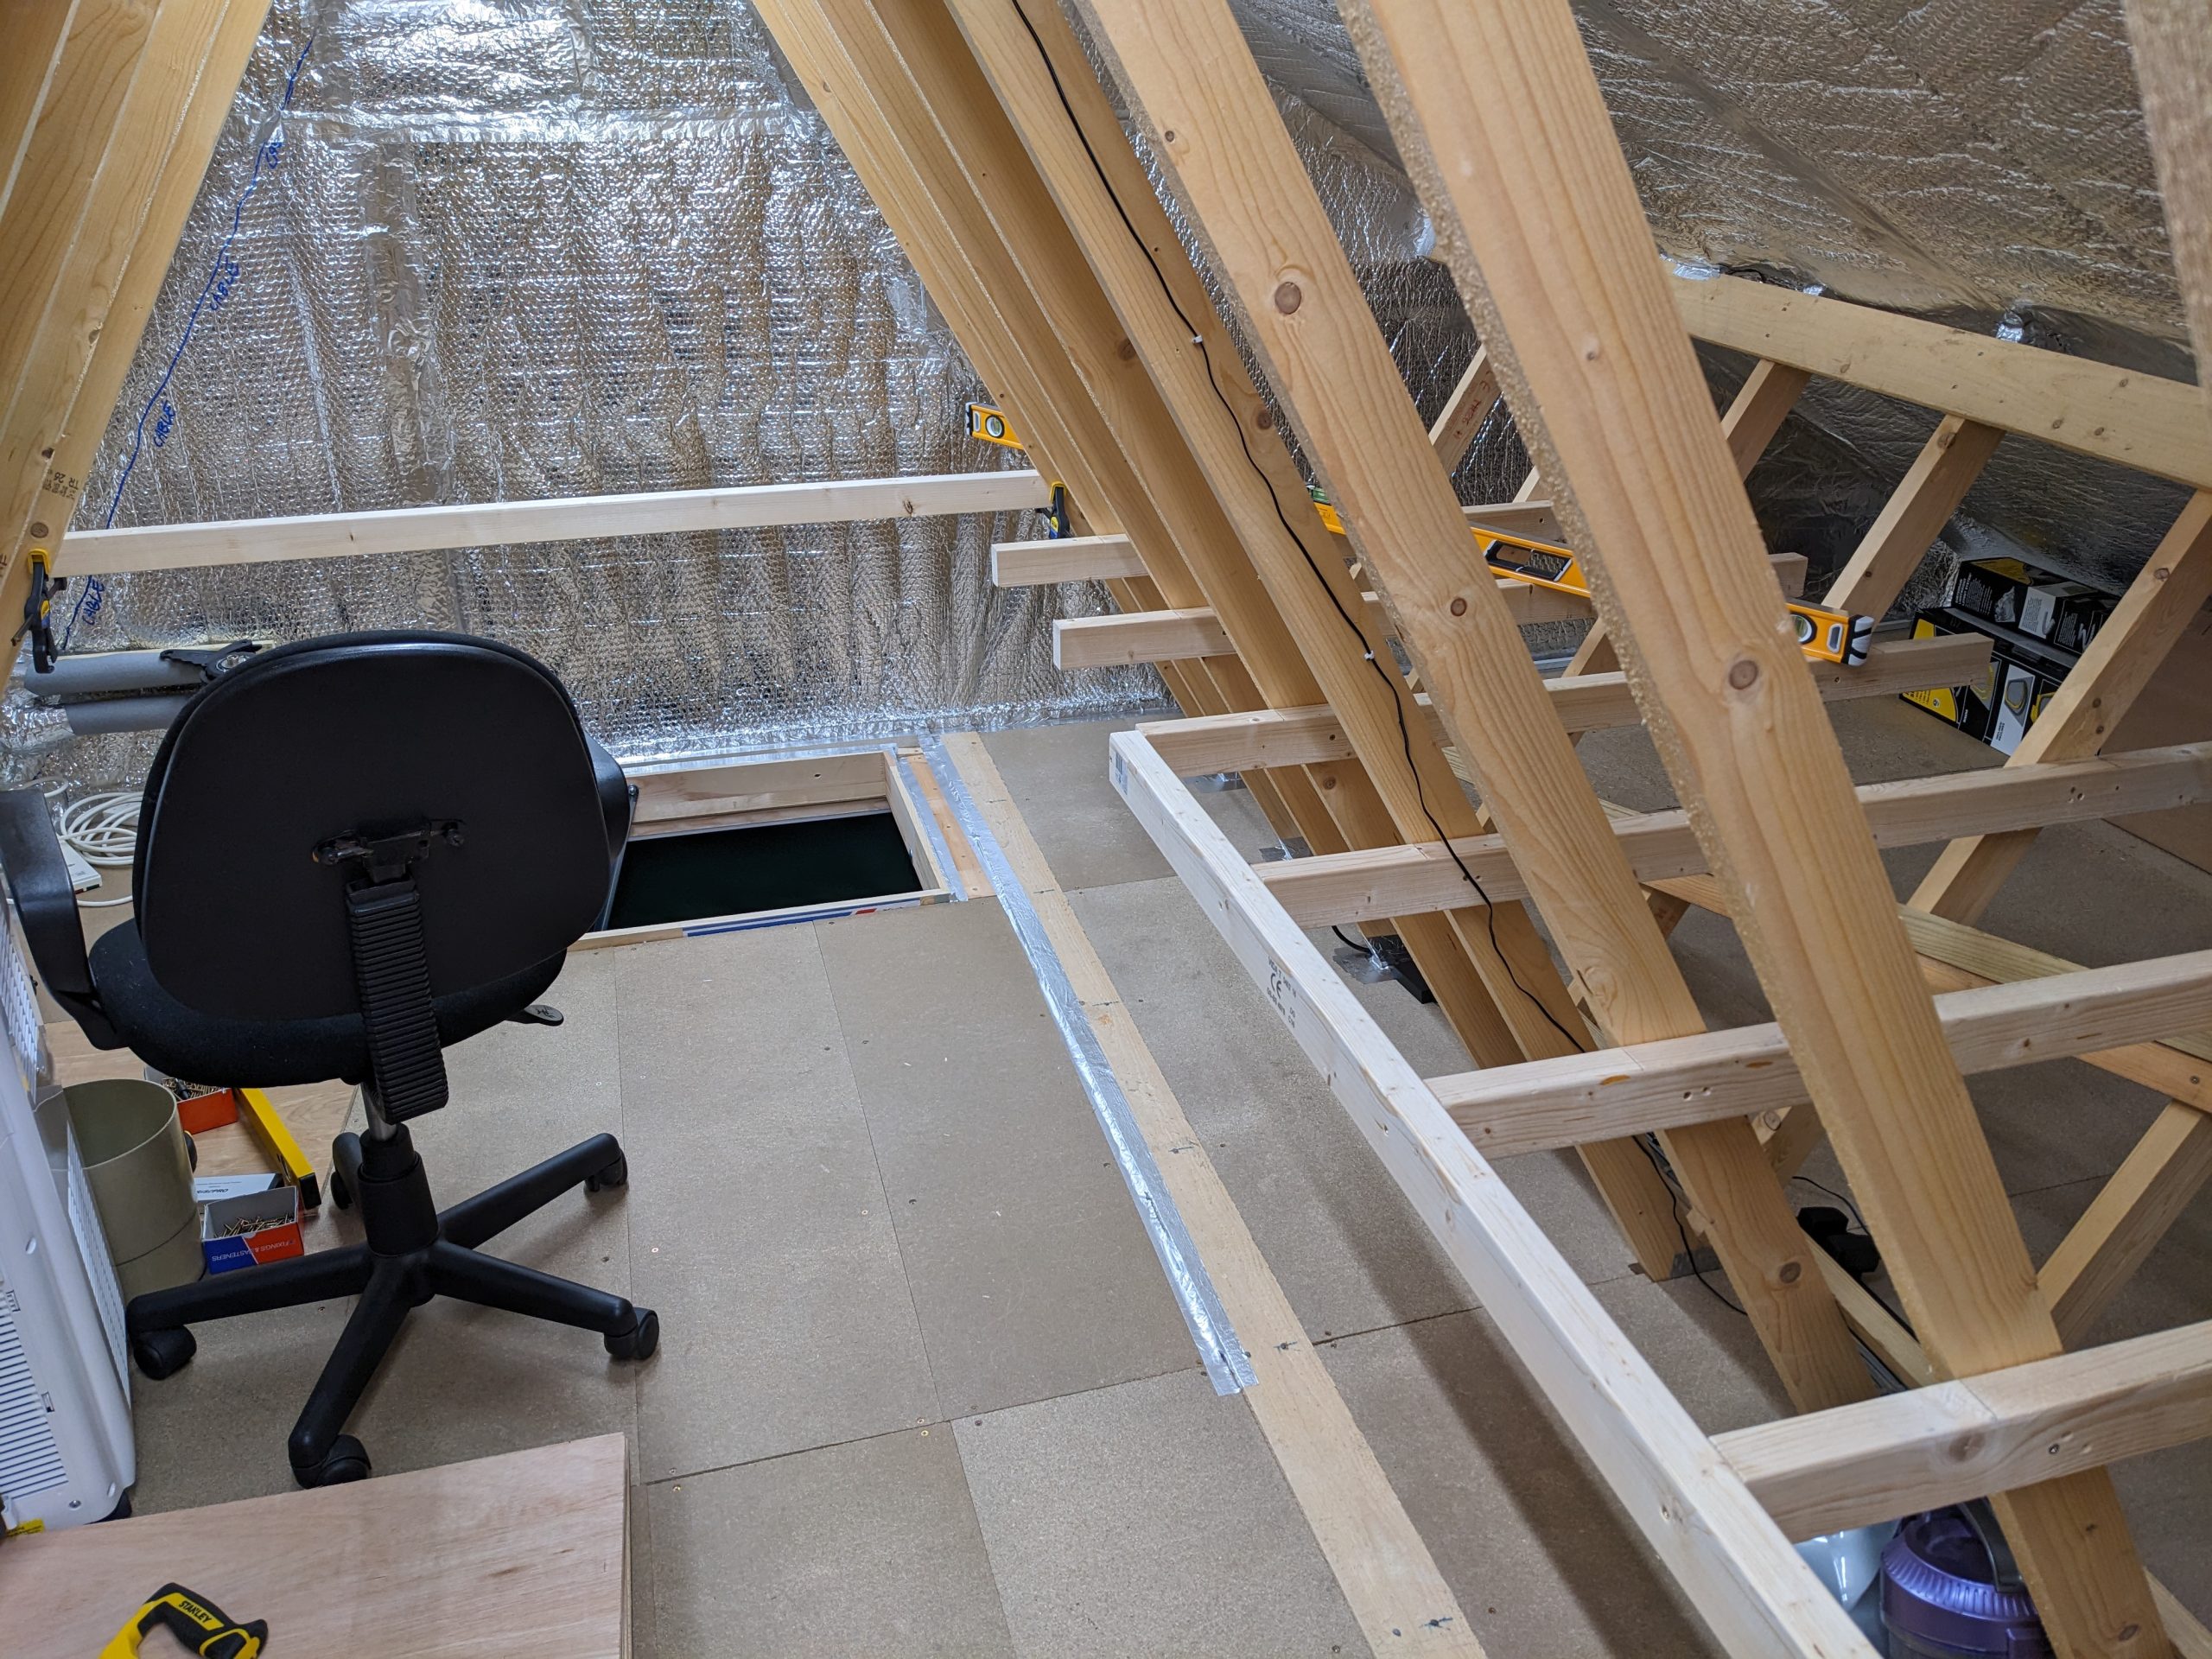
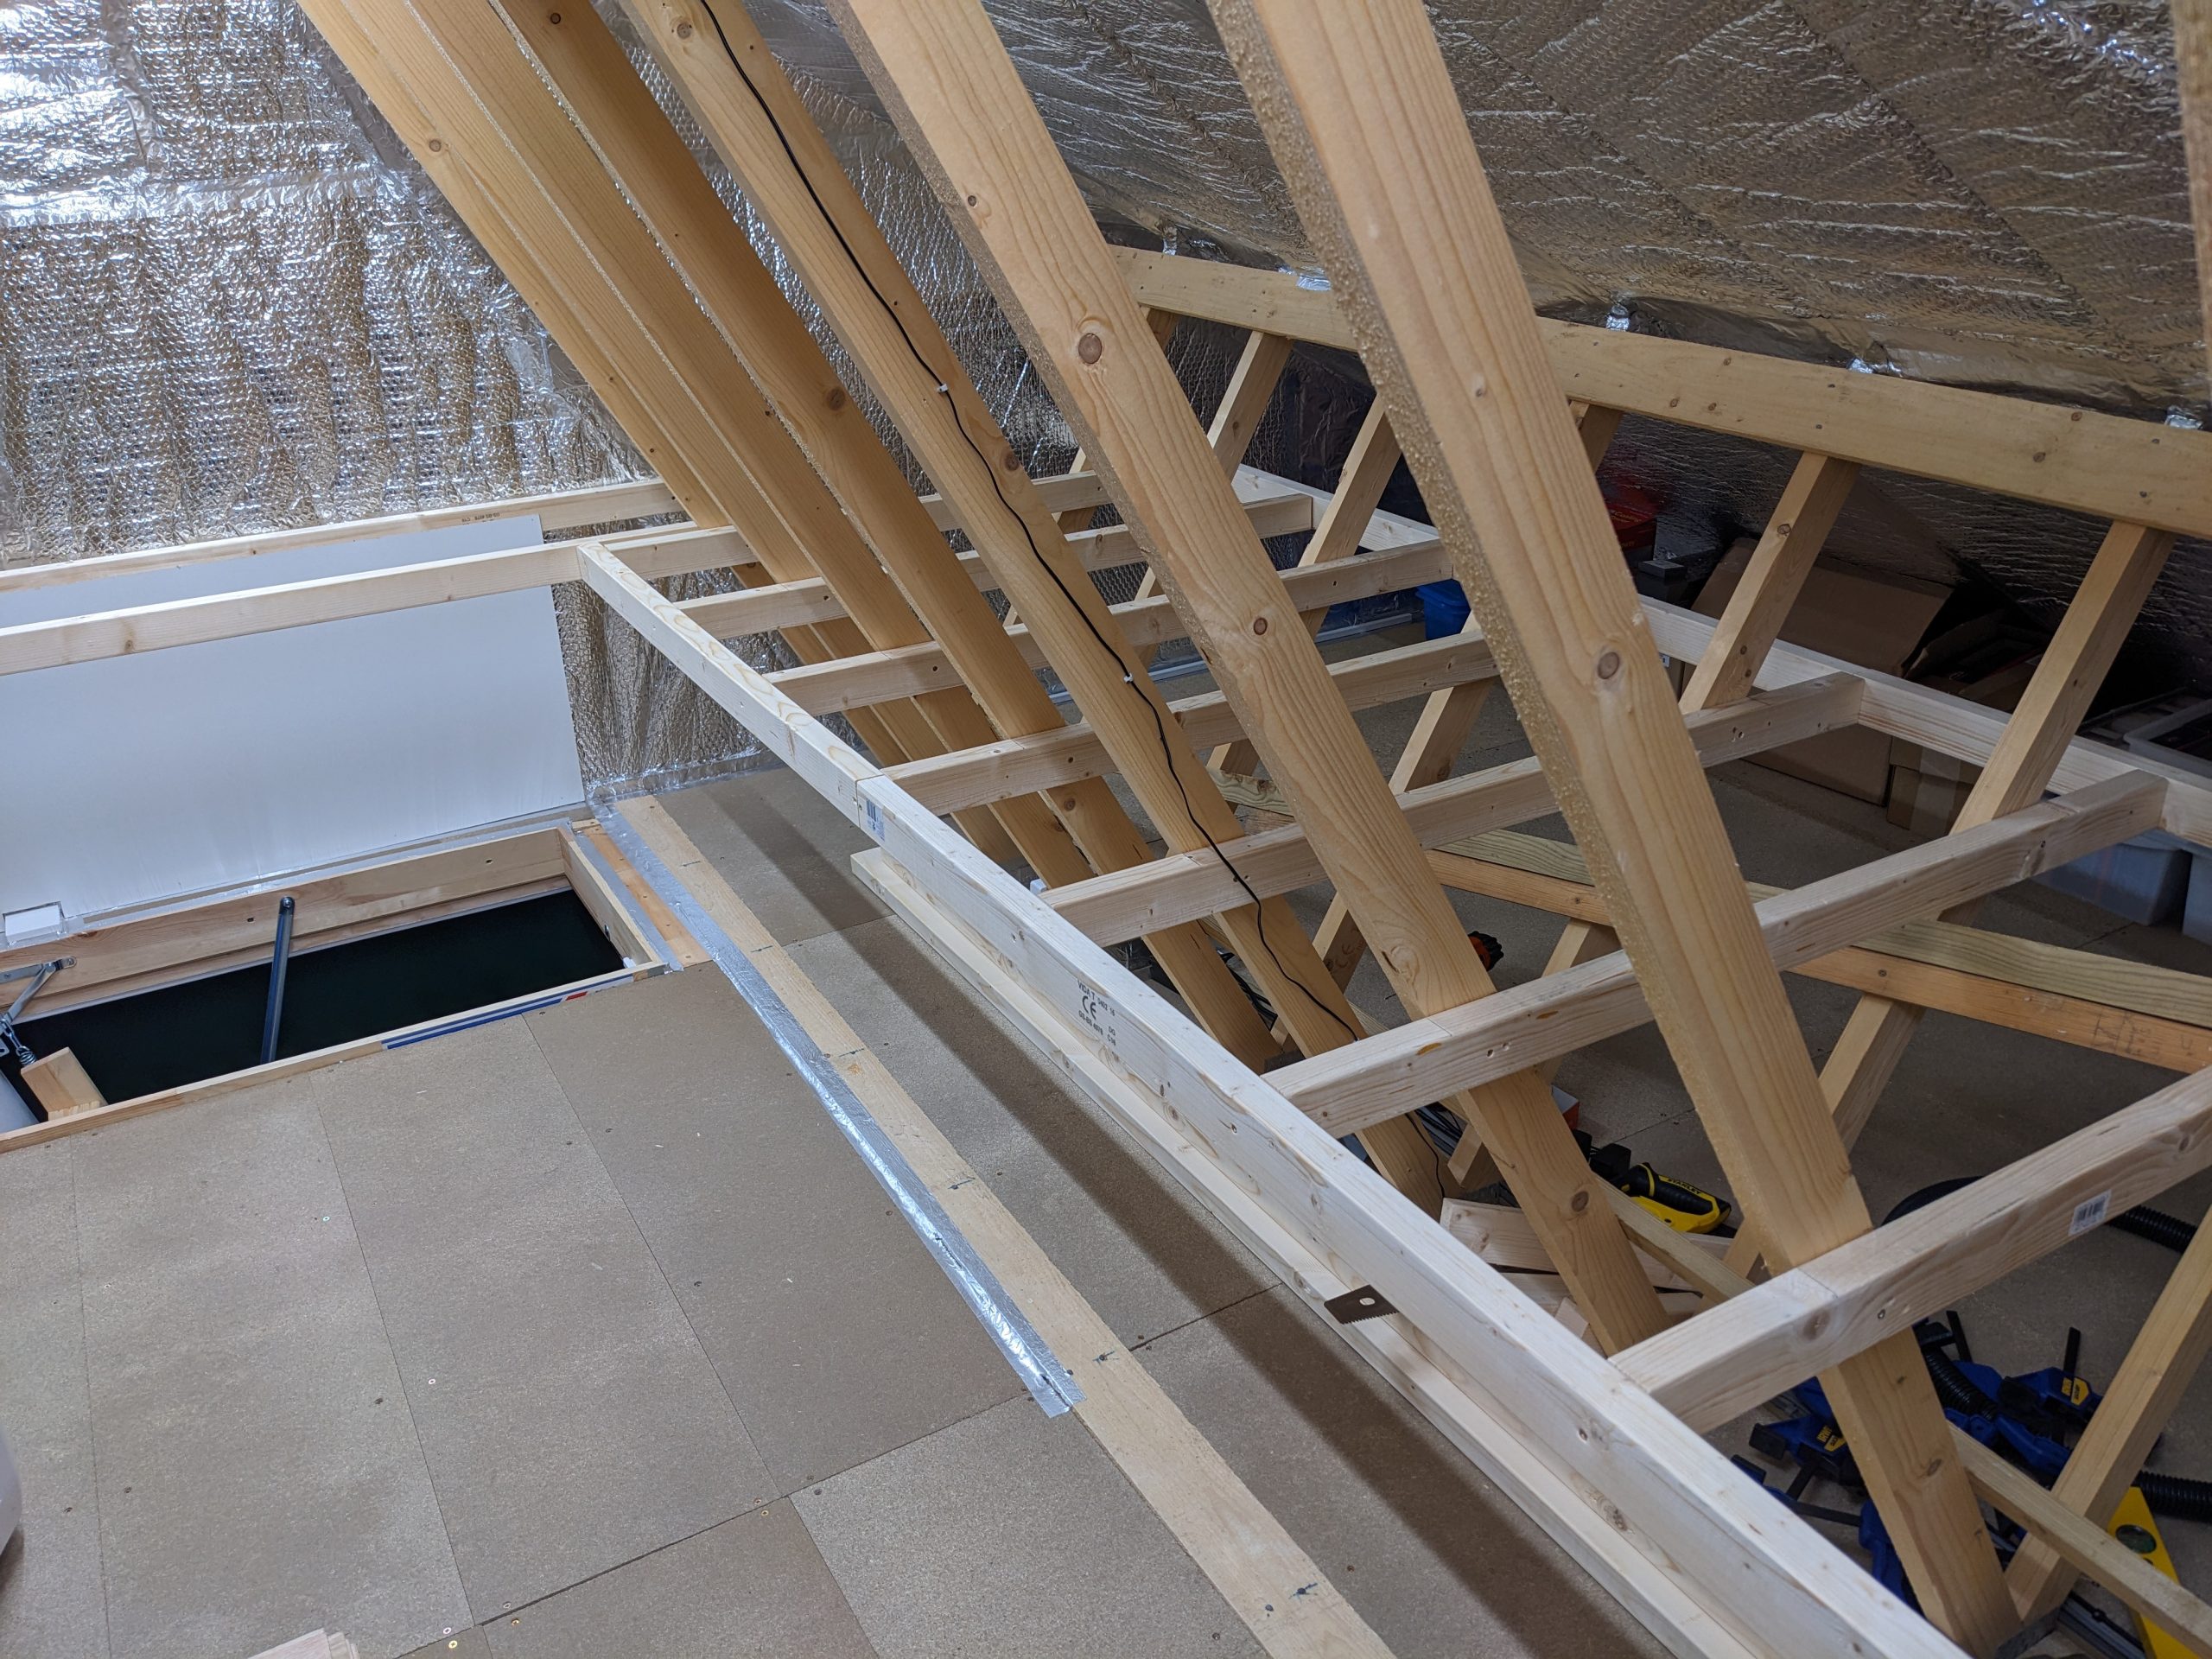
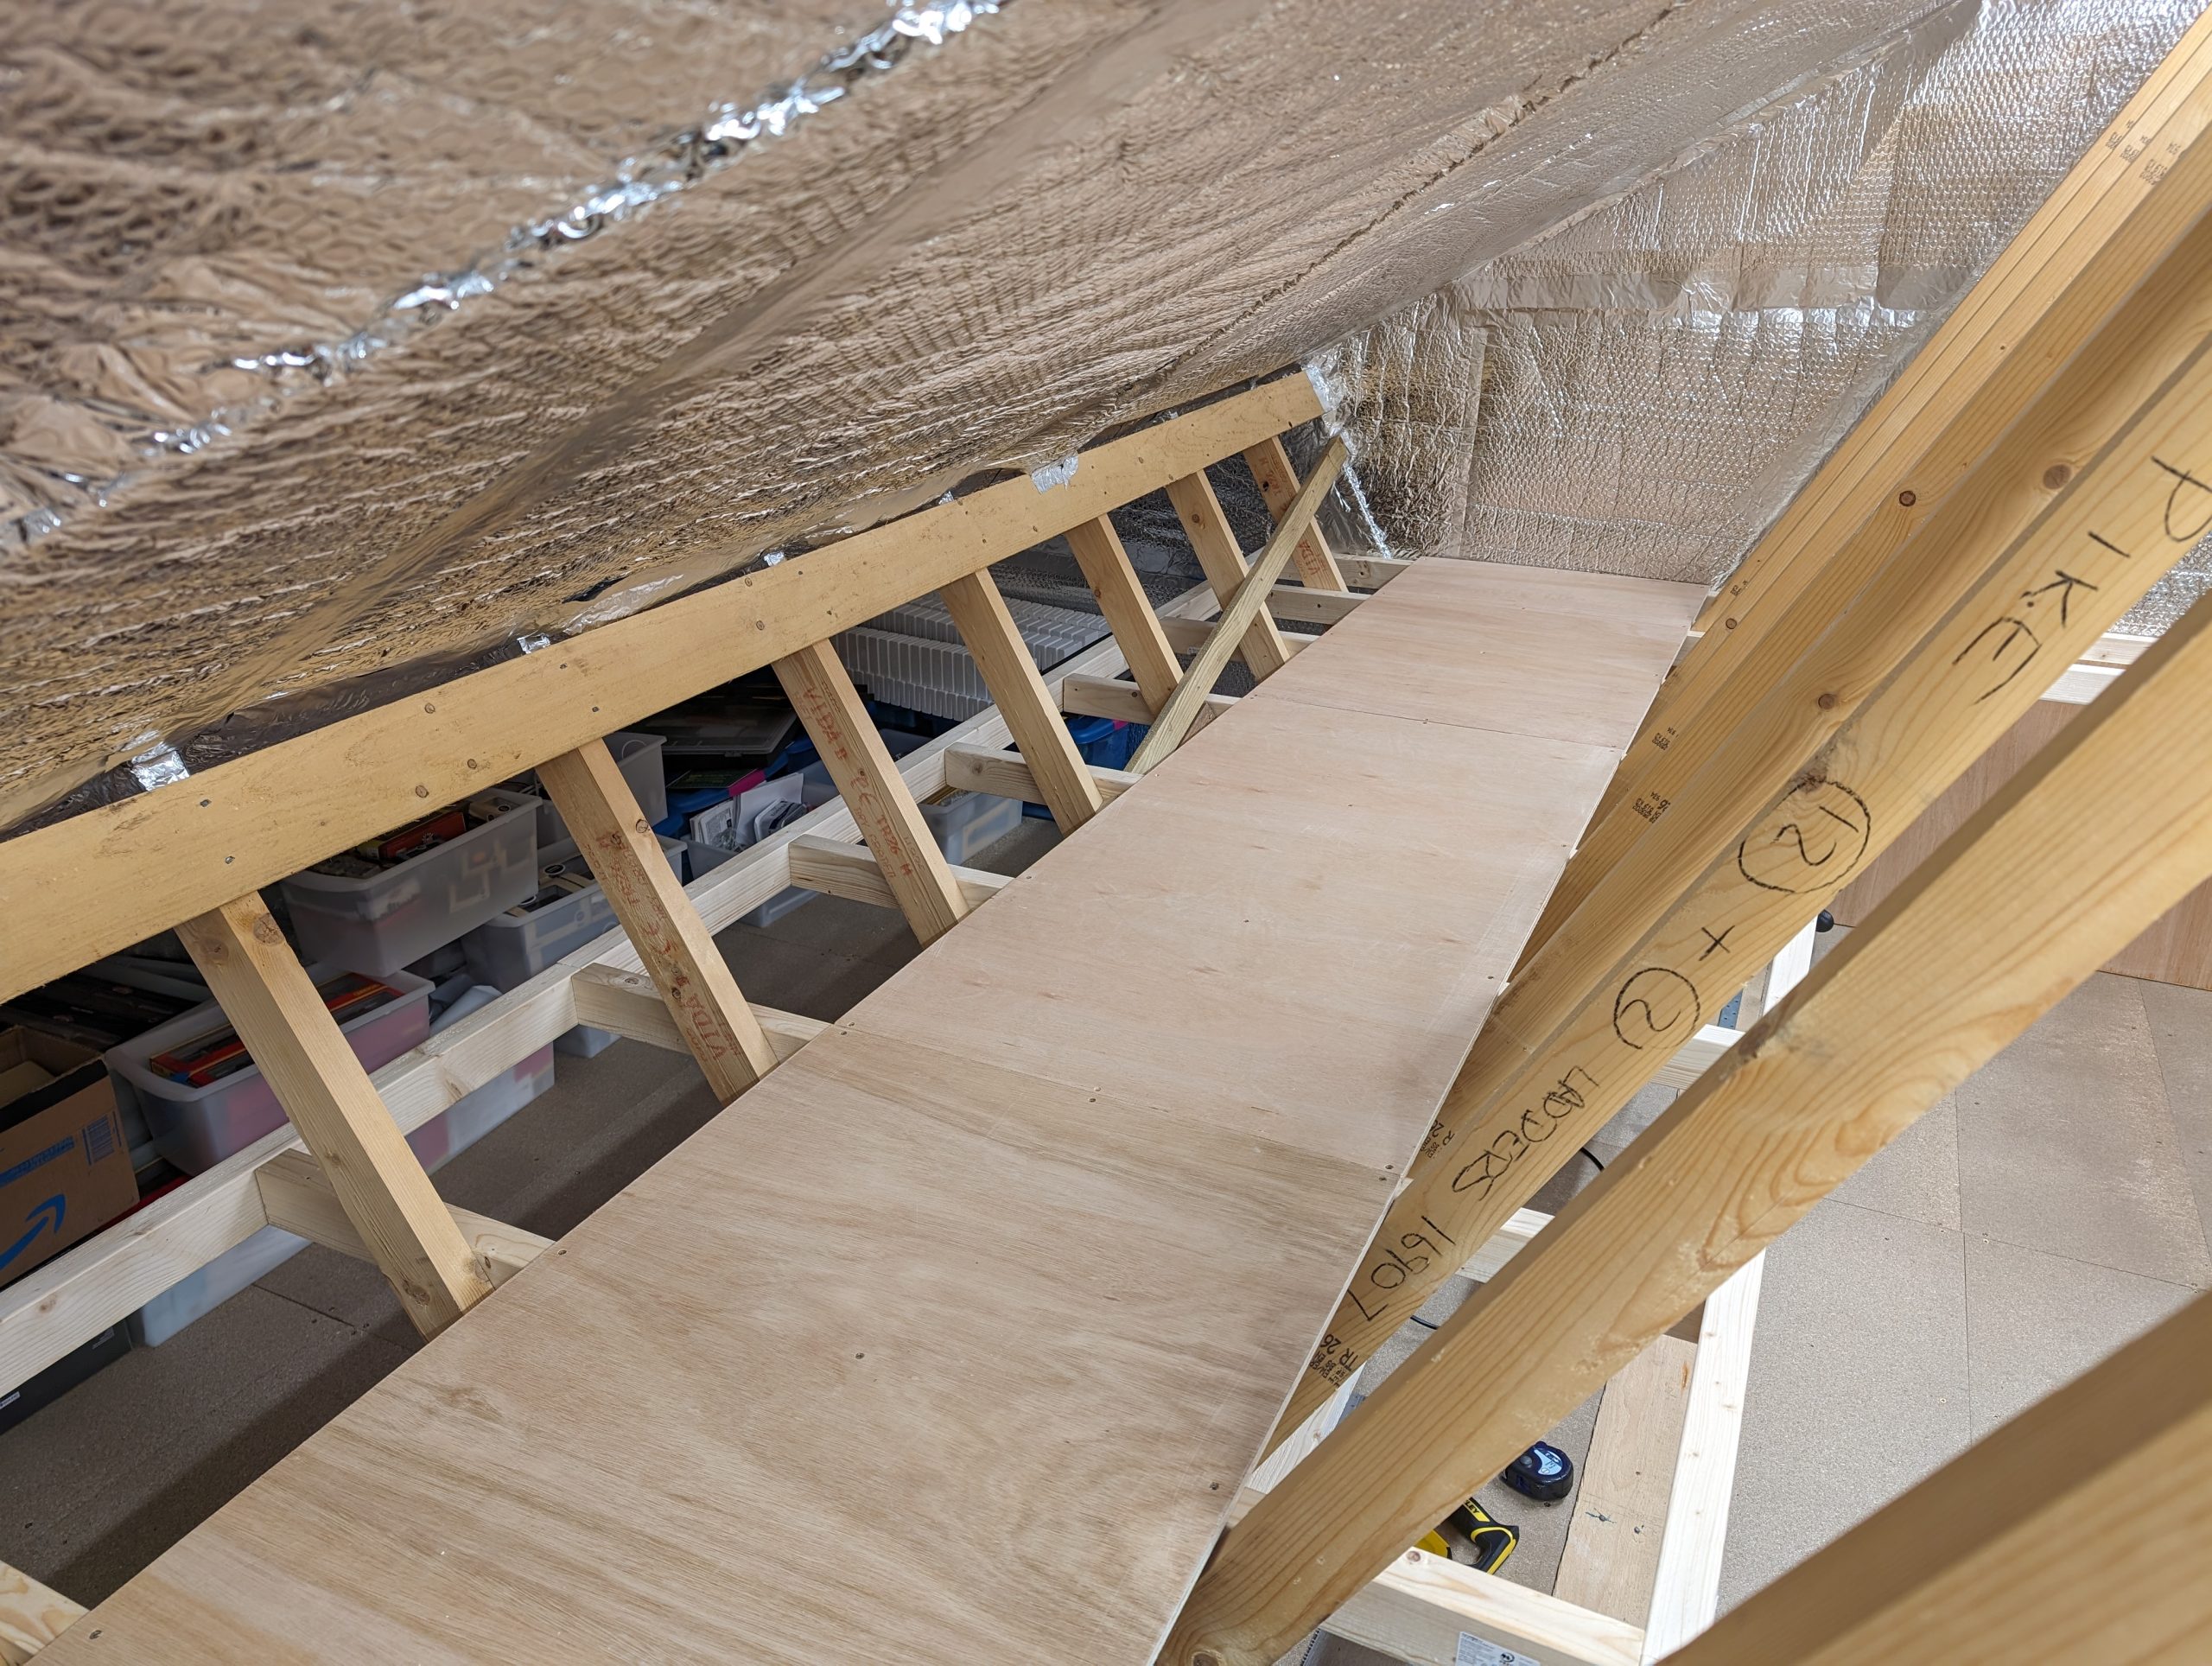
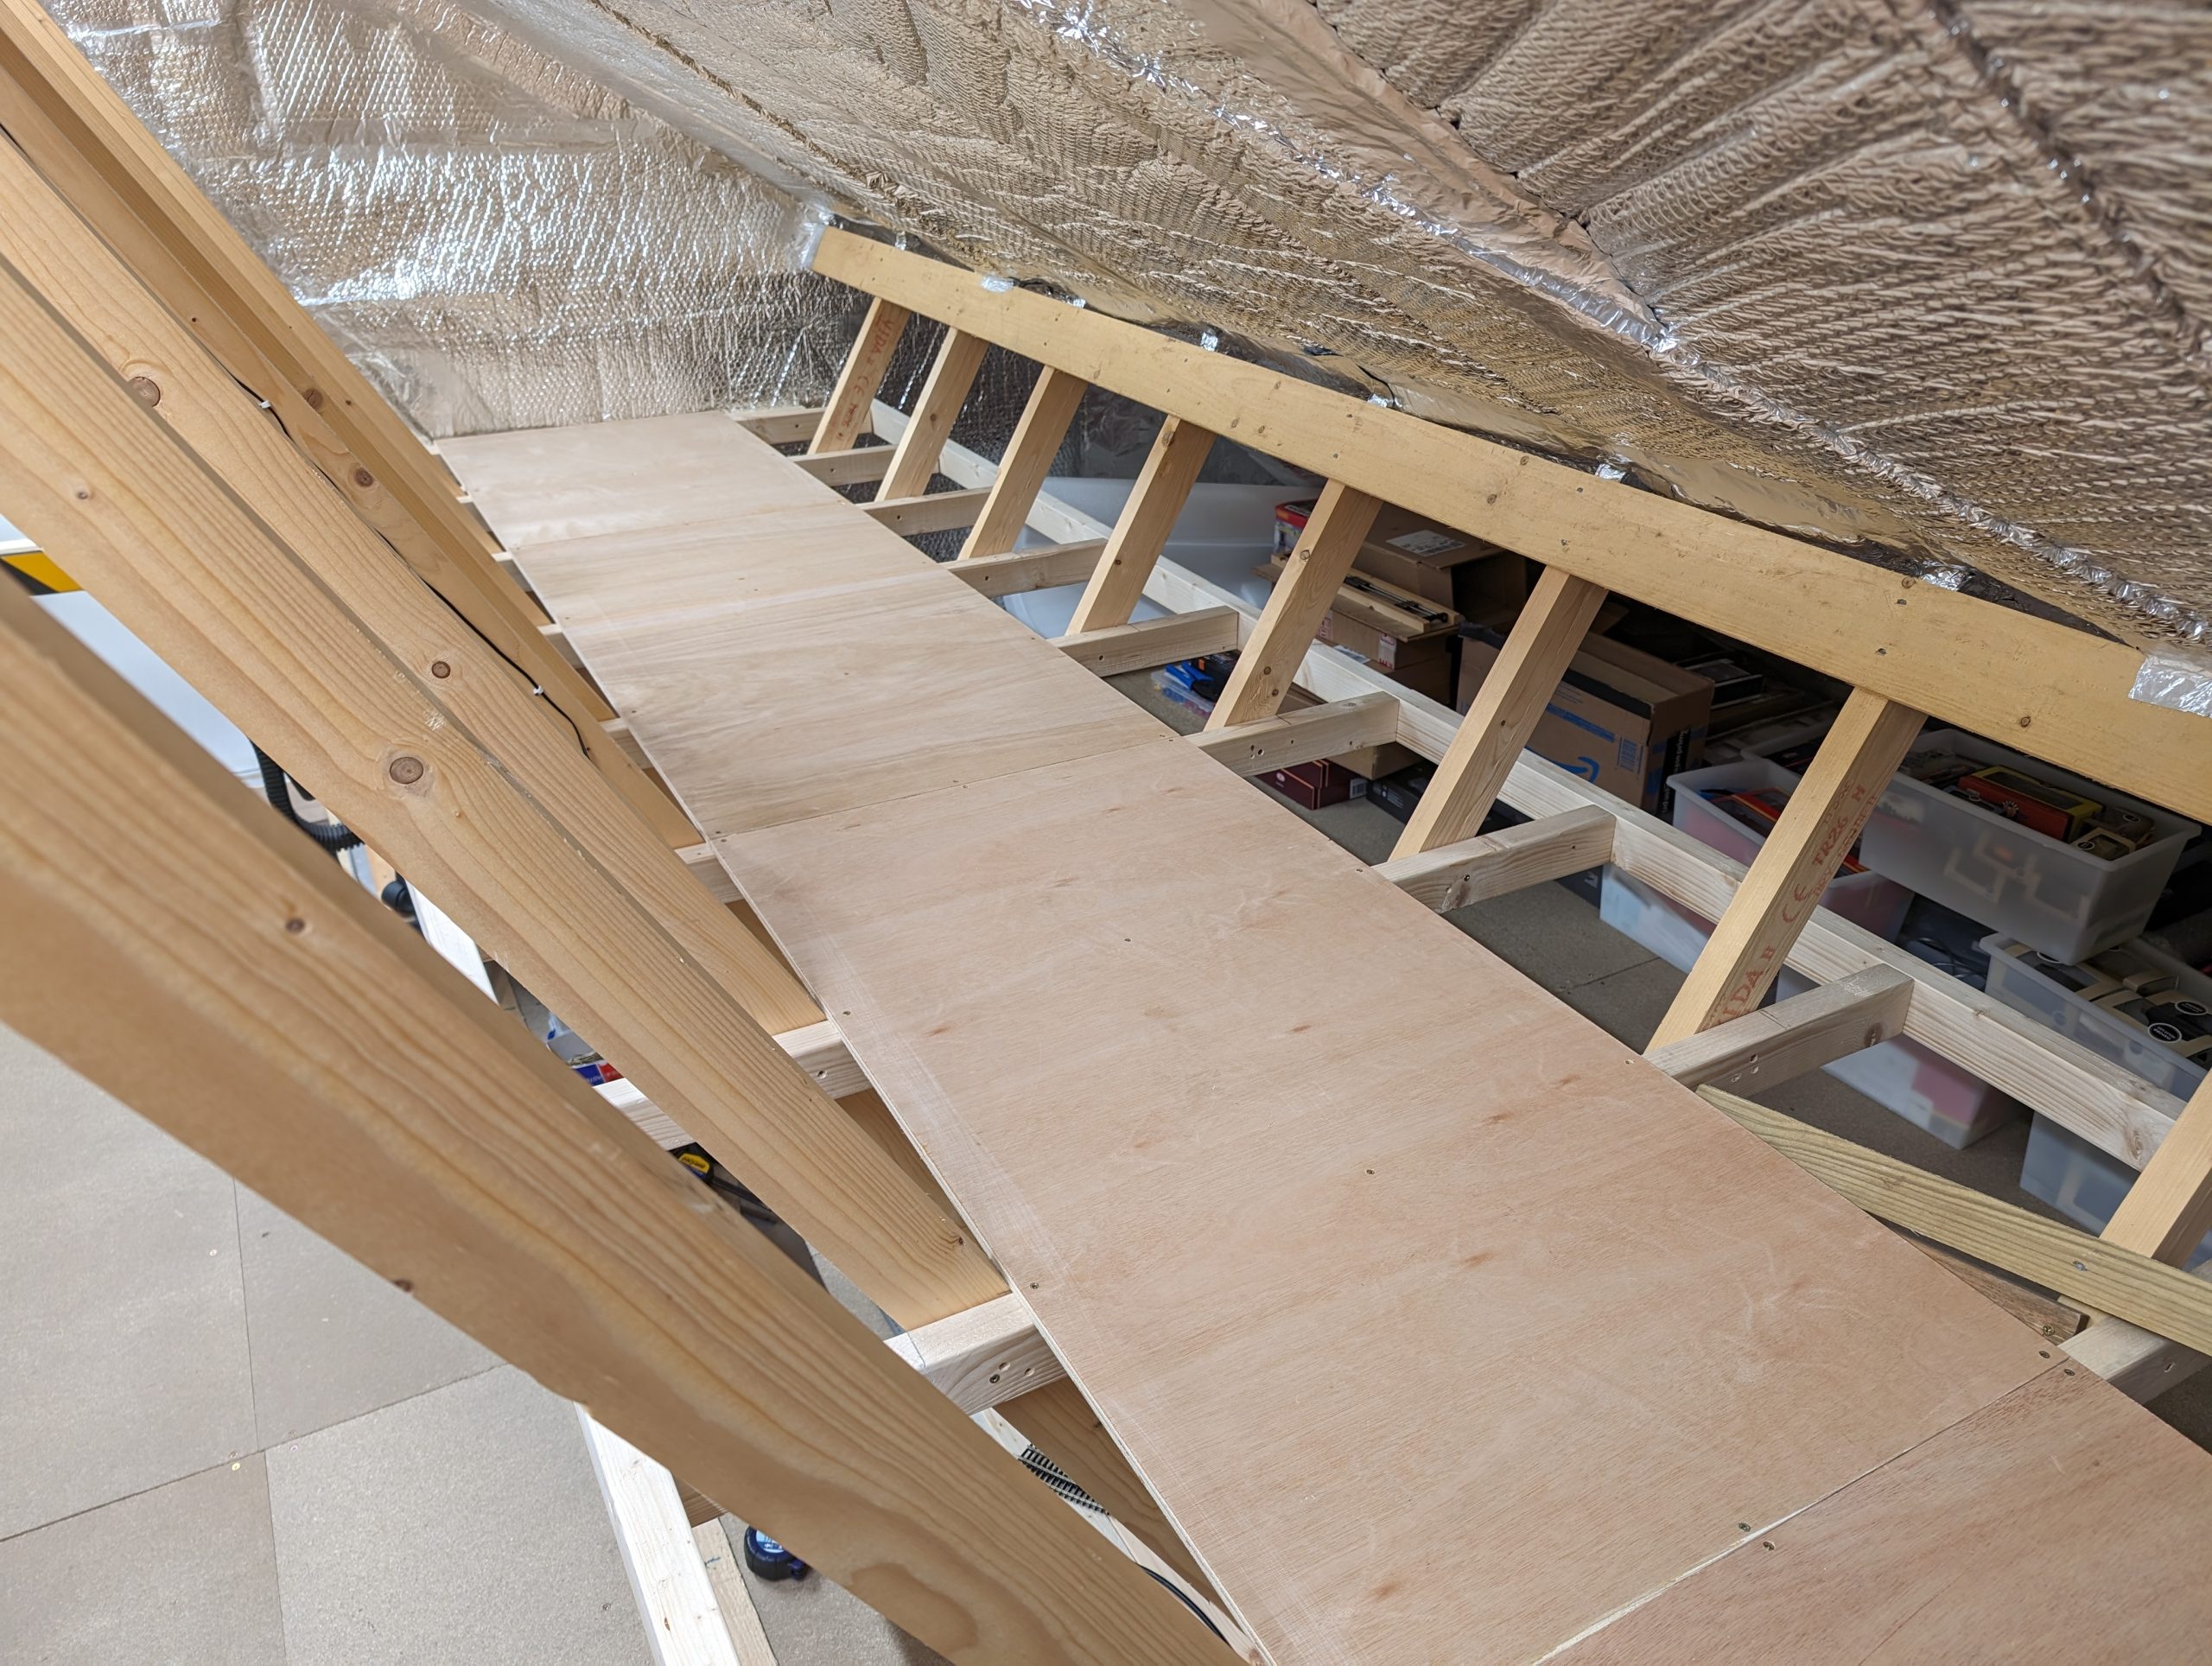
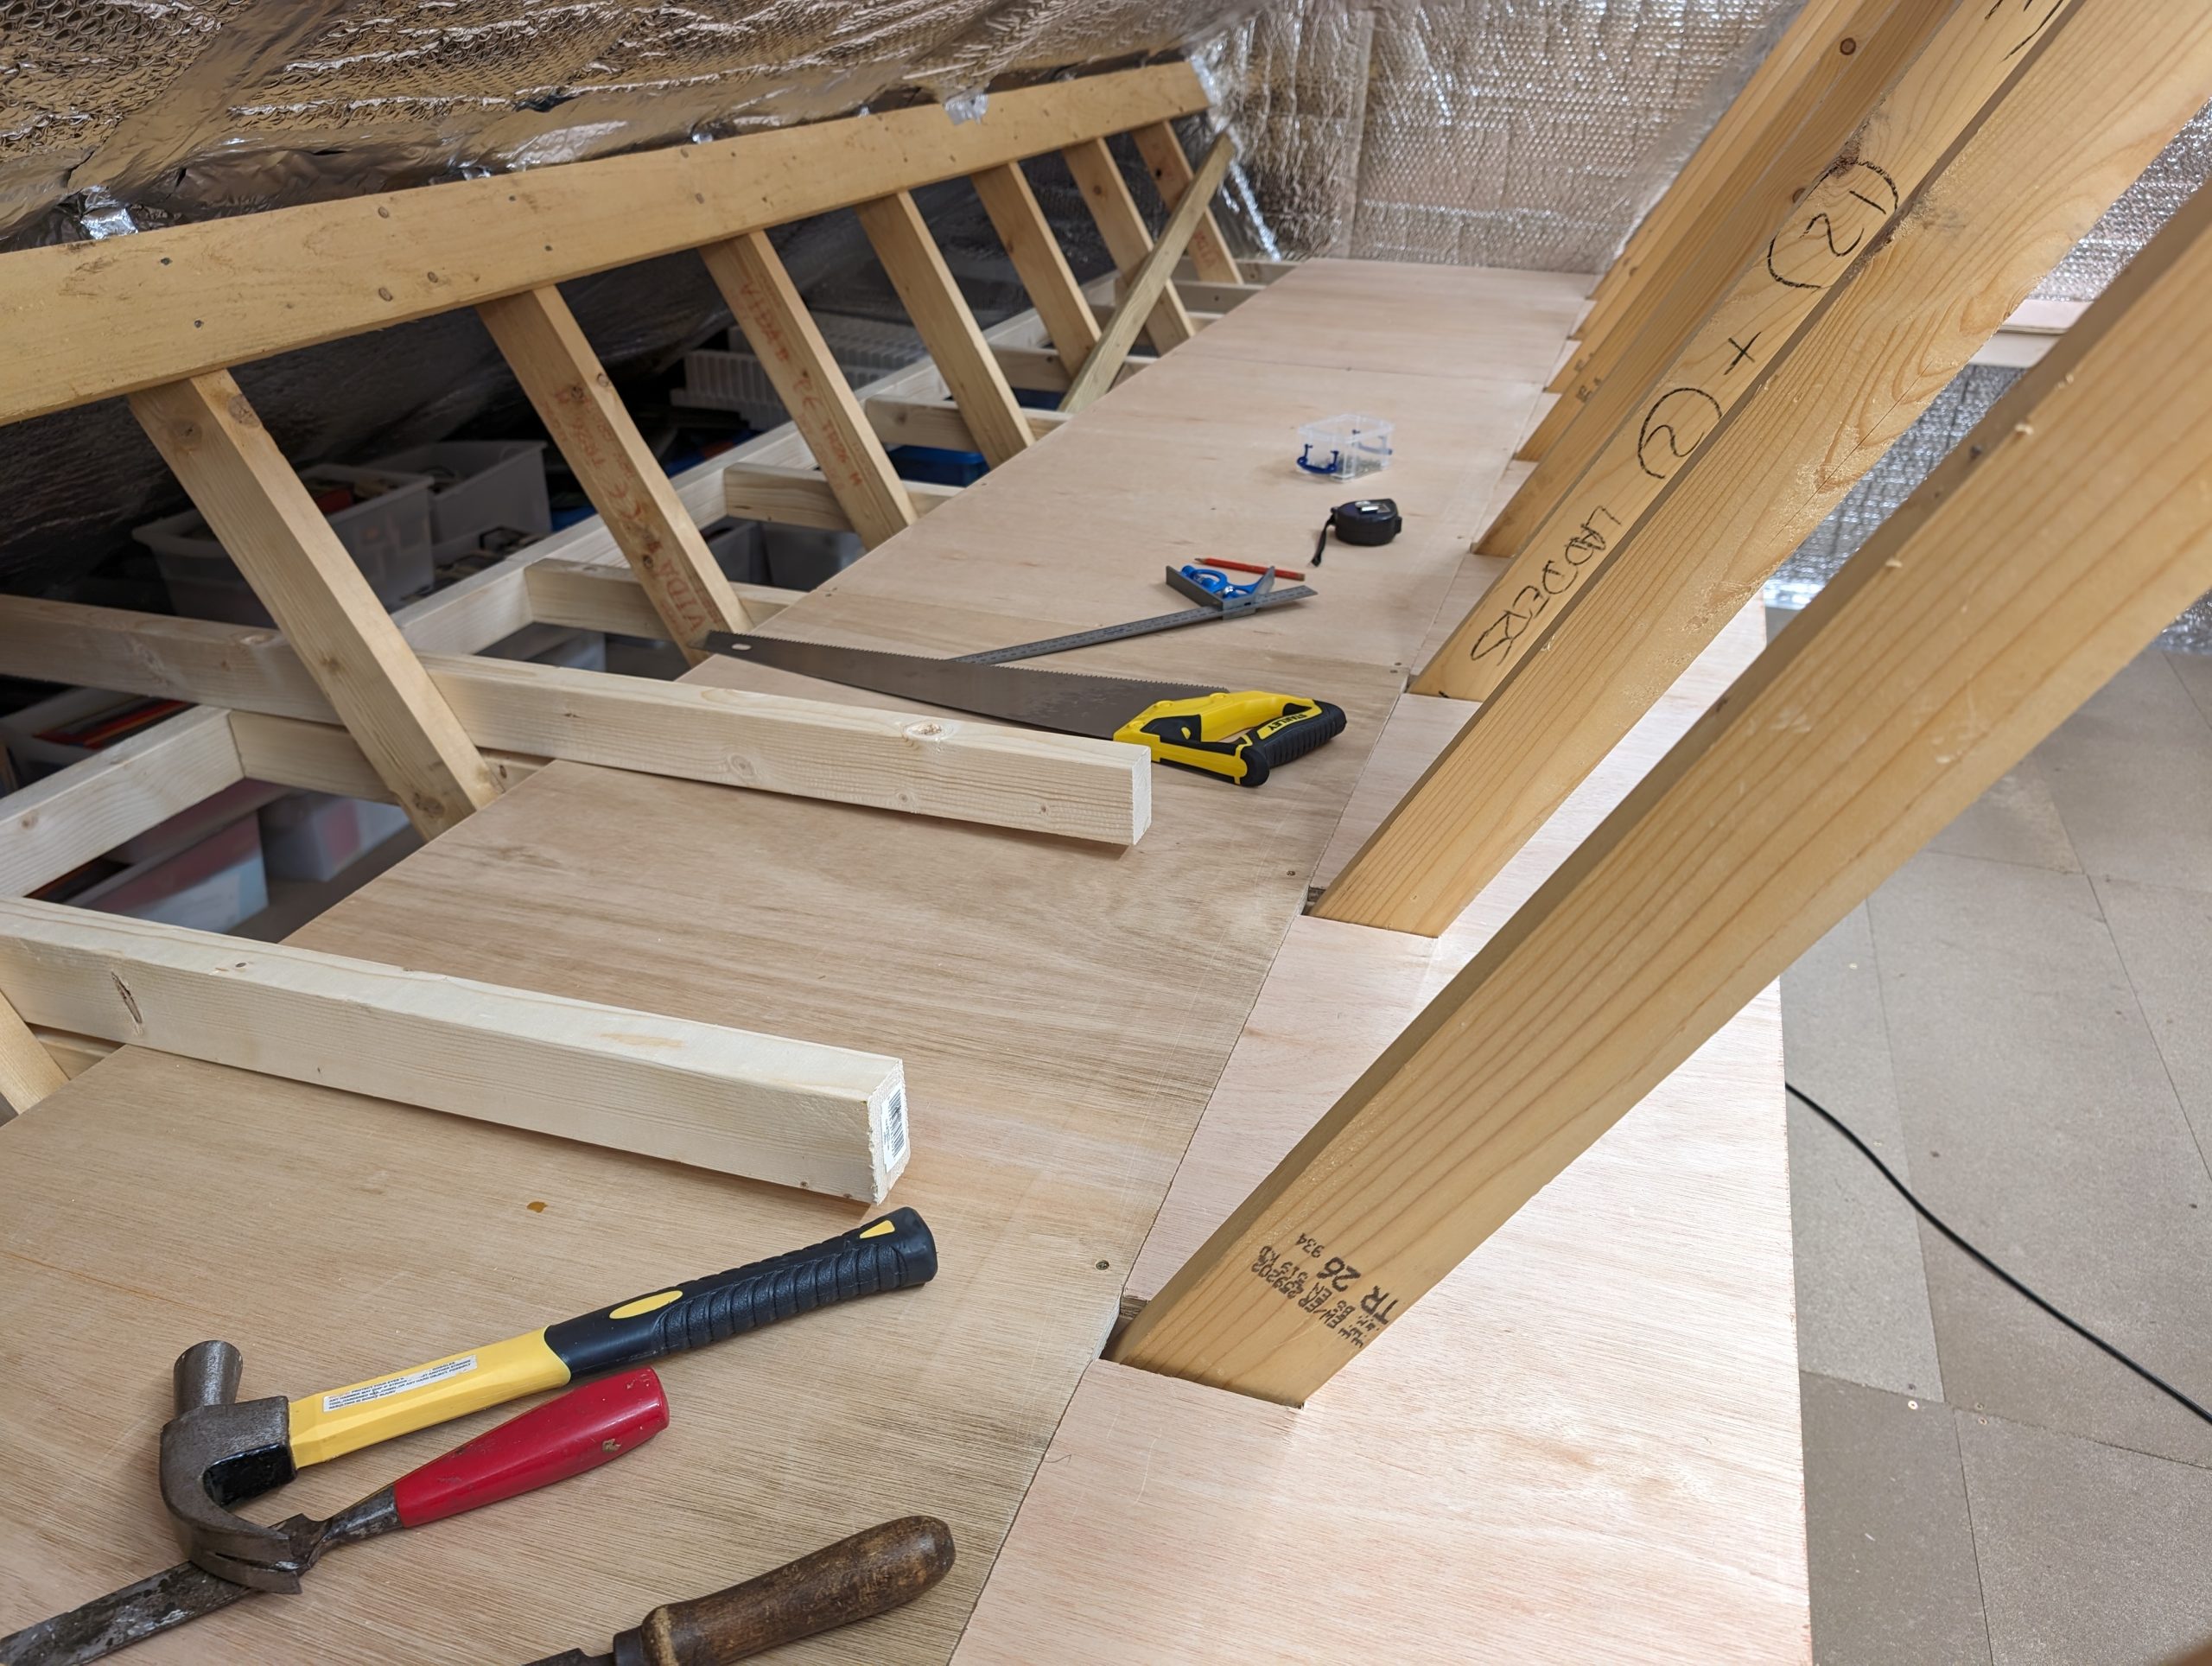
I’ve now started cutting the boards out to fit around the joists, what a pain! There are a lot of joists and they’re very close together. I’ve not fixed them down yet as they may need a bit of extra support.
Every time I go to the ‘local’ DIY store (30 mins drive away) I get some more bits of timber and boards. I can’t afford to buy it all in one go.

January 2025
A bit of jump with the progress as I was just getting on with it rather than documenting it.
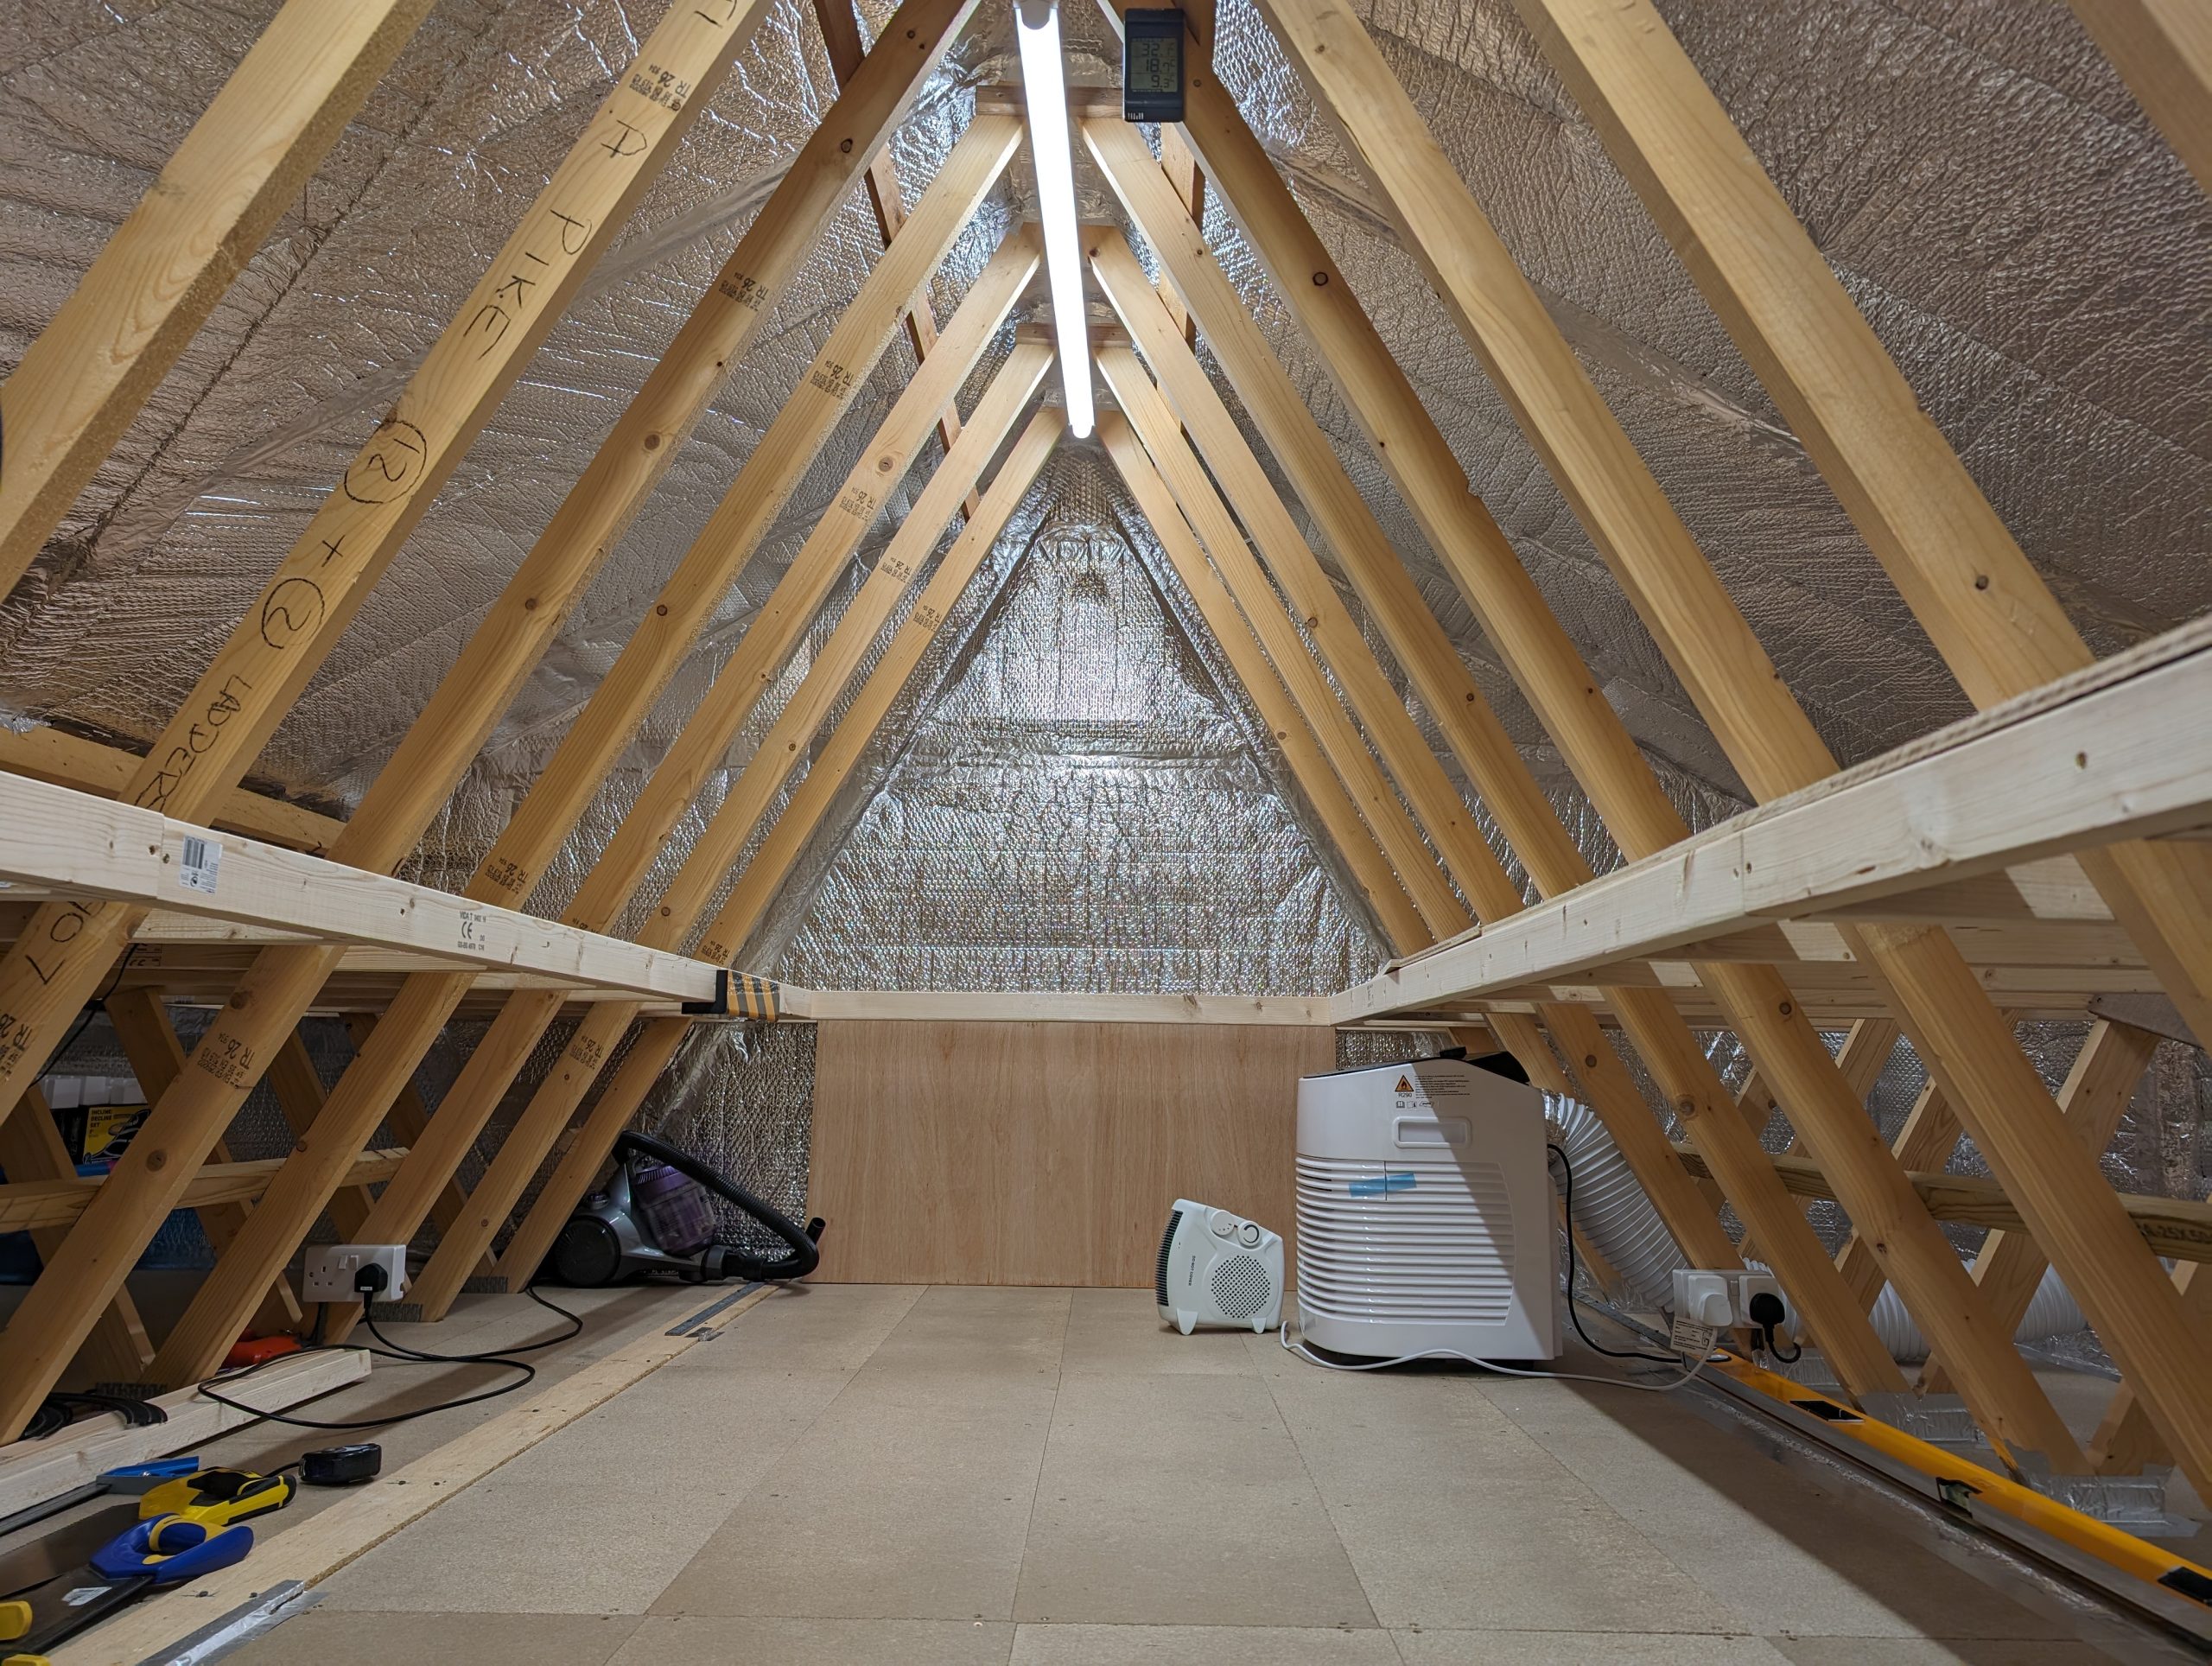
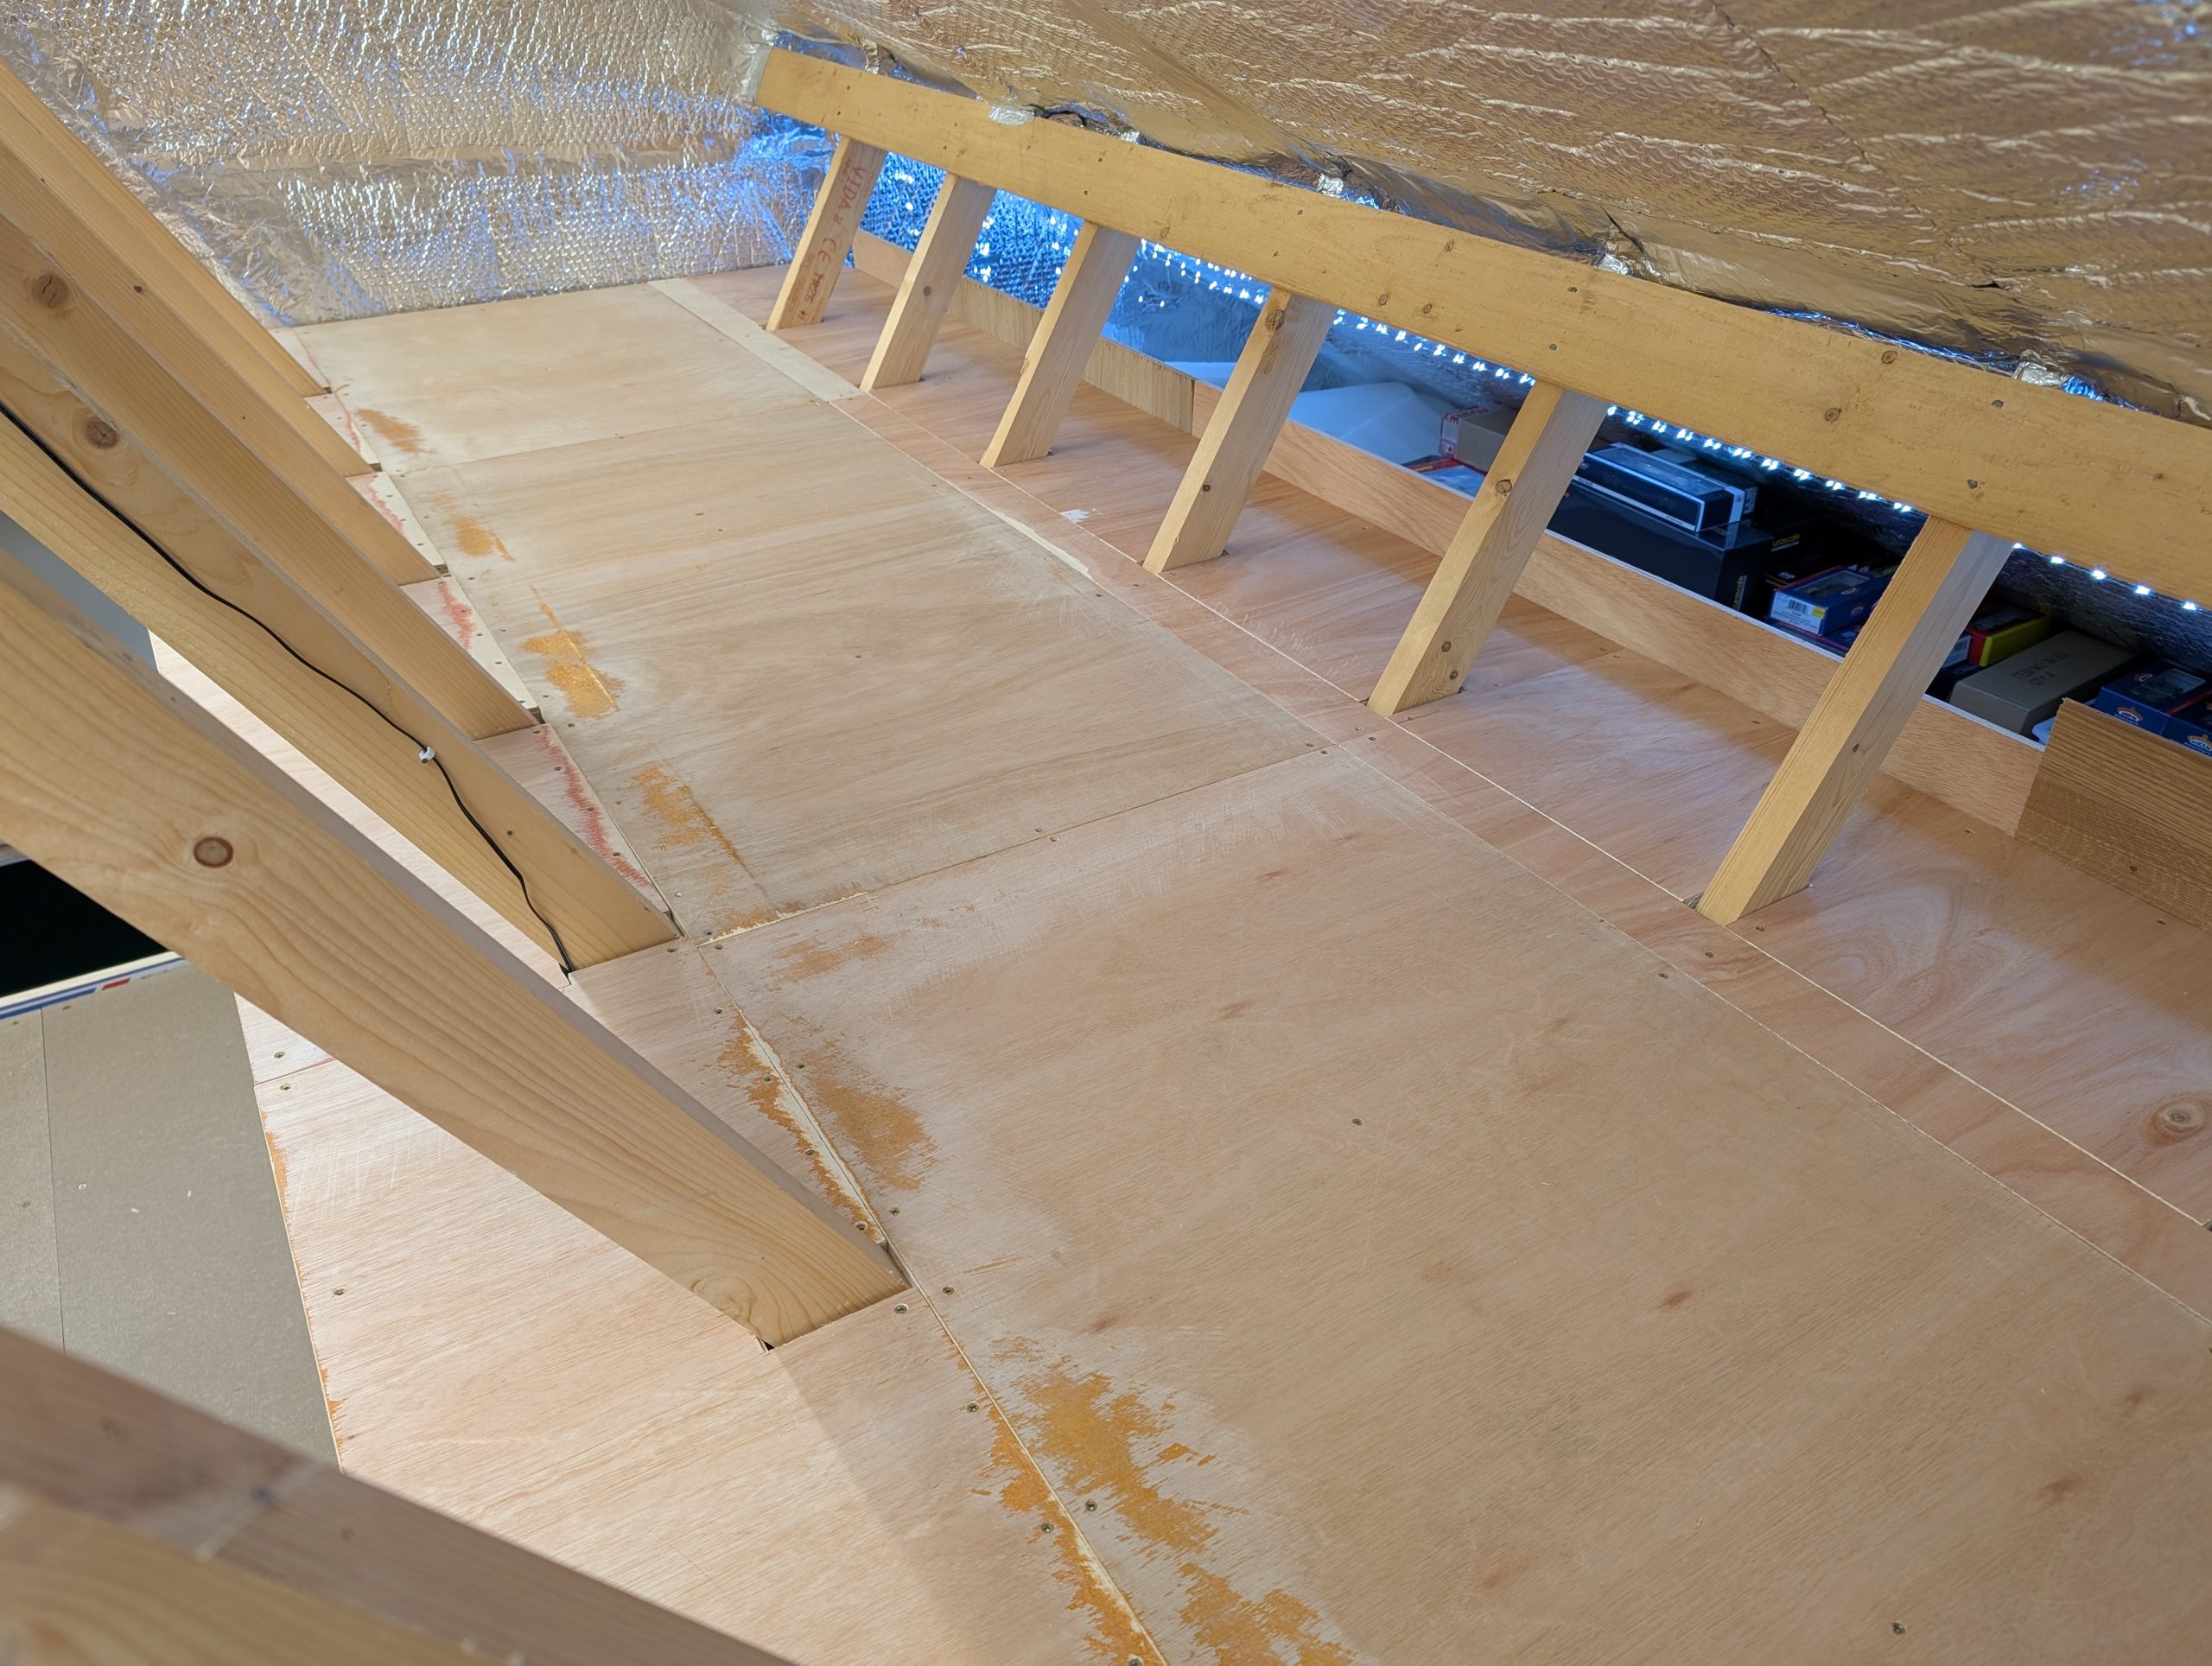
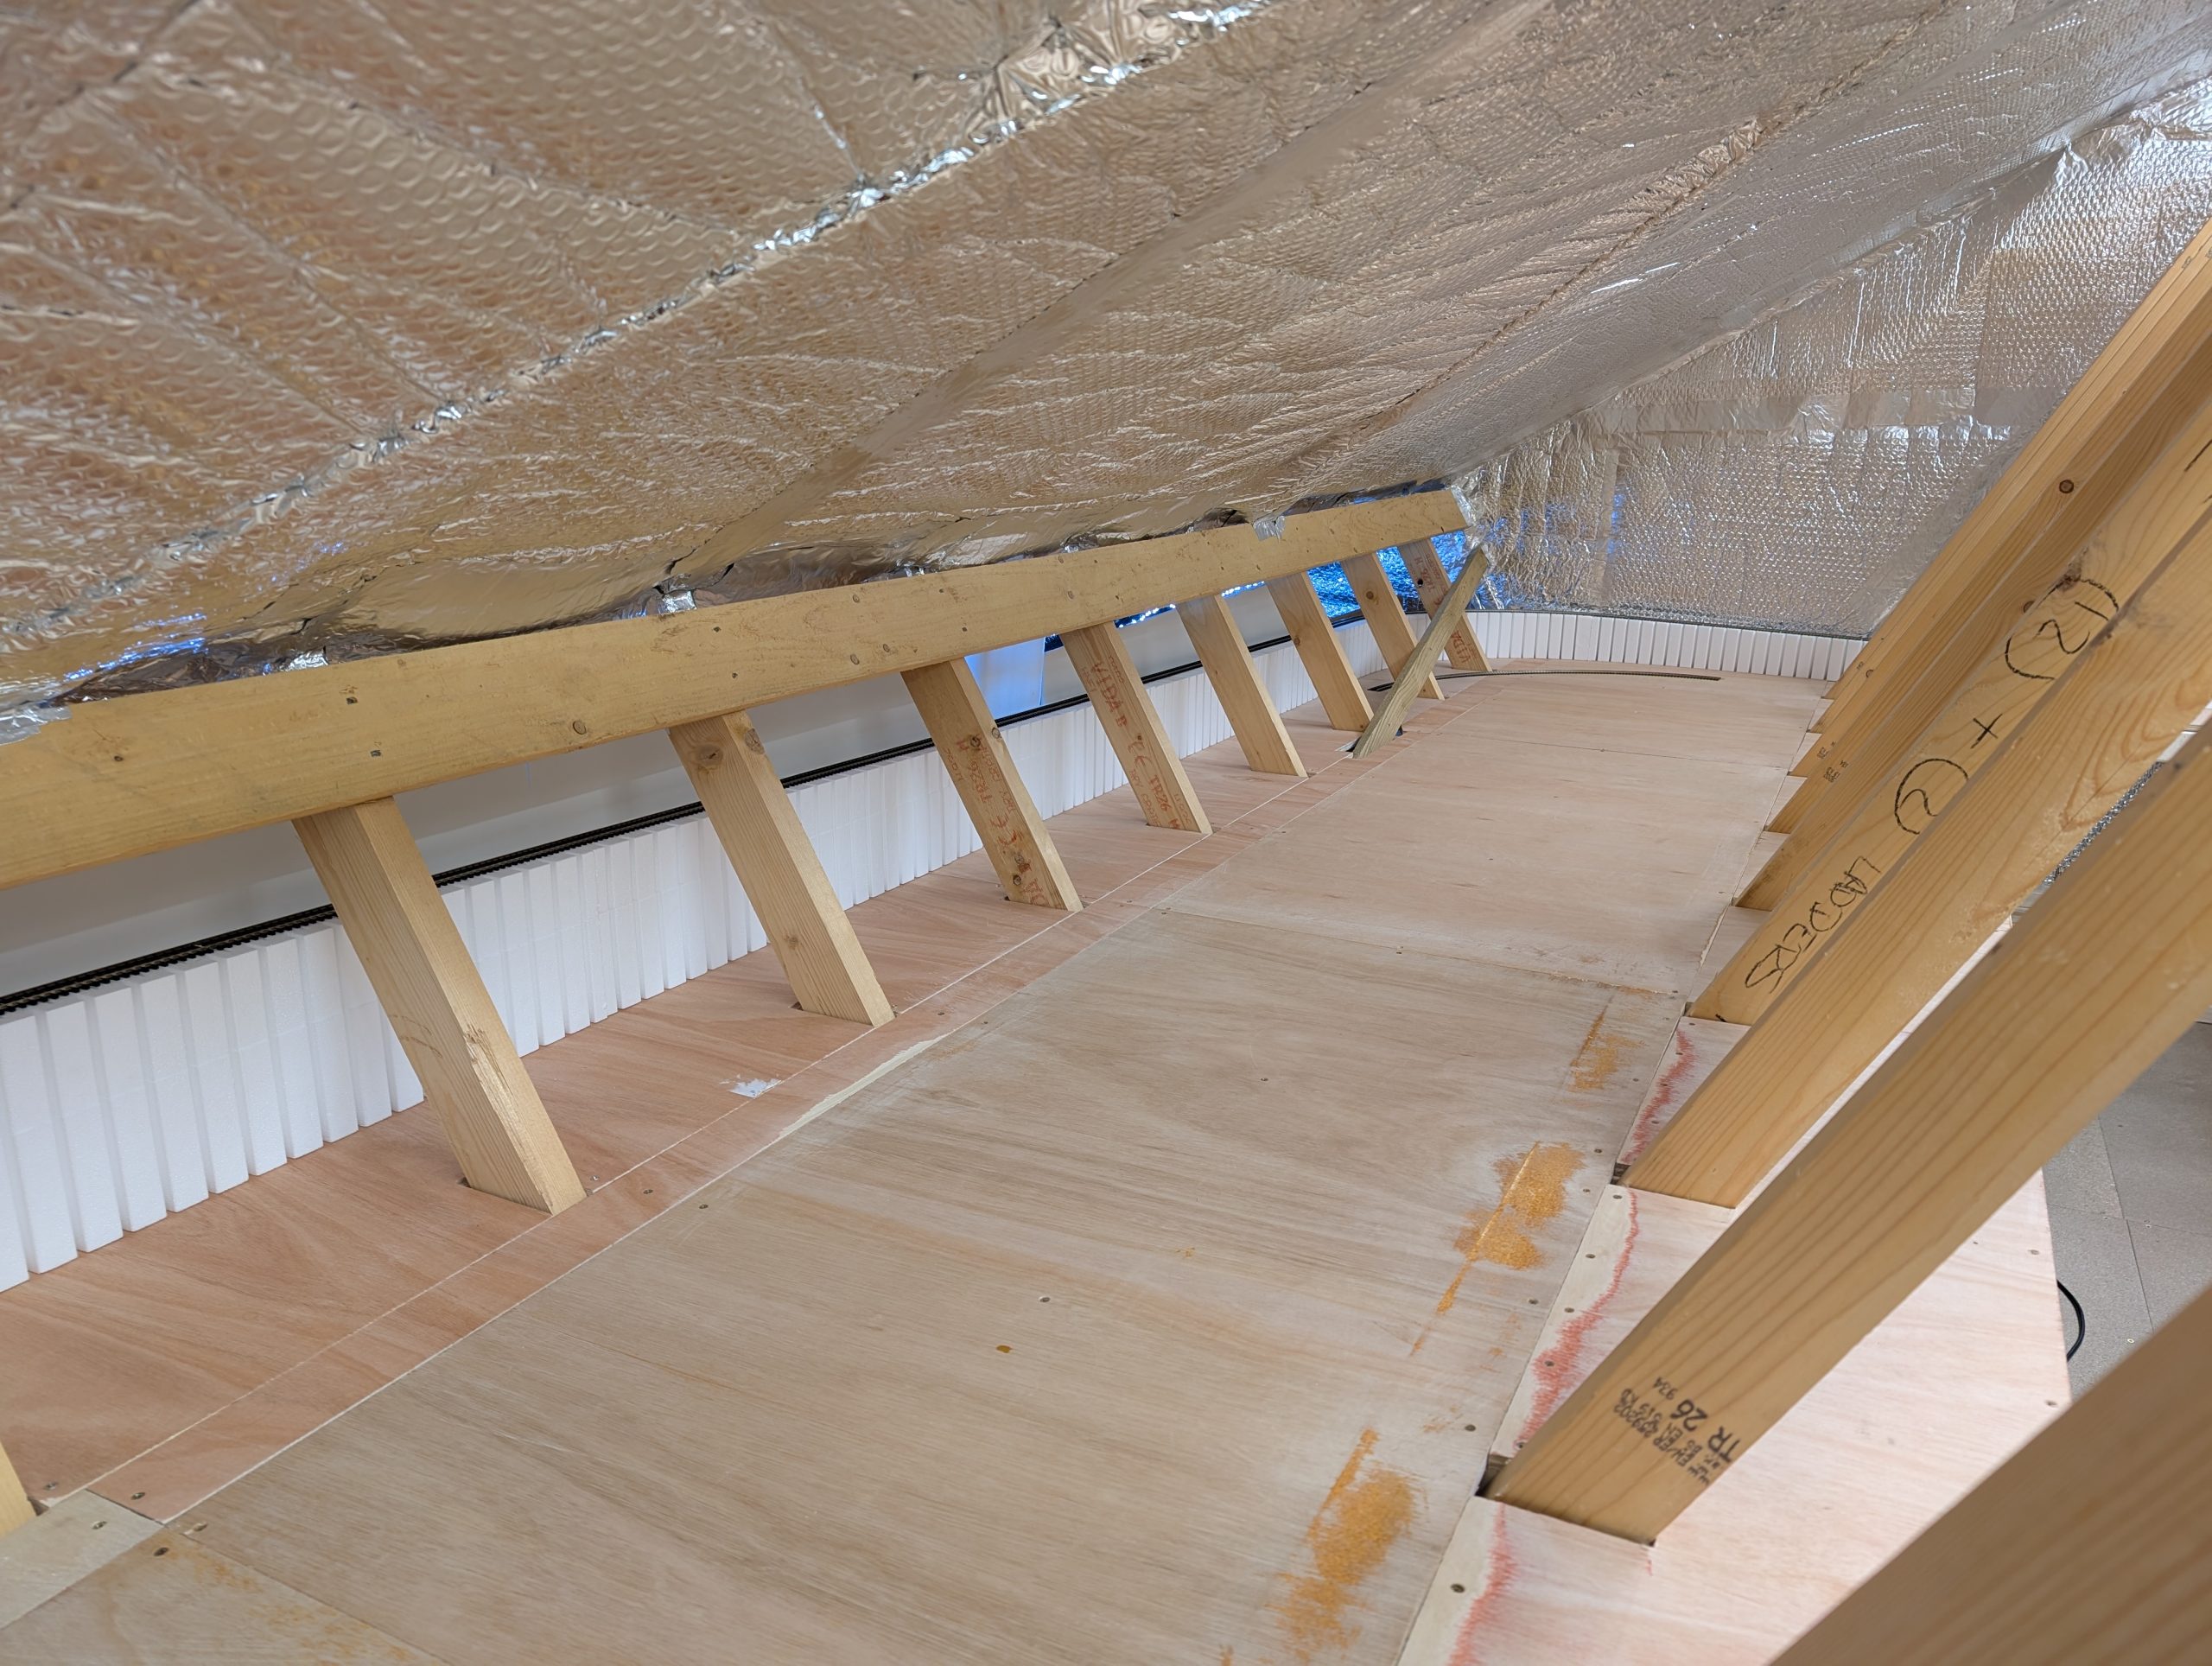
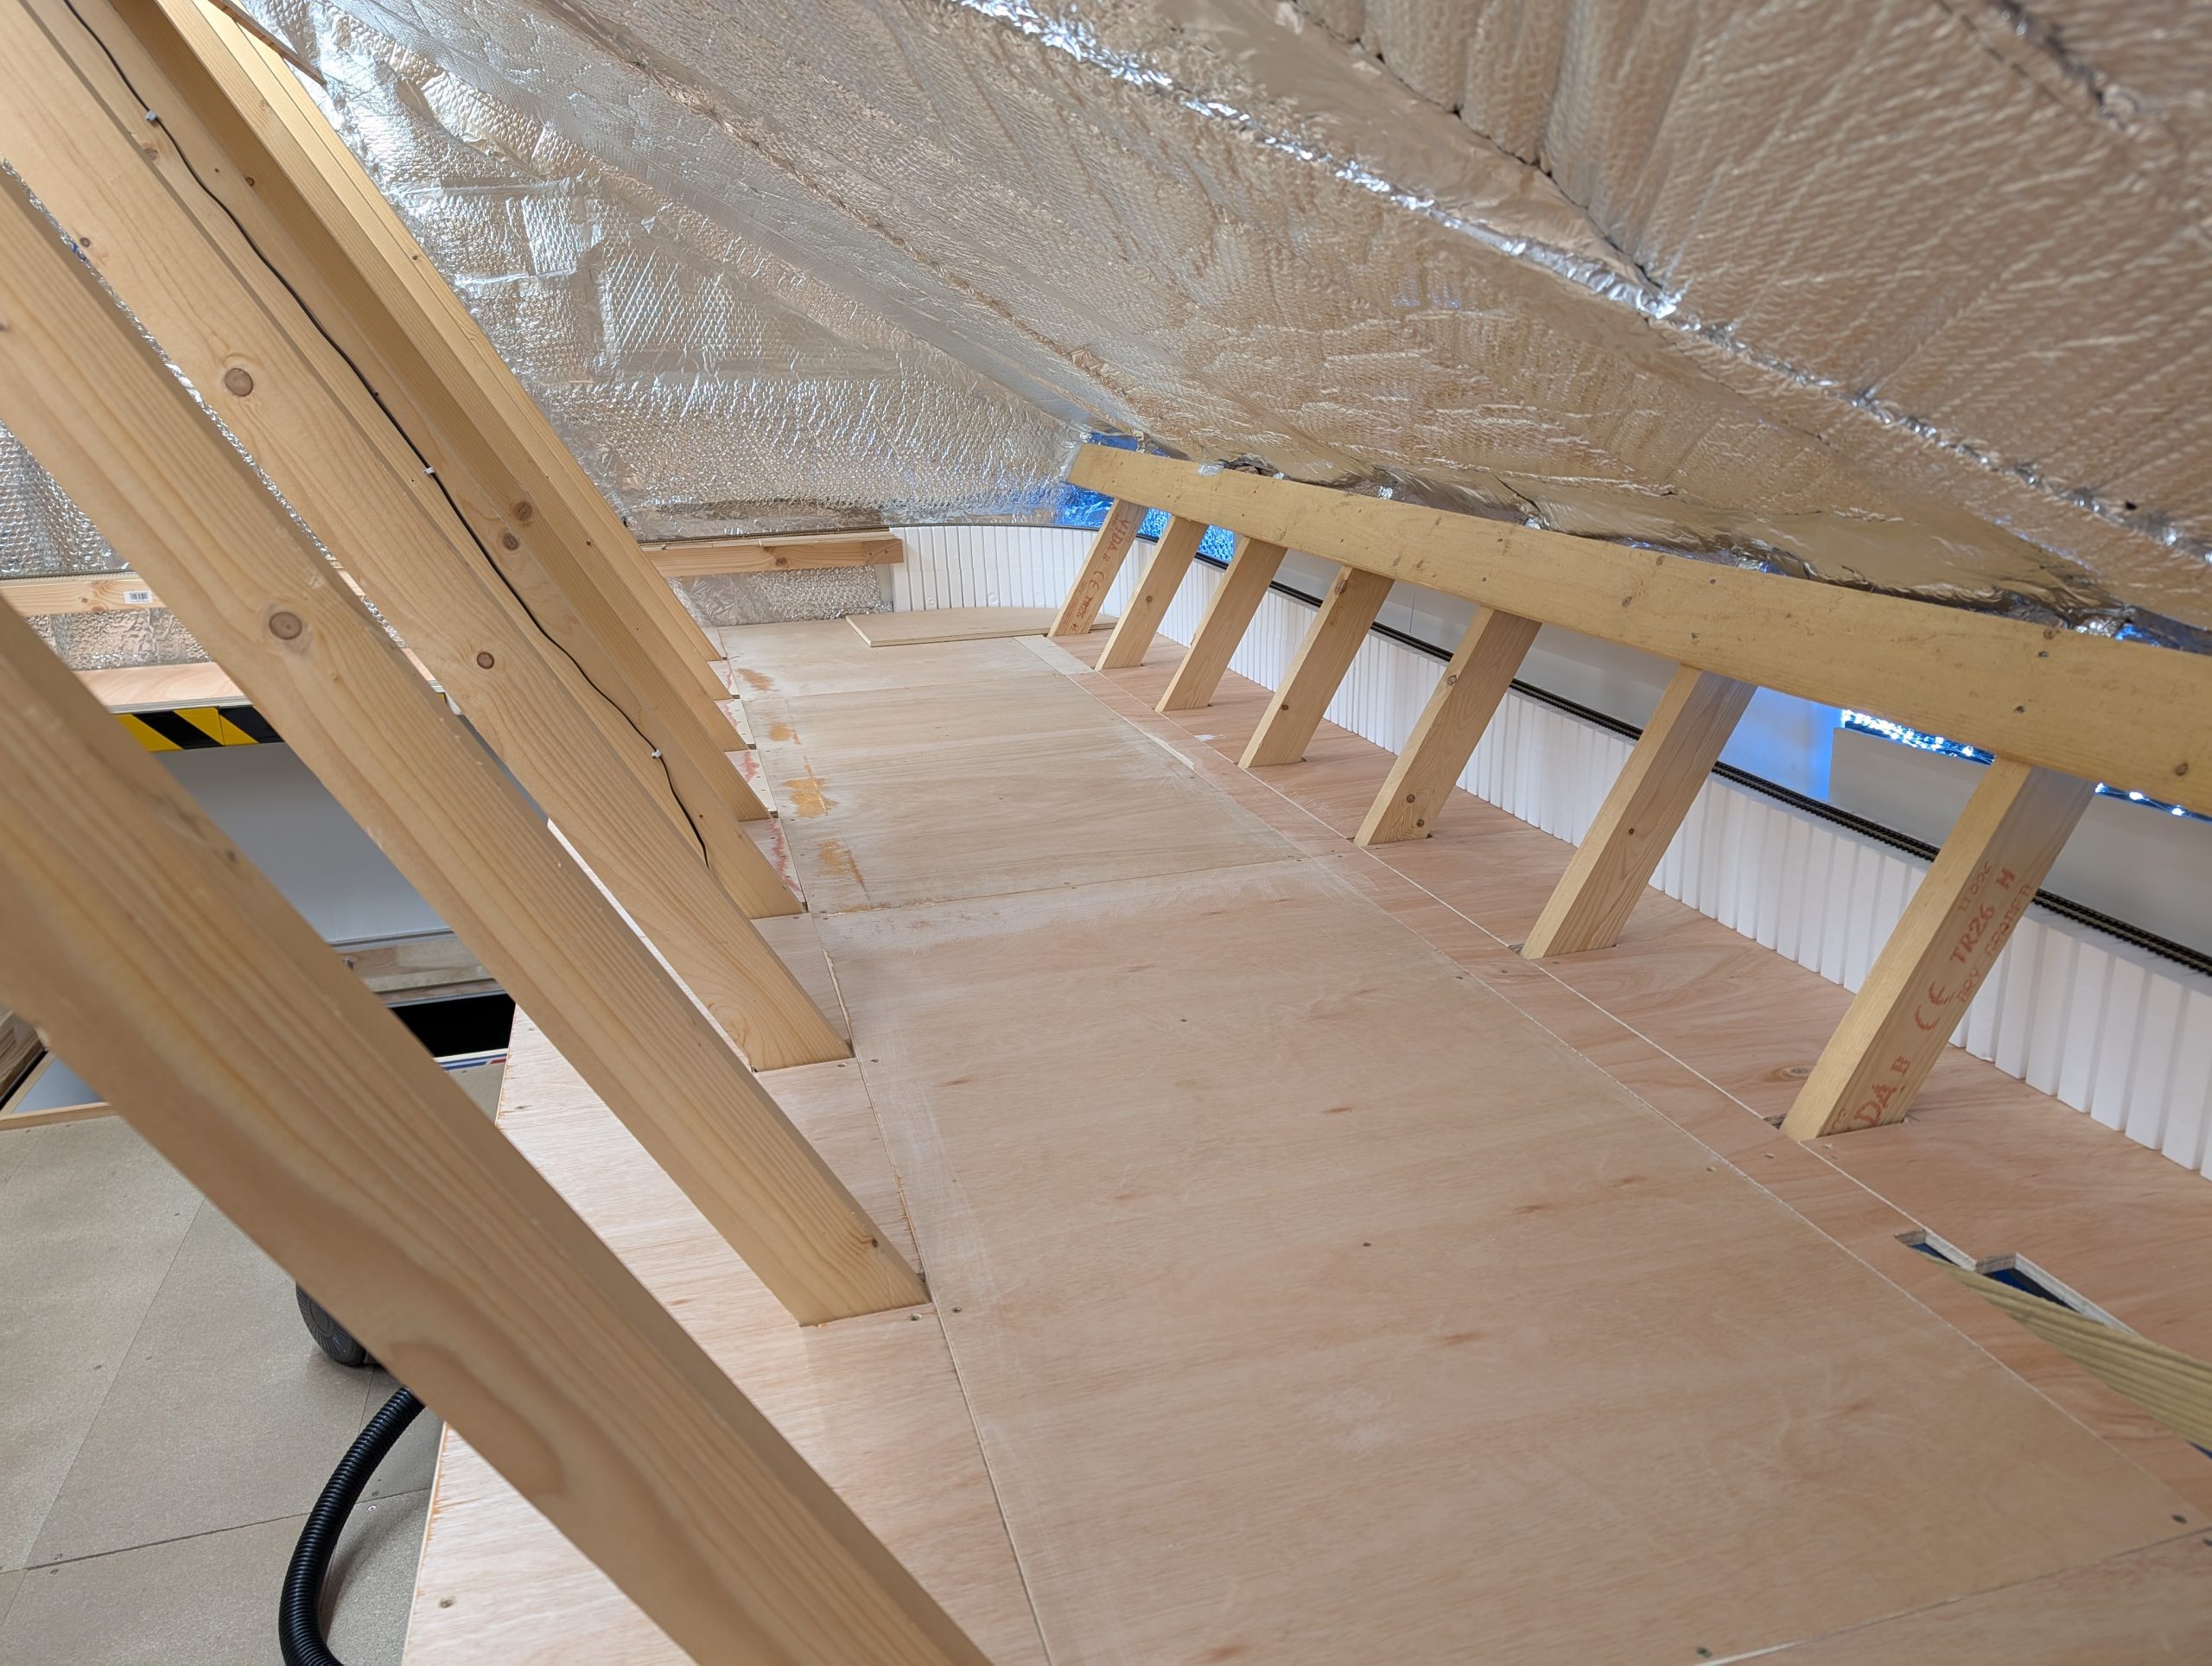
On one side the boards are screwed down and the joints sanded. It was very fiddly cutting out bits to fit around all the existing roof timbers but I wanted to avoid cutting any of them if possible.
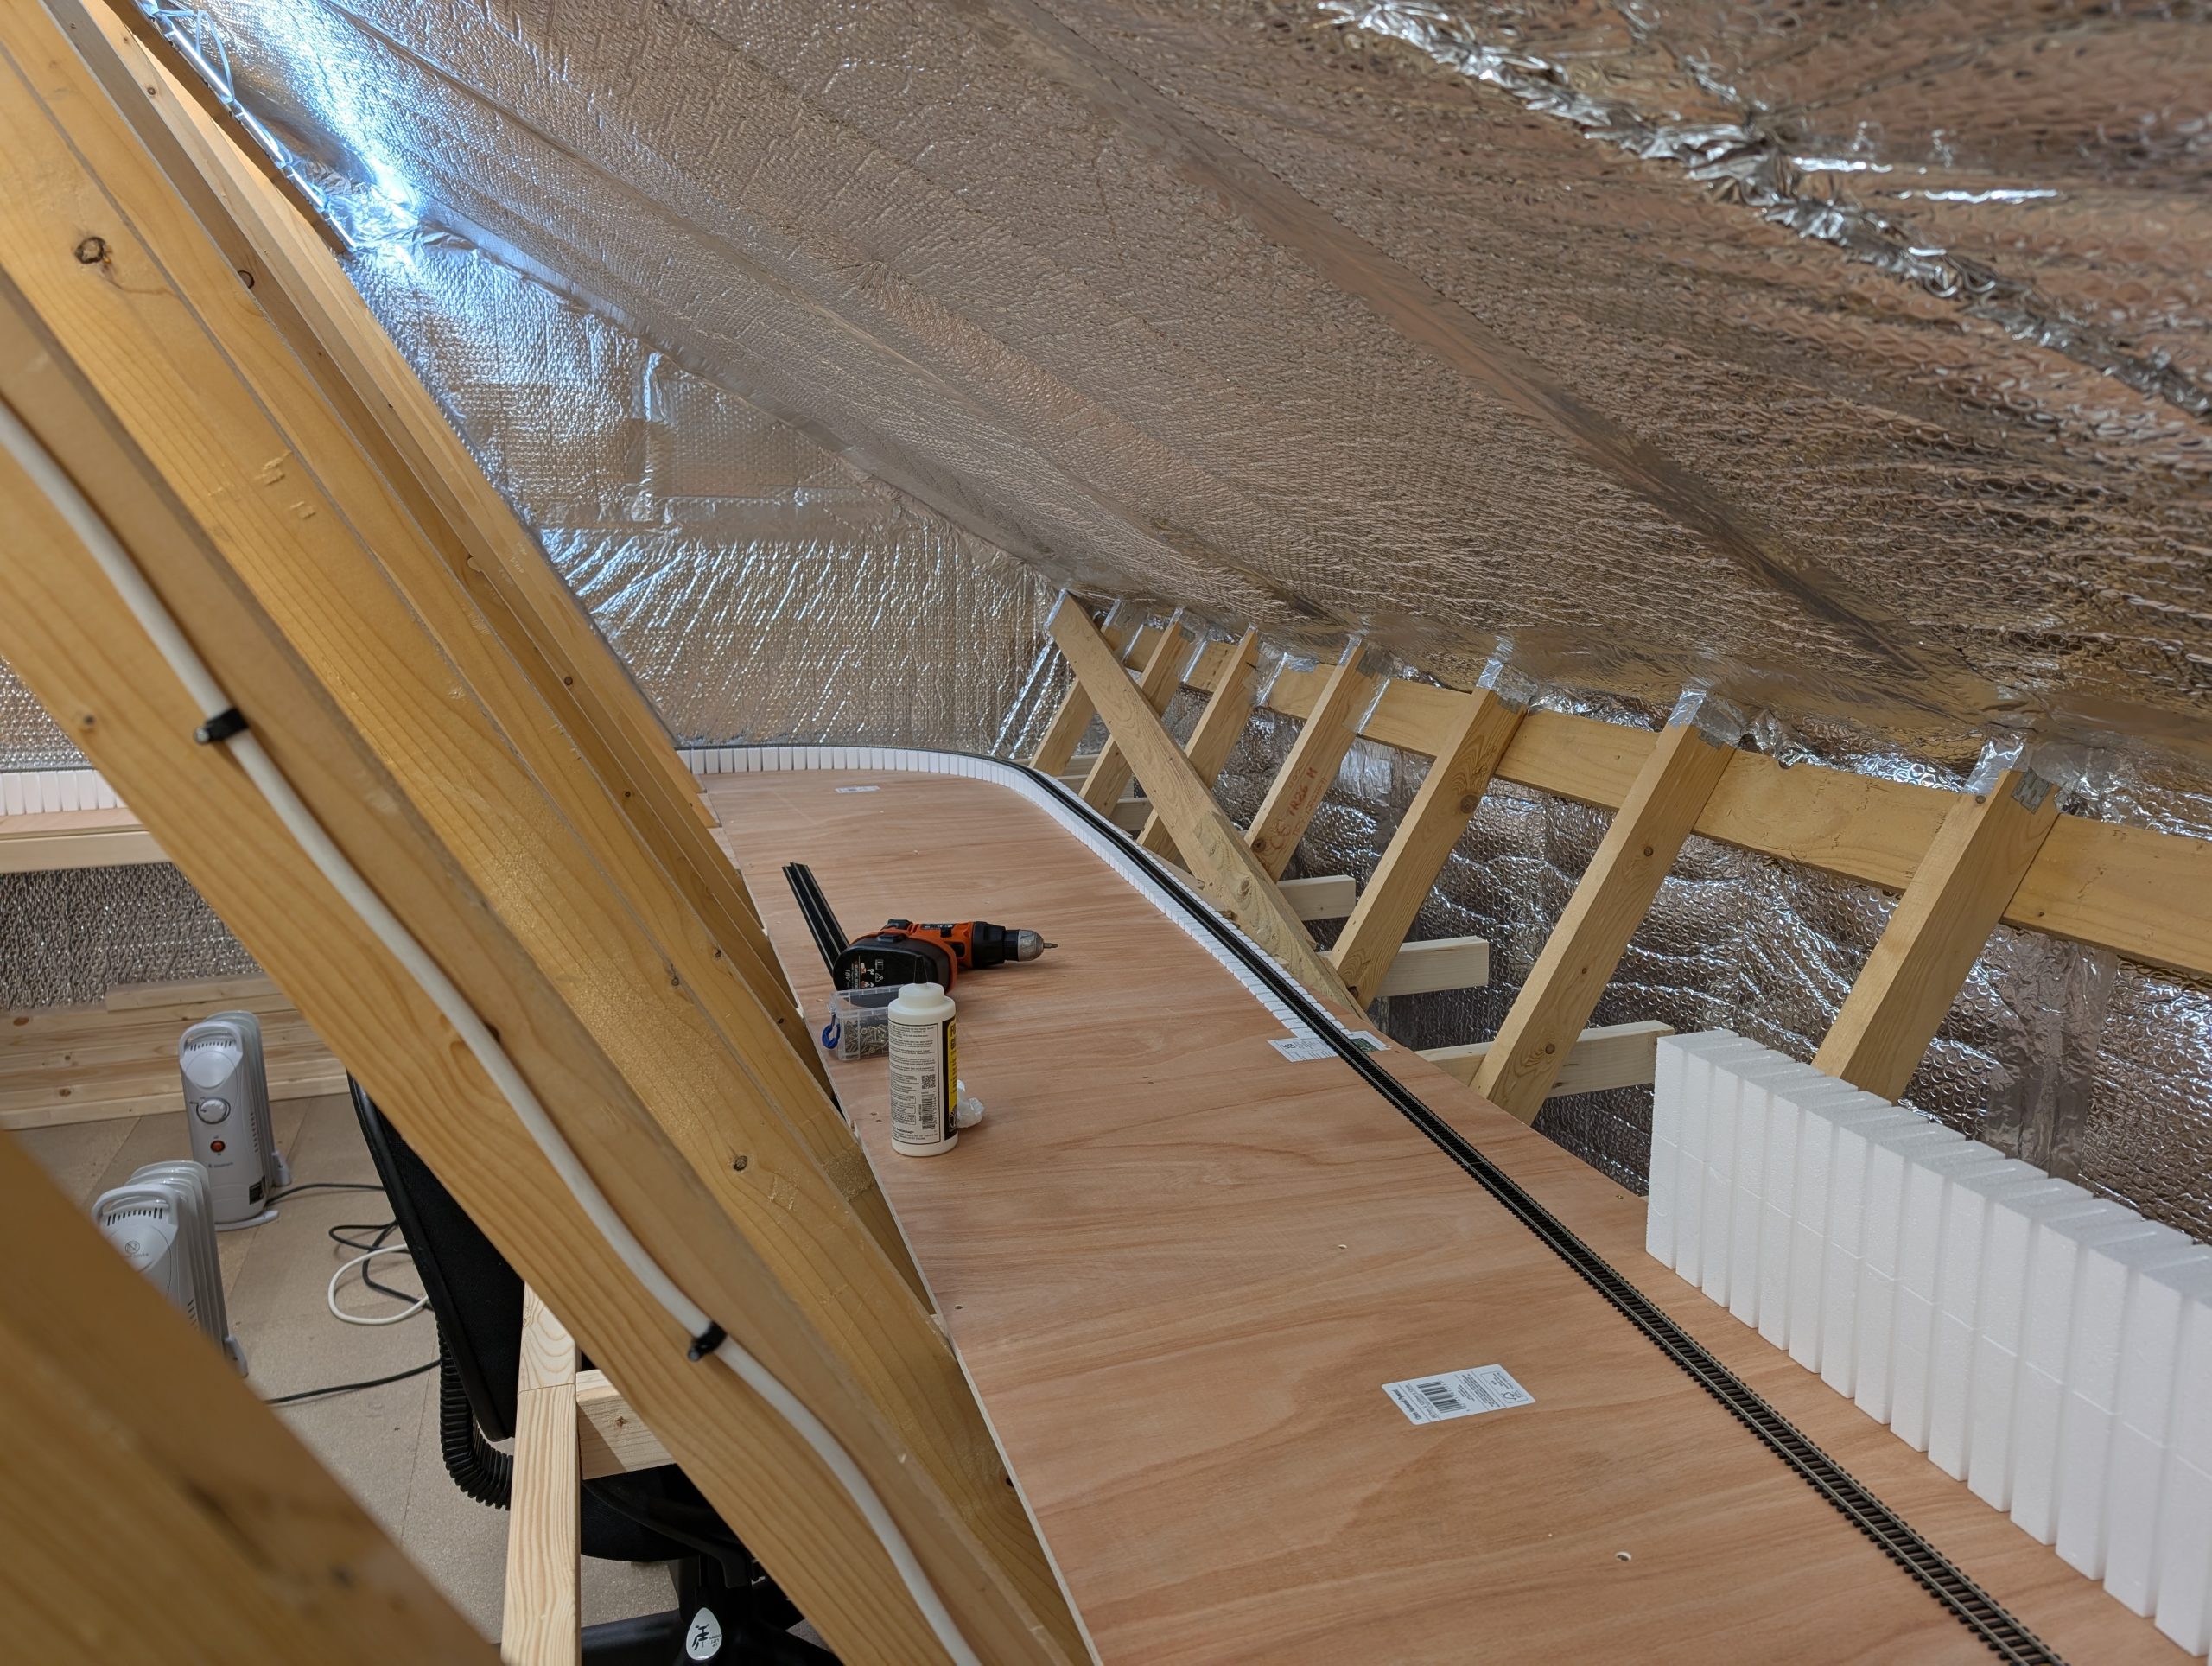
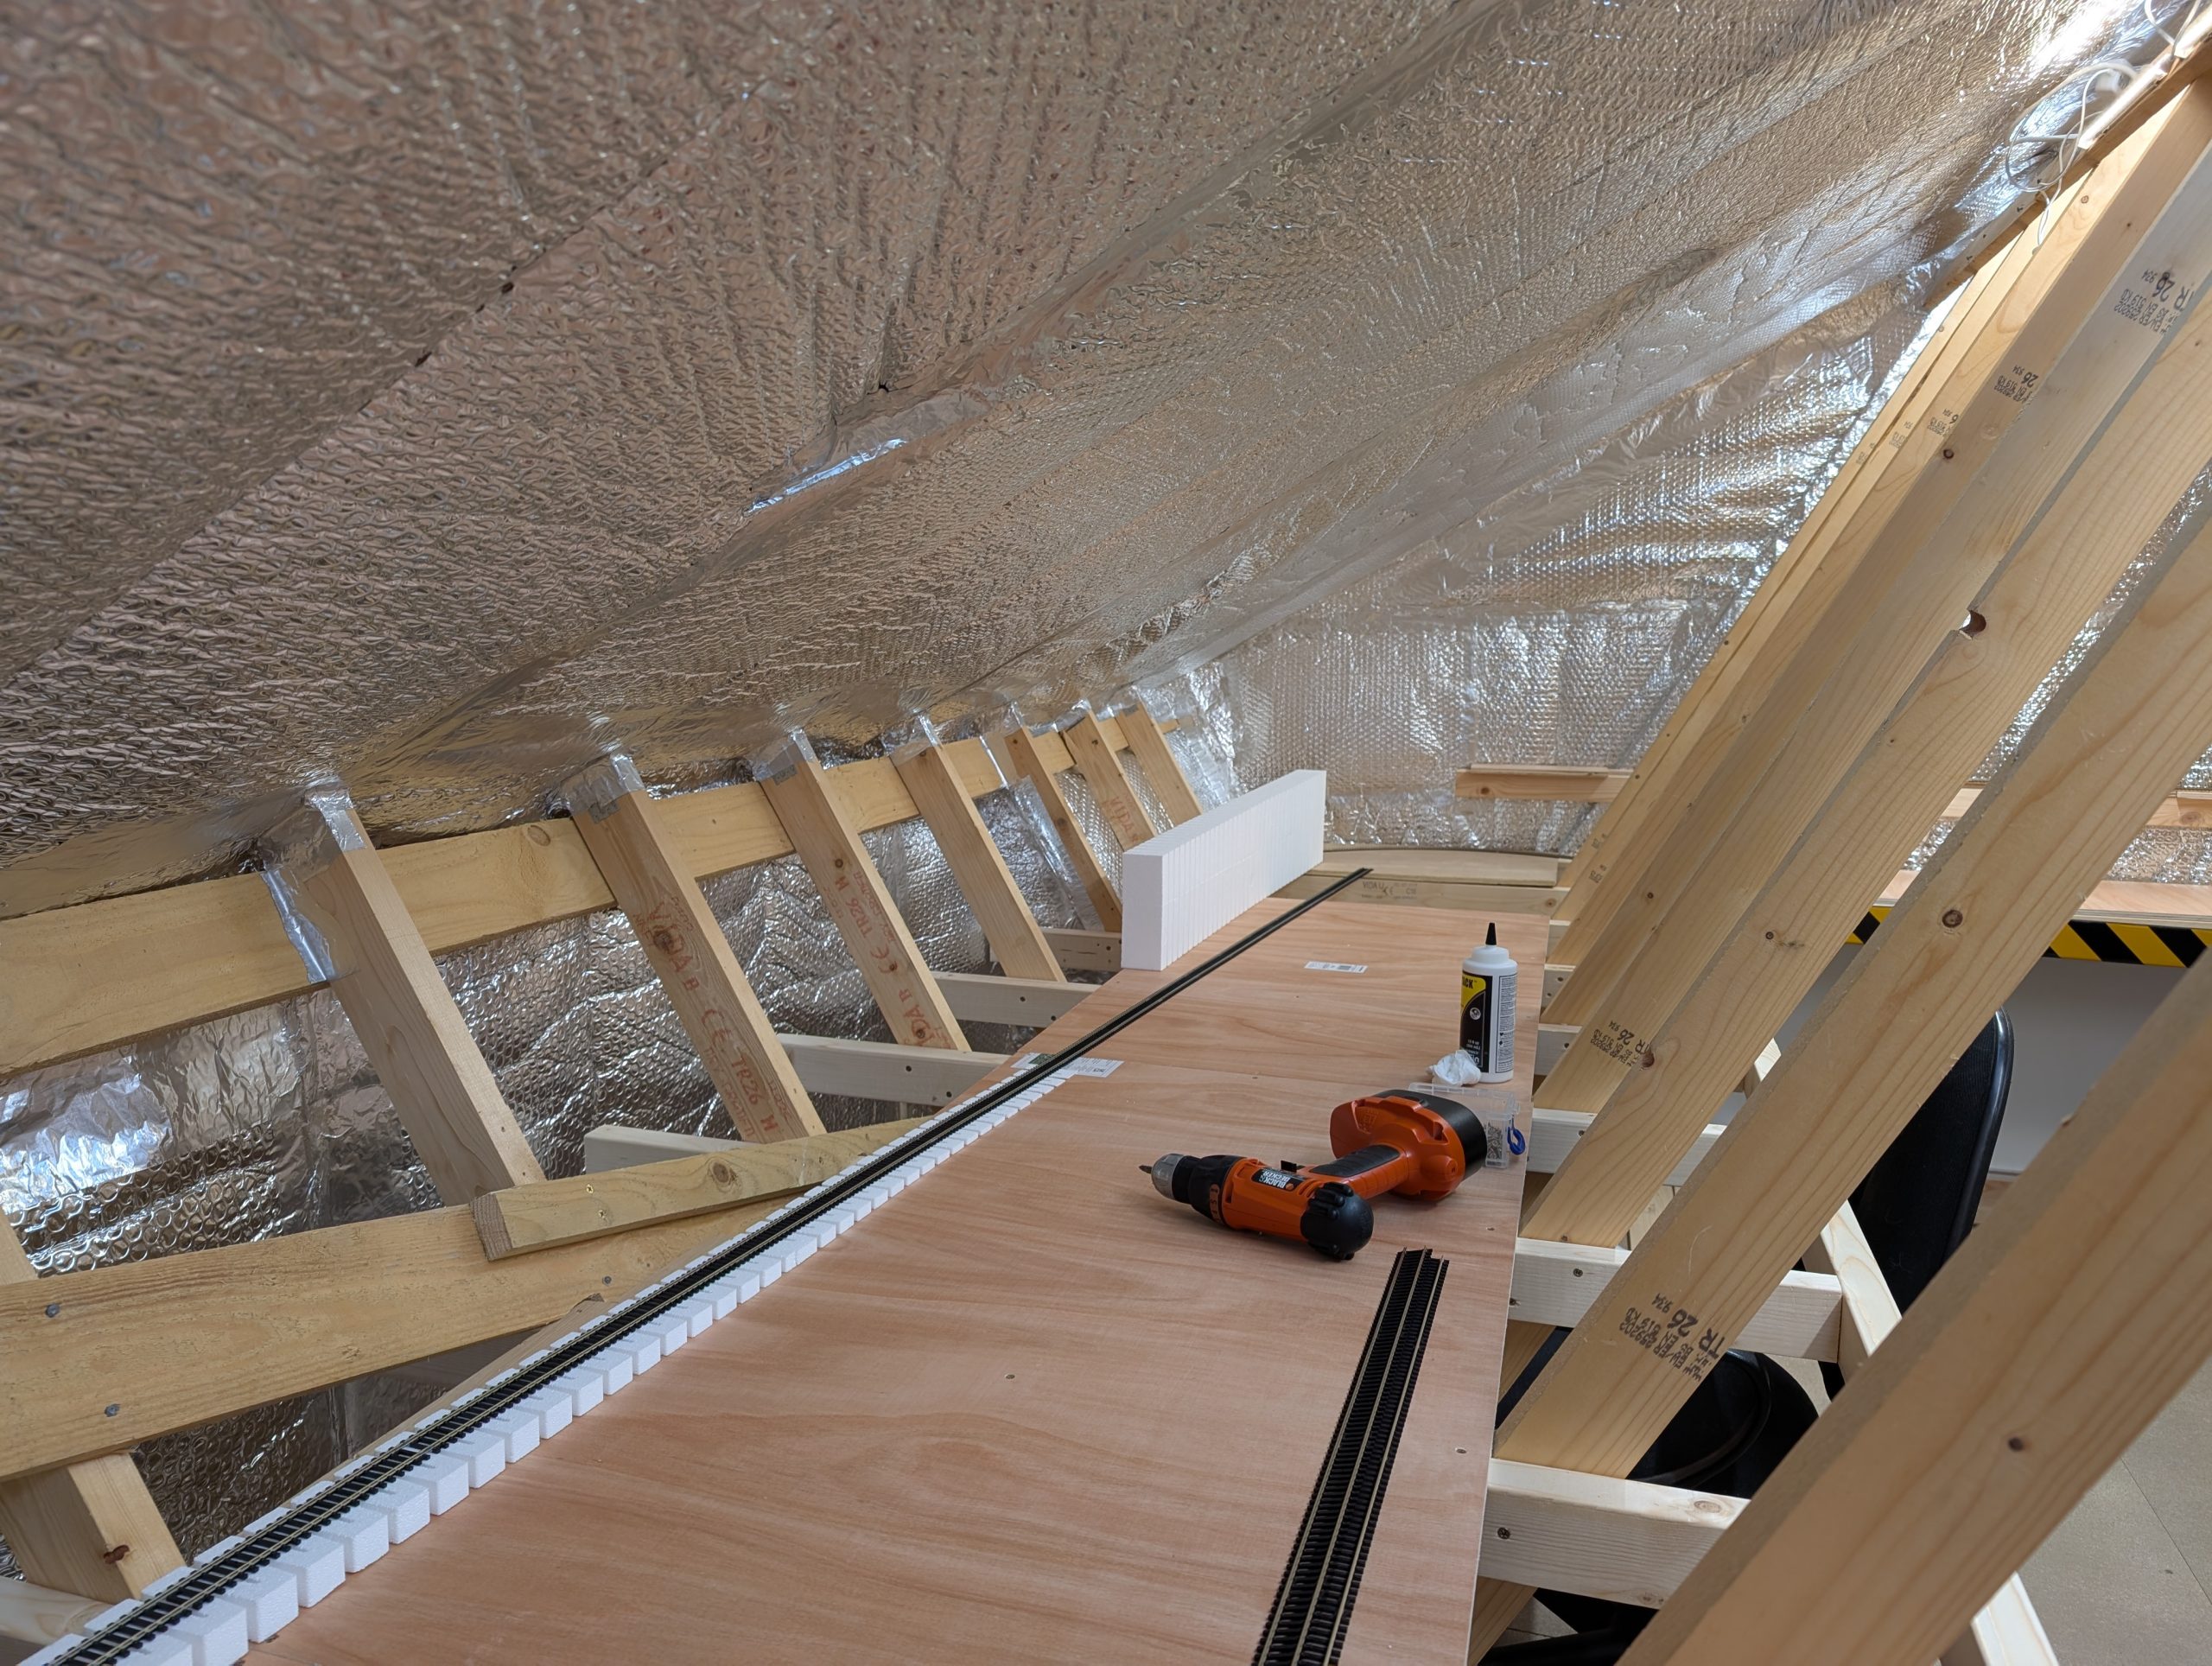
I’ve also started to glue down Woodland Scenics 2% inclines on their 4″ Risers to give a total separation between the lower and upper levels of about 8″. I’ve glued Hornby track on top of these as it was easier to work with in confined spaces than Code 75 flexi track. I added some pieces of old foam packing material to the rear of the incline to stop trains falling off.
I’ve also installed extra lighting in the form of old Christmas lights that my wife said were too bright, some old under cupboard lights and a new LED lighting strip. This gives more light on the baseboards and lights up the storage area in the eaves on one side.

Hi Mike. Just wanted to drop you a line and express my appreciation for your website – the detailed photo galleries and blogs. I am about the same age as you, 1965, and now have the time to begin the process of researching, planning and building a layout in our attic. The roof truss design is similar to your original attic so it’s been great seeing your construct. While there are lots of YouTube channels, your website is the only one I’ve seen of its type. A good read and your ‘lessons learned’ from Layout No. 1 was really valuable. I appreciated your candour. Thank you again. I wish you well with your ongoing plans. Please keep the blogs going as they’re genuinely interesting. By the way, I agree that extensive videos can probably become both a distraction and a burden. Best wishes, David (Scottish Borders and occasional user of LNER ECML from Berwick to Kings X).
Hi David,
Many thanks for your kind words and interest in my site. I must confess that I have been neglecting updating the blog because I am actually getting on with doing stuff up there! I’ve retired now so have more time (supposedly!). In summer it’s only really early in the morning before it gets too hot up there (even with the air con). Plus I’ve a large garden to maintain as well. You’ve inspired me to start doing updates again, I’ll post some track plans and a few pictures. To be honest my site was mainly for my benefit to refer back to. Good luck with your build, perhaps you could document it too.
Cheers,
Mike