February 2021
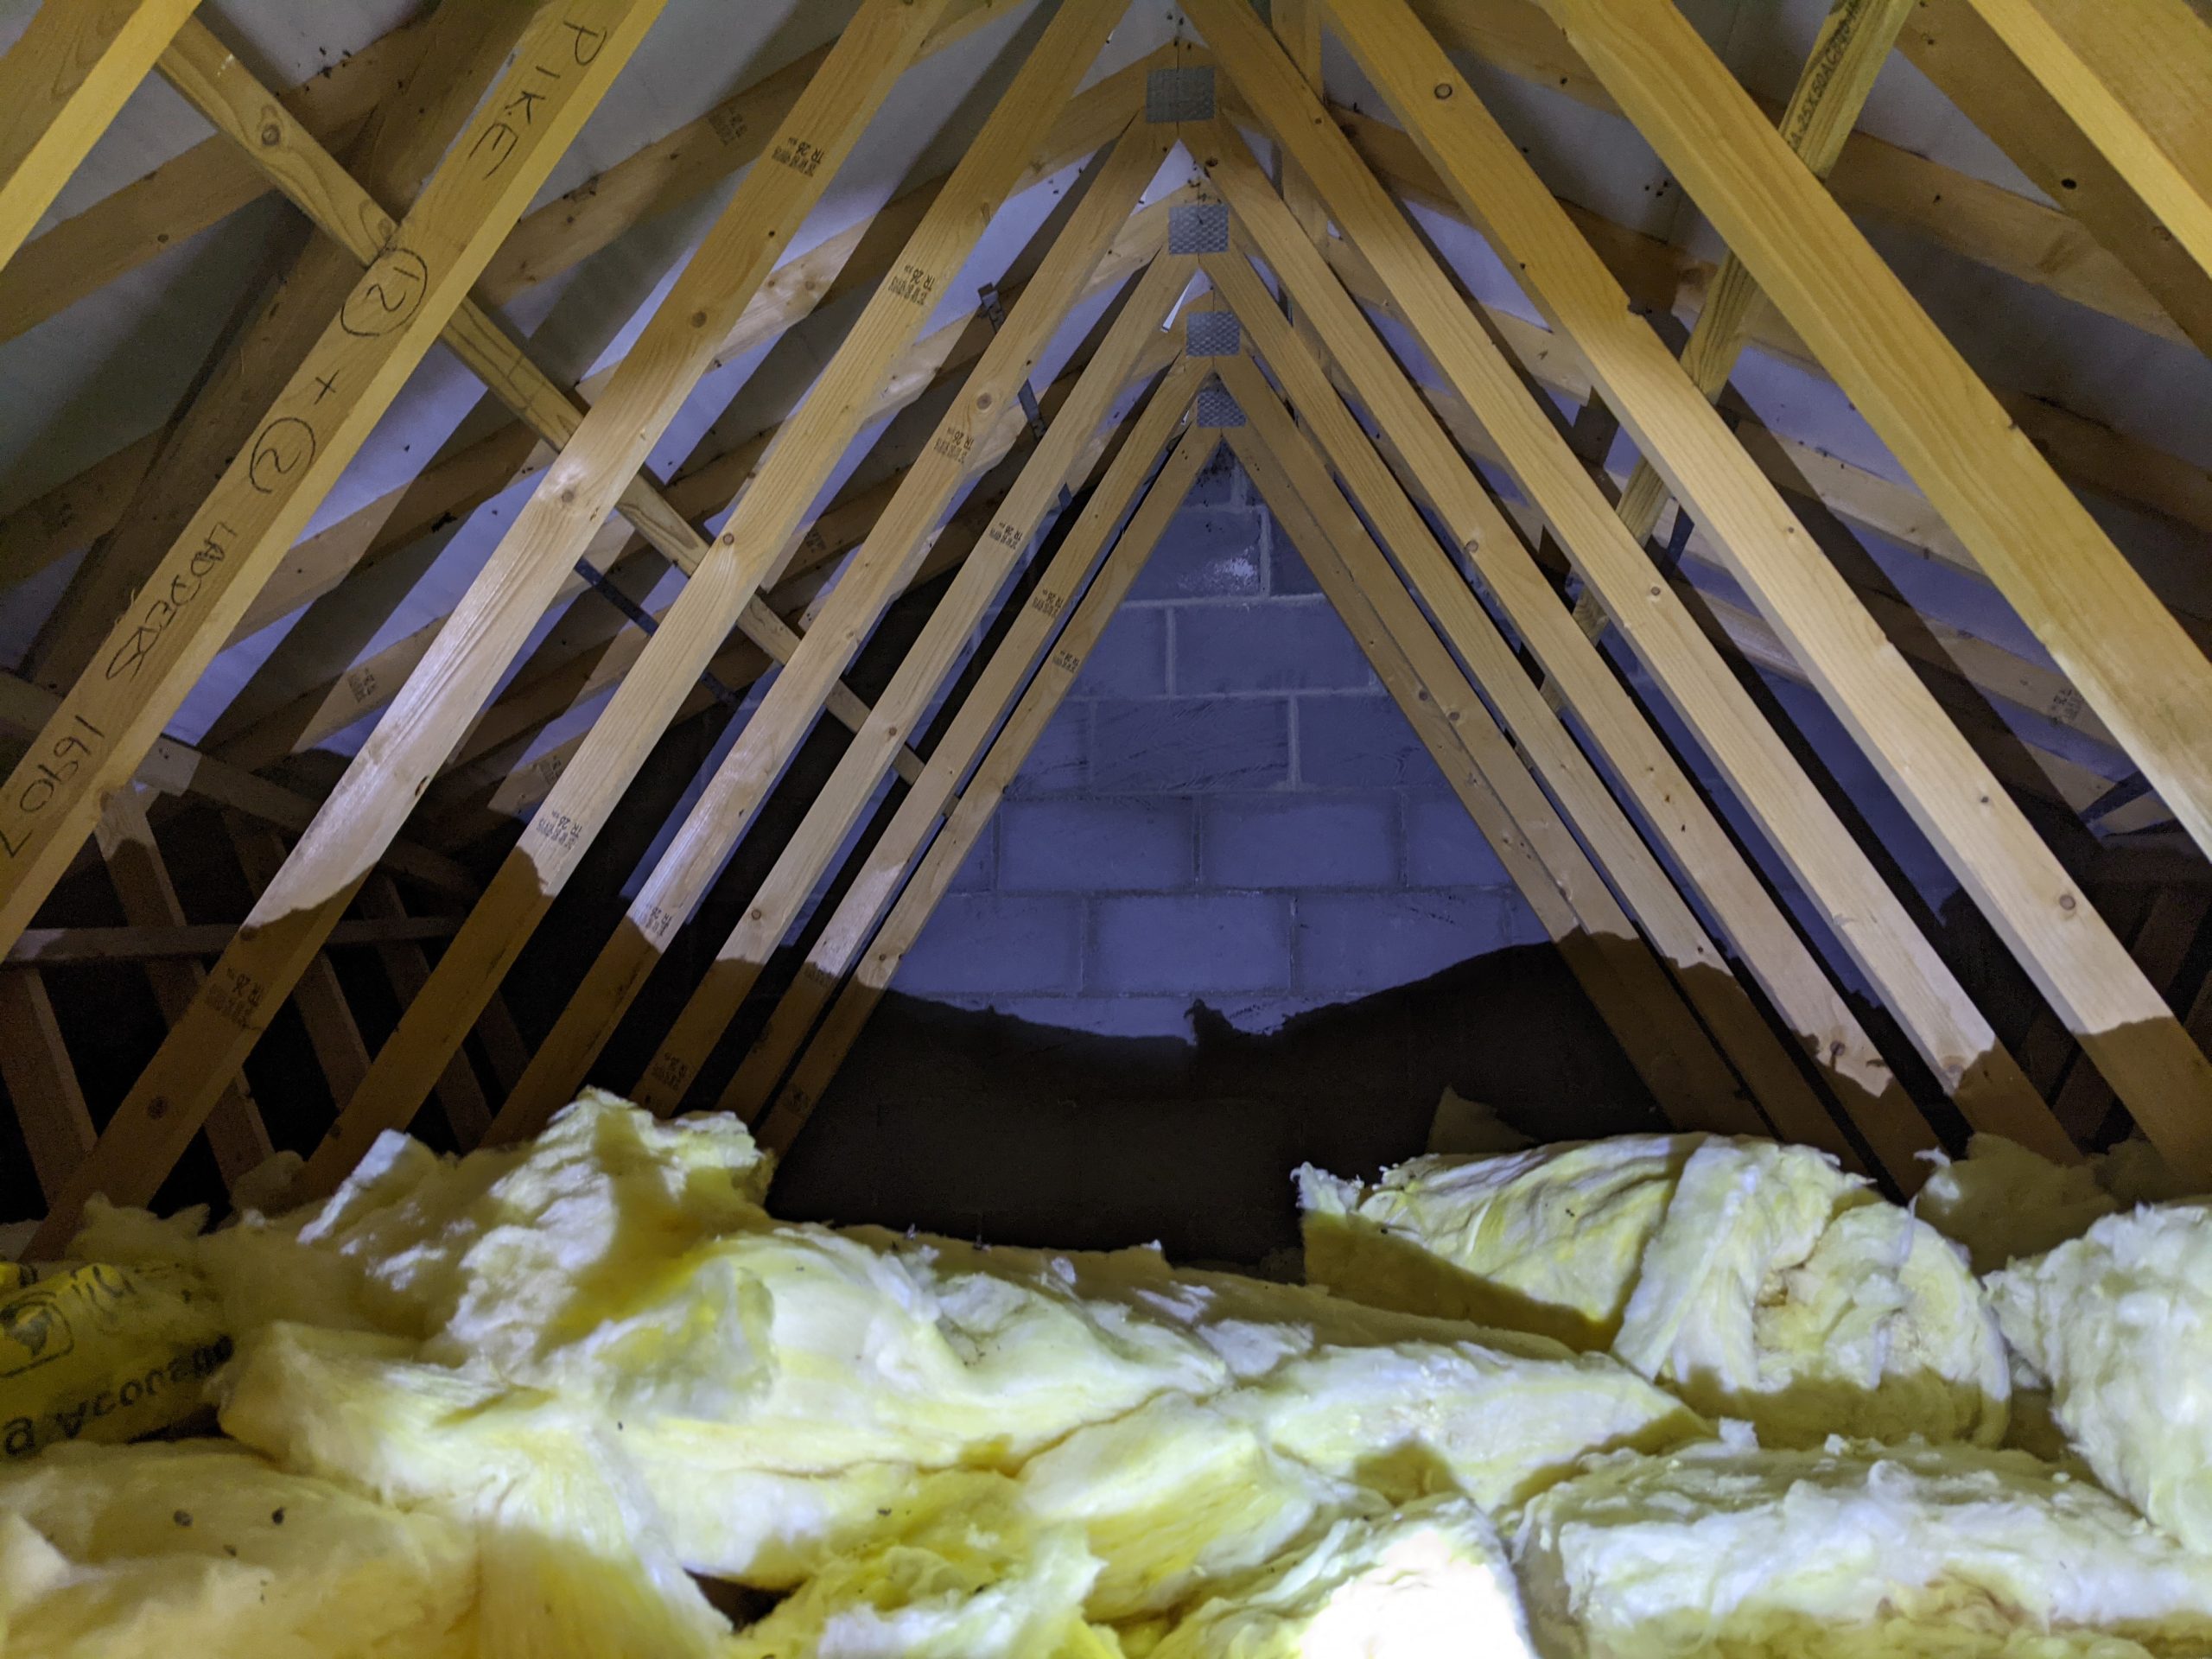
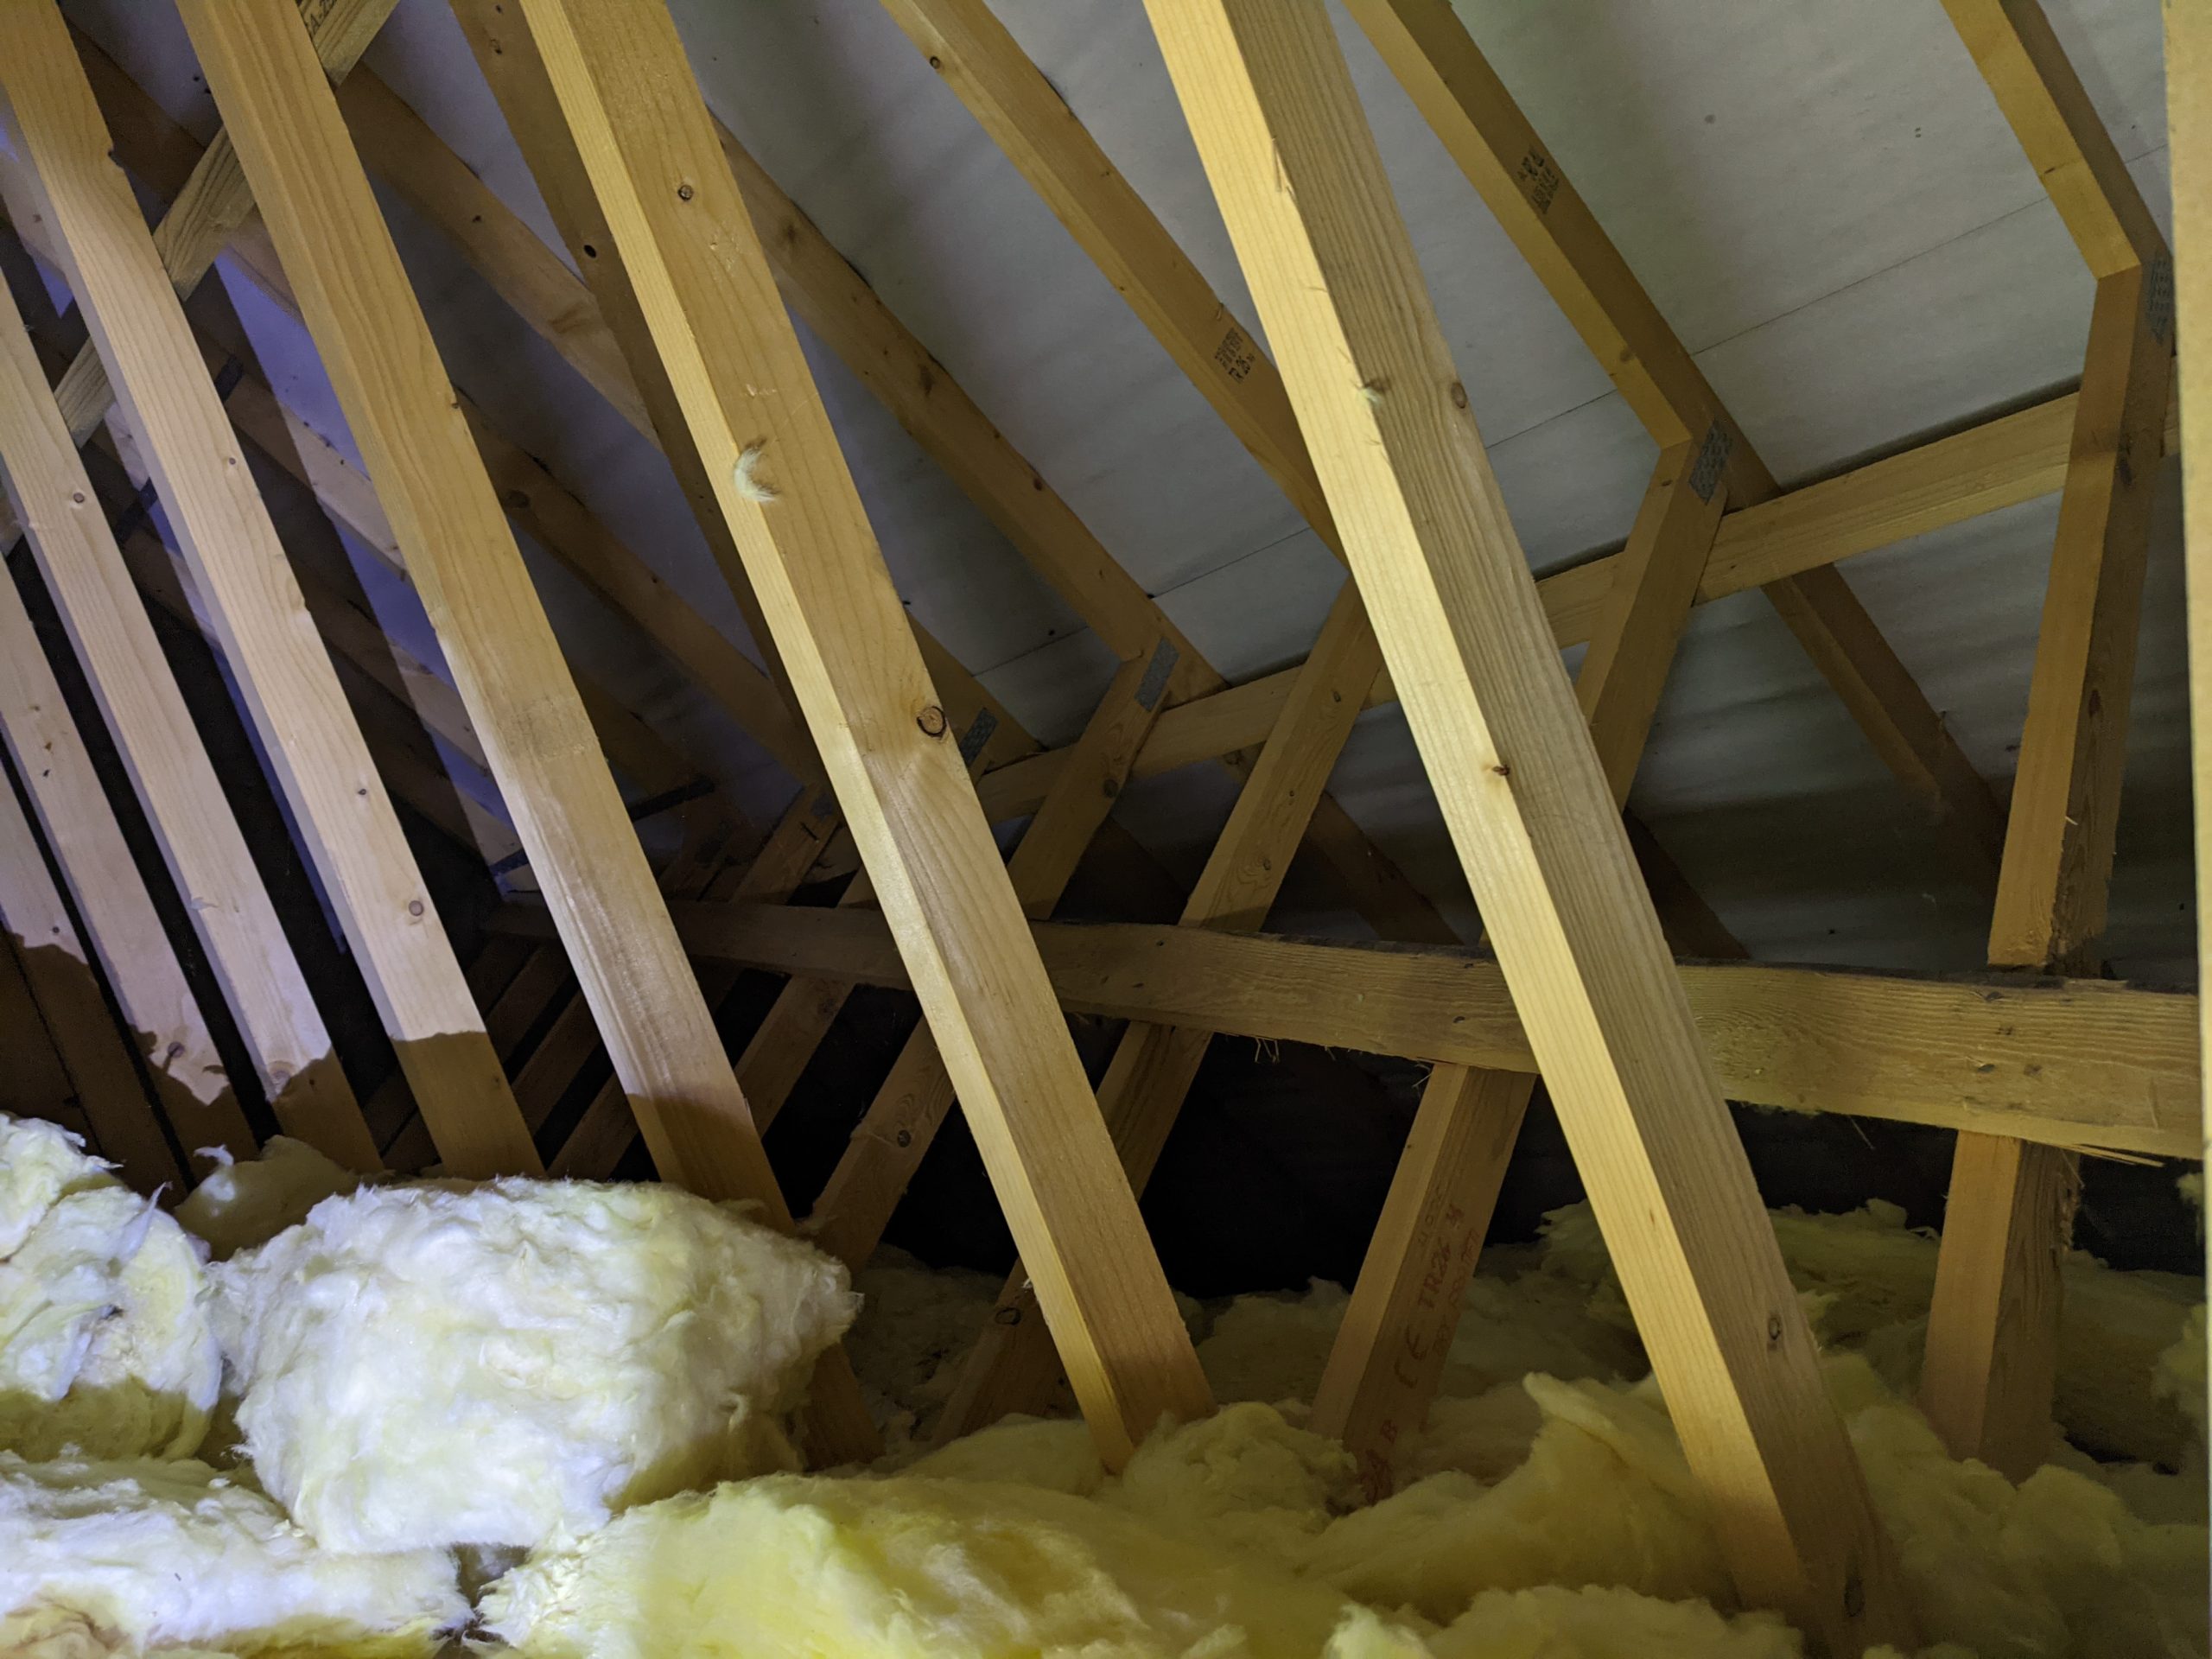
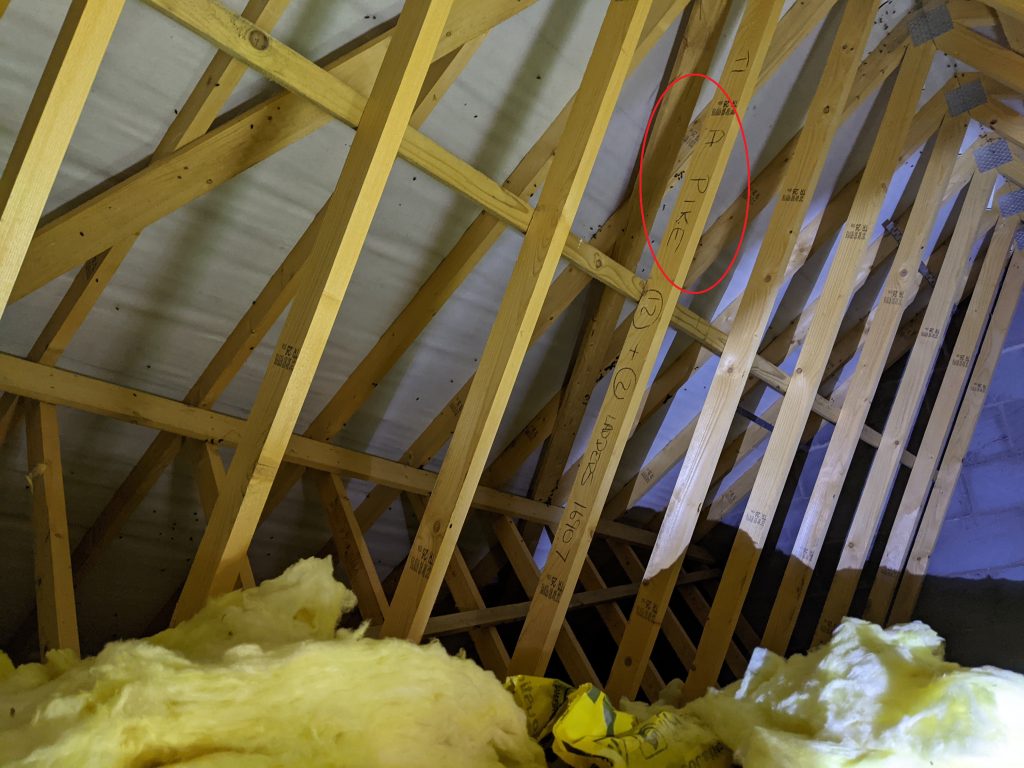
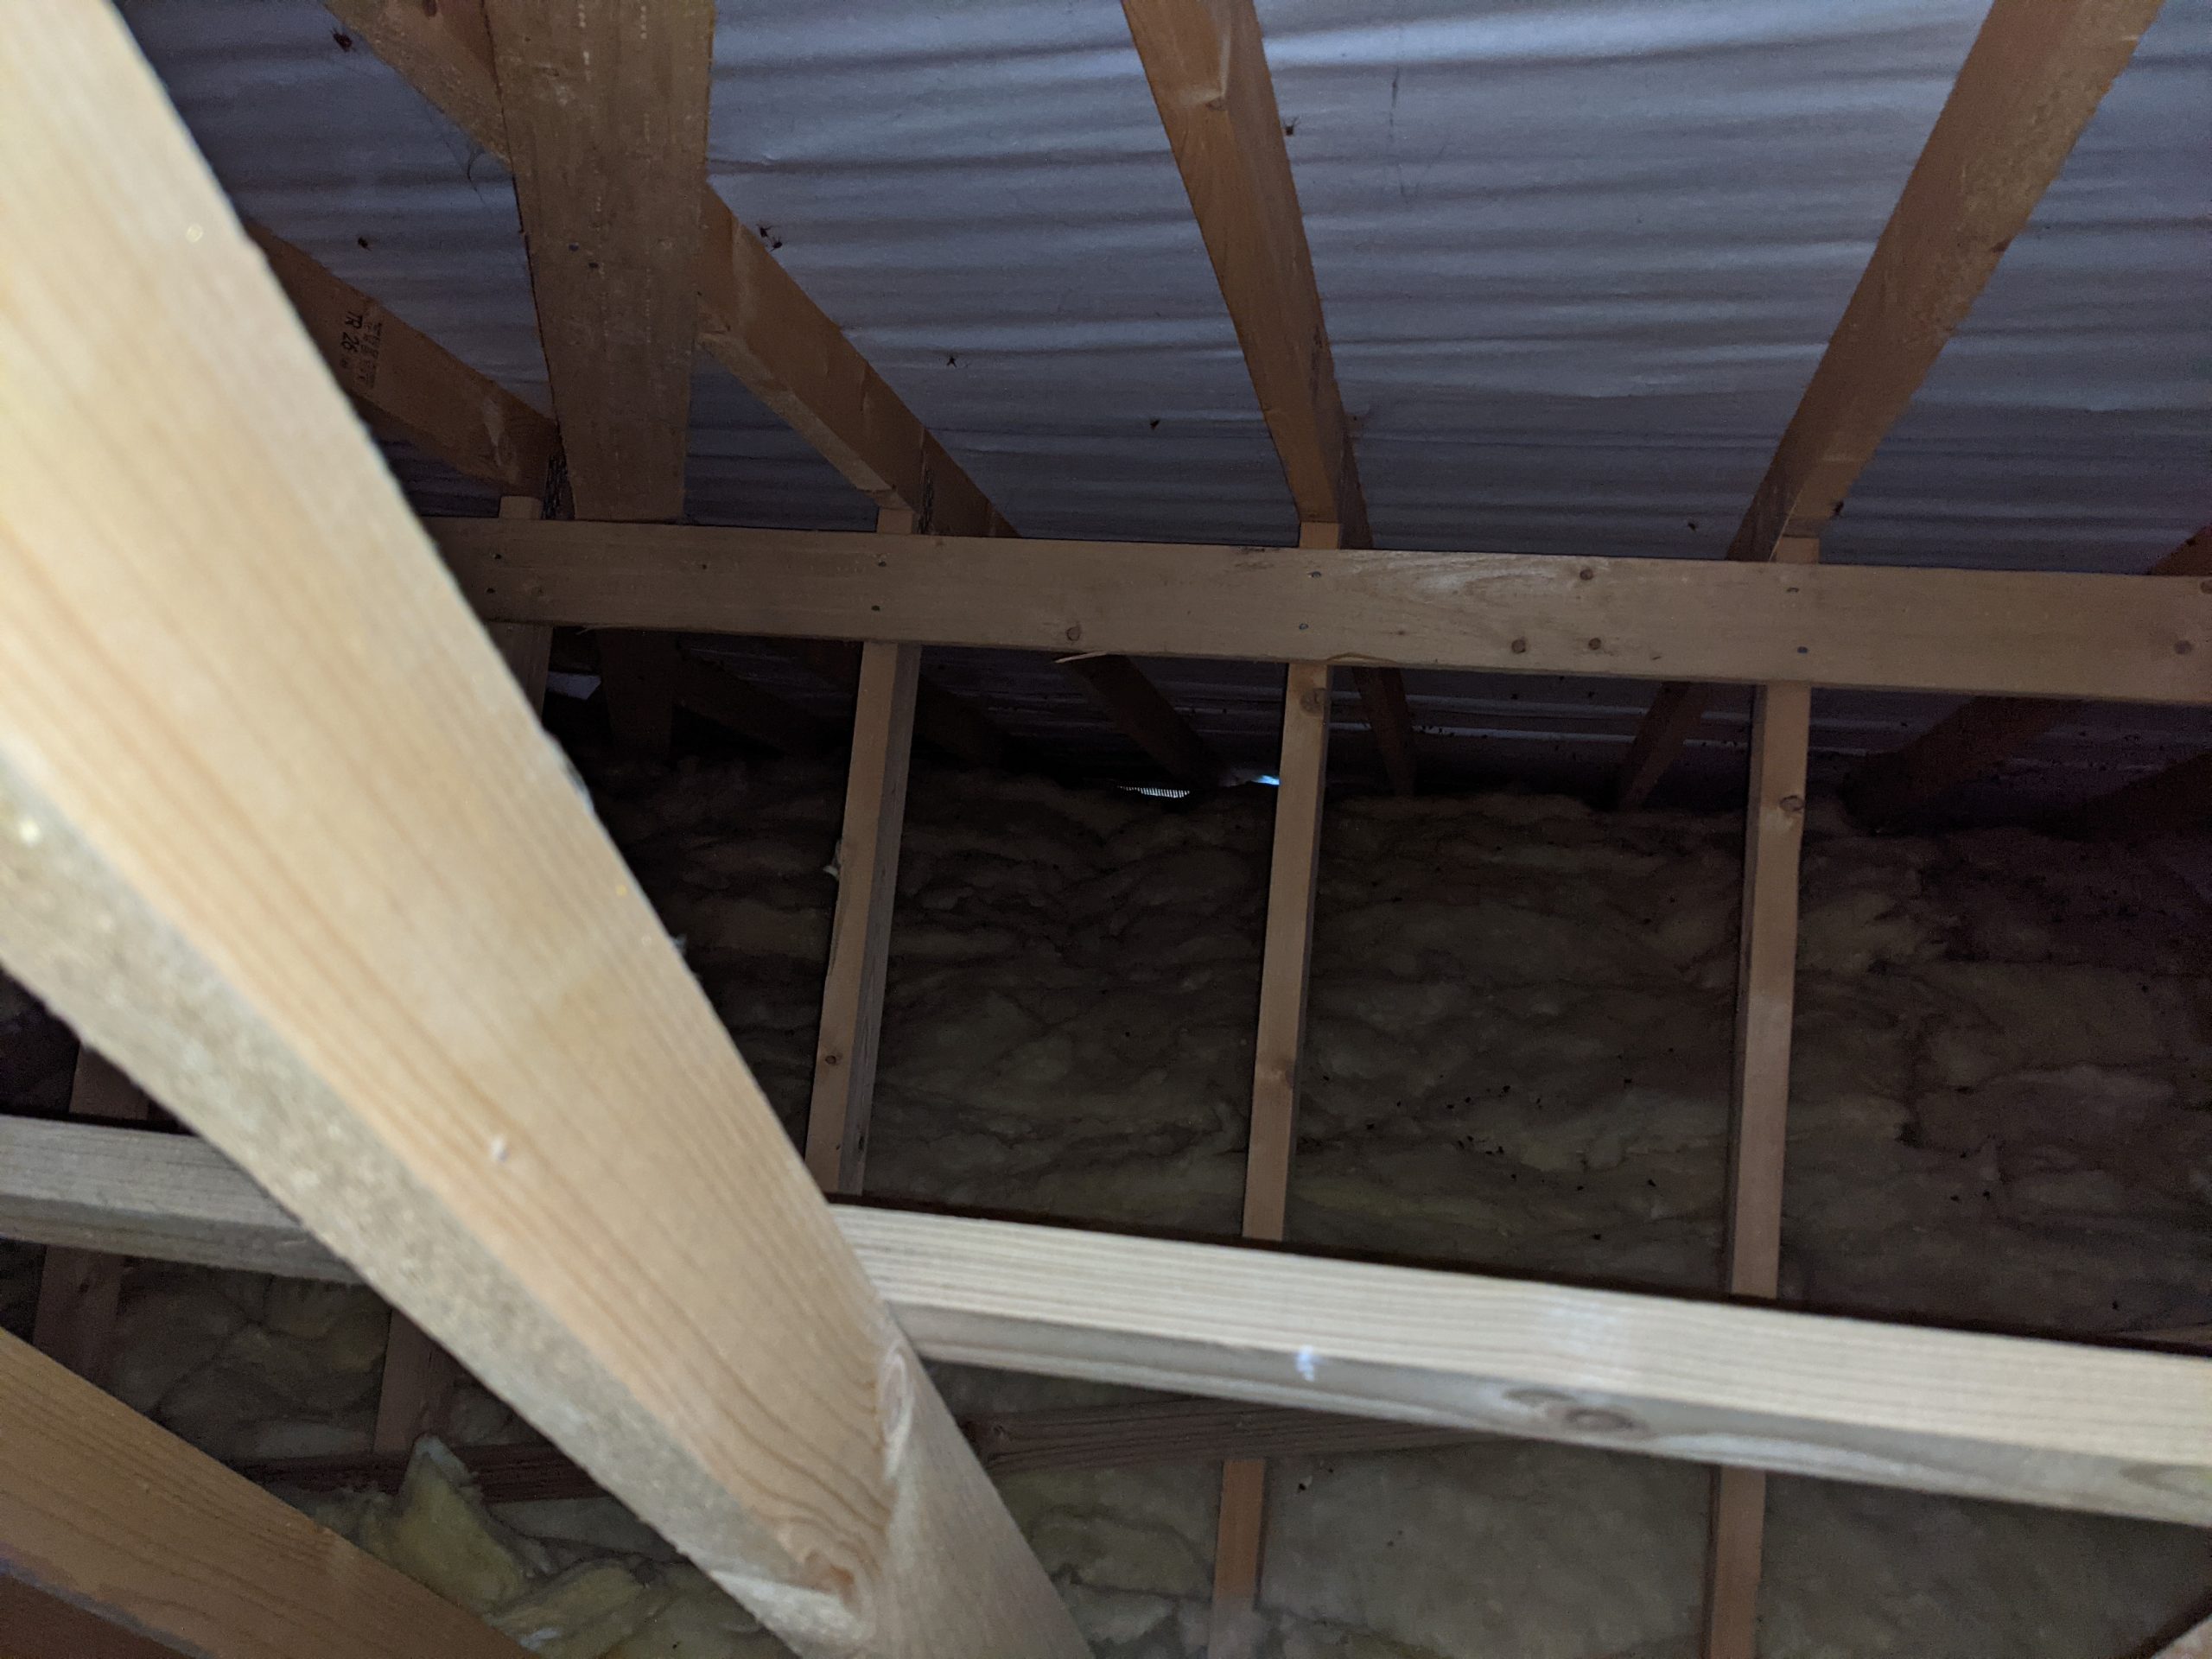
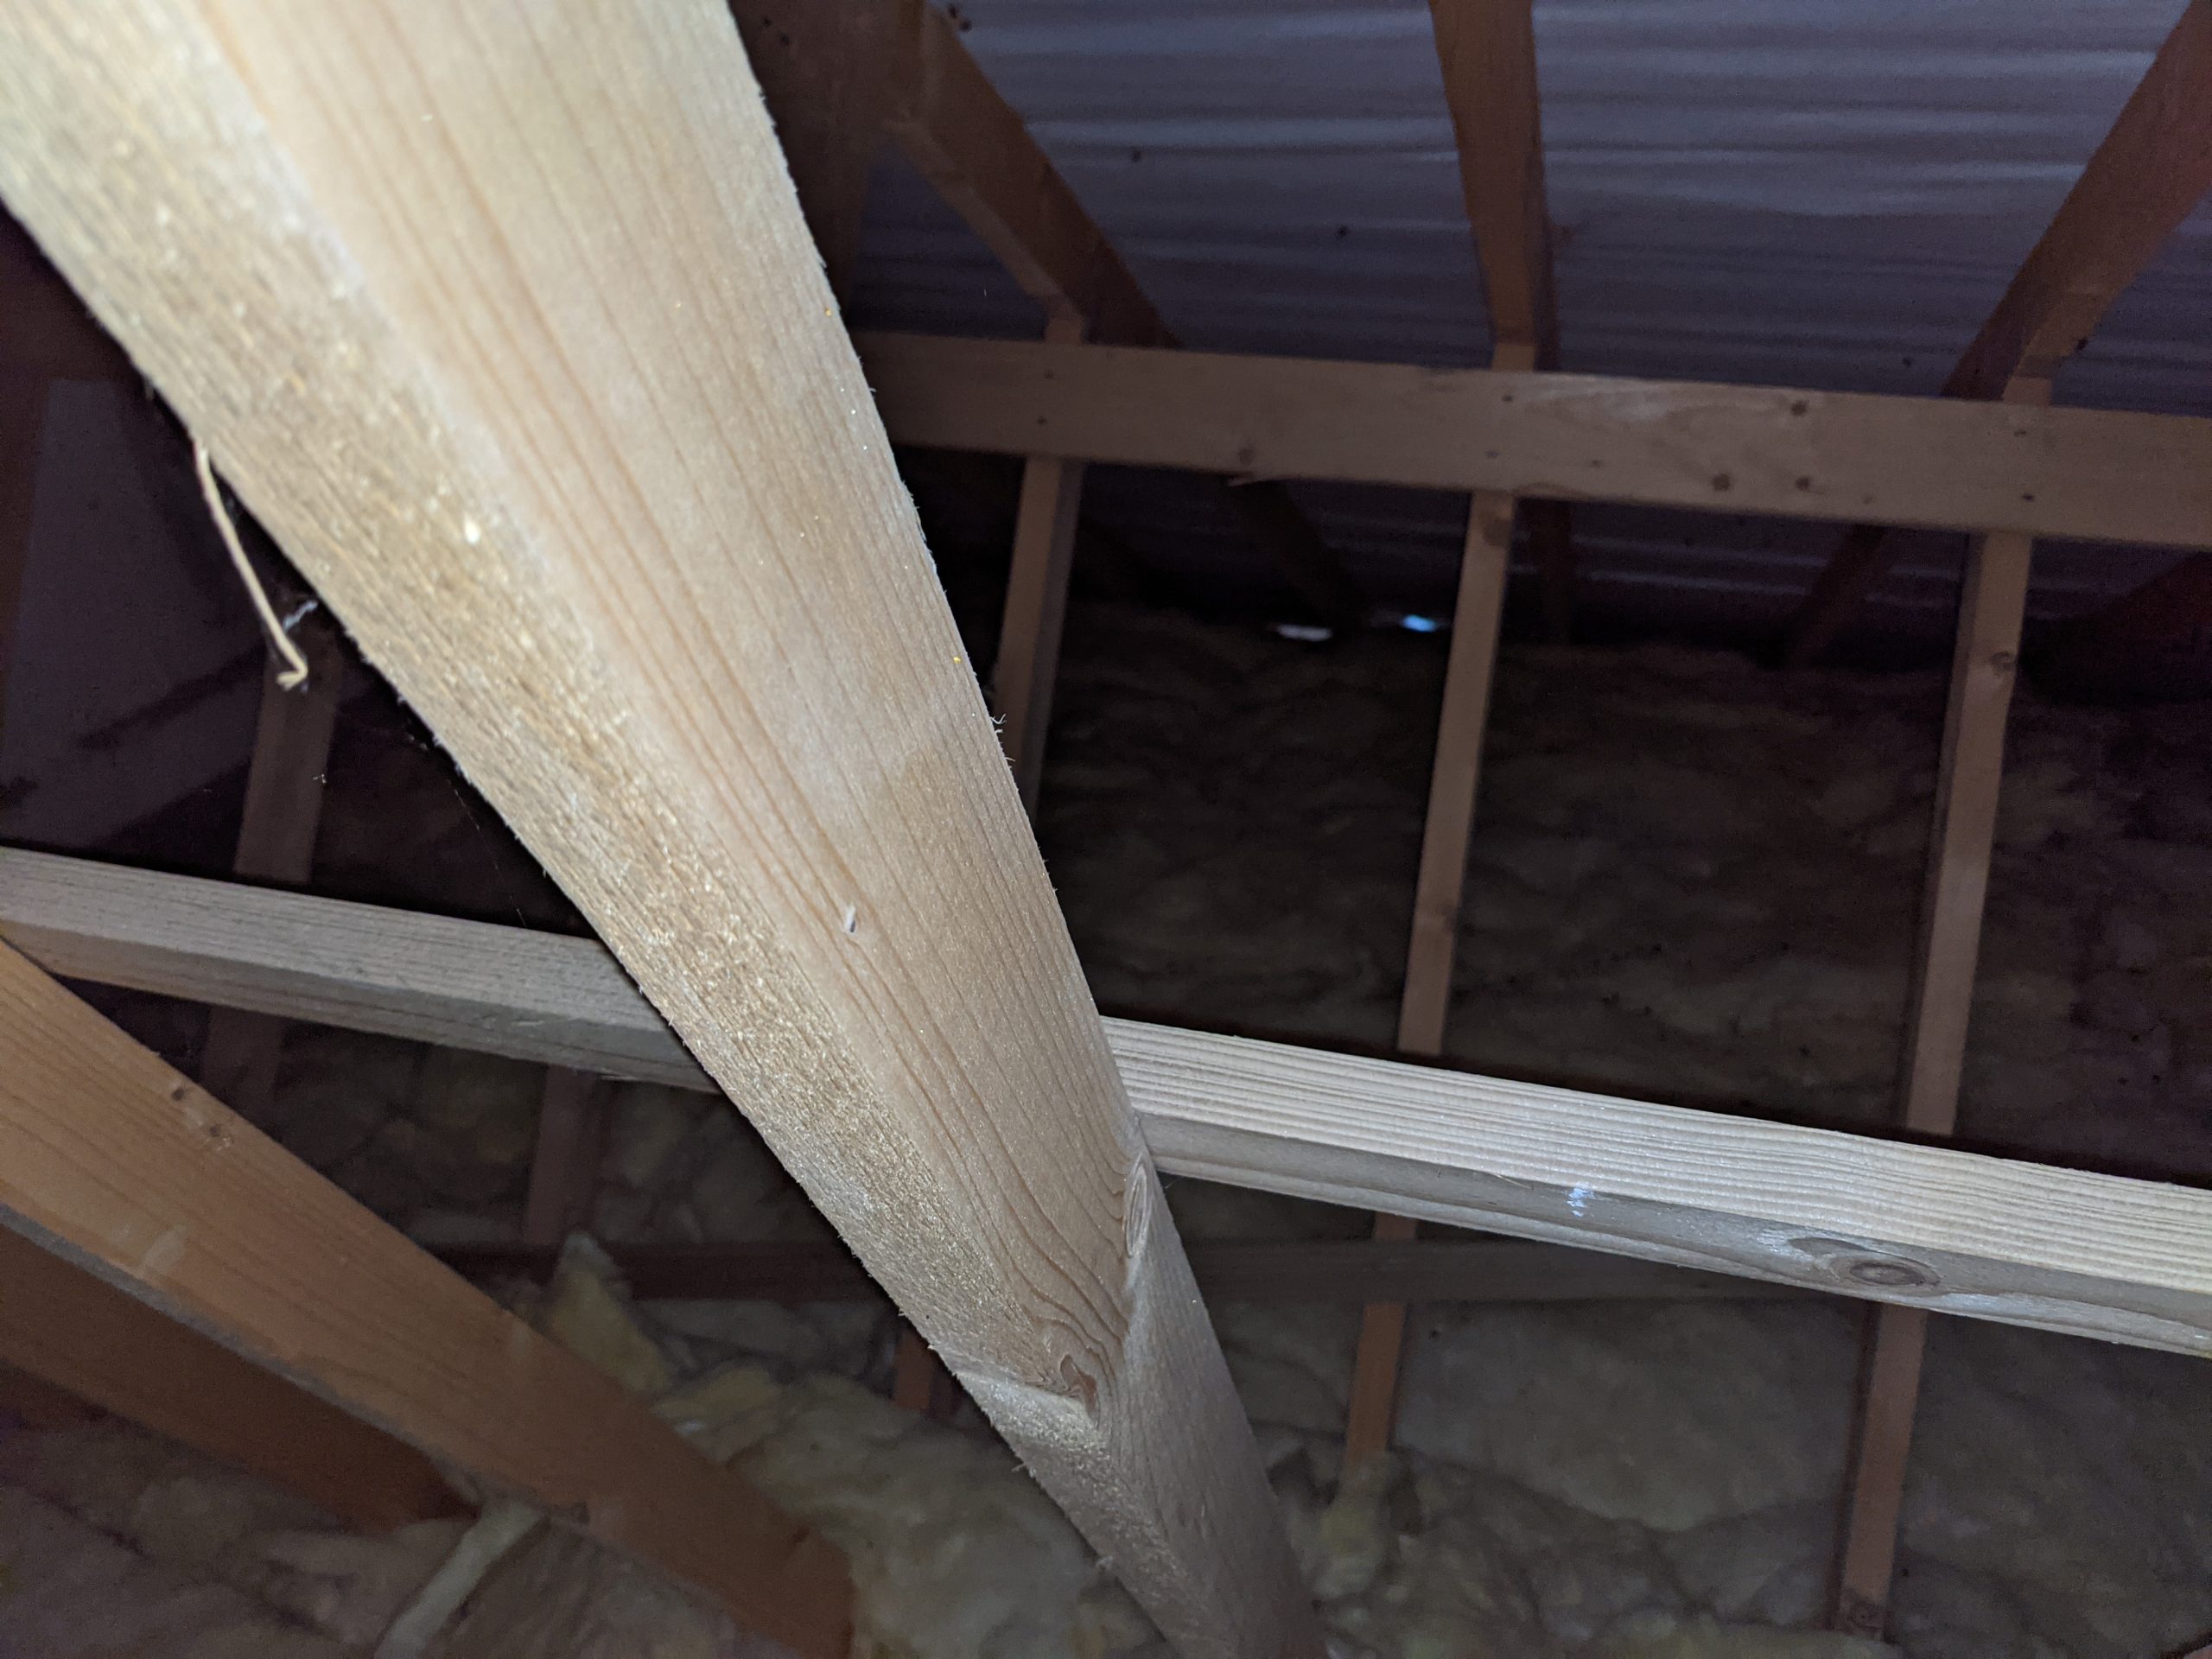
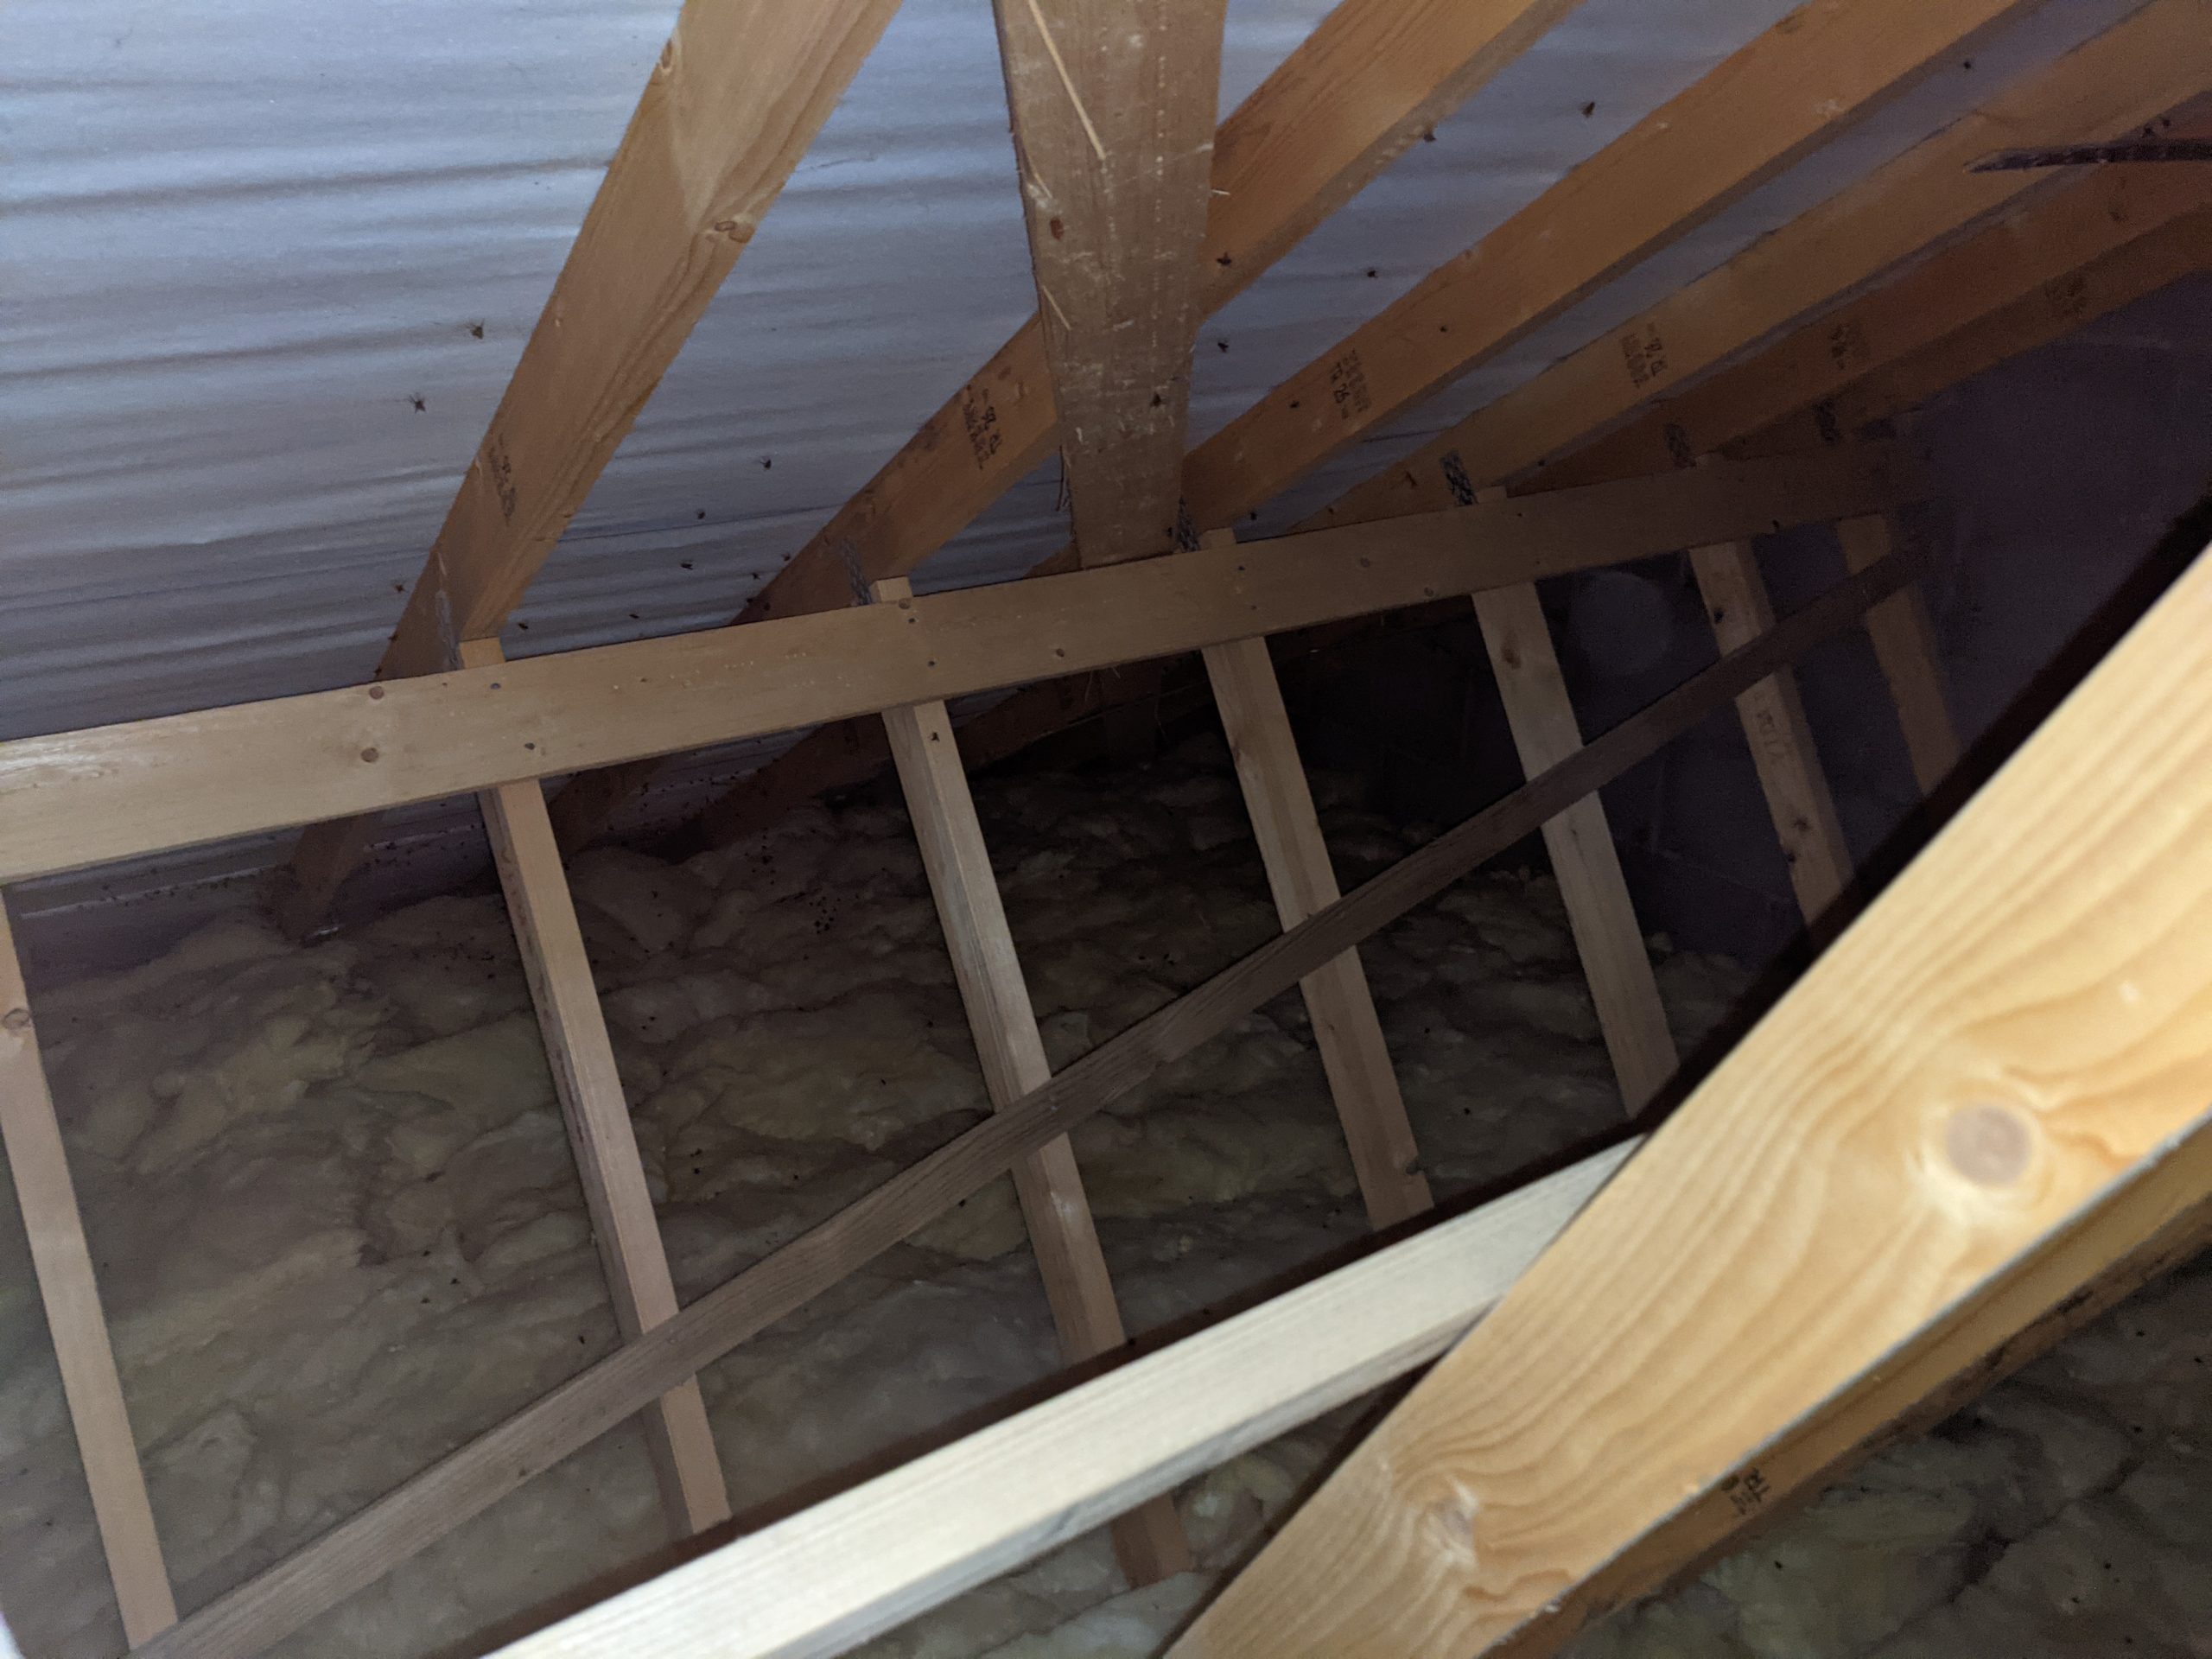
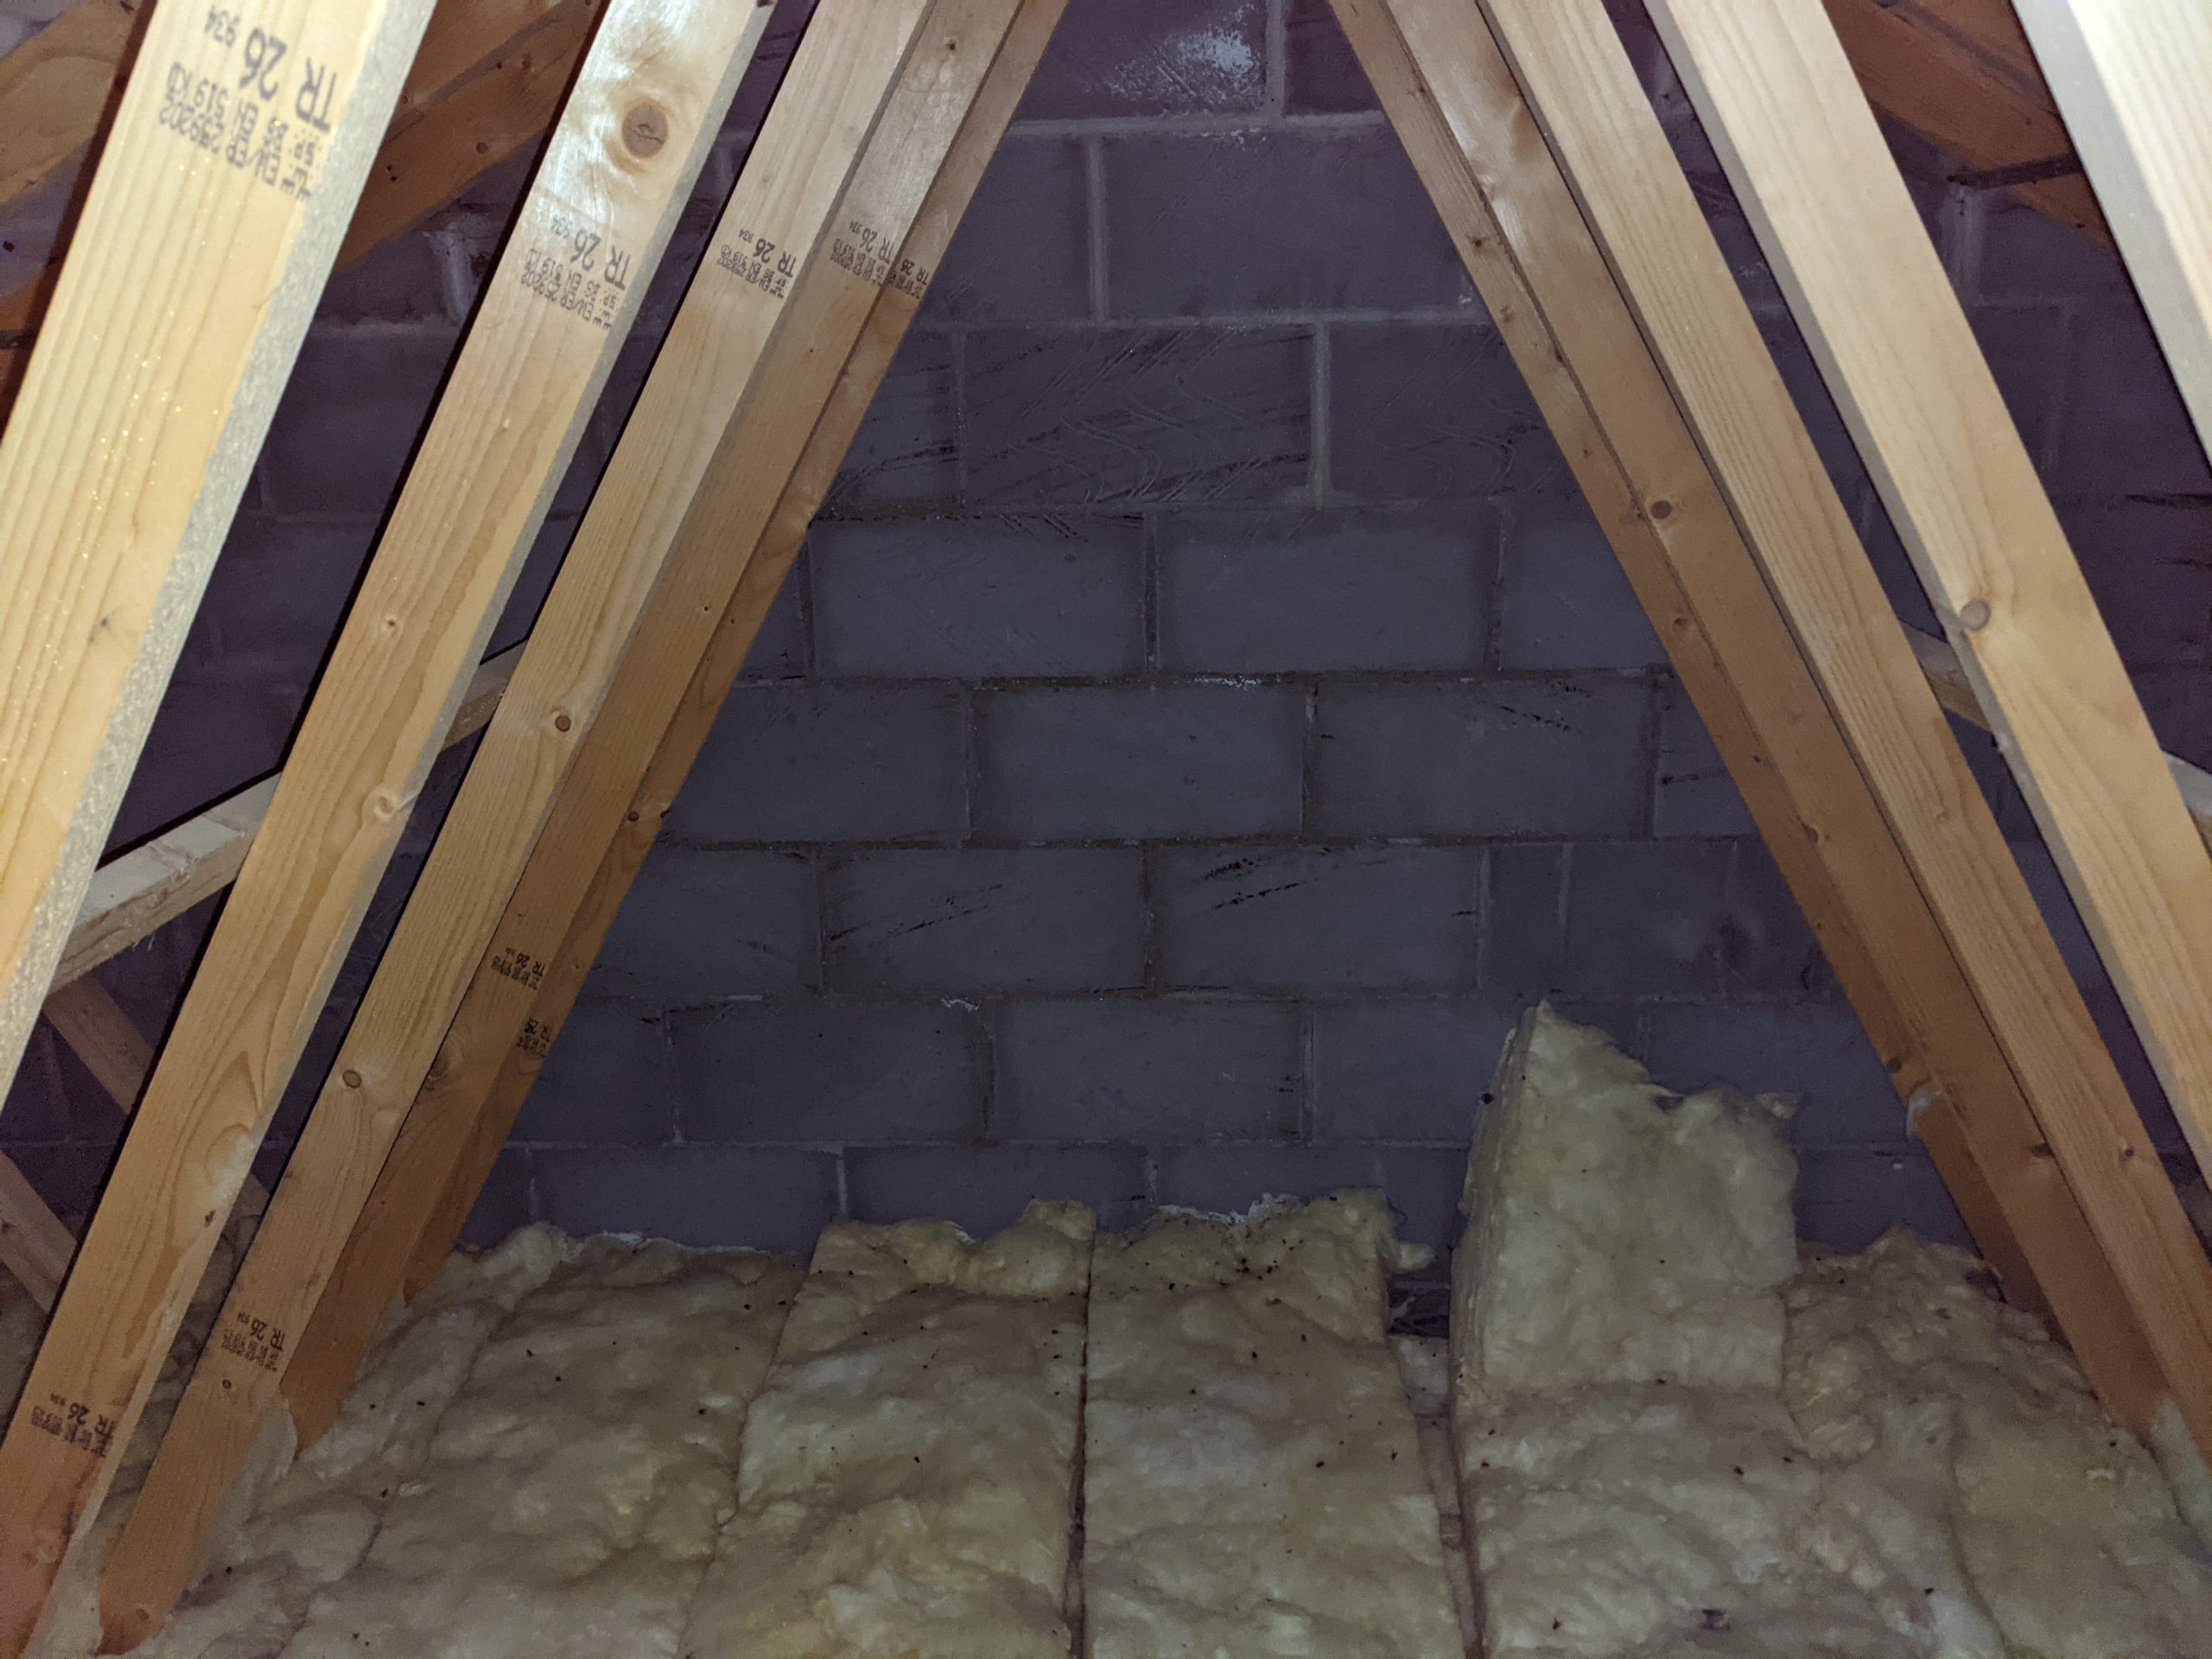
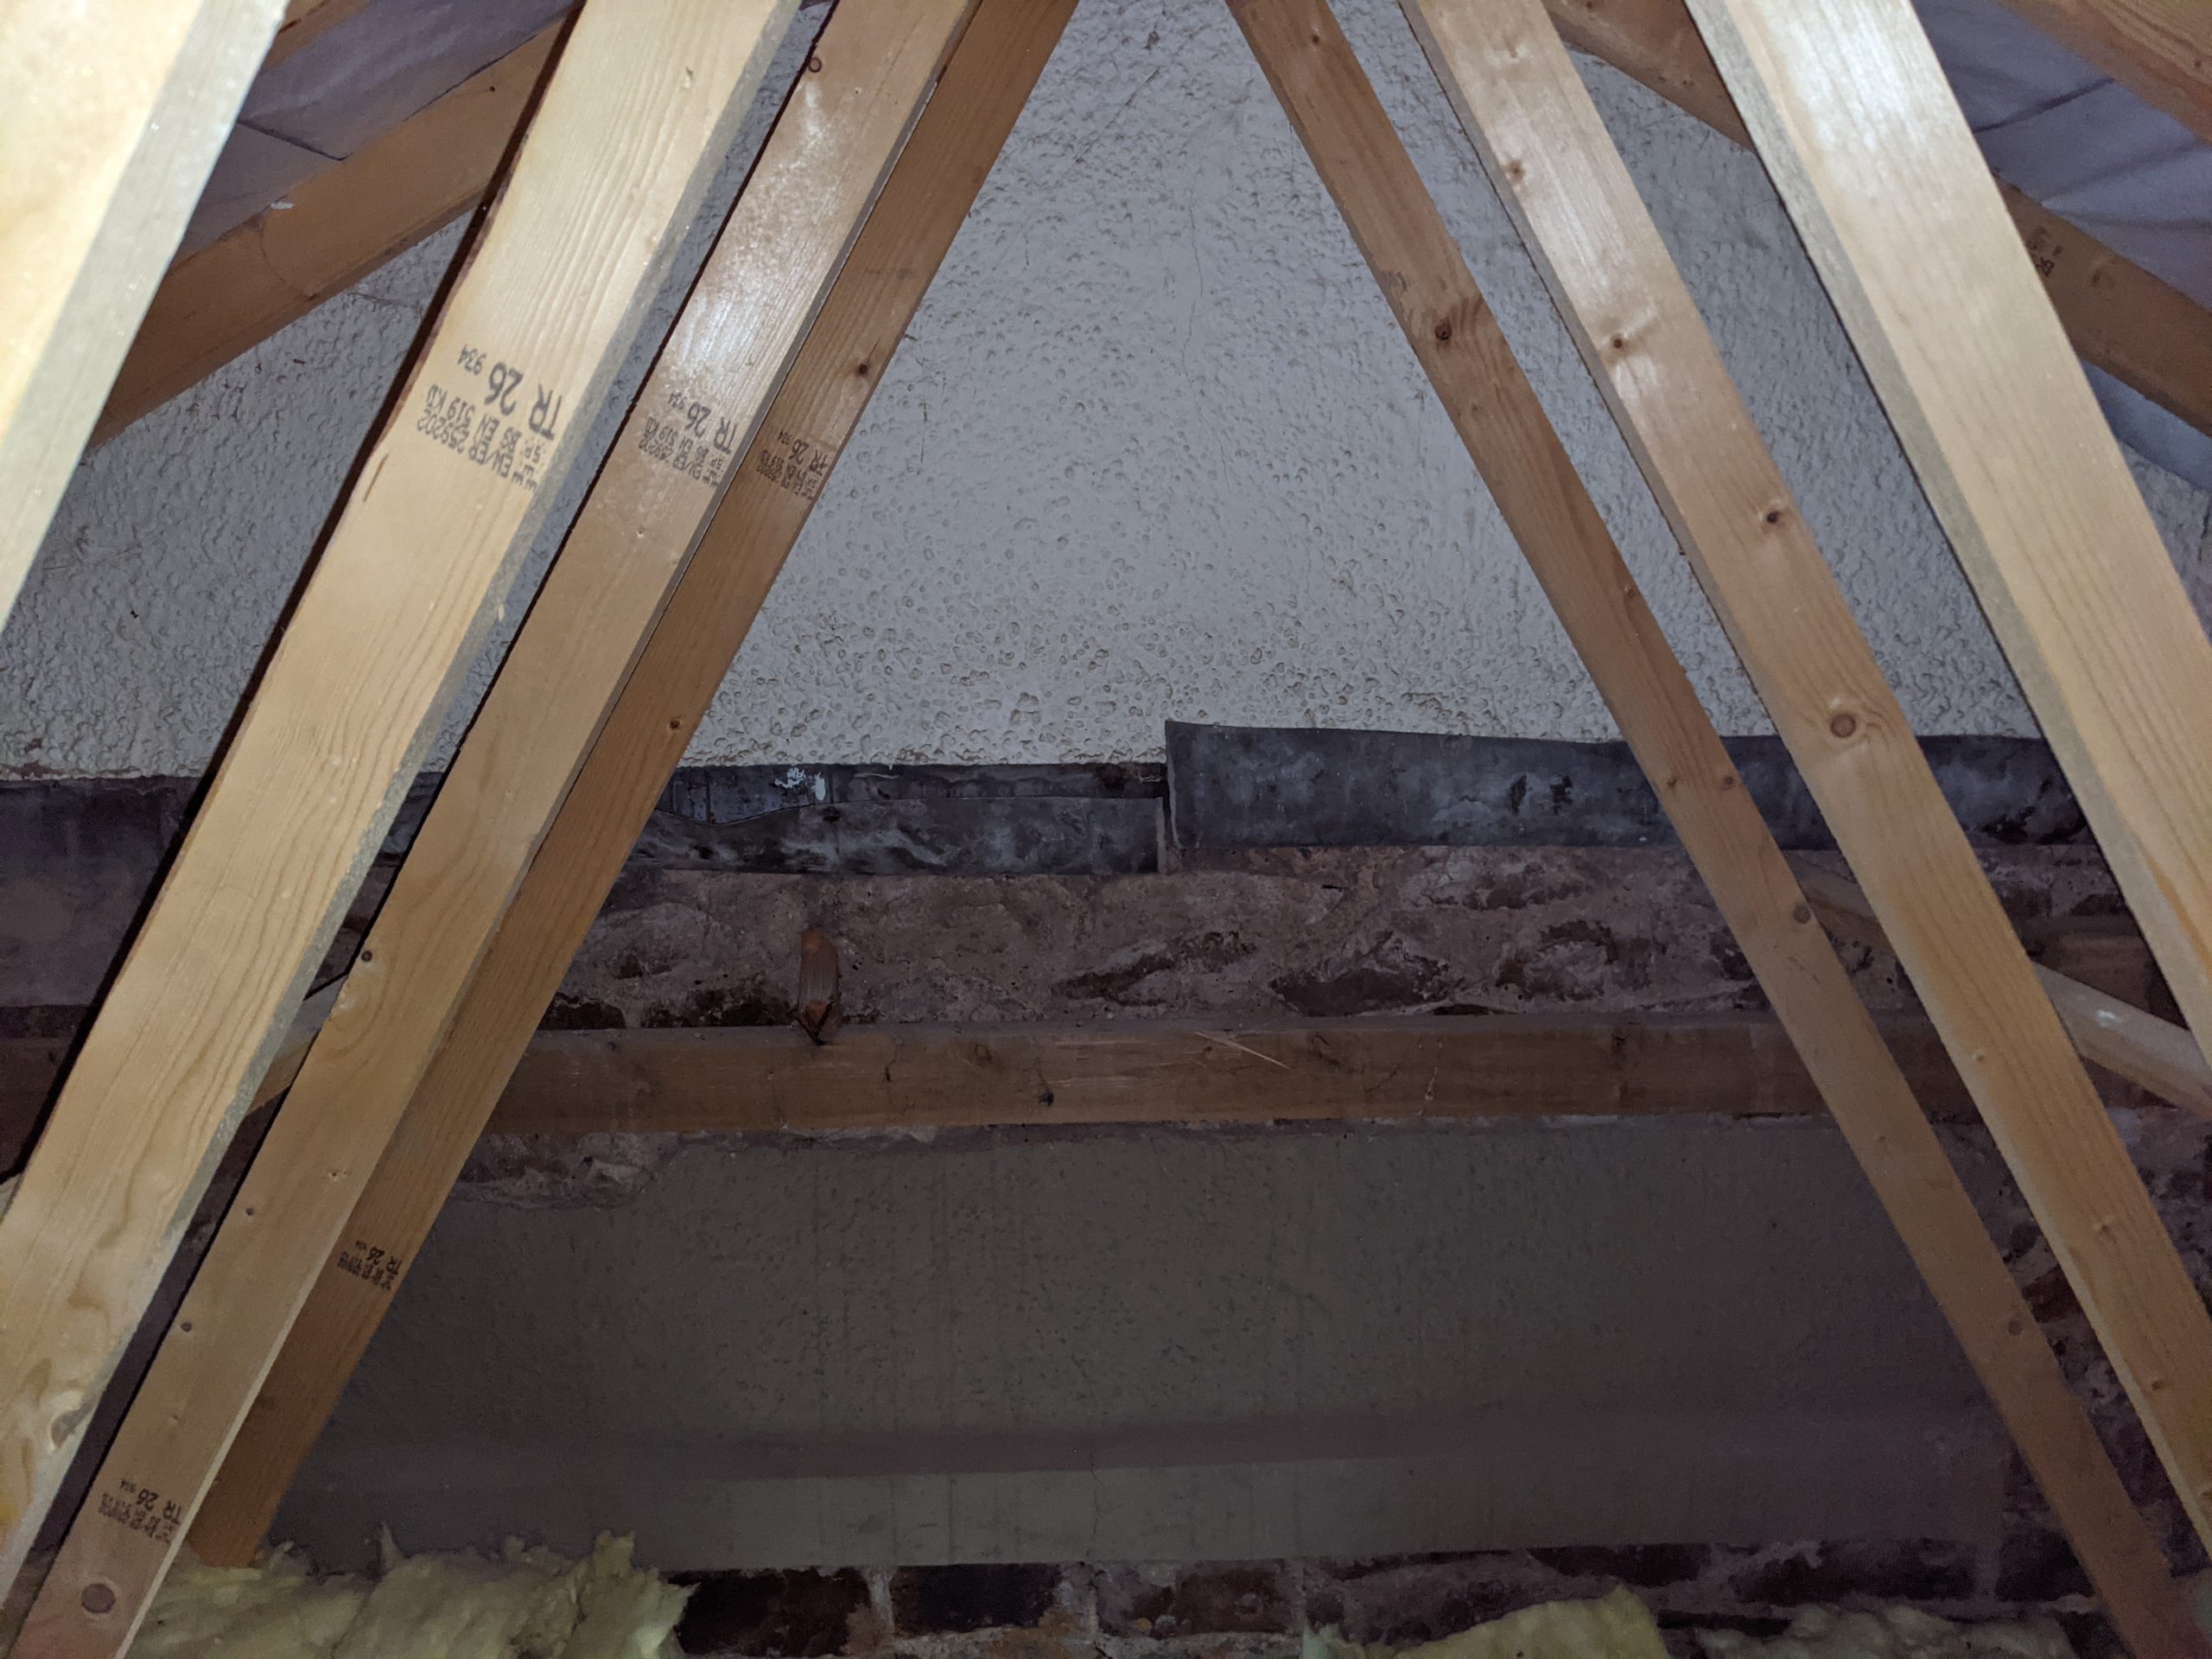
These are the first photos I took of the loft before we actually moved into the house. There was no ladder and the loft hatch was very small. The pictures are from the loft hatch looking towards the outside wall. The previous owners said that they had never been up there before. My initial observations were that the joists are very close together and there was a lot of insulation up there.

June 2021
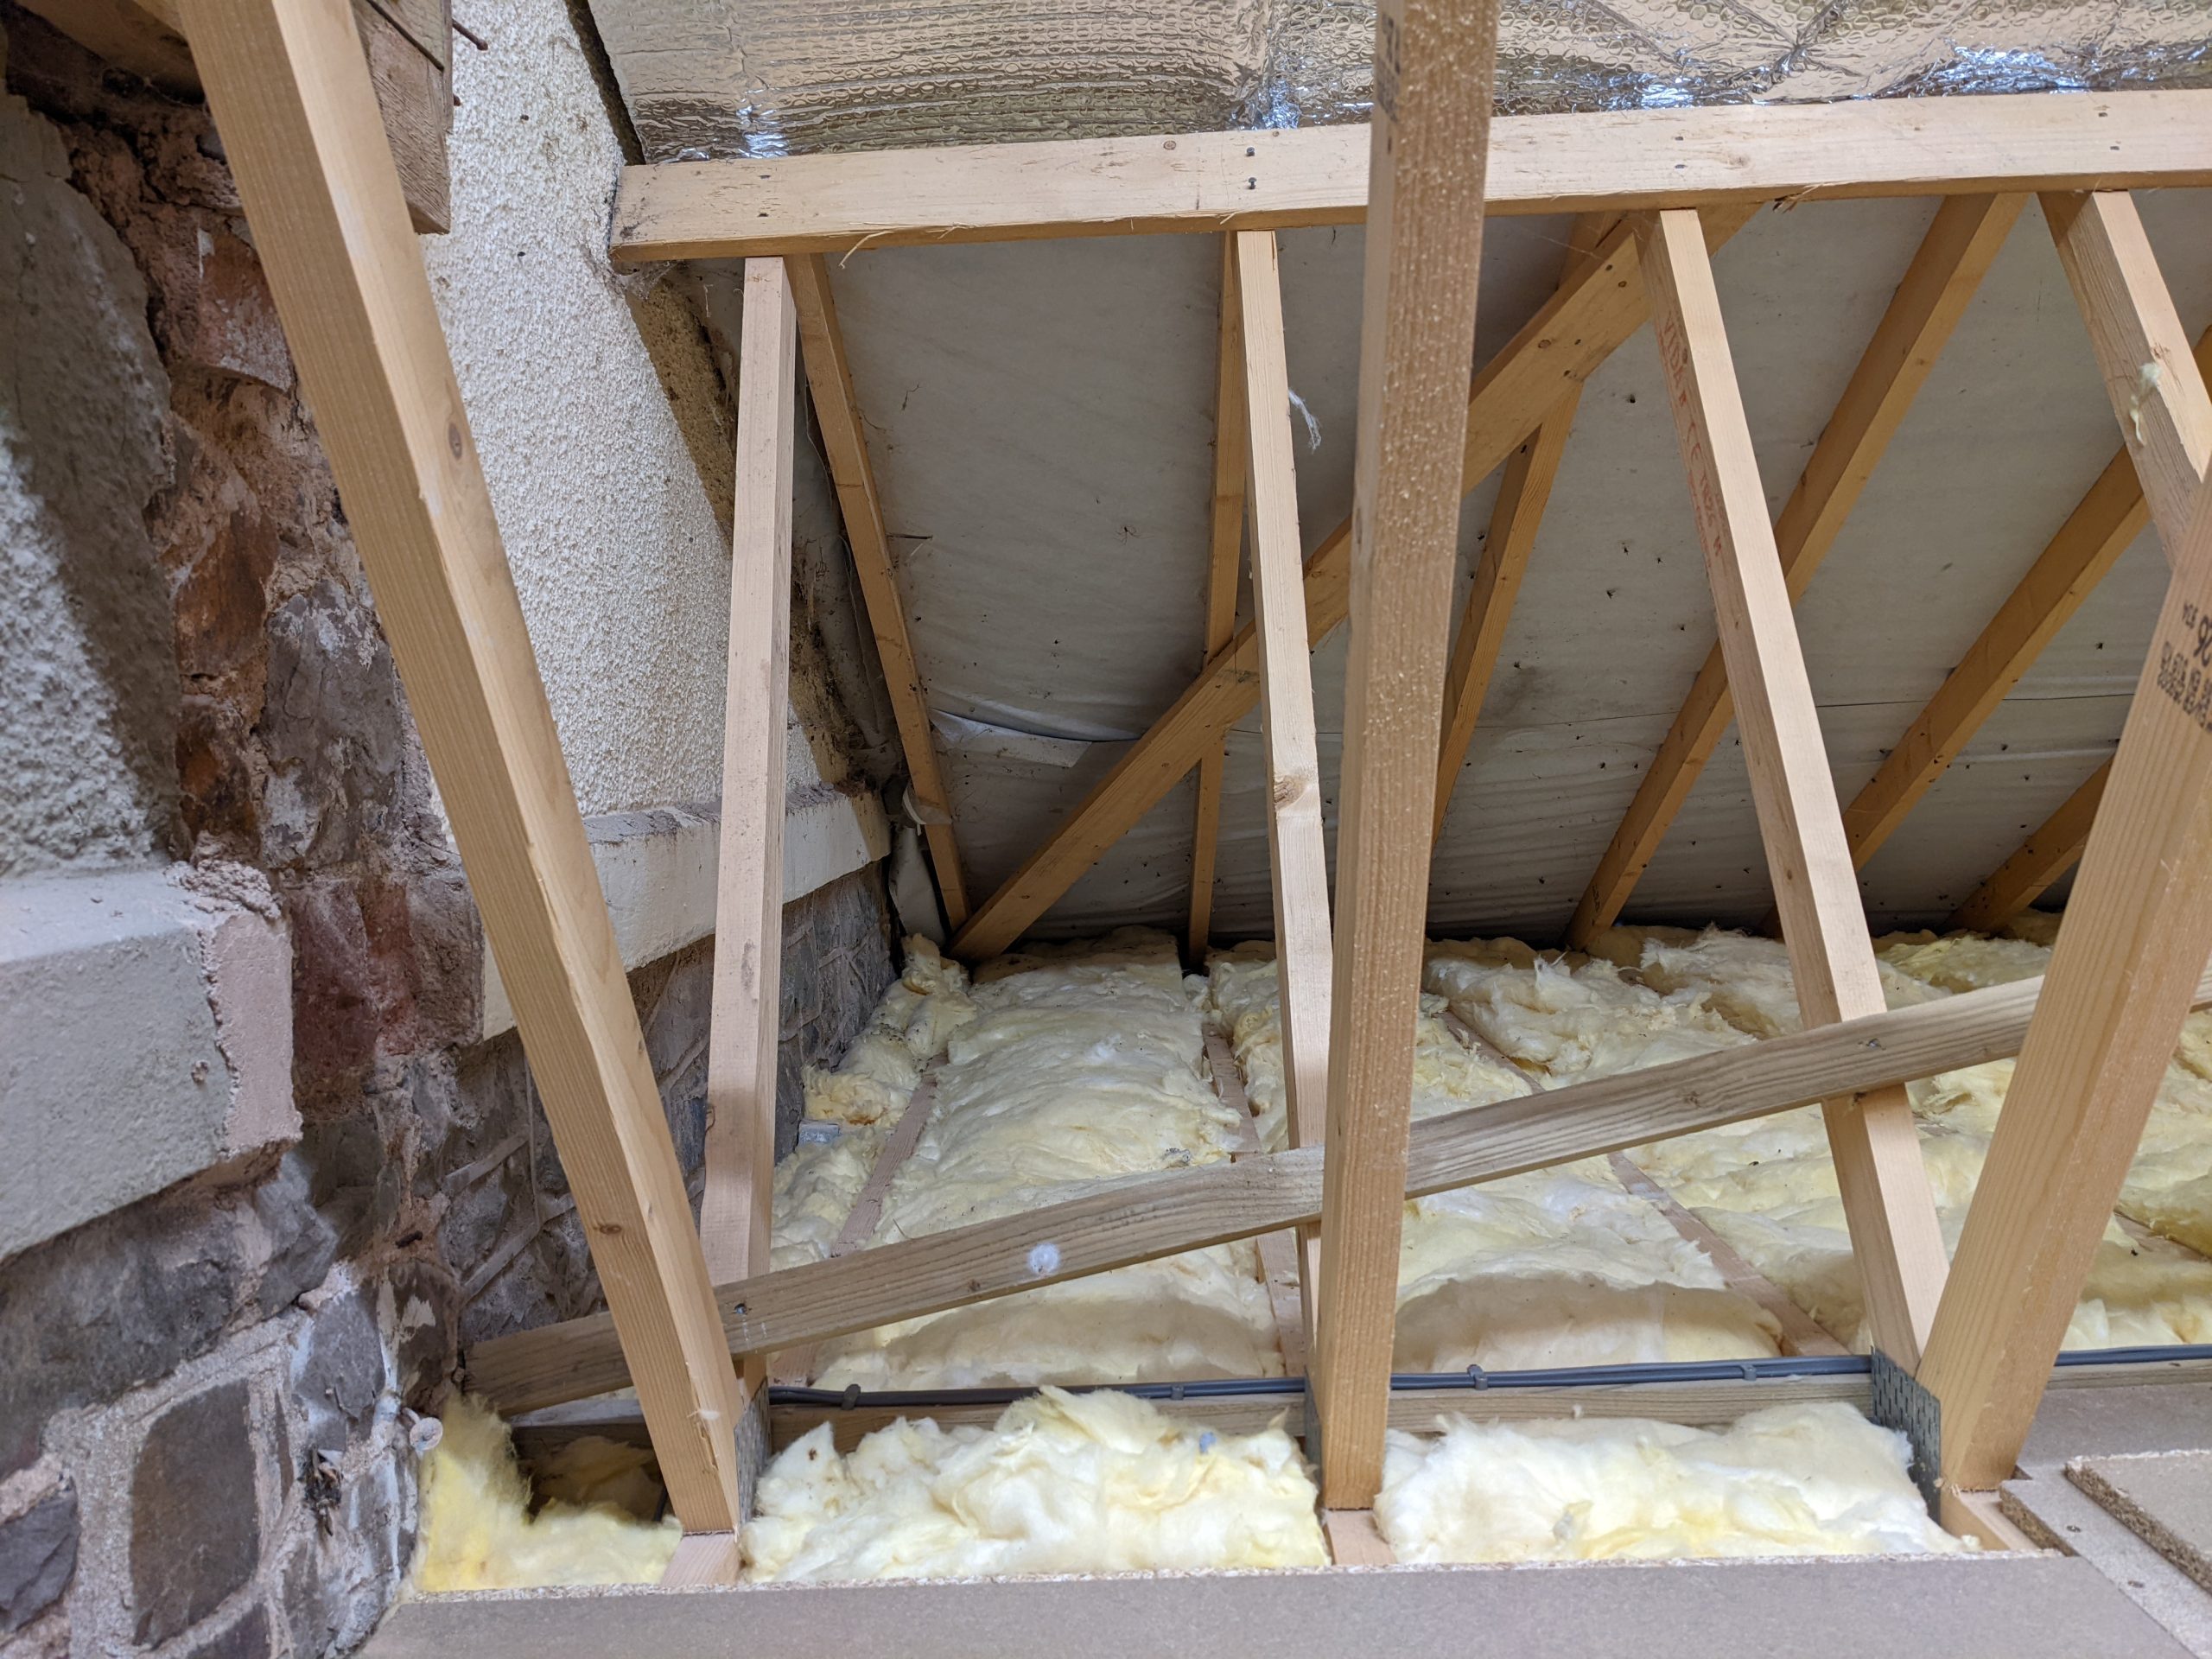
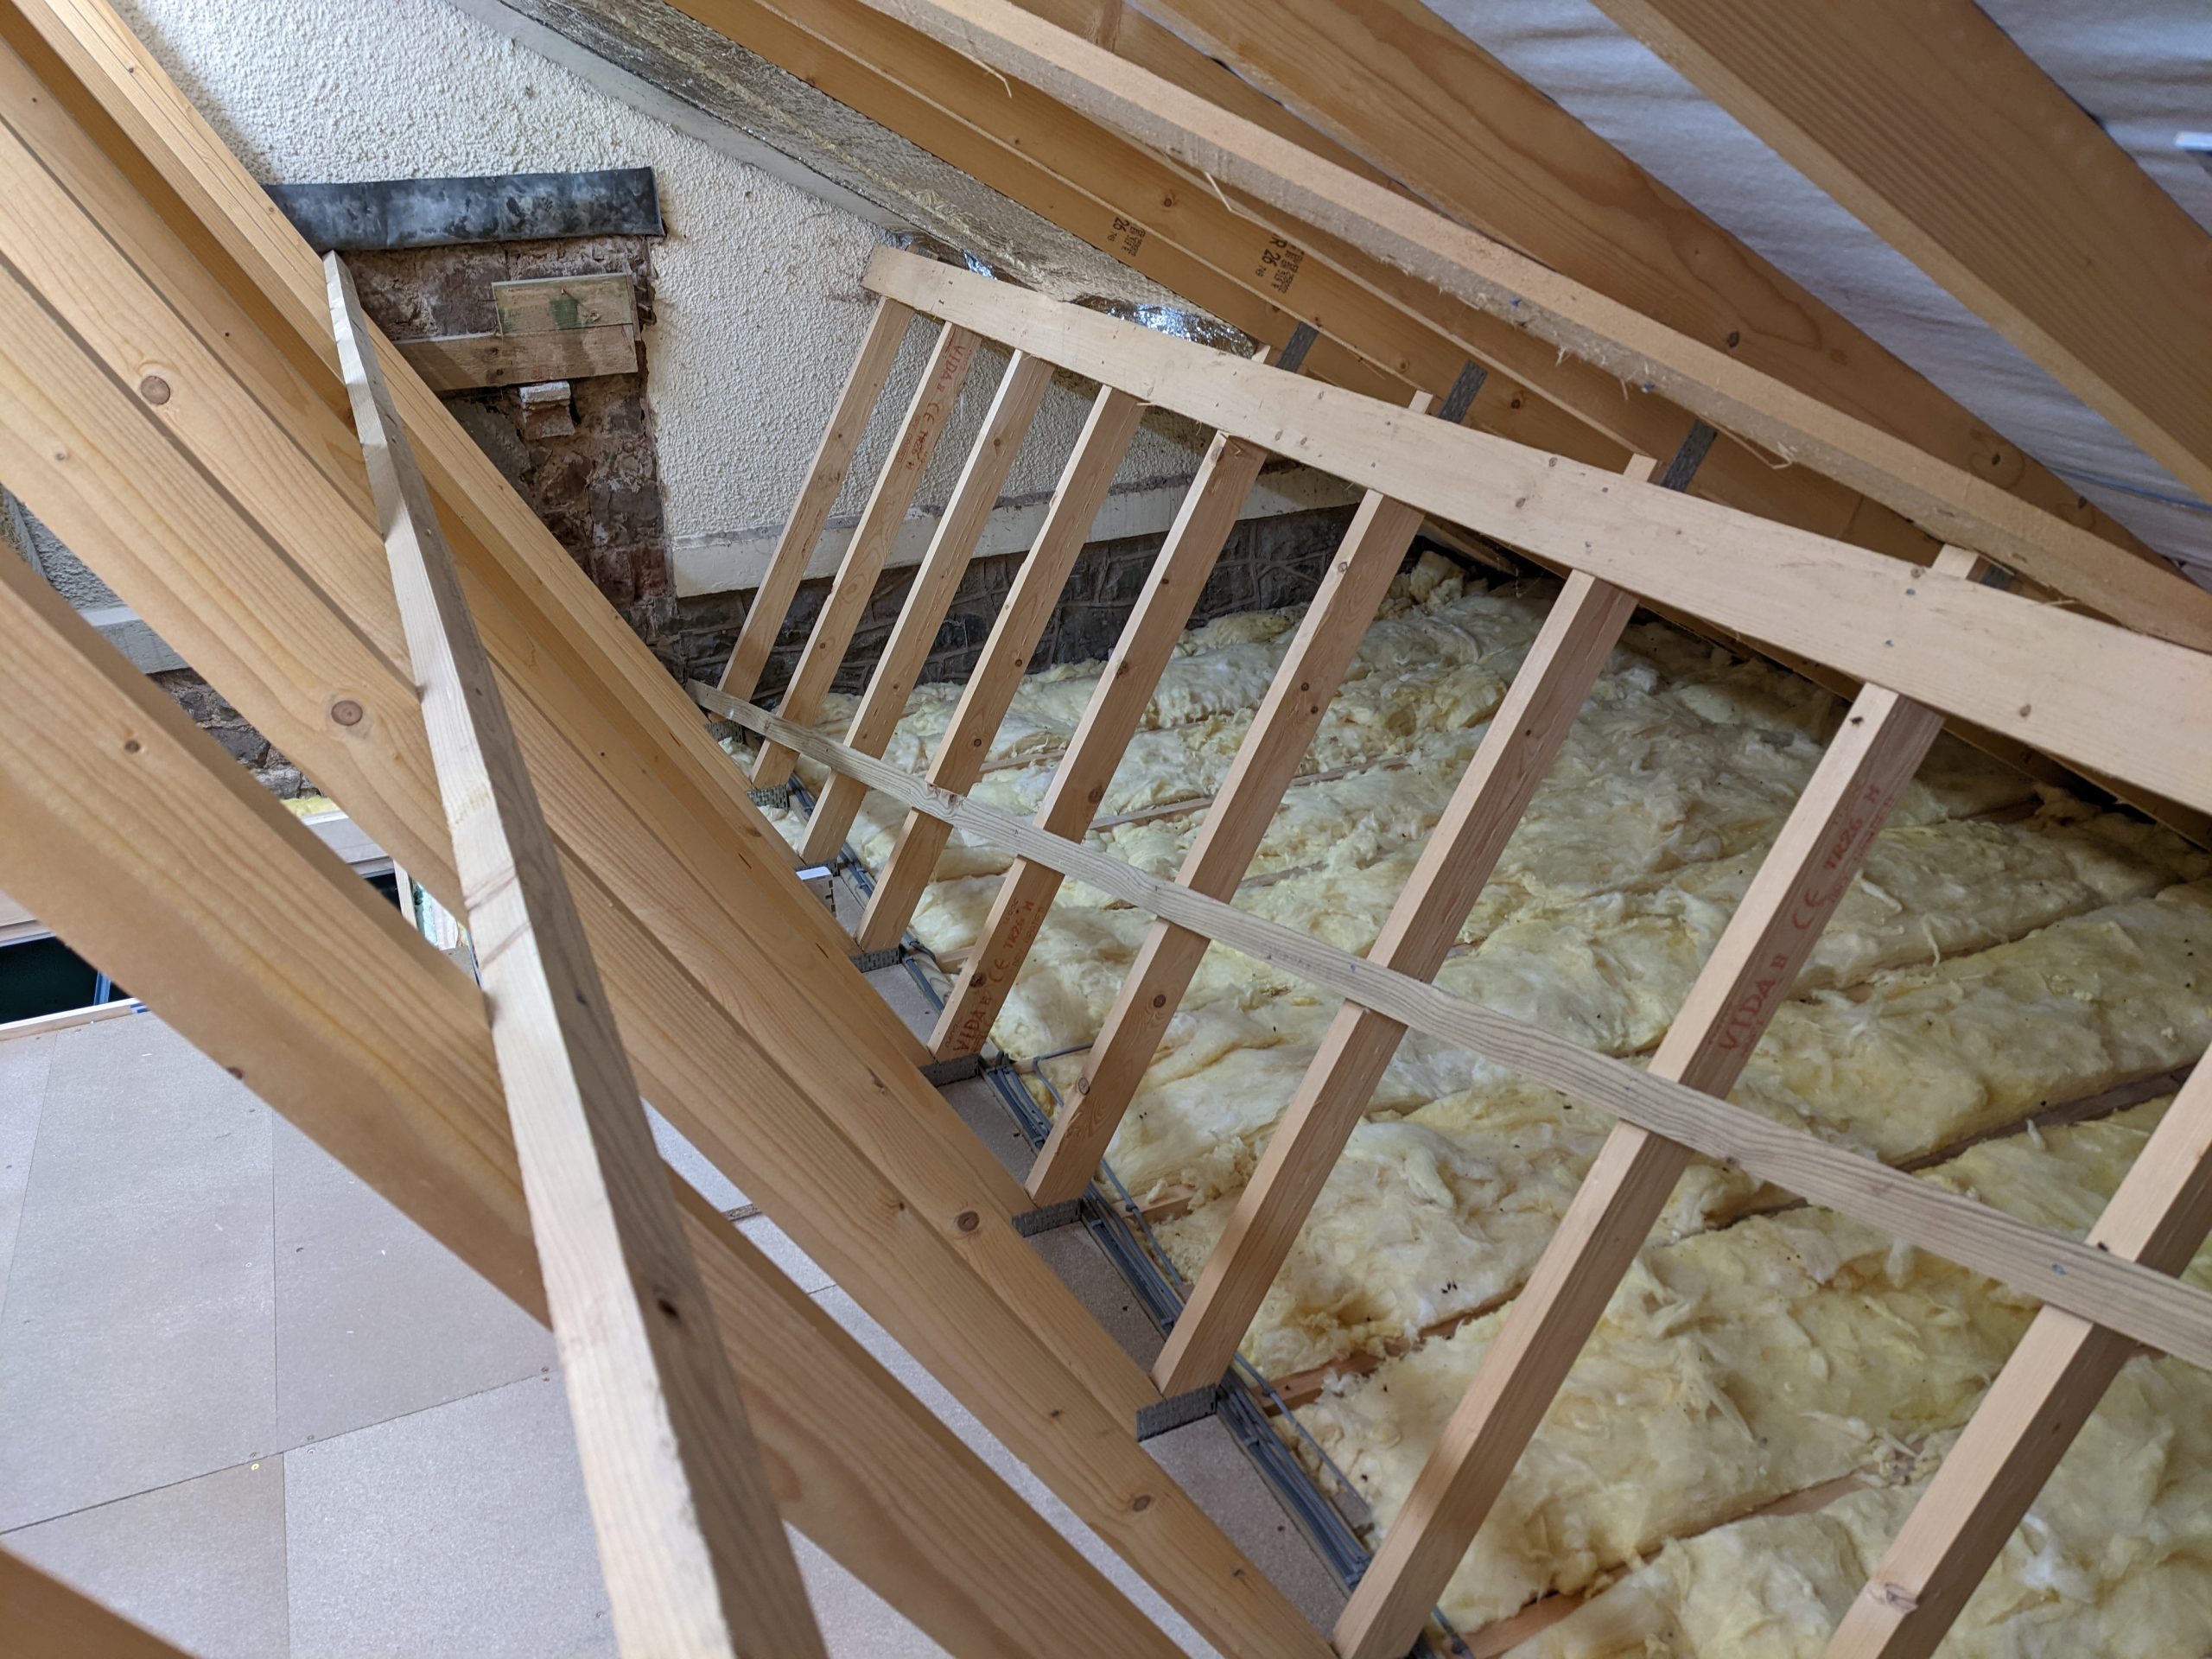
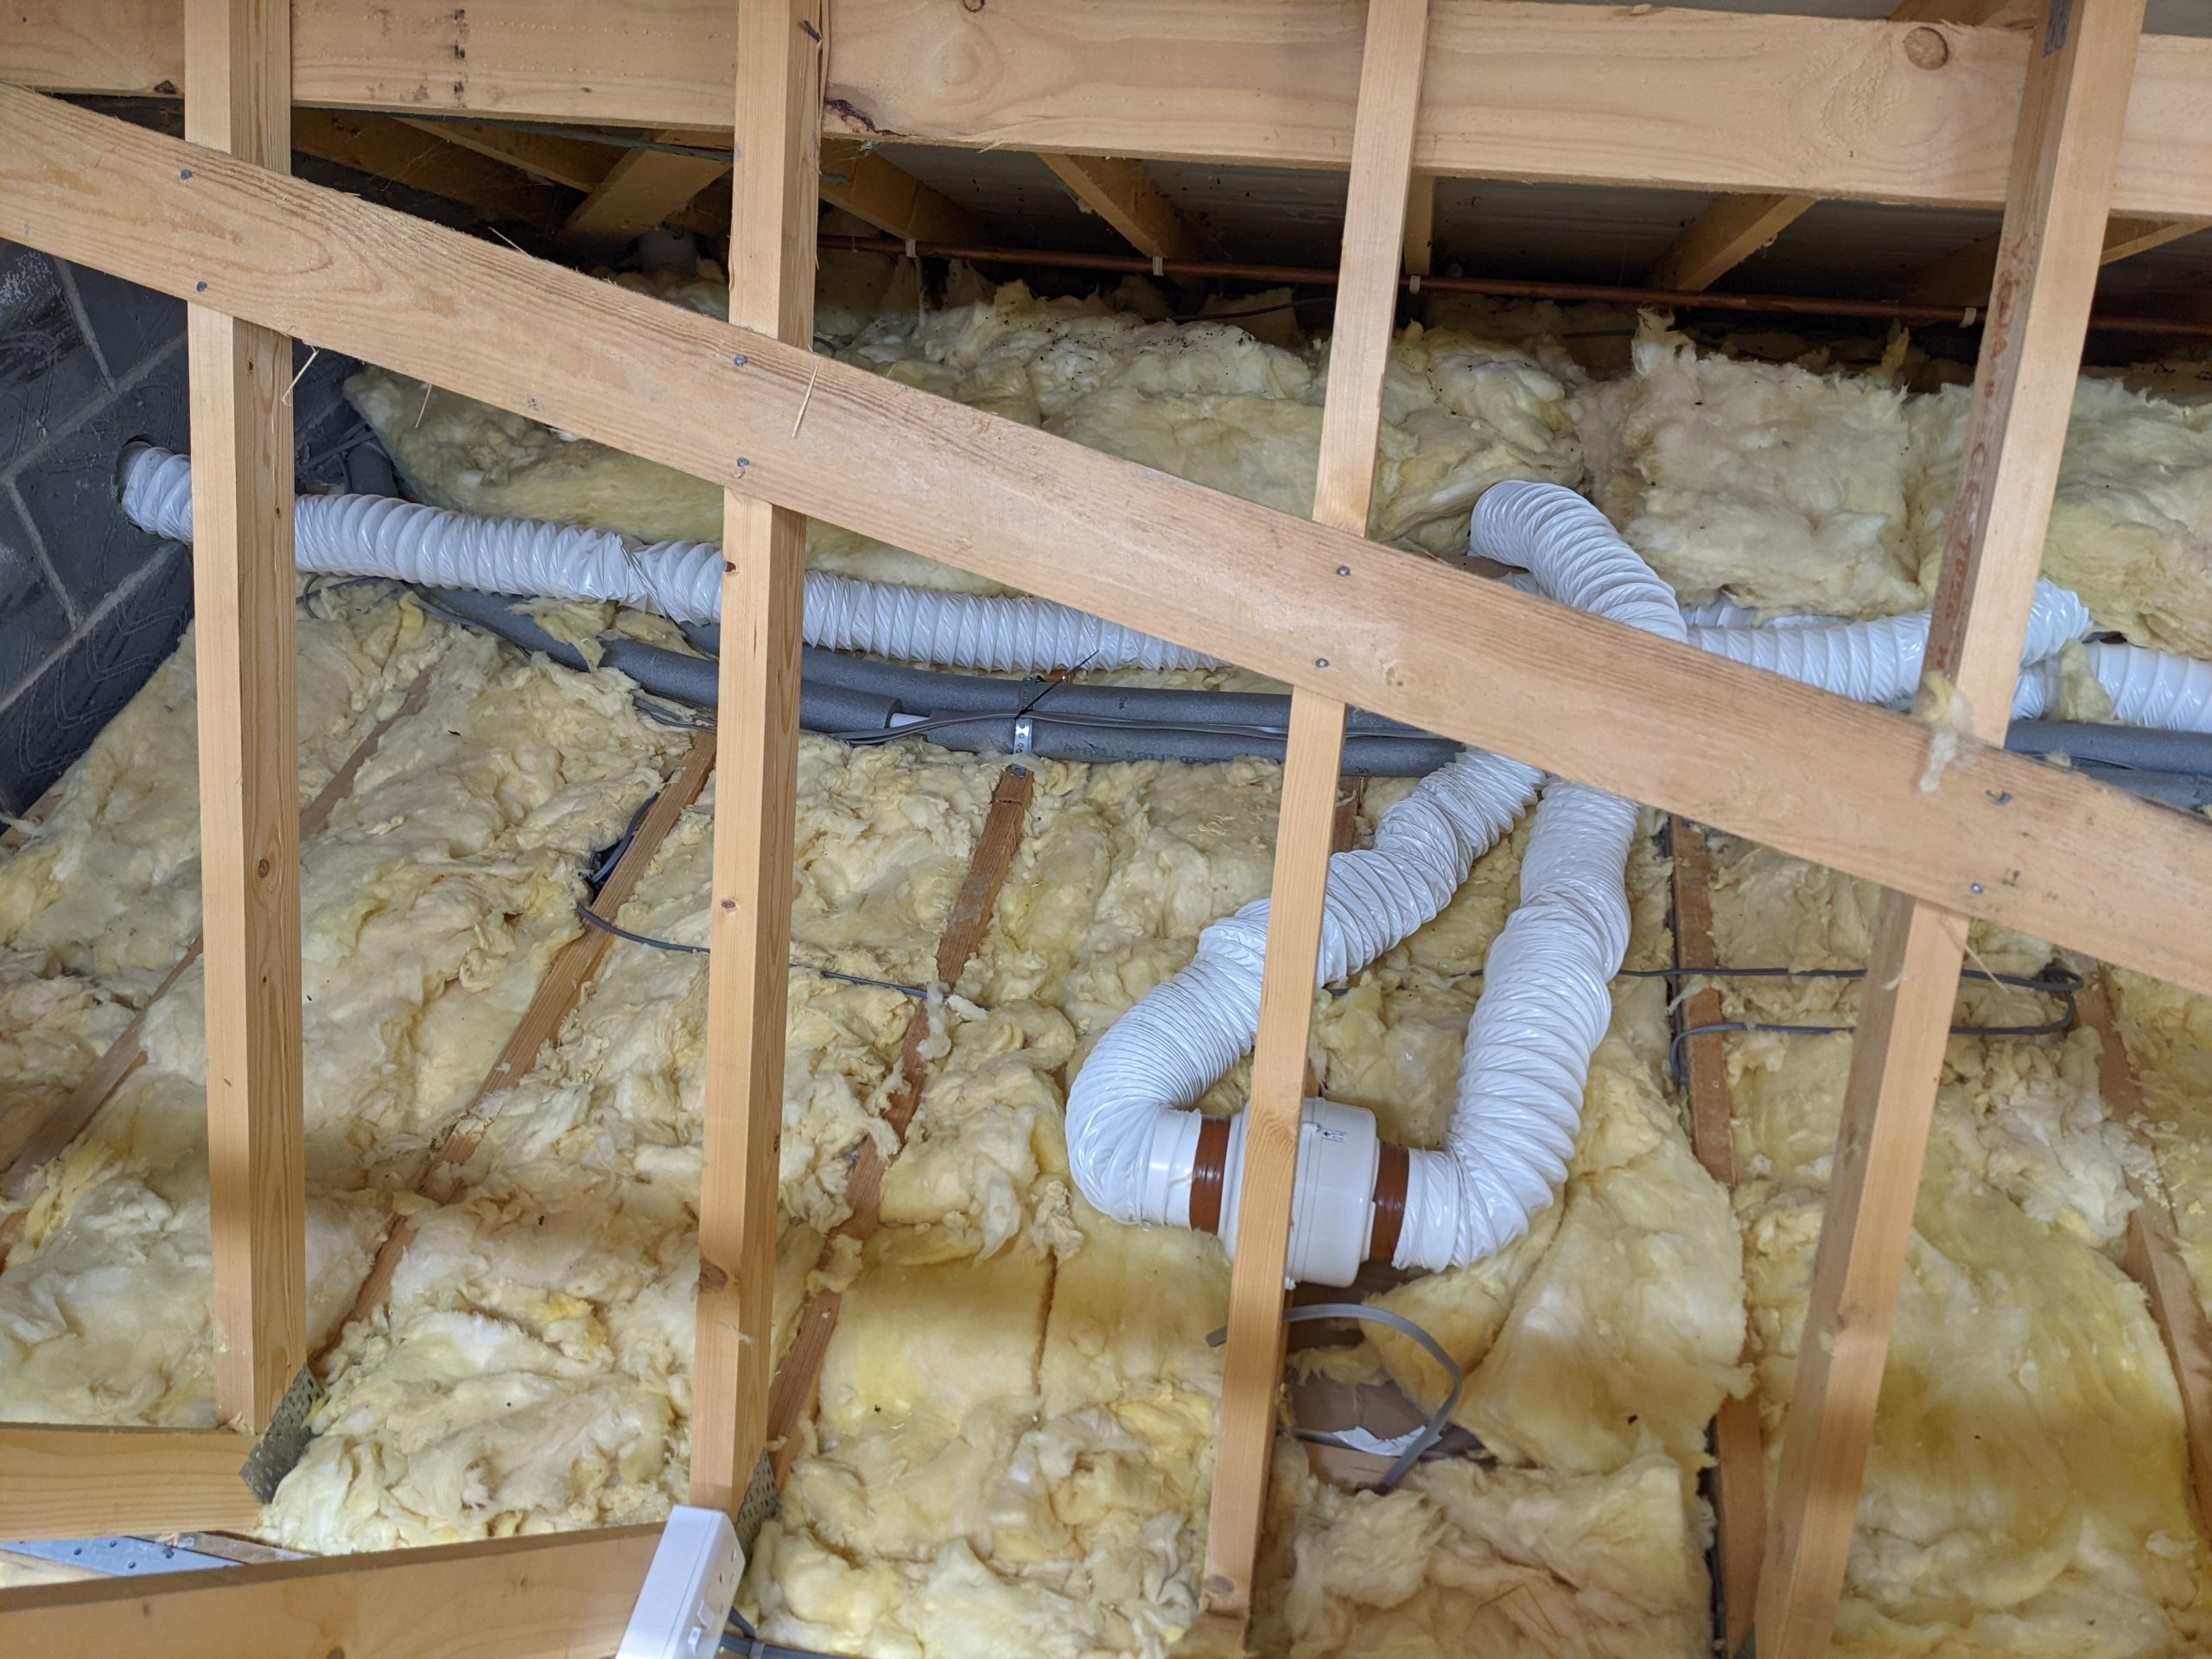
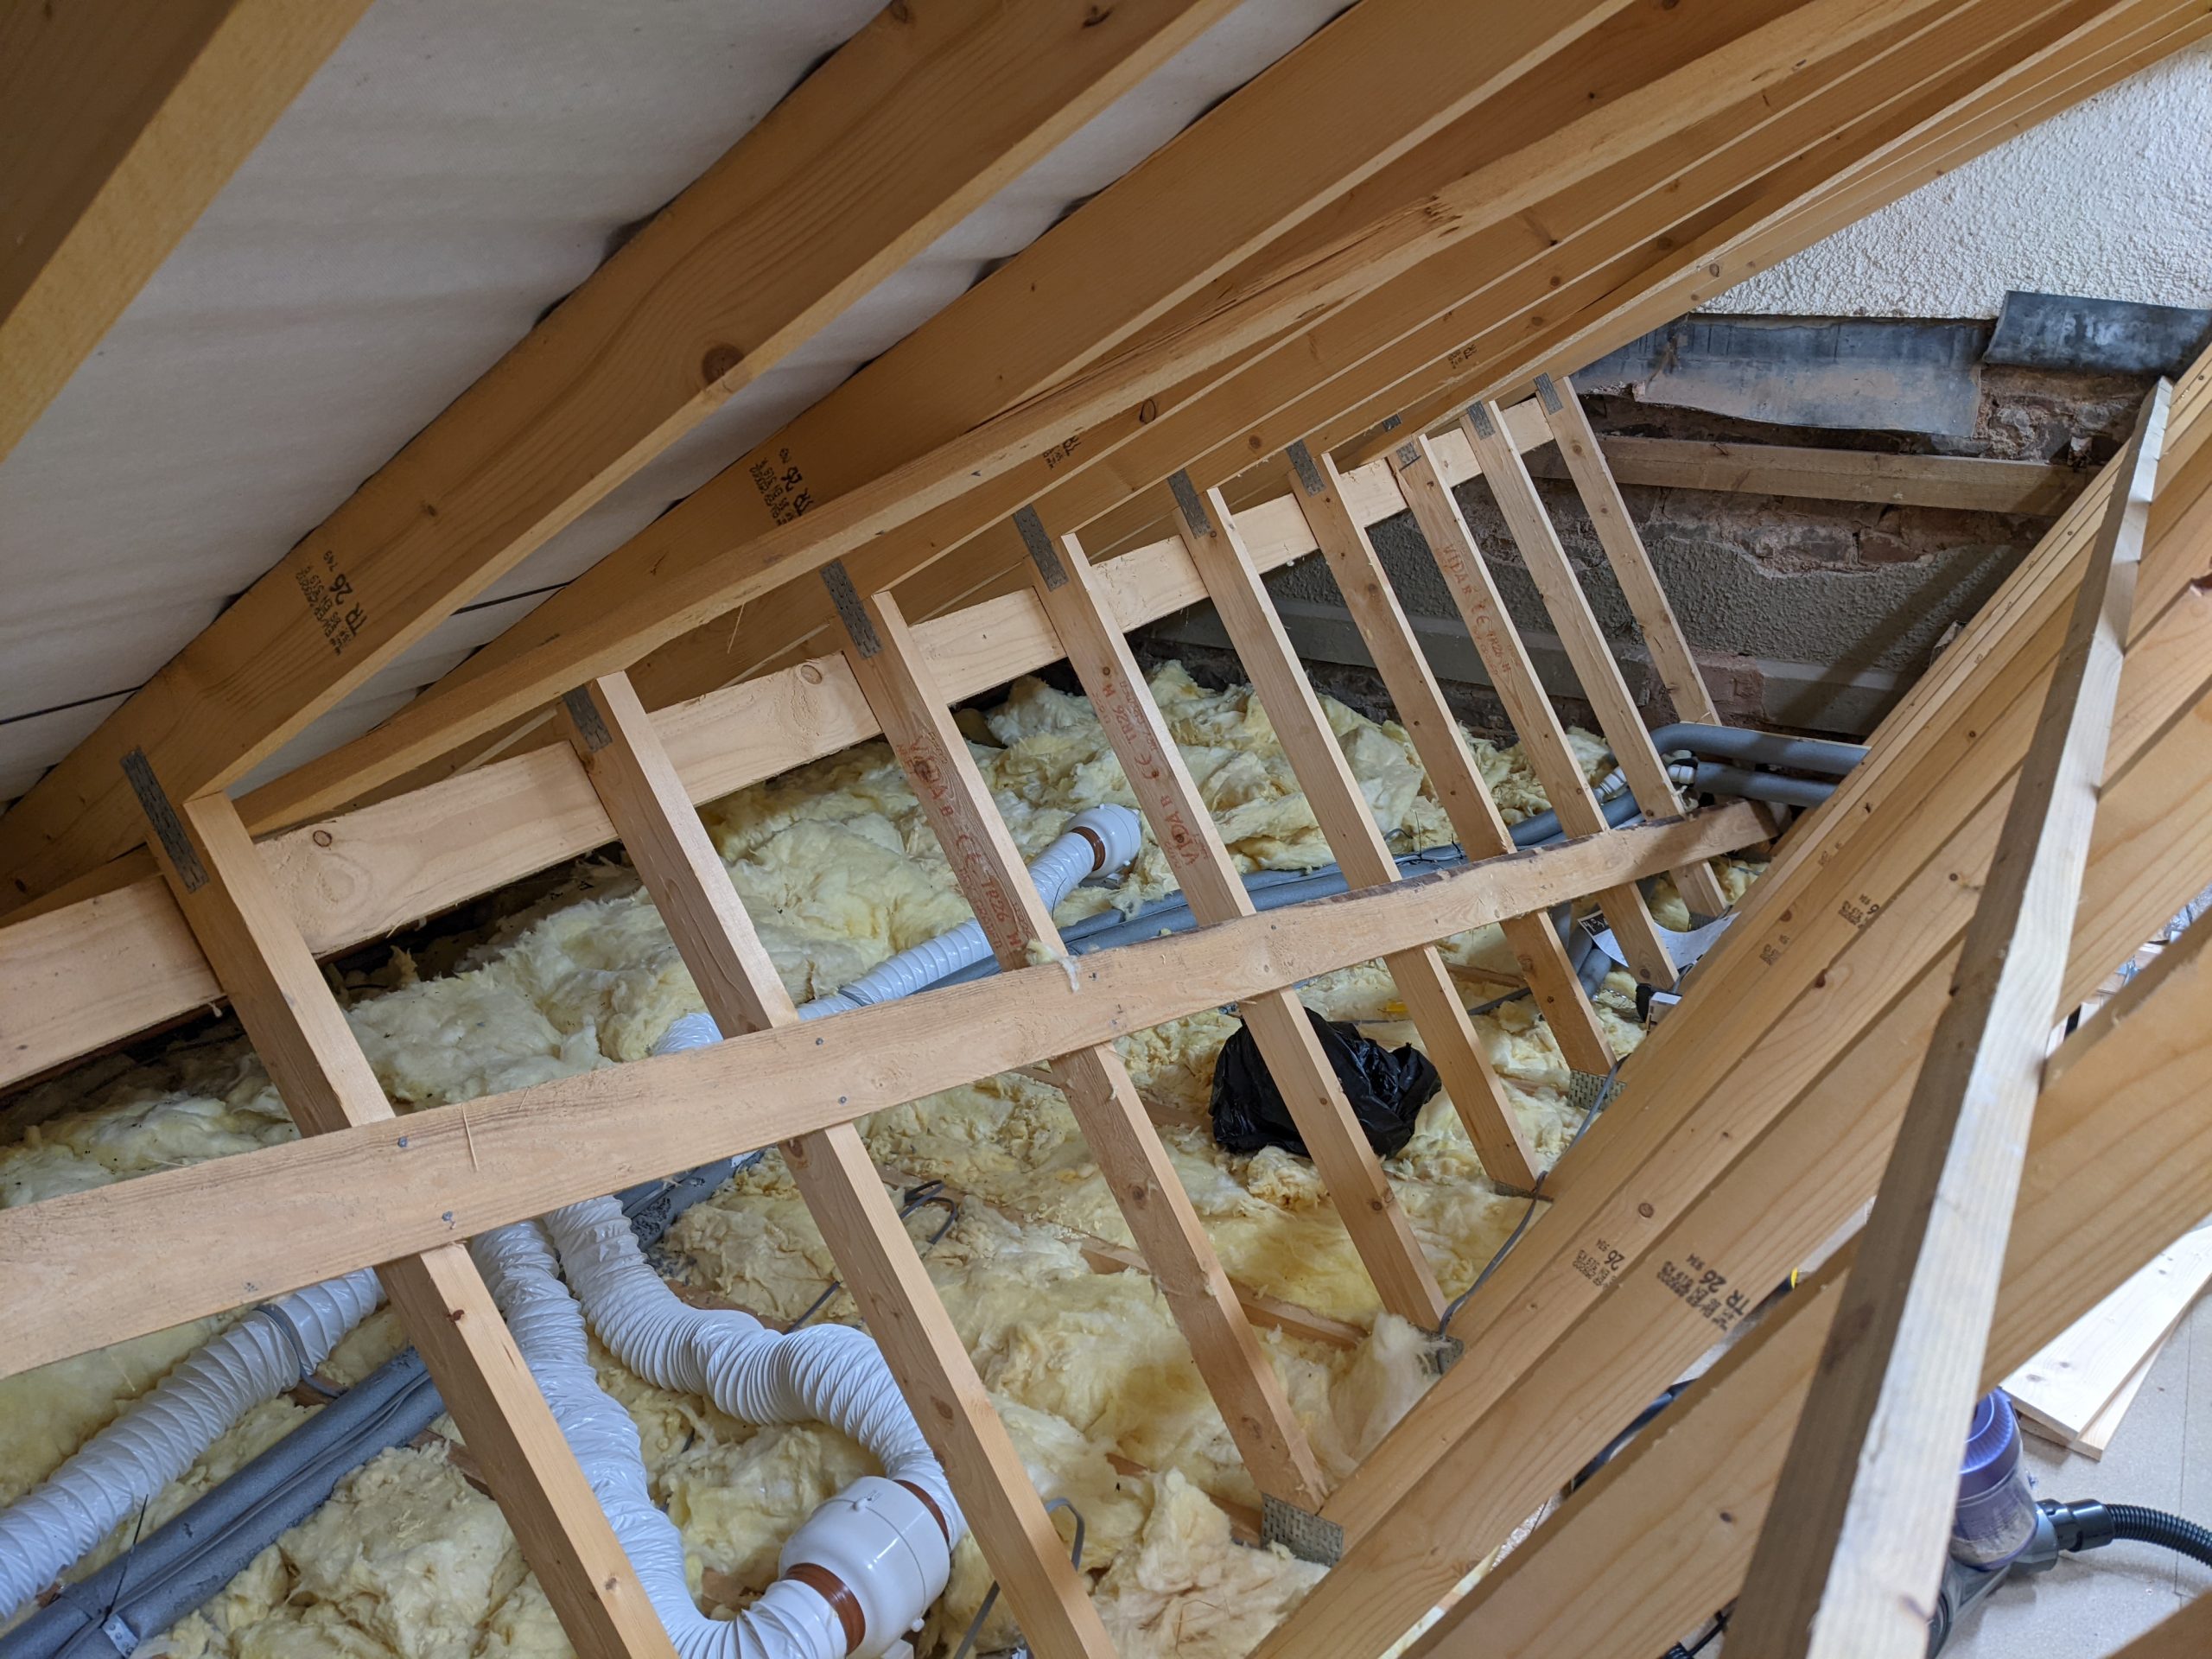
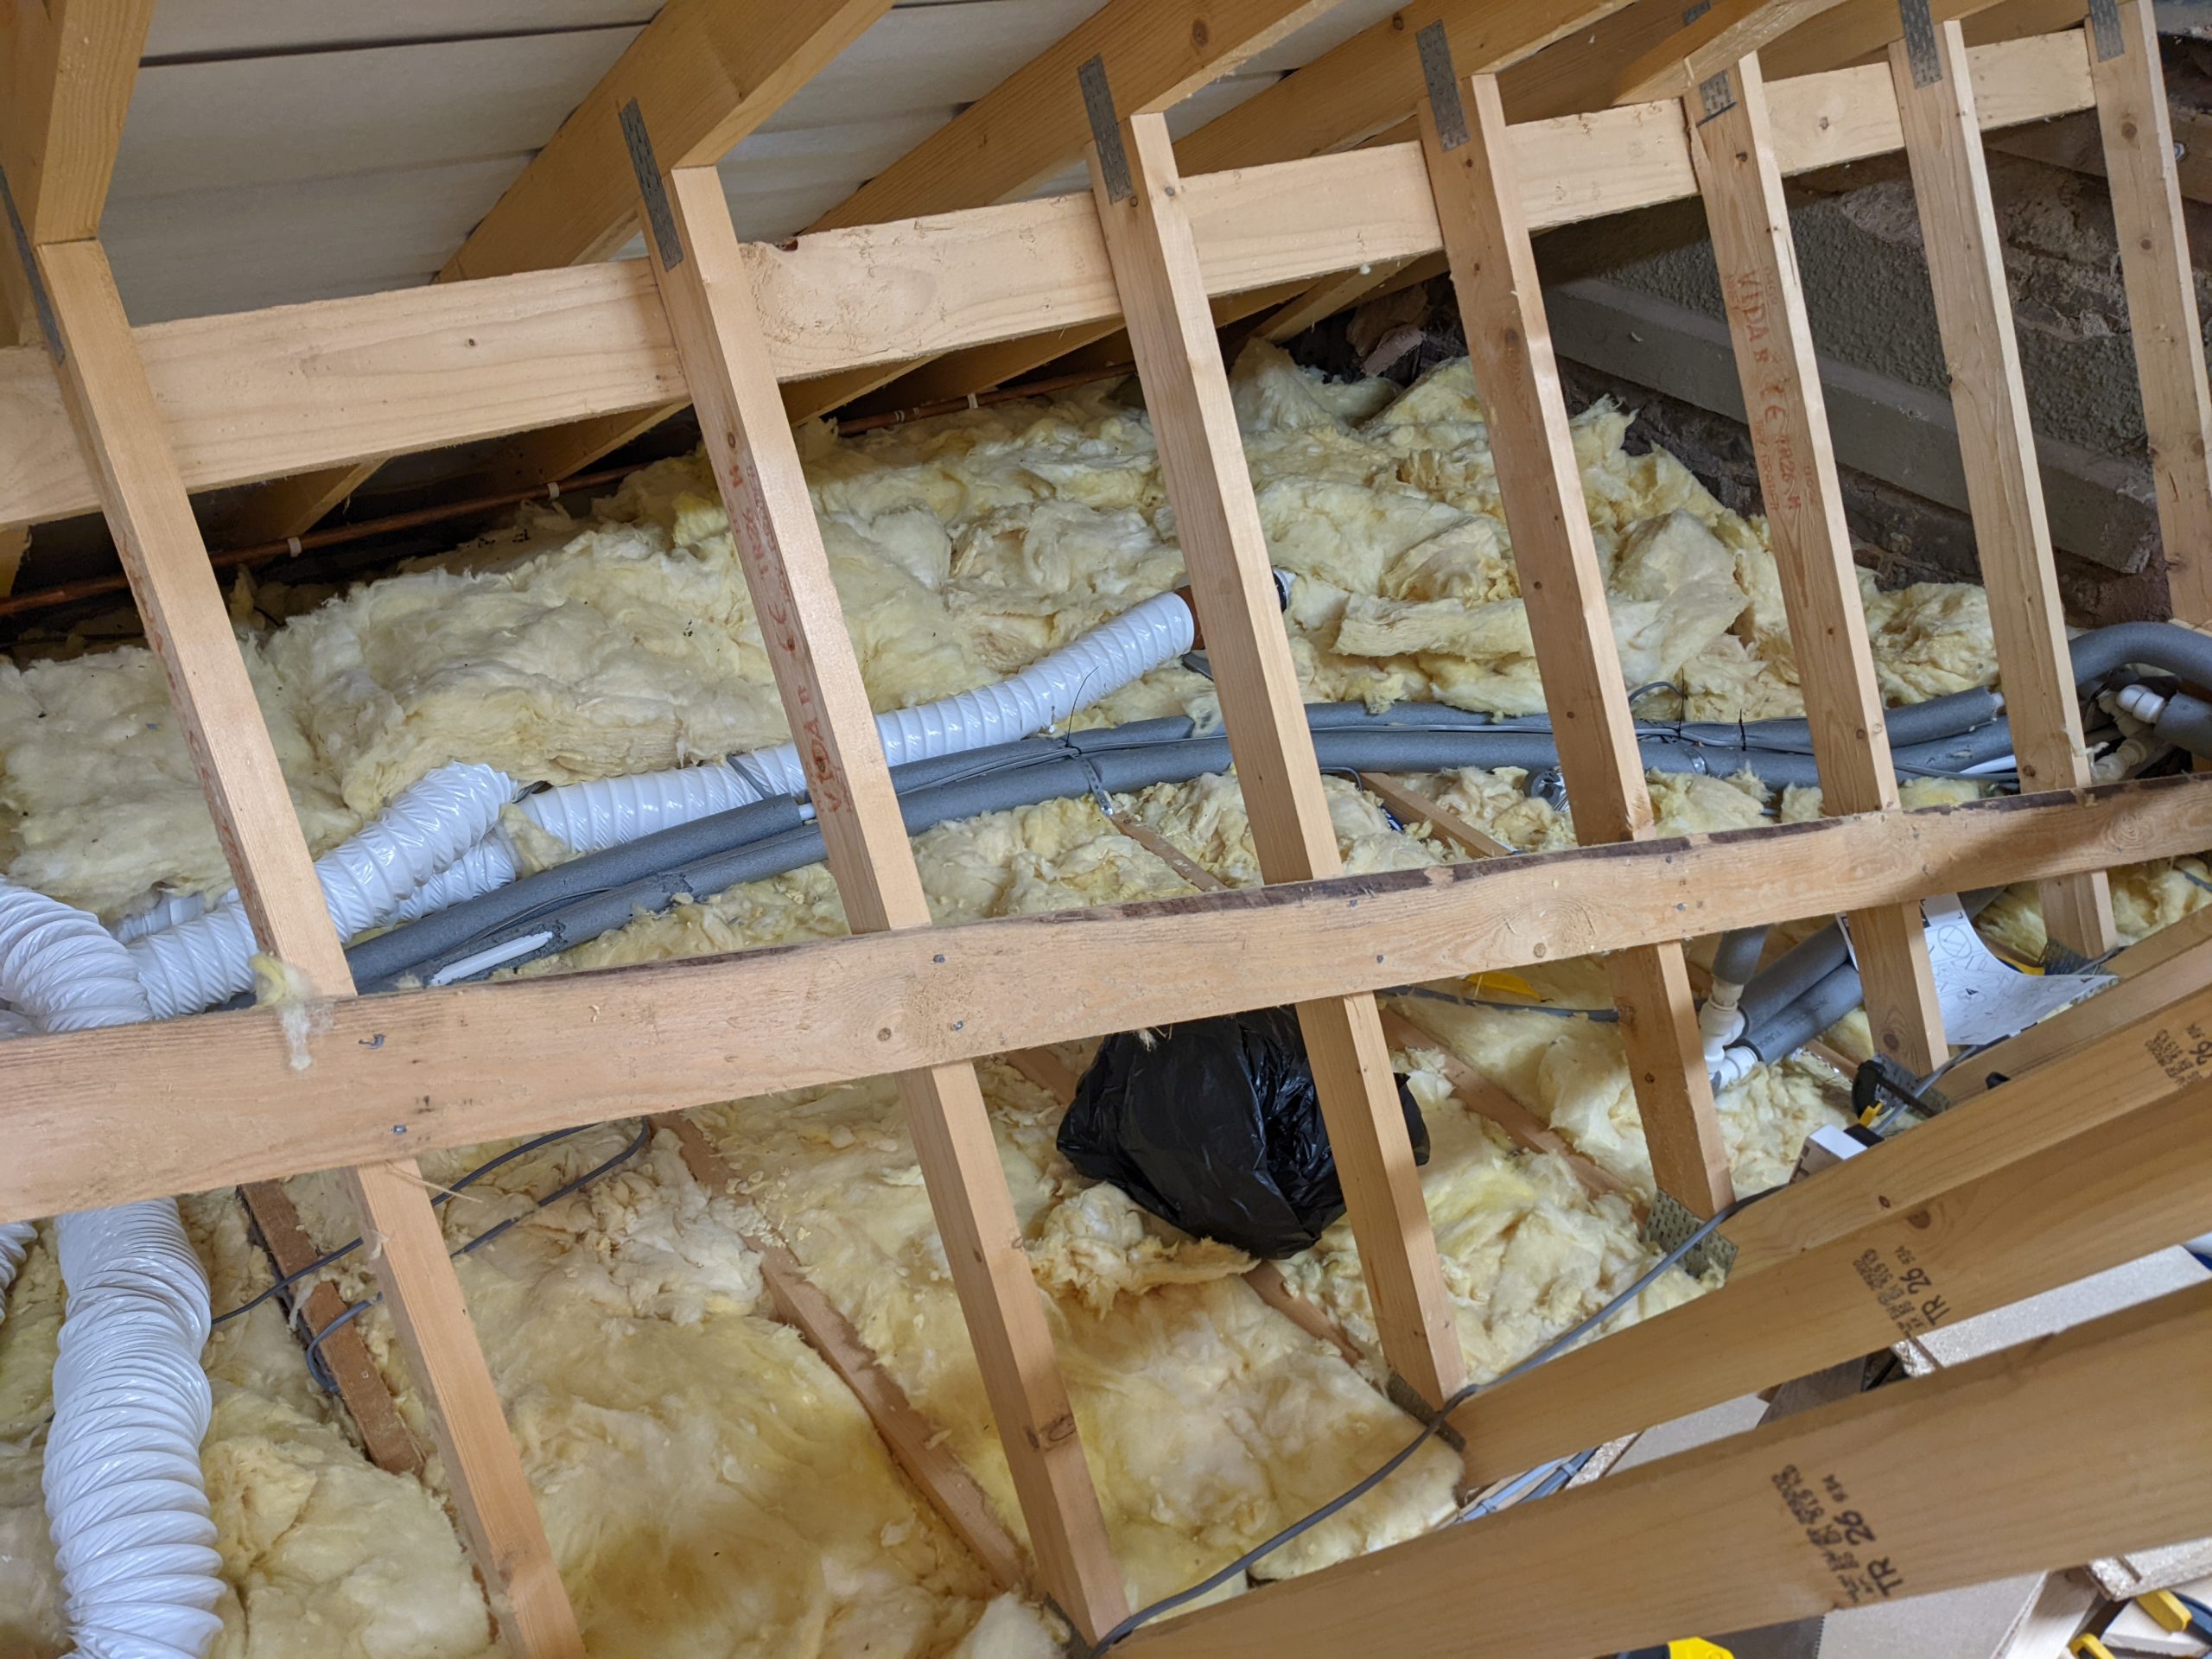
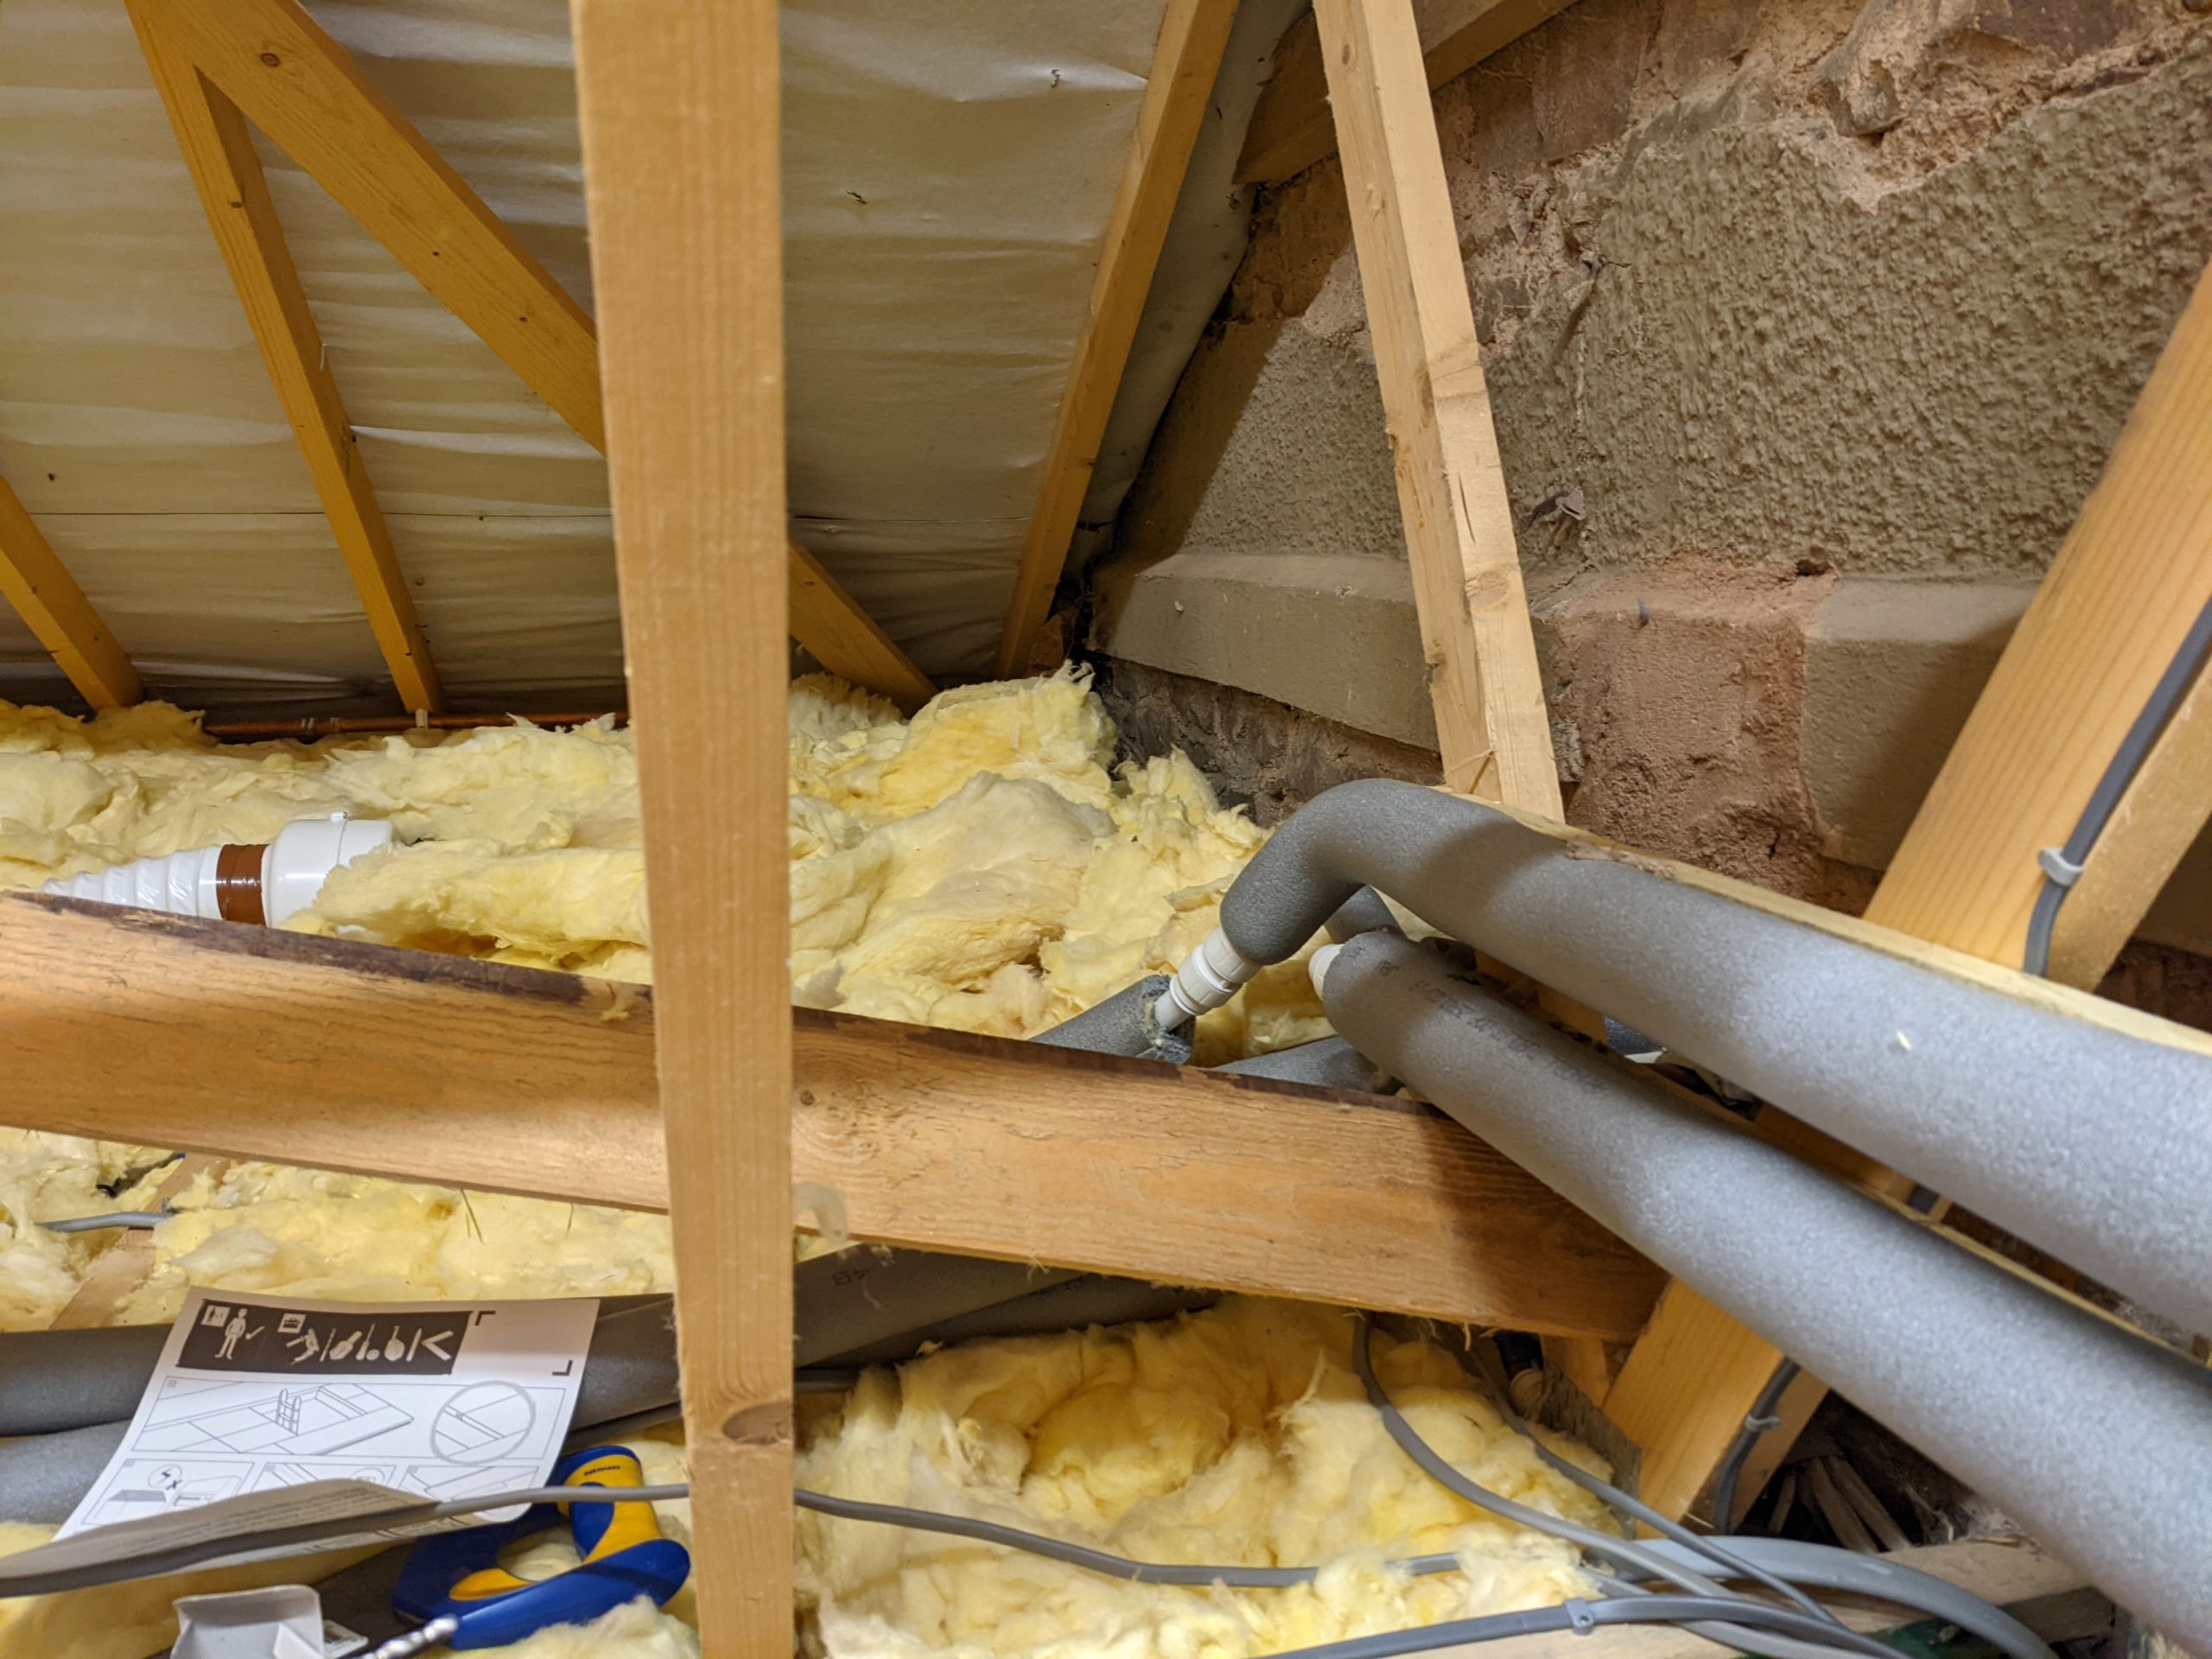
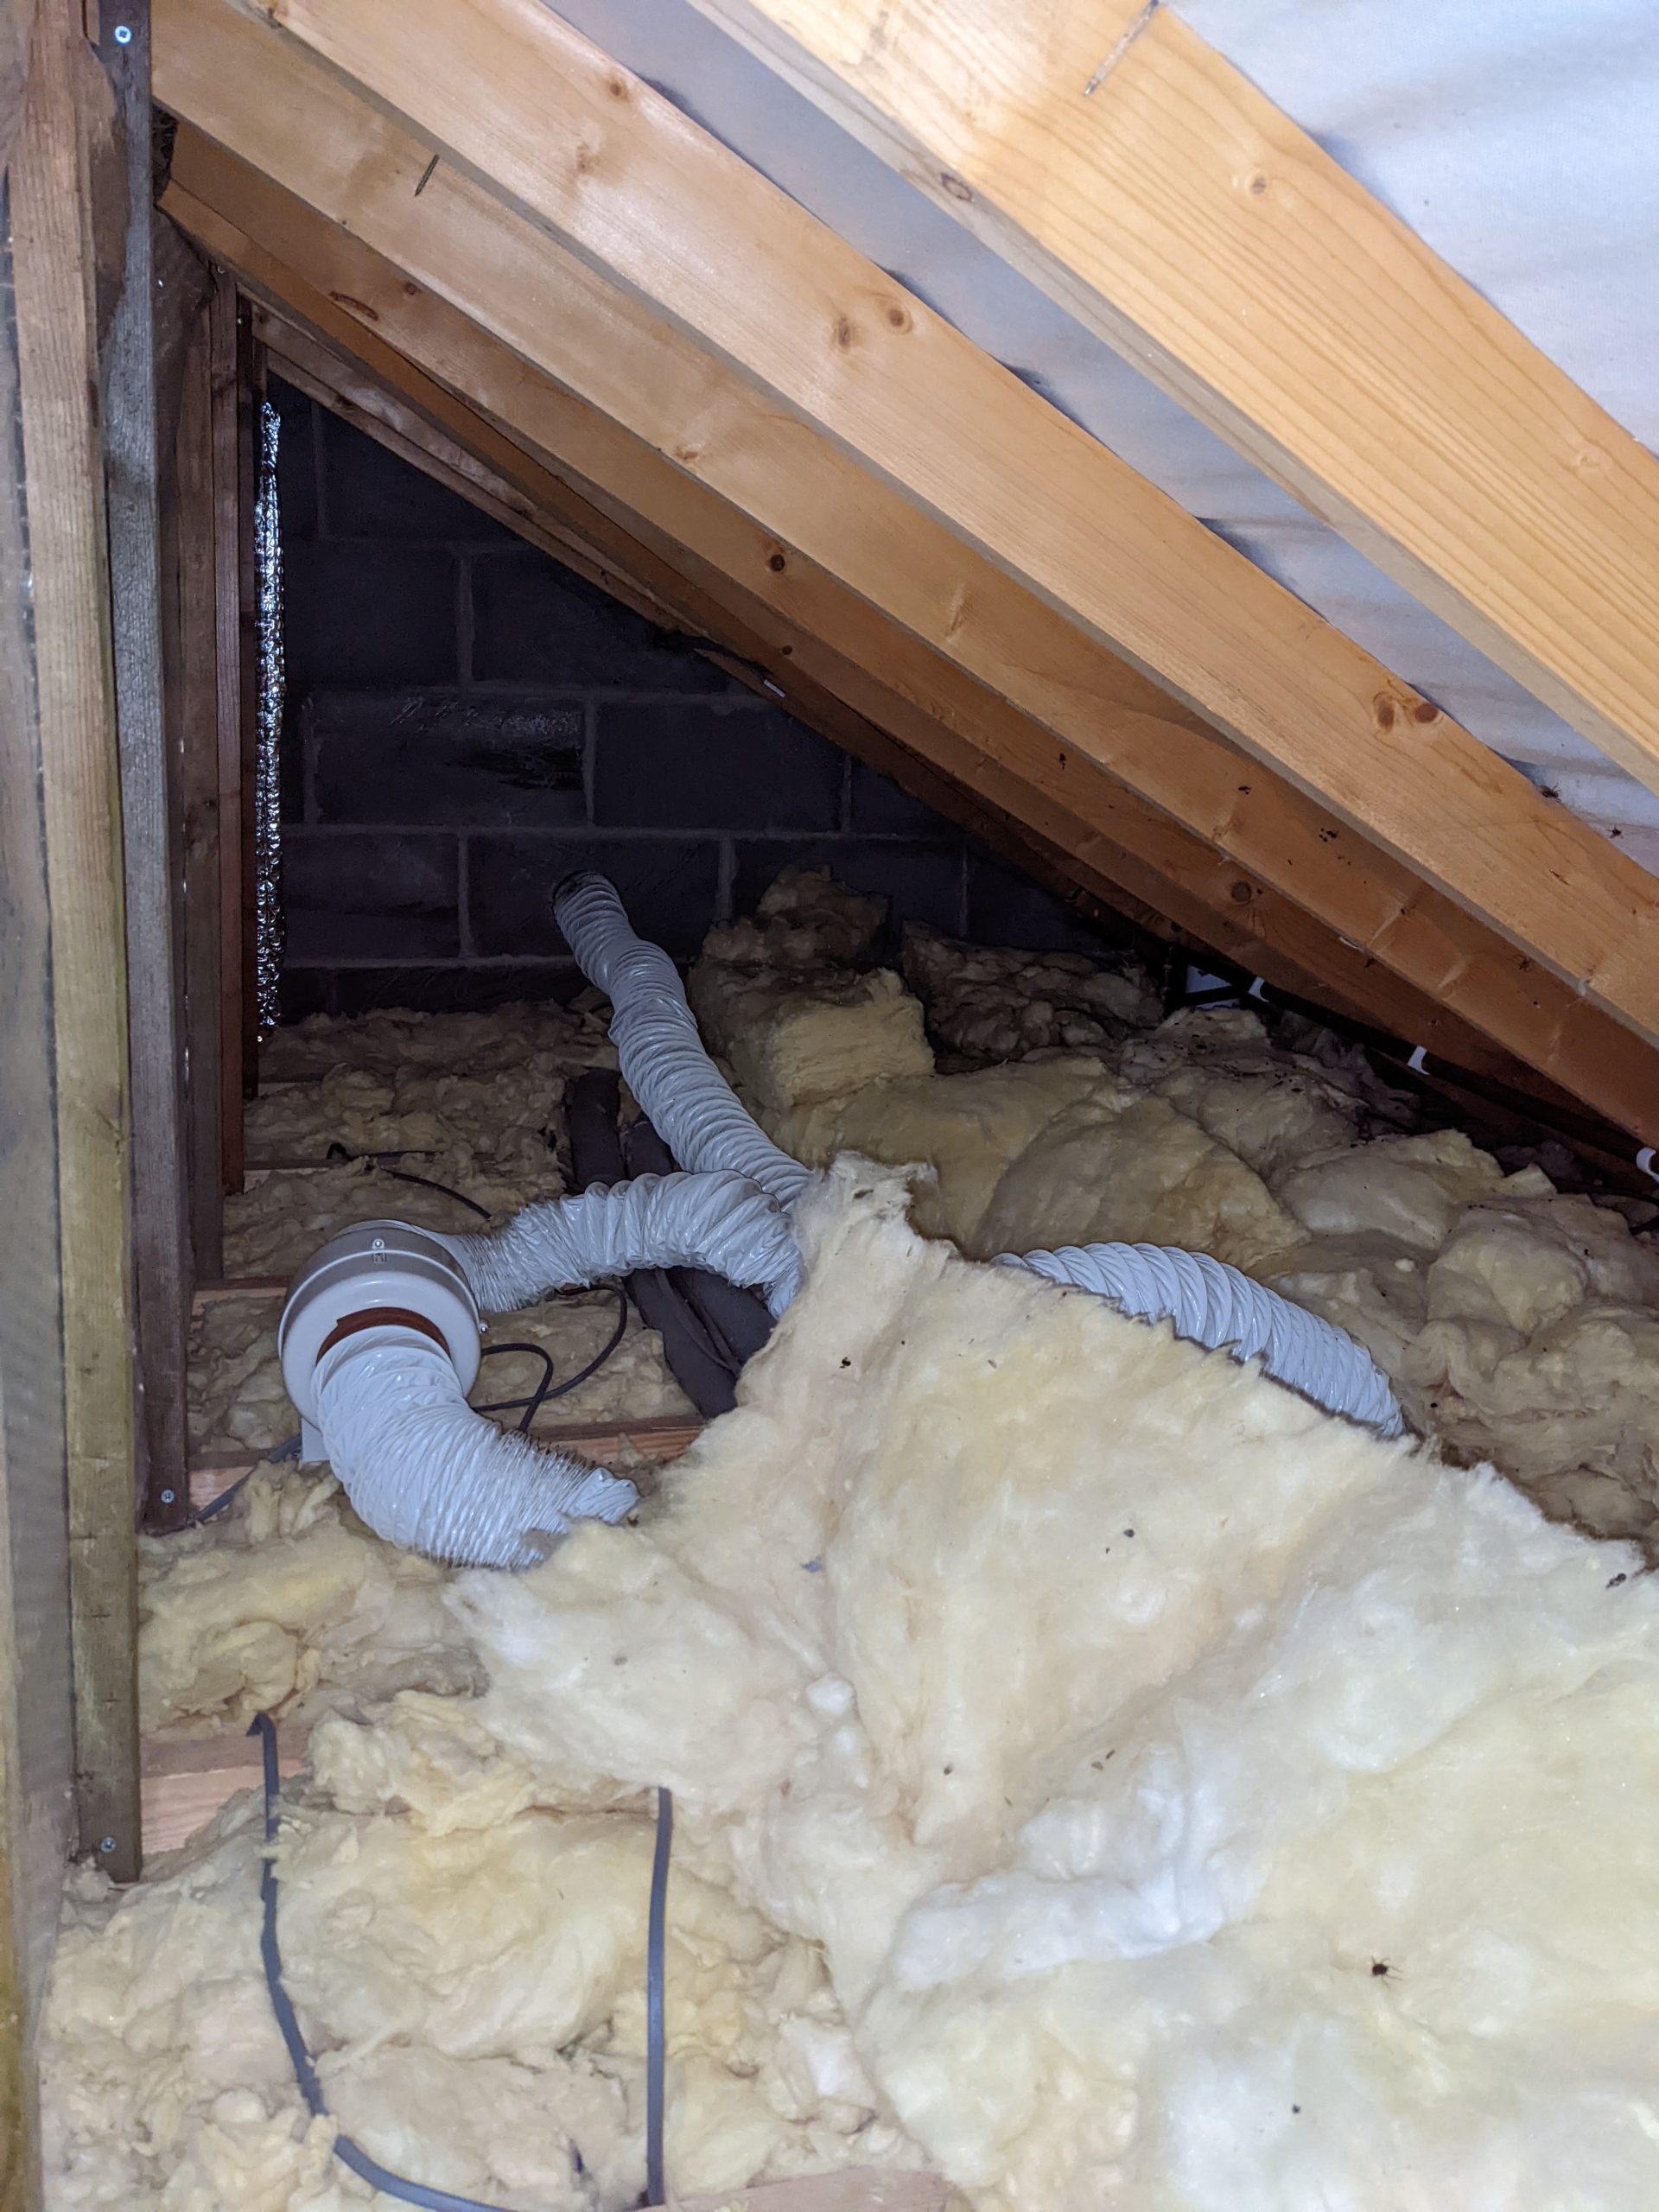
After we moved in I took a few more photos of the original condition of the loft –
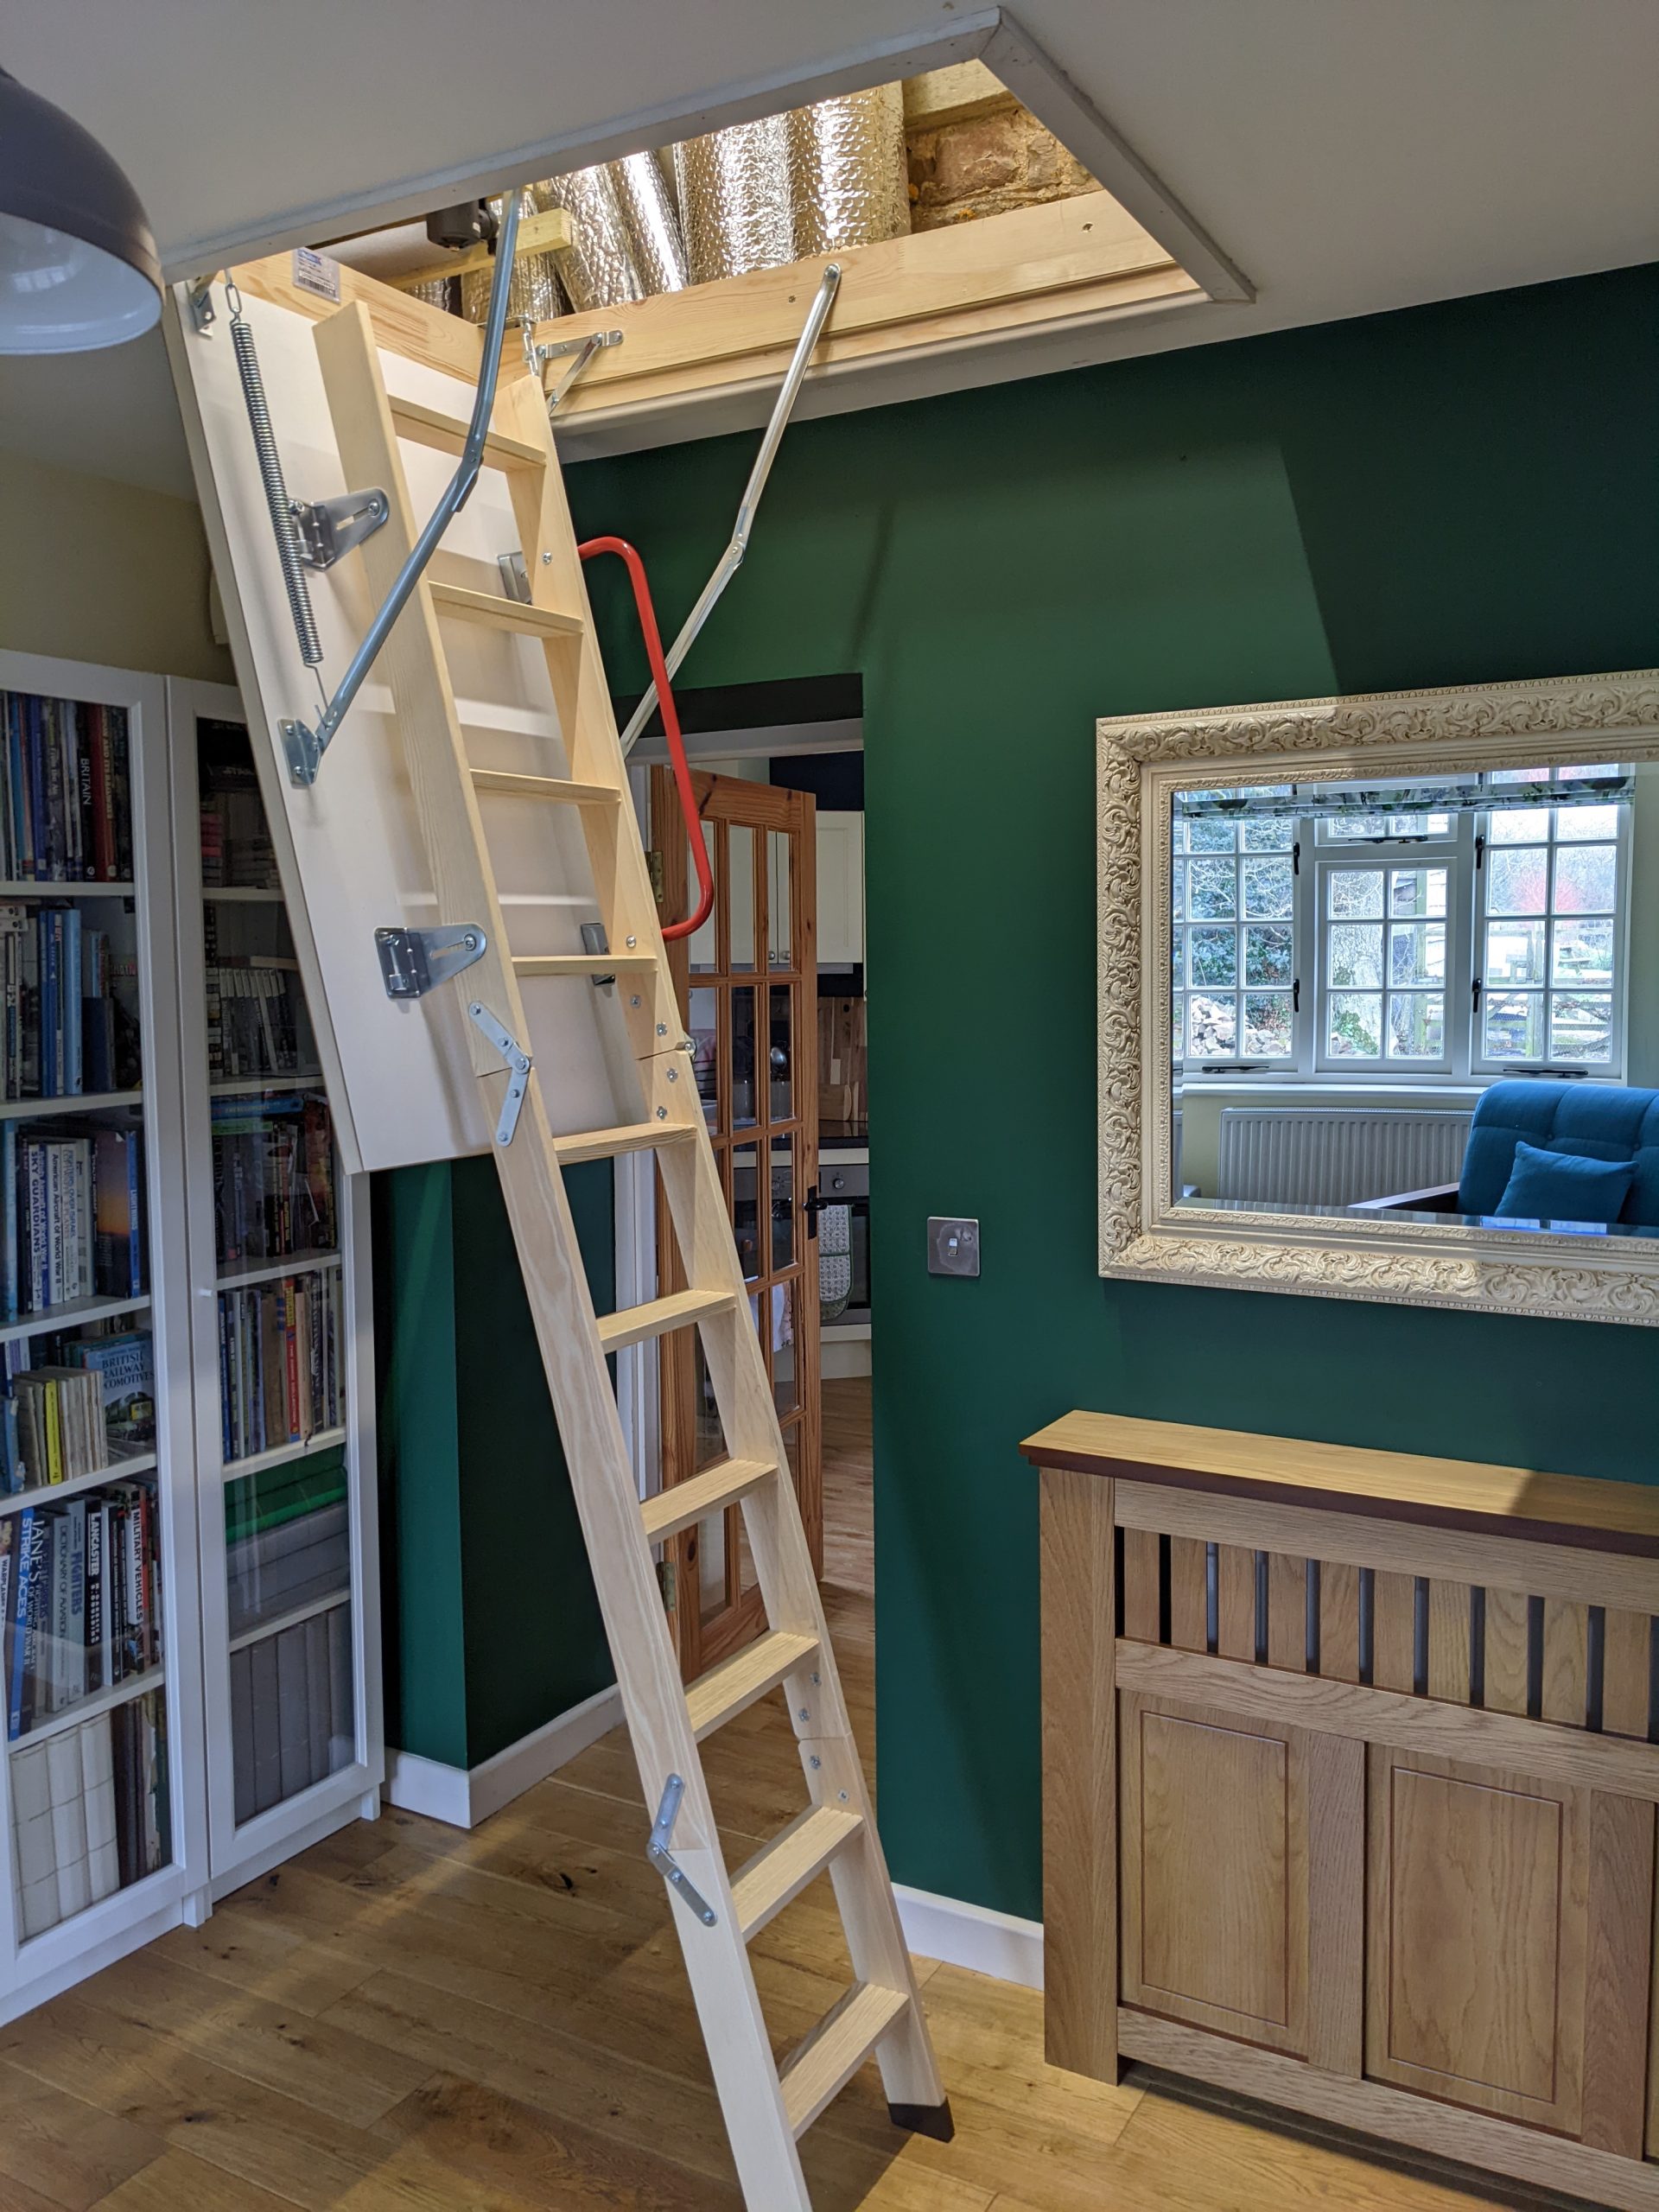
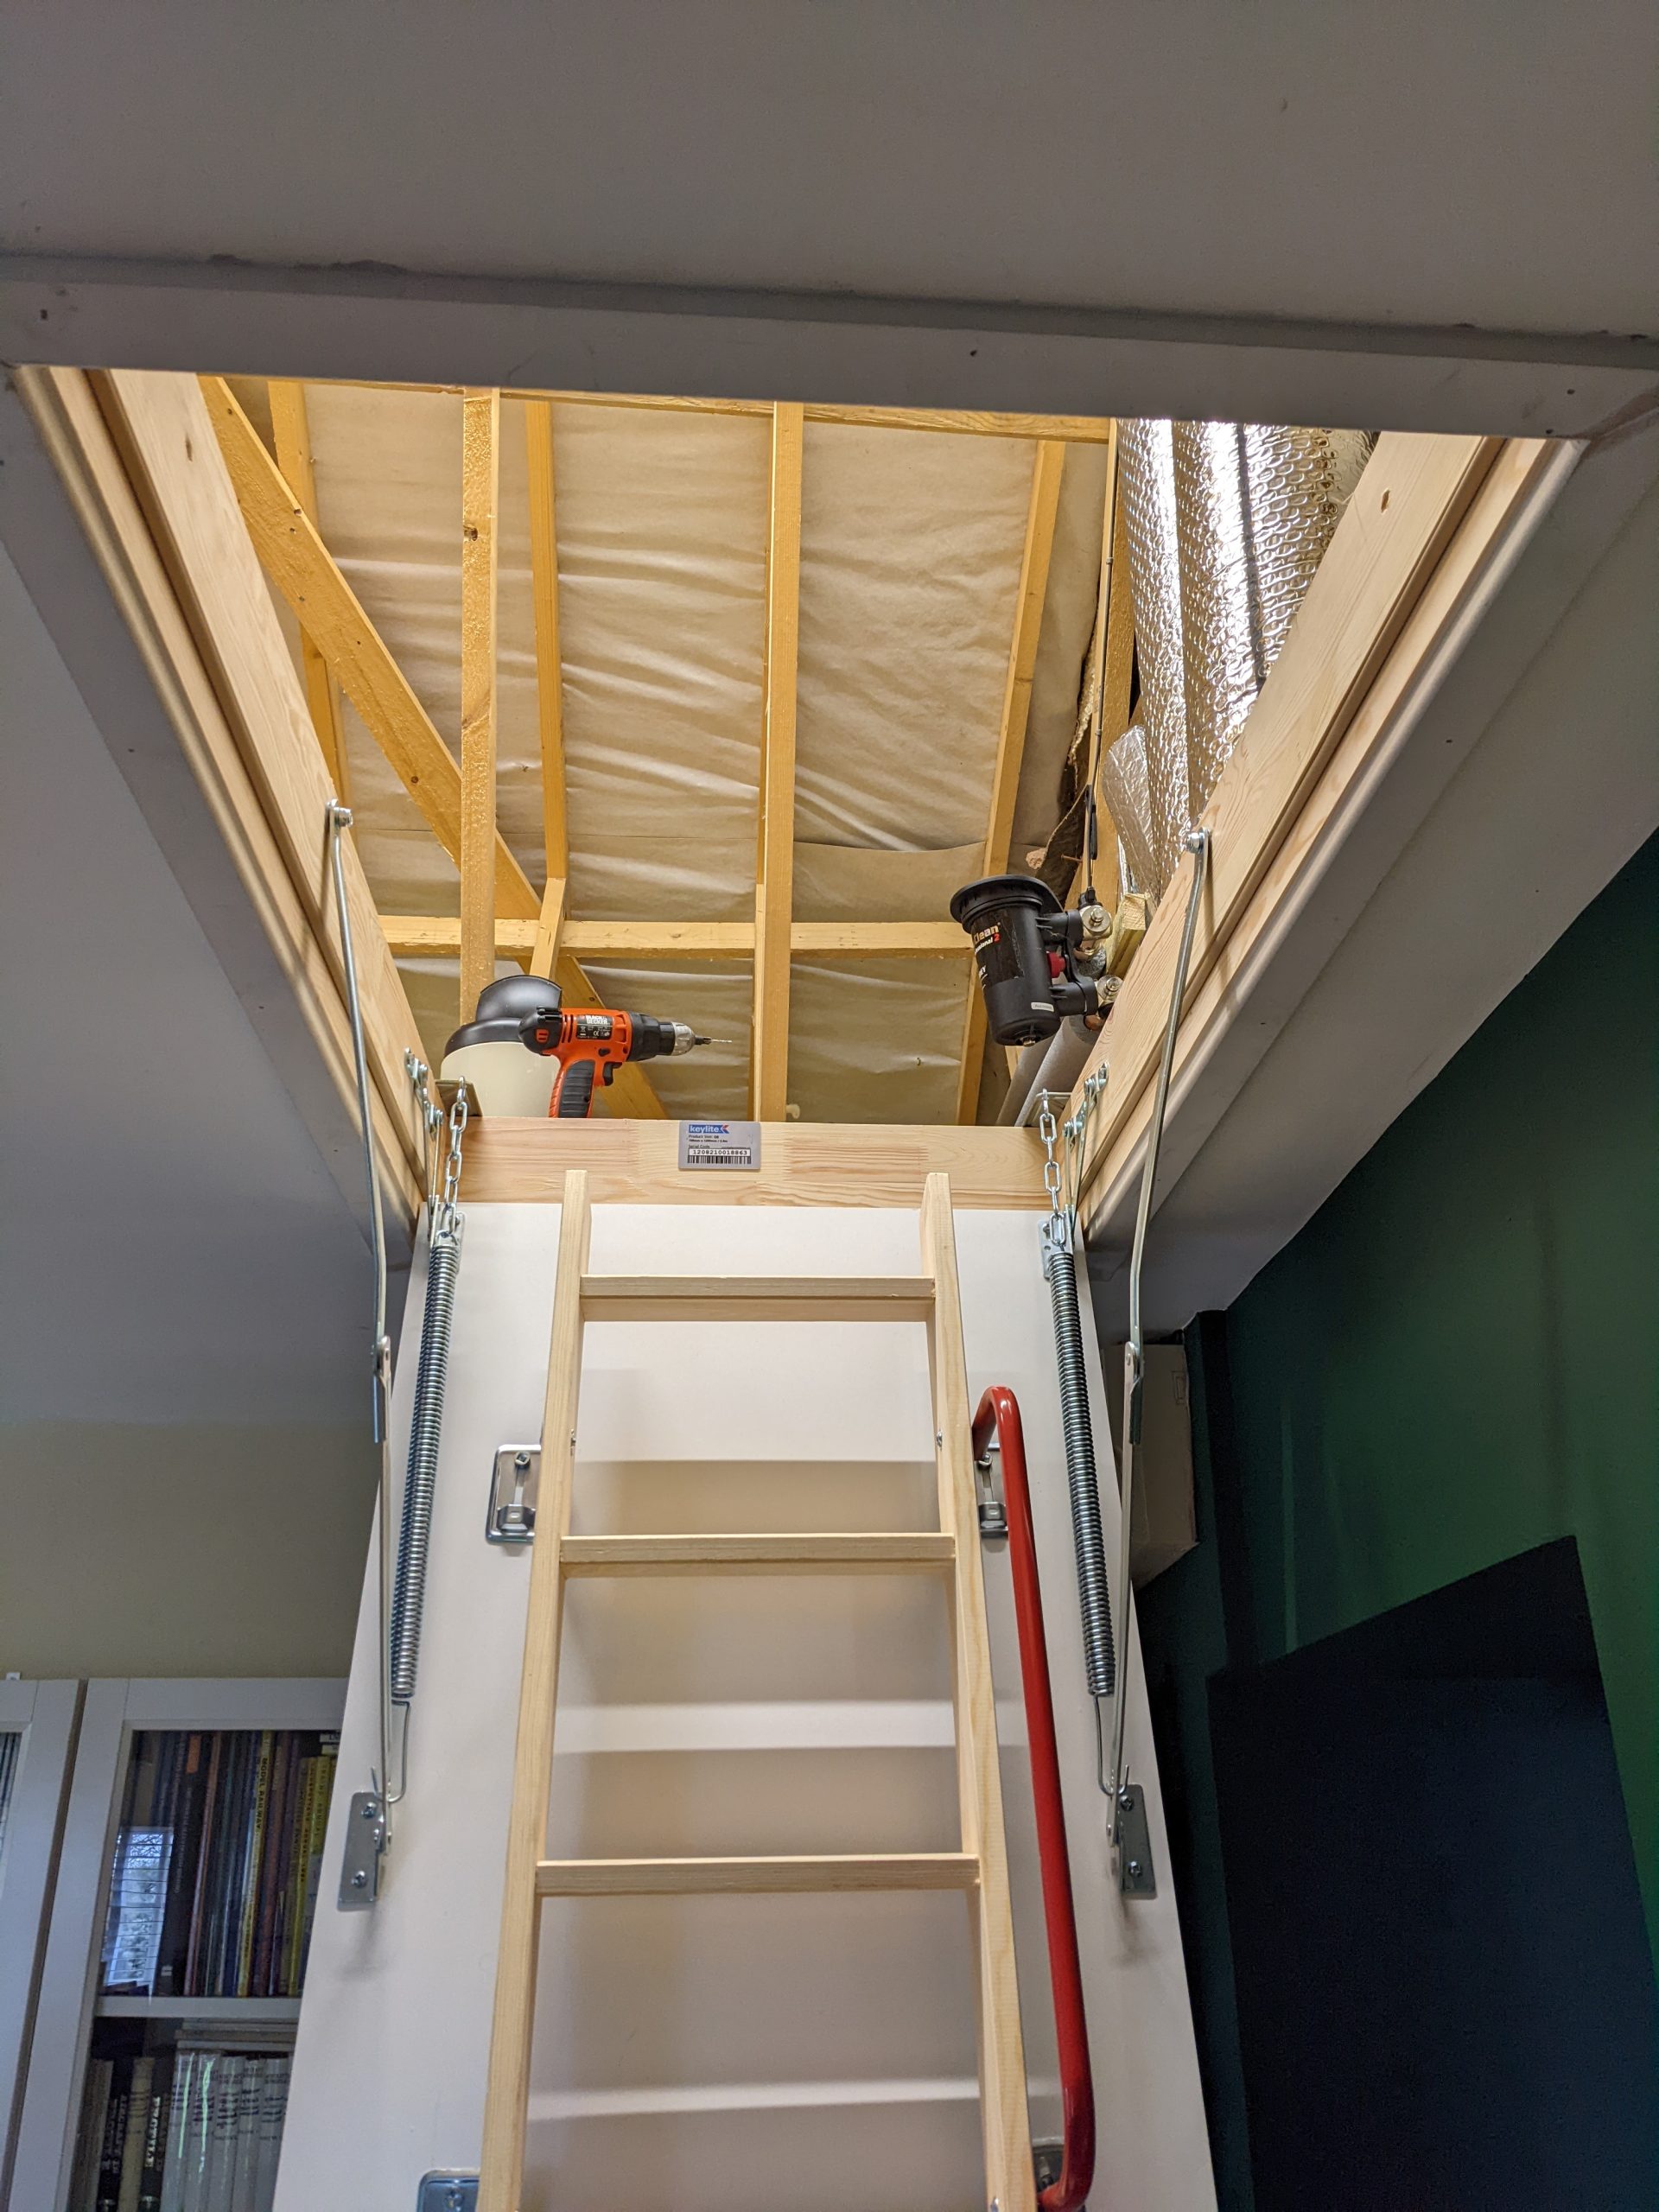
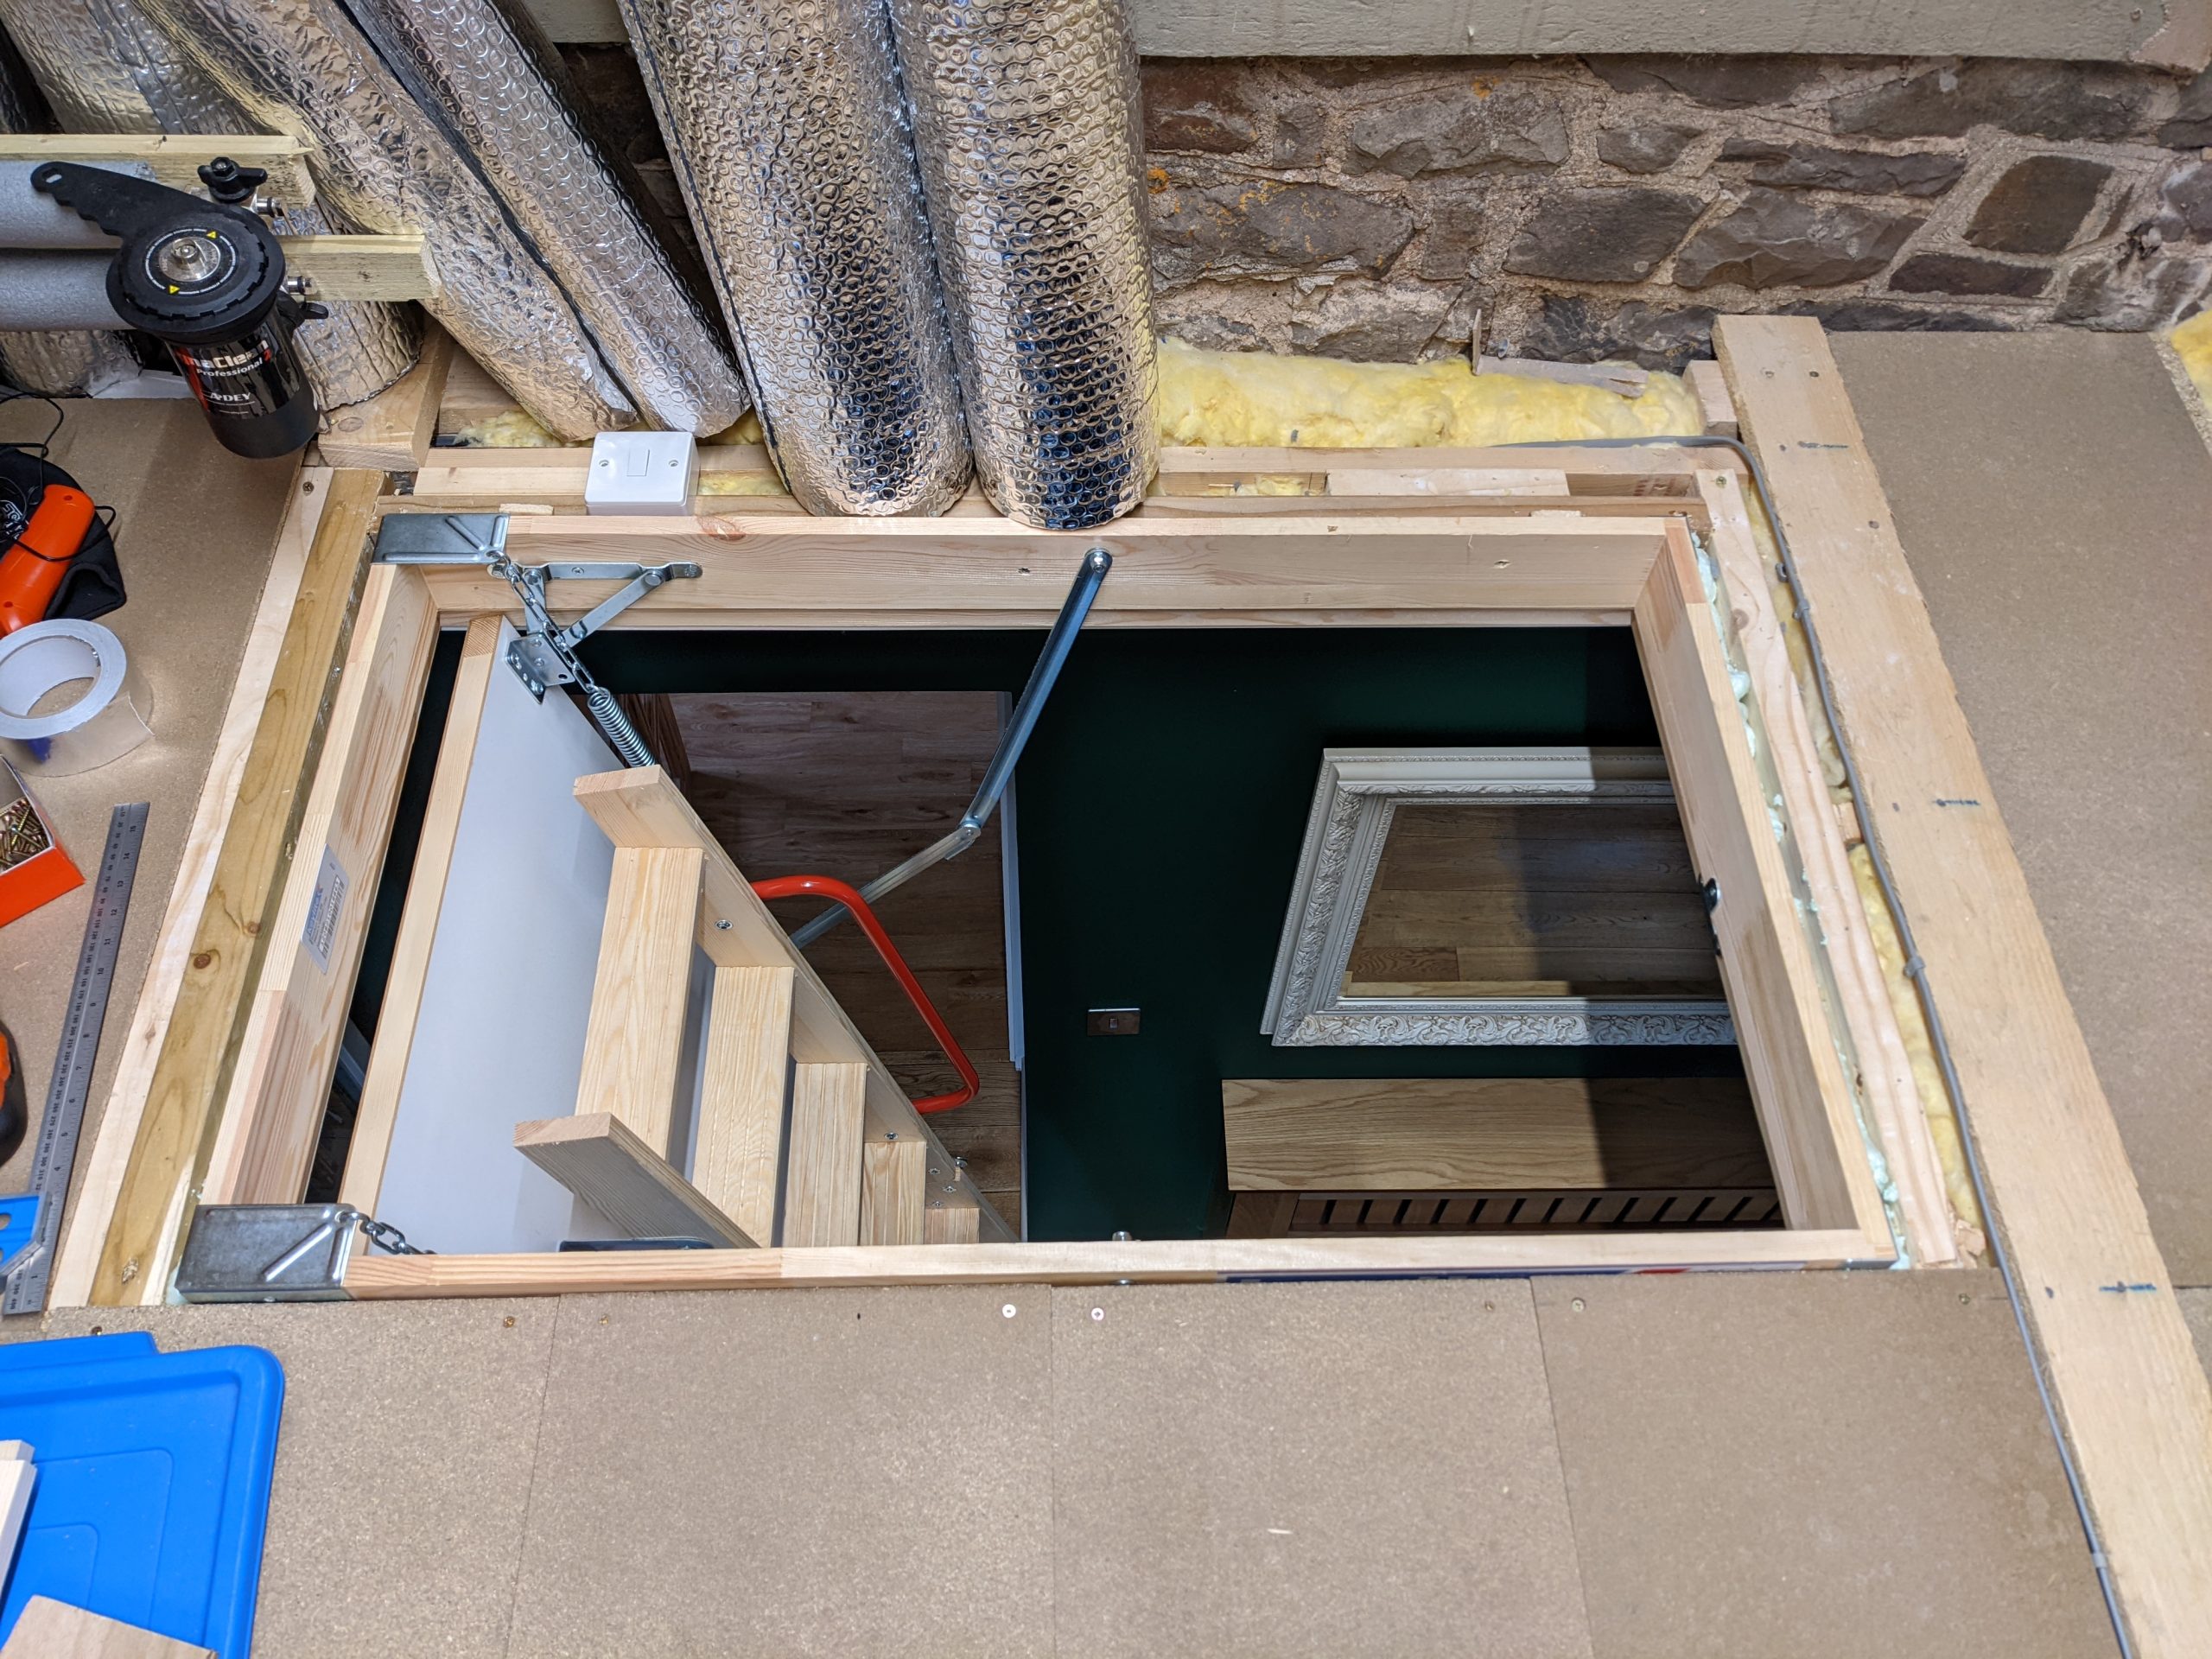
The first and possibly key step was to get the loft hatch enlarged and a decent ladder fitted –
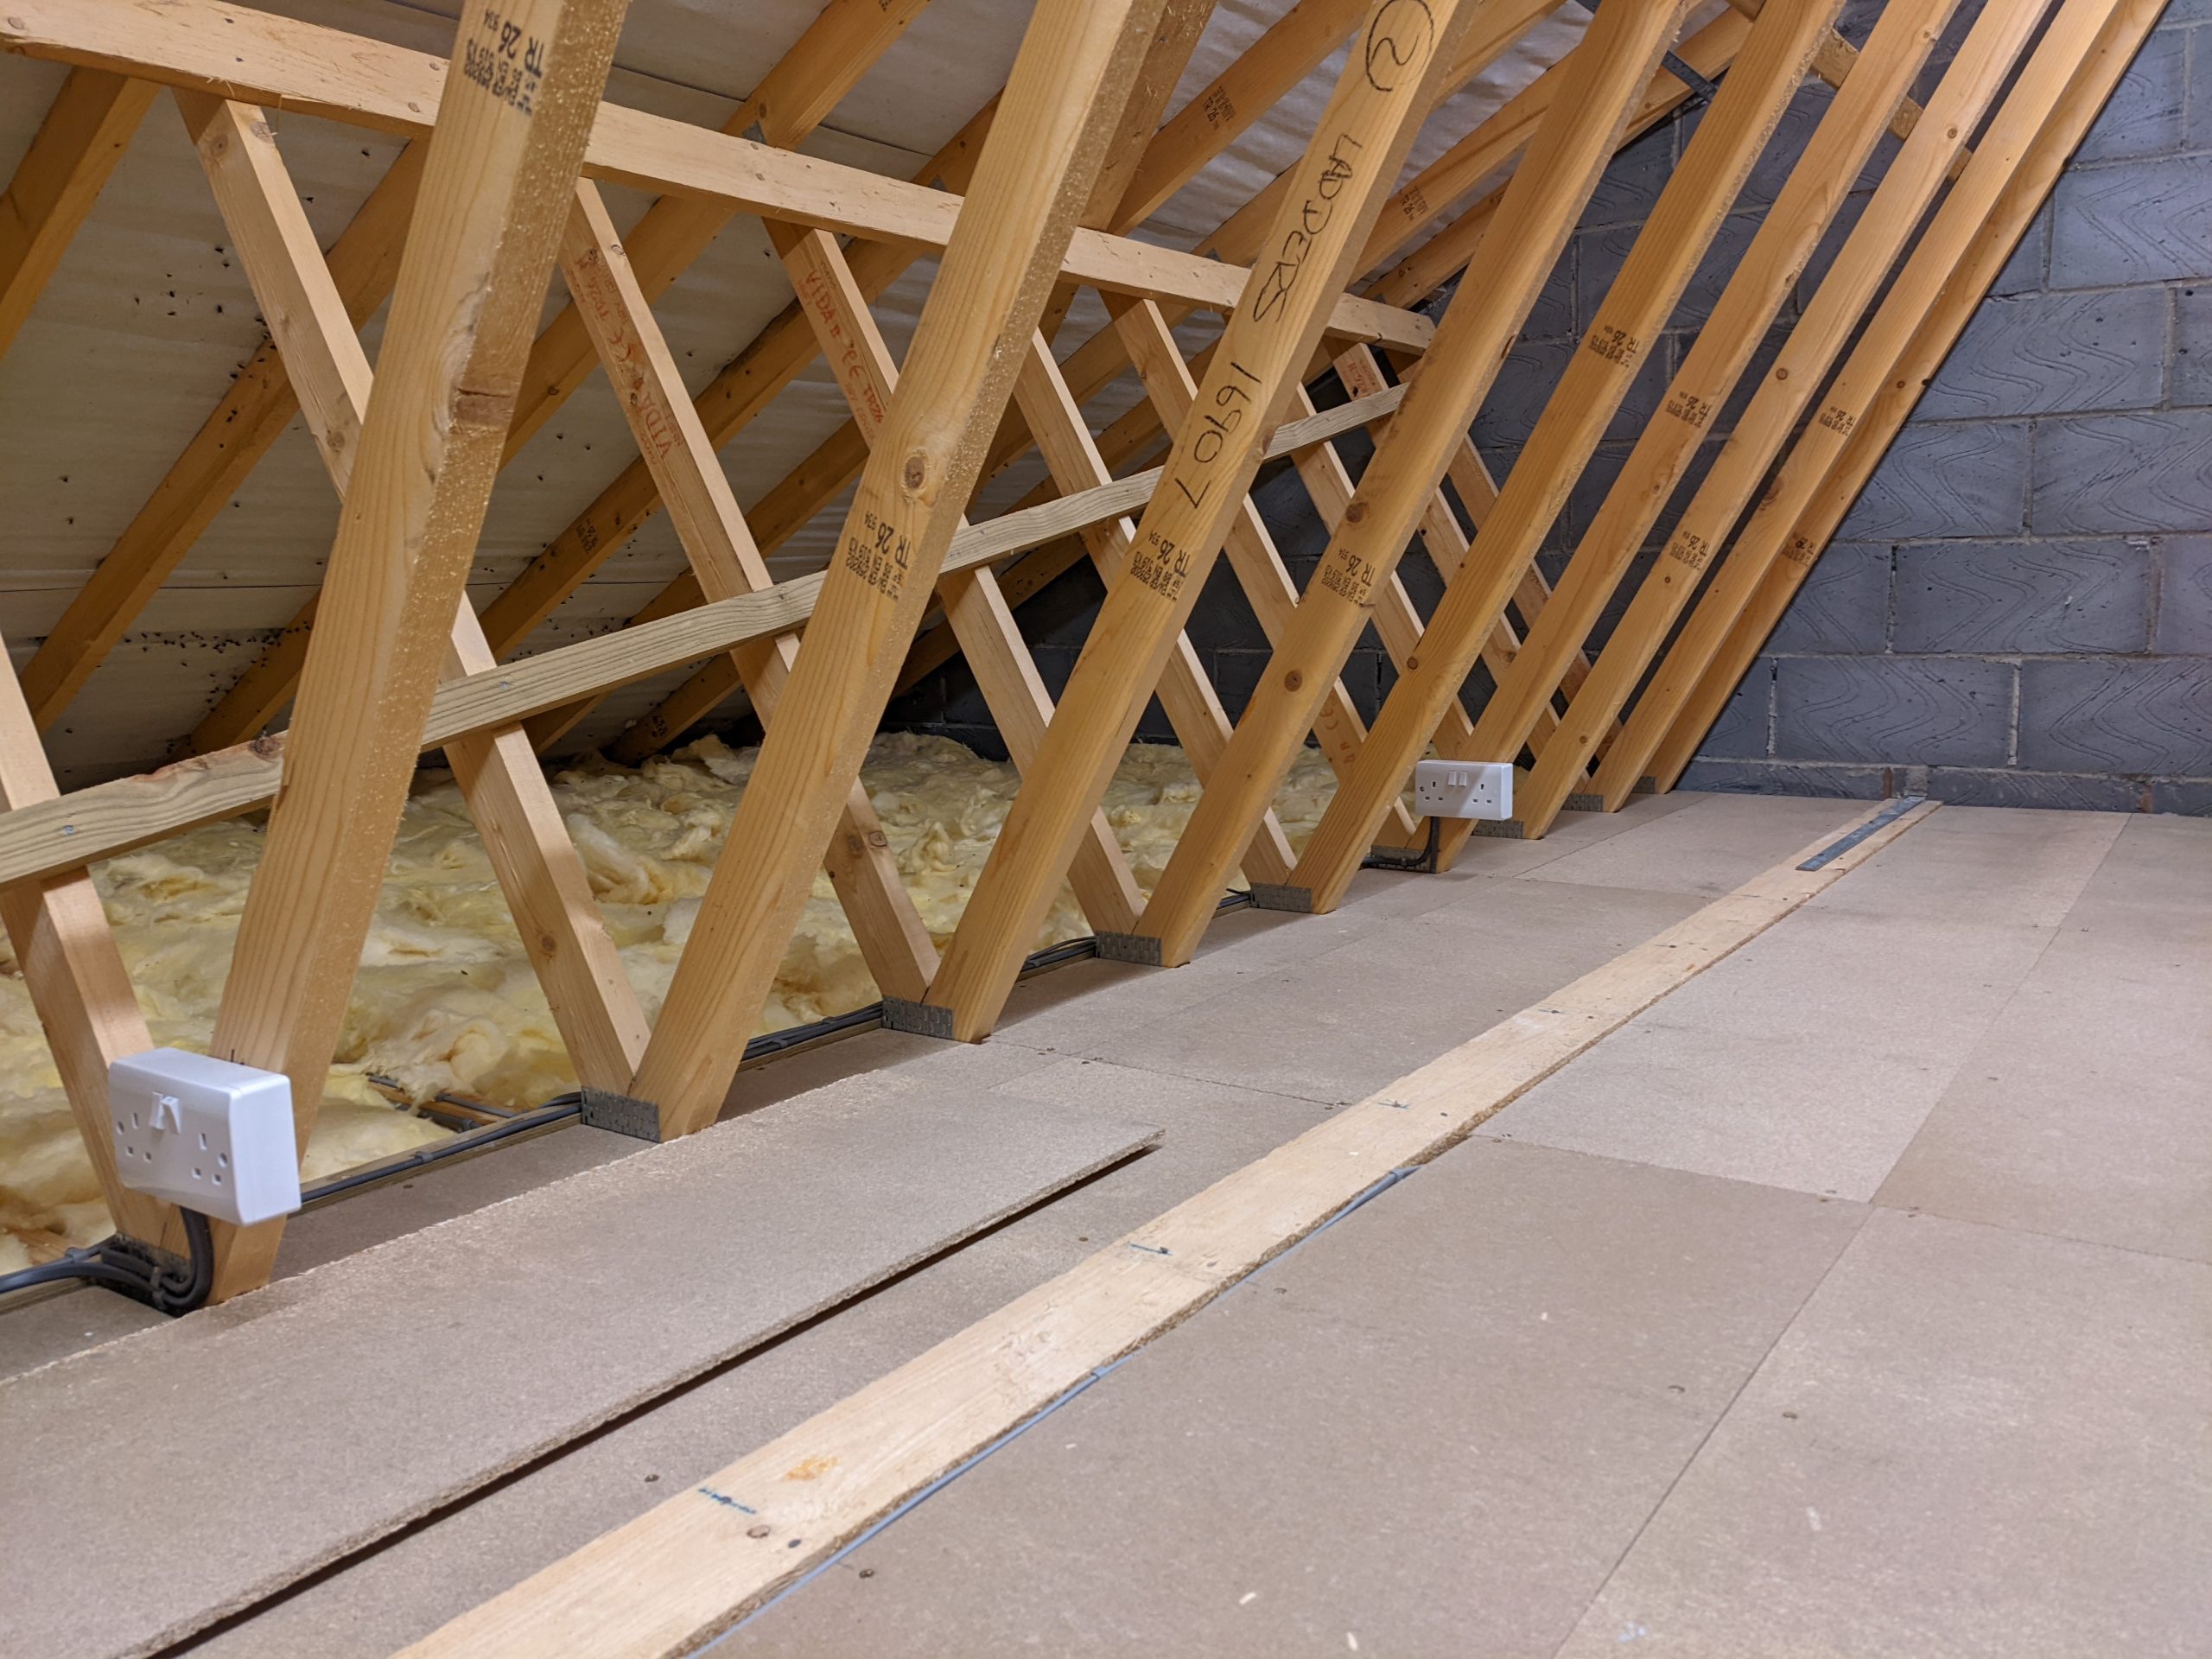
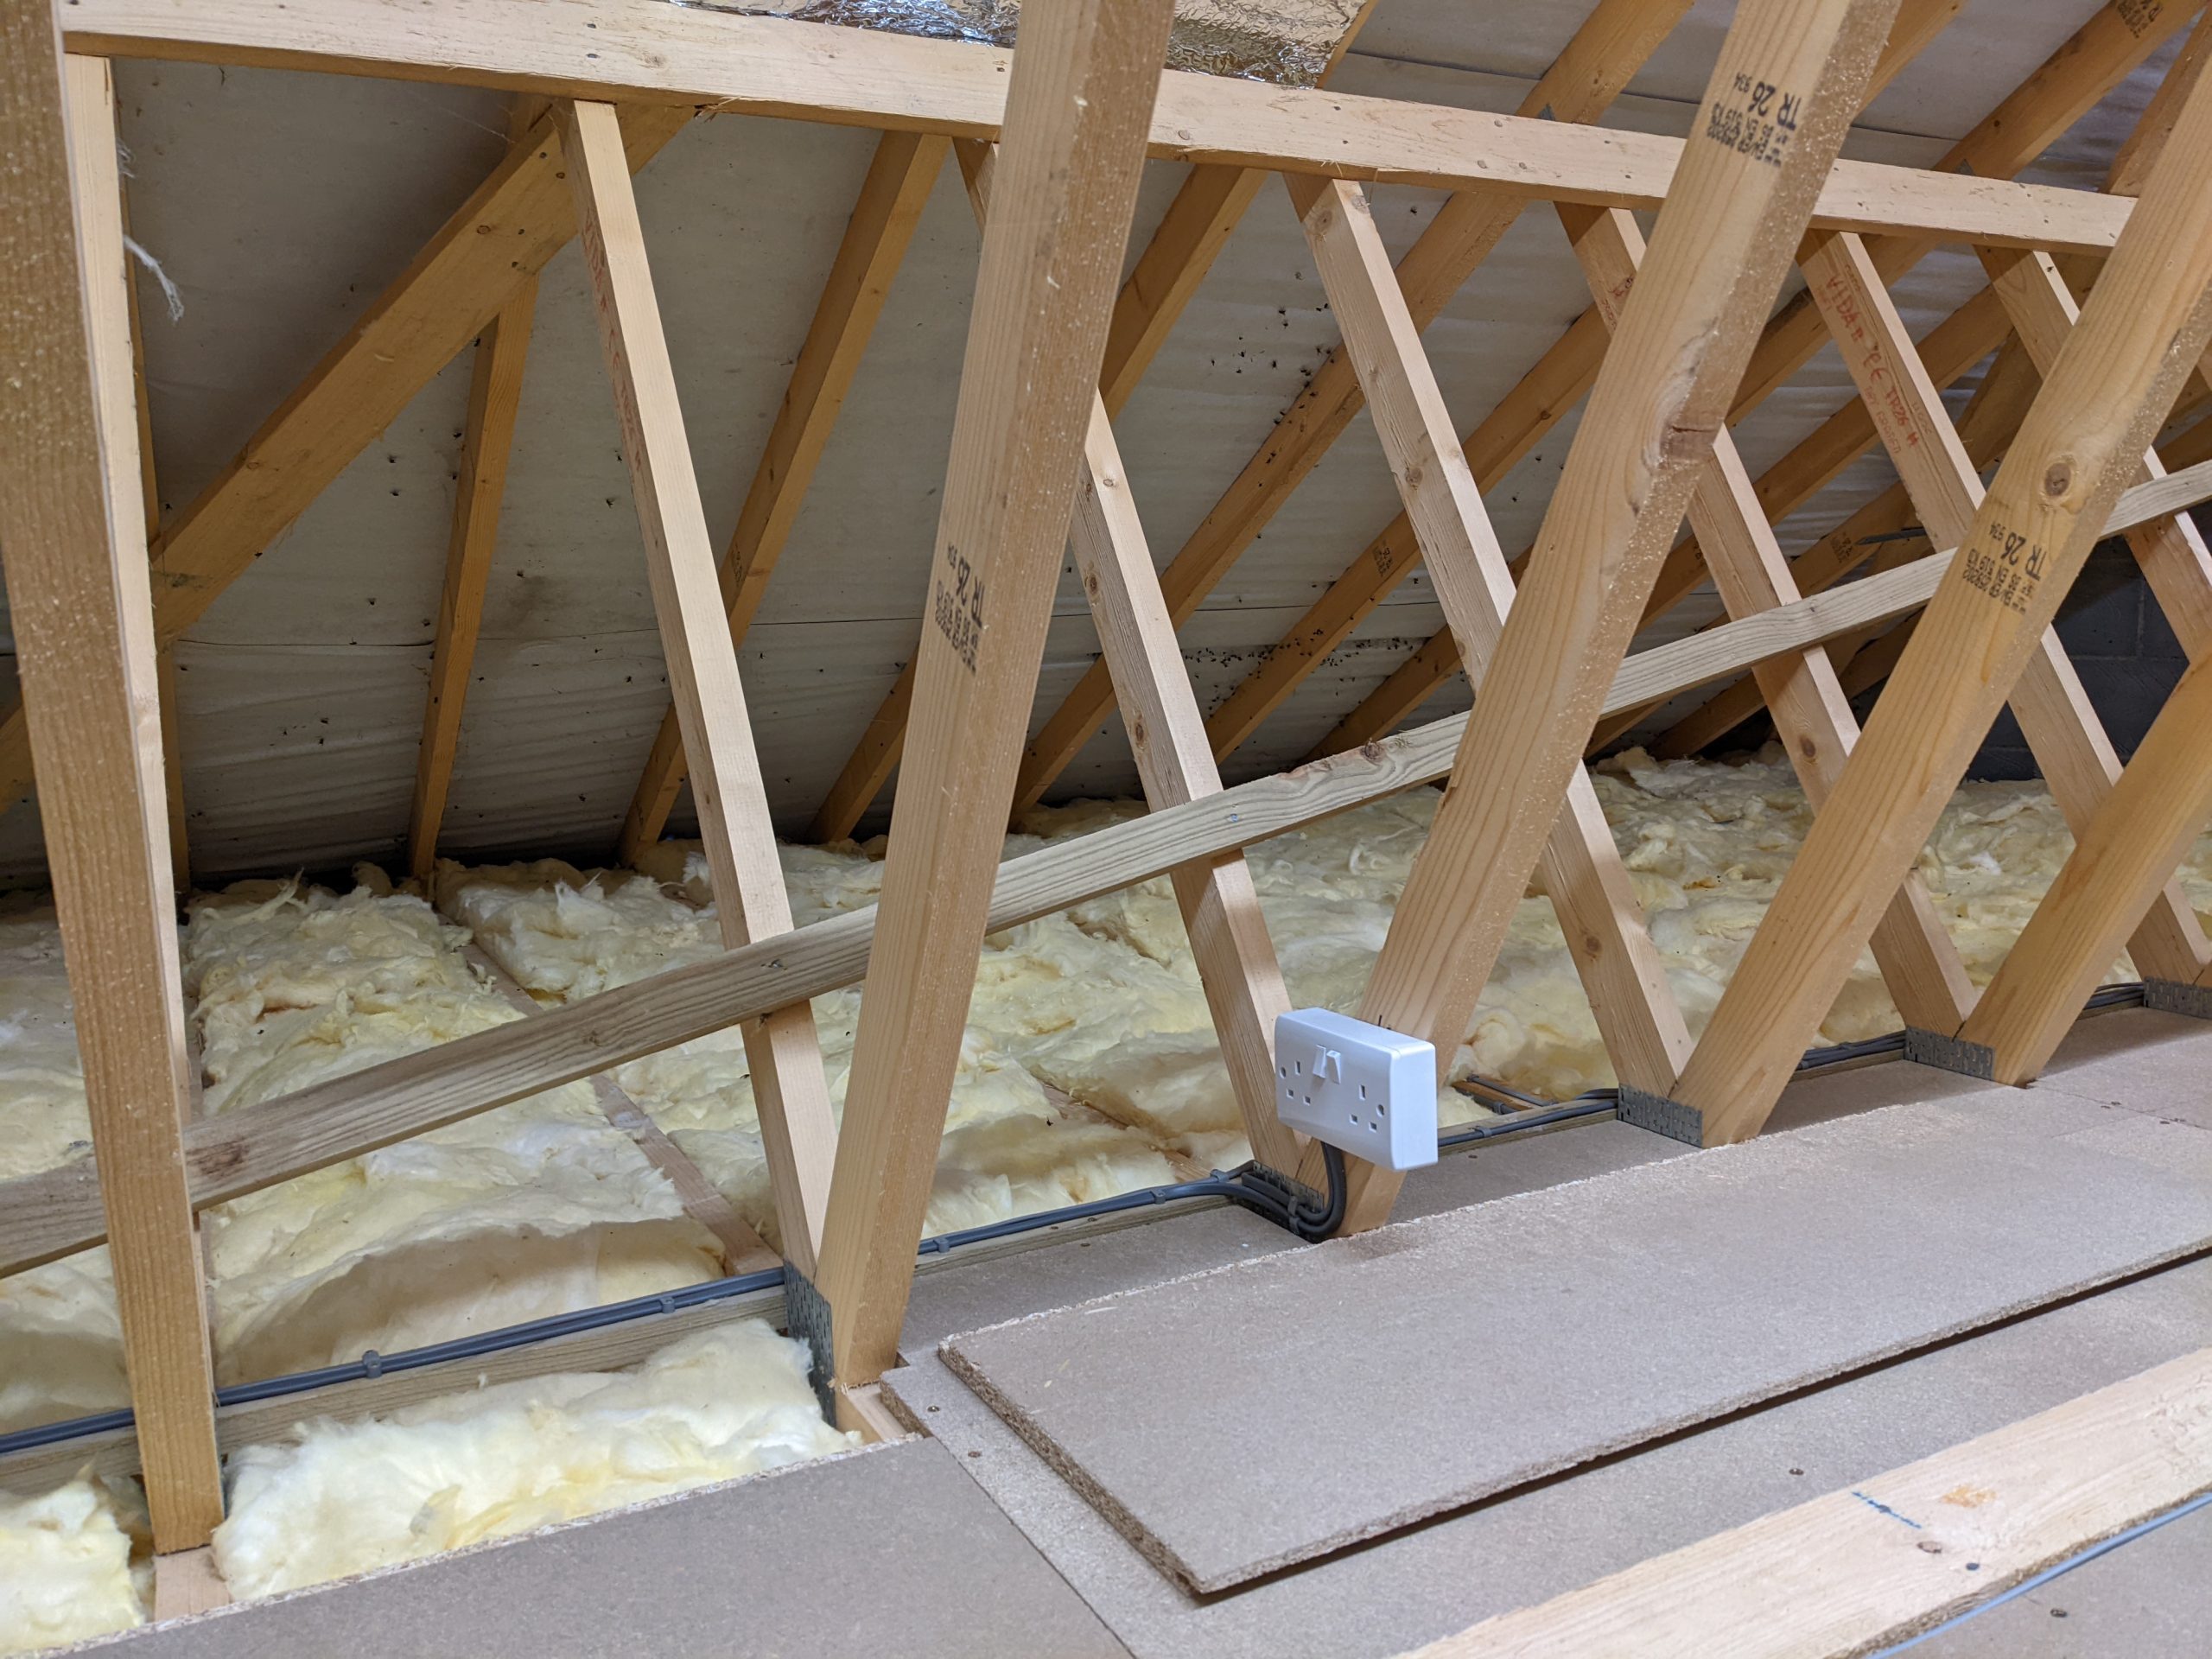
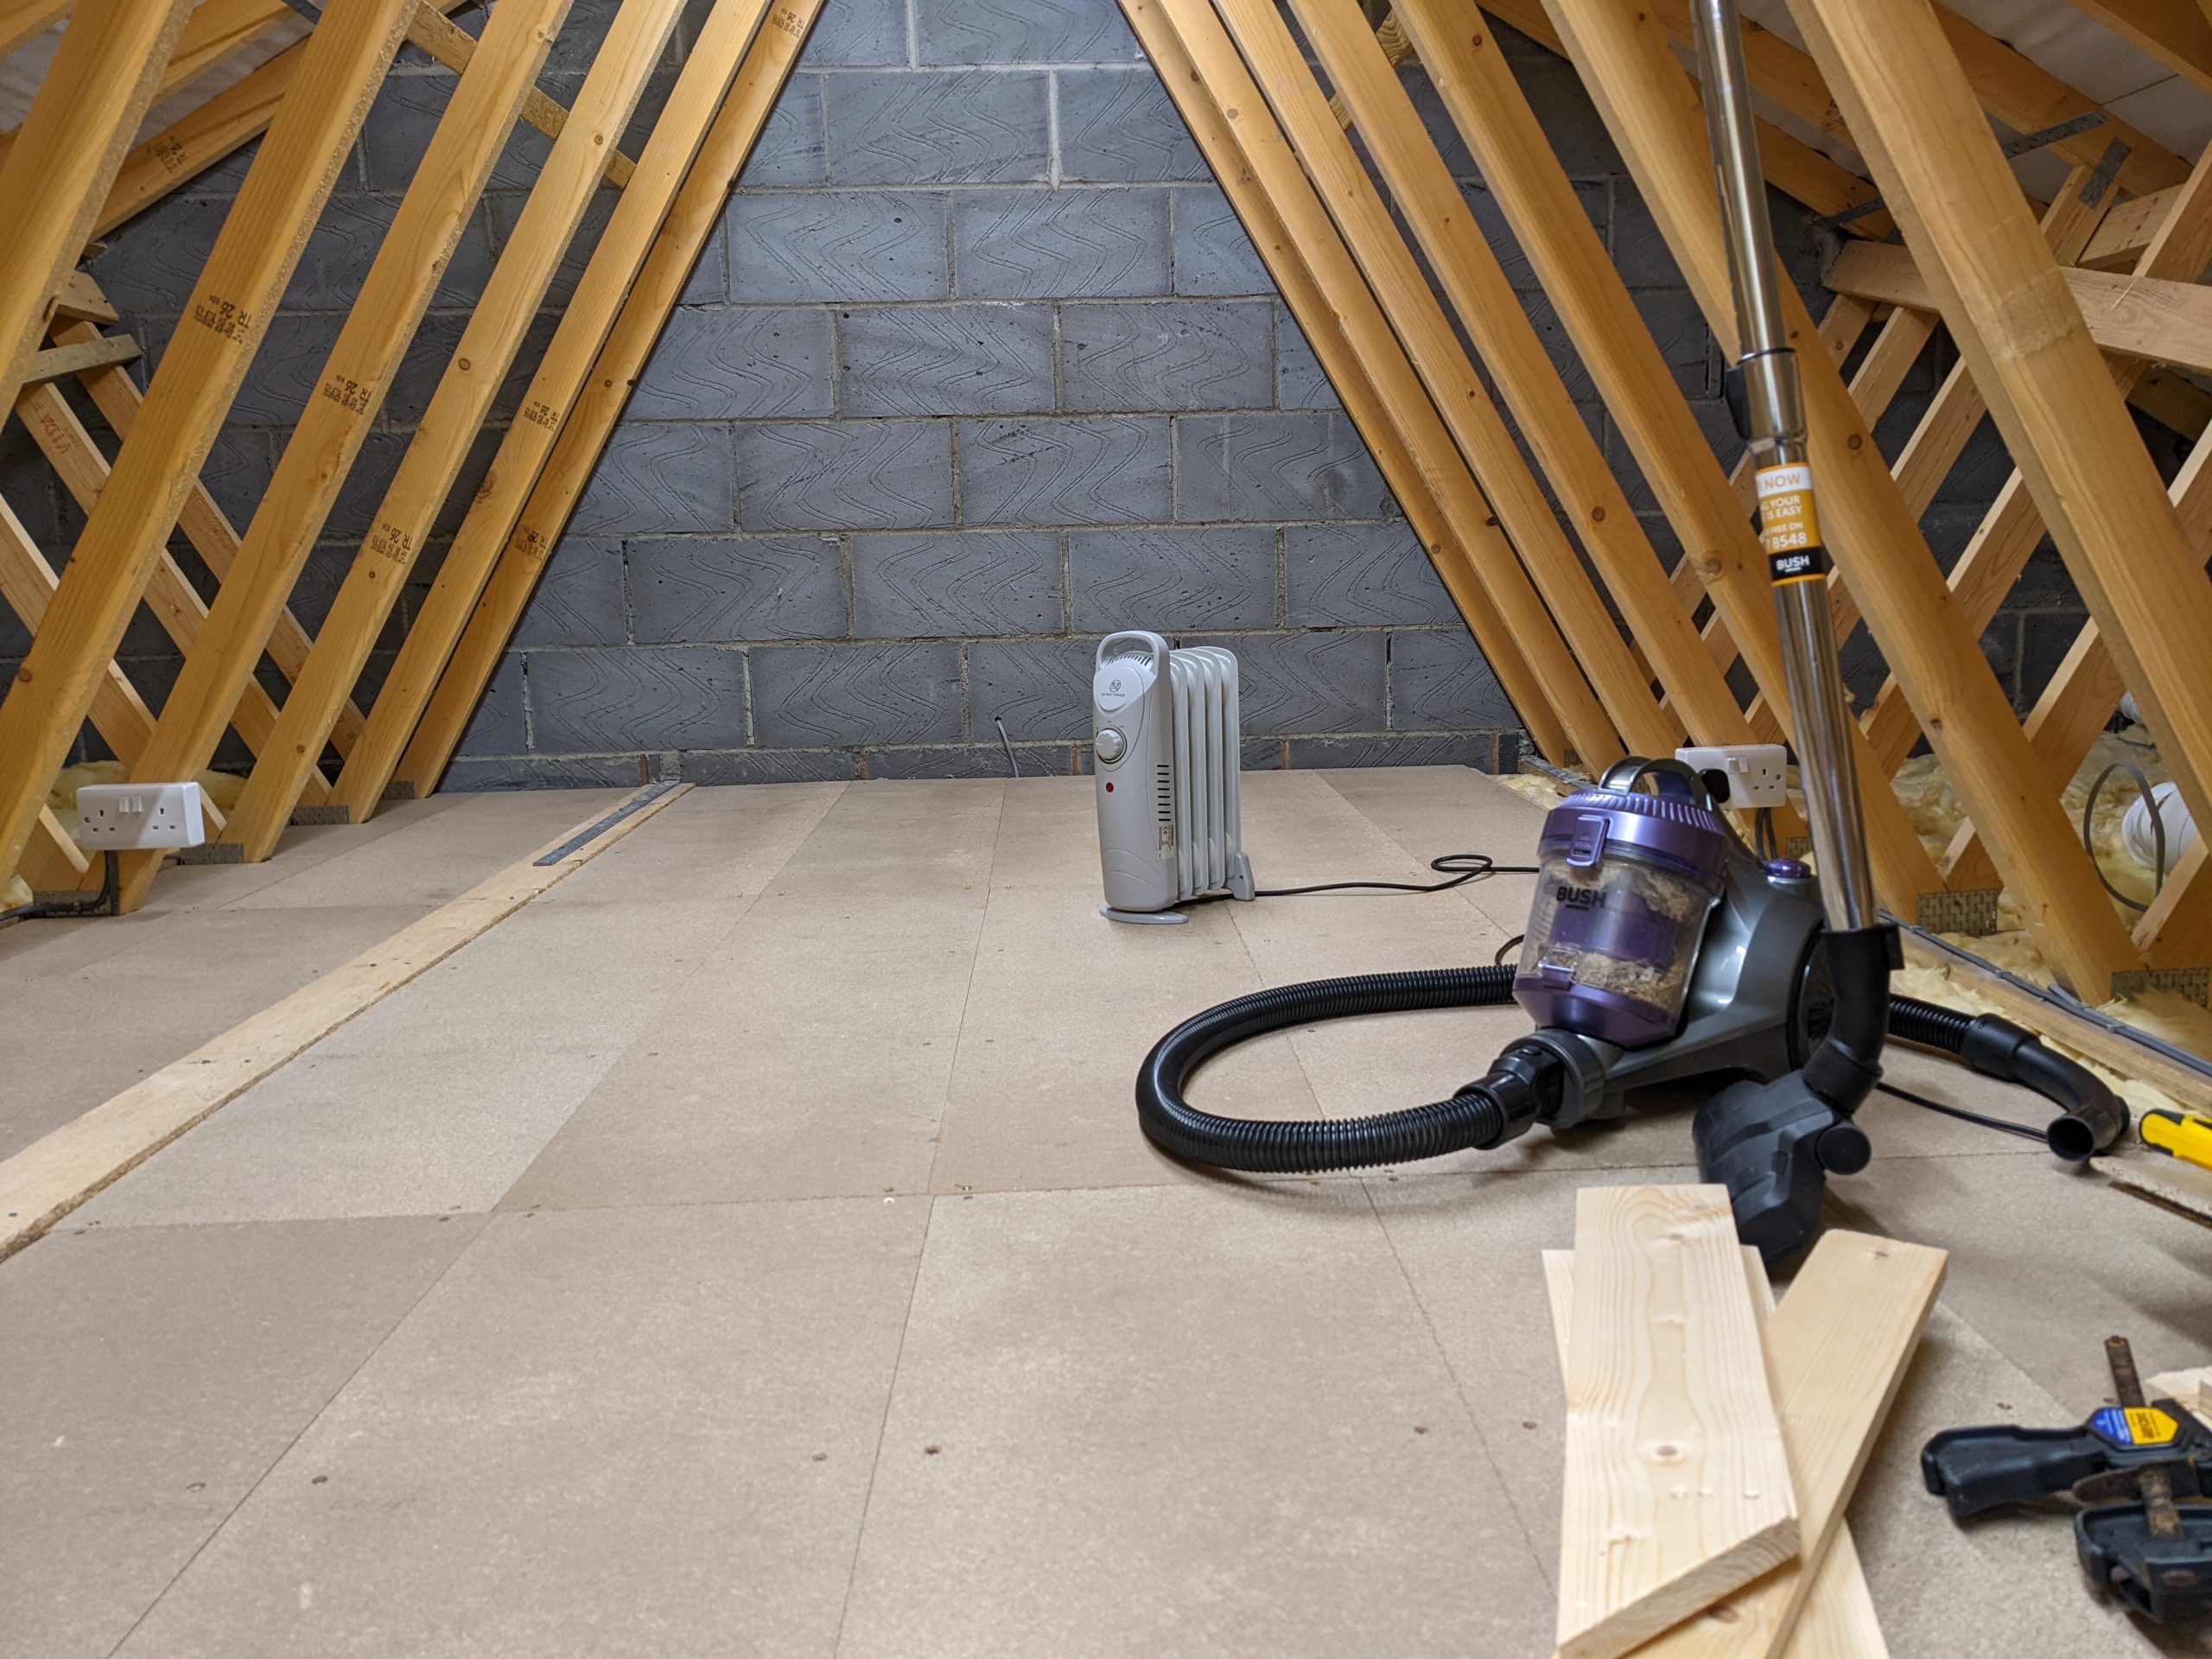
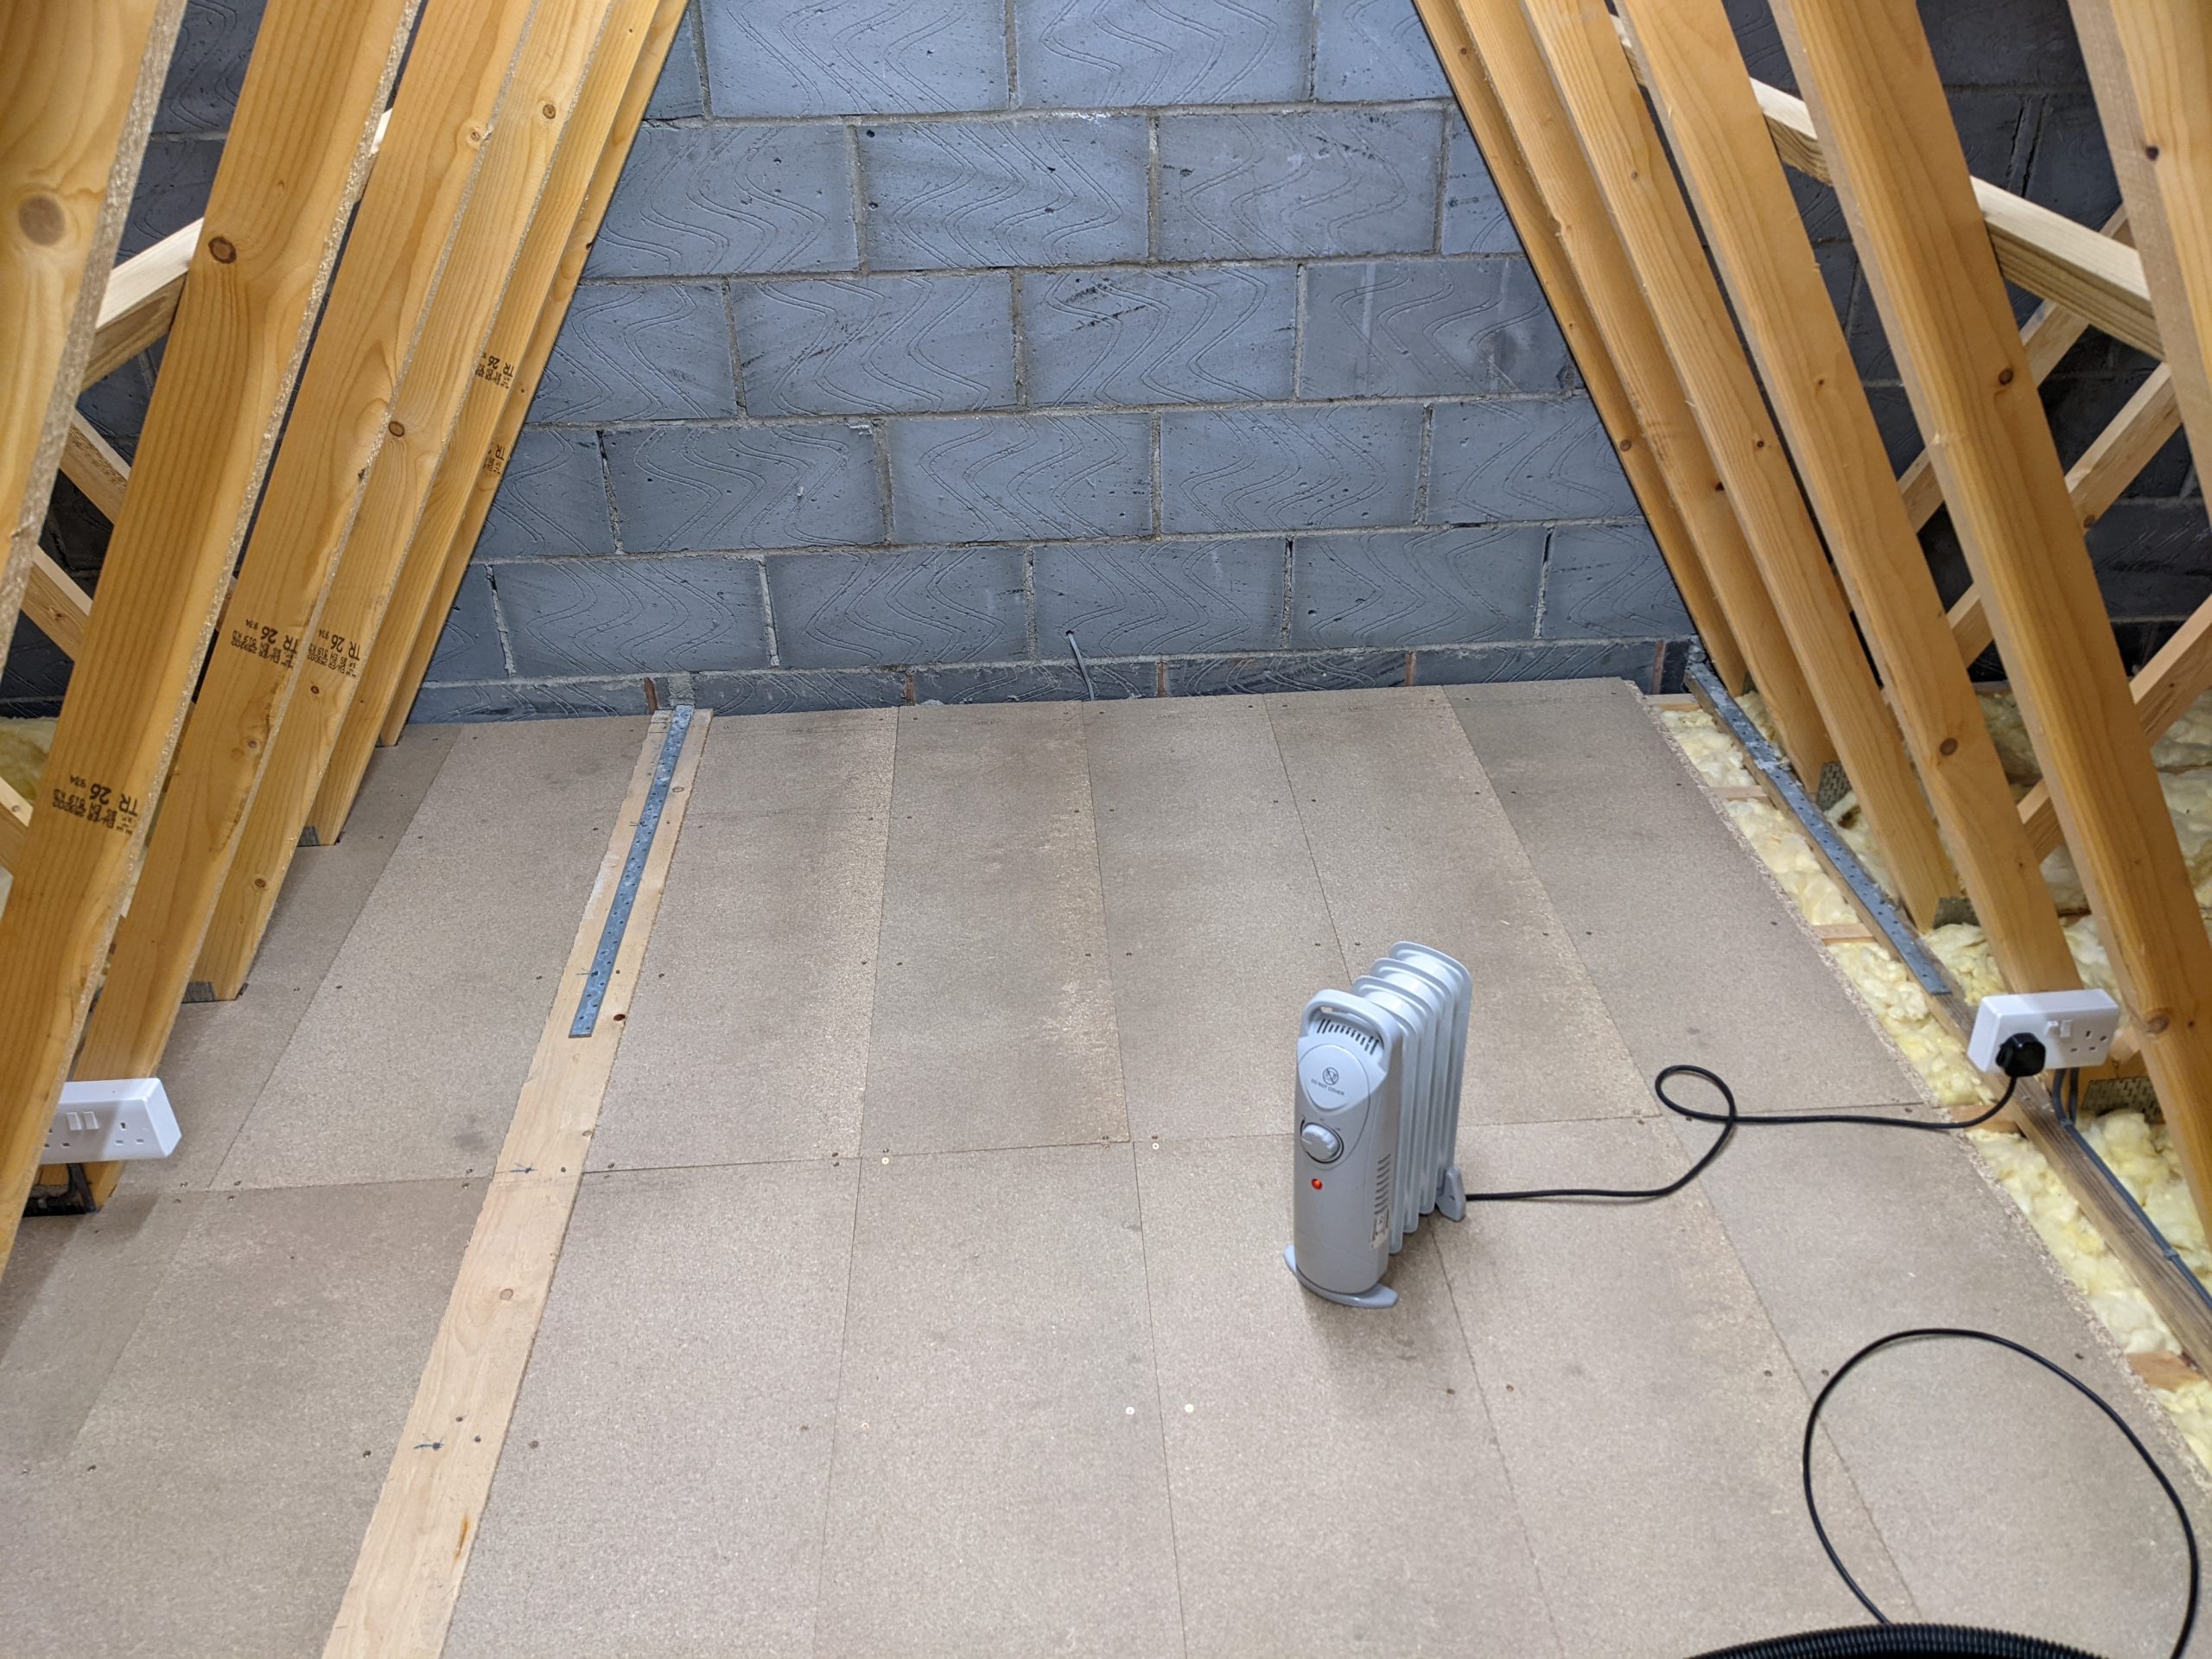
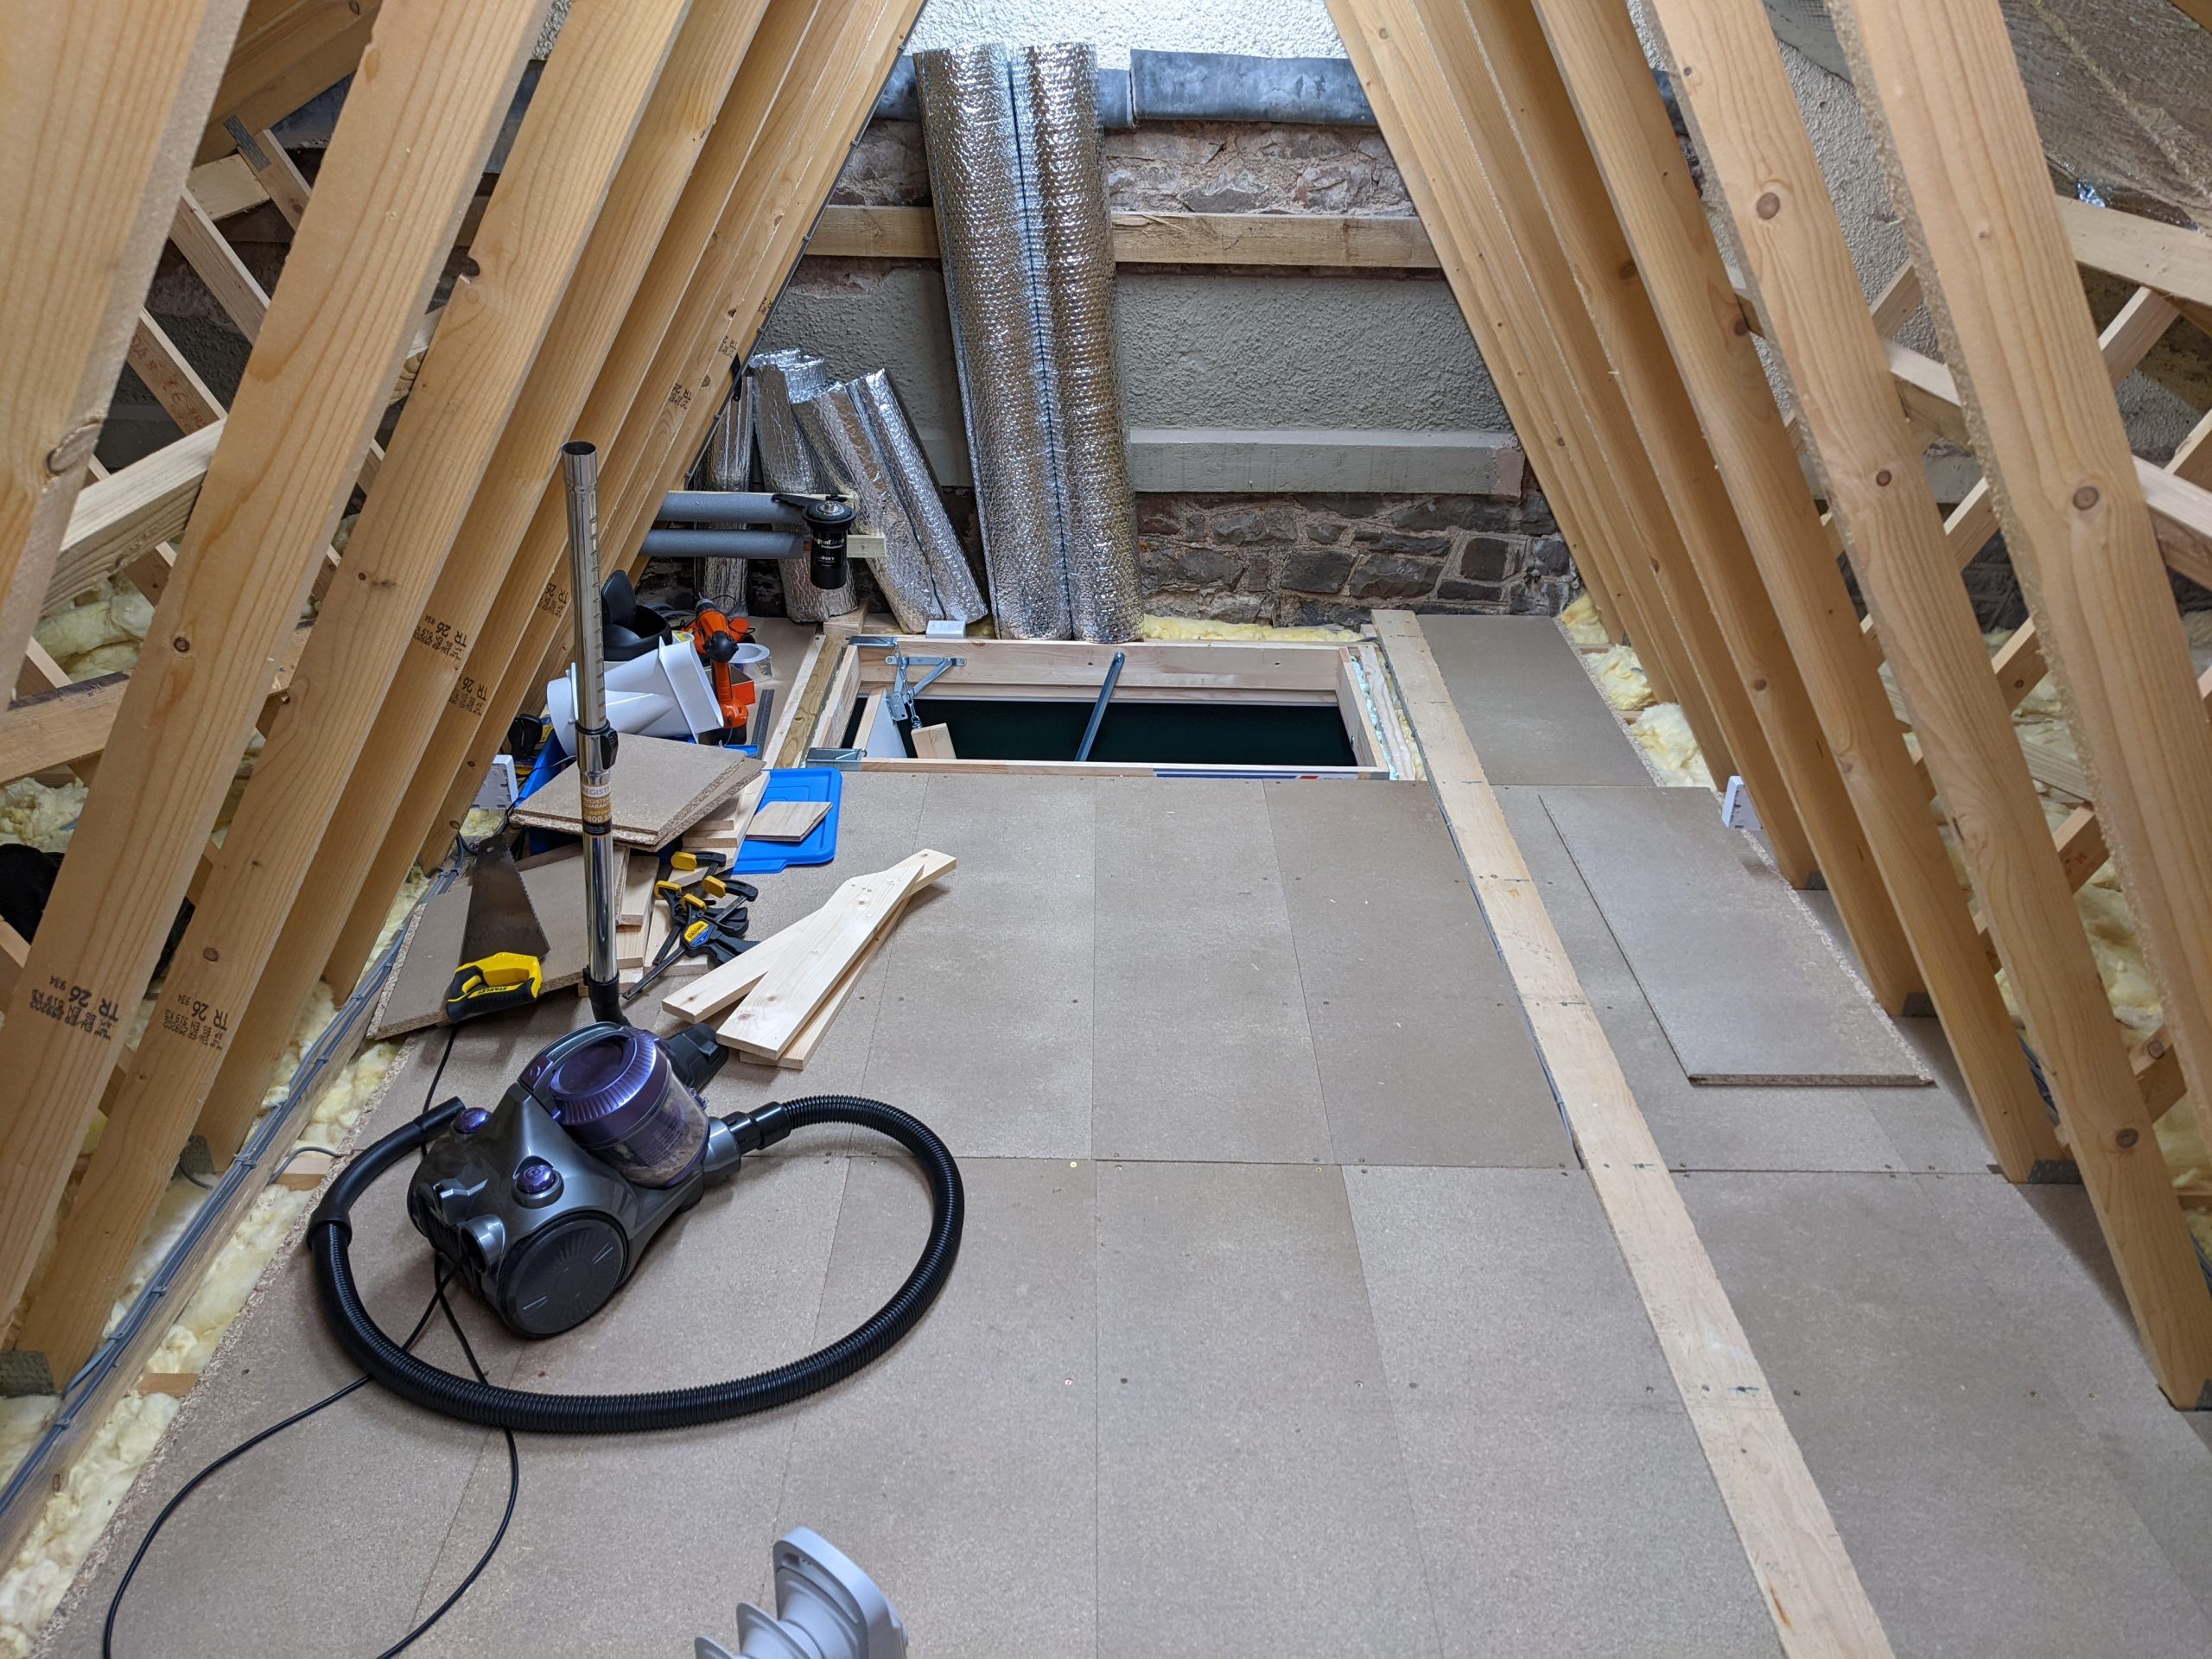
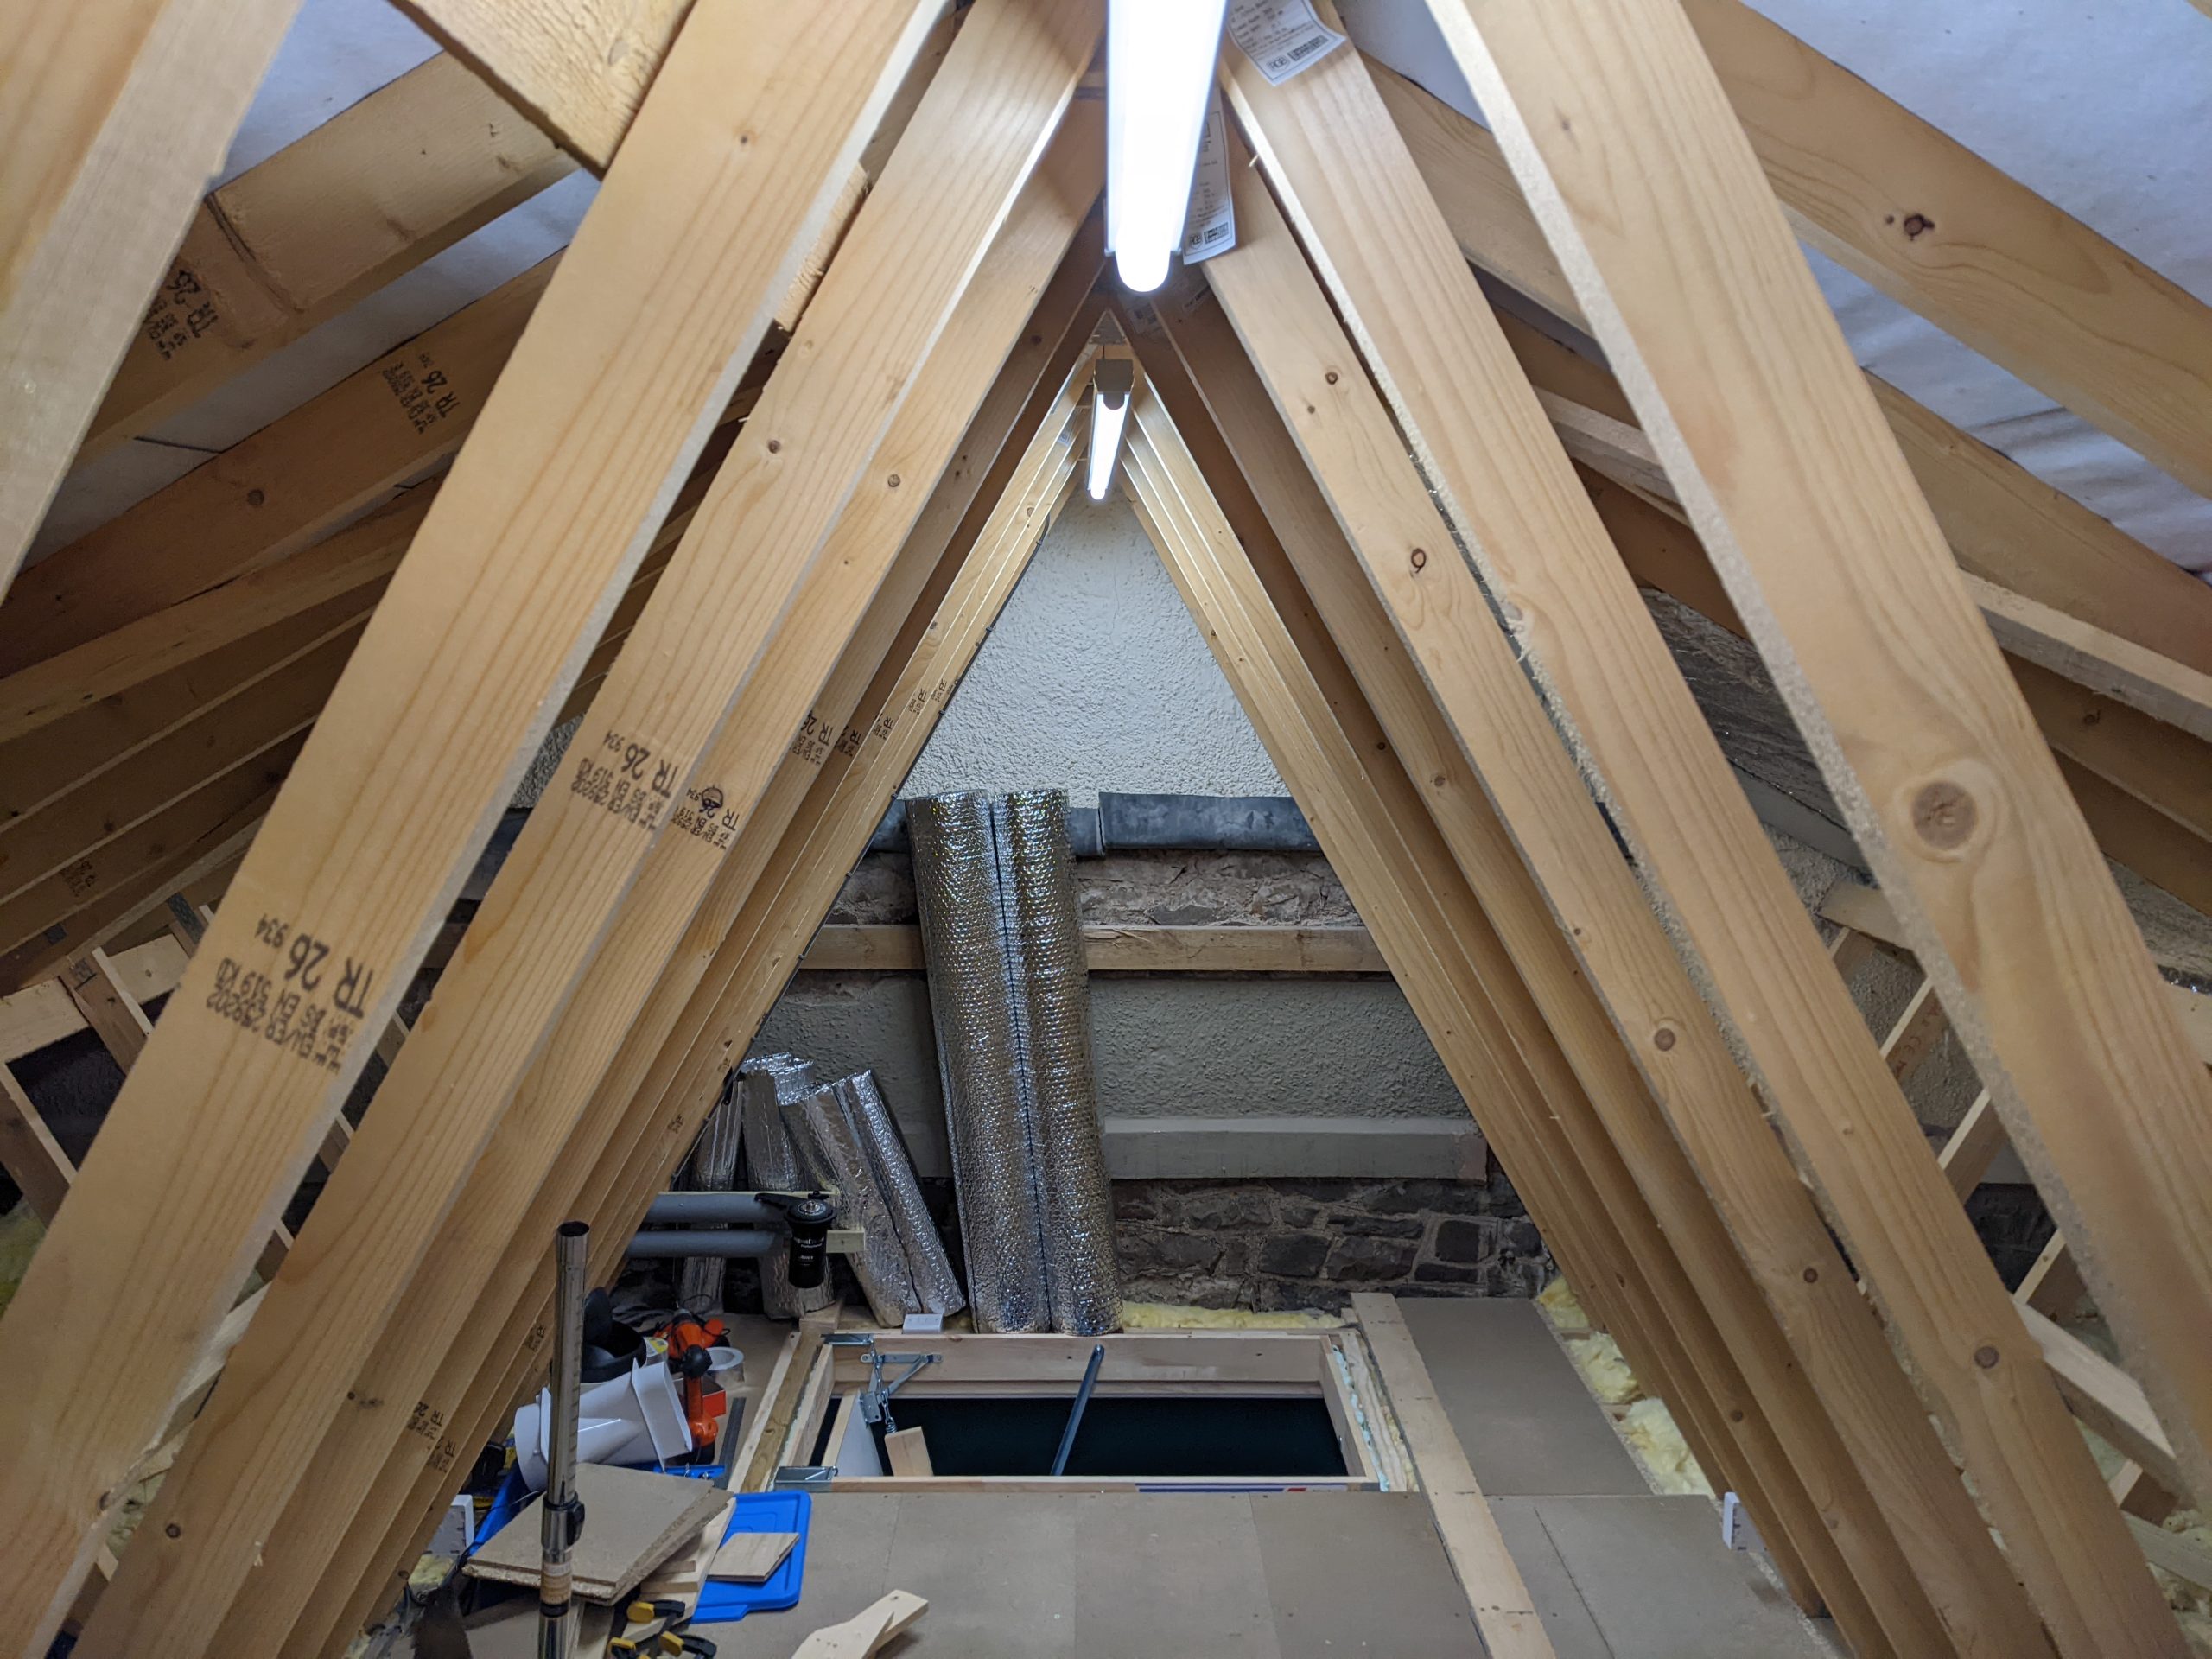
January 2022
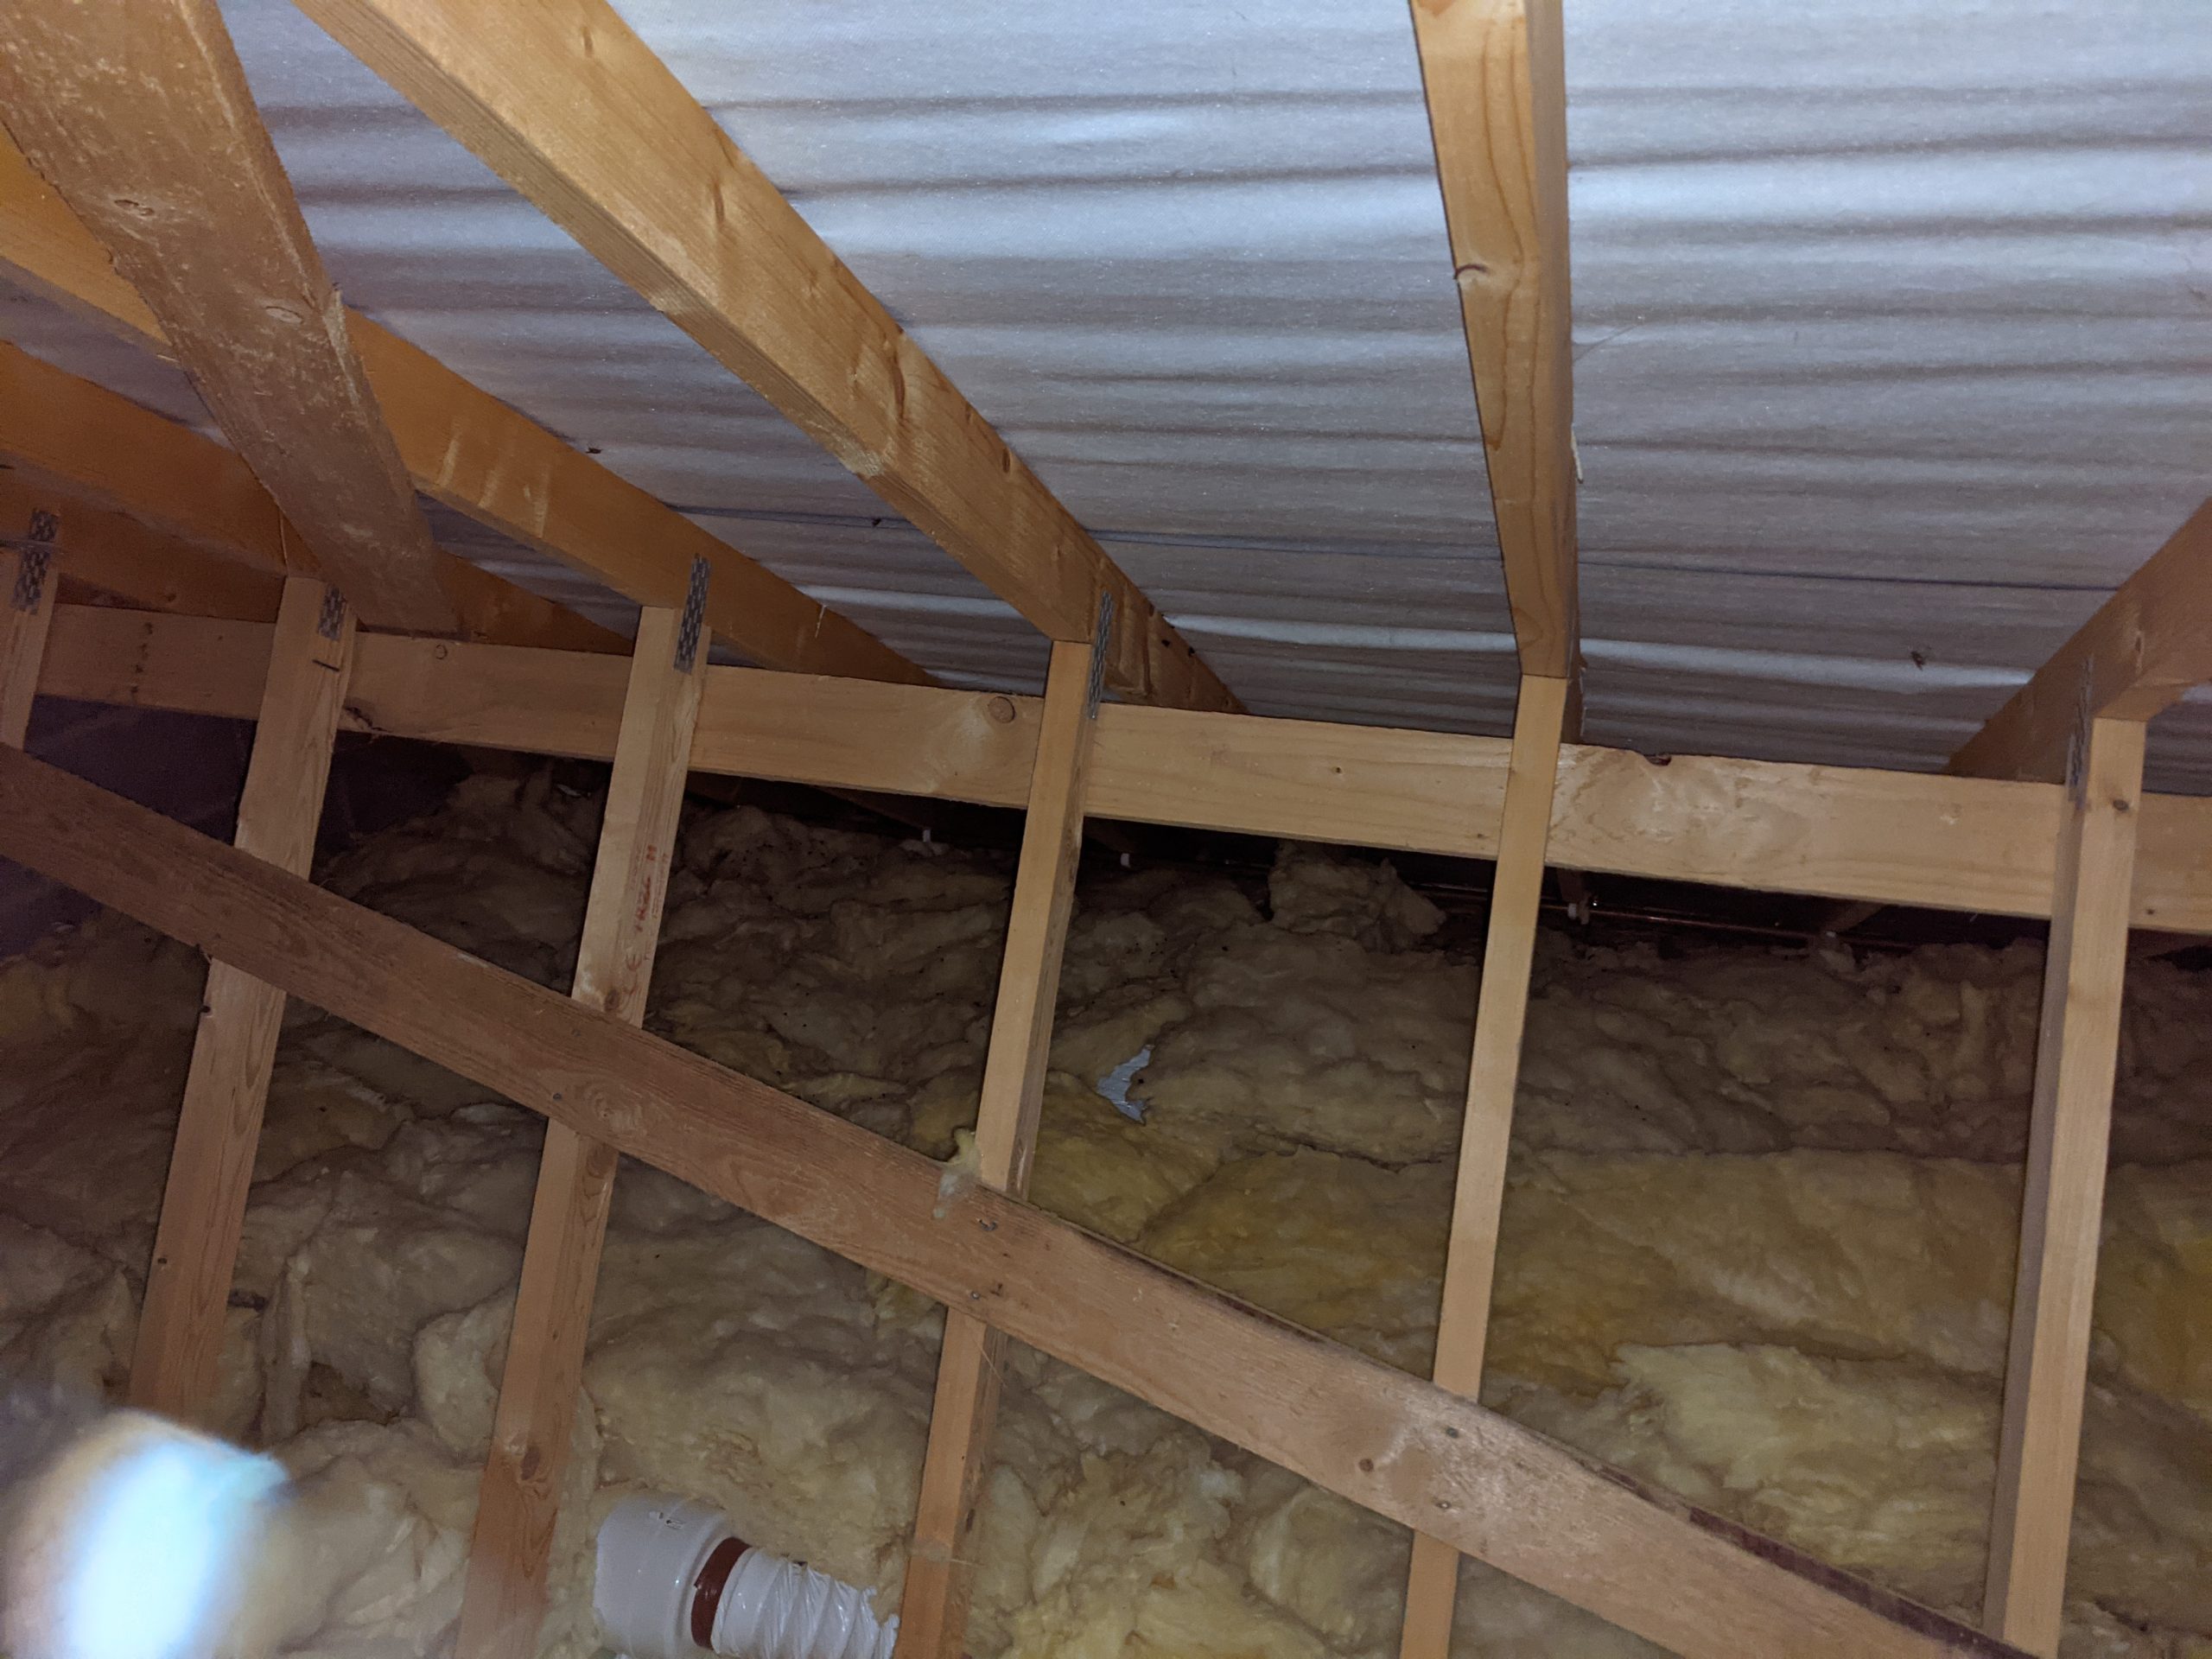
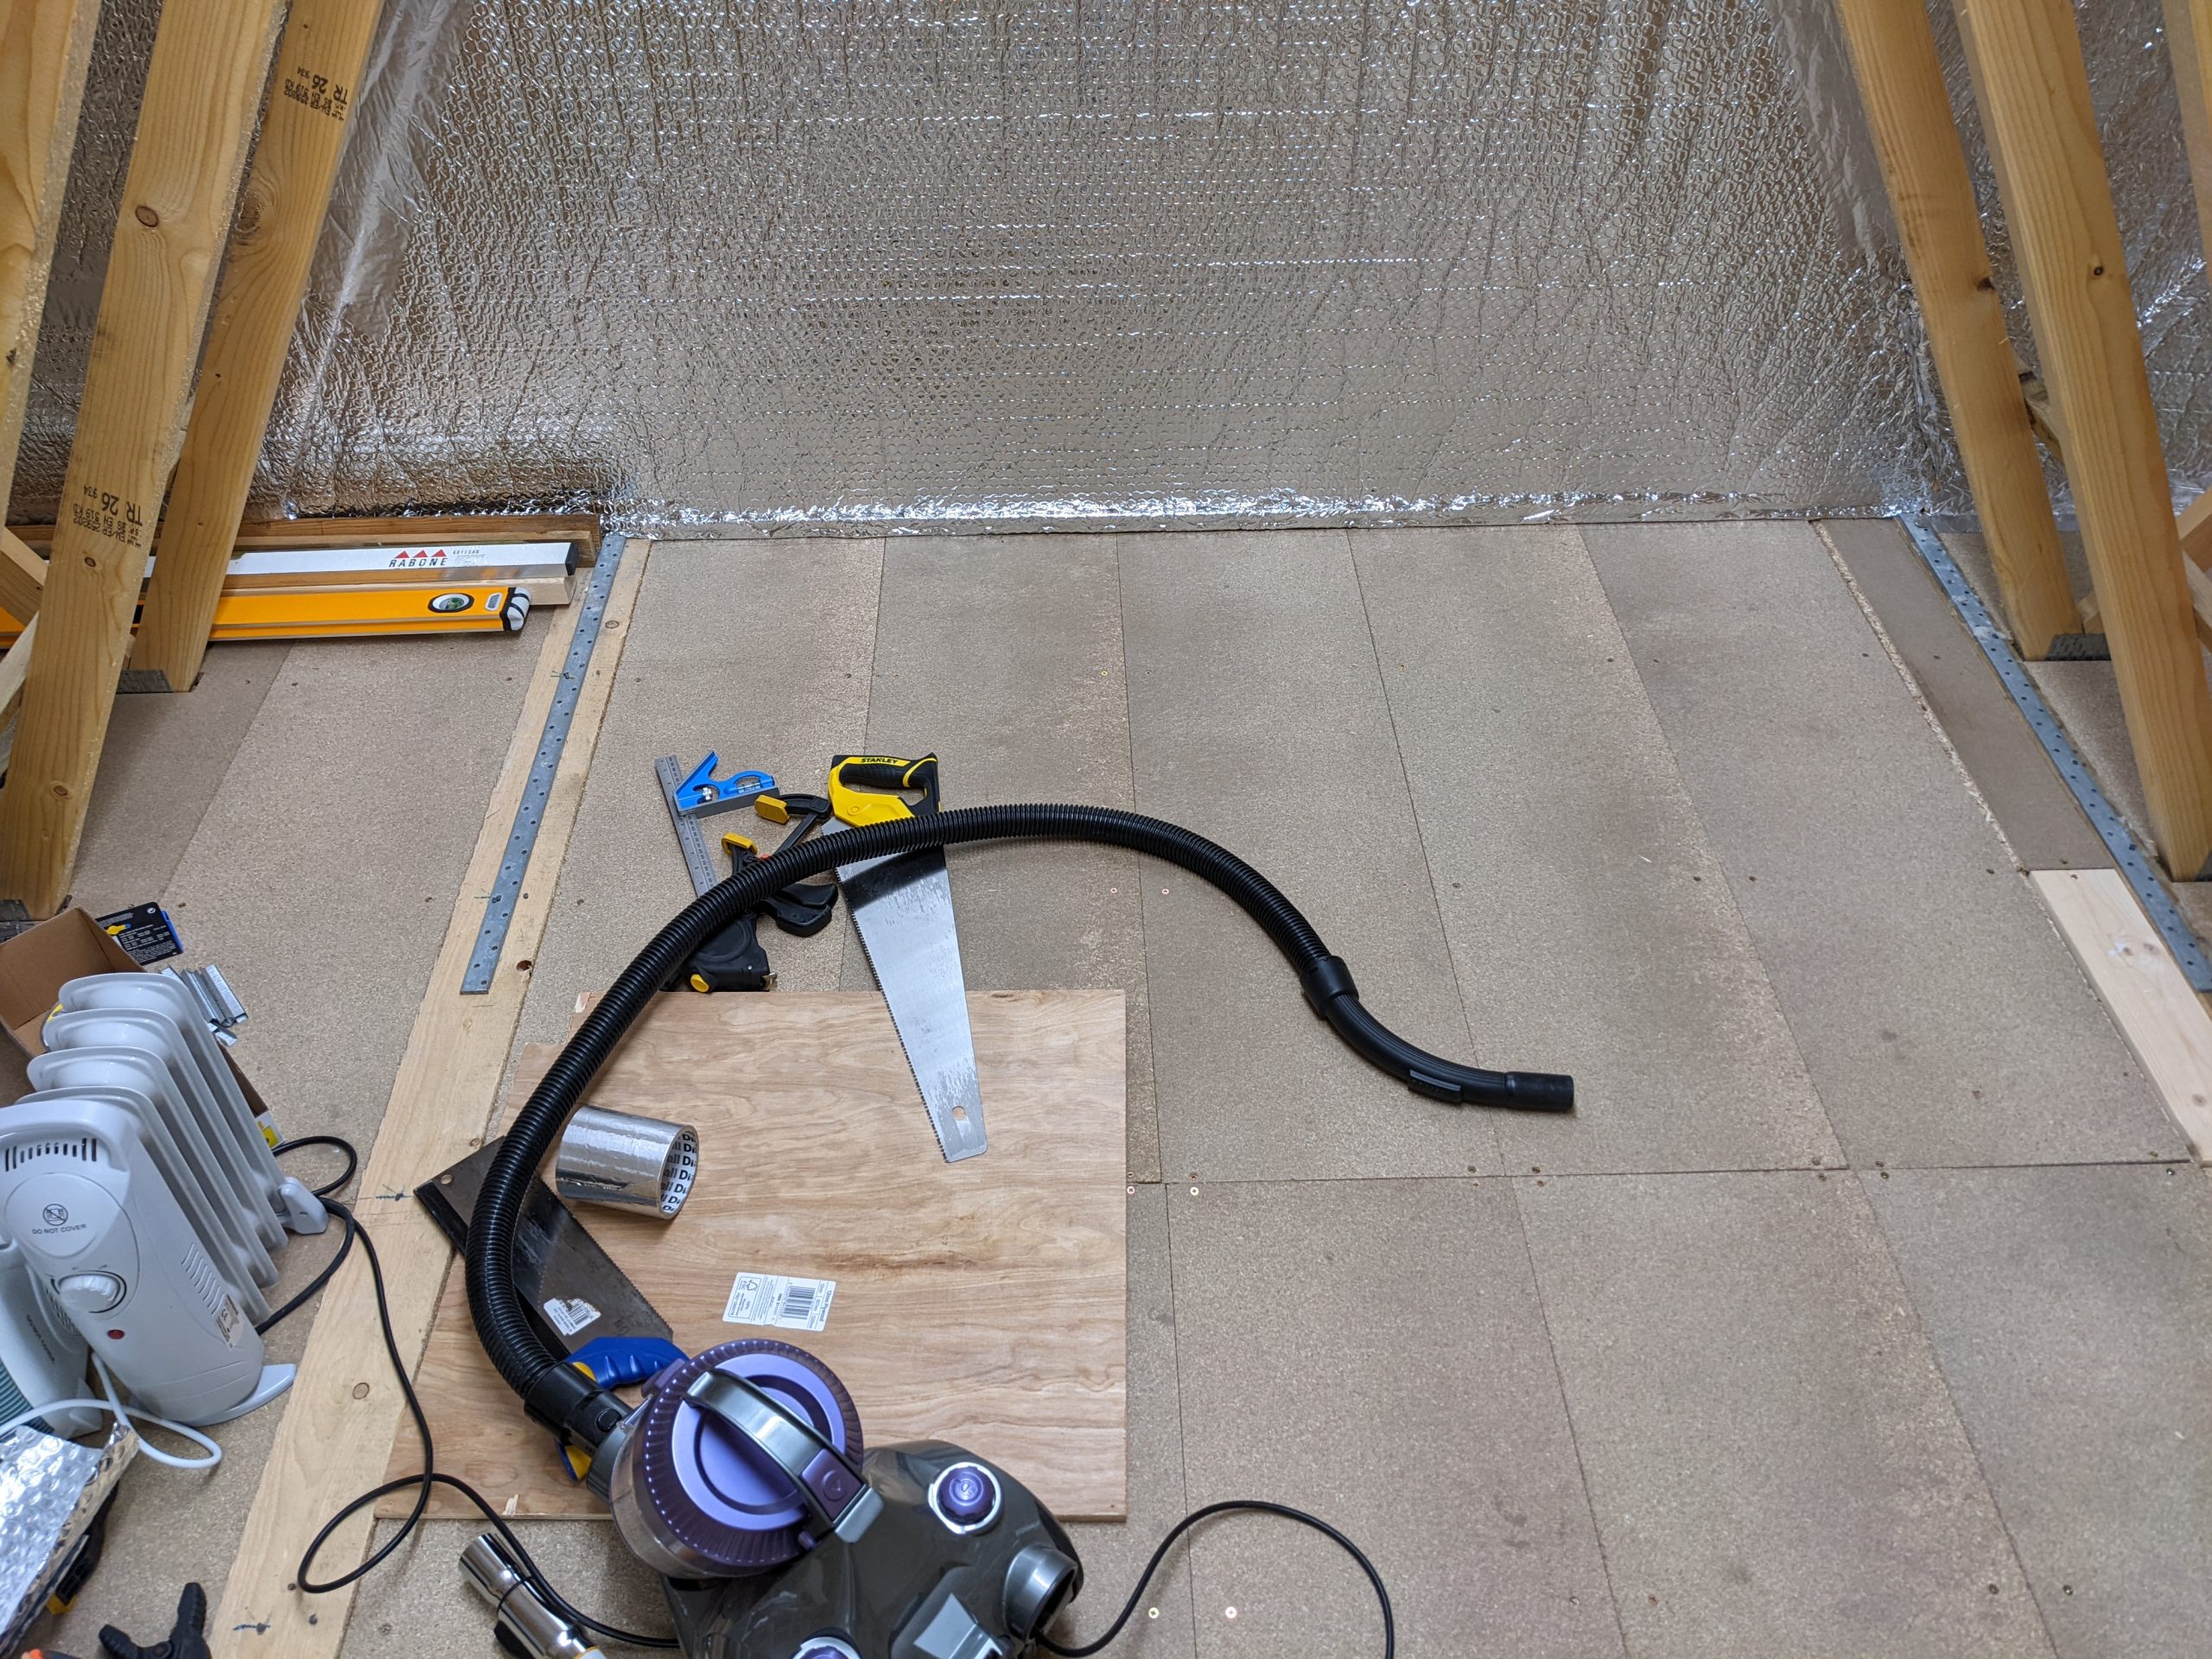
I also had an electrician fit two LED strip lights and a ring main with four double sockets. I was then able to lay chipboard floorboards from the nearest DIY superstore. Here are some pictures from –
April 2022
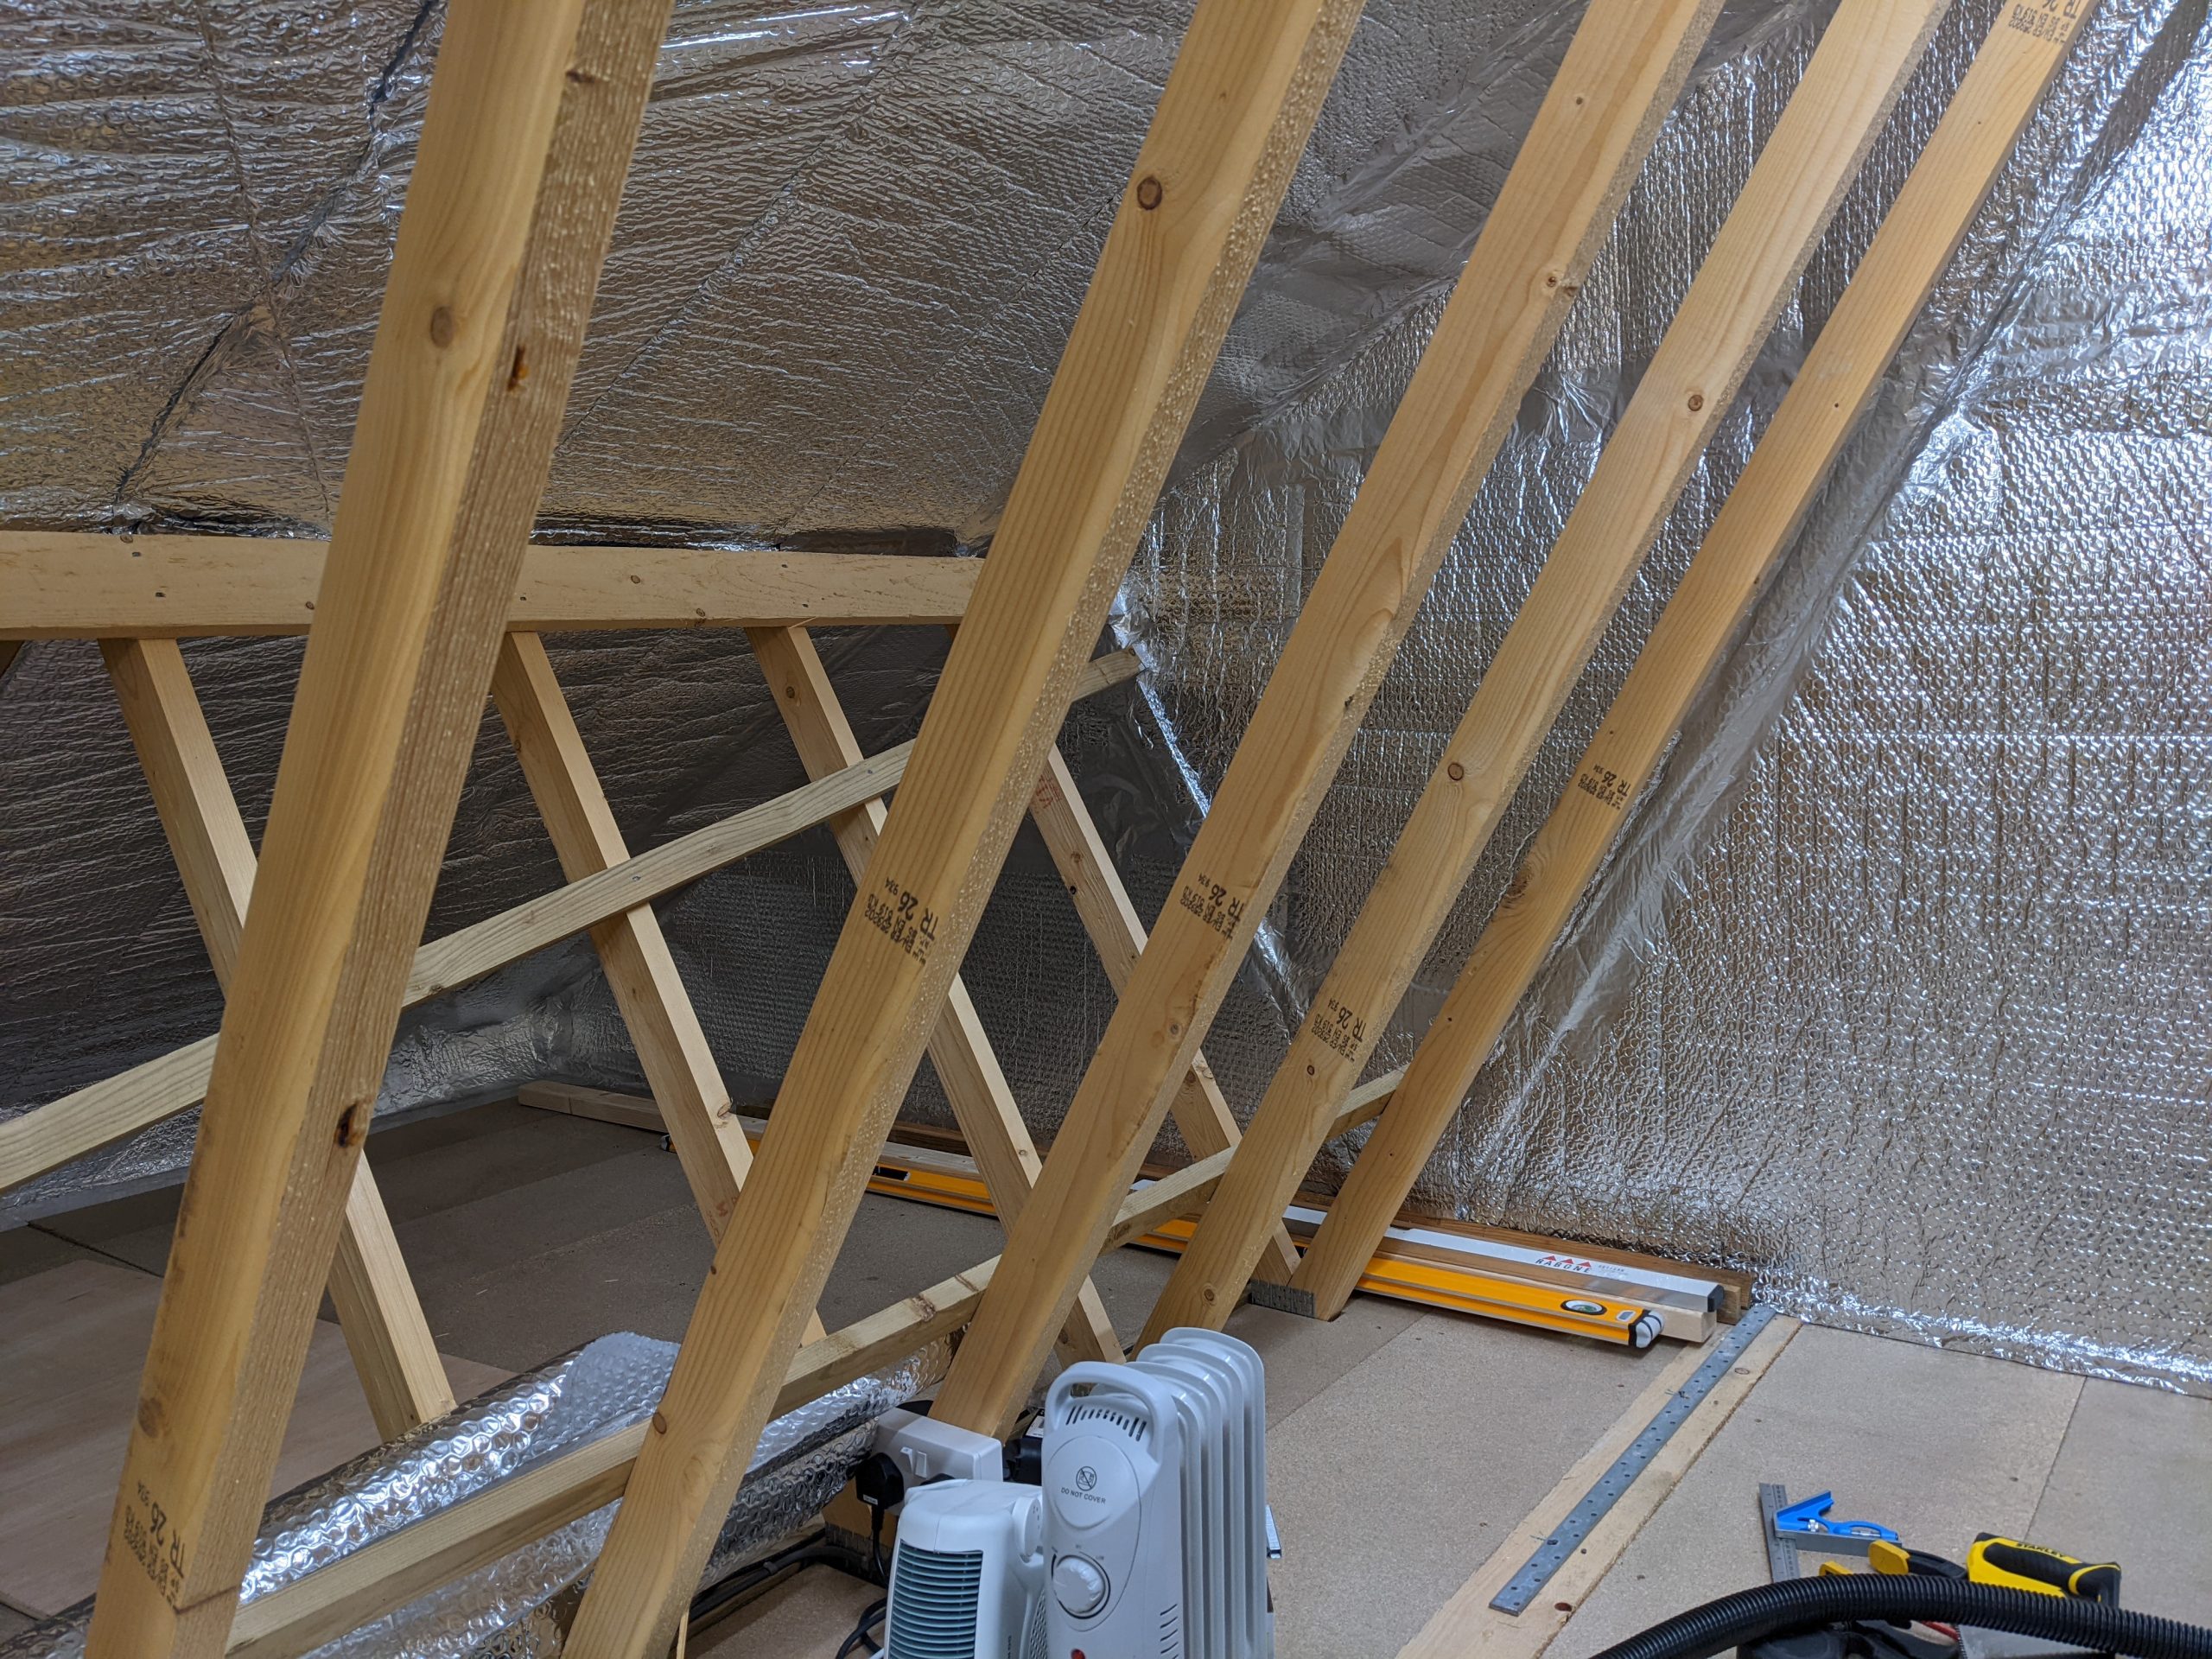
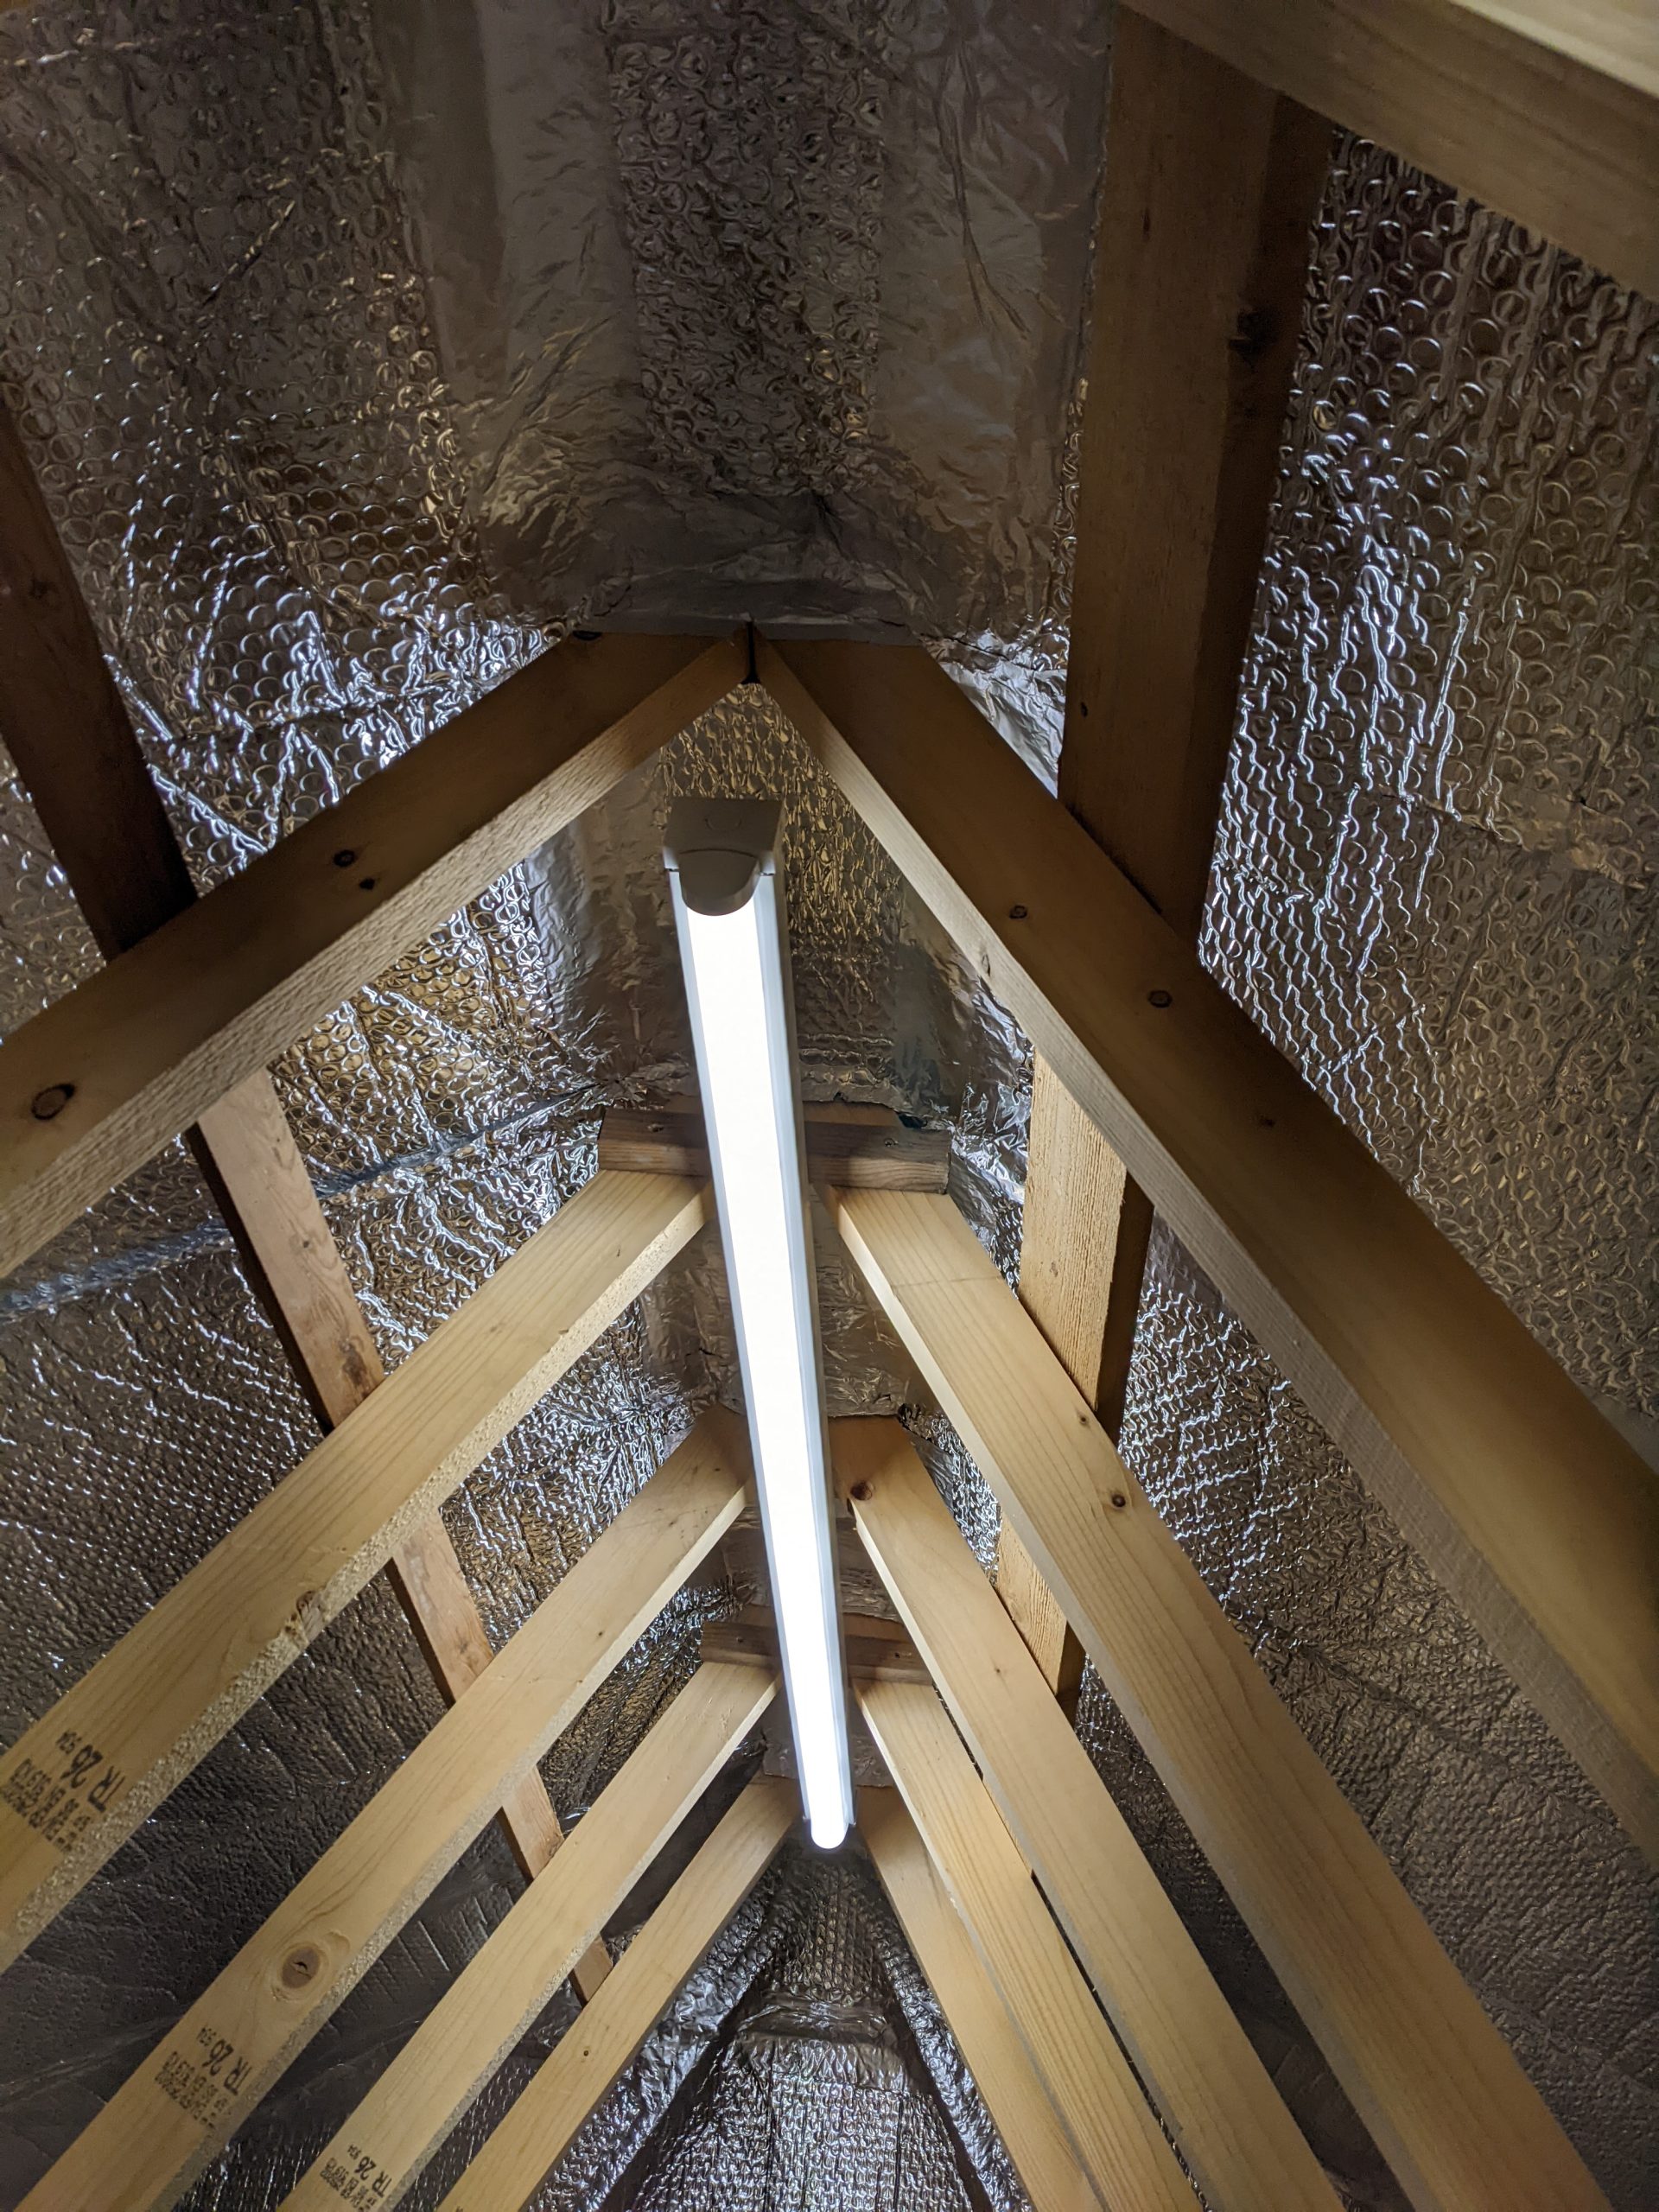
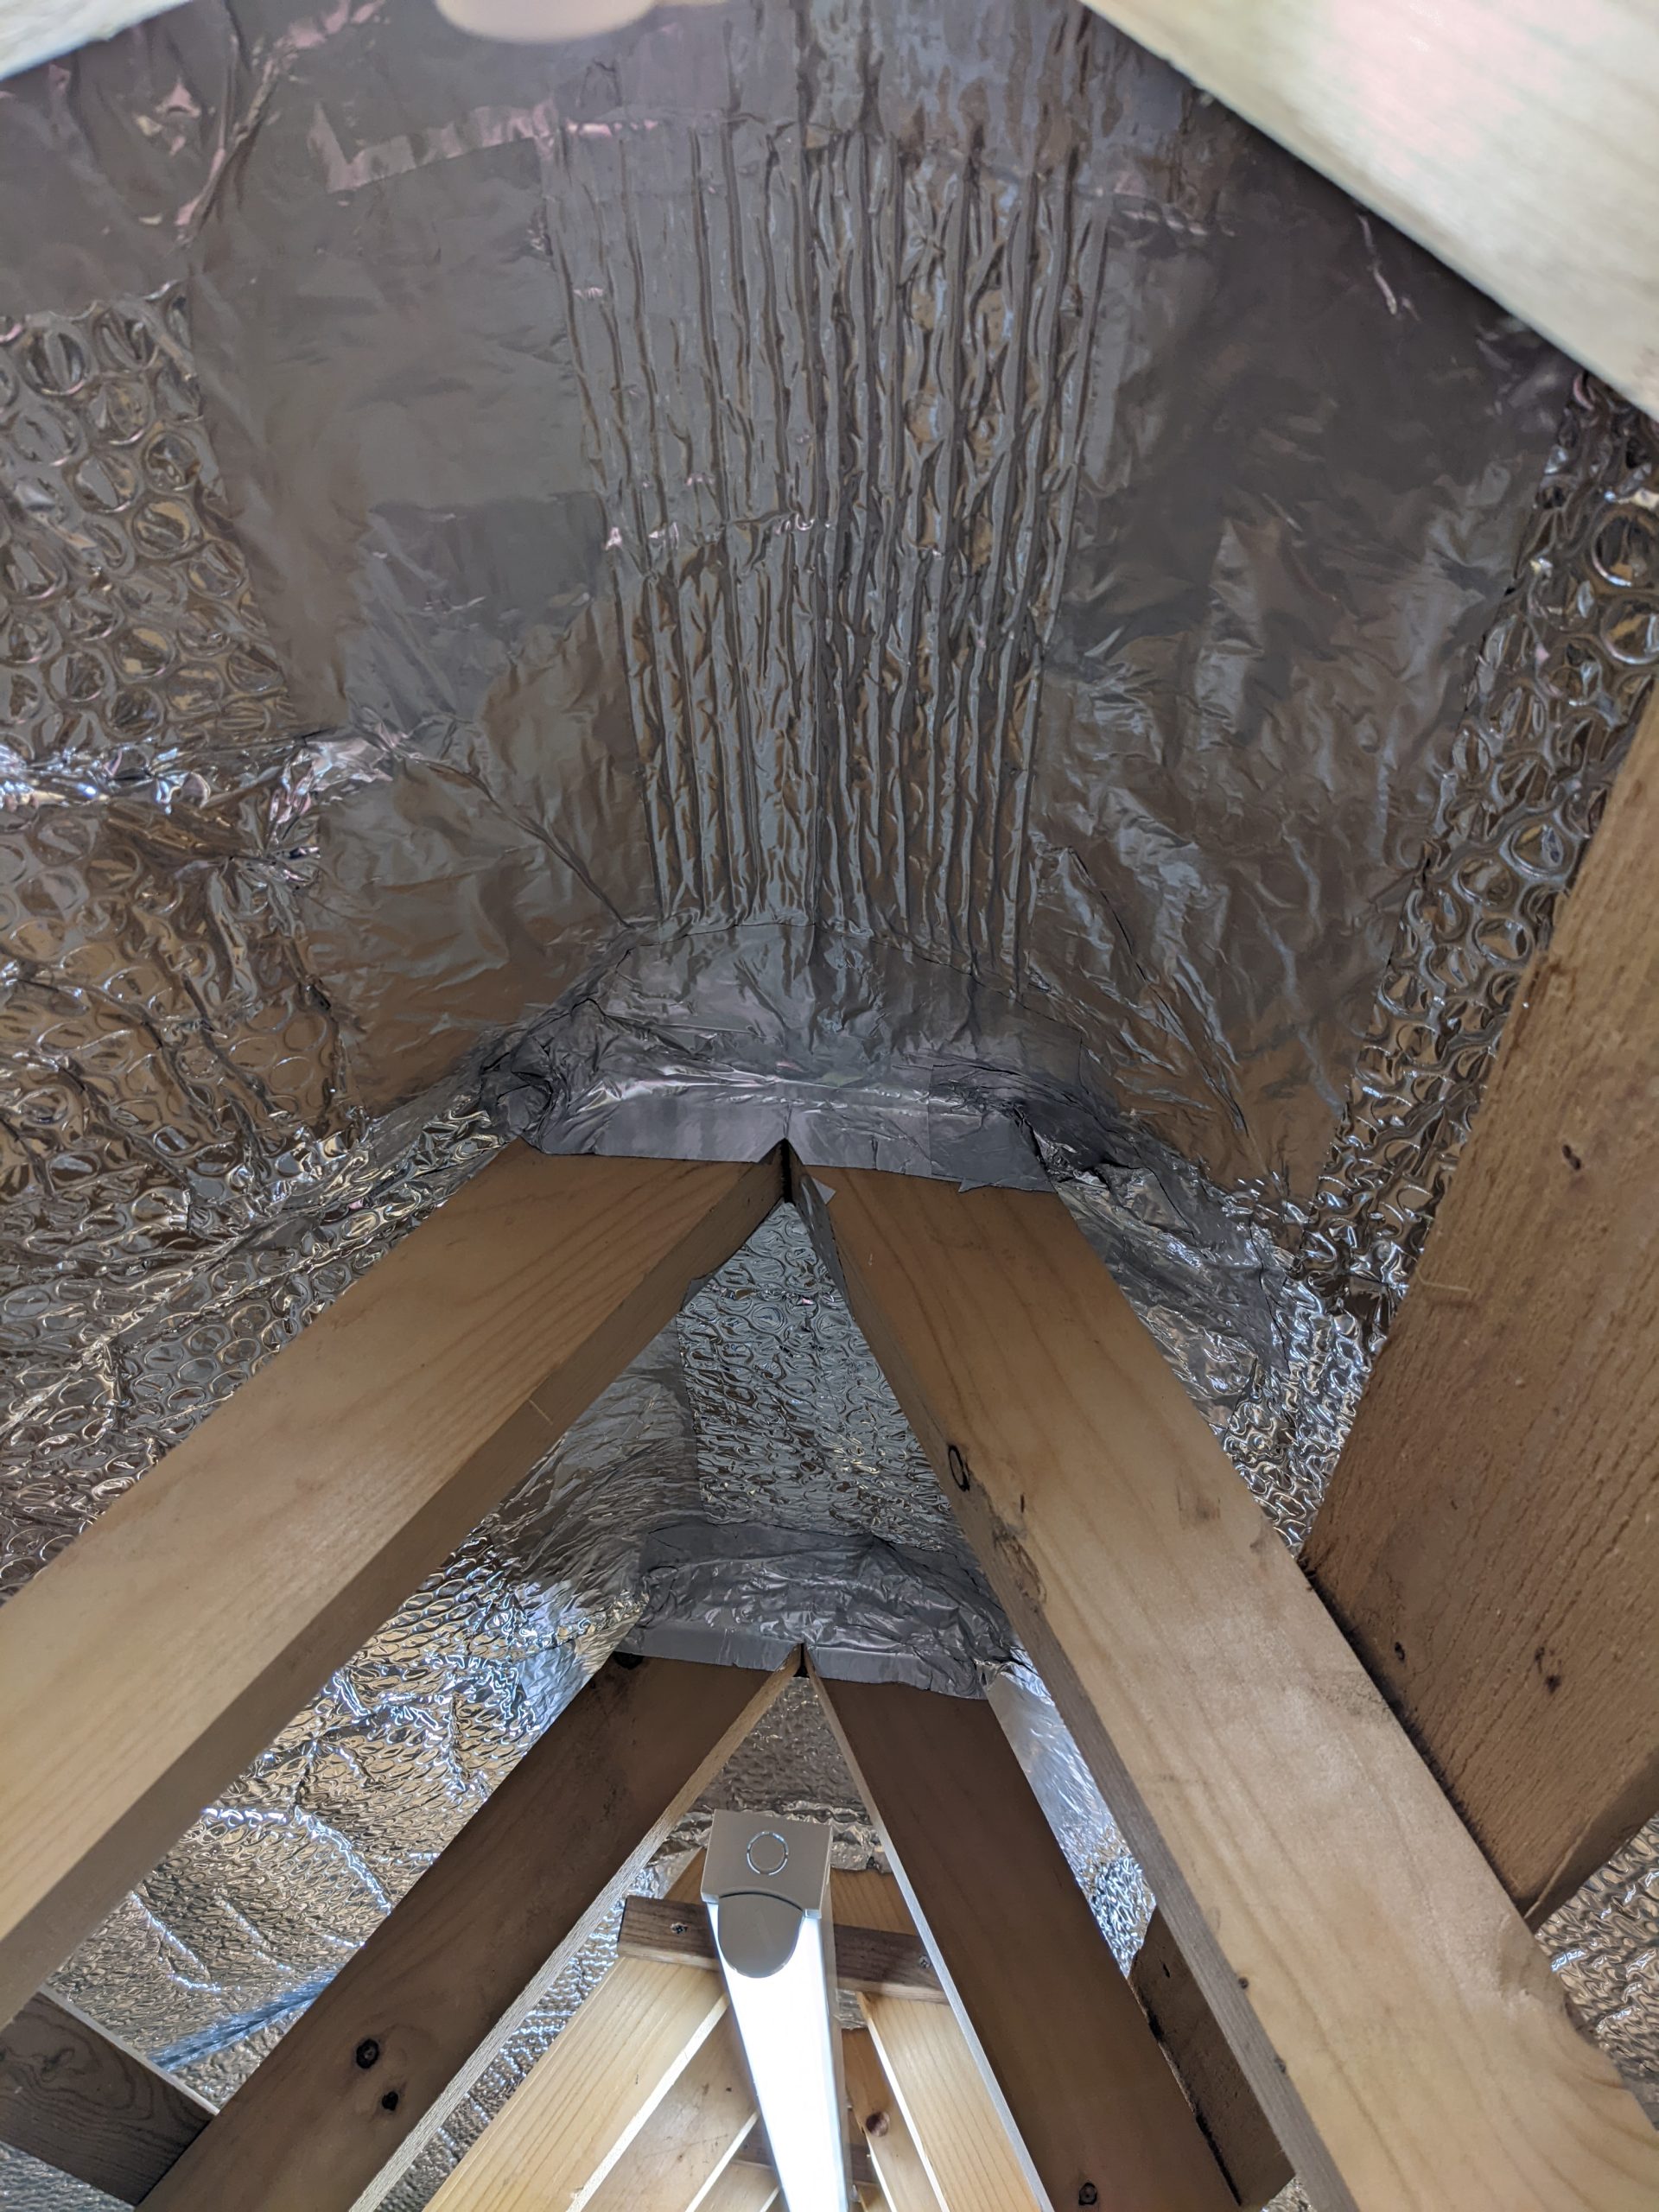
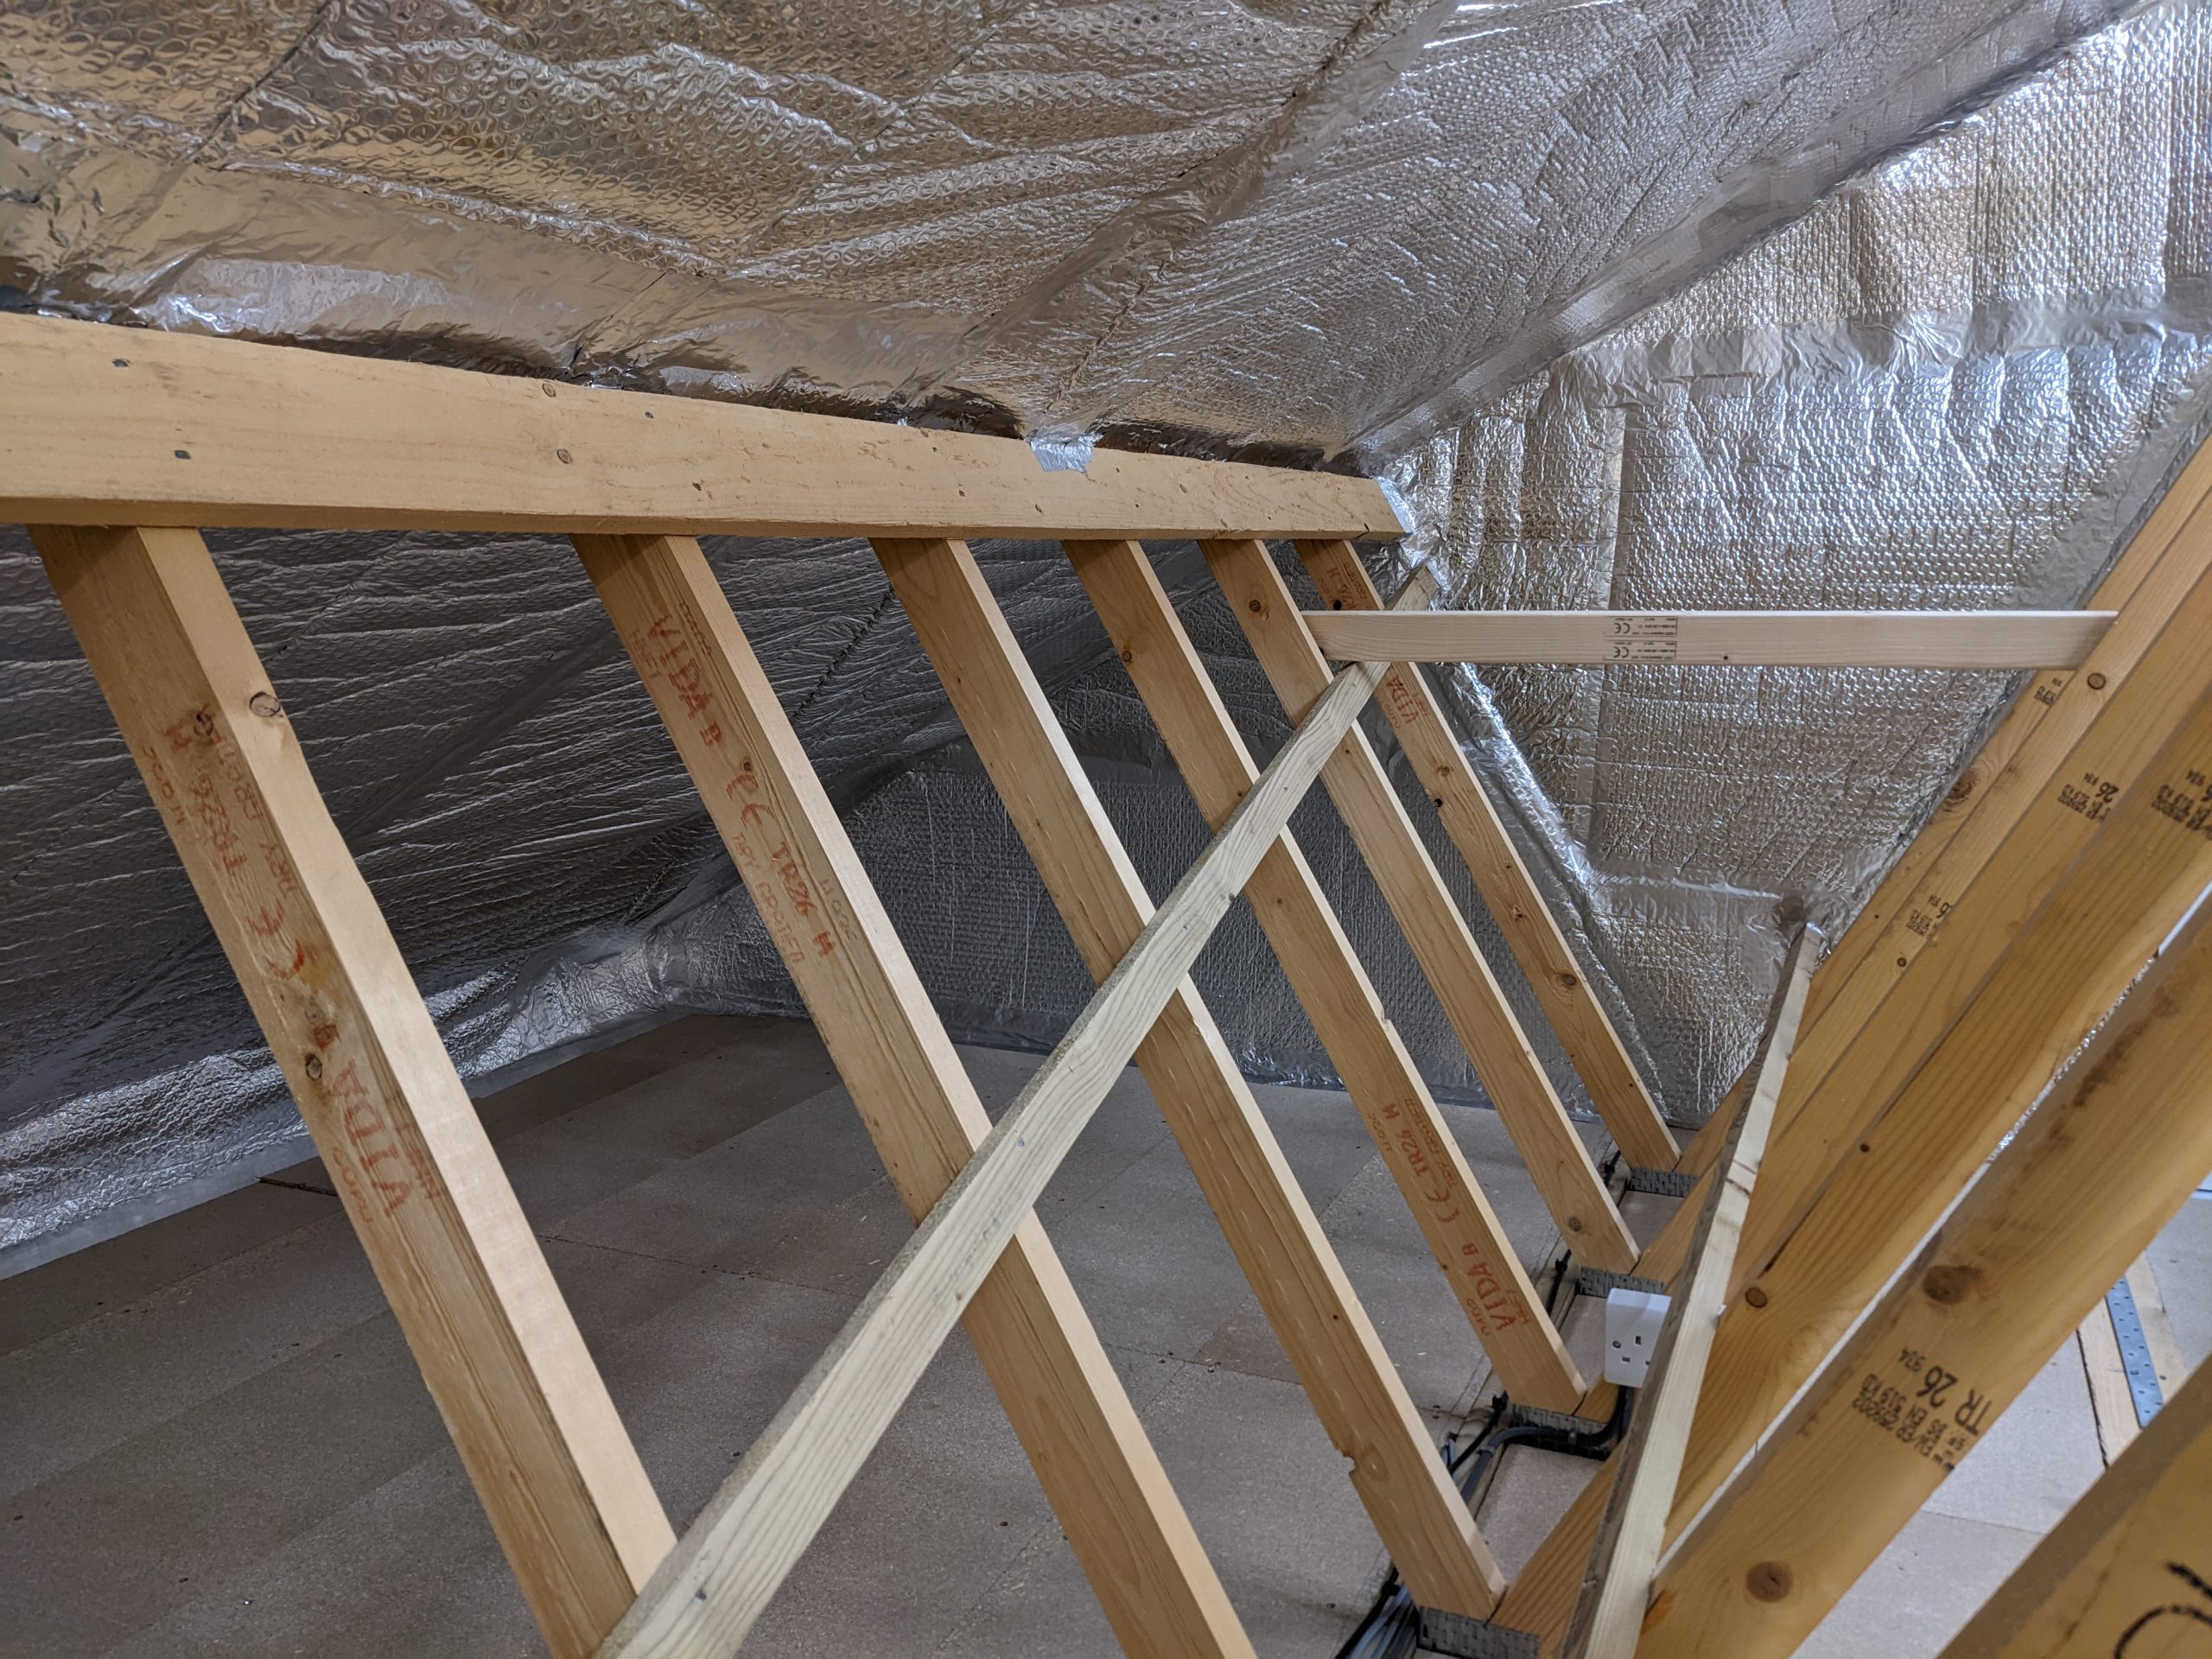
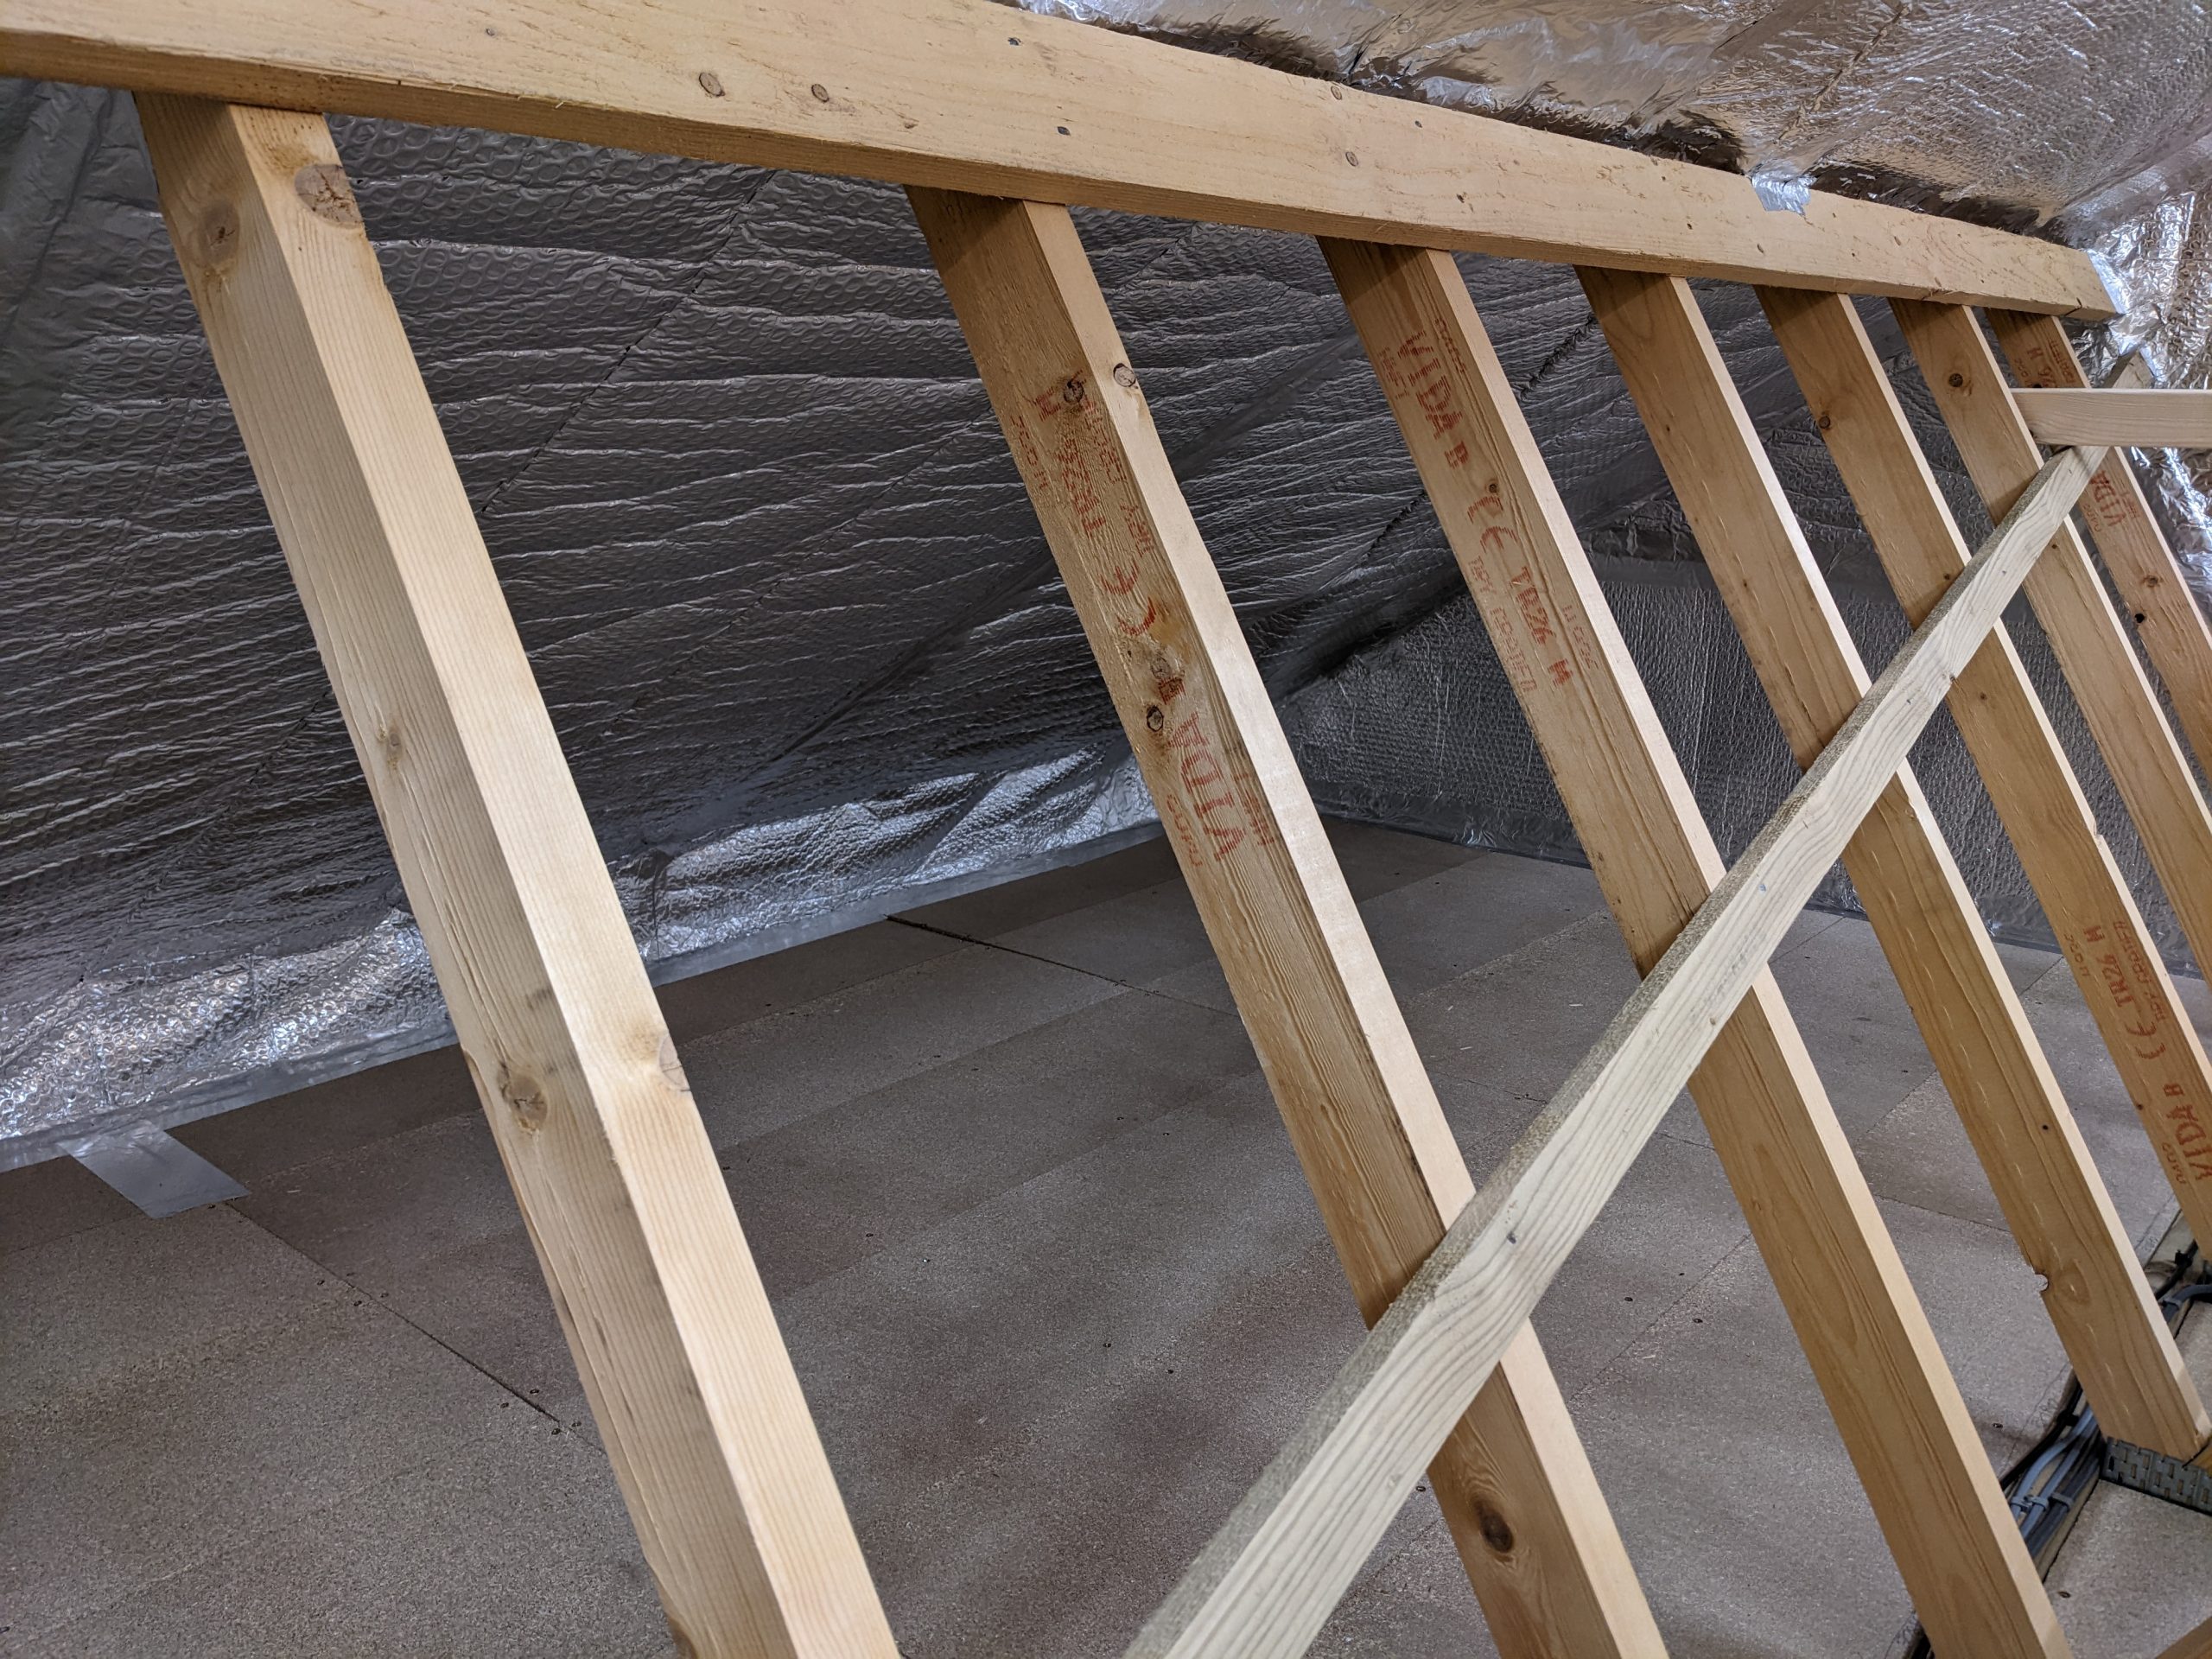
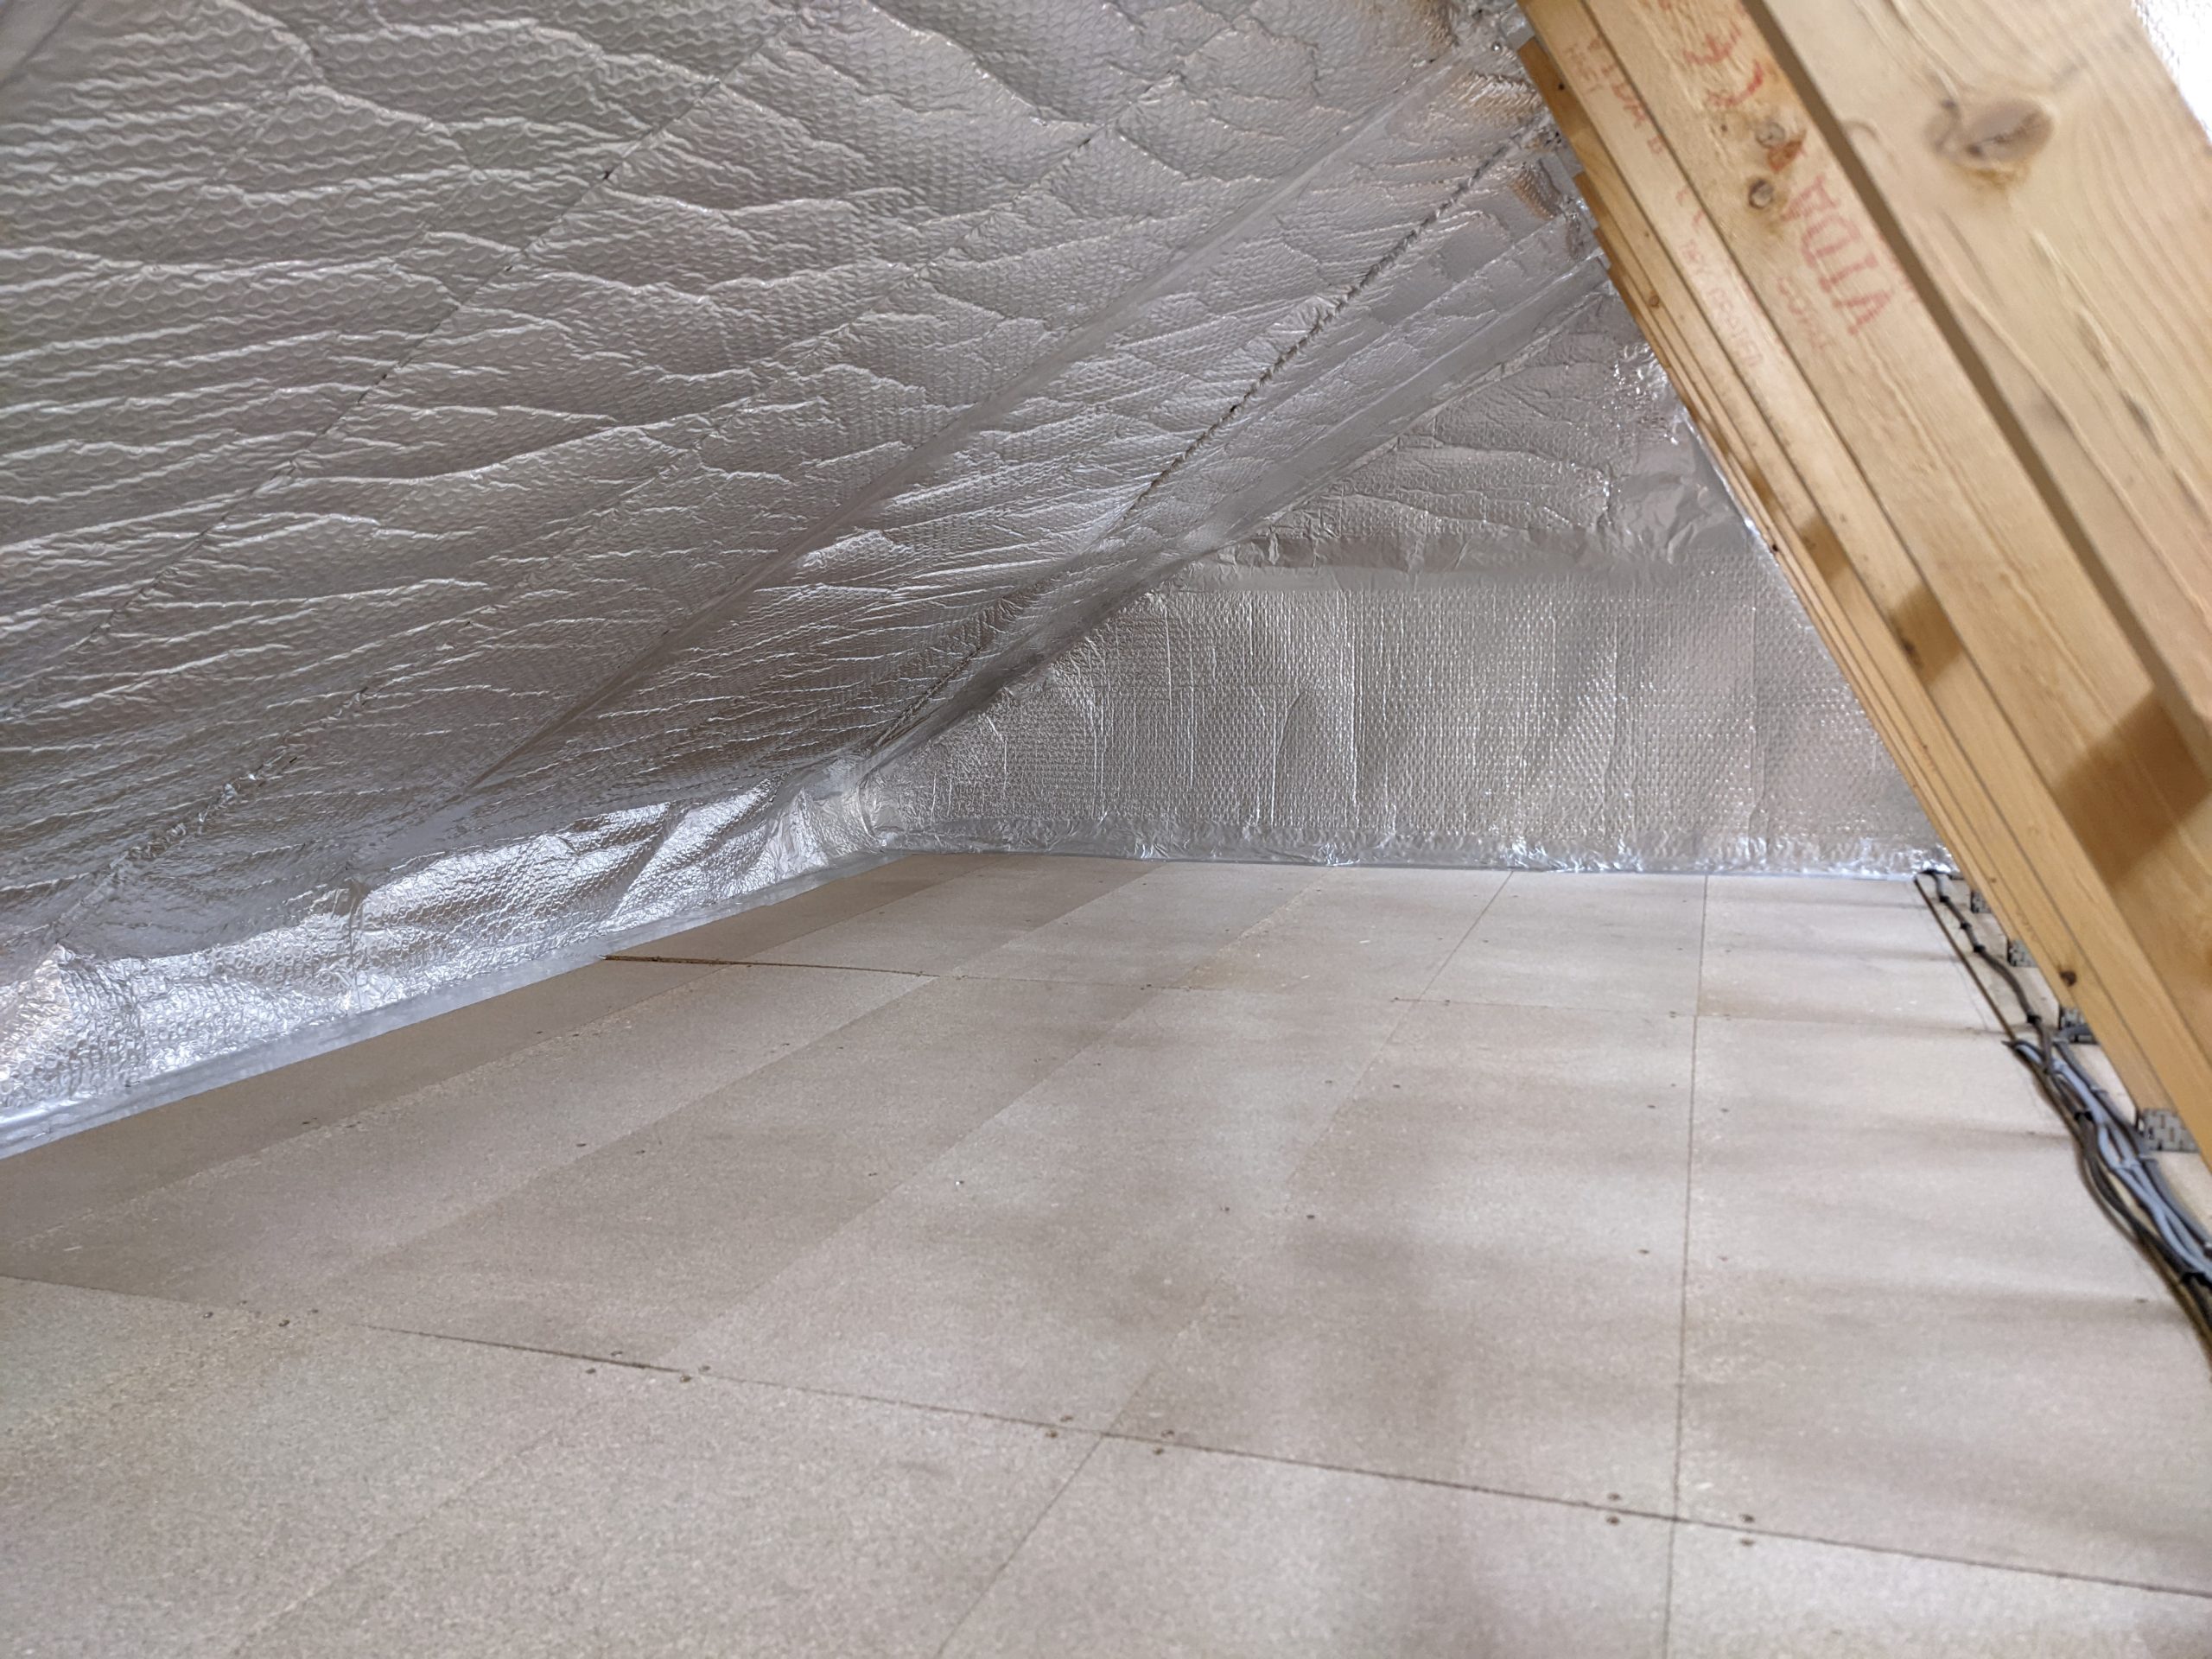
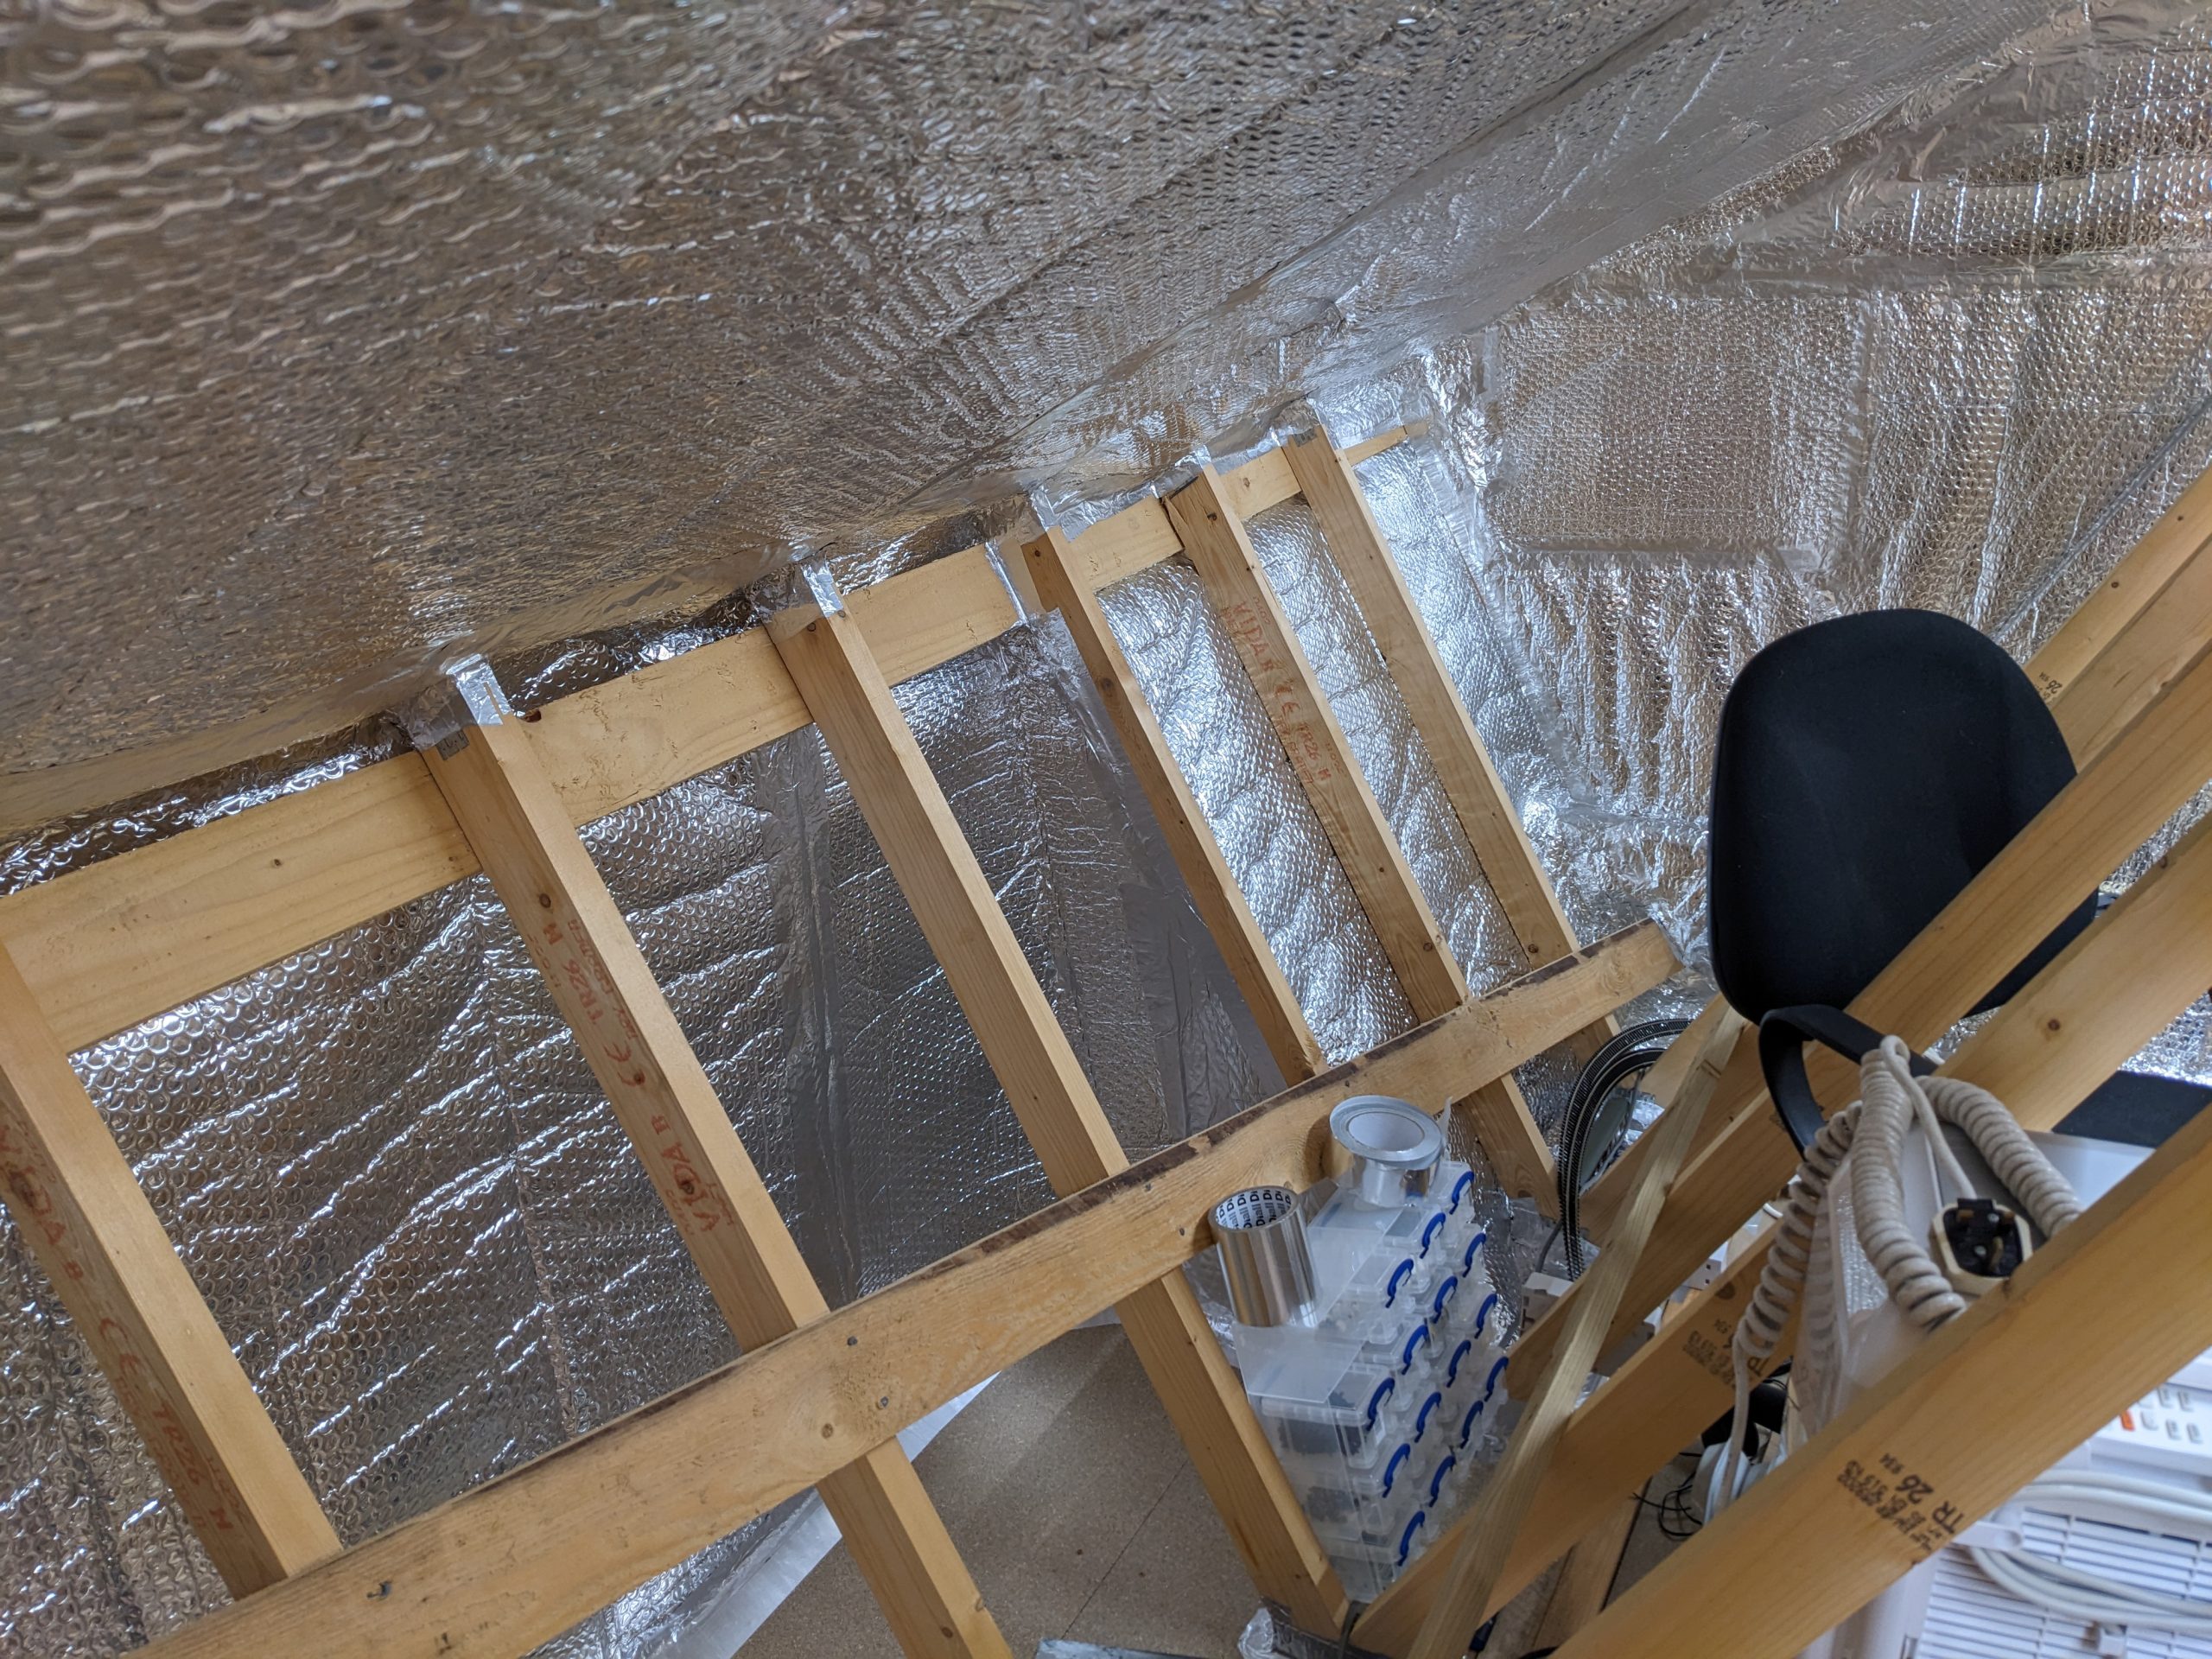
The next step was to line the underside of the rafters with ‘Thermawrap’ insulation. This is like foil-covered bubble wrap that you staple onto the rafters and seal the joins with silver tape. I also put it across the end walls and made a partition ‘wall’ of it to block off the right side.
The idea is to create a completely sealed ‘tent’ that allows air to circulate around it for ventilation but stays warmer/cooler inside as appropriate. I will also be adding heating/cooling systems to it.
Here are some photos of work in progress –
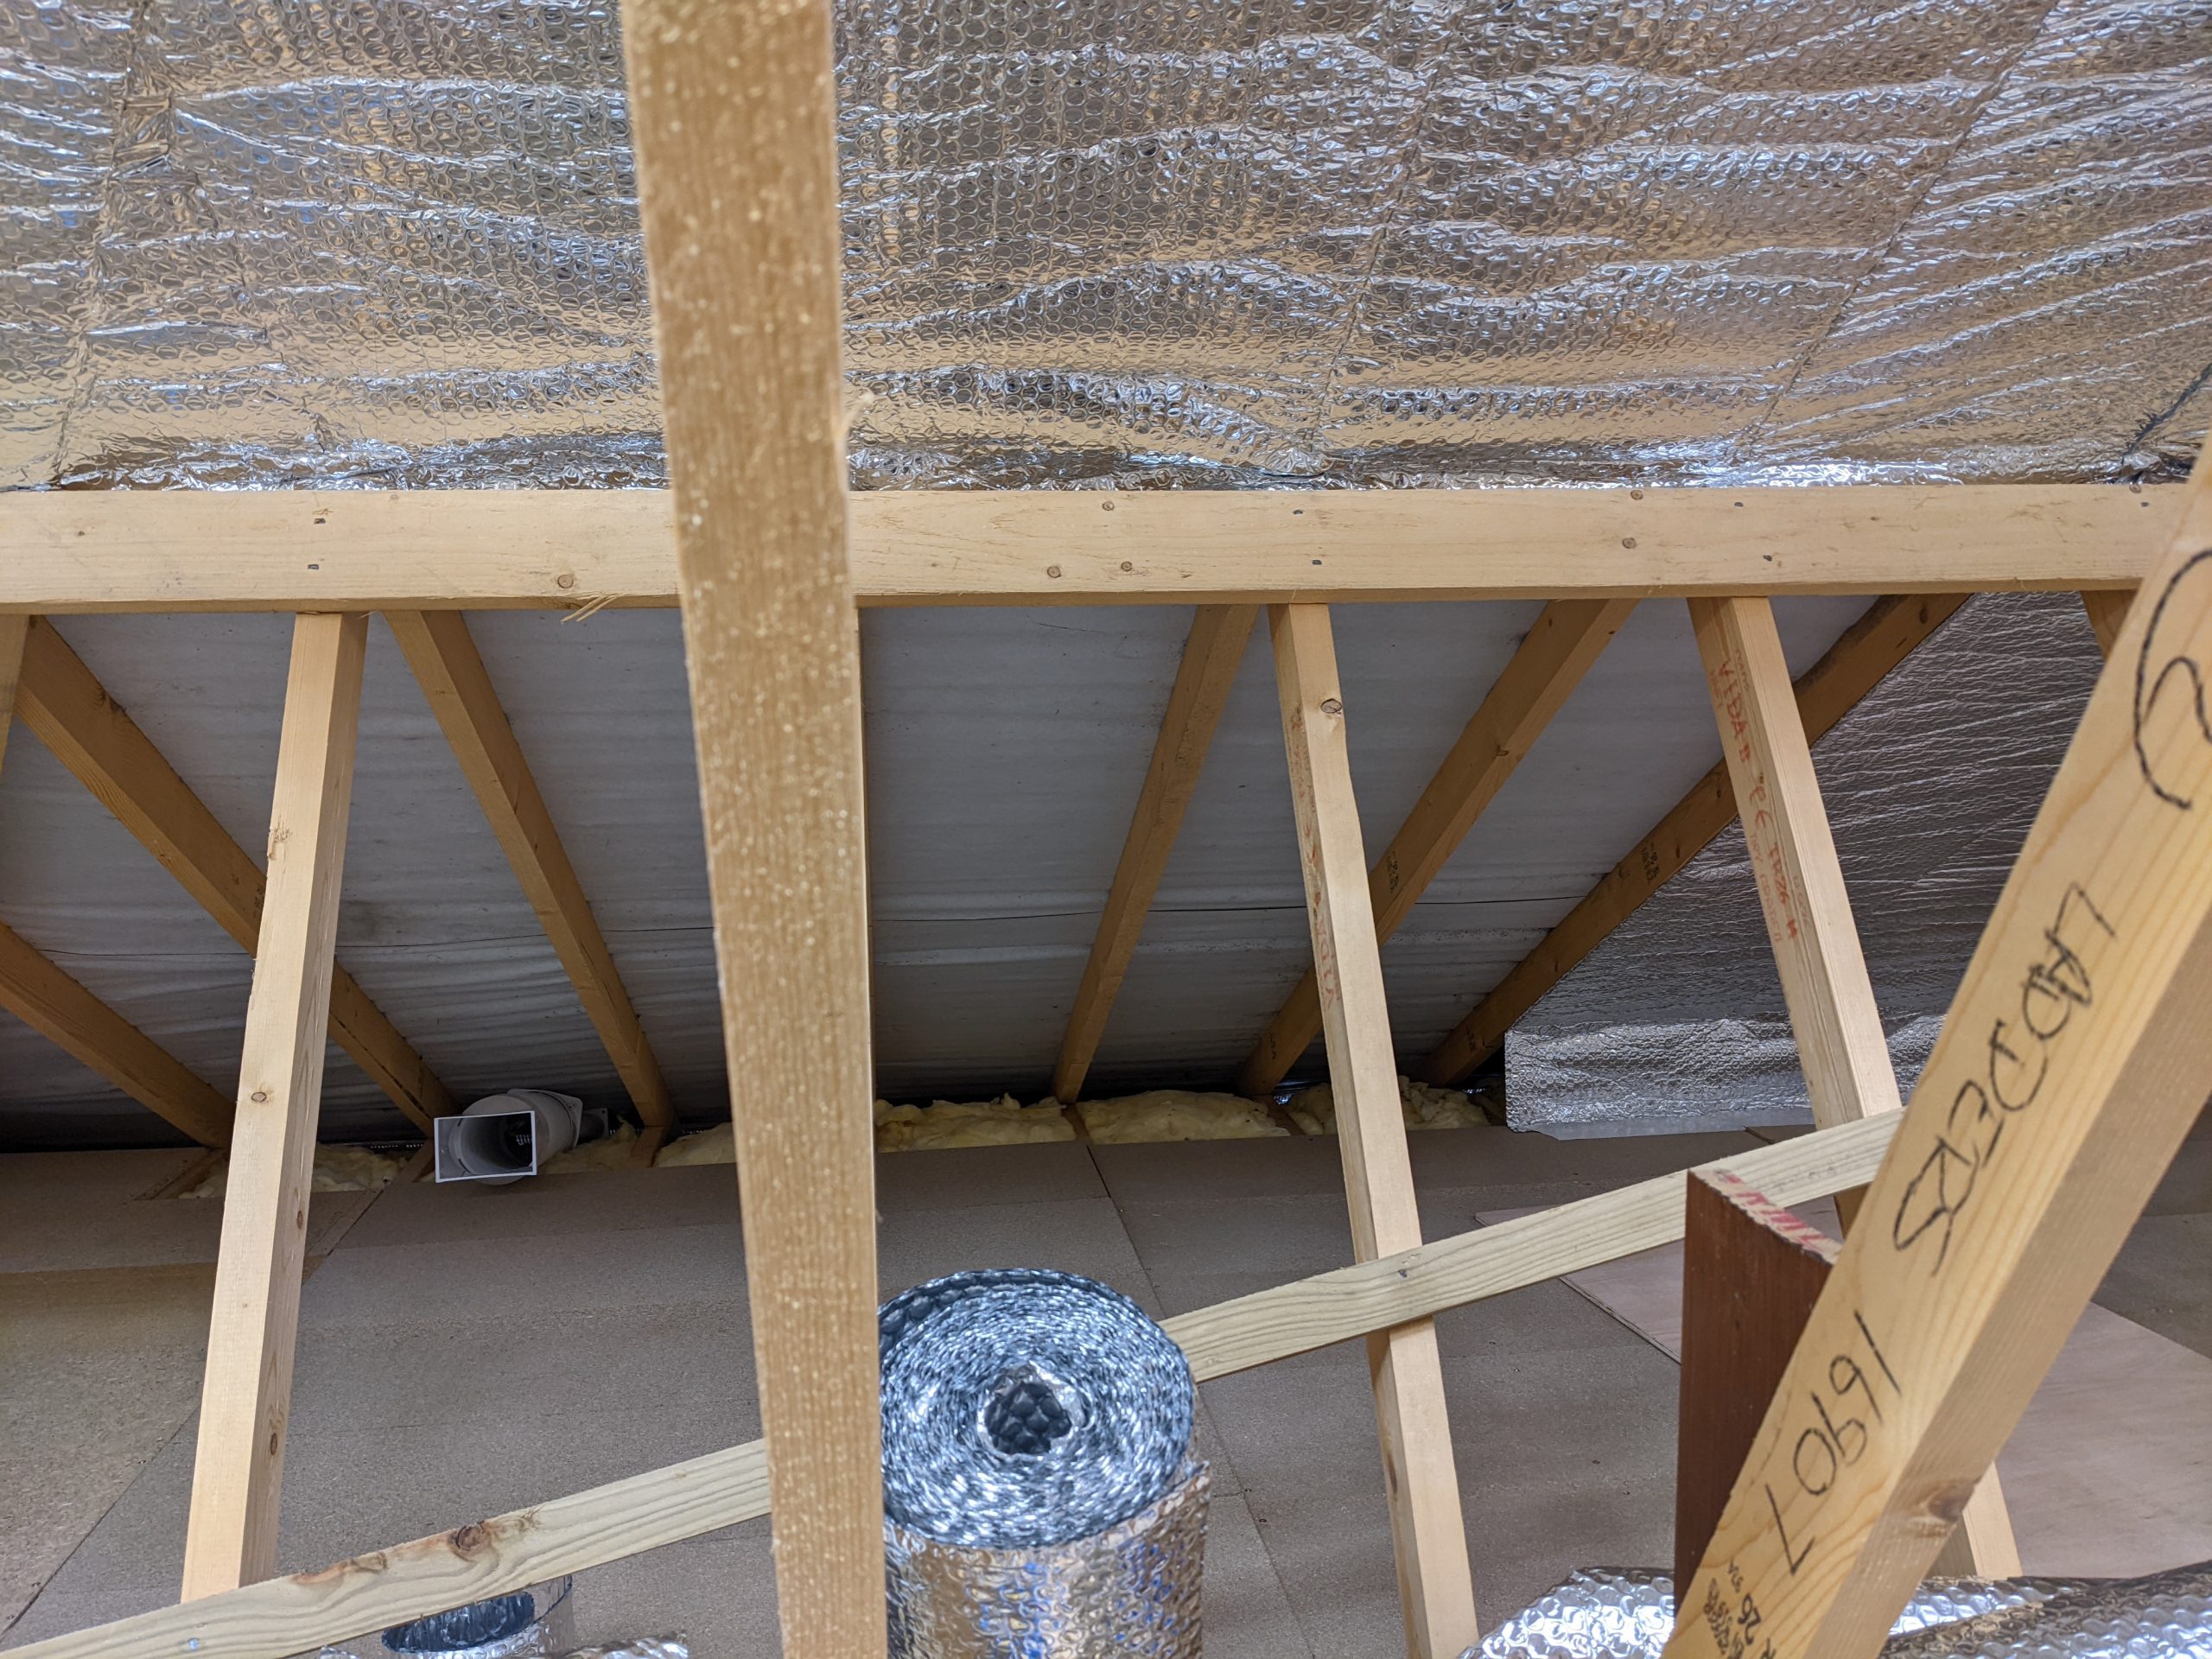

August 2022
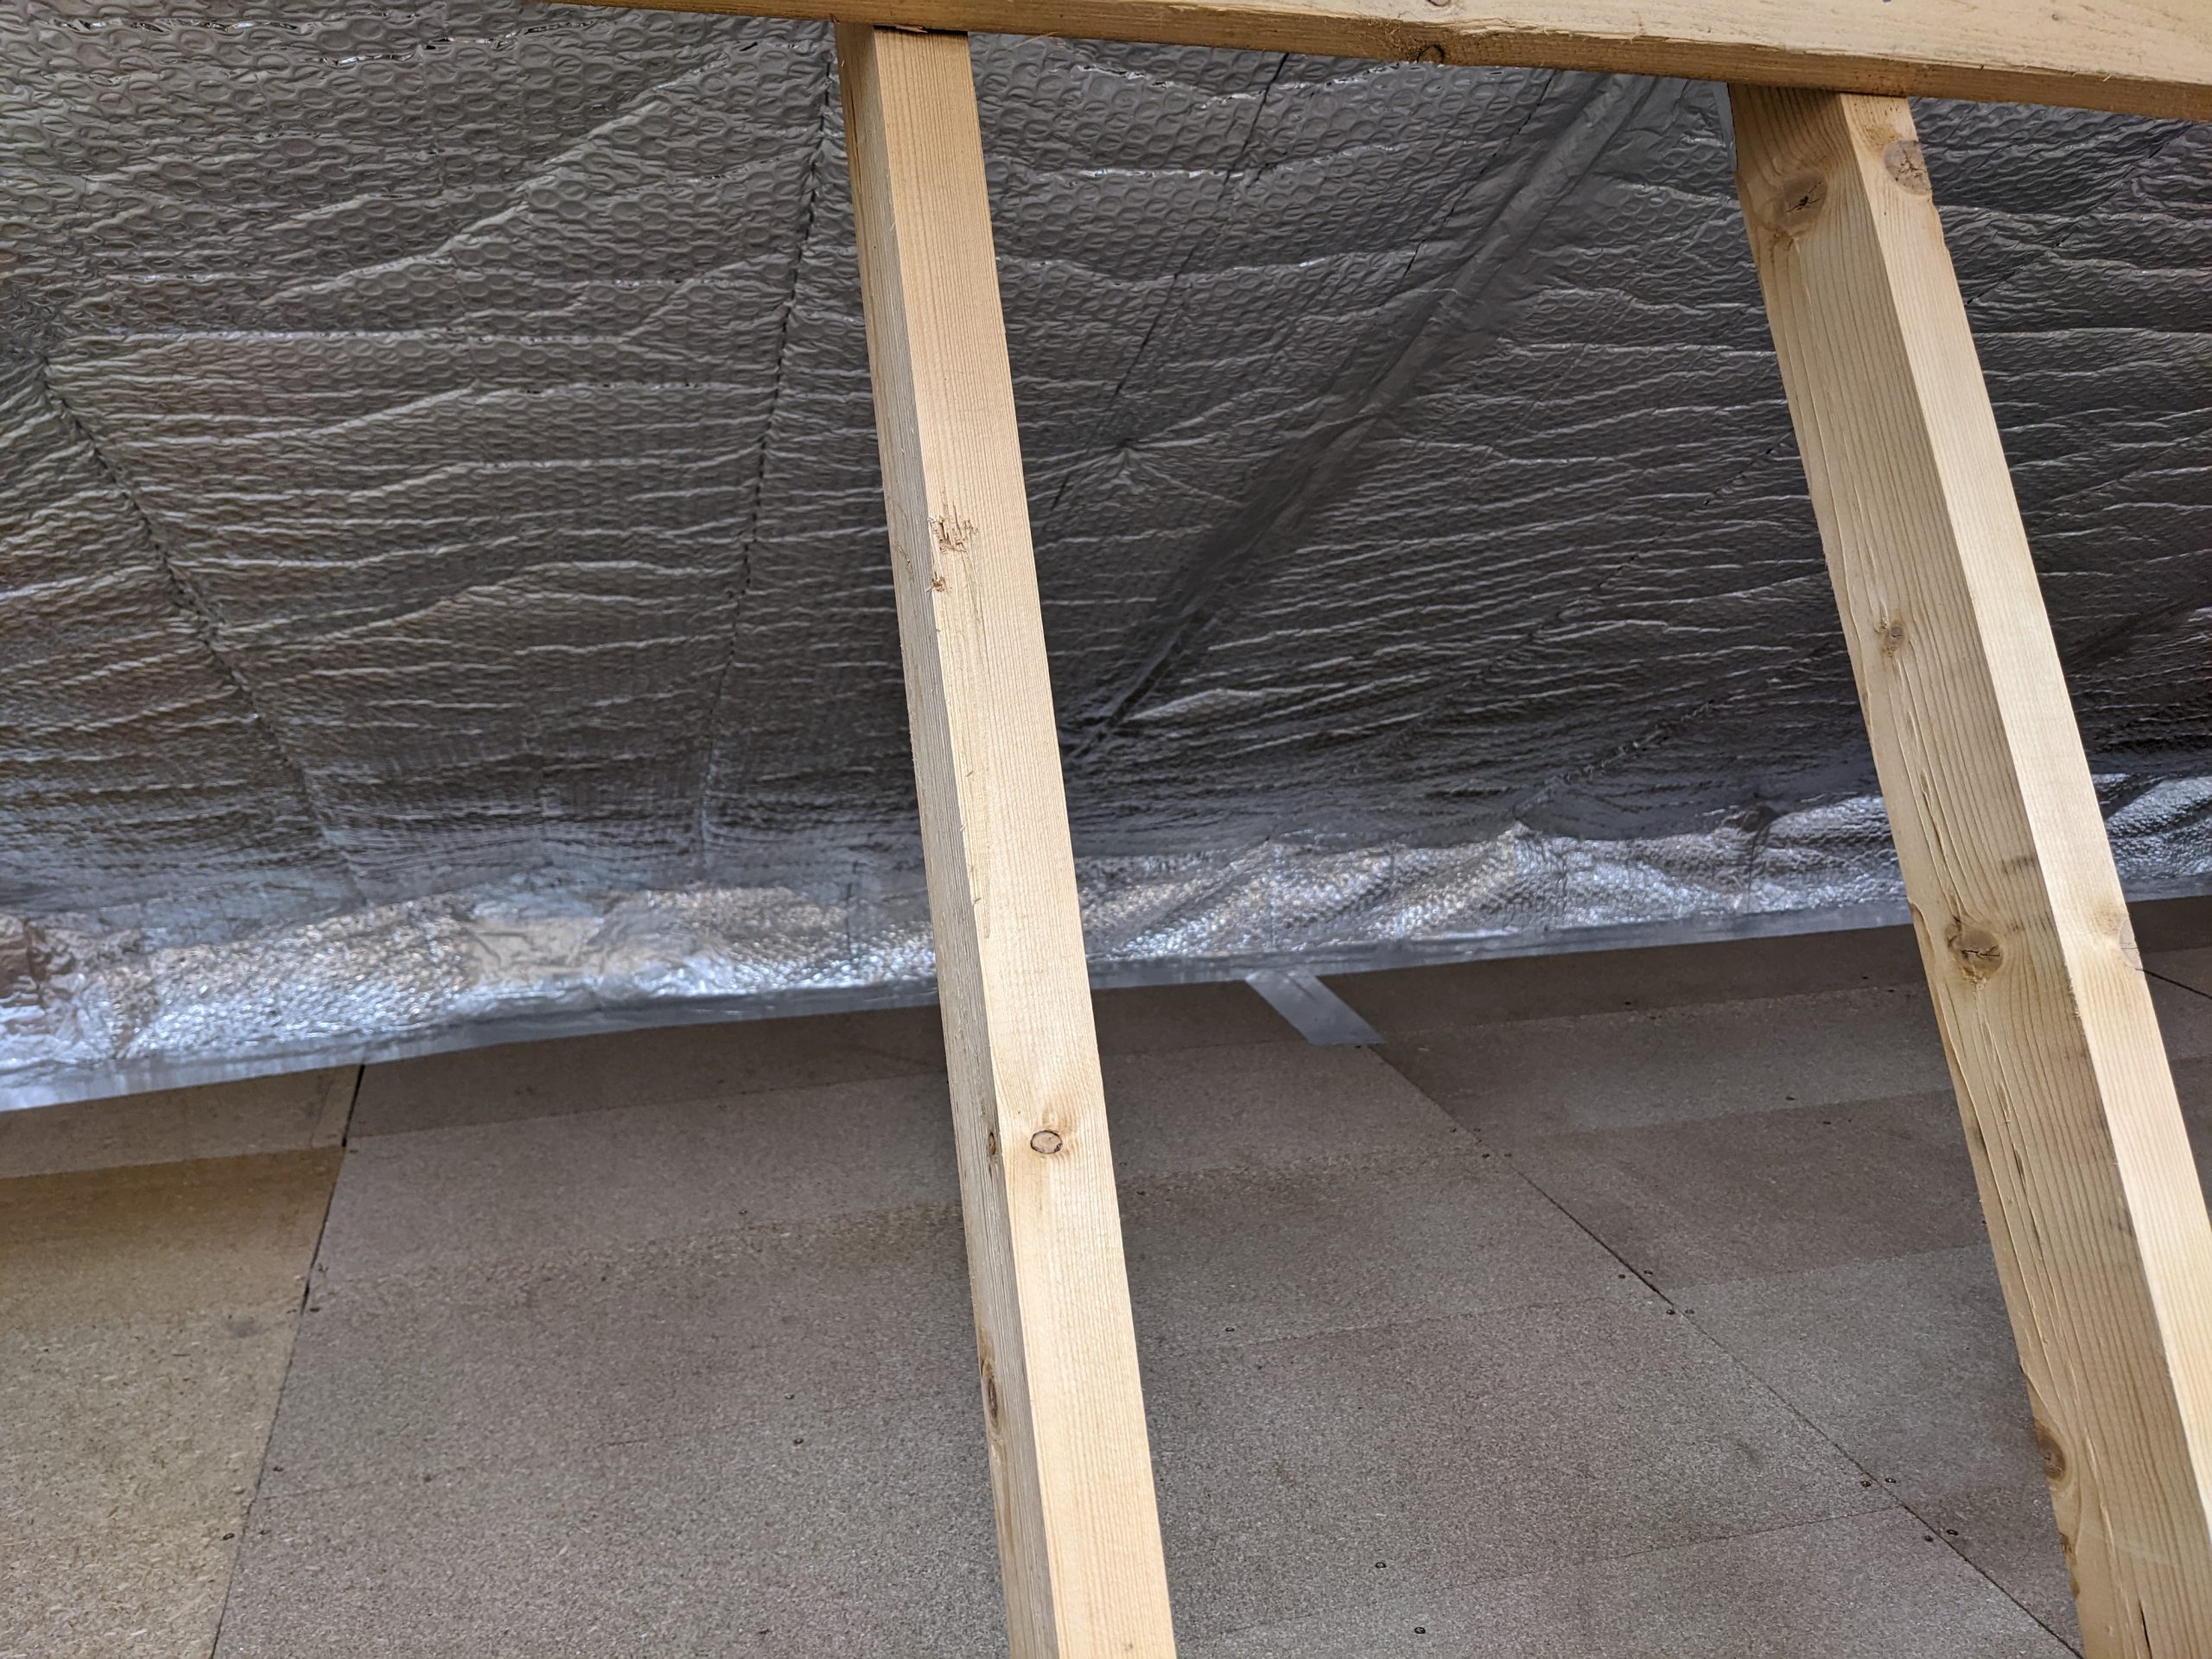
And here are some more showing the left side almost completed –

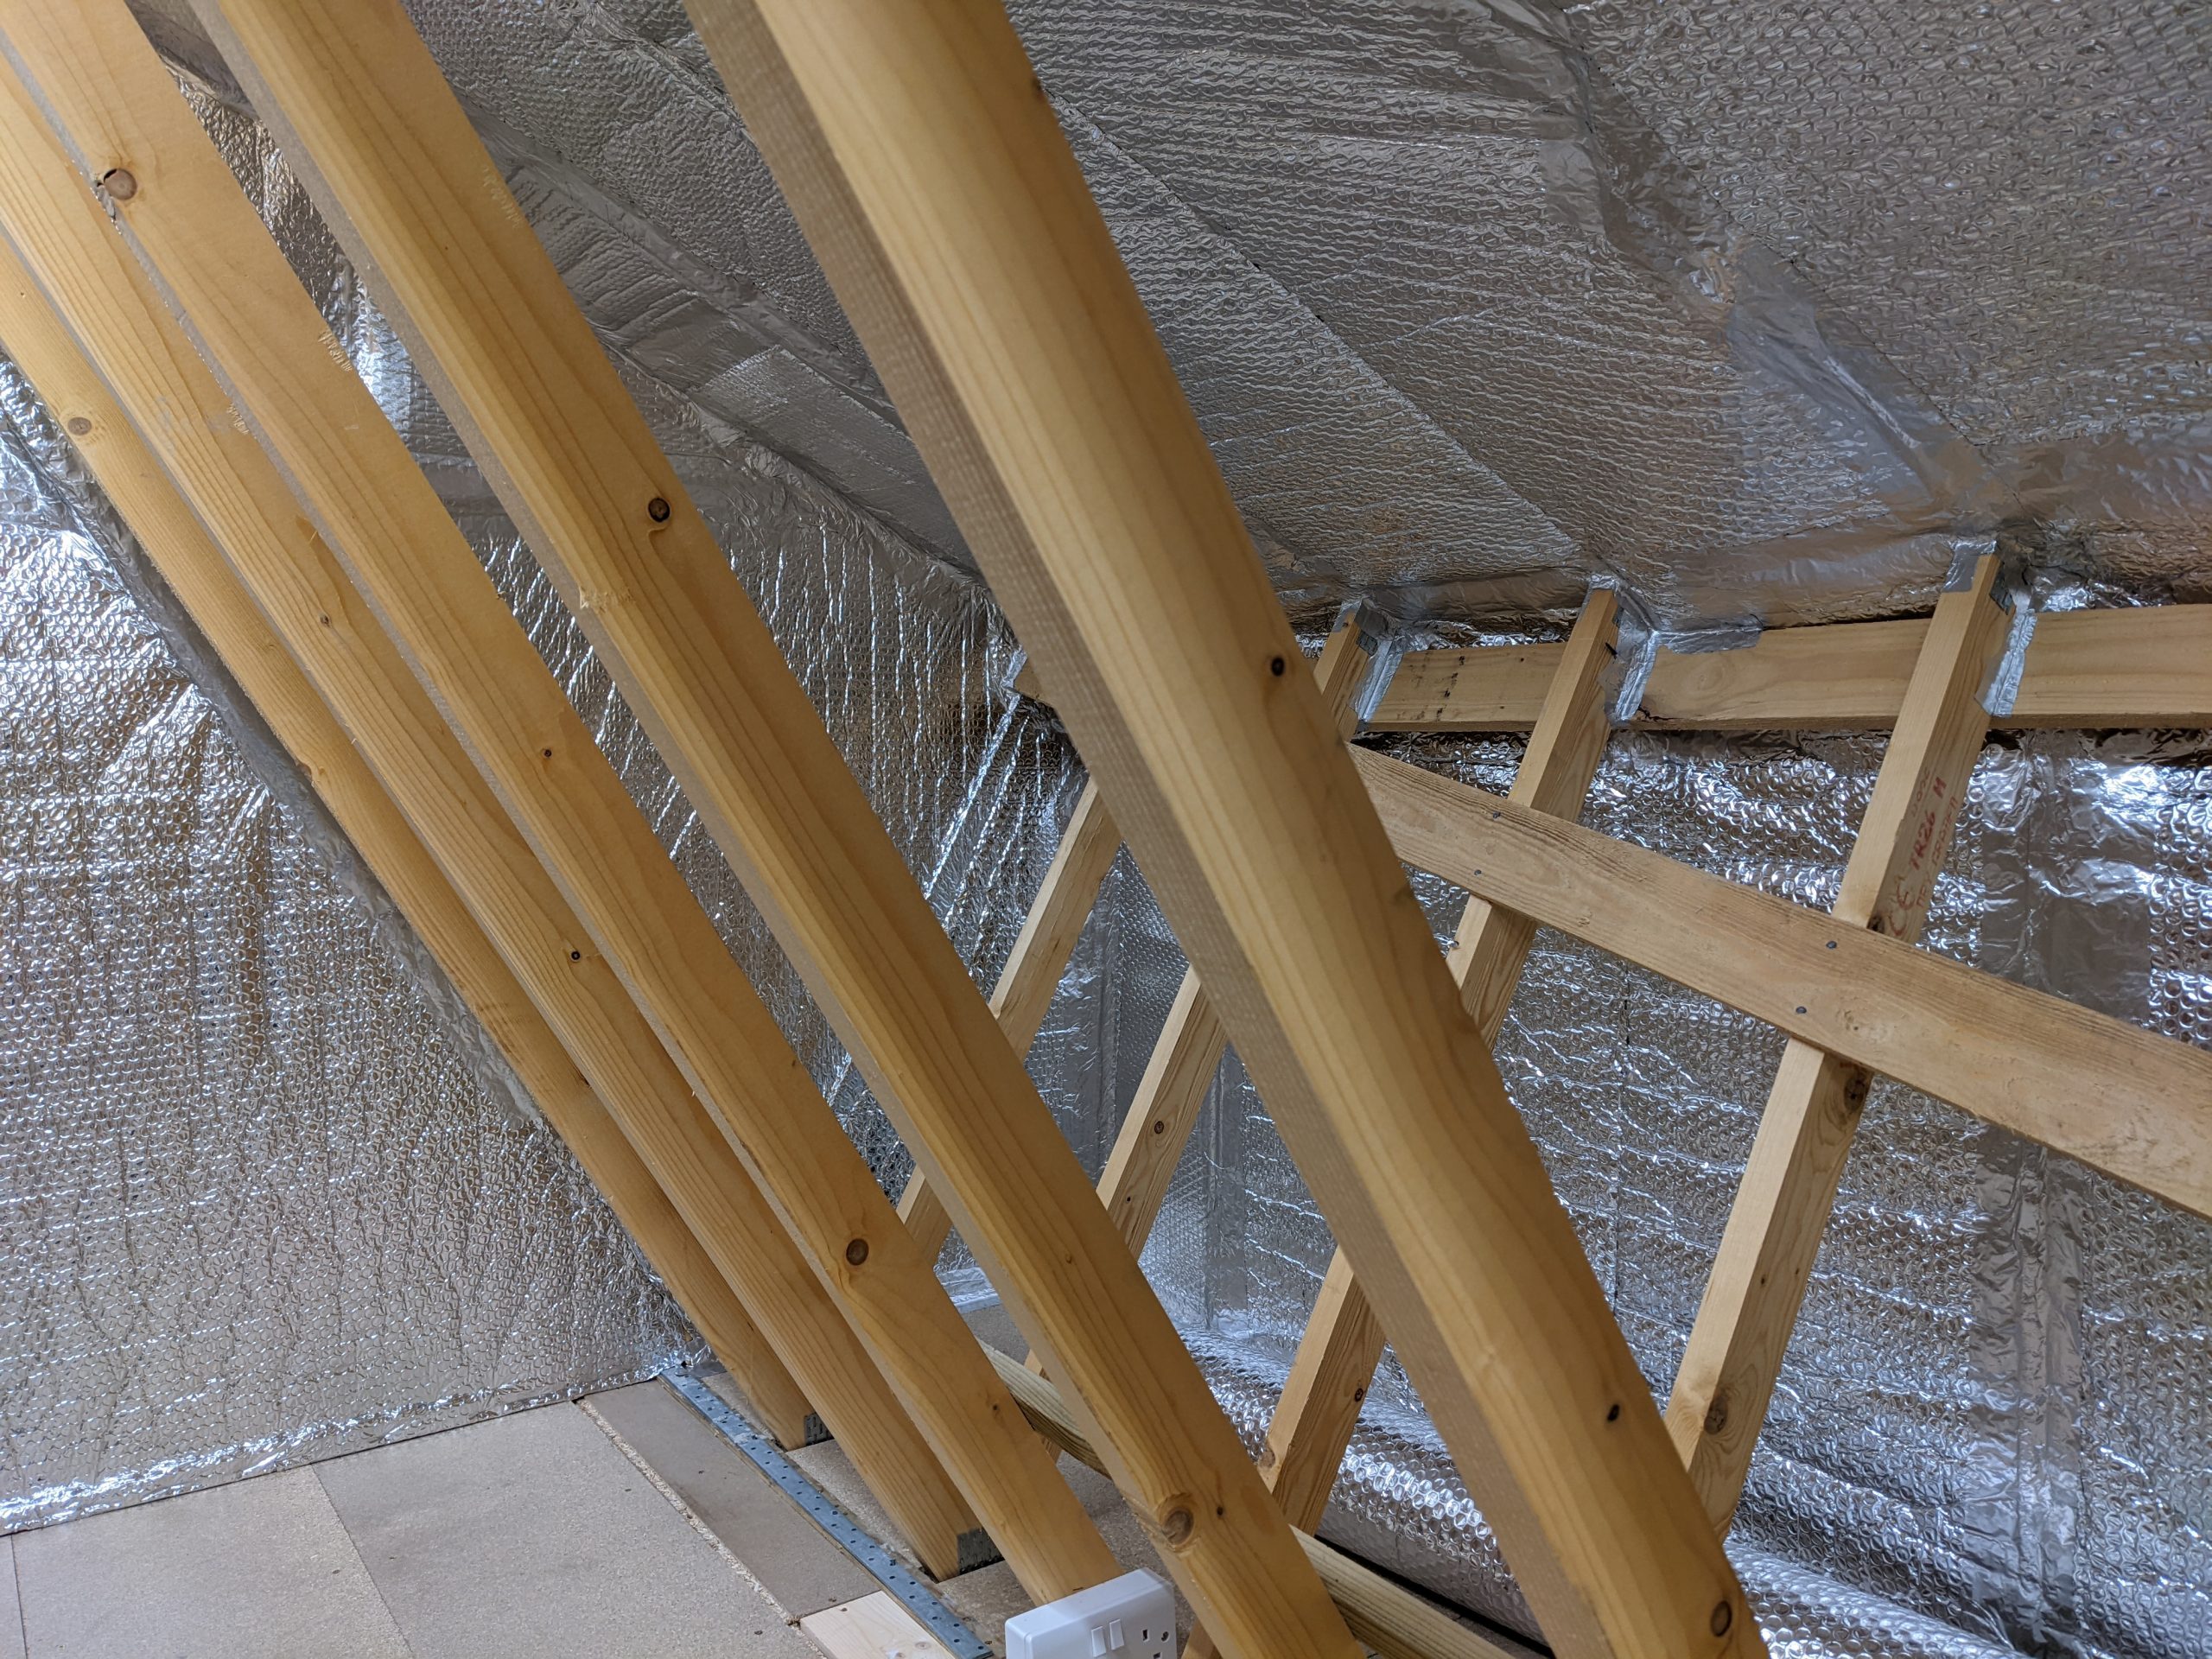
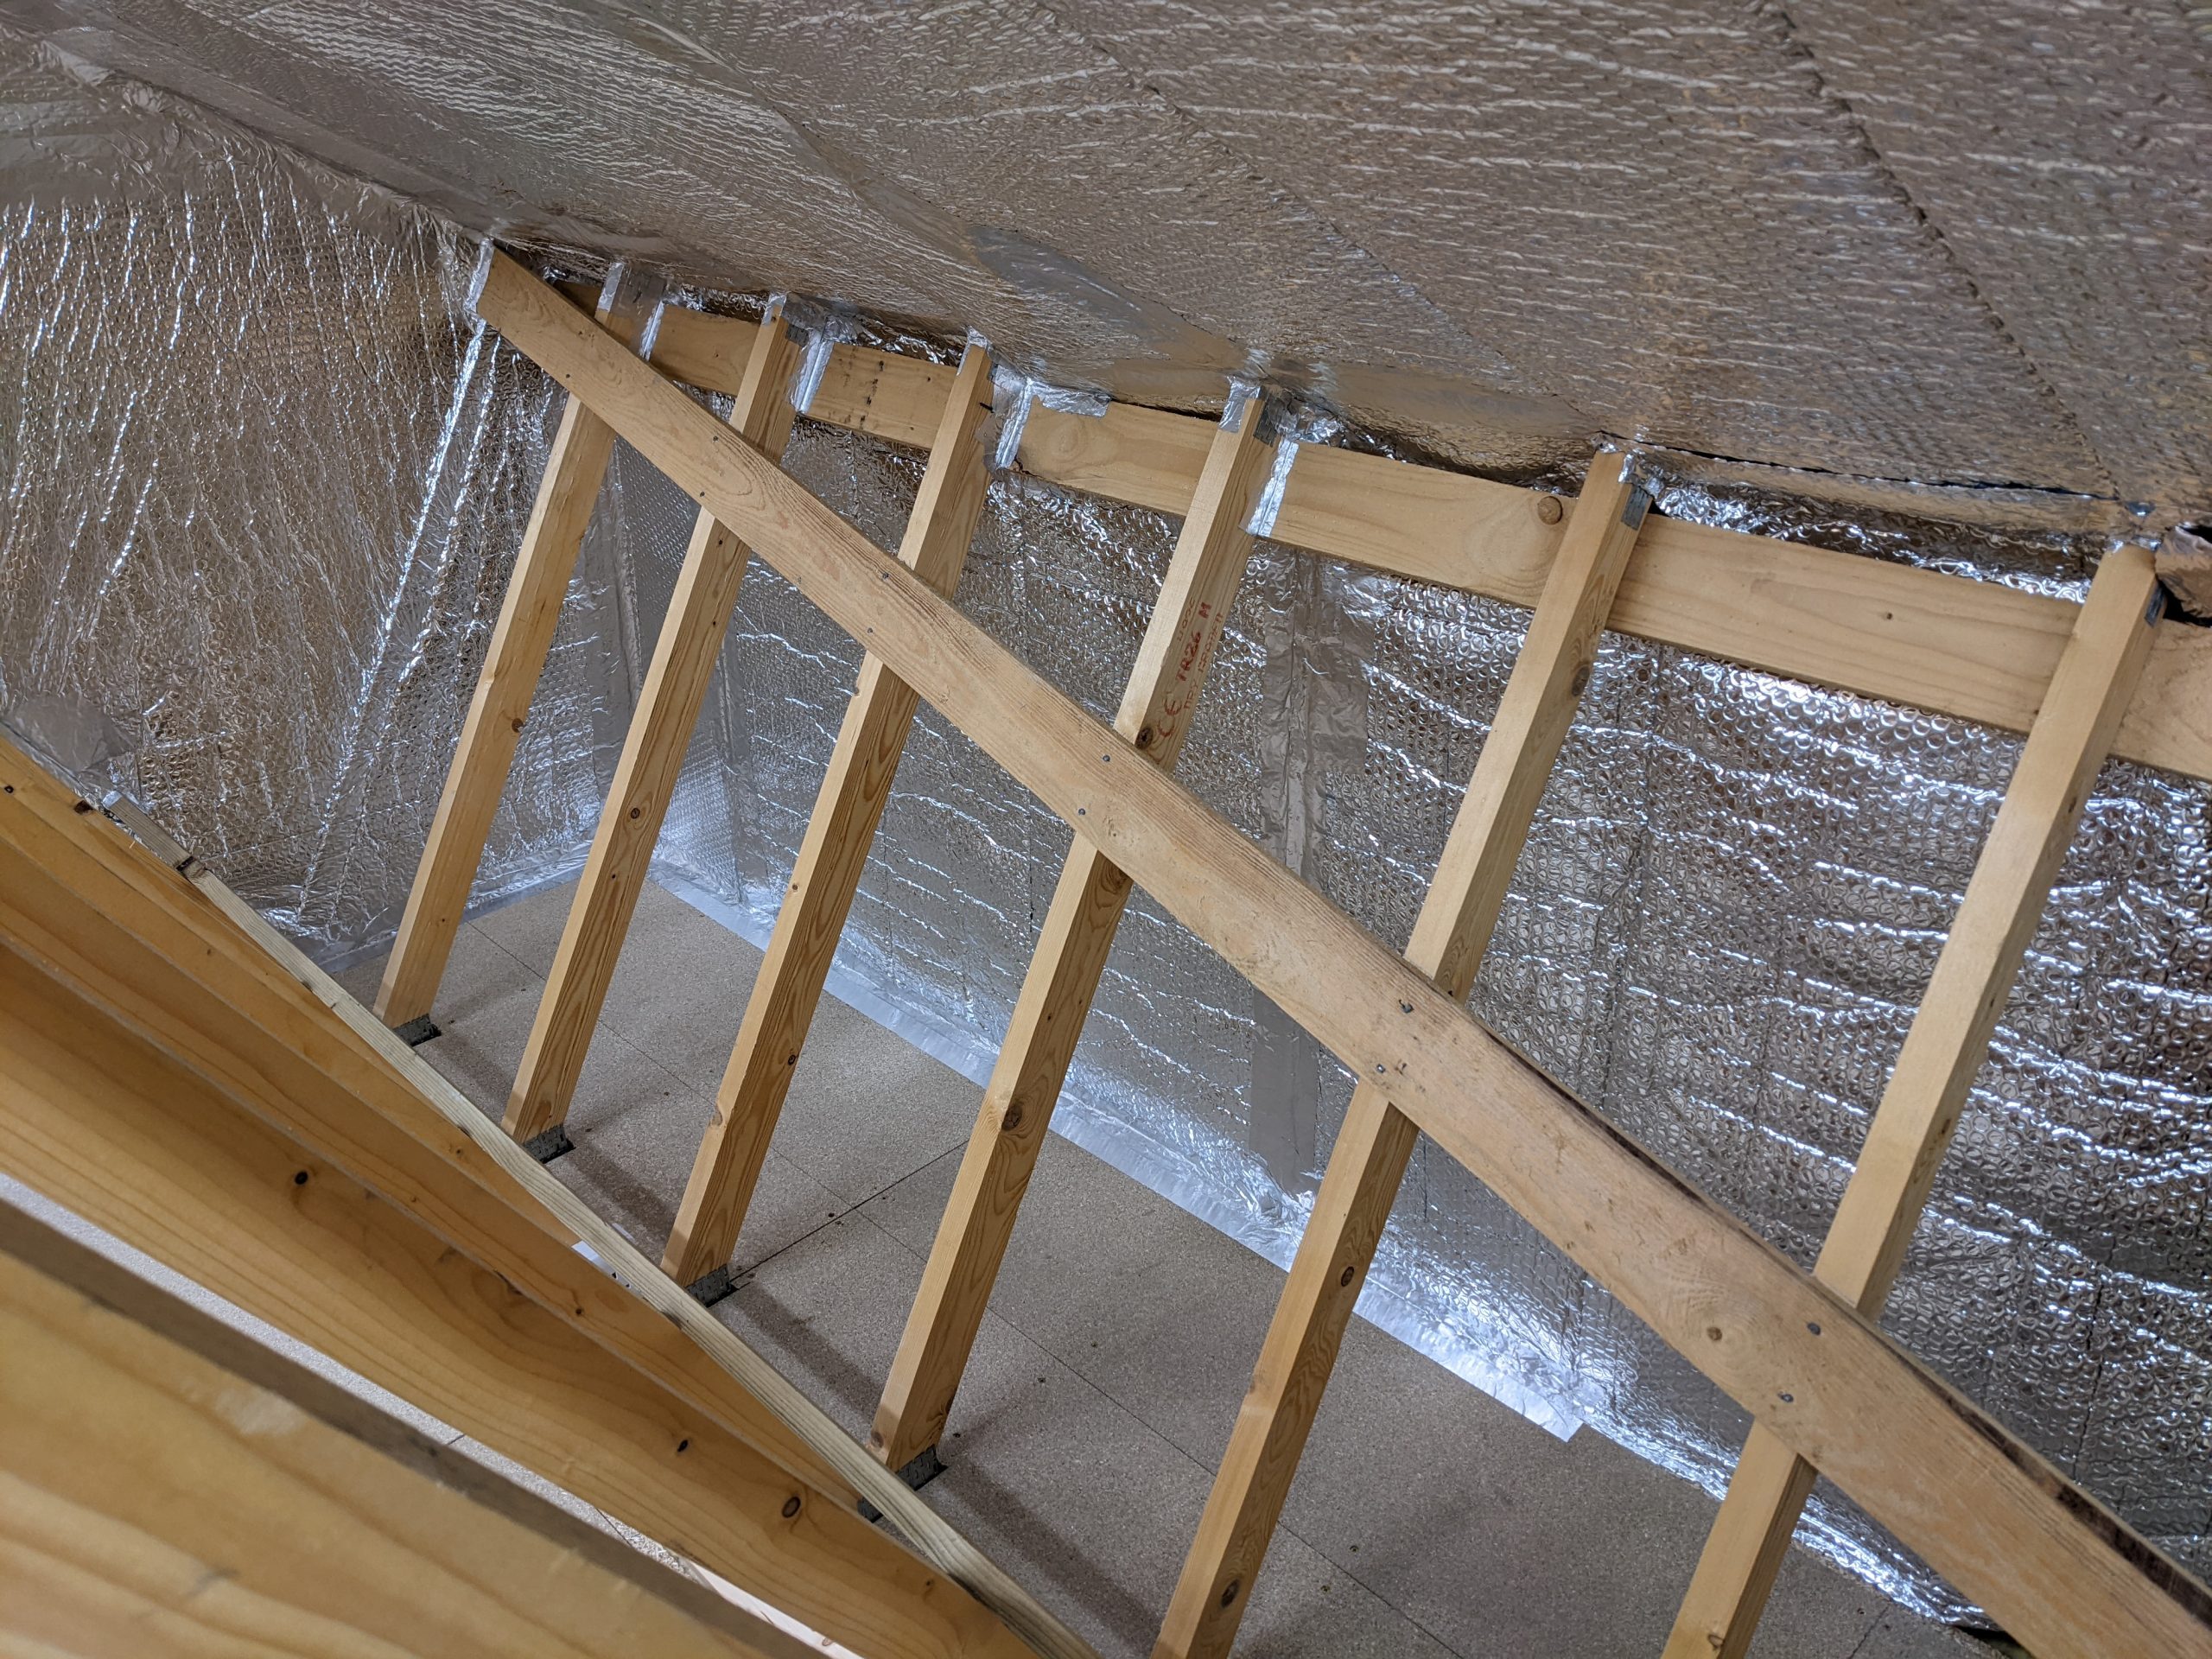
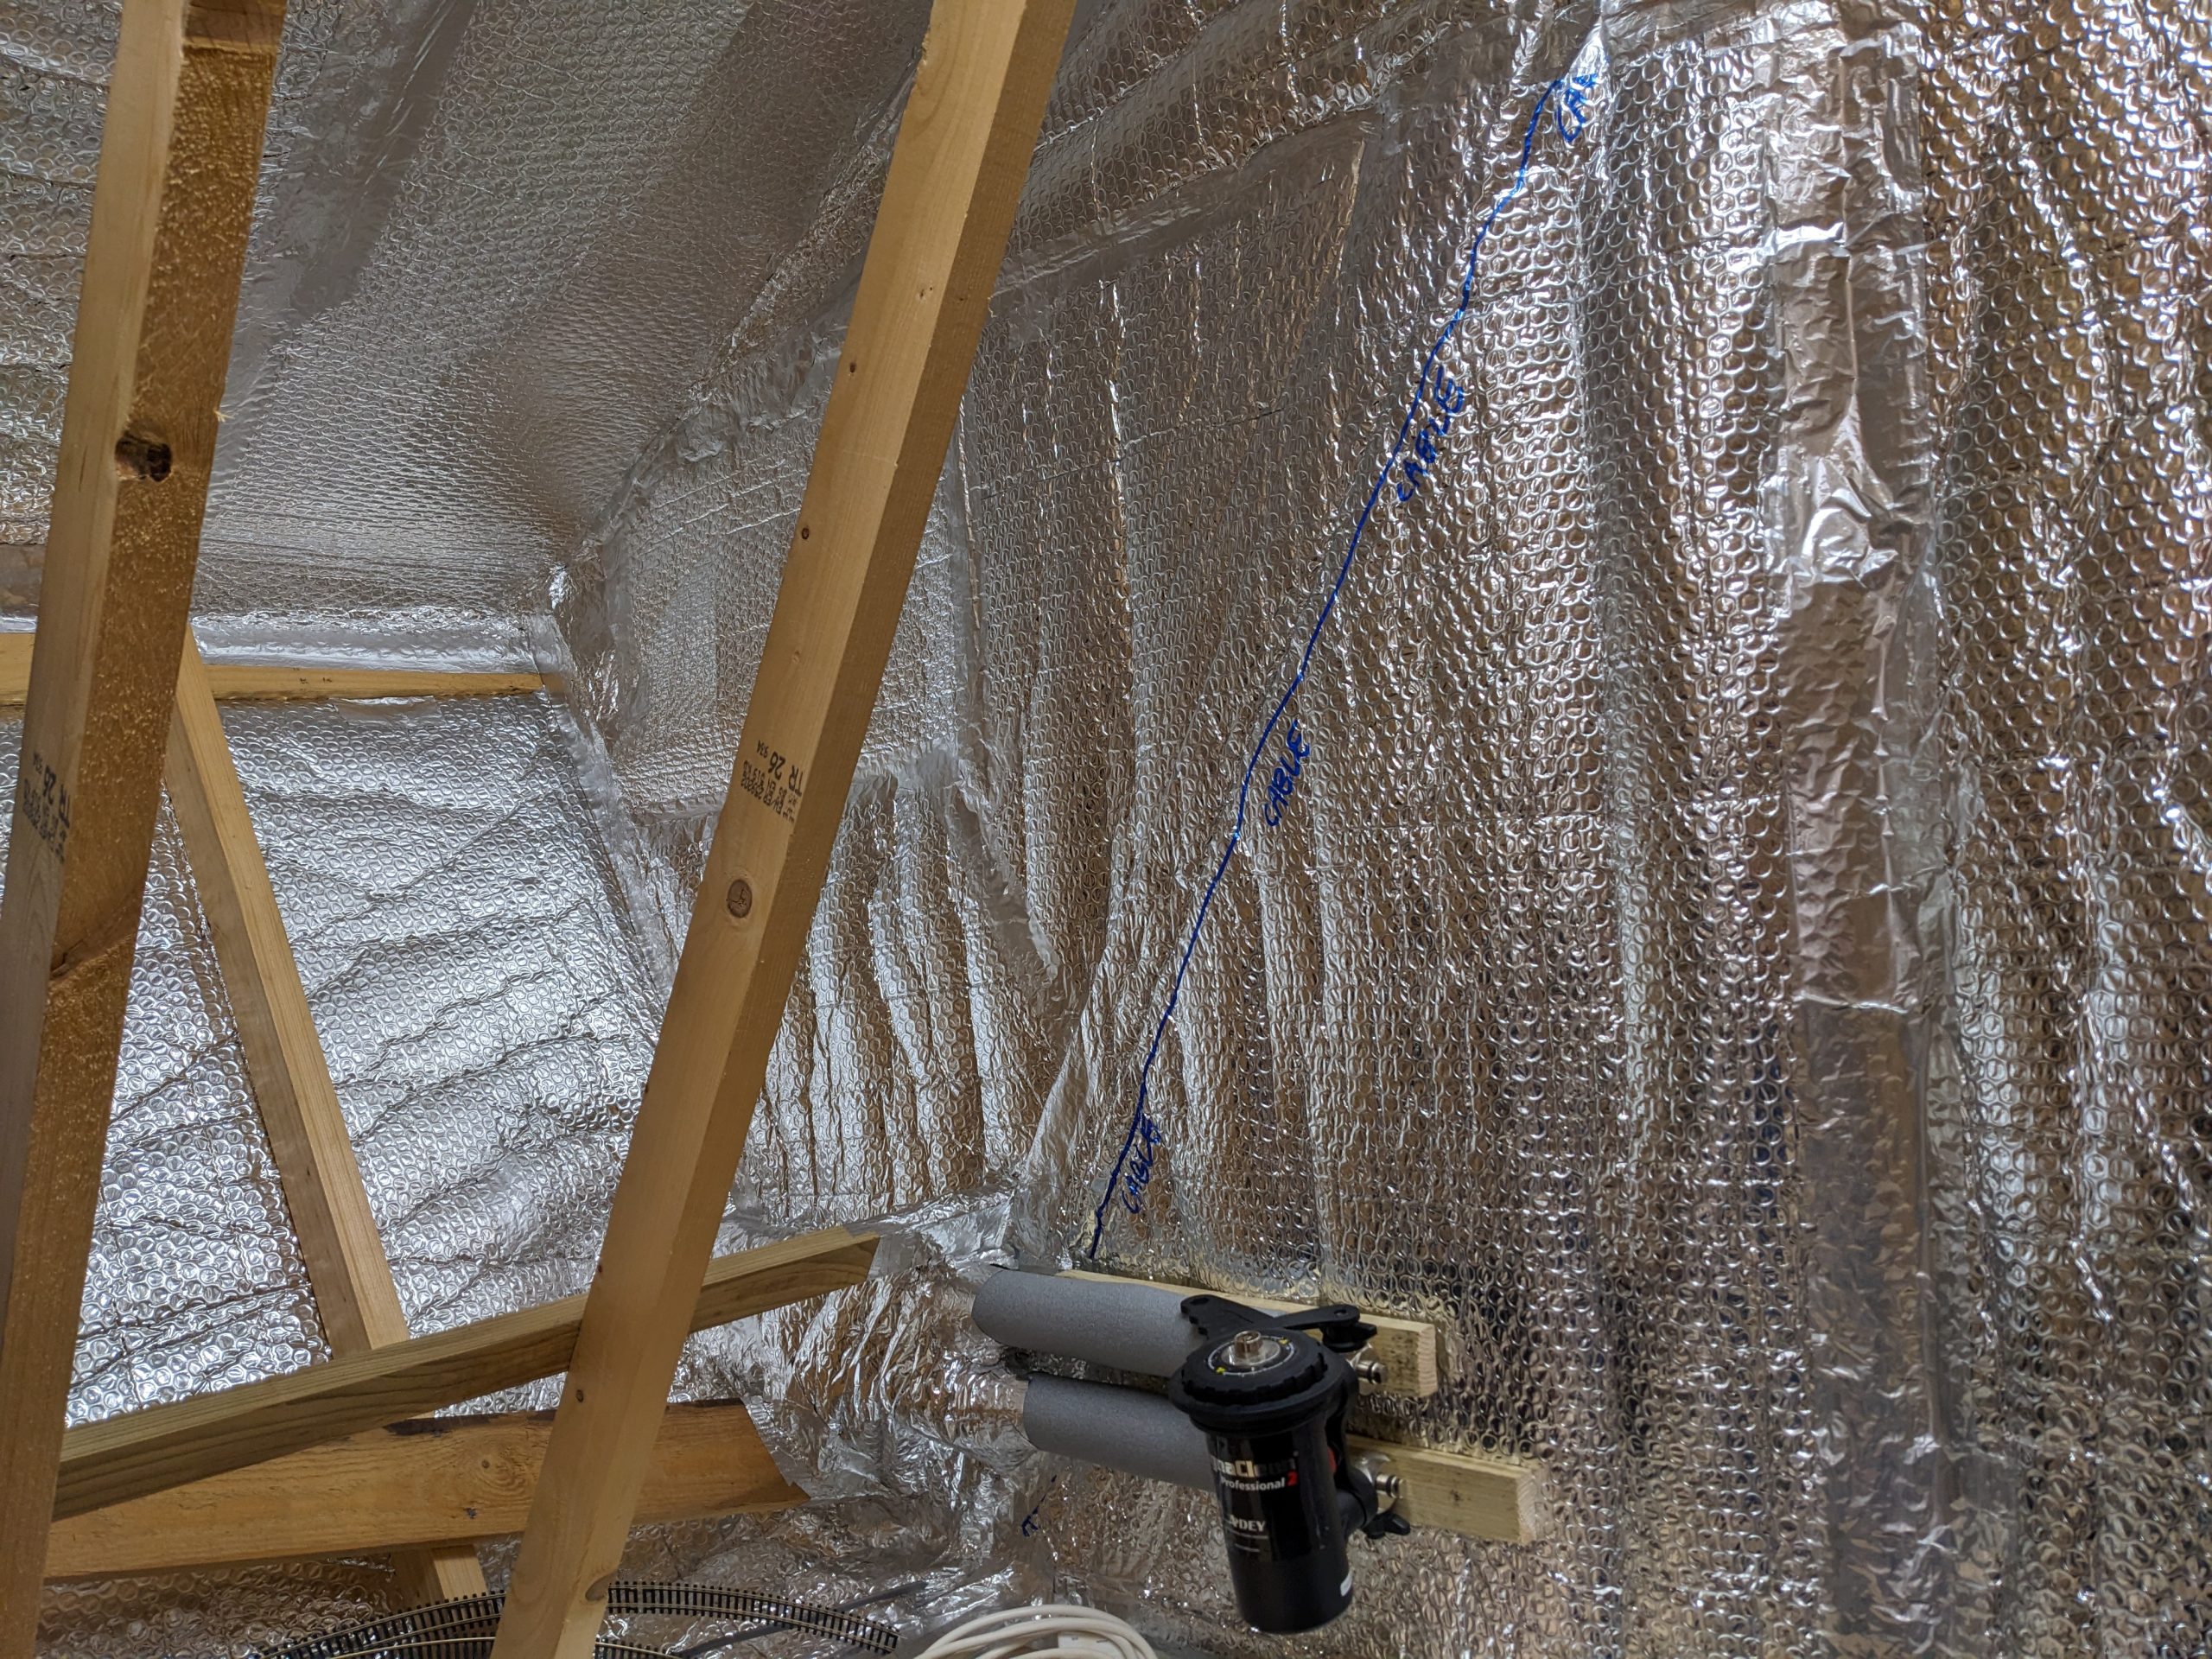
March 2023
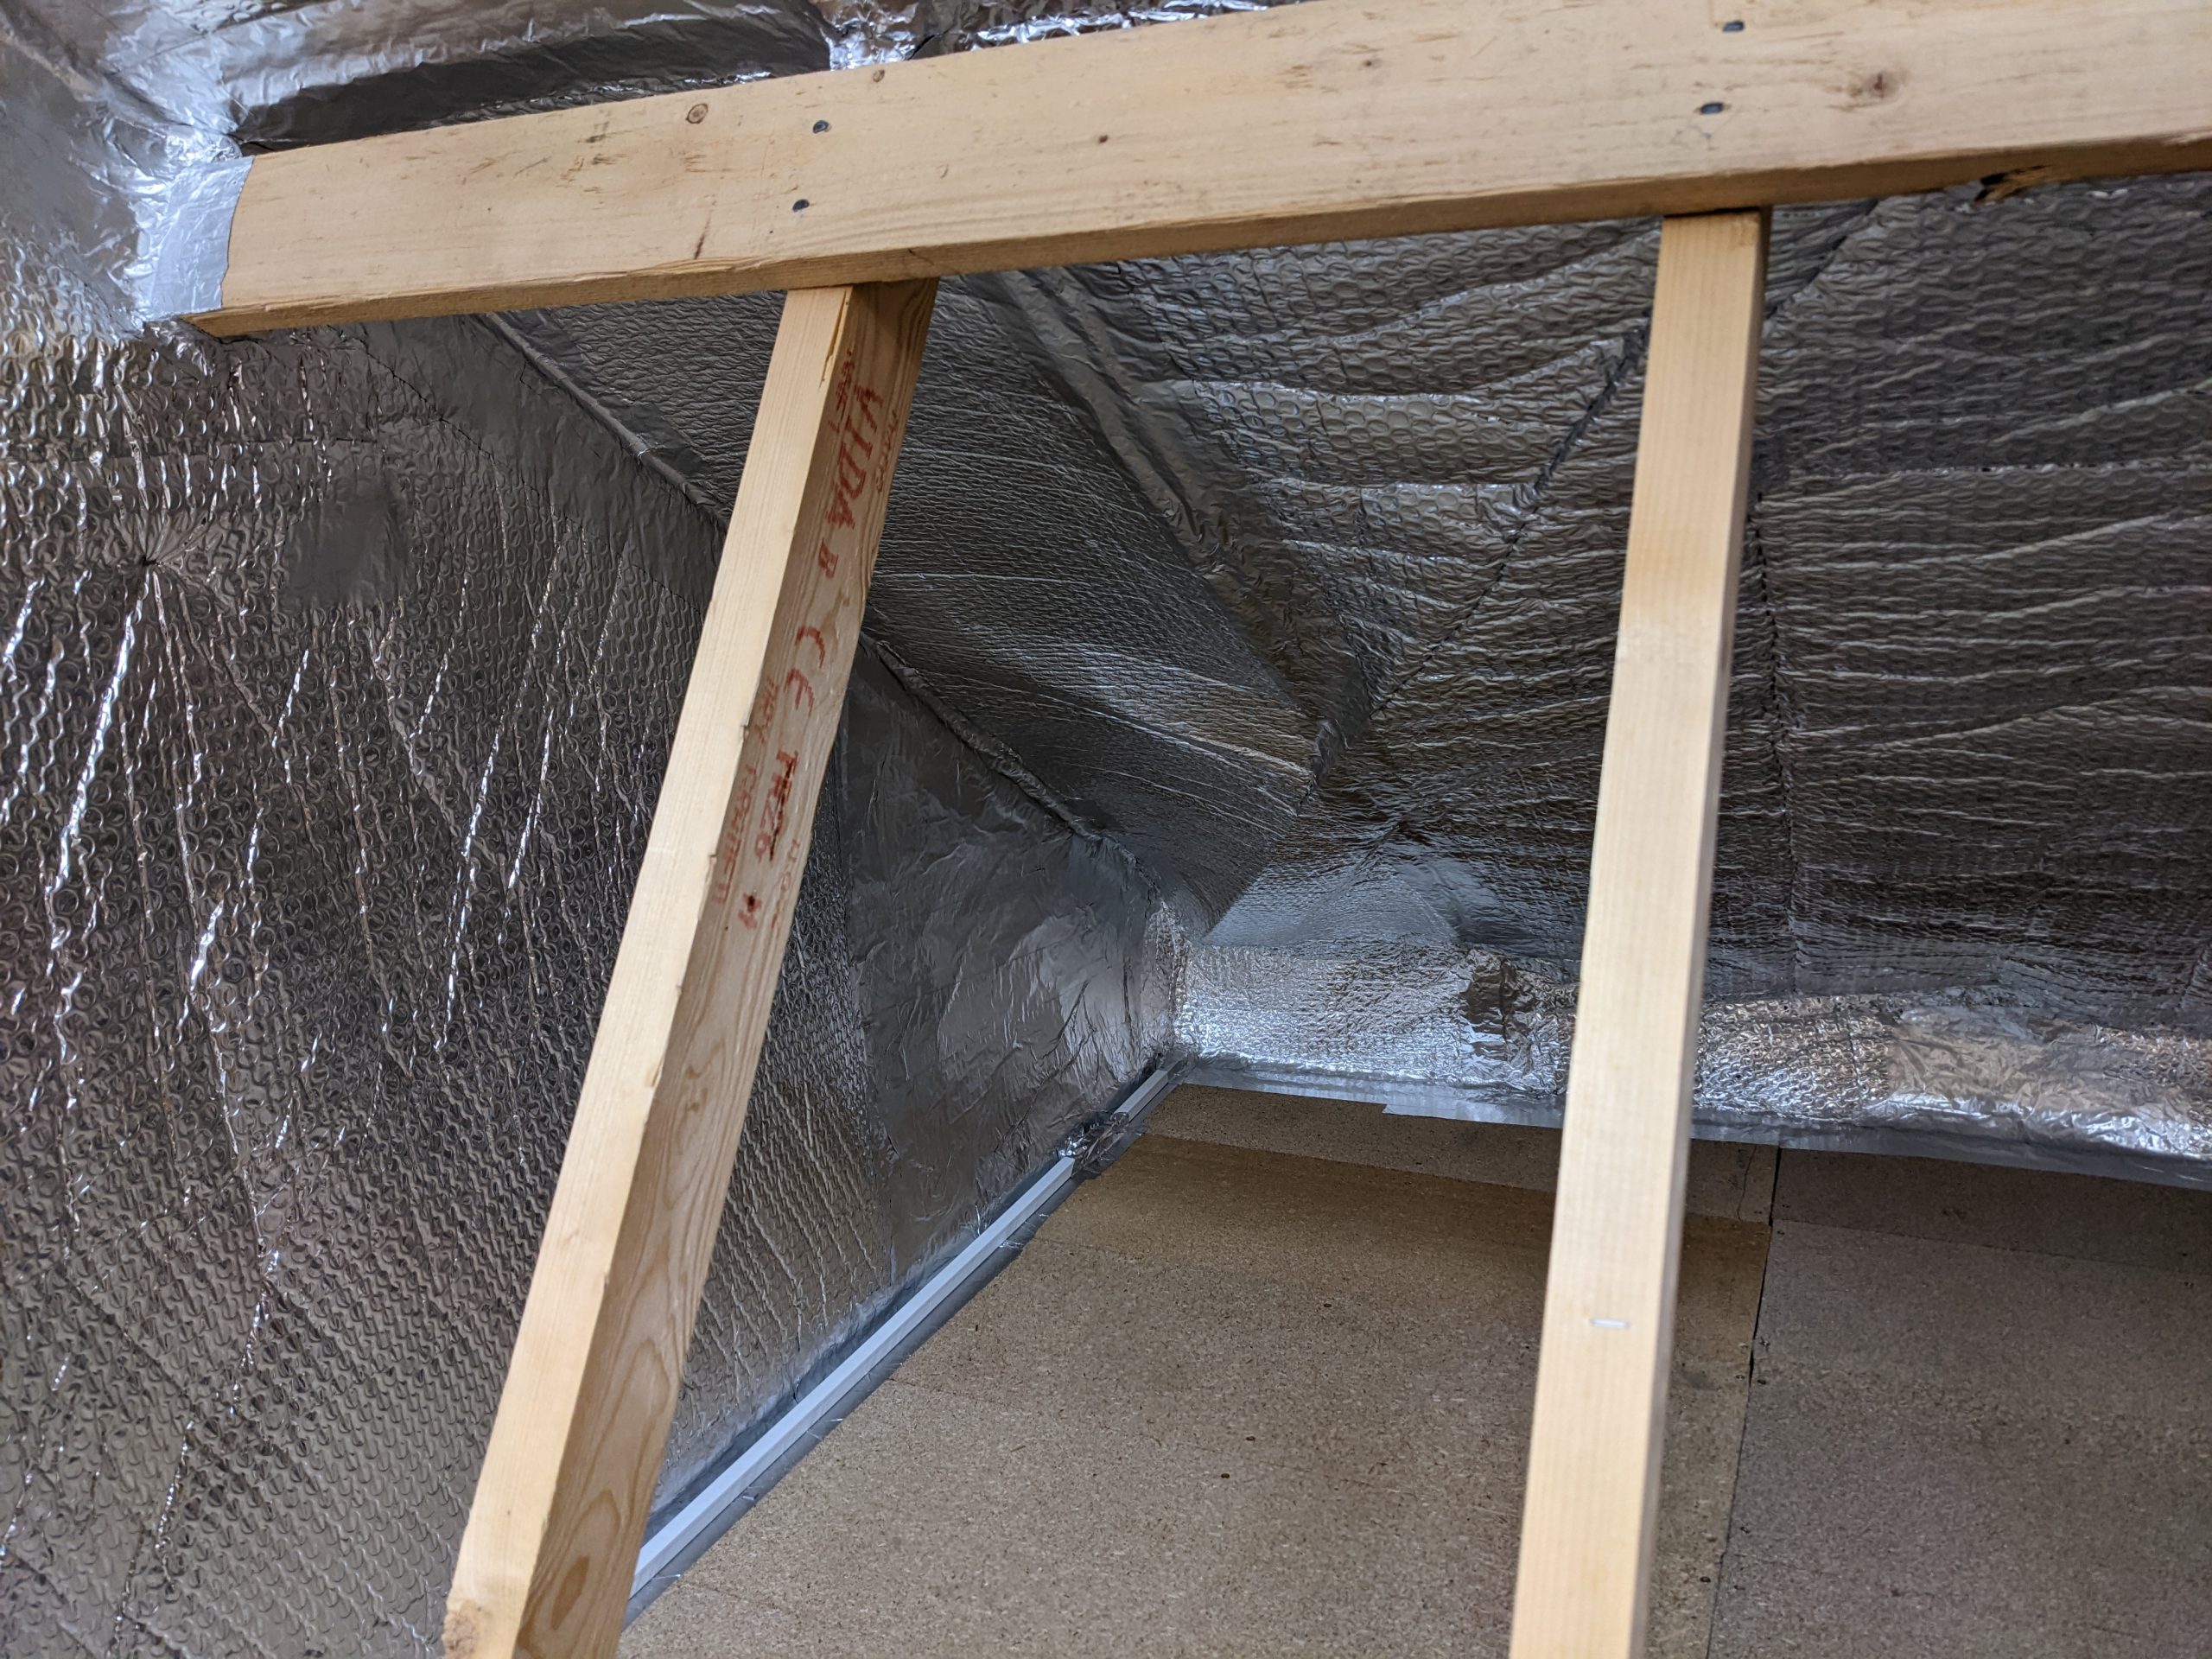
And a few more from March 2023 showing the last bits to be completed on the right side and the house wall end –
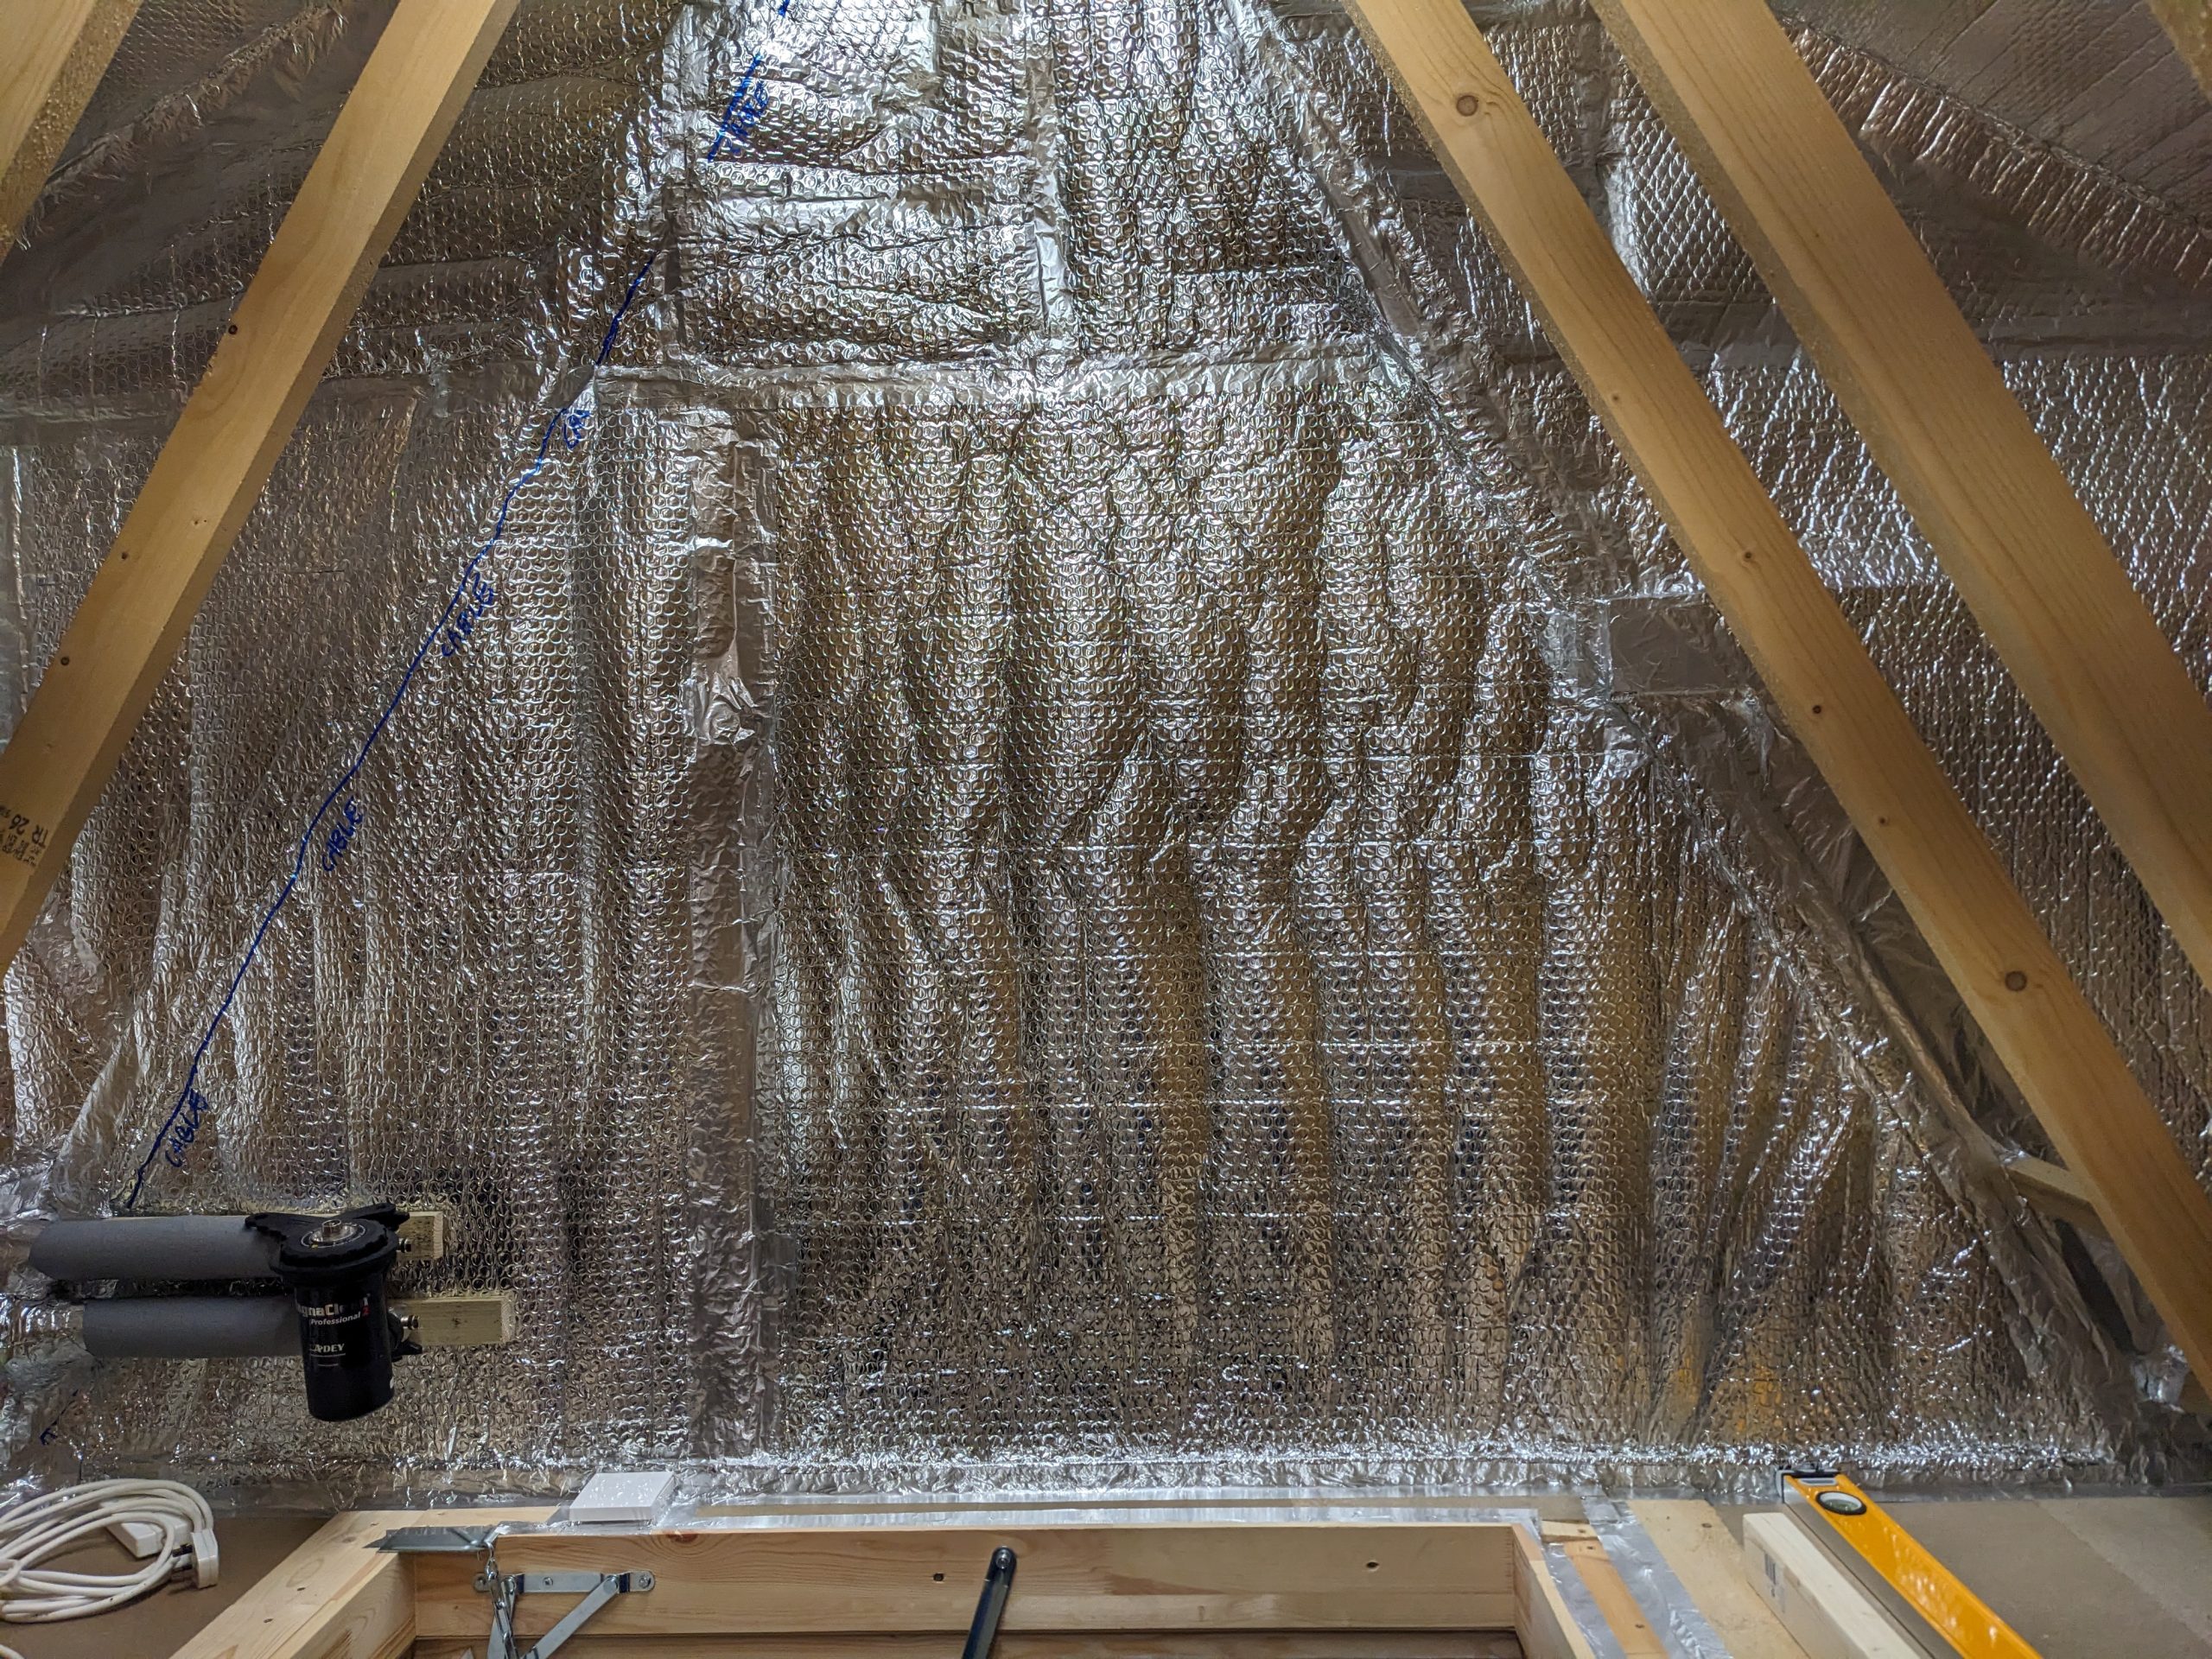
It’s very bright and shiny up there and looks like I’m growing dodgy plants or something so I might line parts of it with white-faced 3mm hardboard.